DUCATI DESMOTO
My personal vision of the ultimate Ducati Supermotard with the perfect balance between function and form. An extremely lightweight, high performance machine that wants to buck you off with every twist of the throttle…
Built from Titanium, Magnesium, Aluminium, and Nylon Carbon Fiber. Over 2000 hours of design and fabrication spread across 5.5 years.
End result?! 141KG WET, 112HP and 123NM torque on the rear wheel. Insanity!
My previous project allowed me to start a “internship” & amazing friendship at Biggelaar Special Performance. Over there I learned the more intricate stuff like engine revisions, tuning / flowing cylinder heads, ECU / Dyno remapping etc. This allowed me to elevate this build to a next level compared to the previous project!
Ducati Desmoto is featured on “BikeExif“, “RevZilla“, “MCN” and the magazines “KicXStart” and “Motorrijder”!
DUCATI DESMOTO
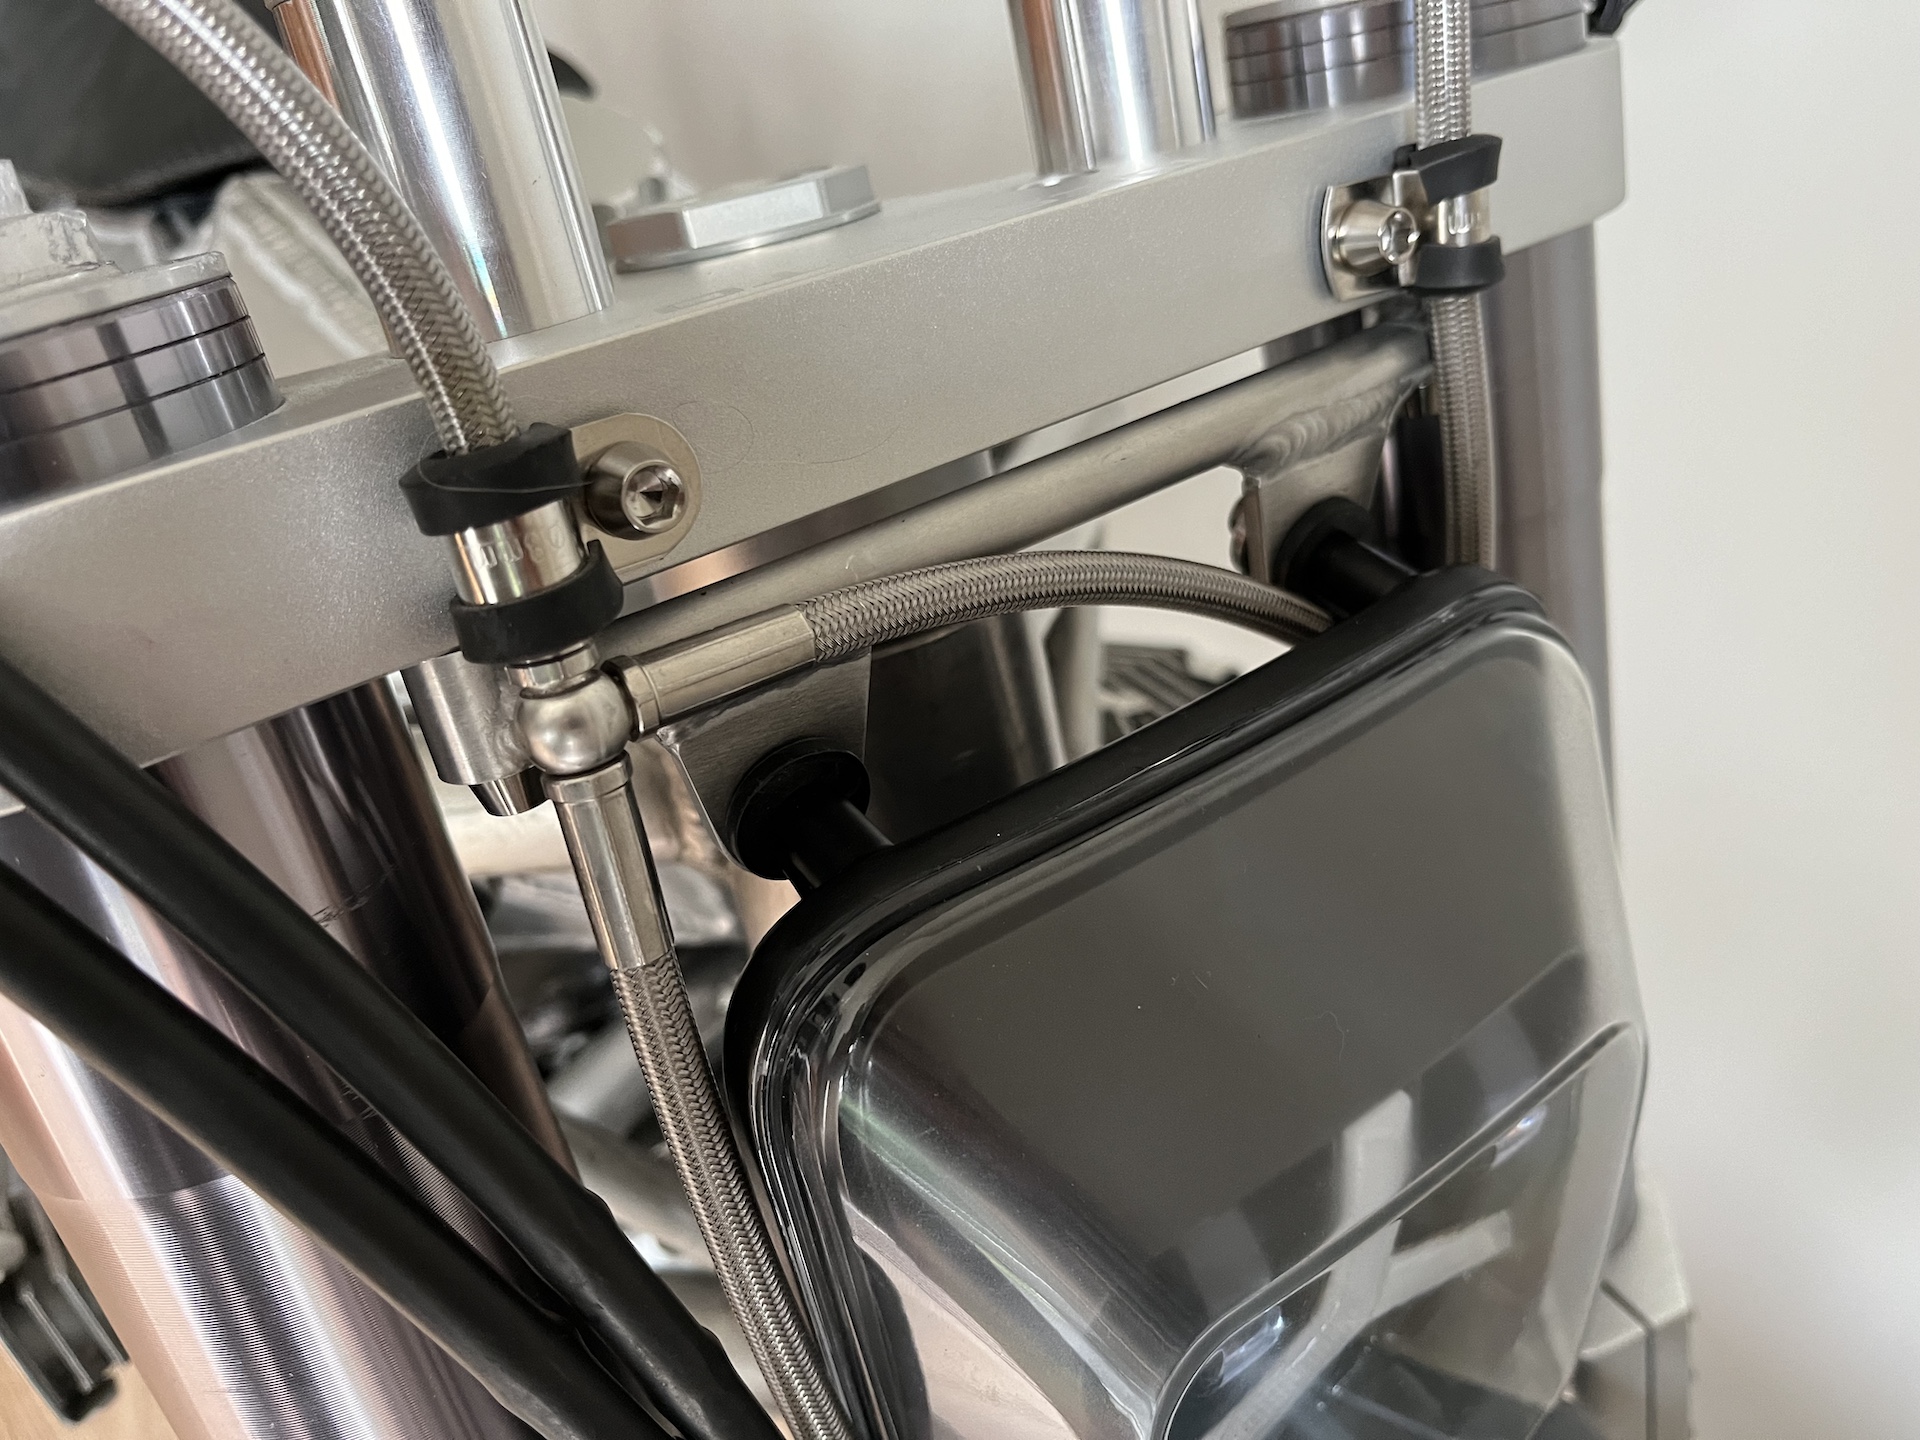
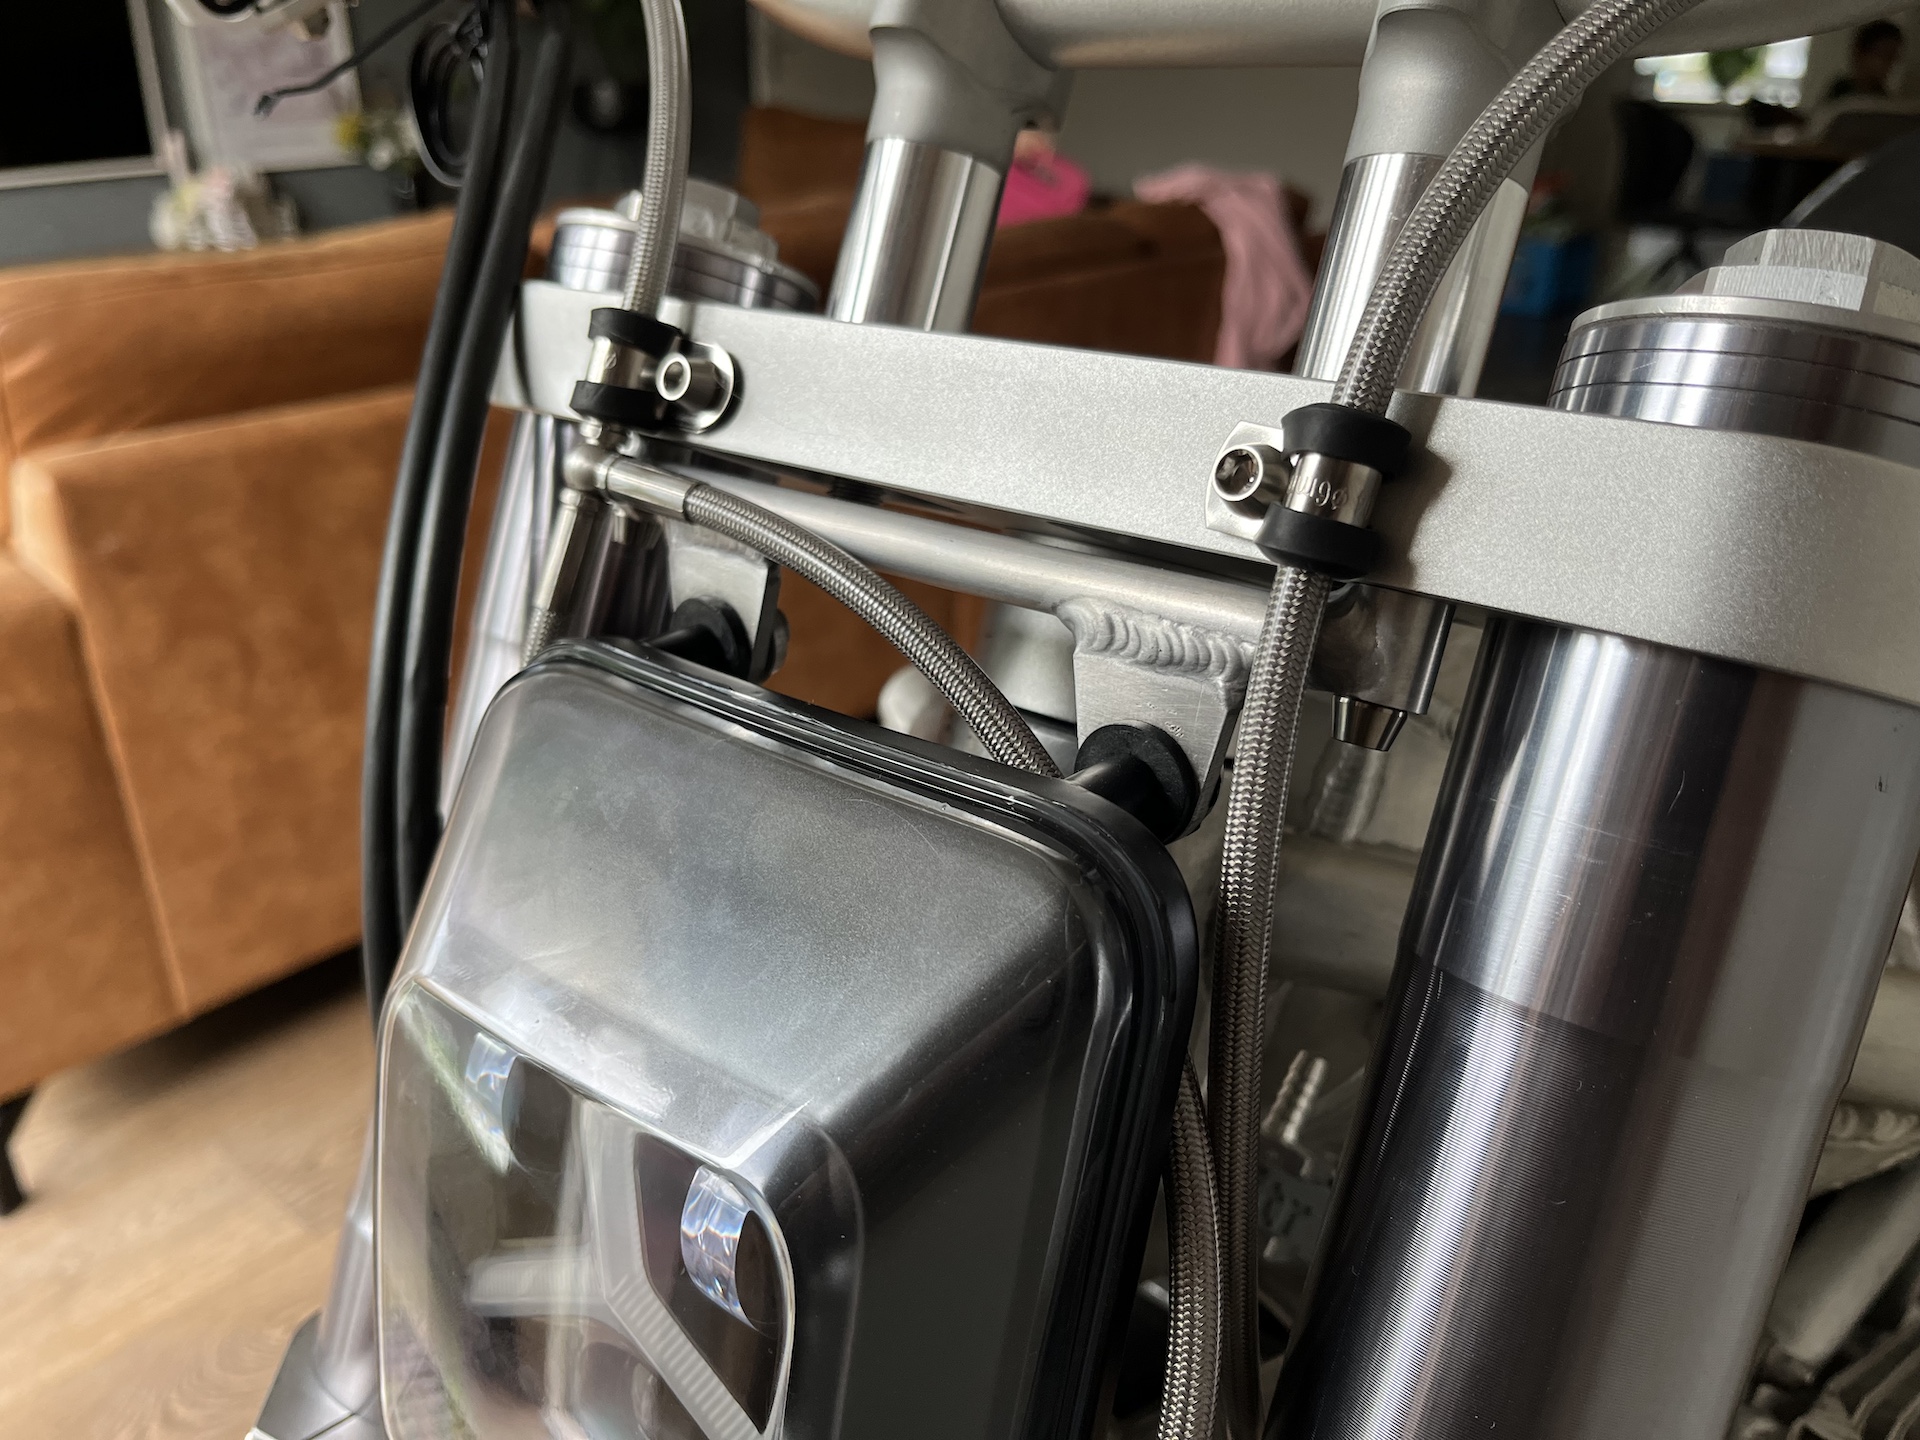
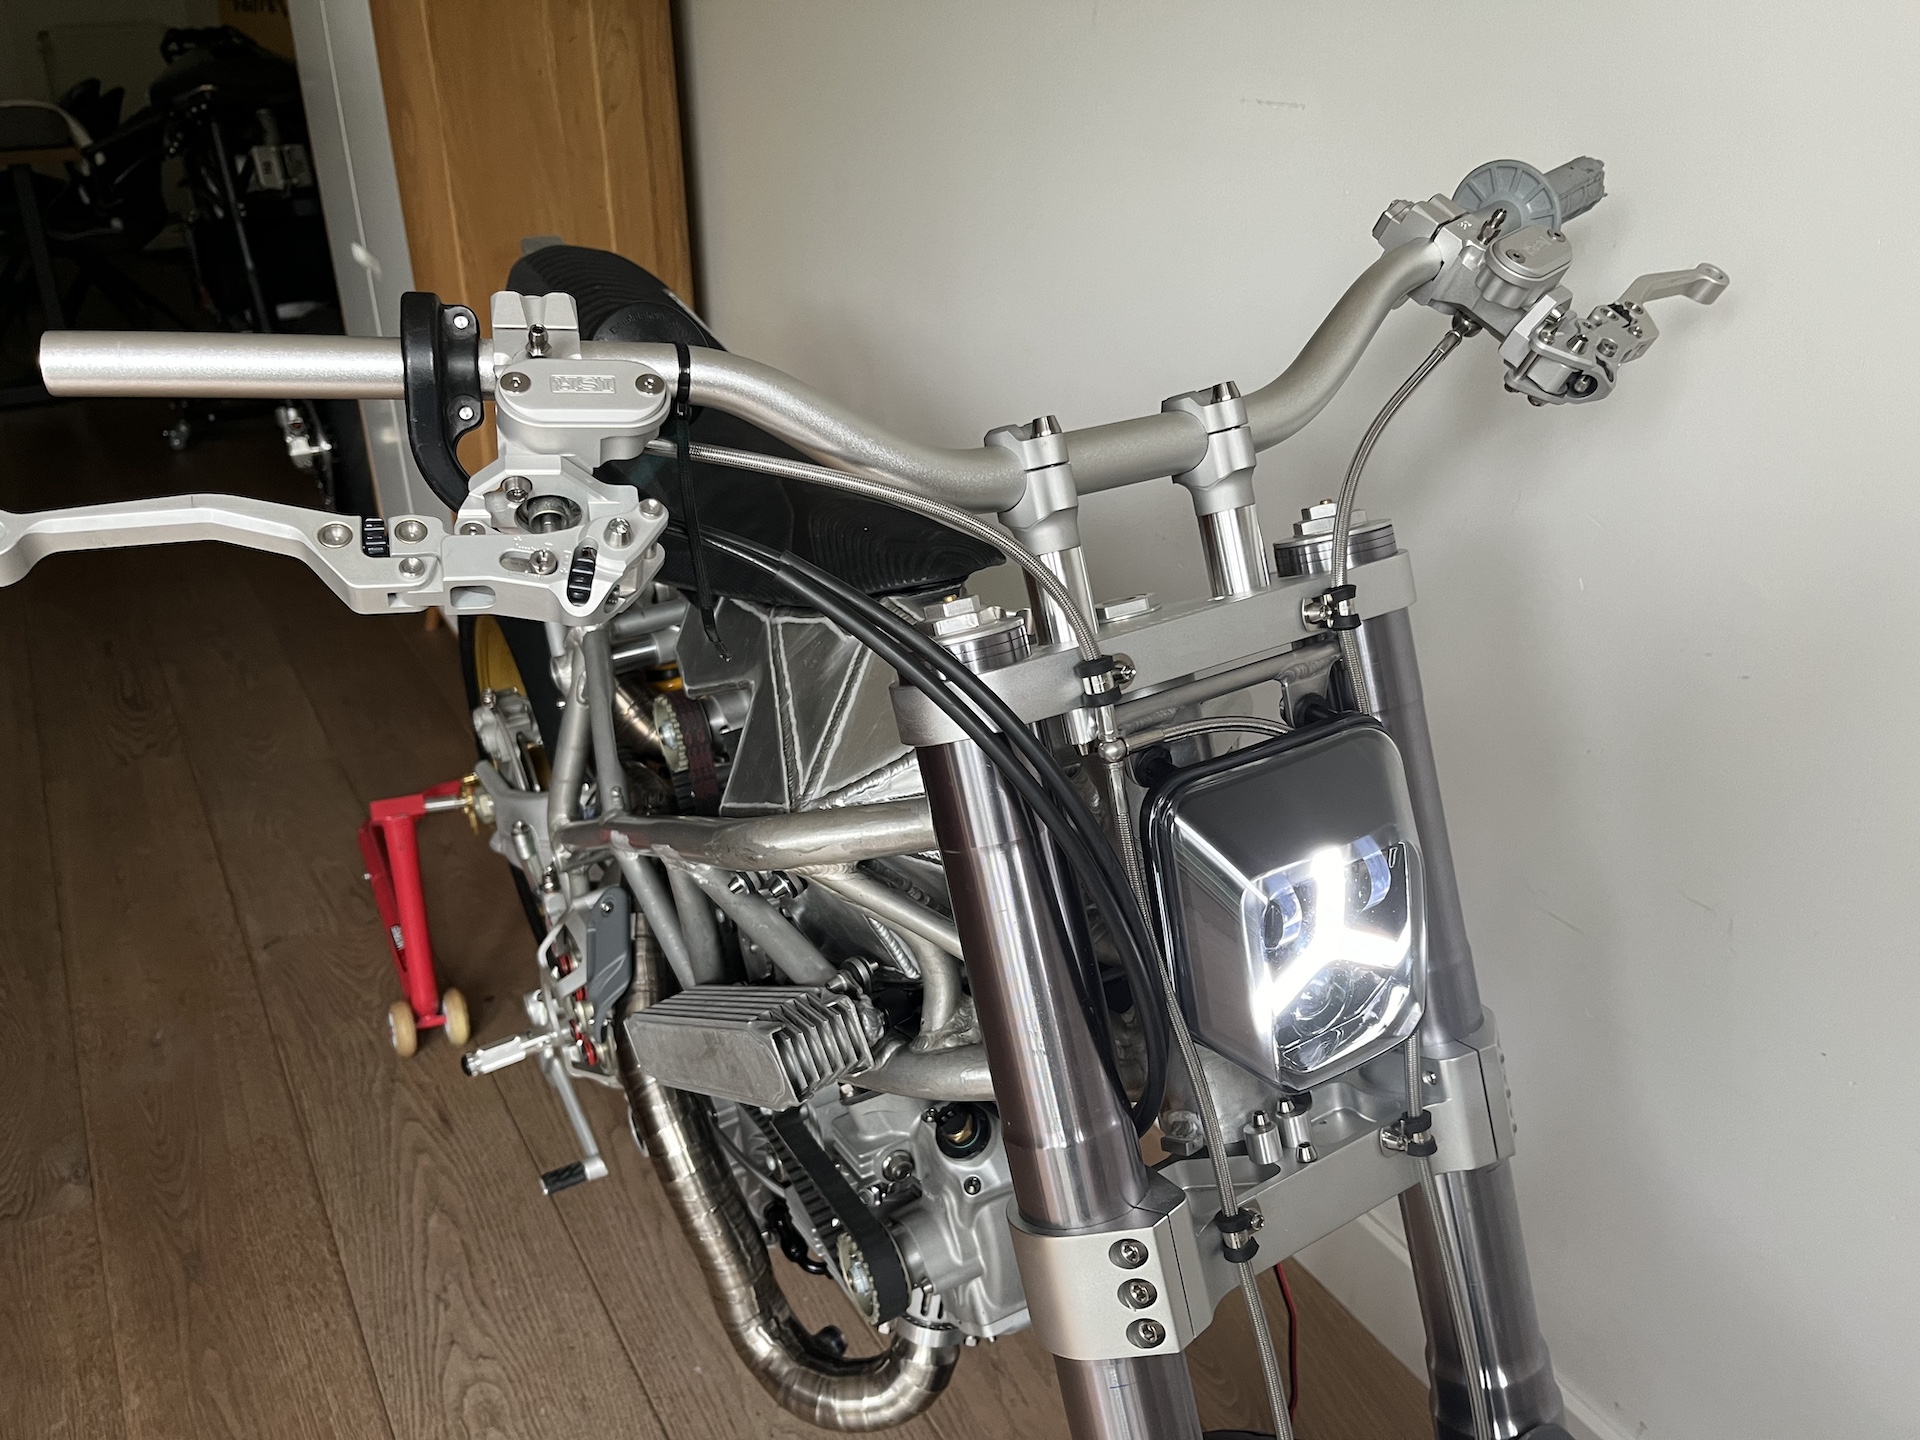
MOUNTING THE HEADLIGHT
Time to mount that sick Husqvarna headlight. I fabricated a super simple aluminium bracket that allows the headlight to also be mounted using rubber grommets.
We are getting somewhere!


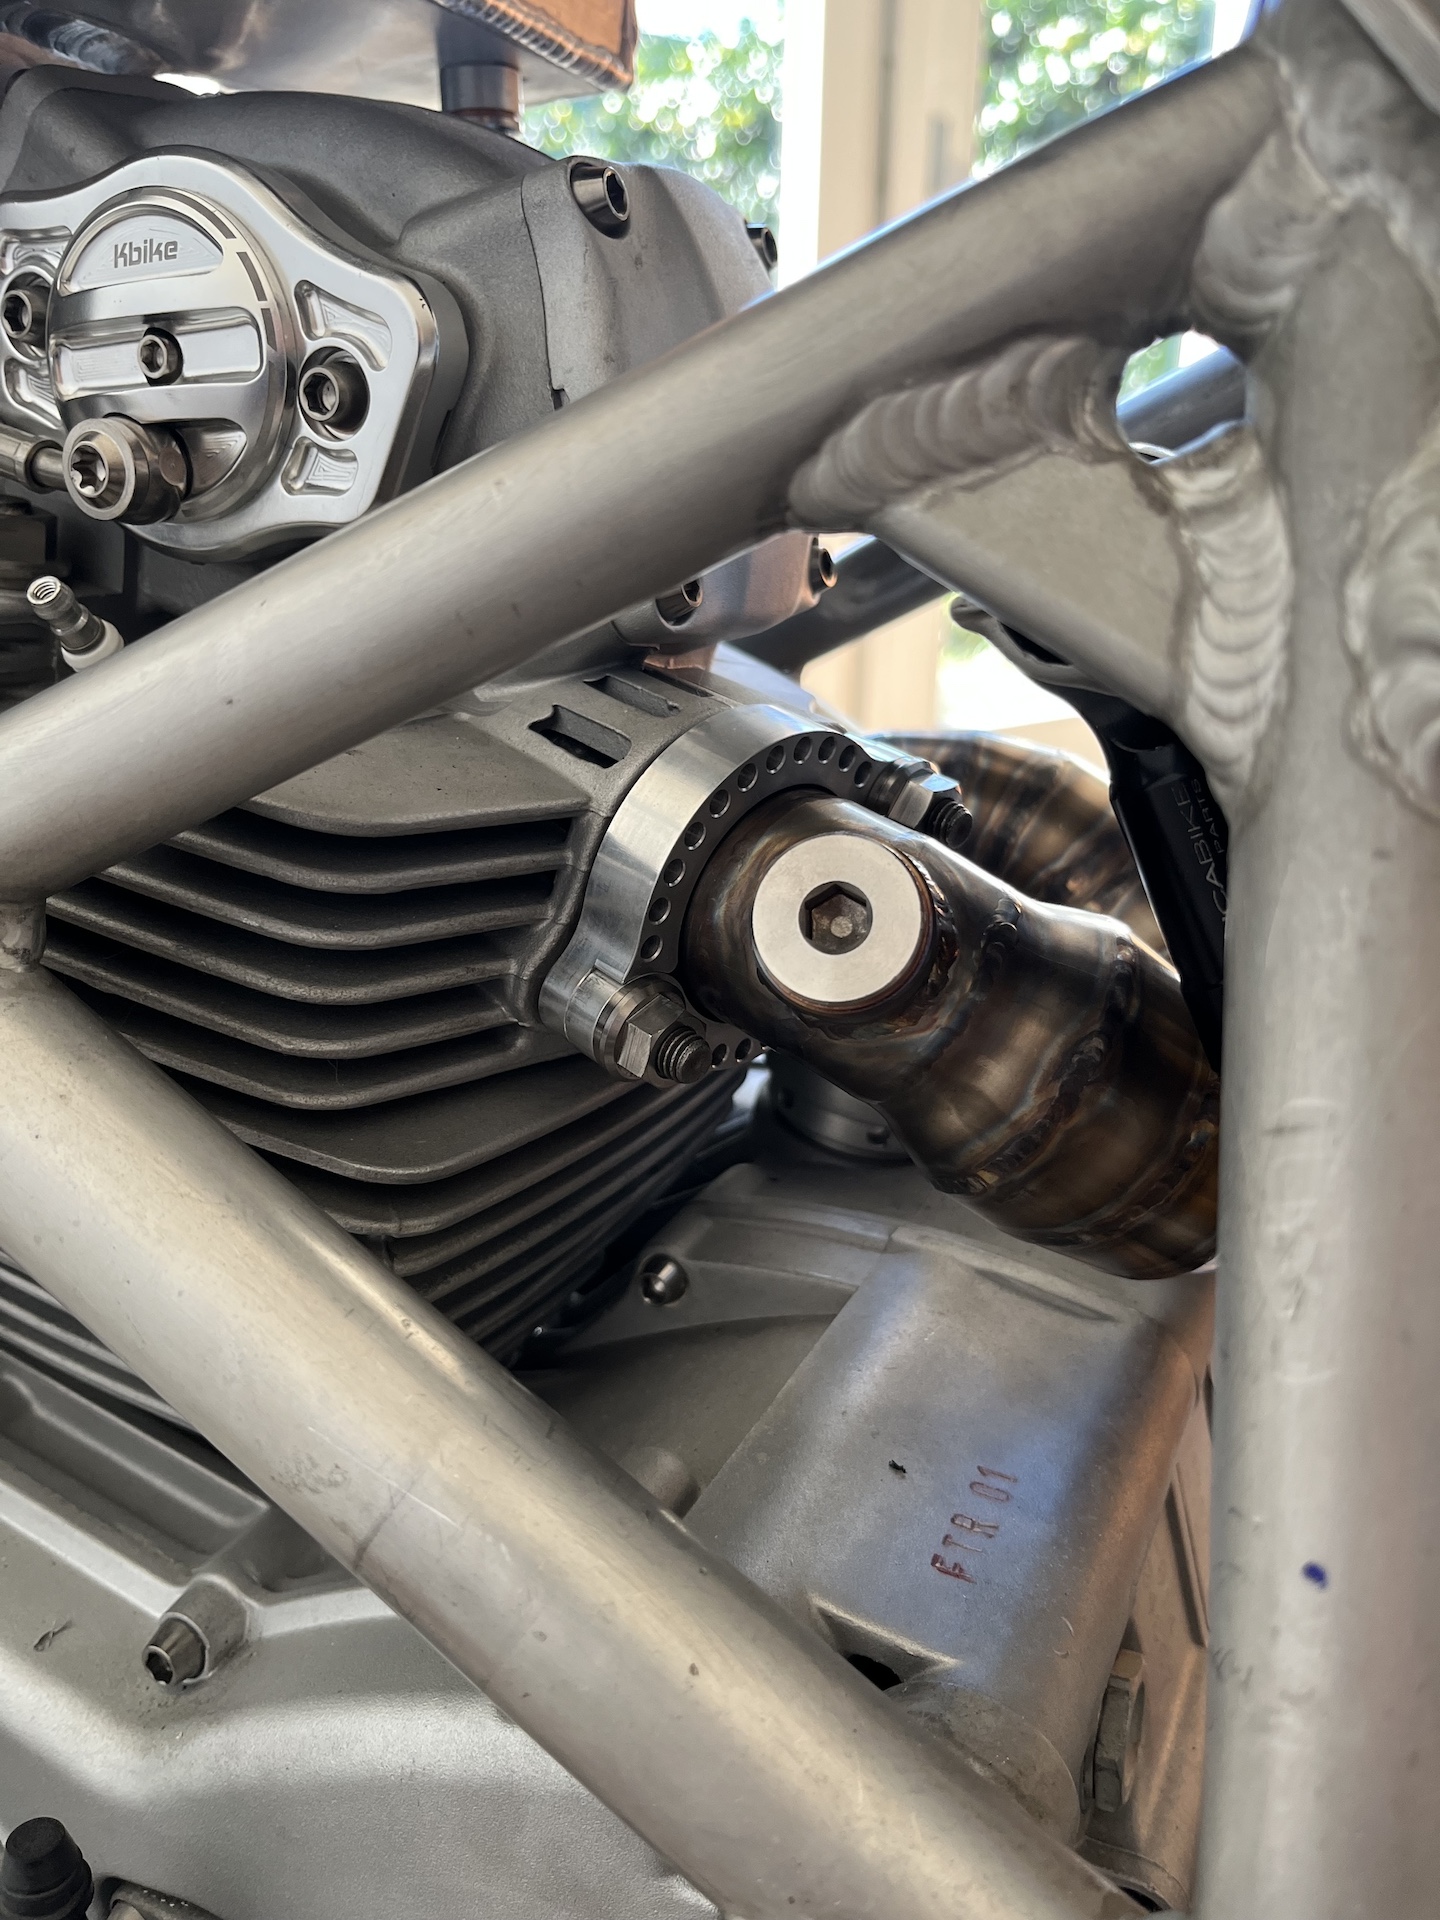
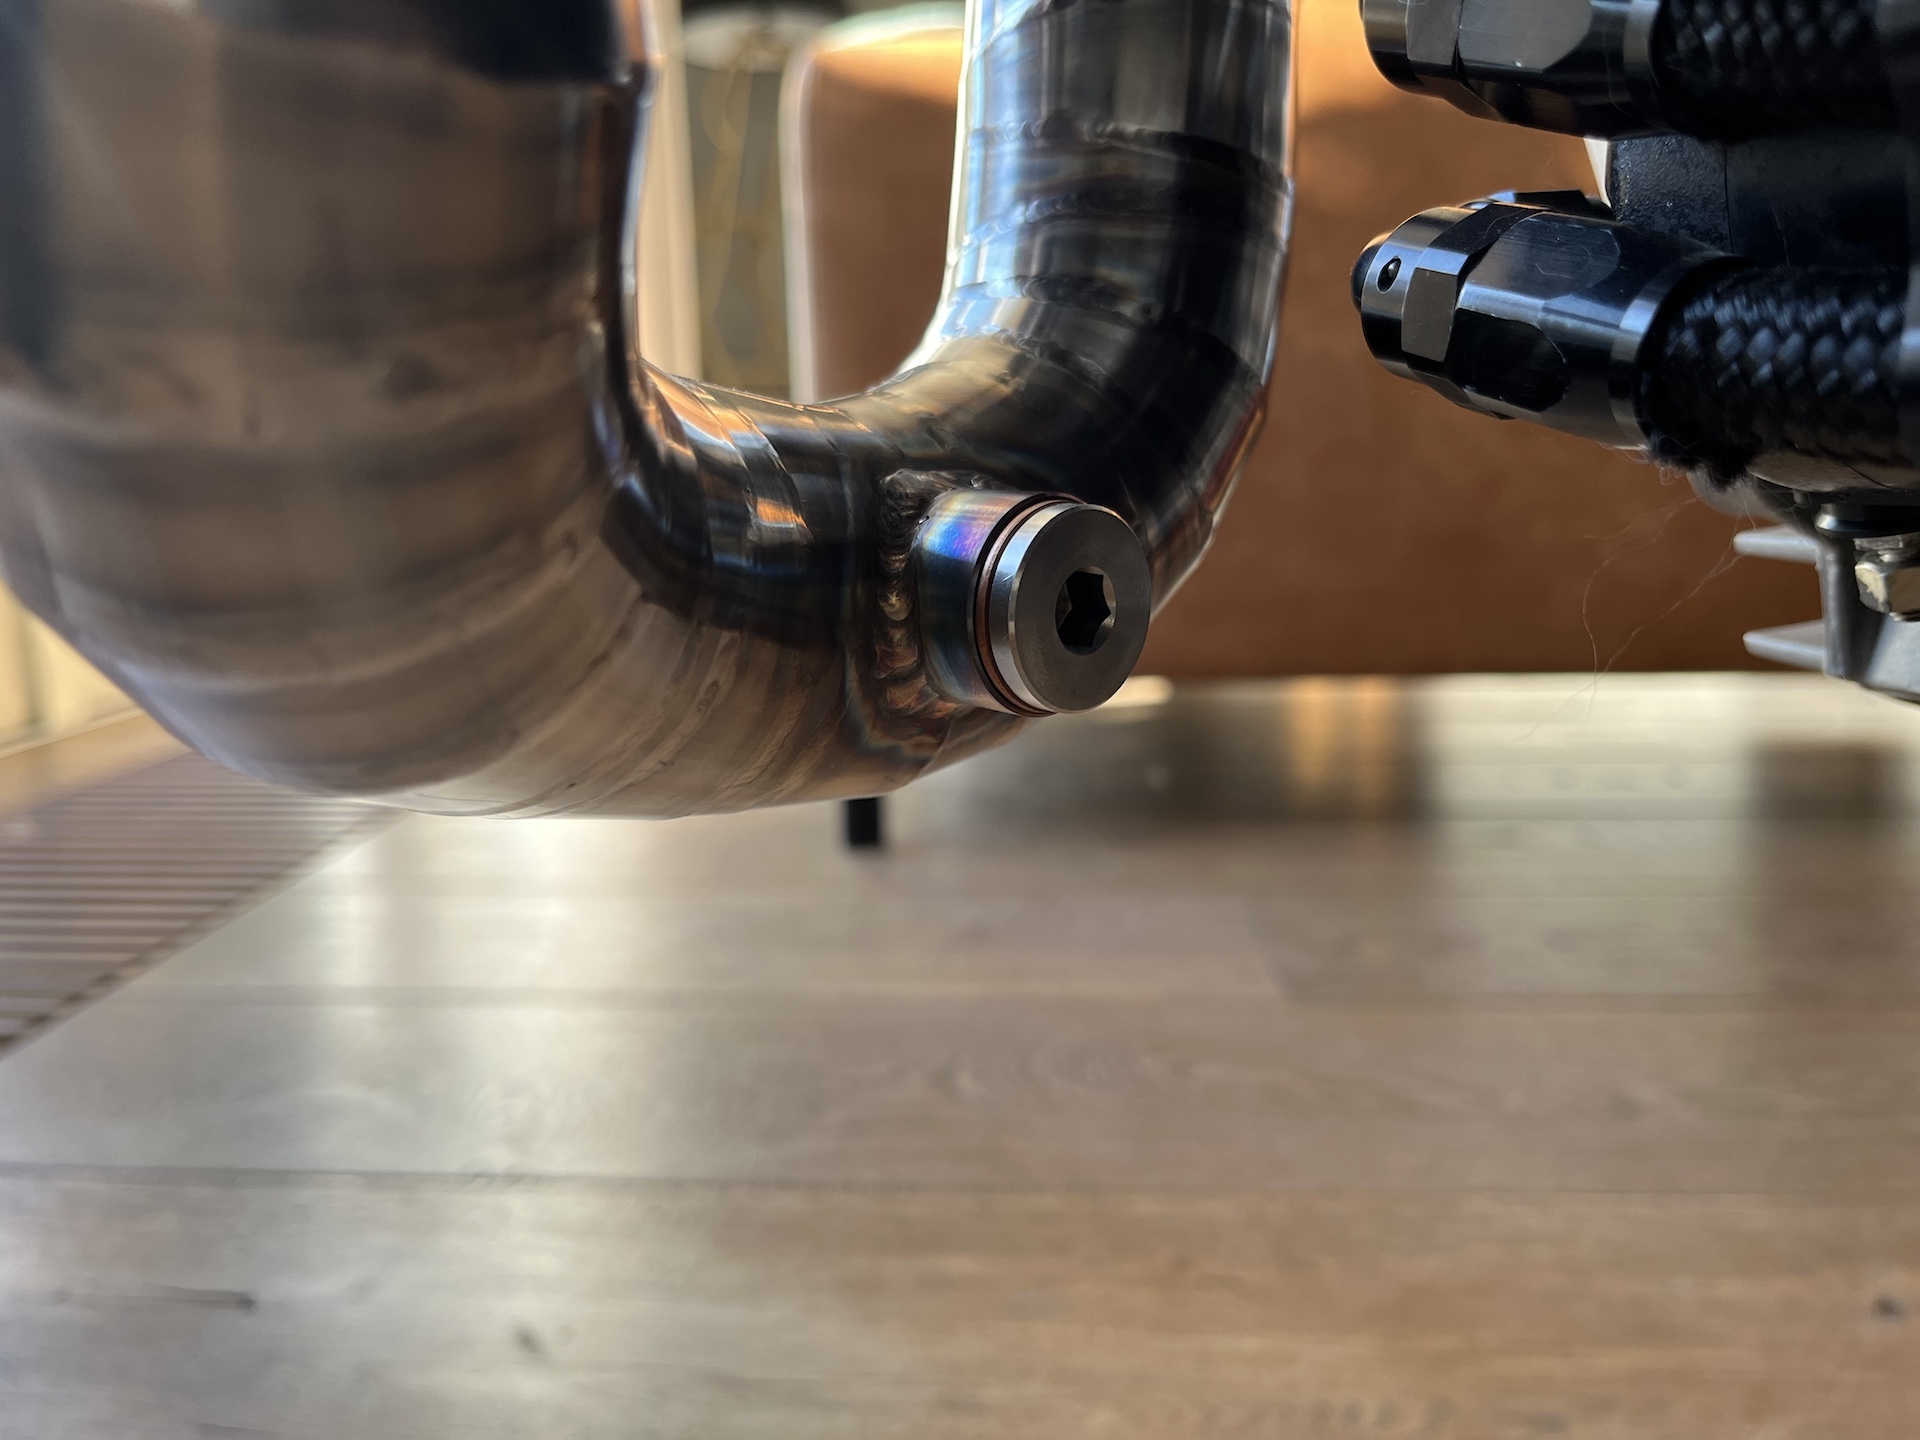
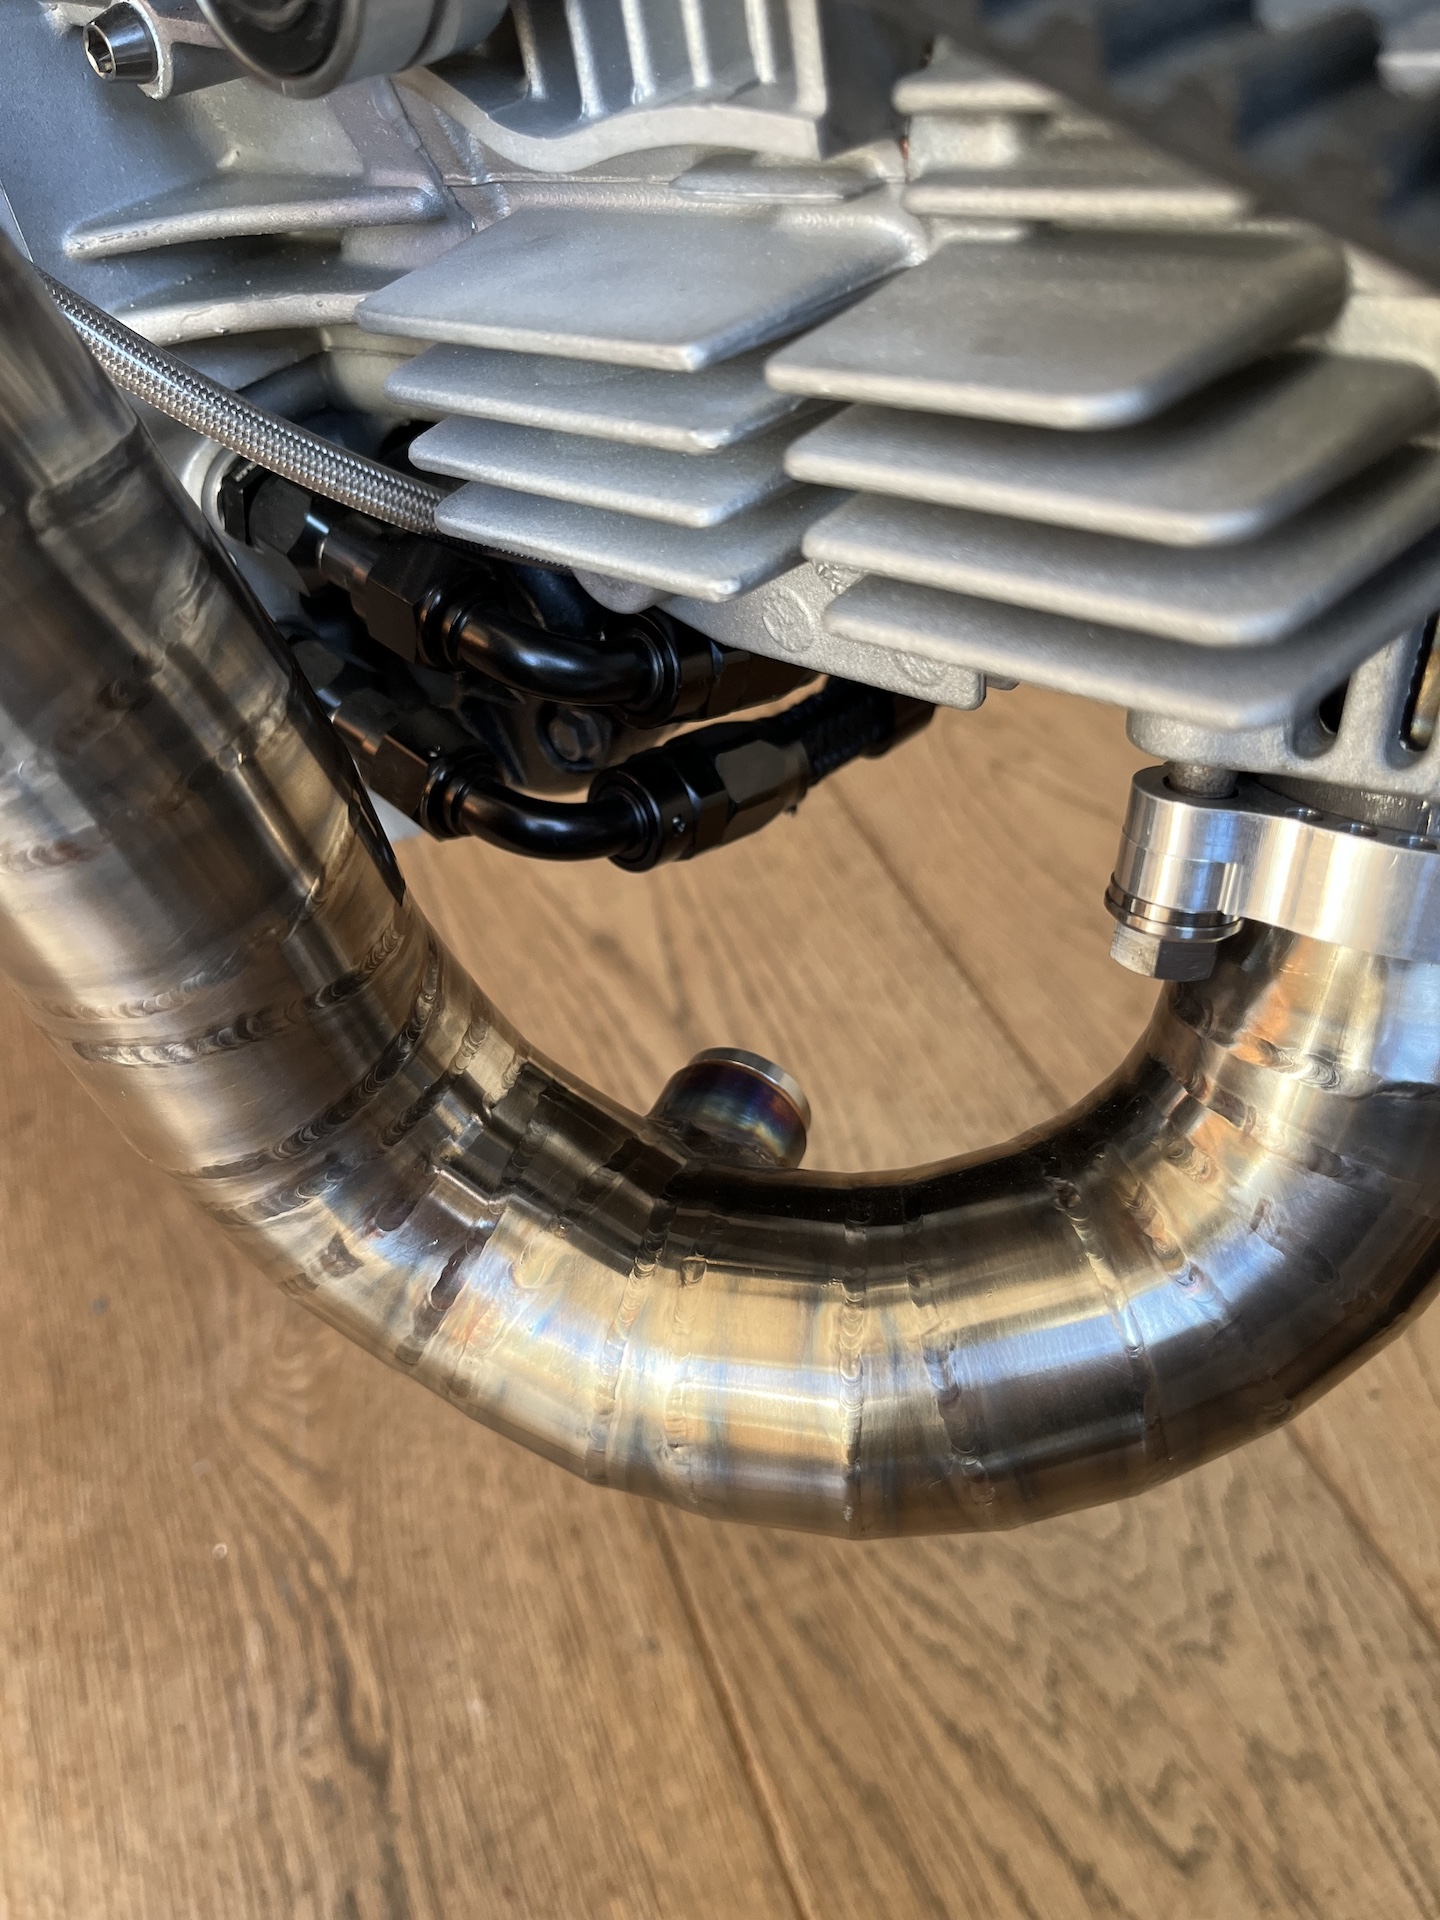
ADDING LAMBDA BUNGS
Another thing that still needed to be done were the lambda bungs in the exhaust. All done now! Allowing for tuning the engine later on, and measuring the lambda values for each cylinder head.
FUEL TANK BREATHER
Another small thing that needed to be managed was the fuel tank breather. Including a one way valve making sure the tank can suck in air. But in the meantime making sure no fuel fumes leak out into my living room haha. Custom 3D printed bracket out of high temperature resistant PLA, with 10% carbon fiber mixed in. Super strong and can take up to 150 degrees celsius.
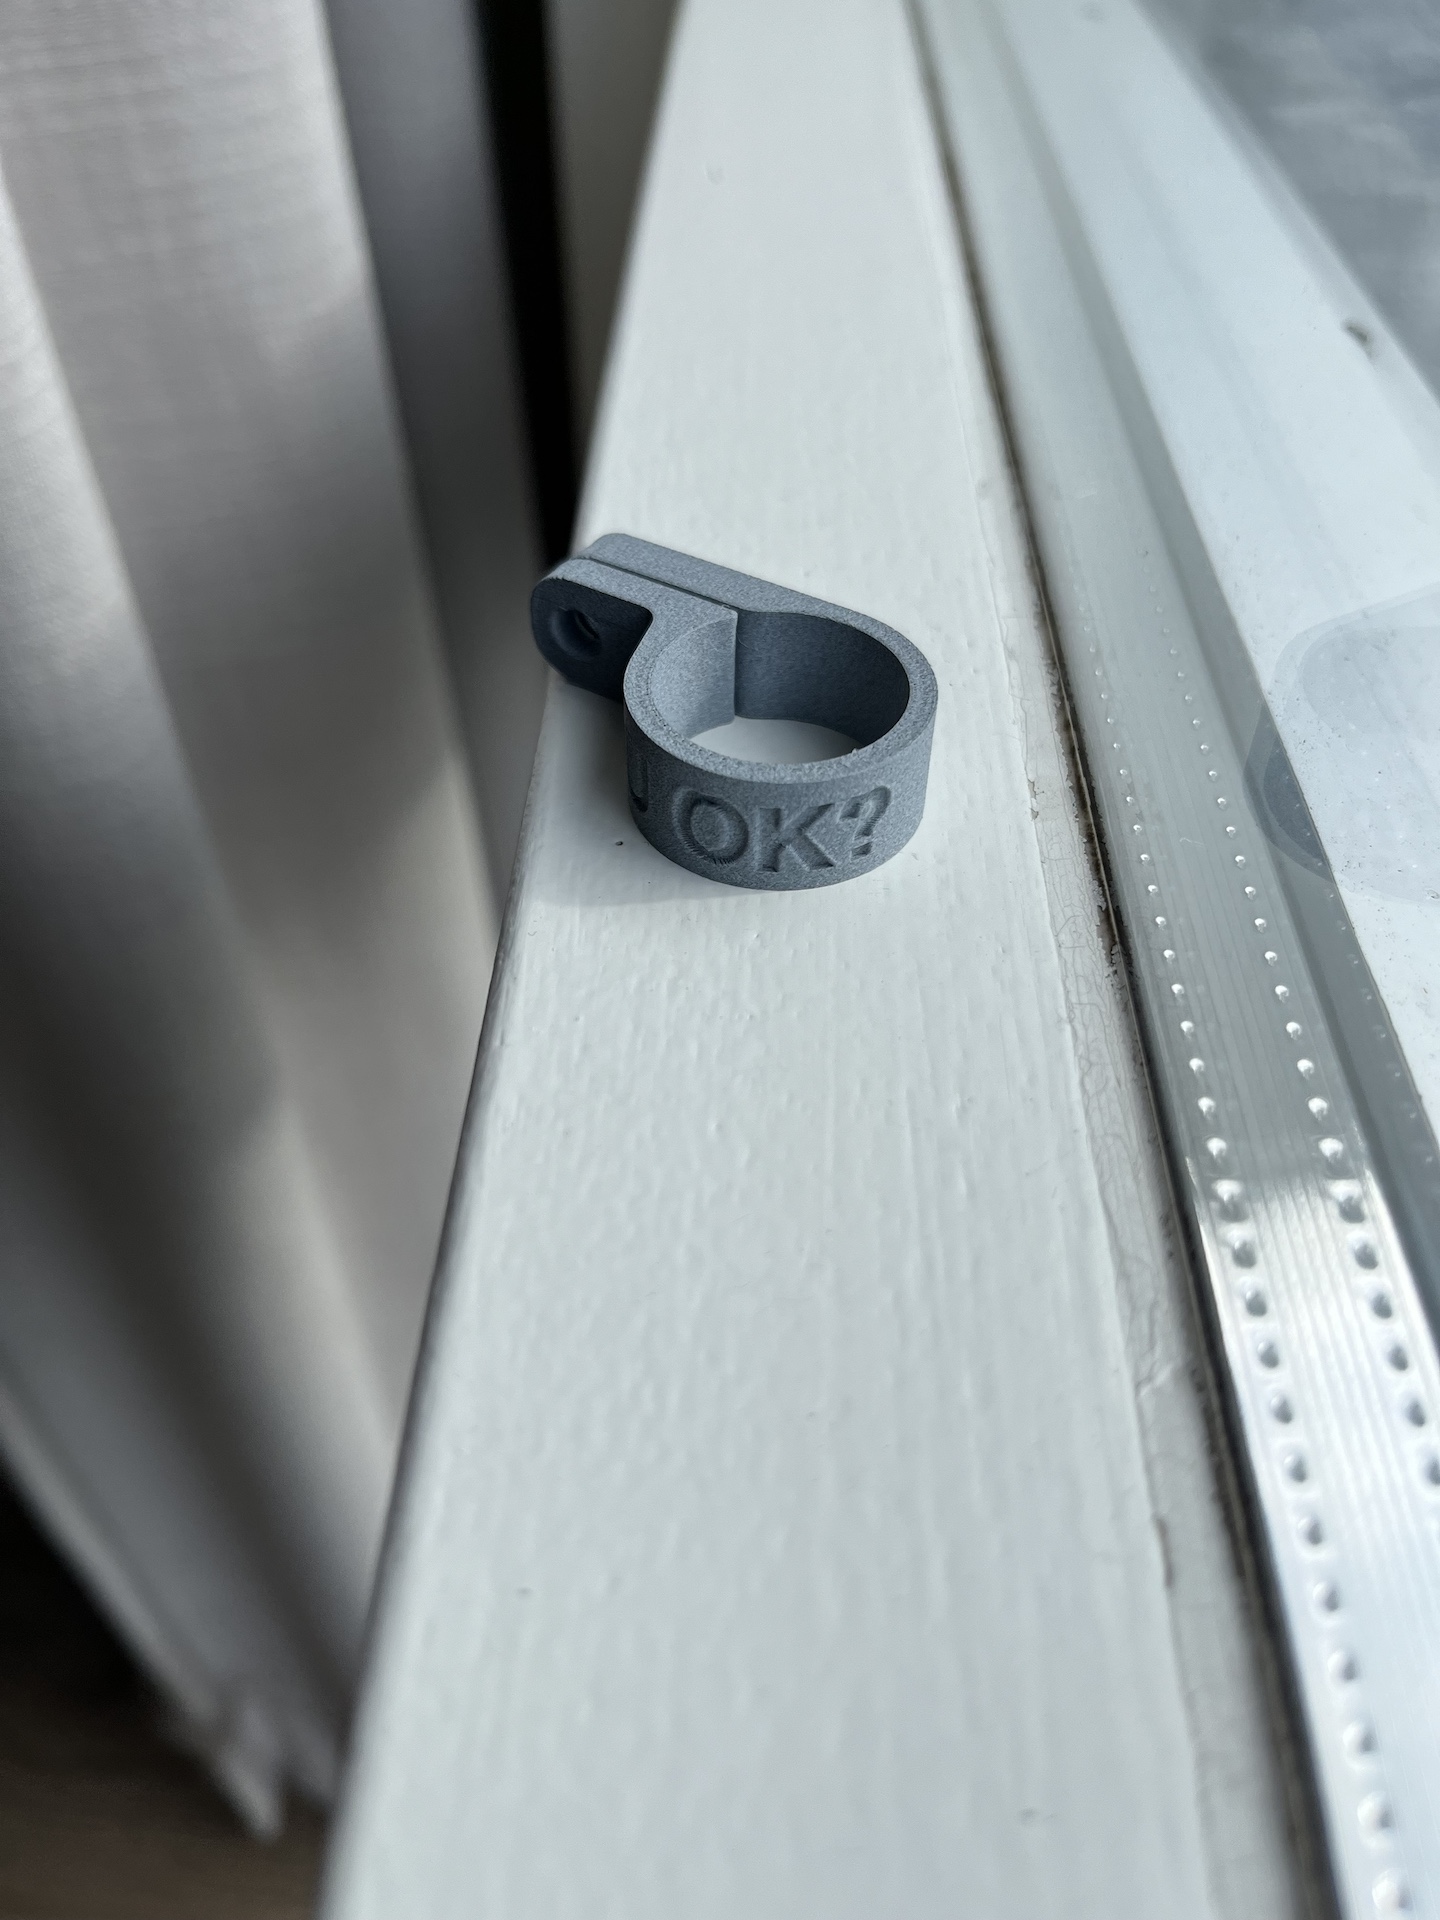

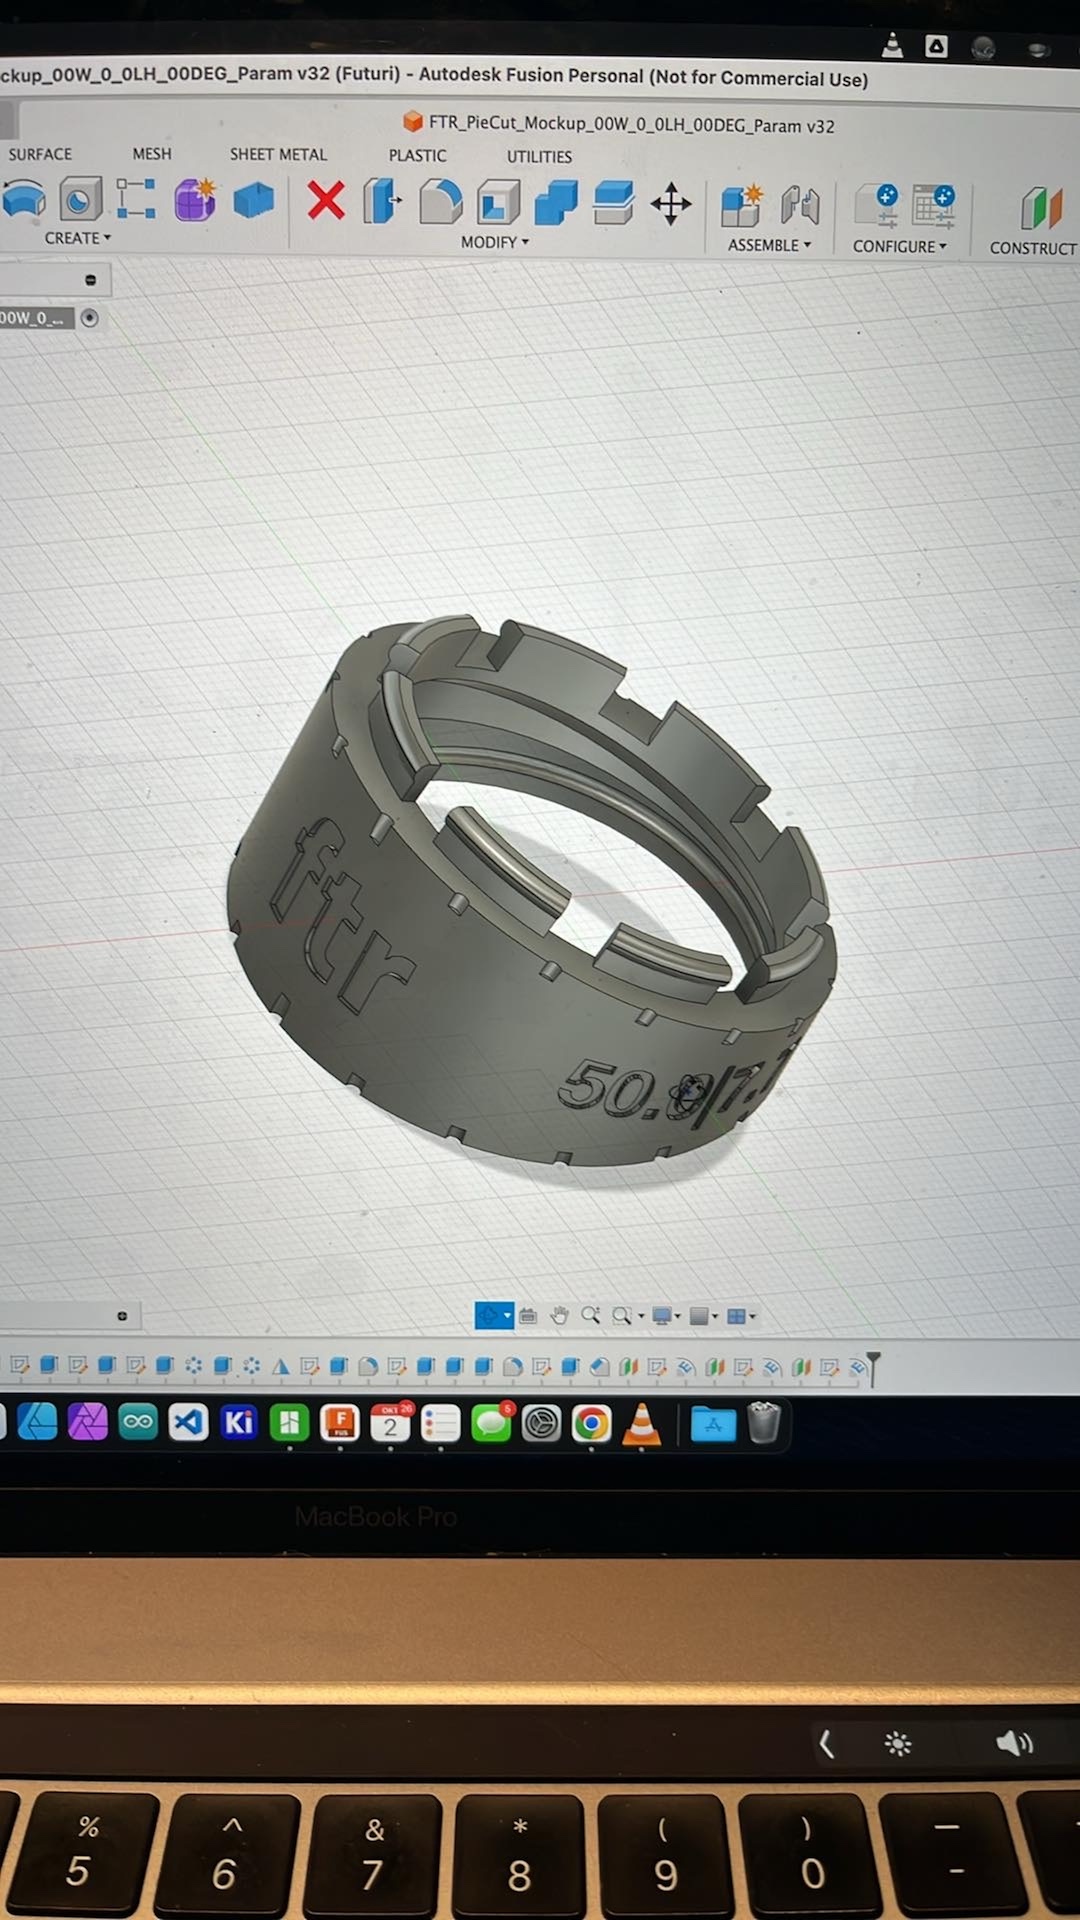
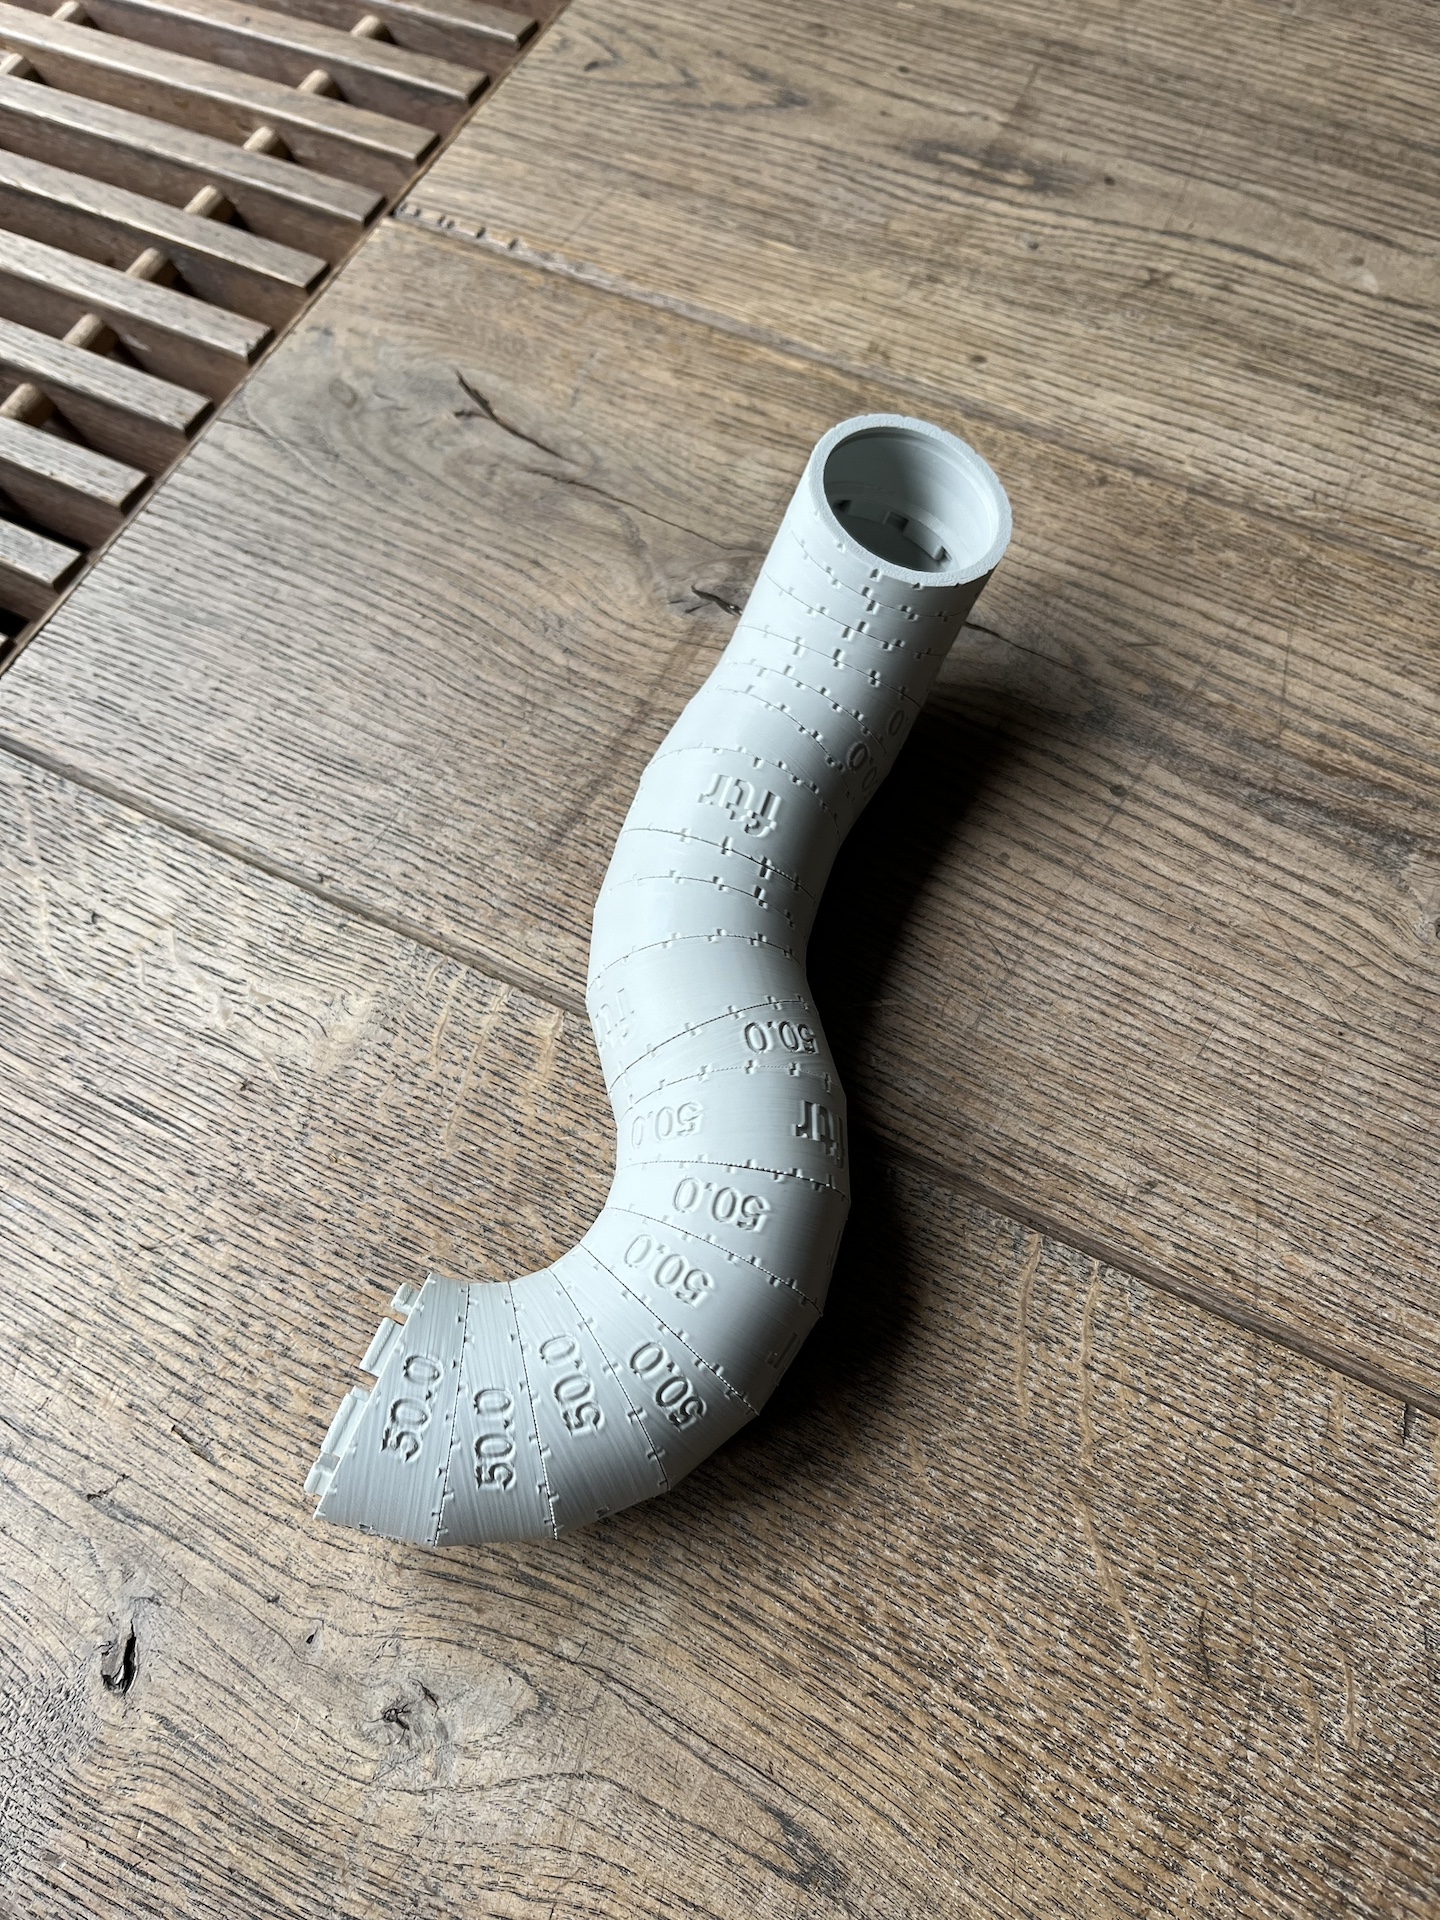
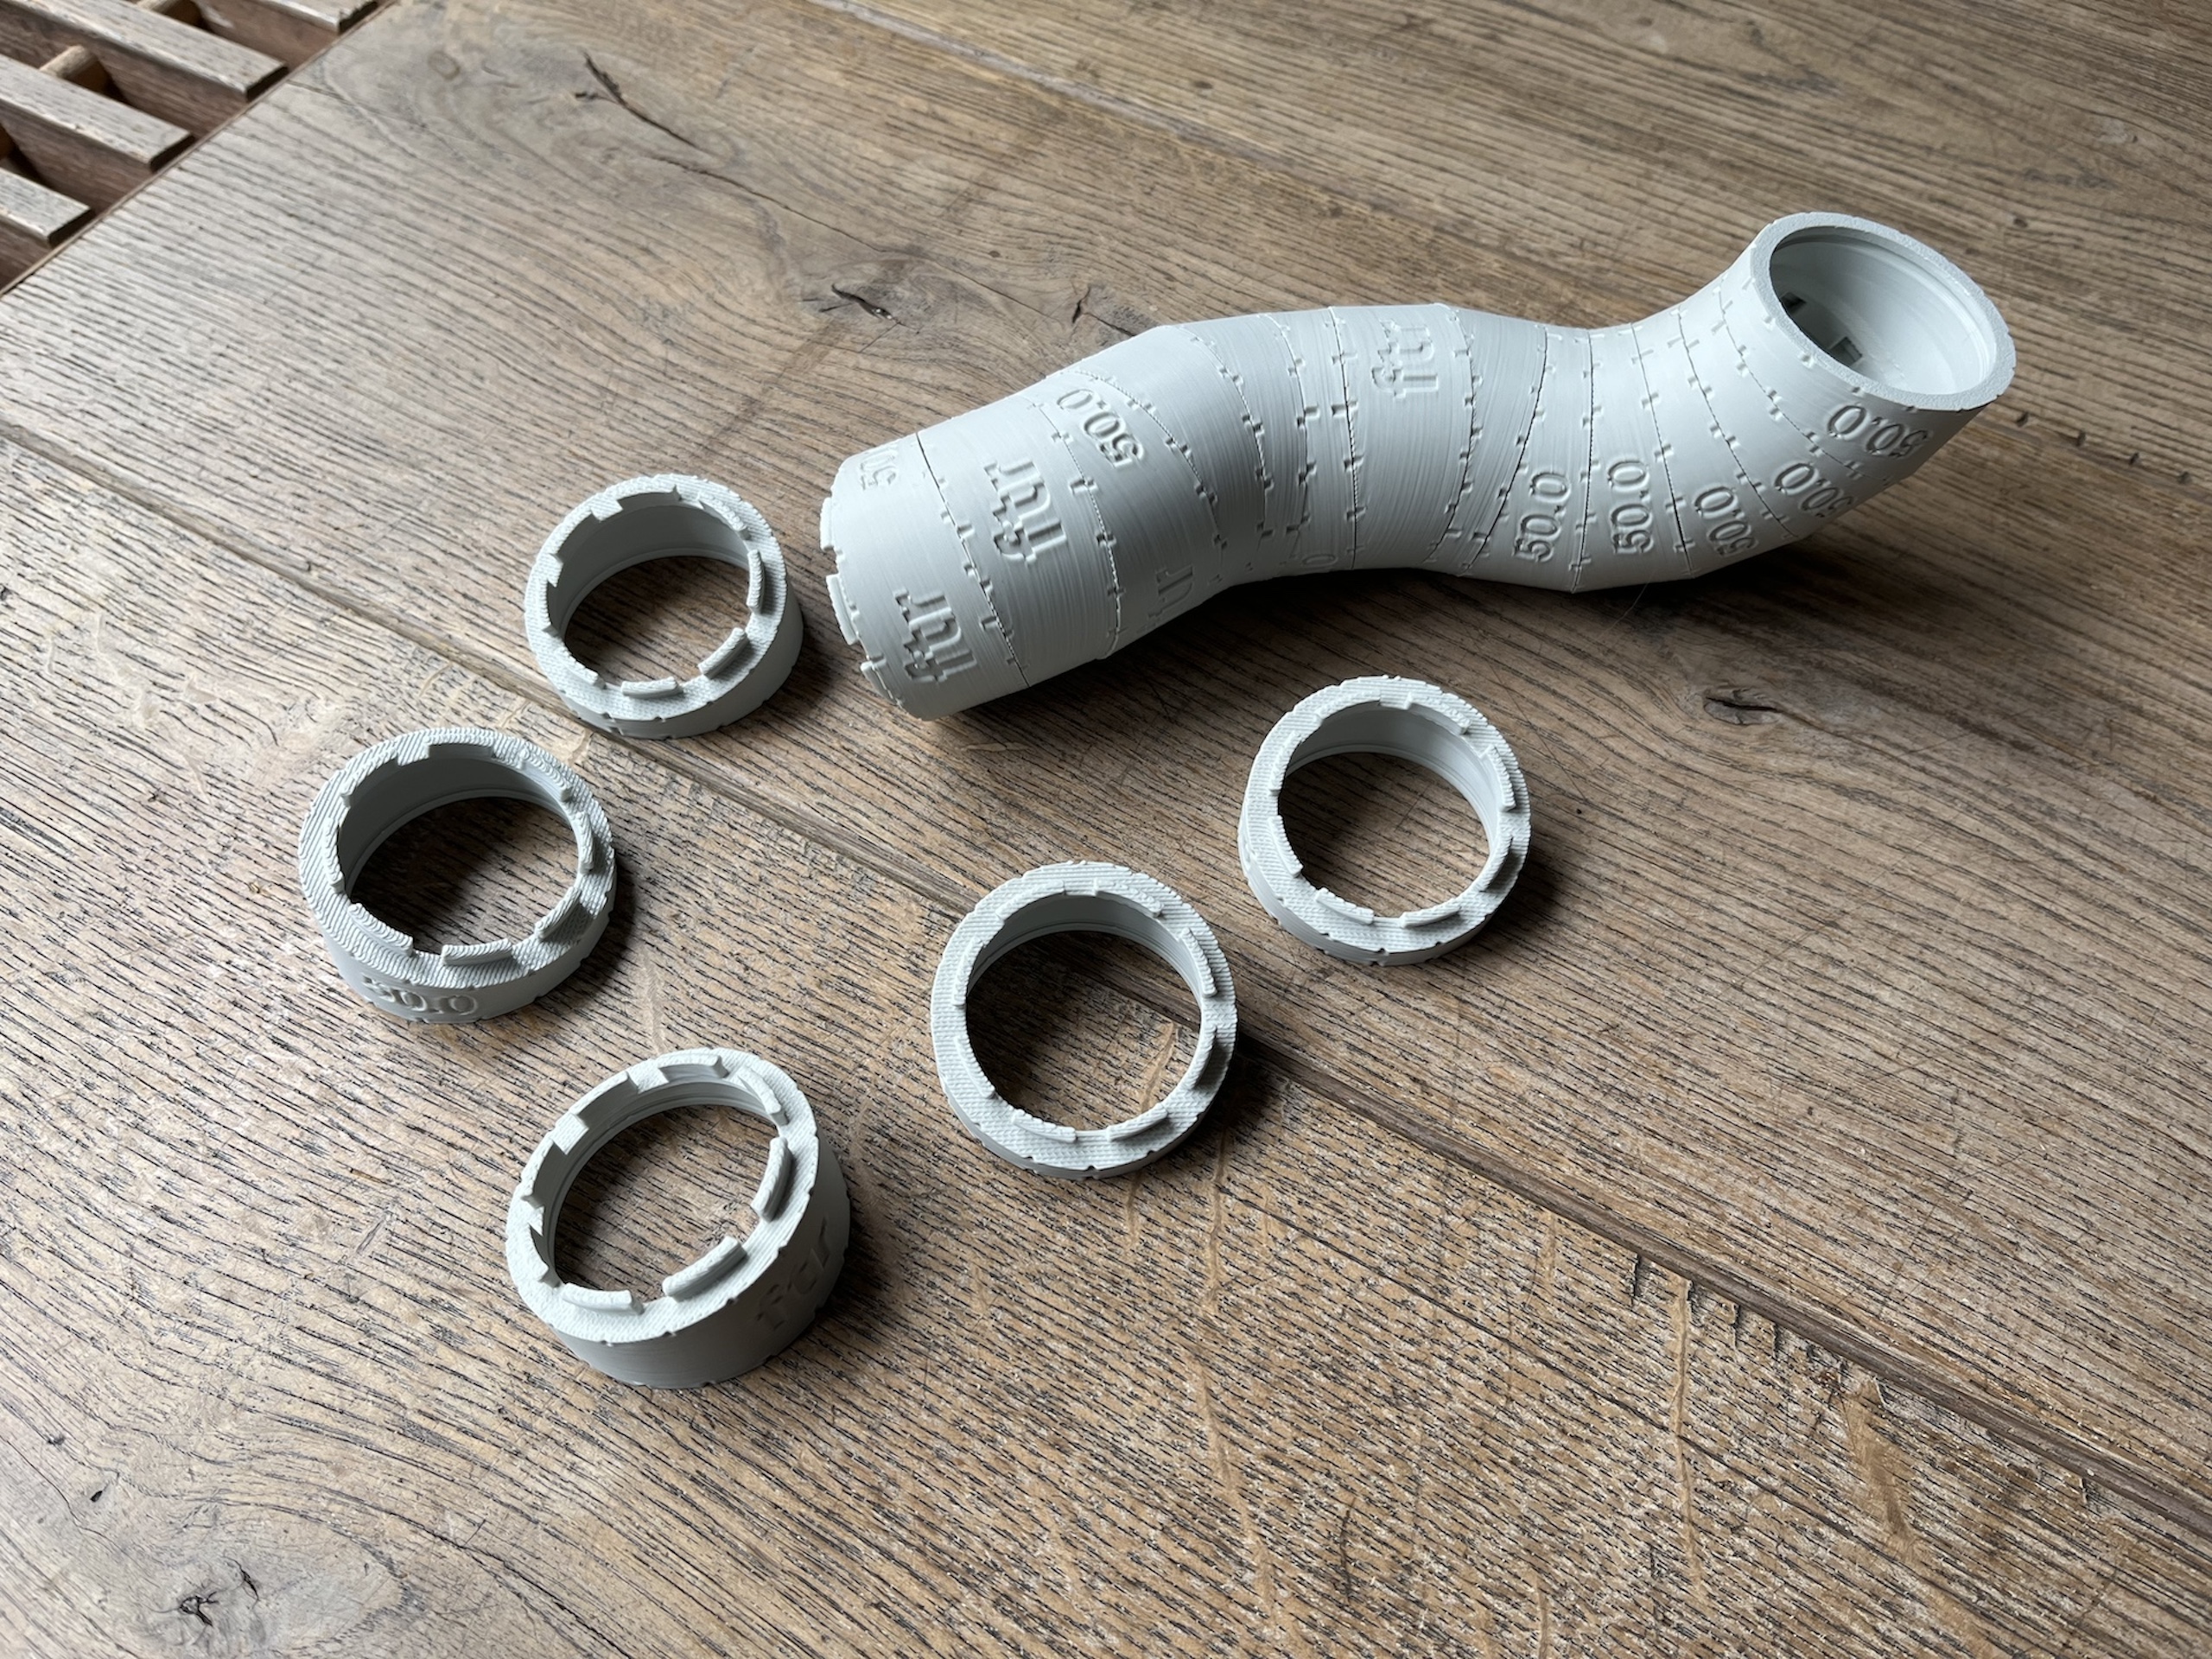
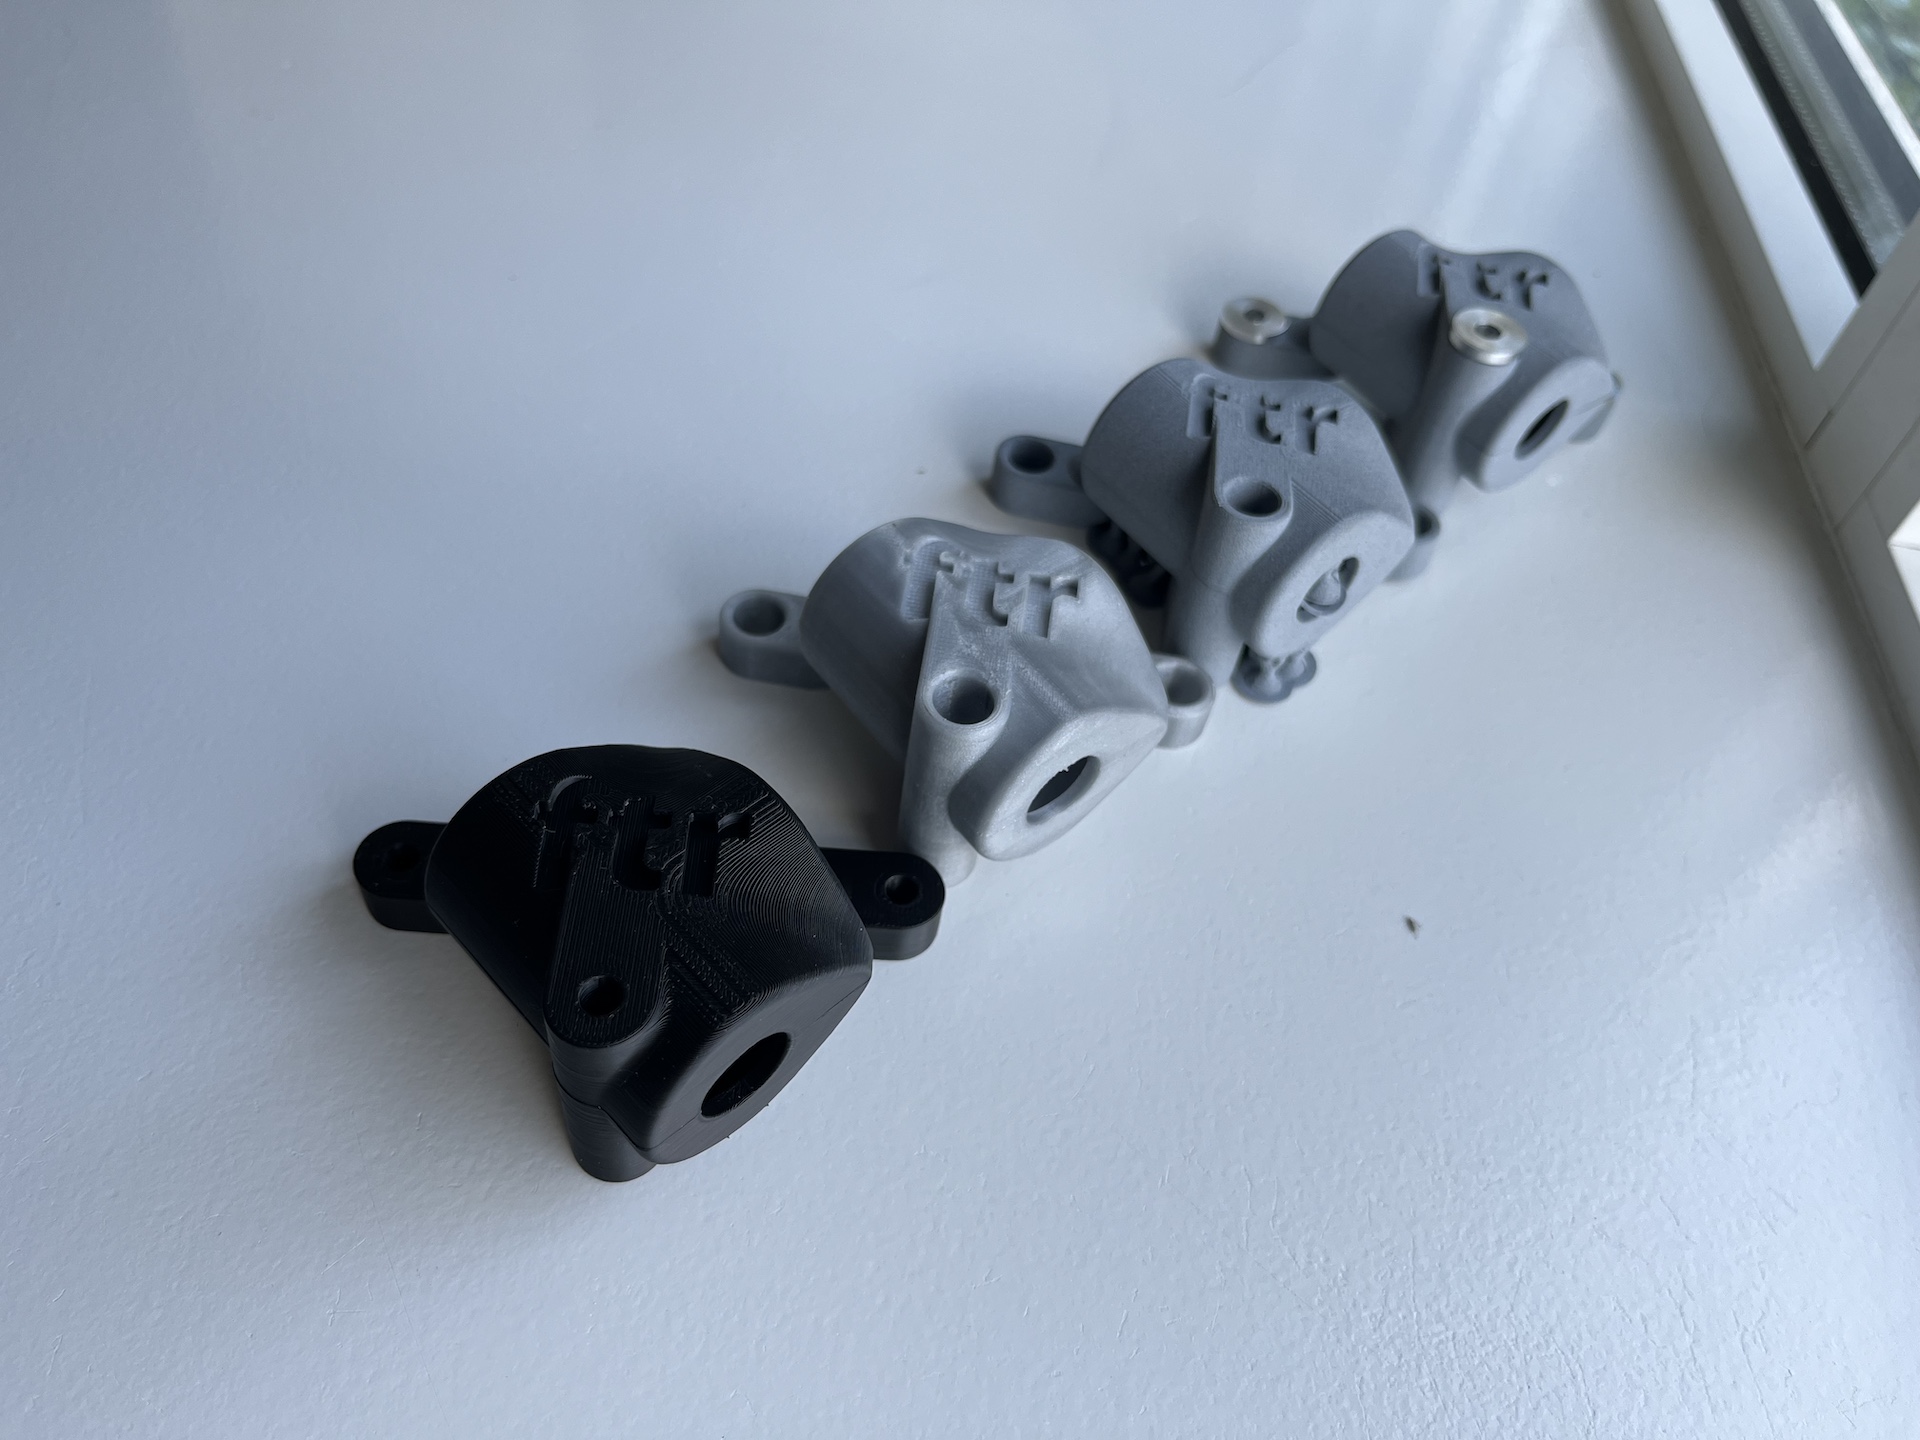
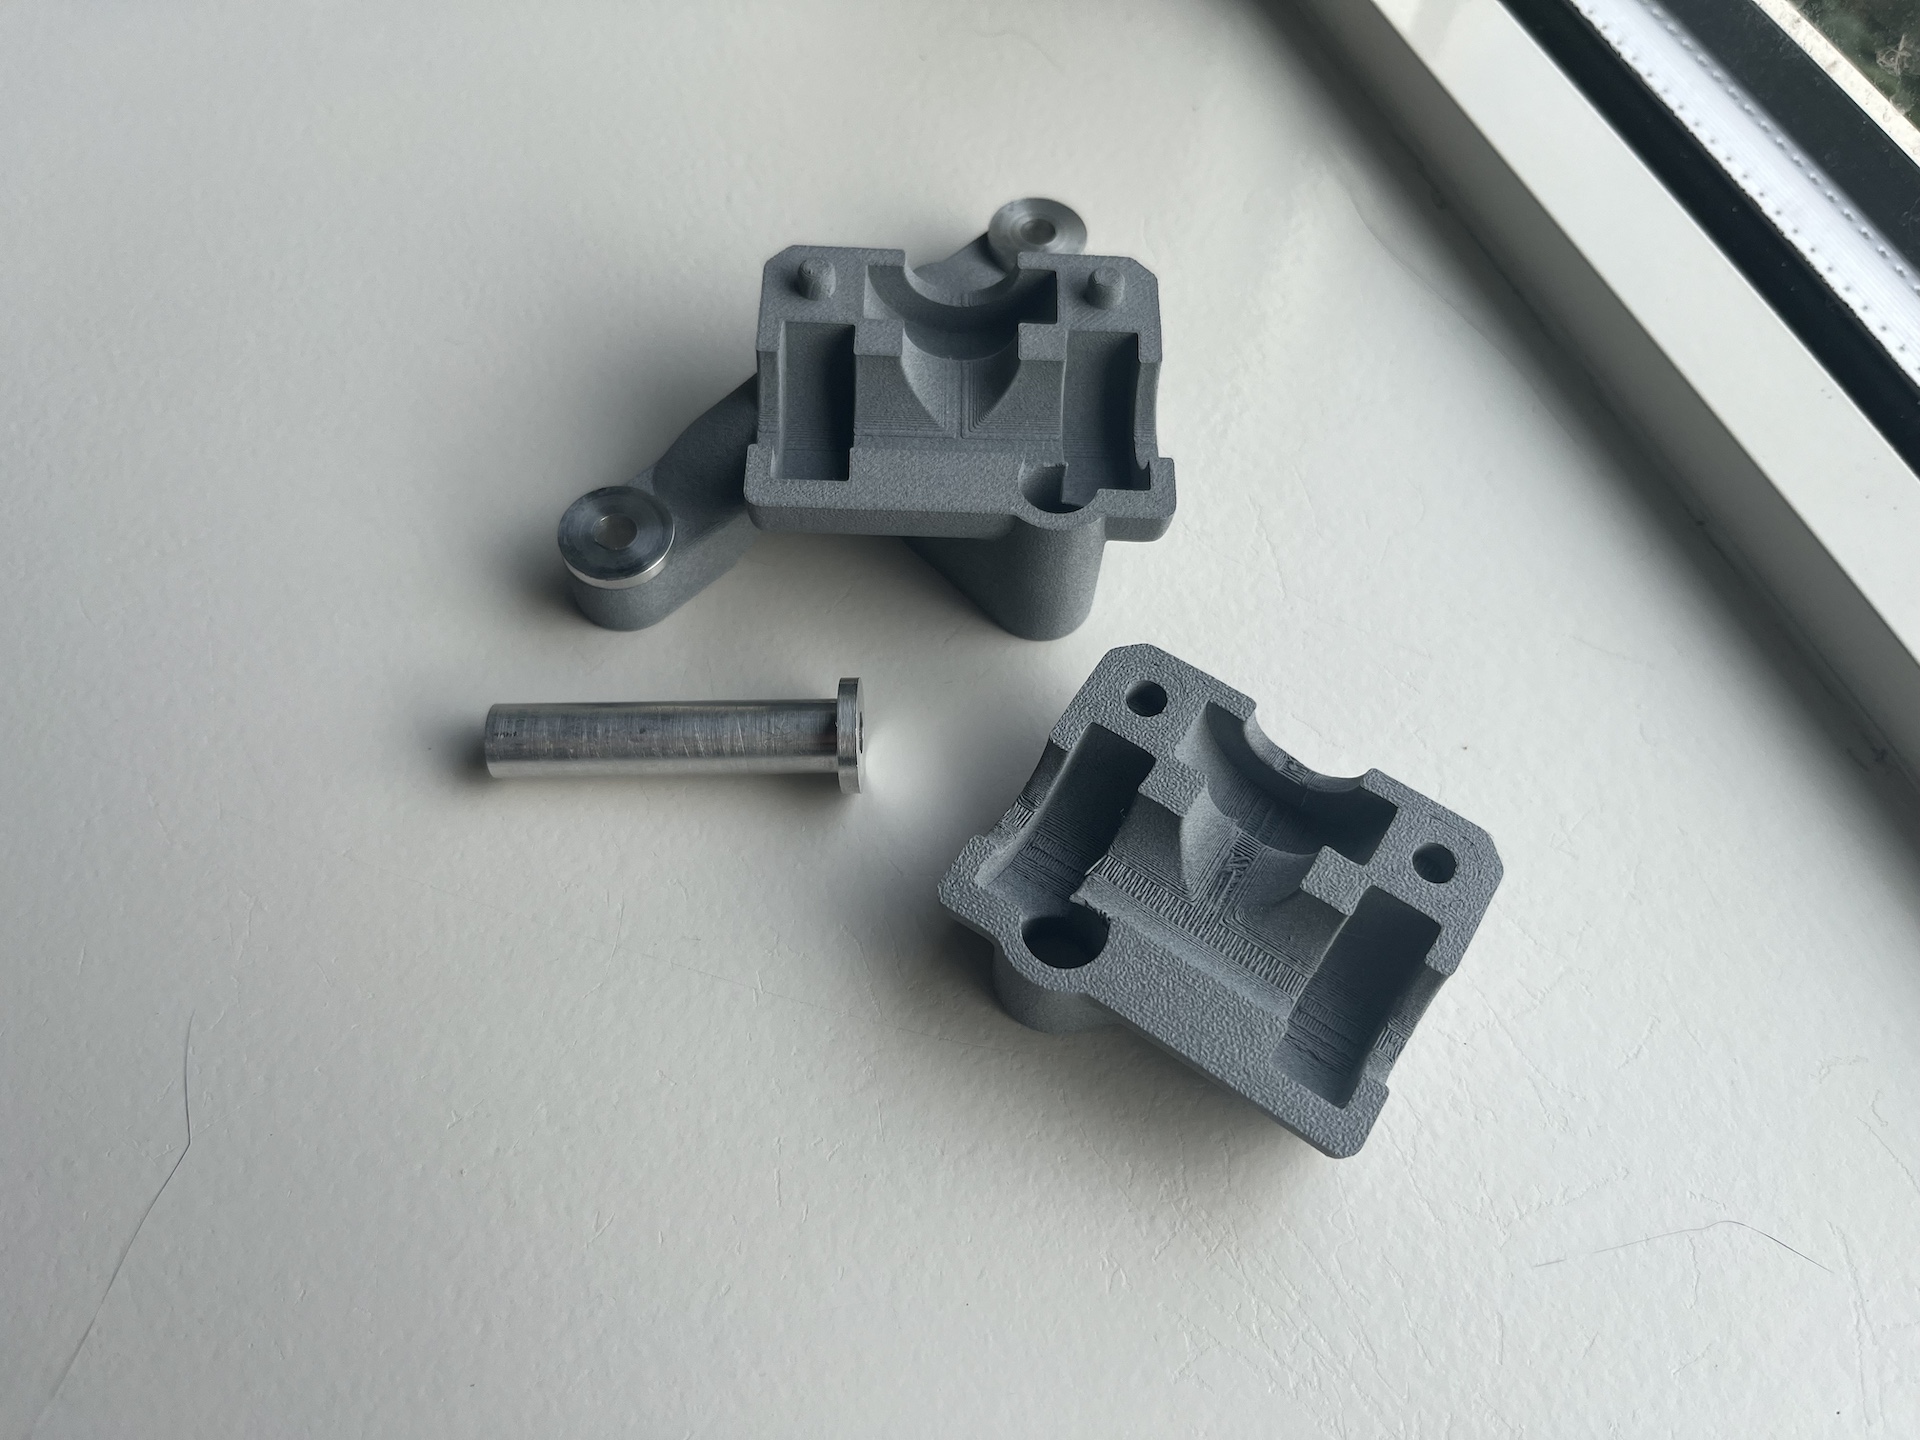
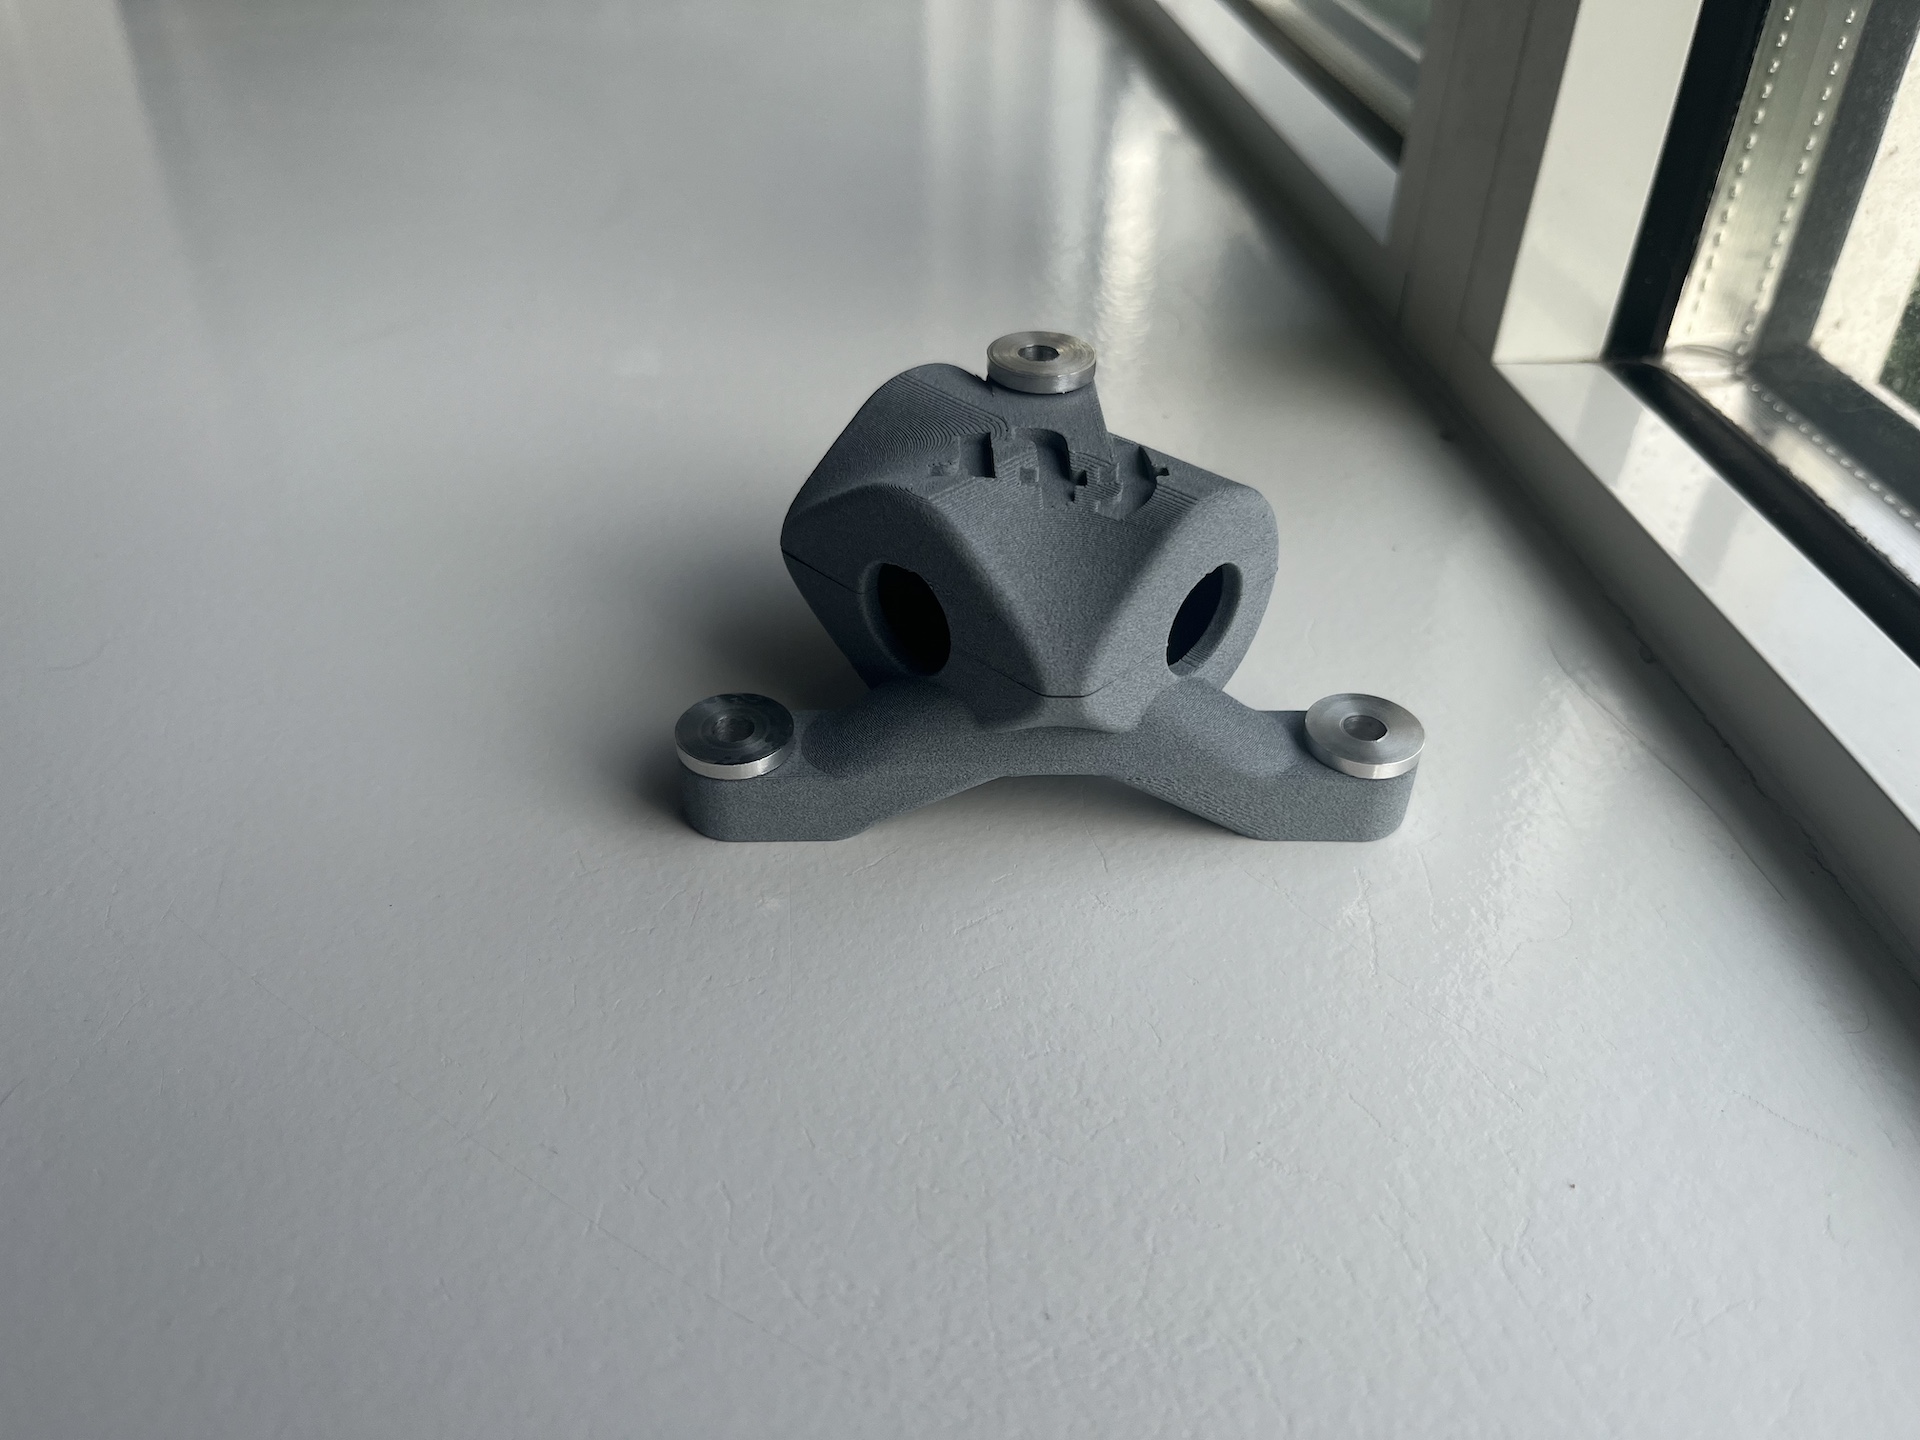
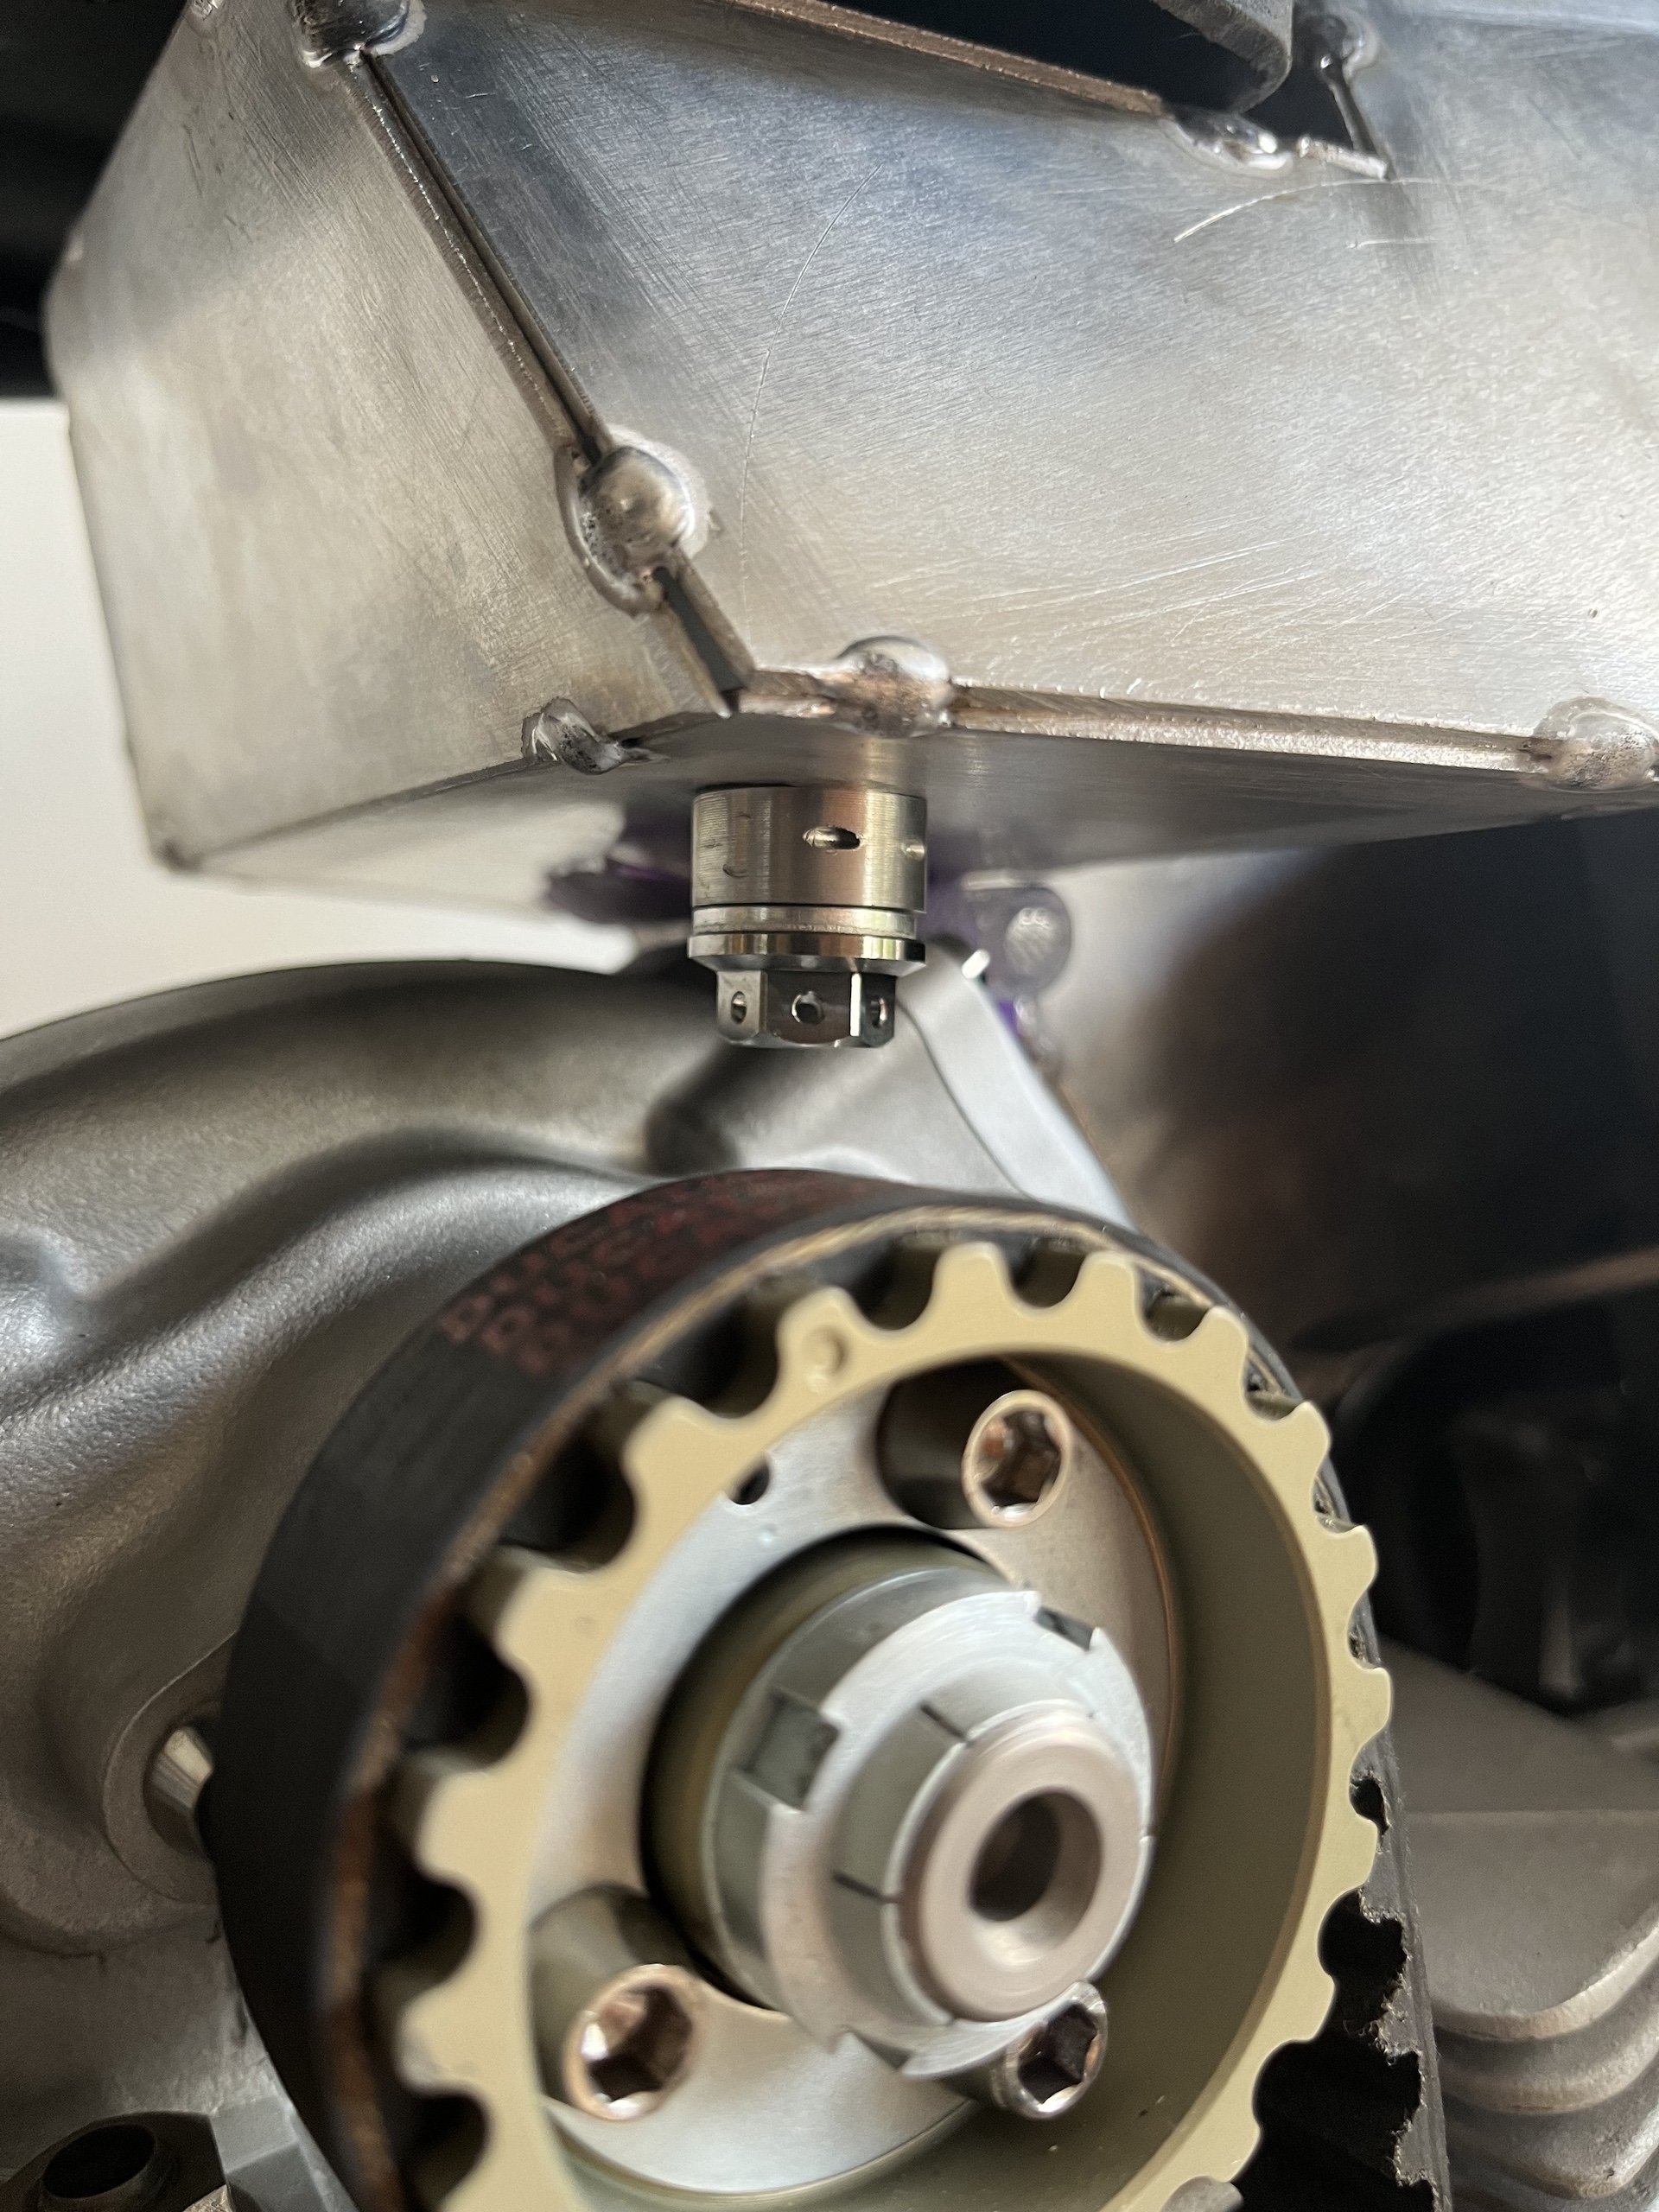
3D PRINTED PIE CUTS
This is a game changer for me! I designed 3D printed pie-cuts that allow me to plan out any exhaust run before actually welding. This reduces so much waste of exhaust runs that doesn’t look quite right, or allowing beforehand to check if a specific run is even possible. Amazing!
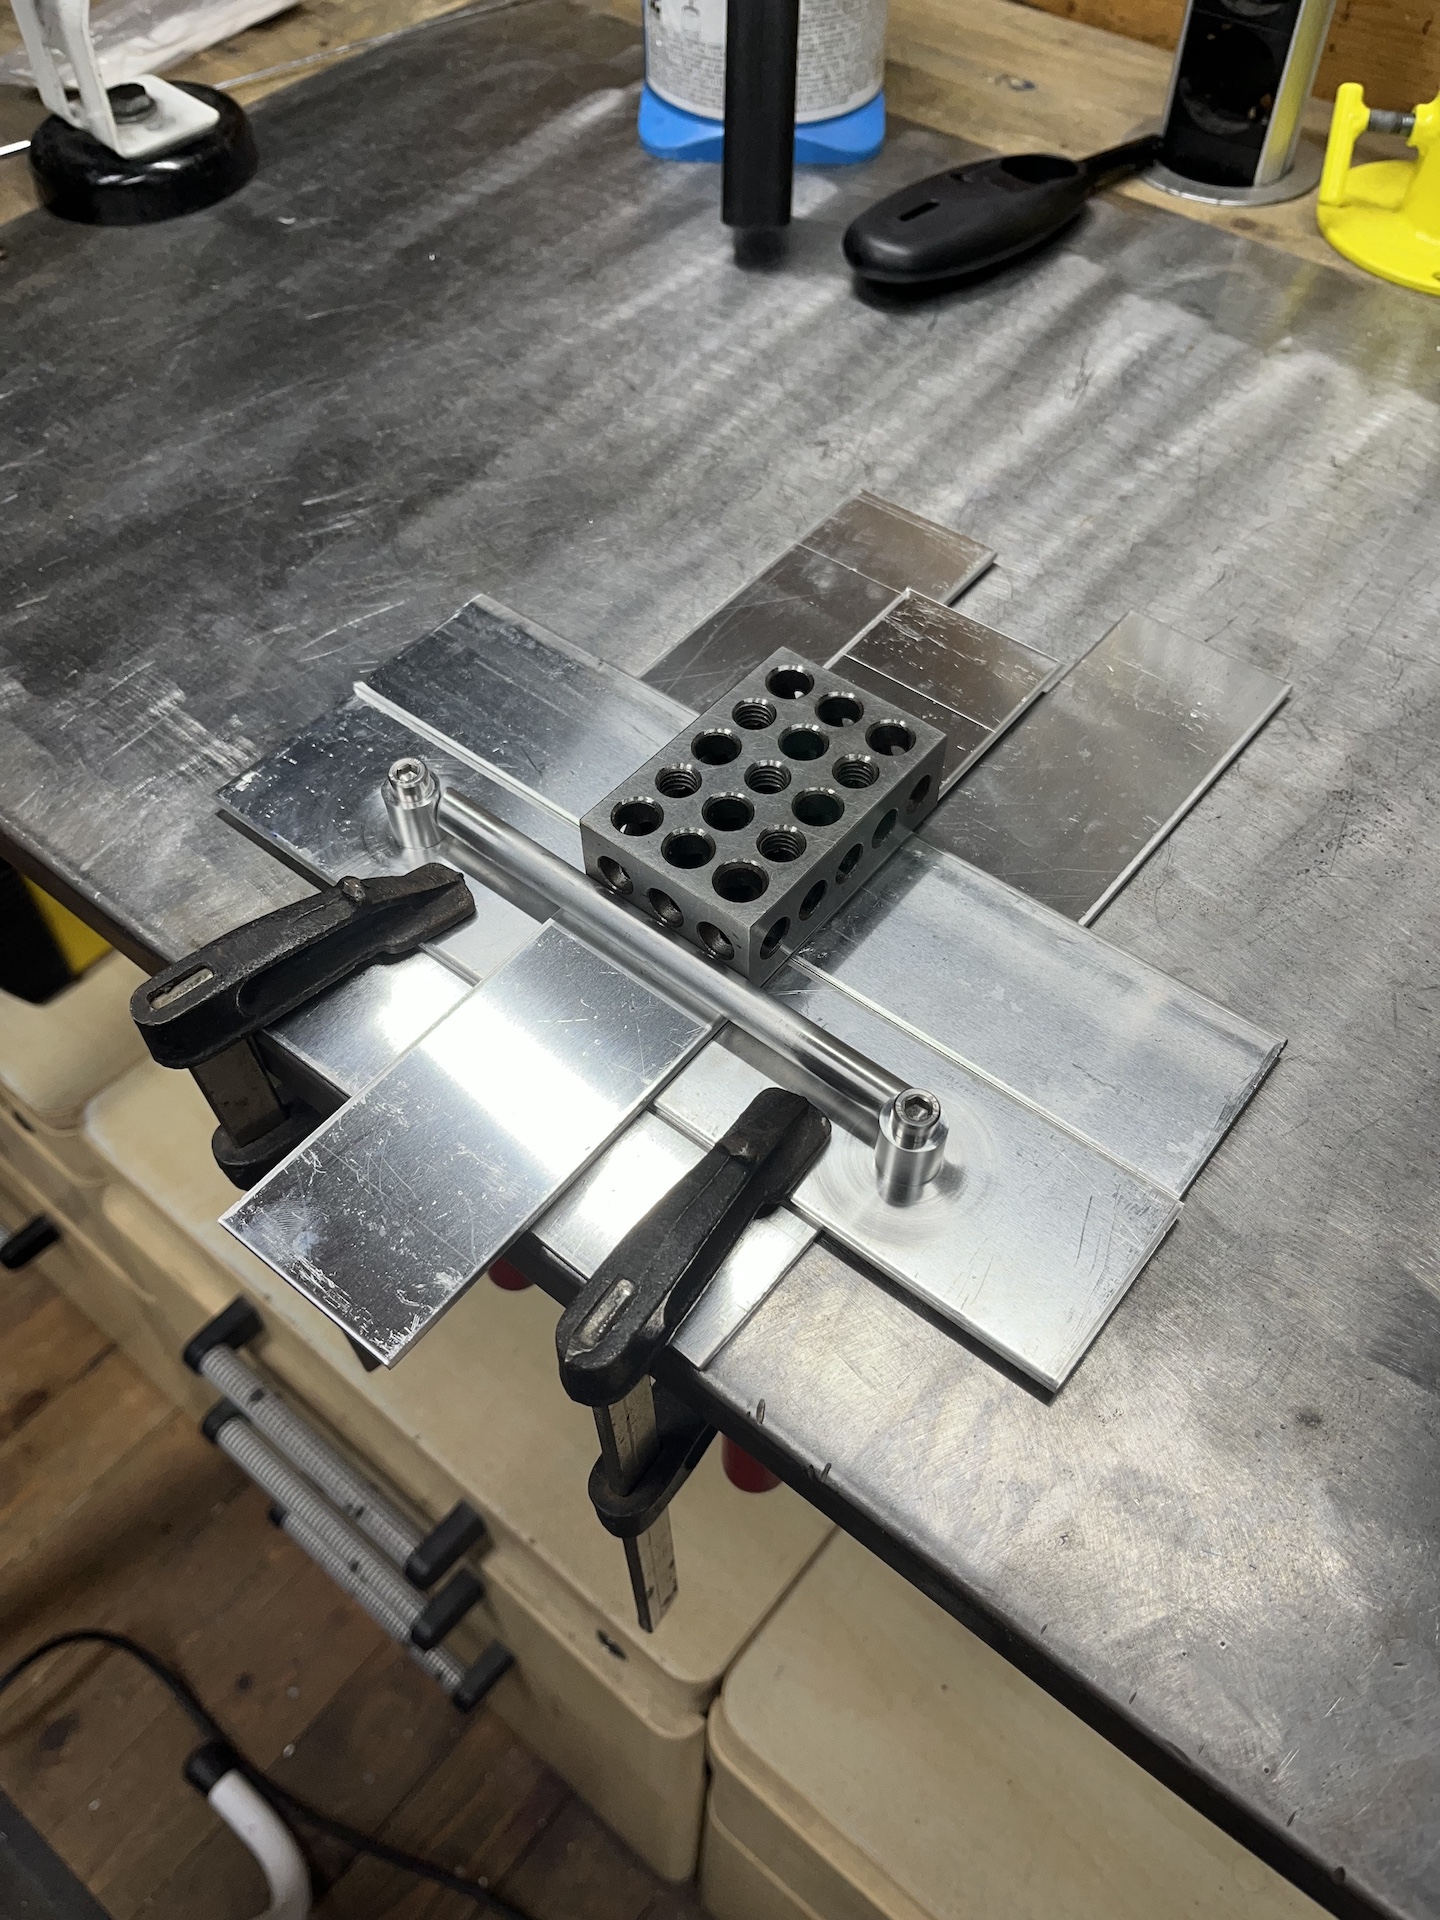
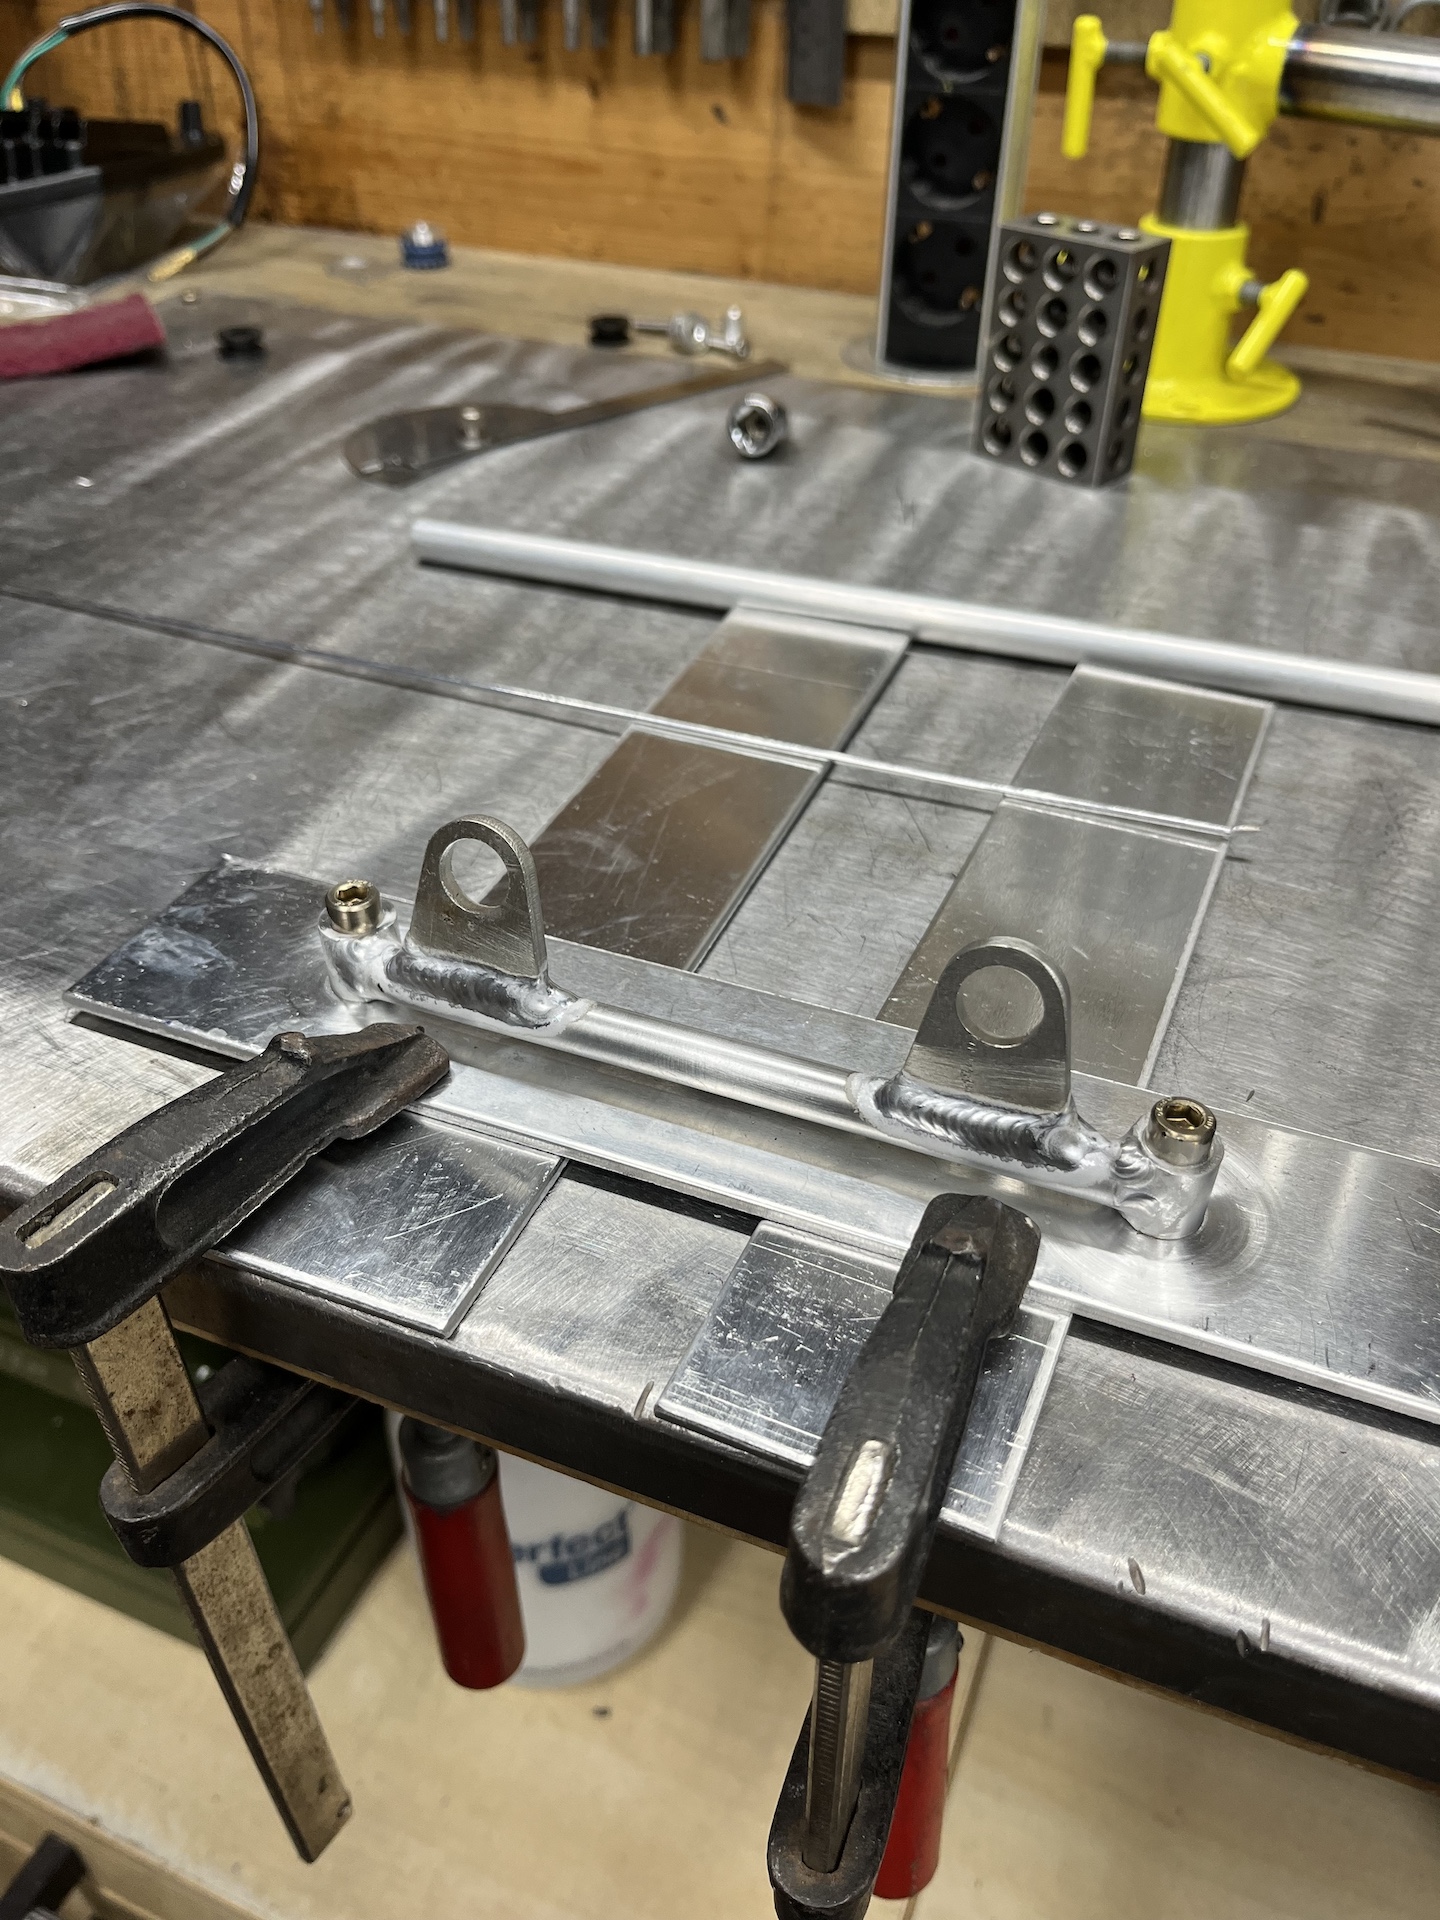
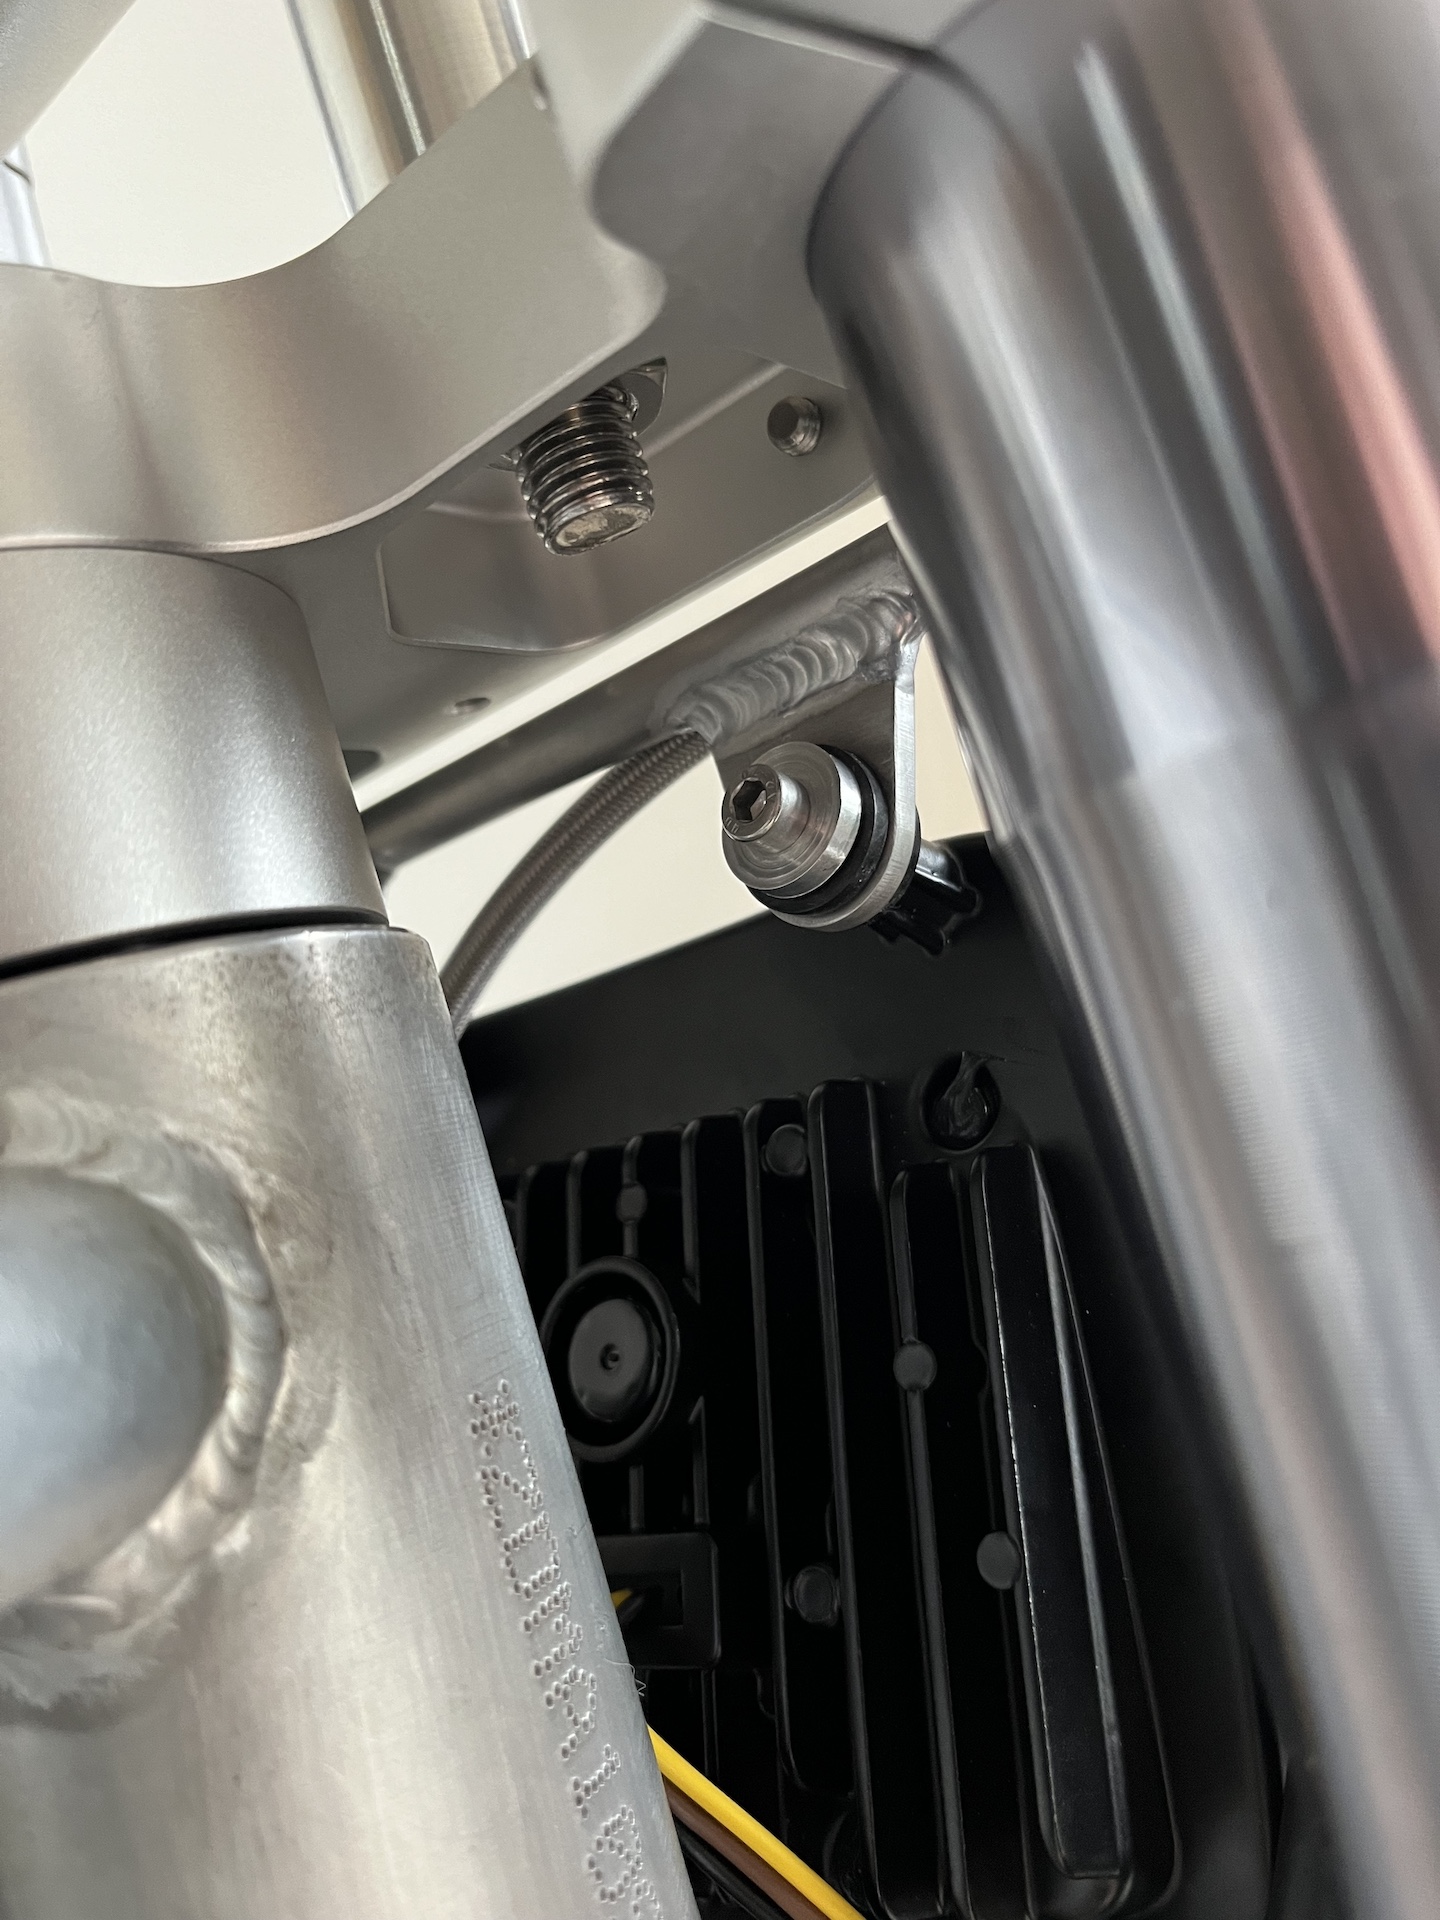
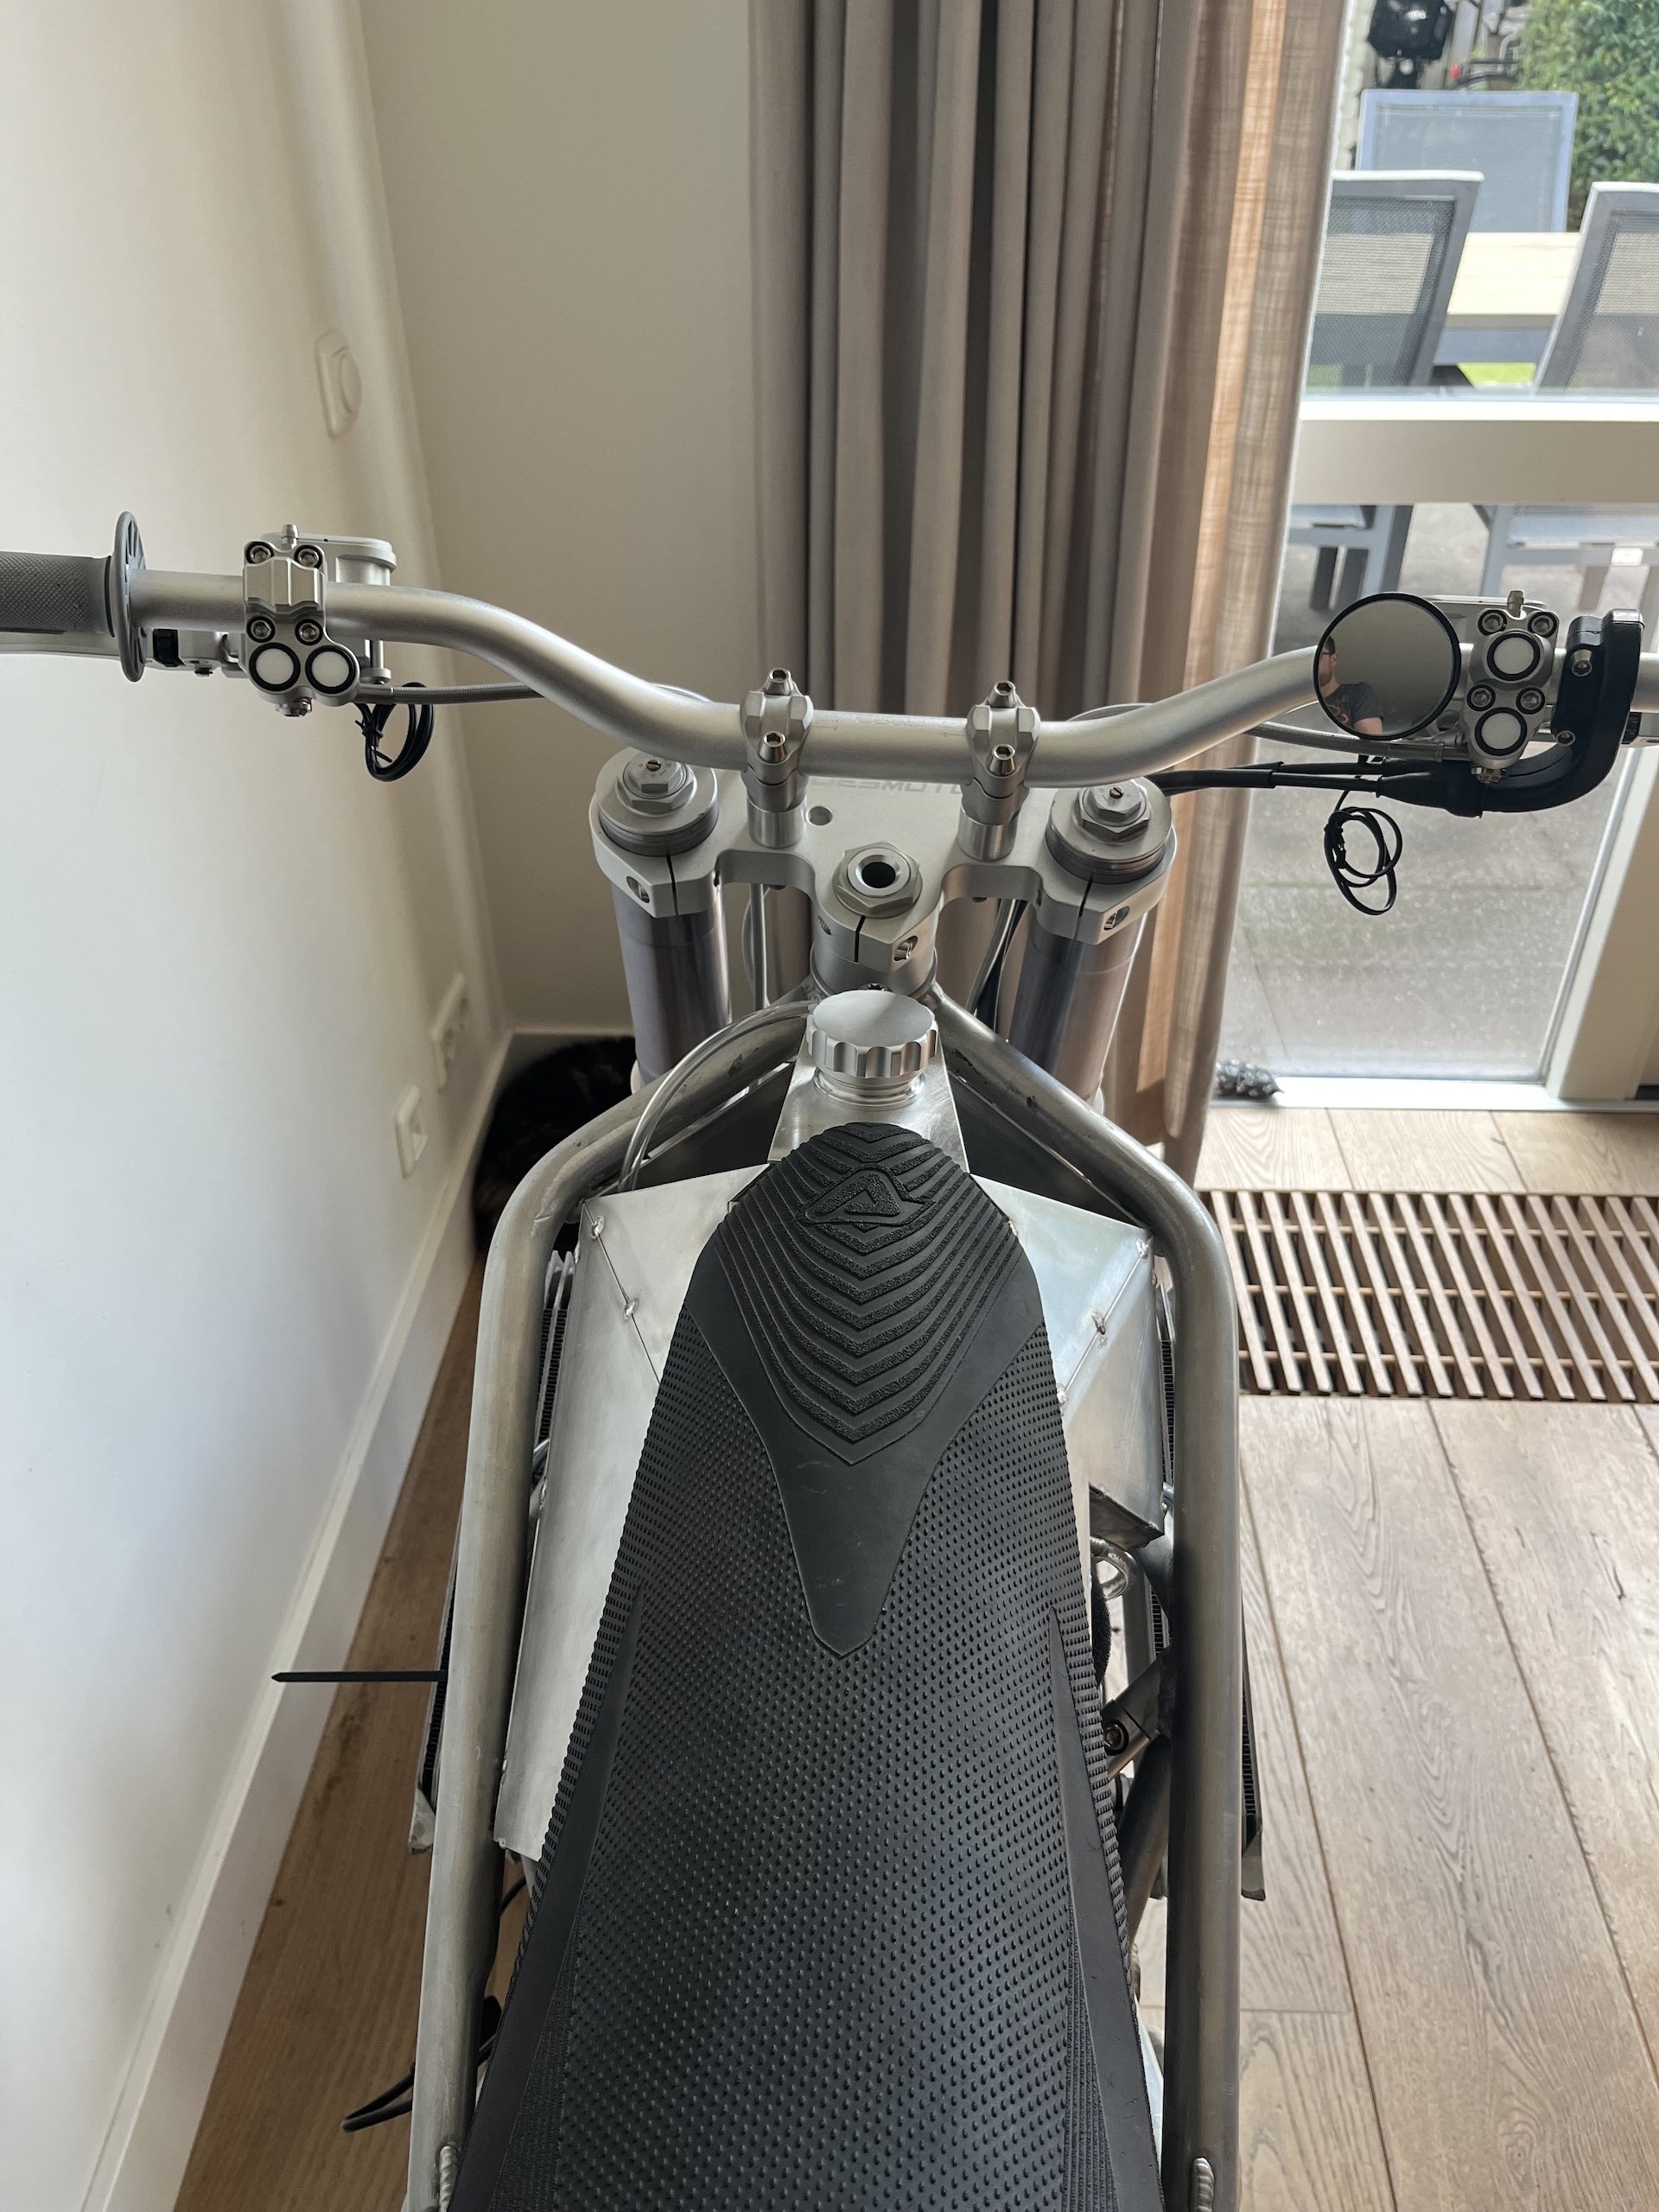
STEERING STOPS
Small thing that still needed to be ticked of the list was getting the steering stops welded to the frame. All done now, also allowing for some adjustment.
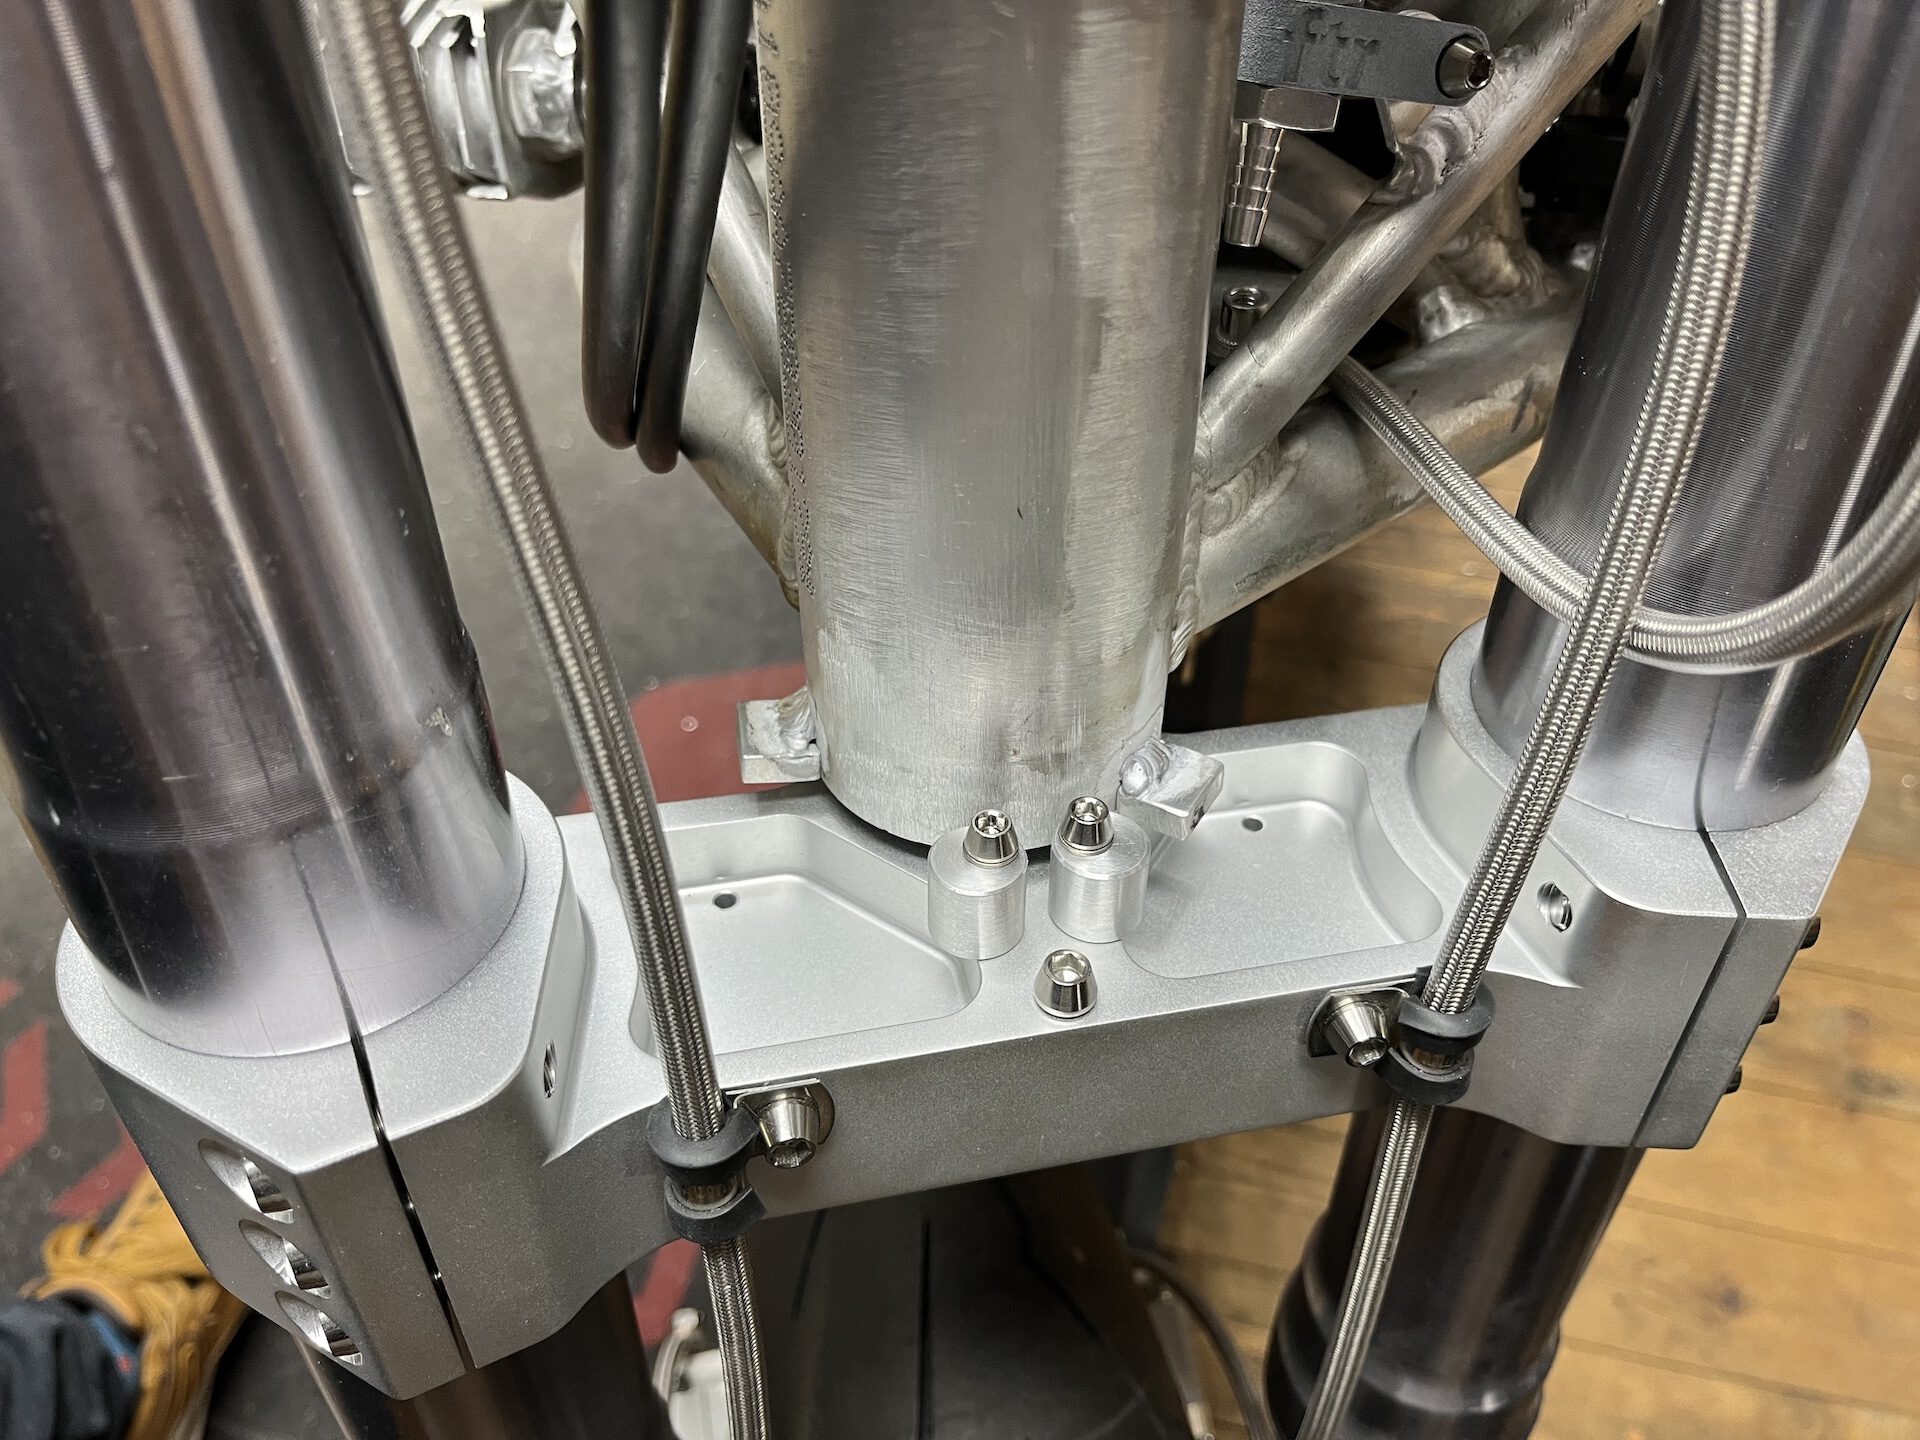
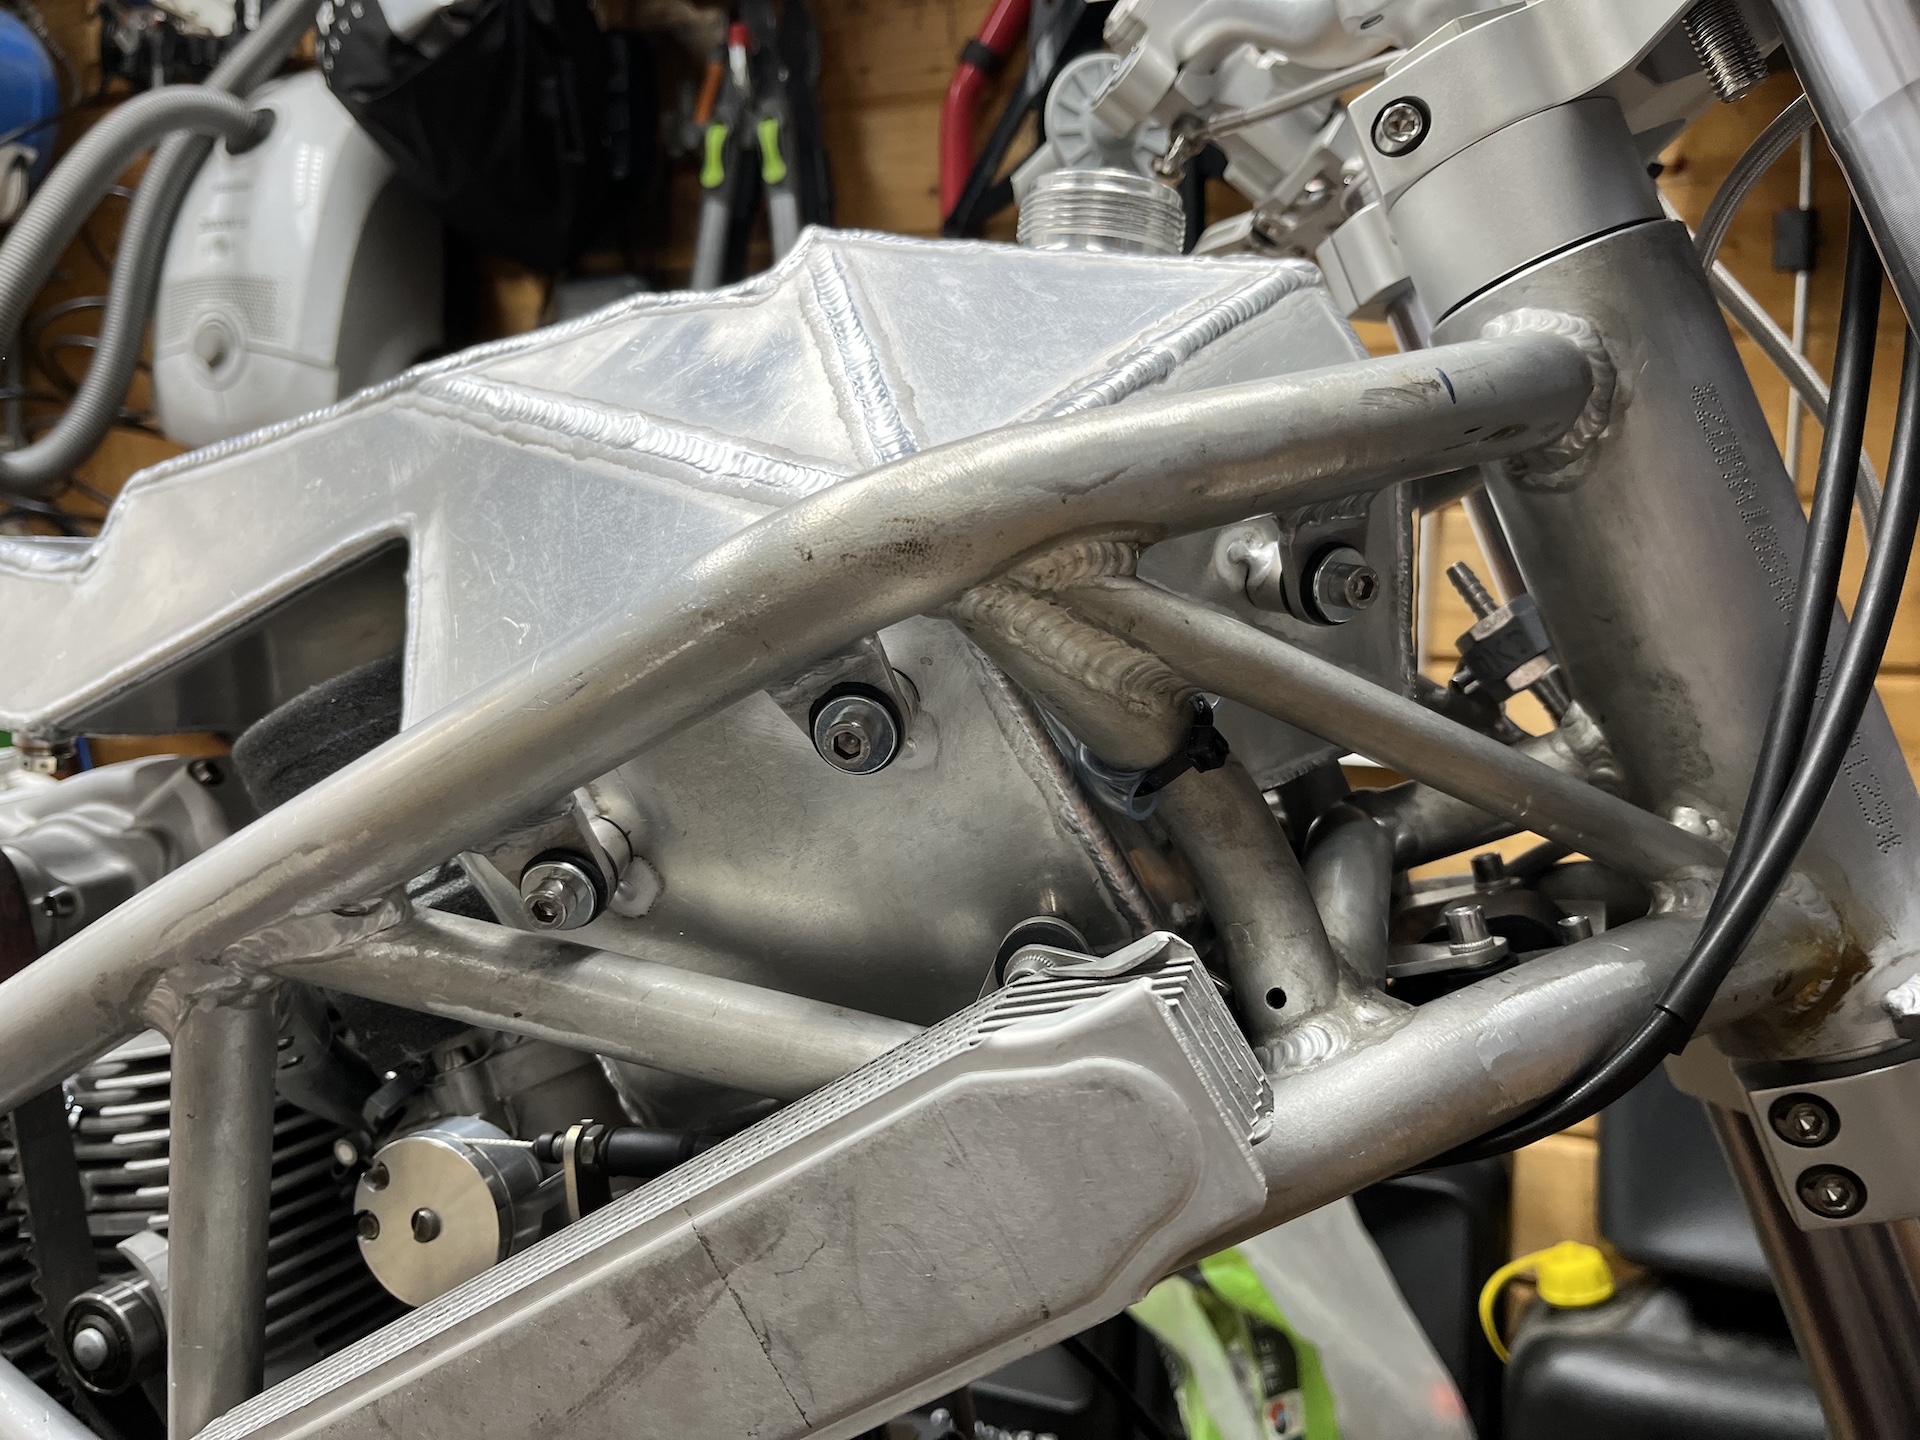
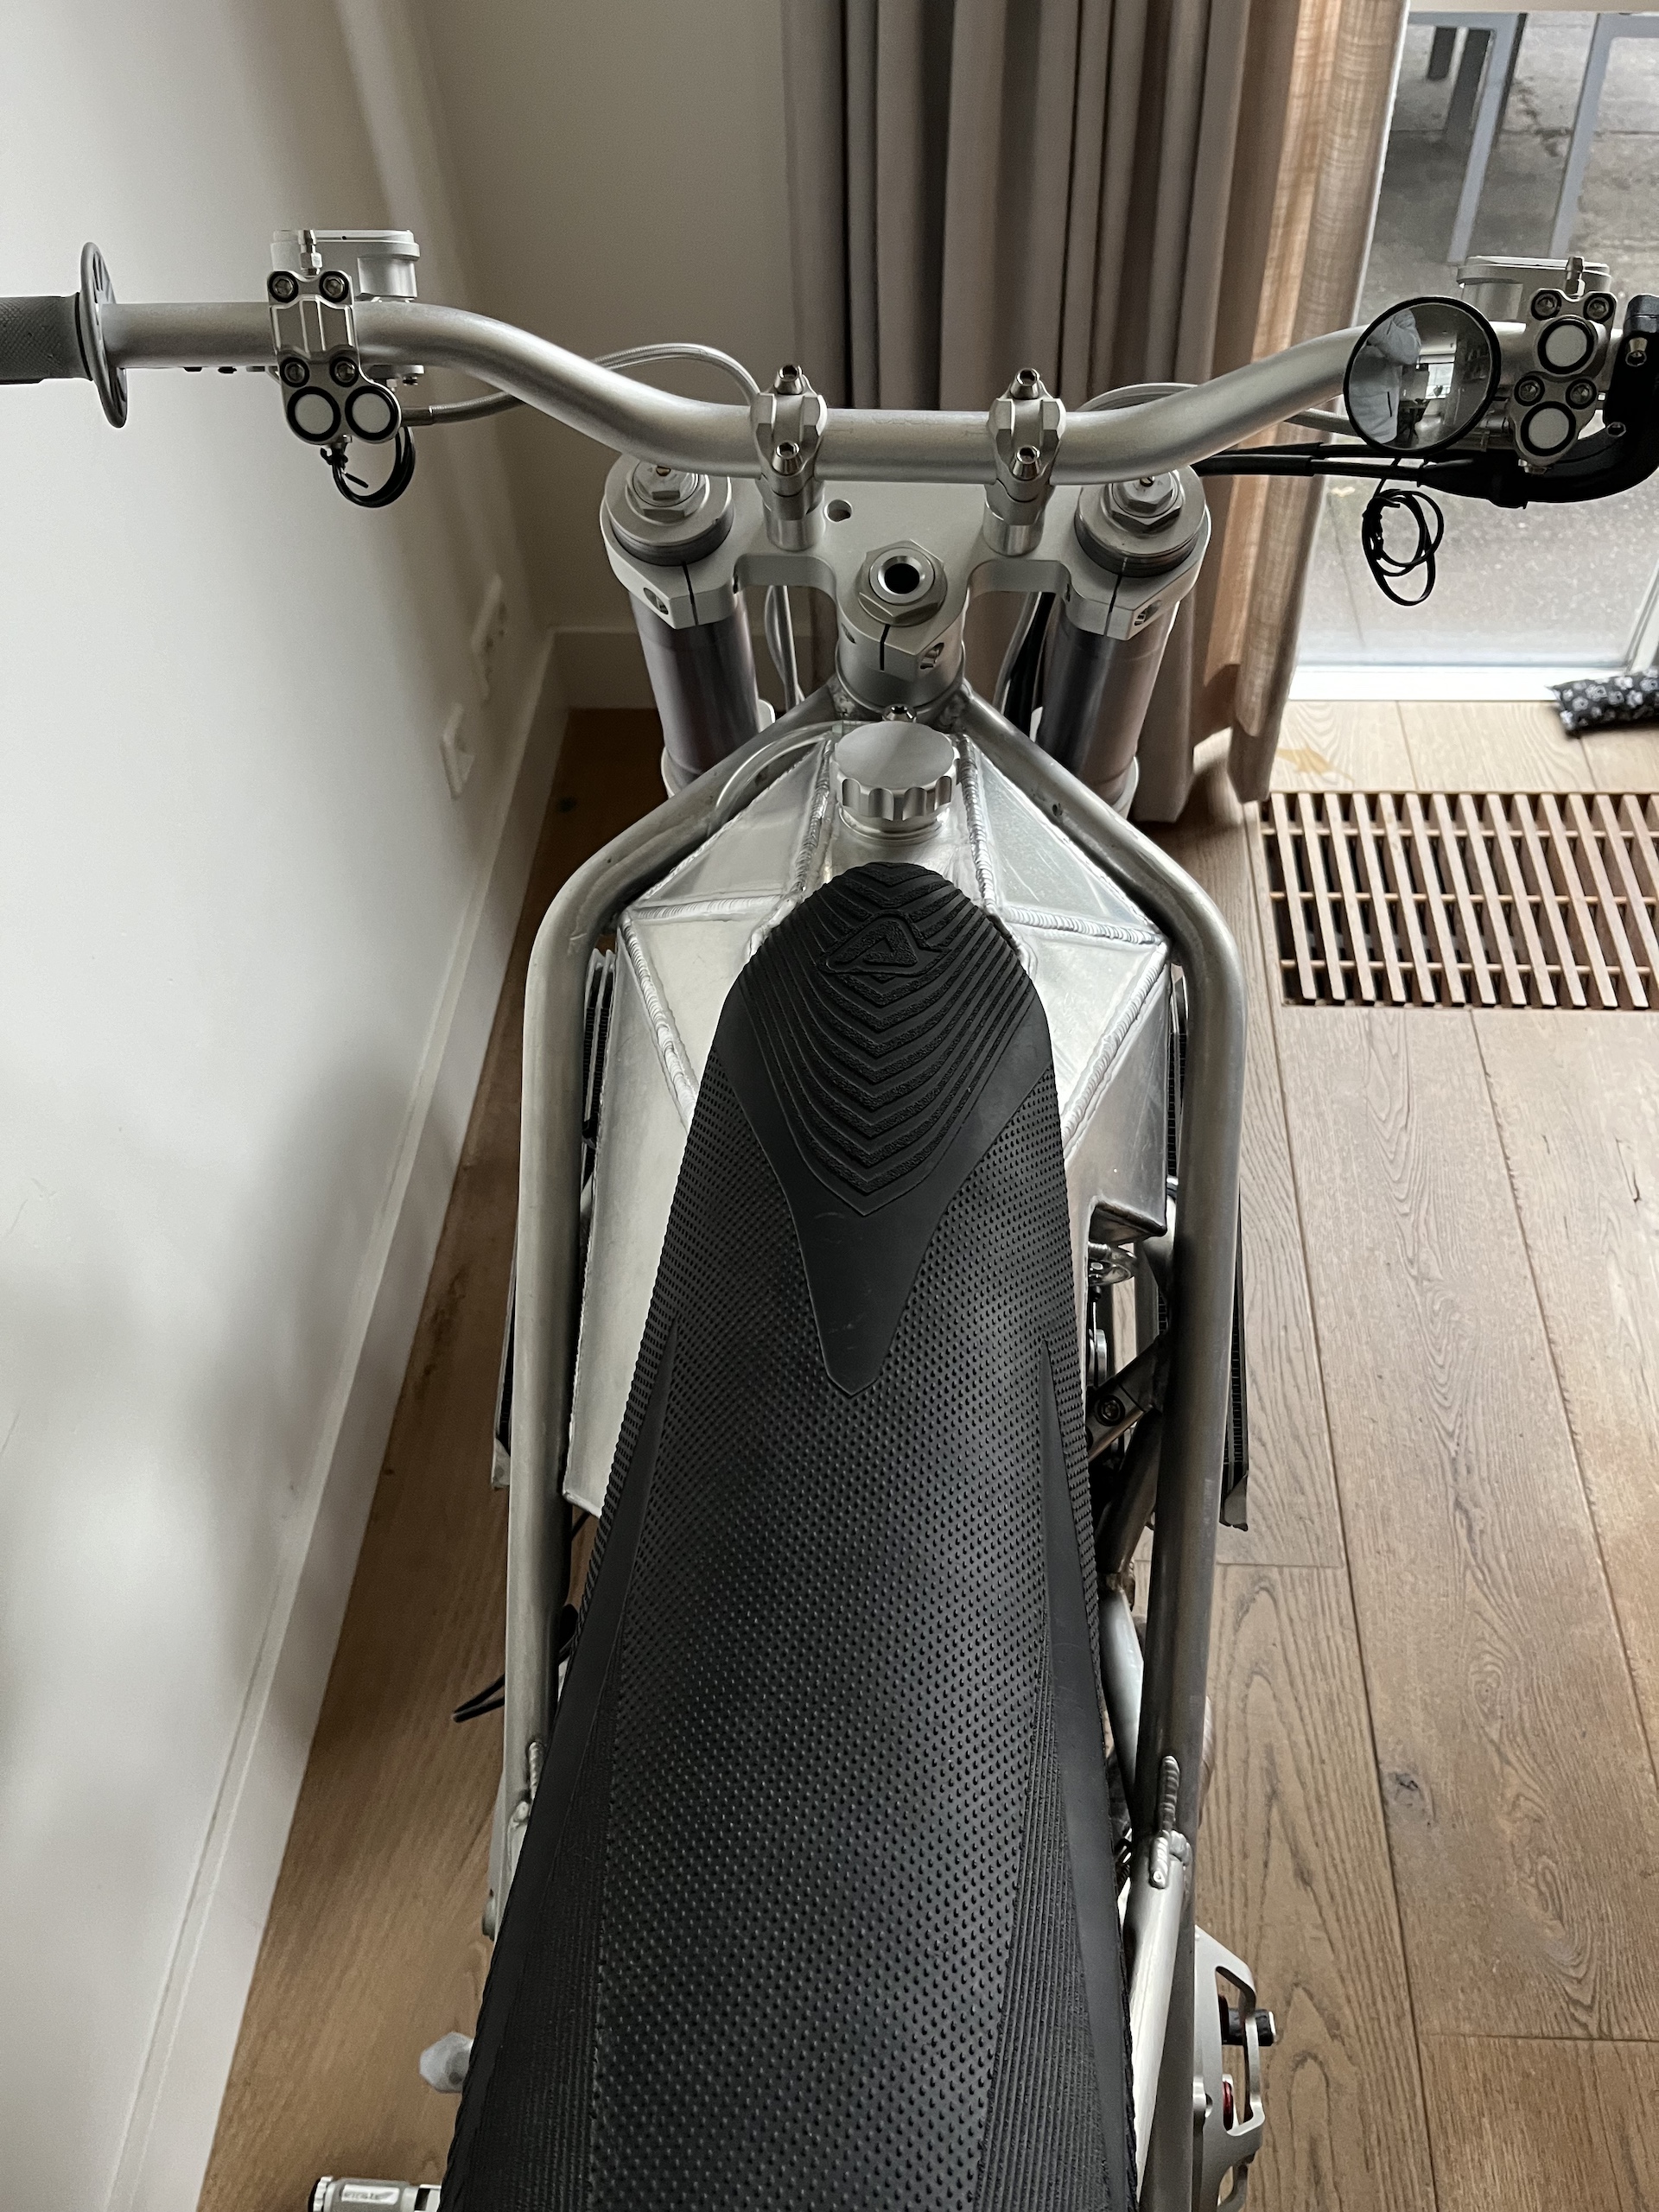
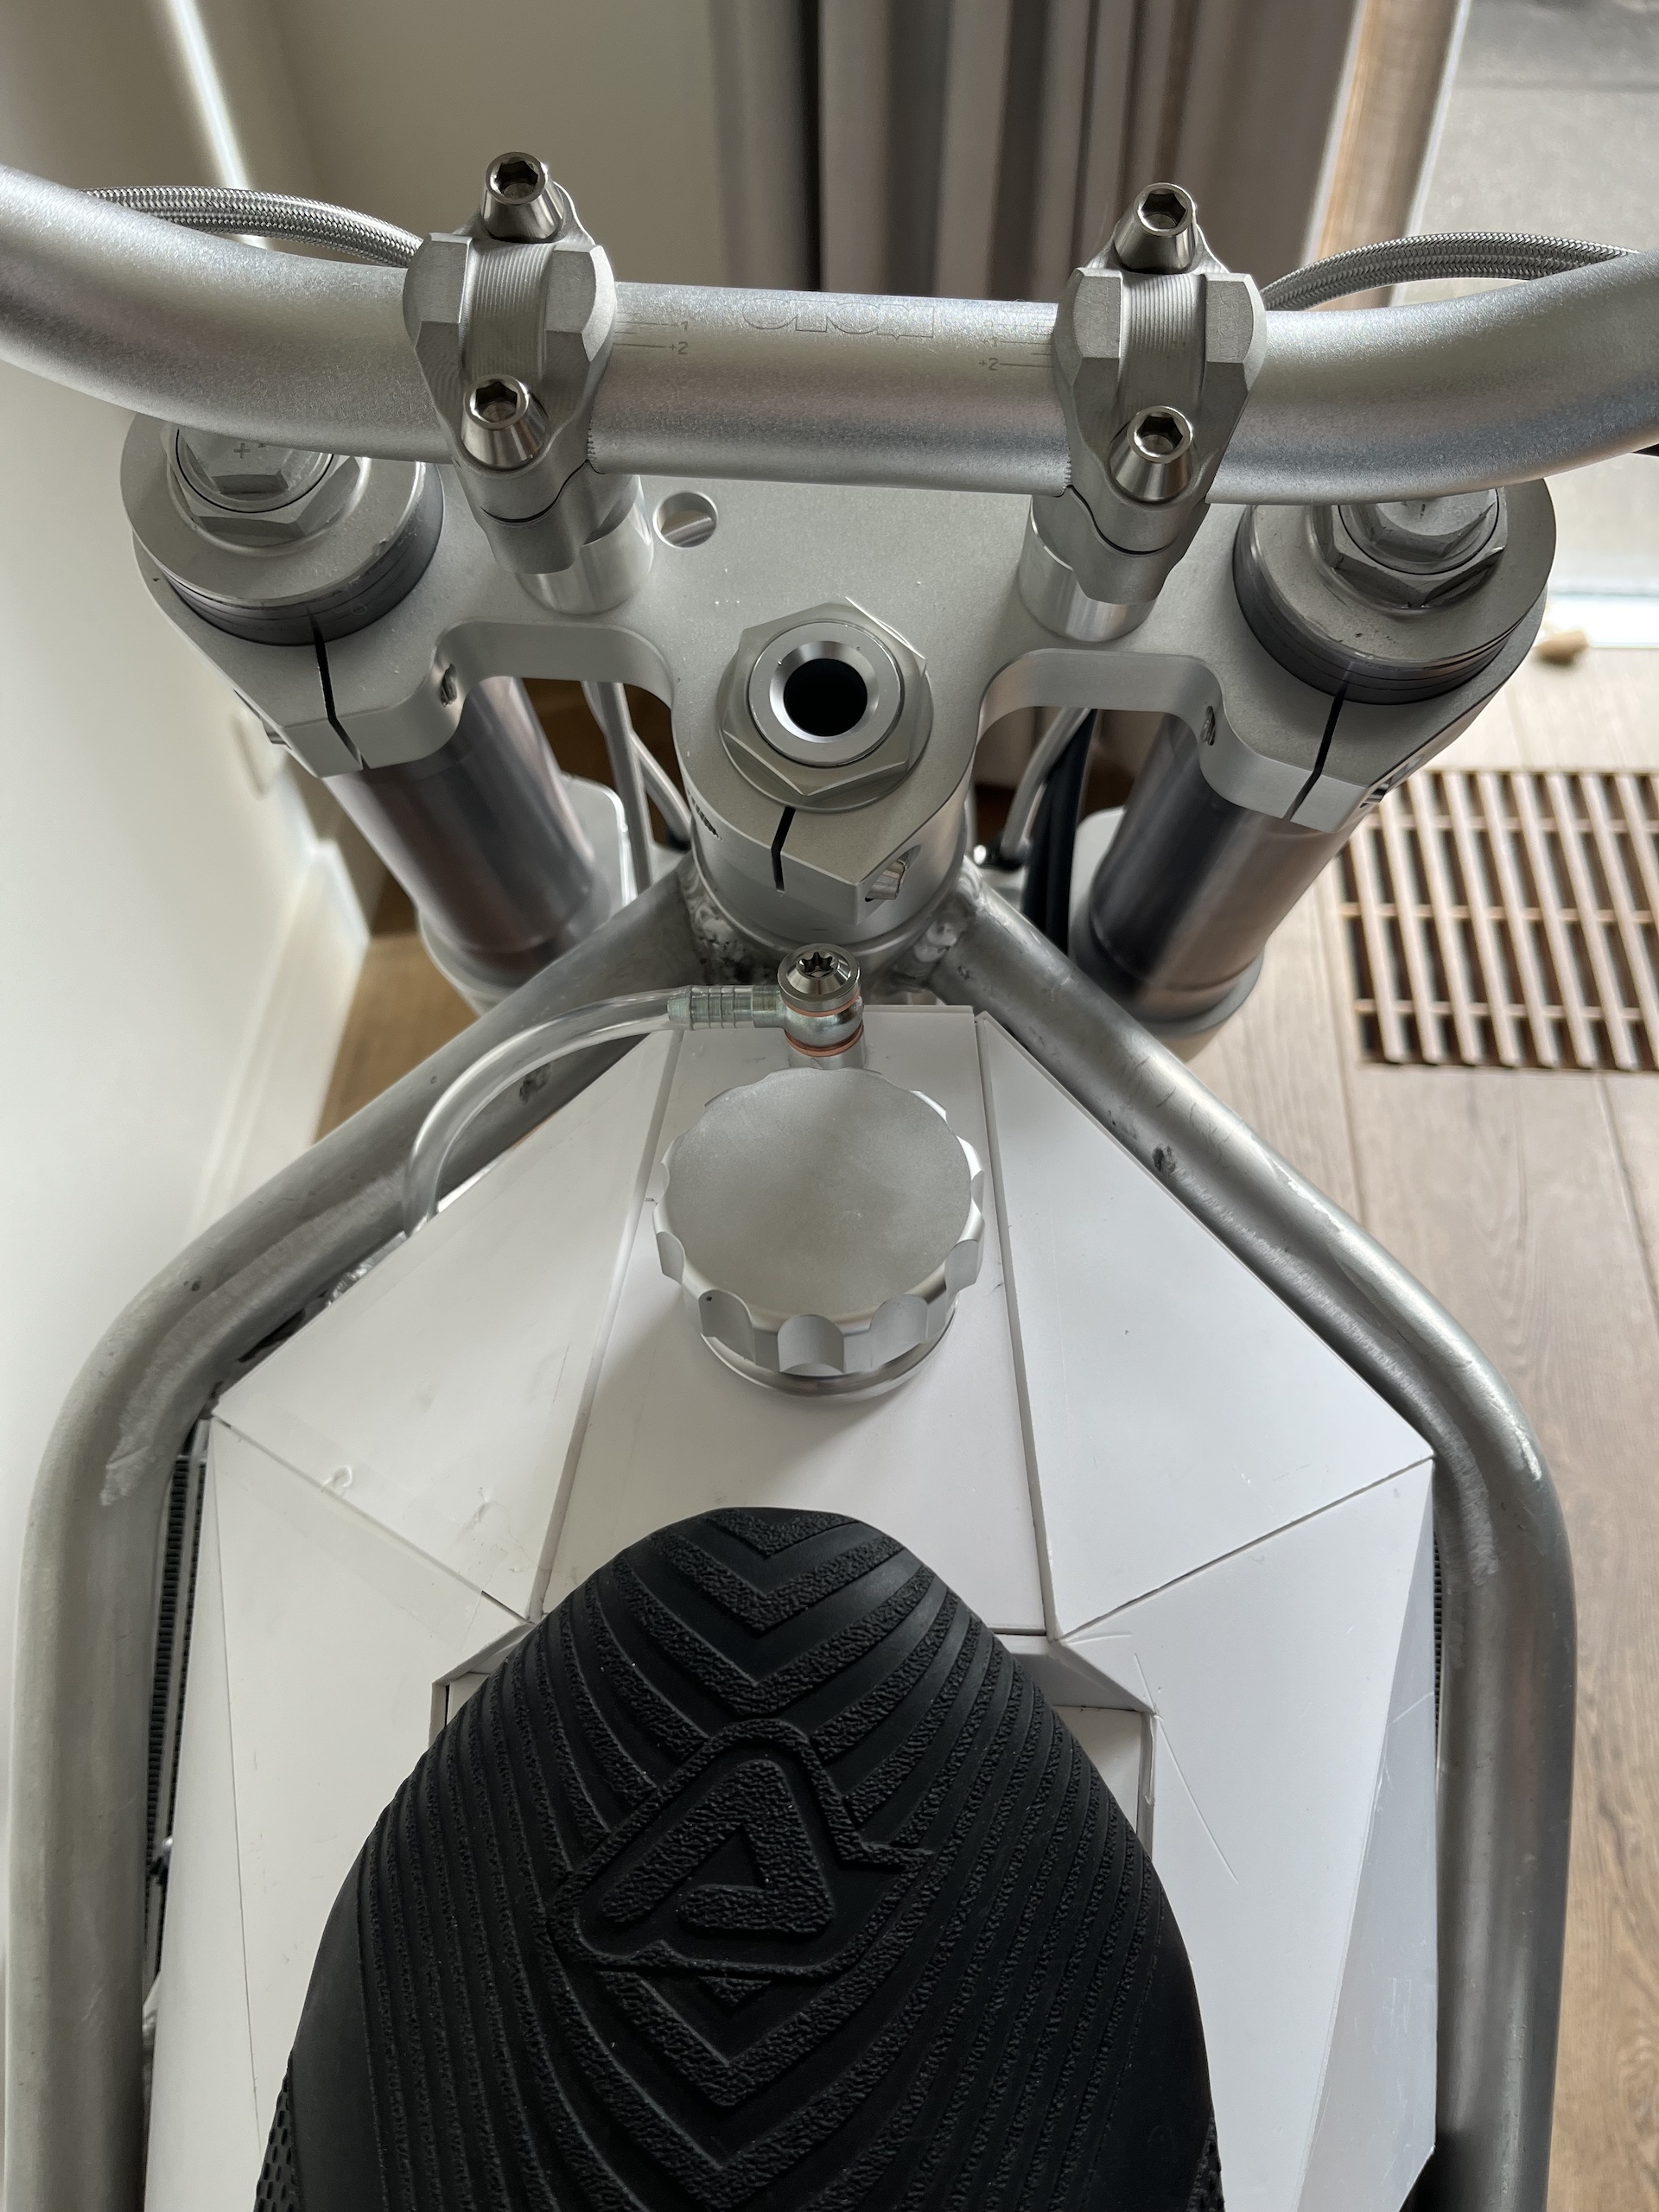
MOUNTING THE TANK TO THE FRAME
The fuel tank still needed to be mounted to the frame. I had some aluminium brackets lasercut that I could weld to the frame. Those bracket allow the use of rubber grommets making sure the tank isn’t solidly mounted to the vibrating frame/engine.
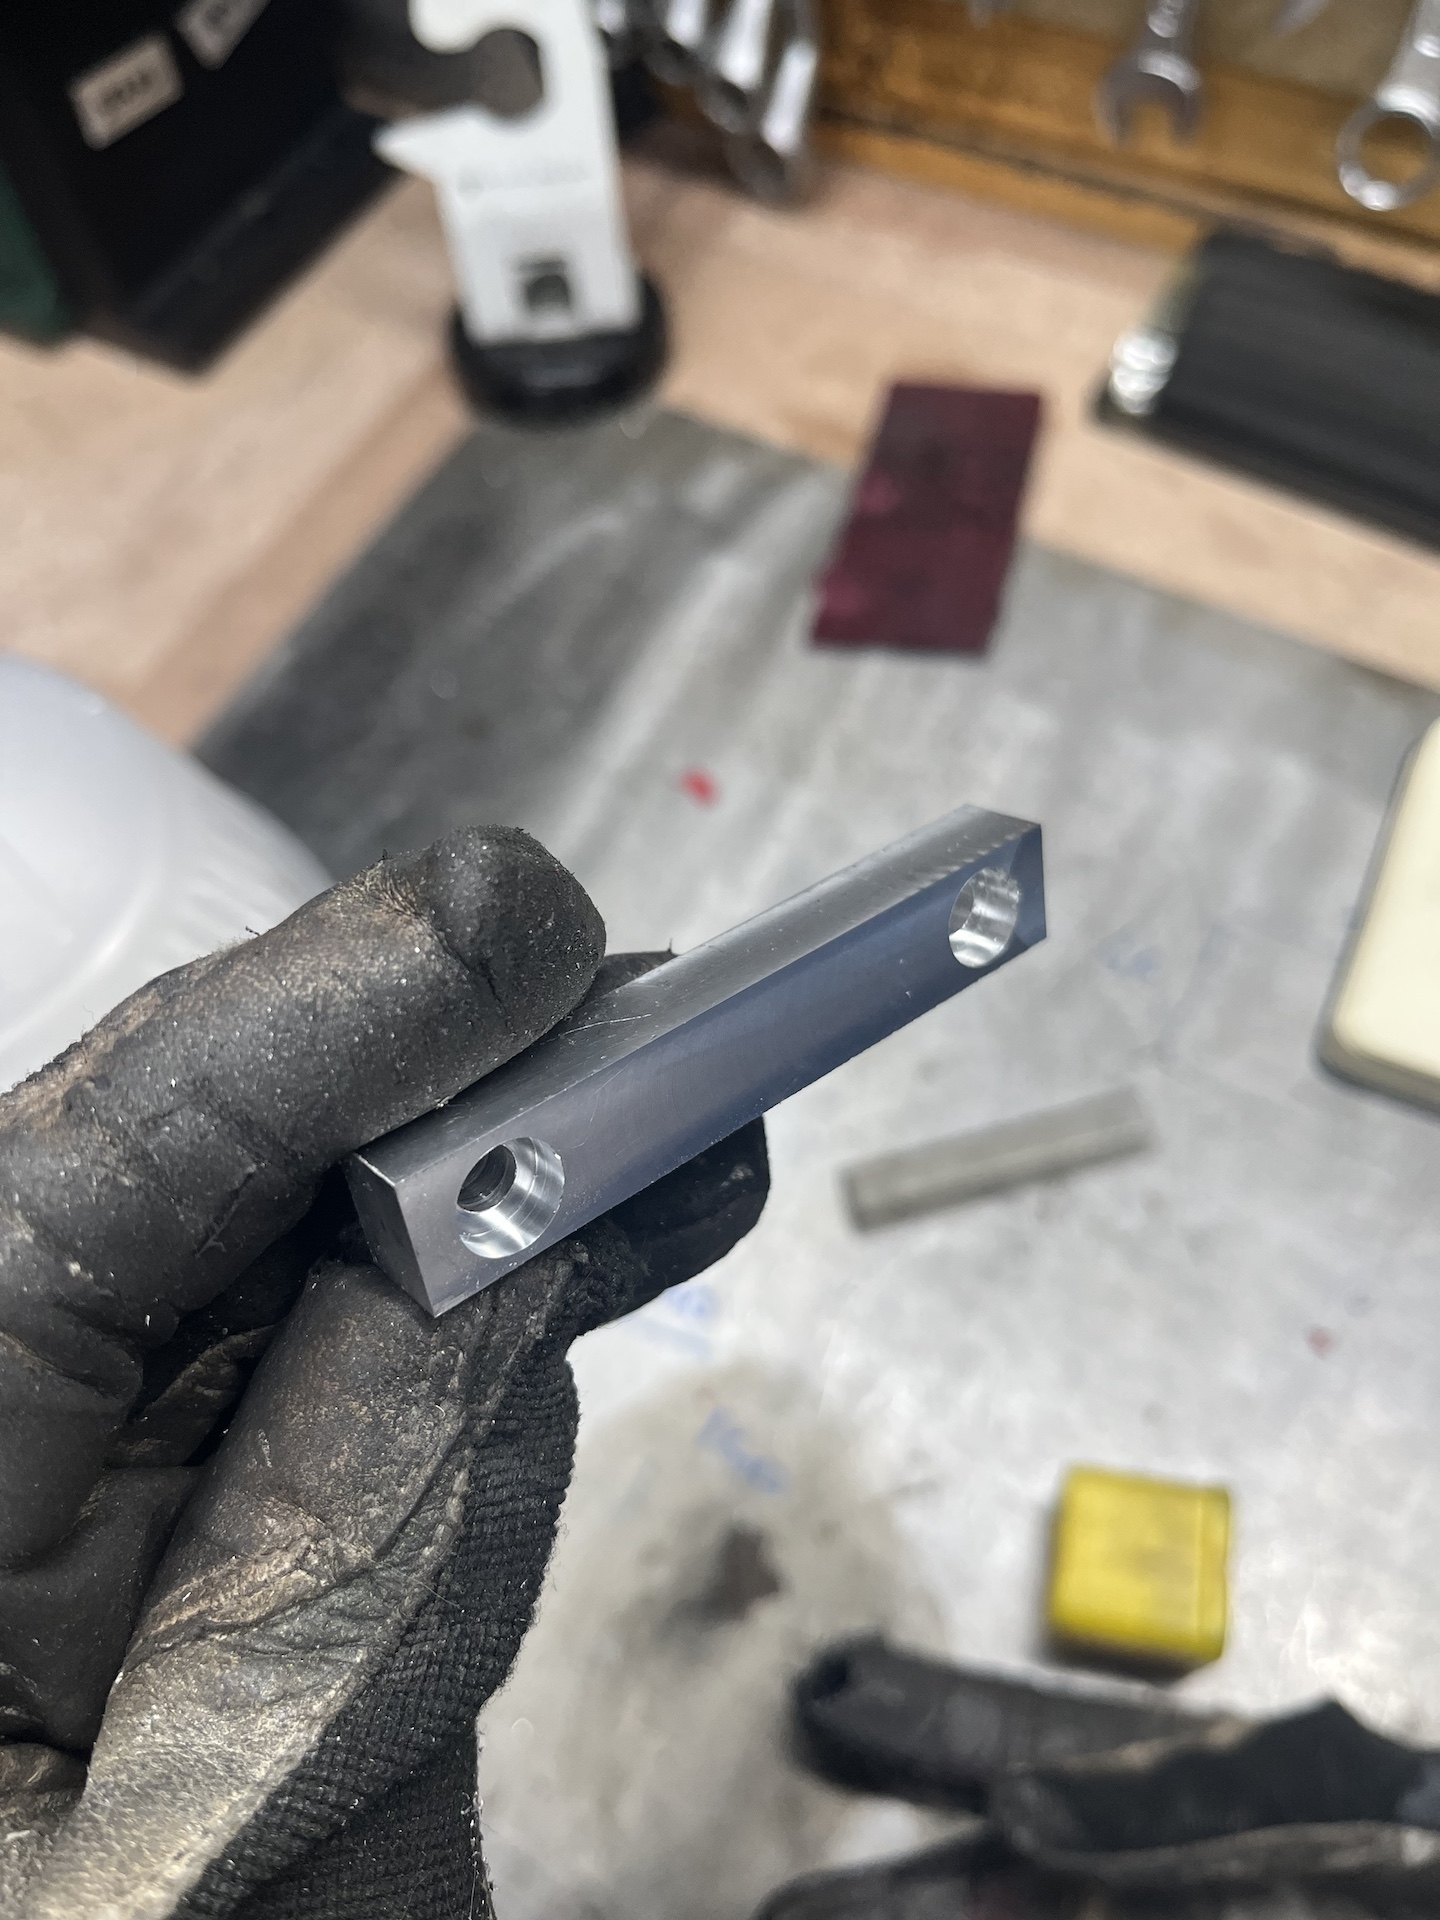
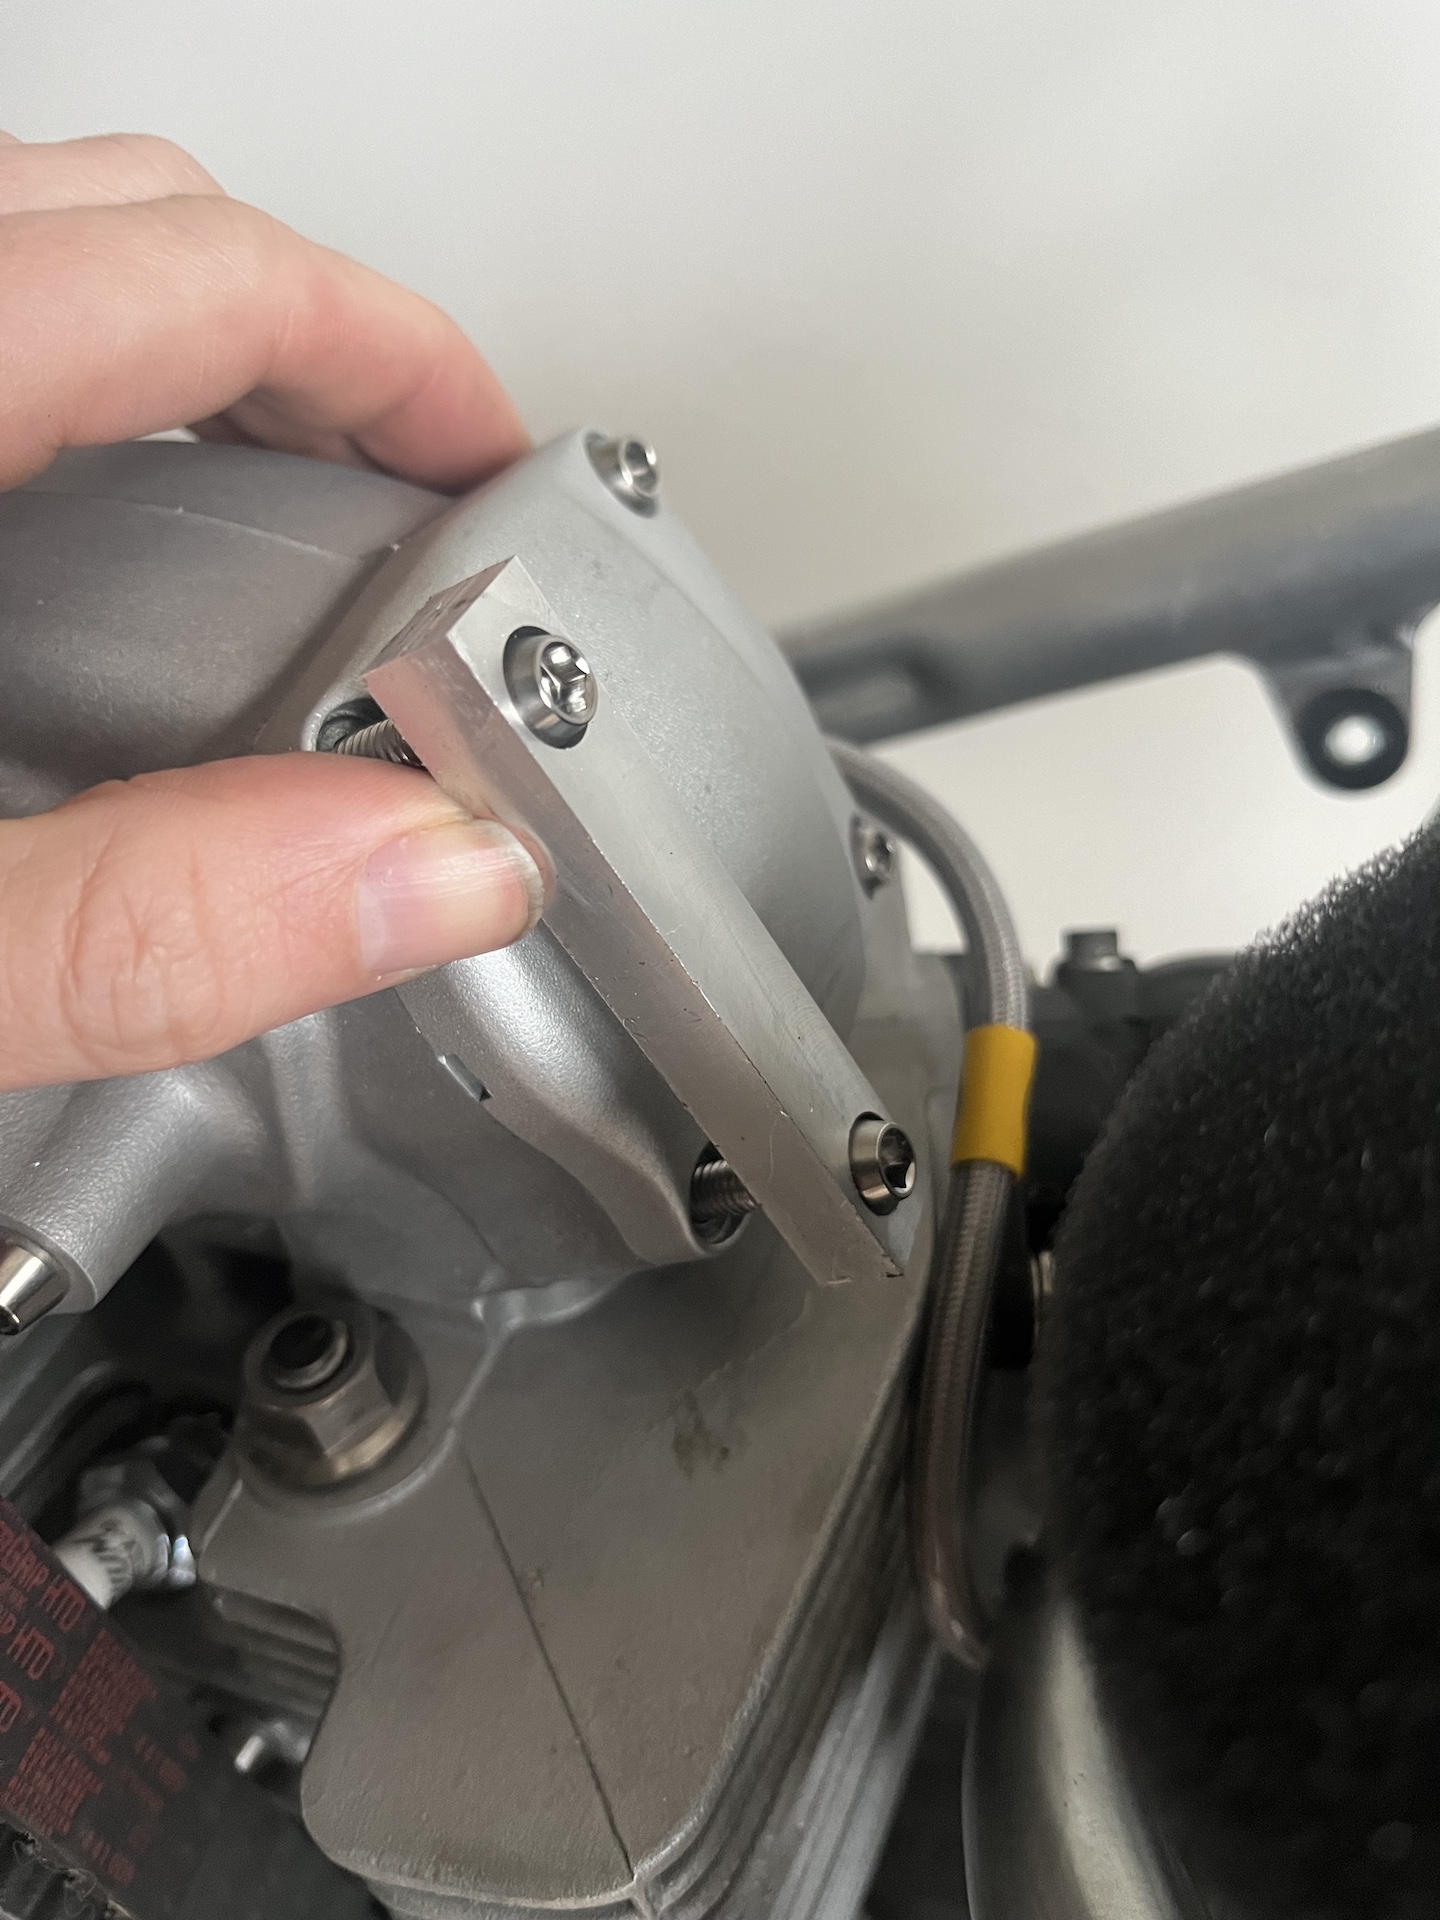
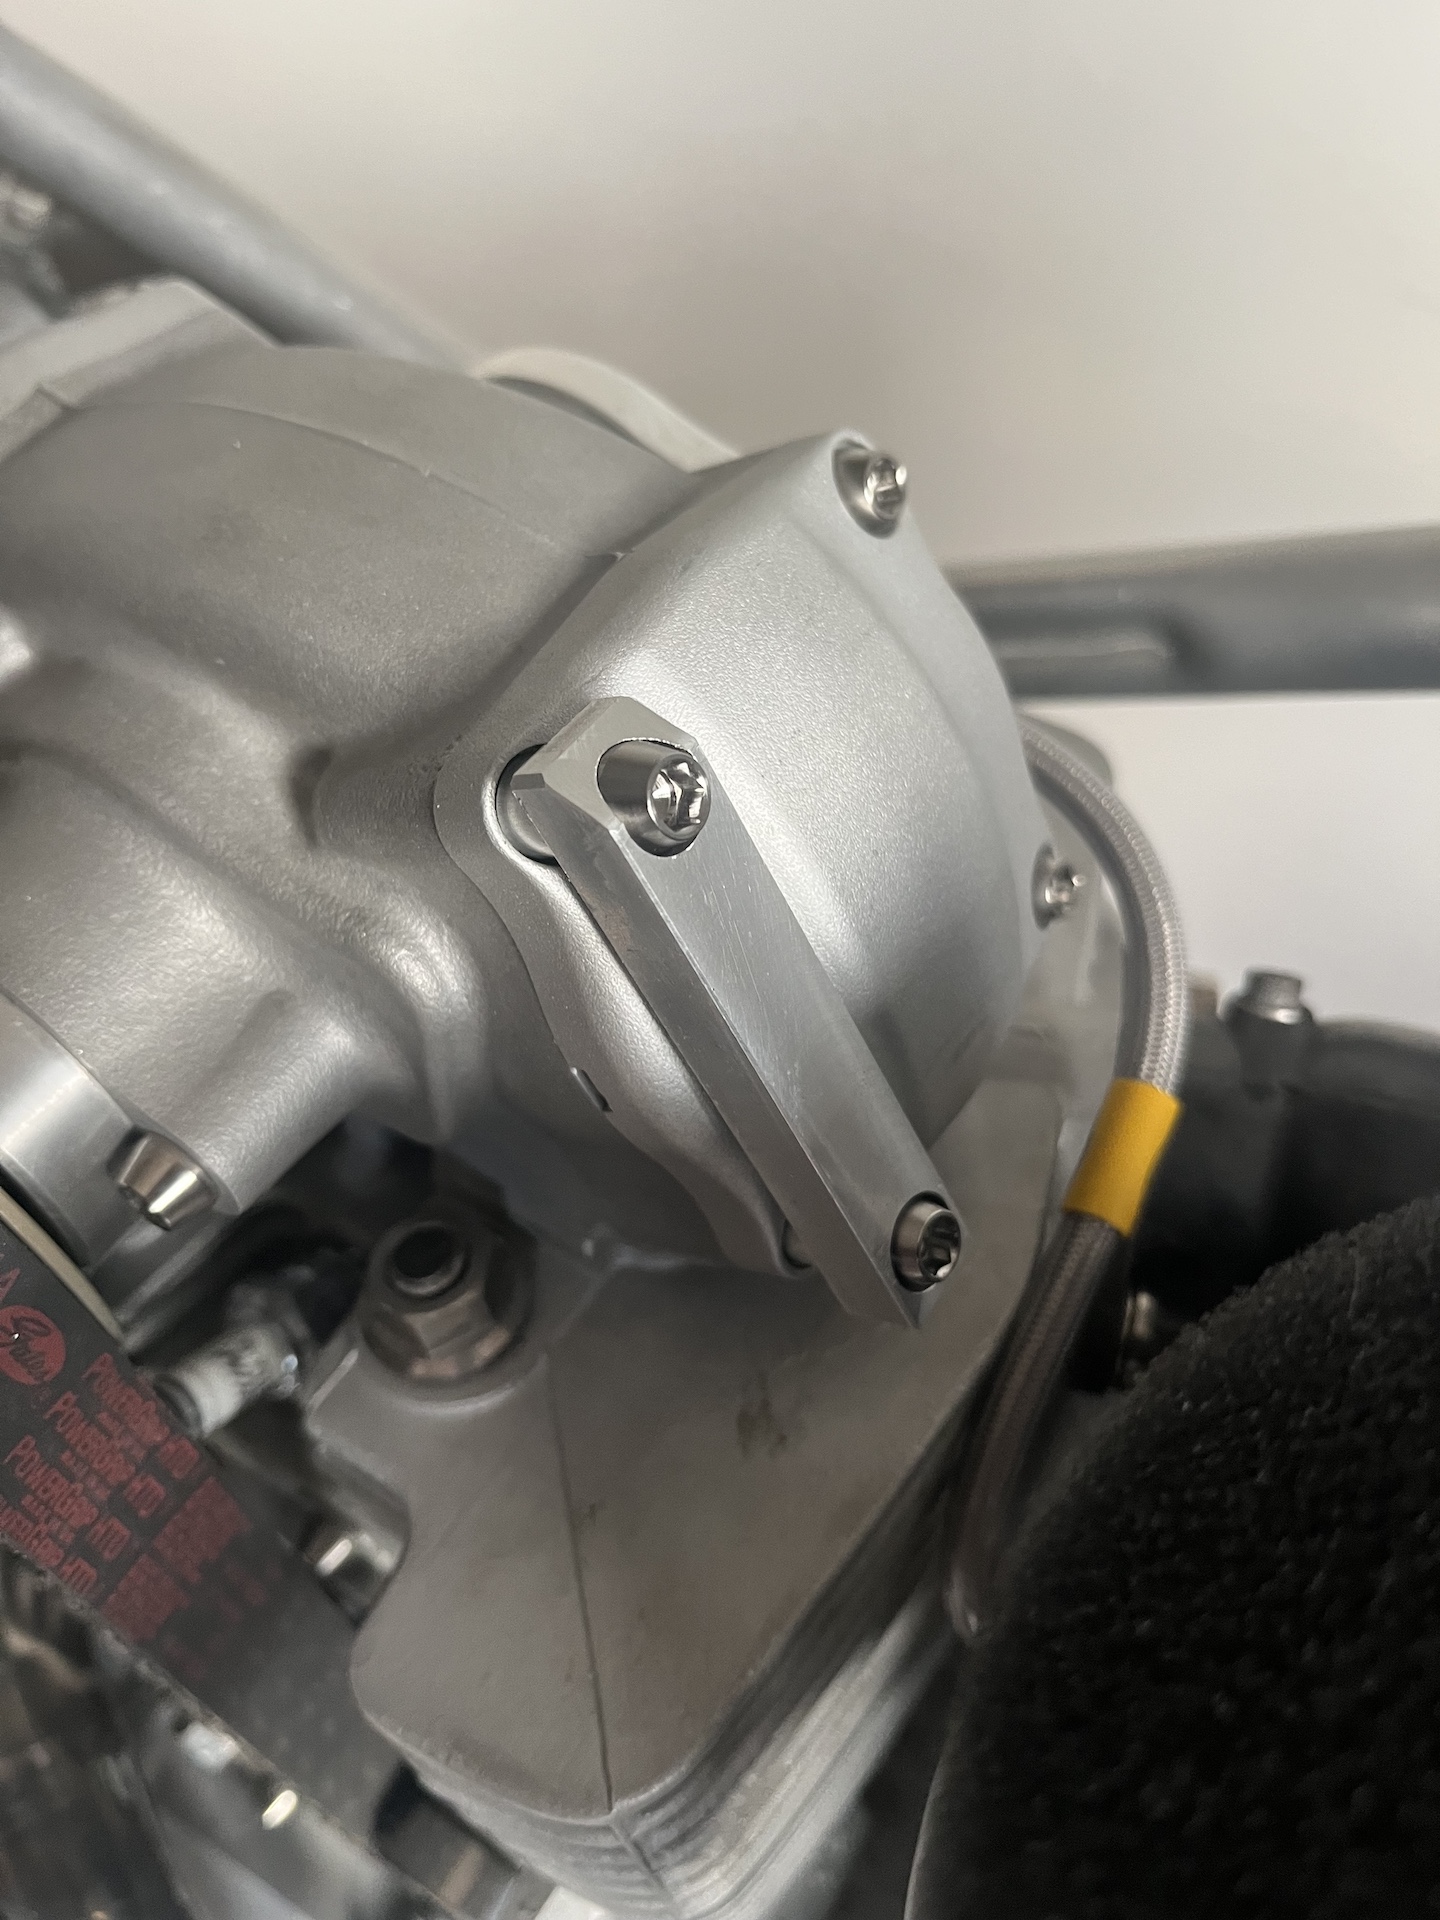
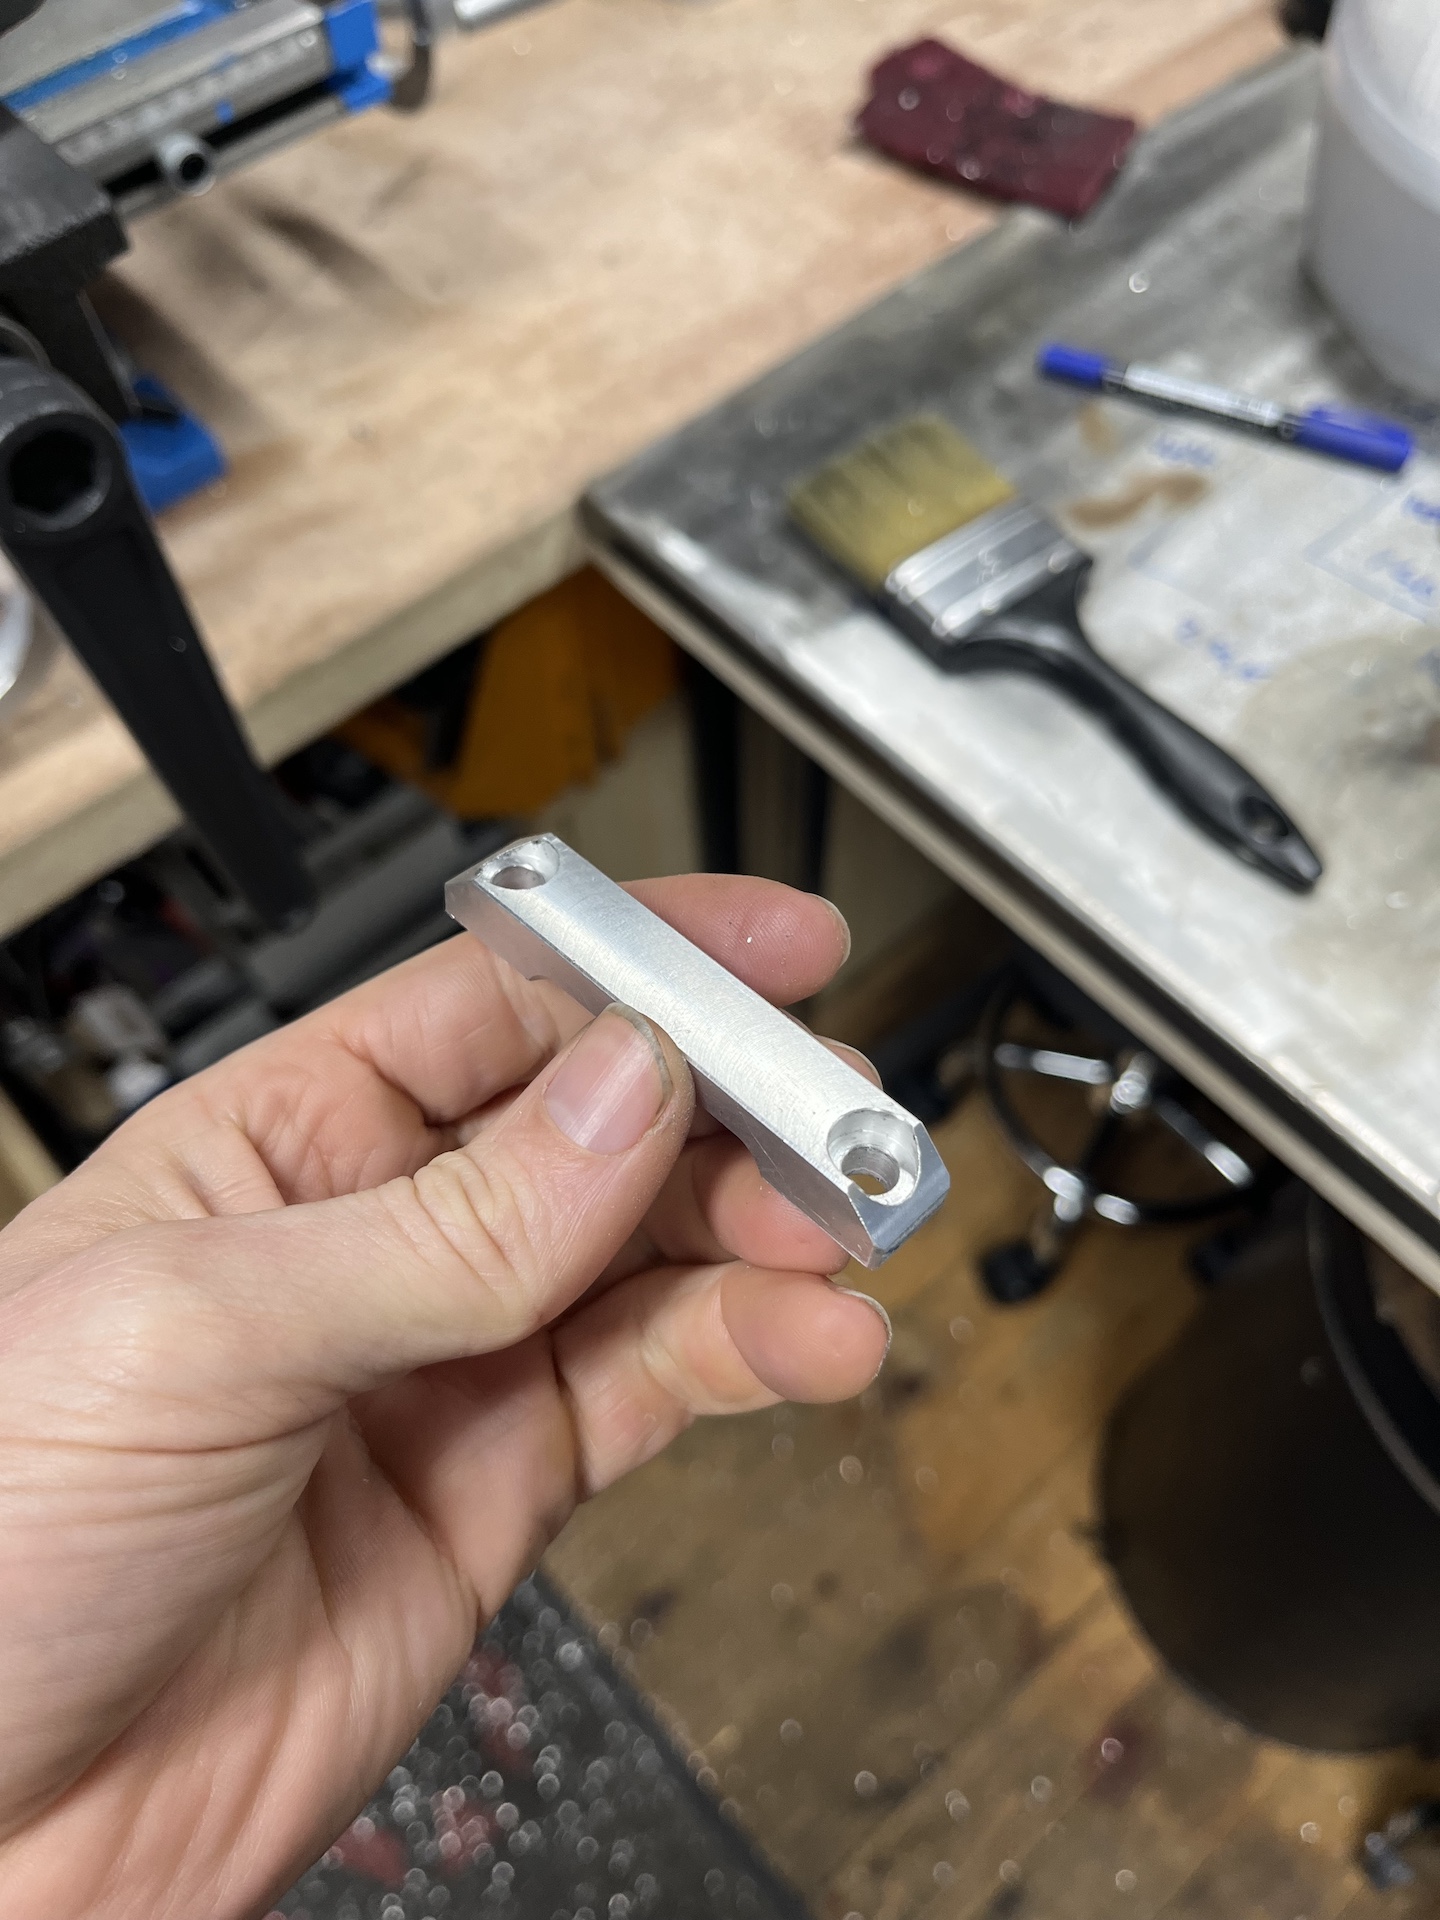
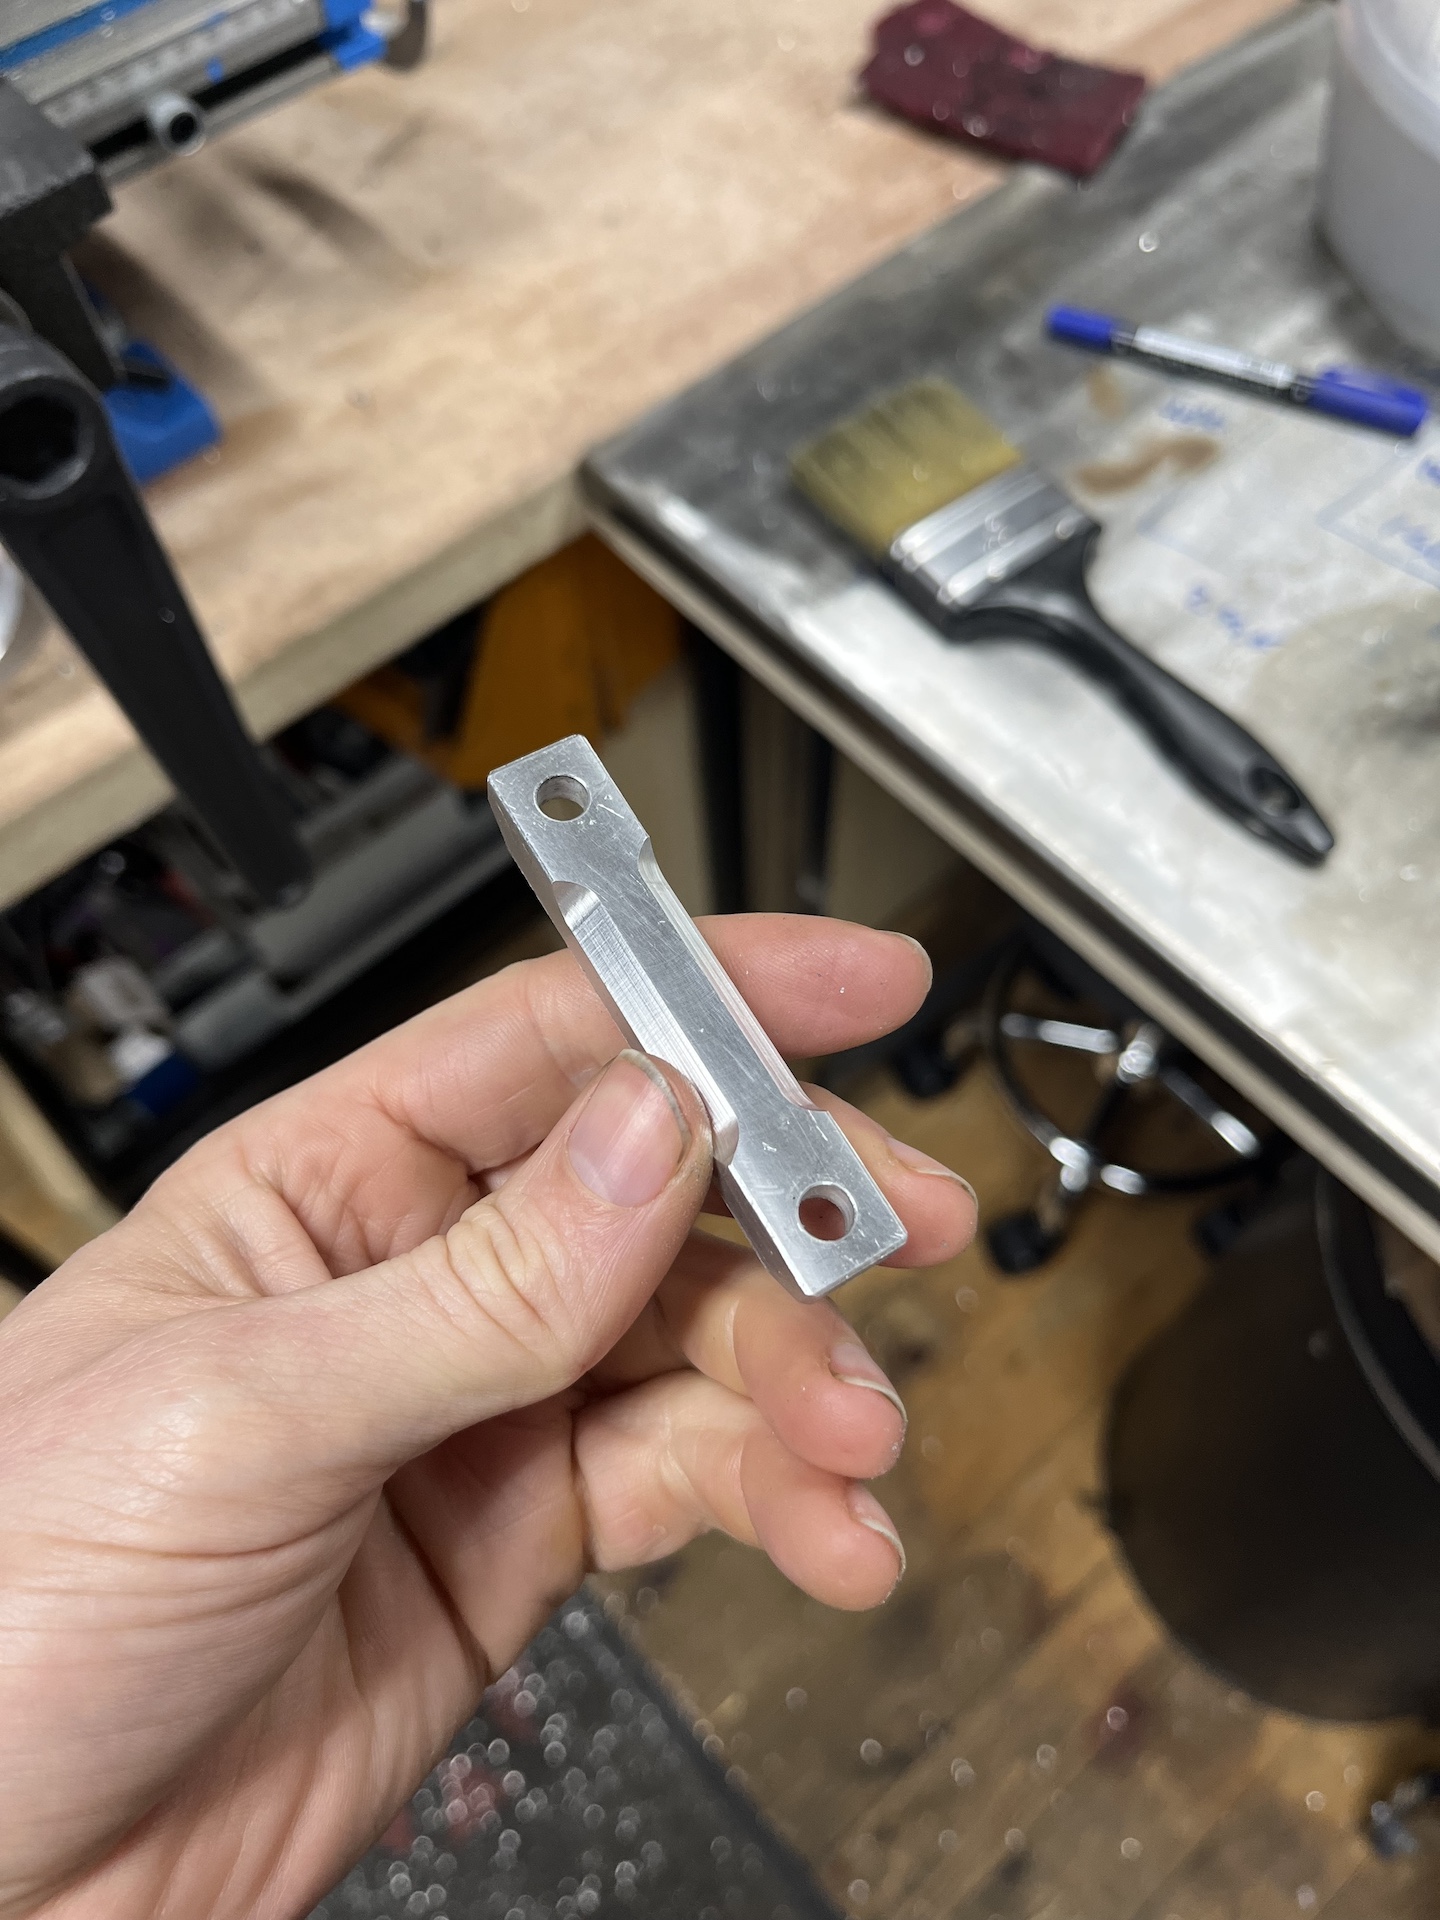
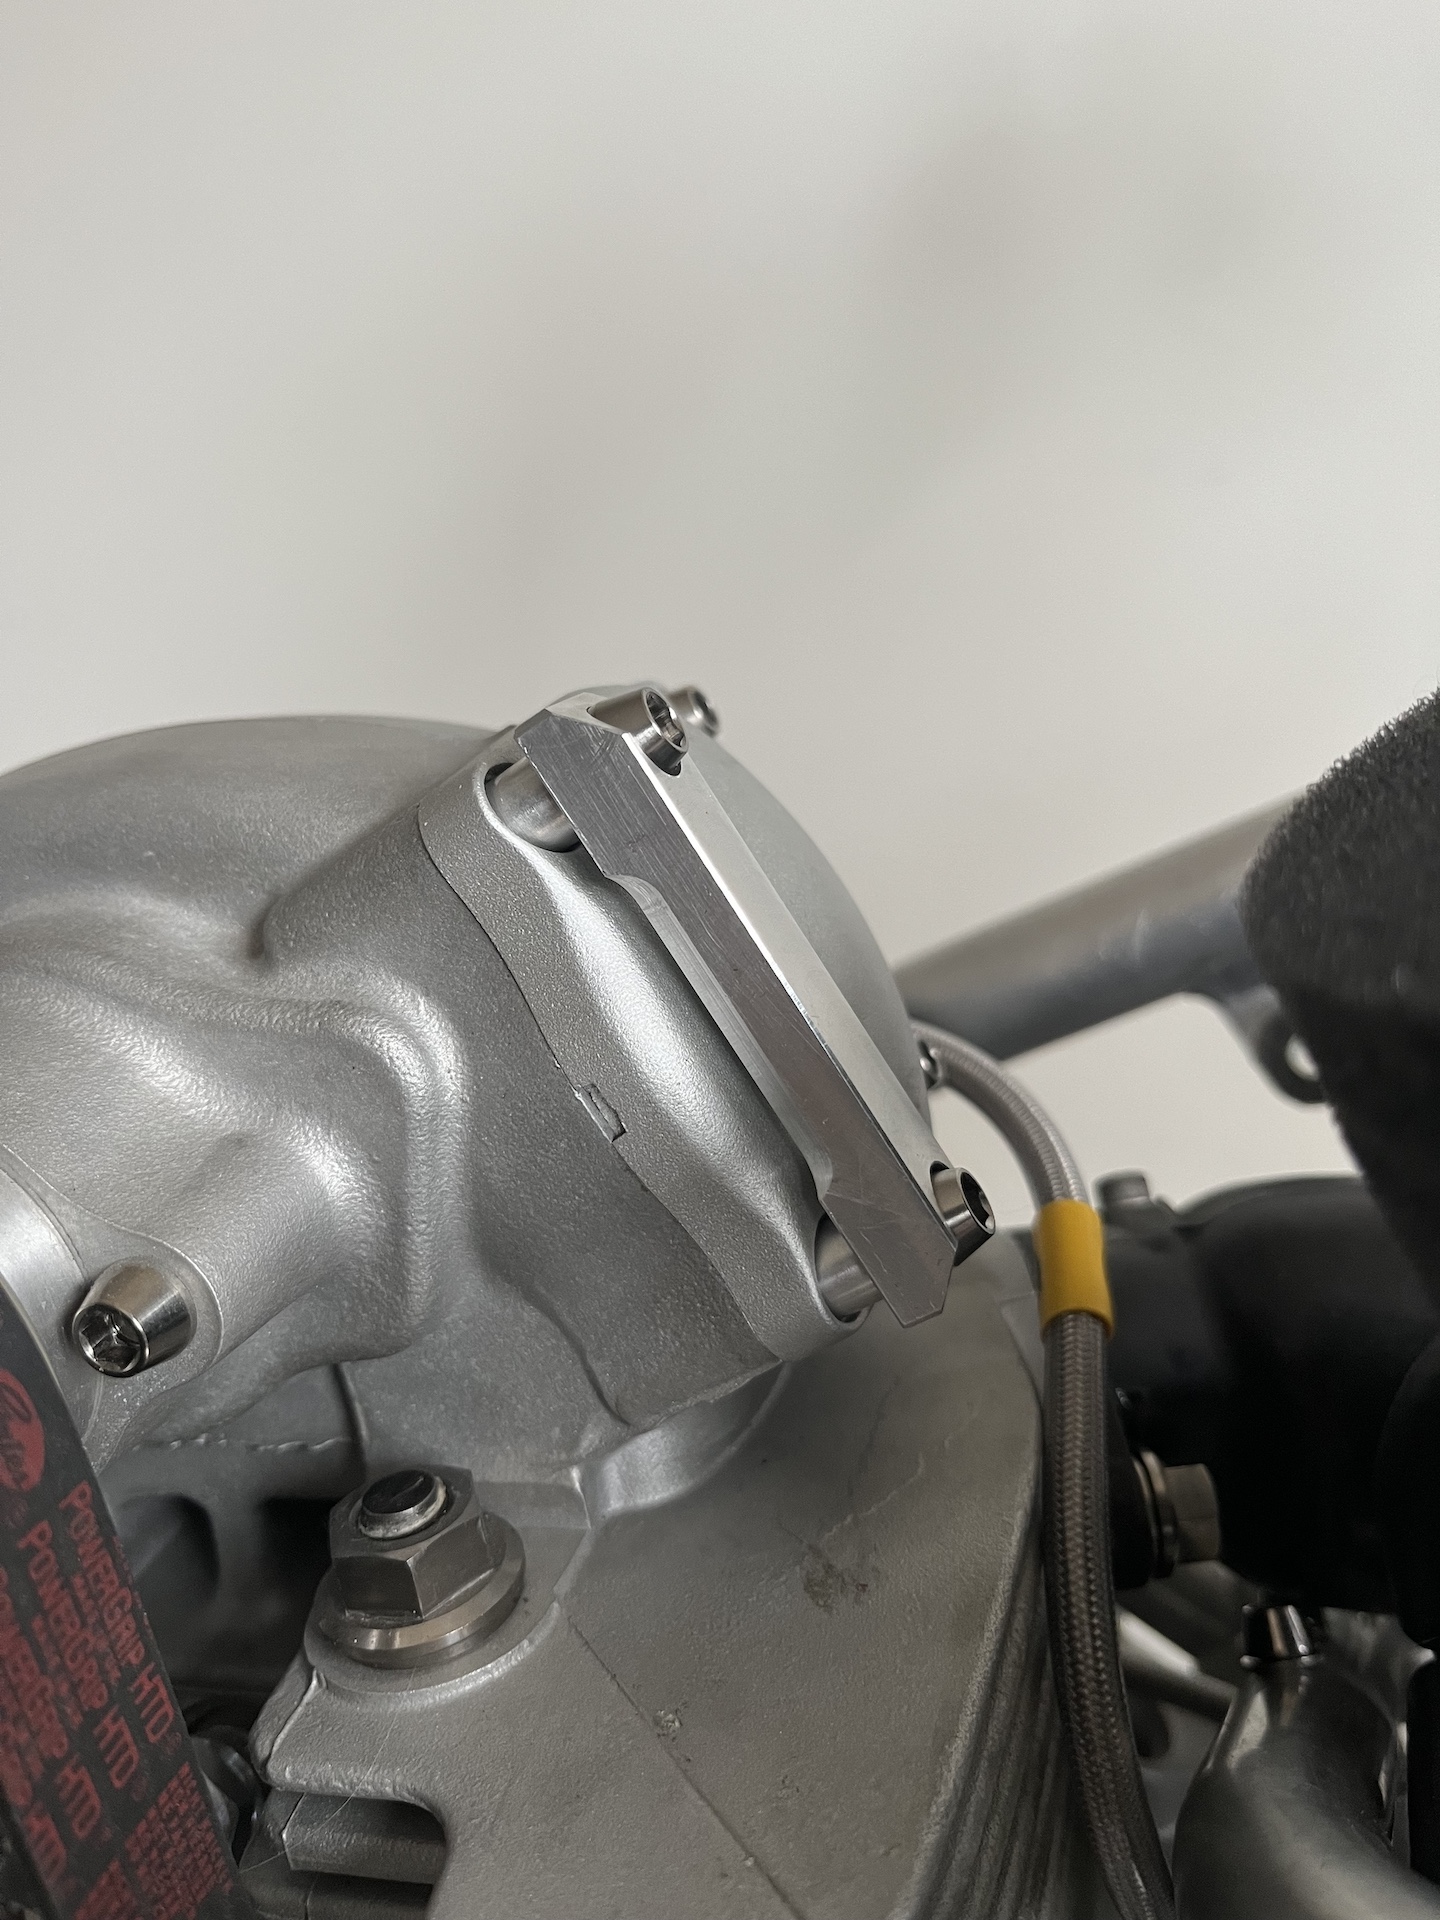
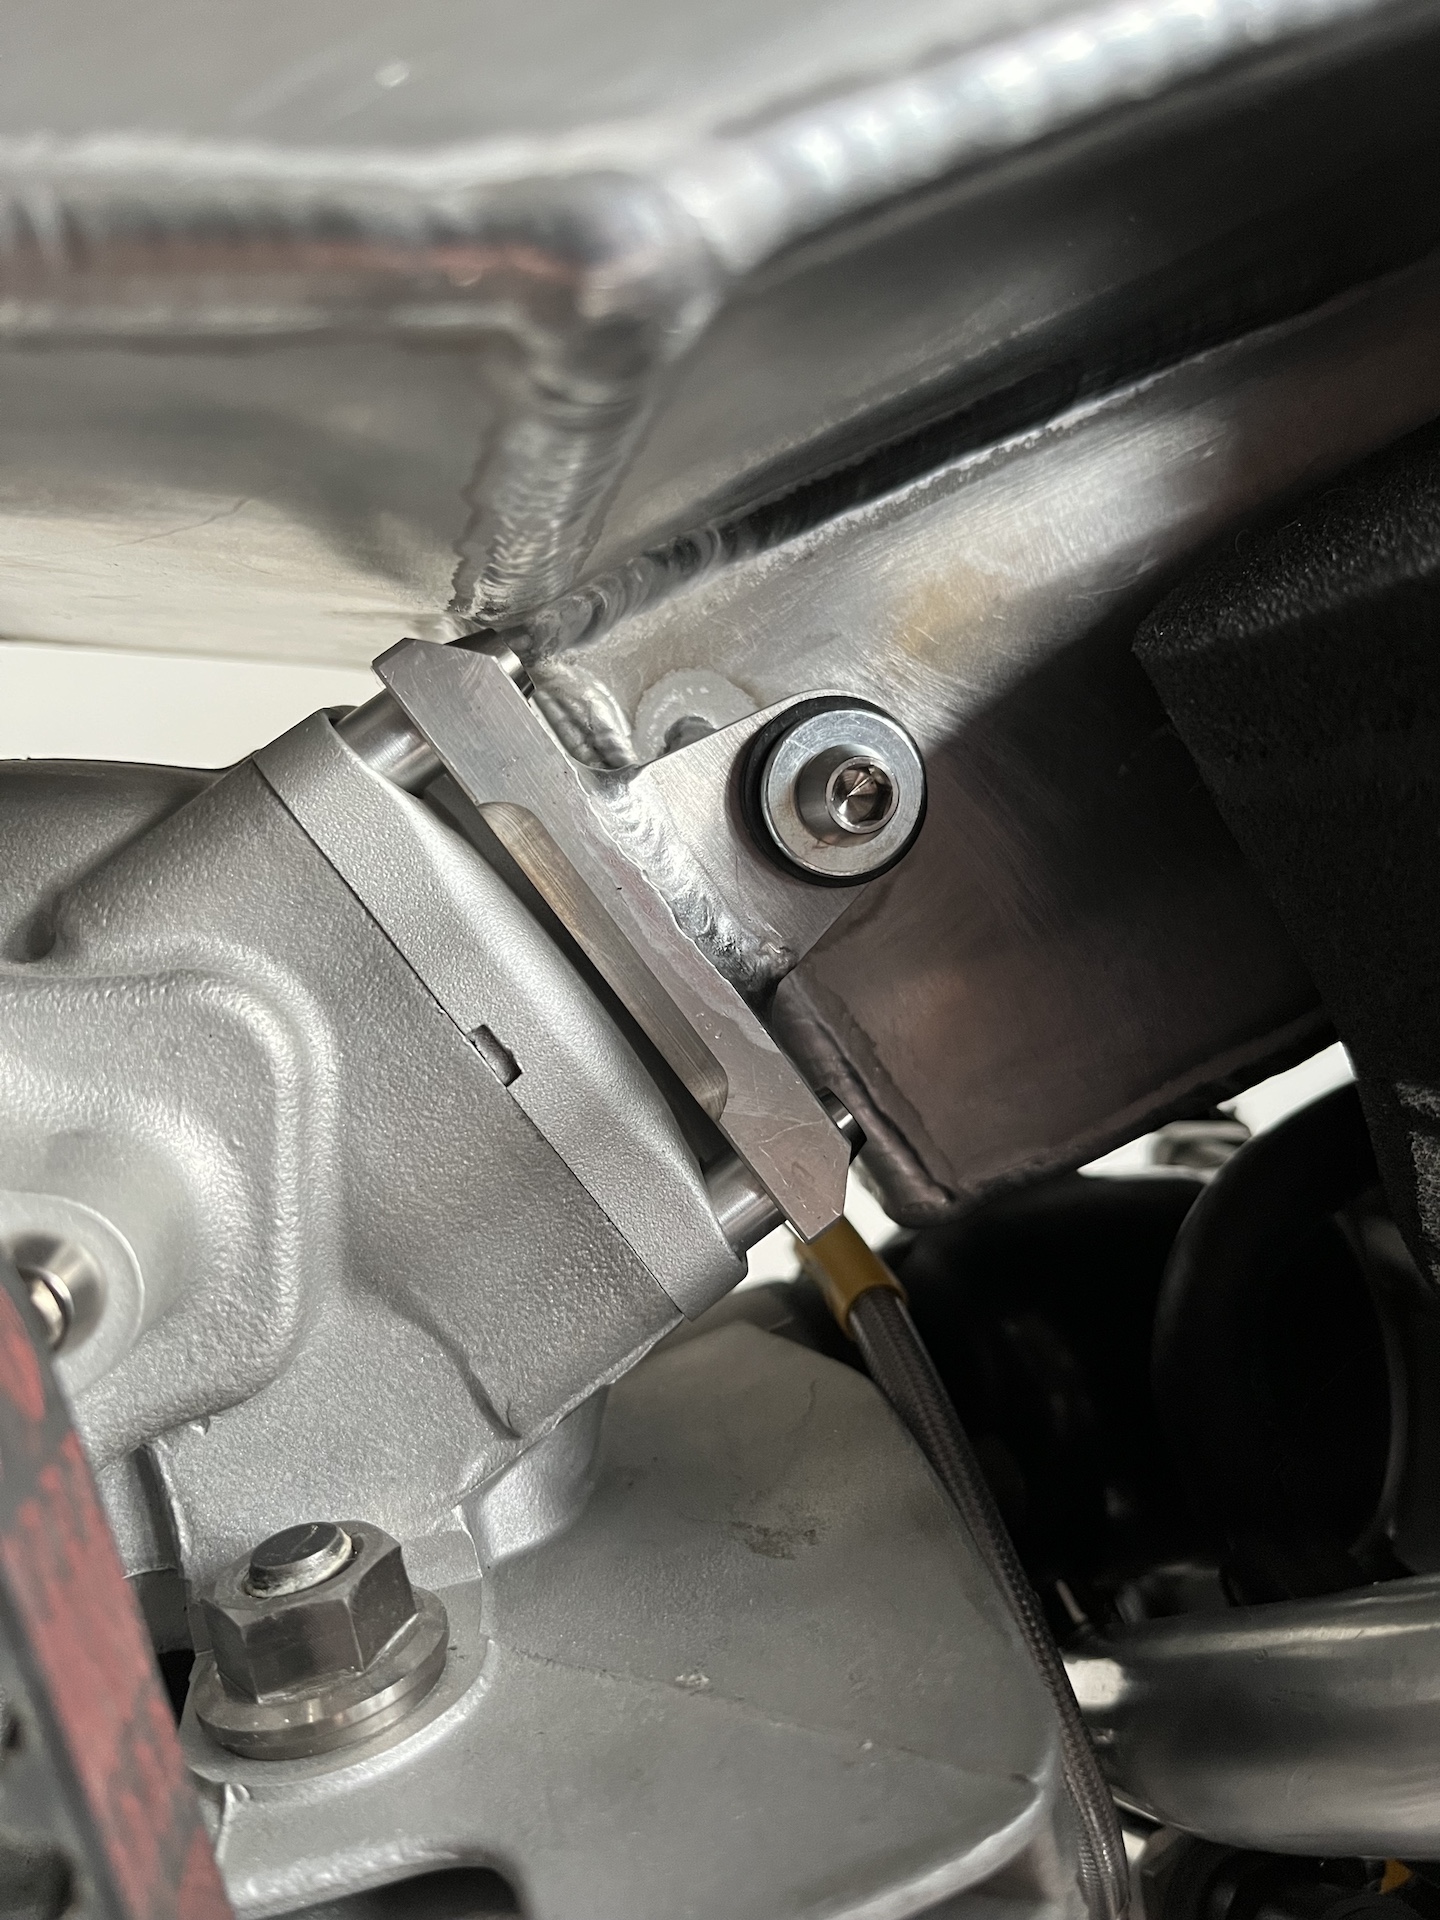
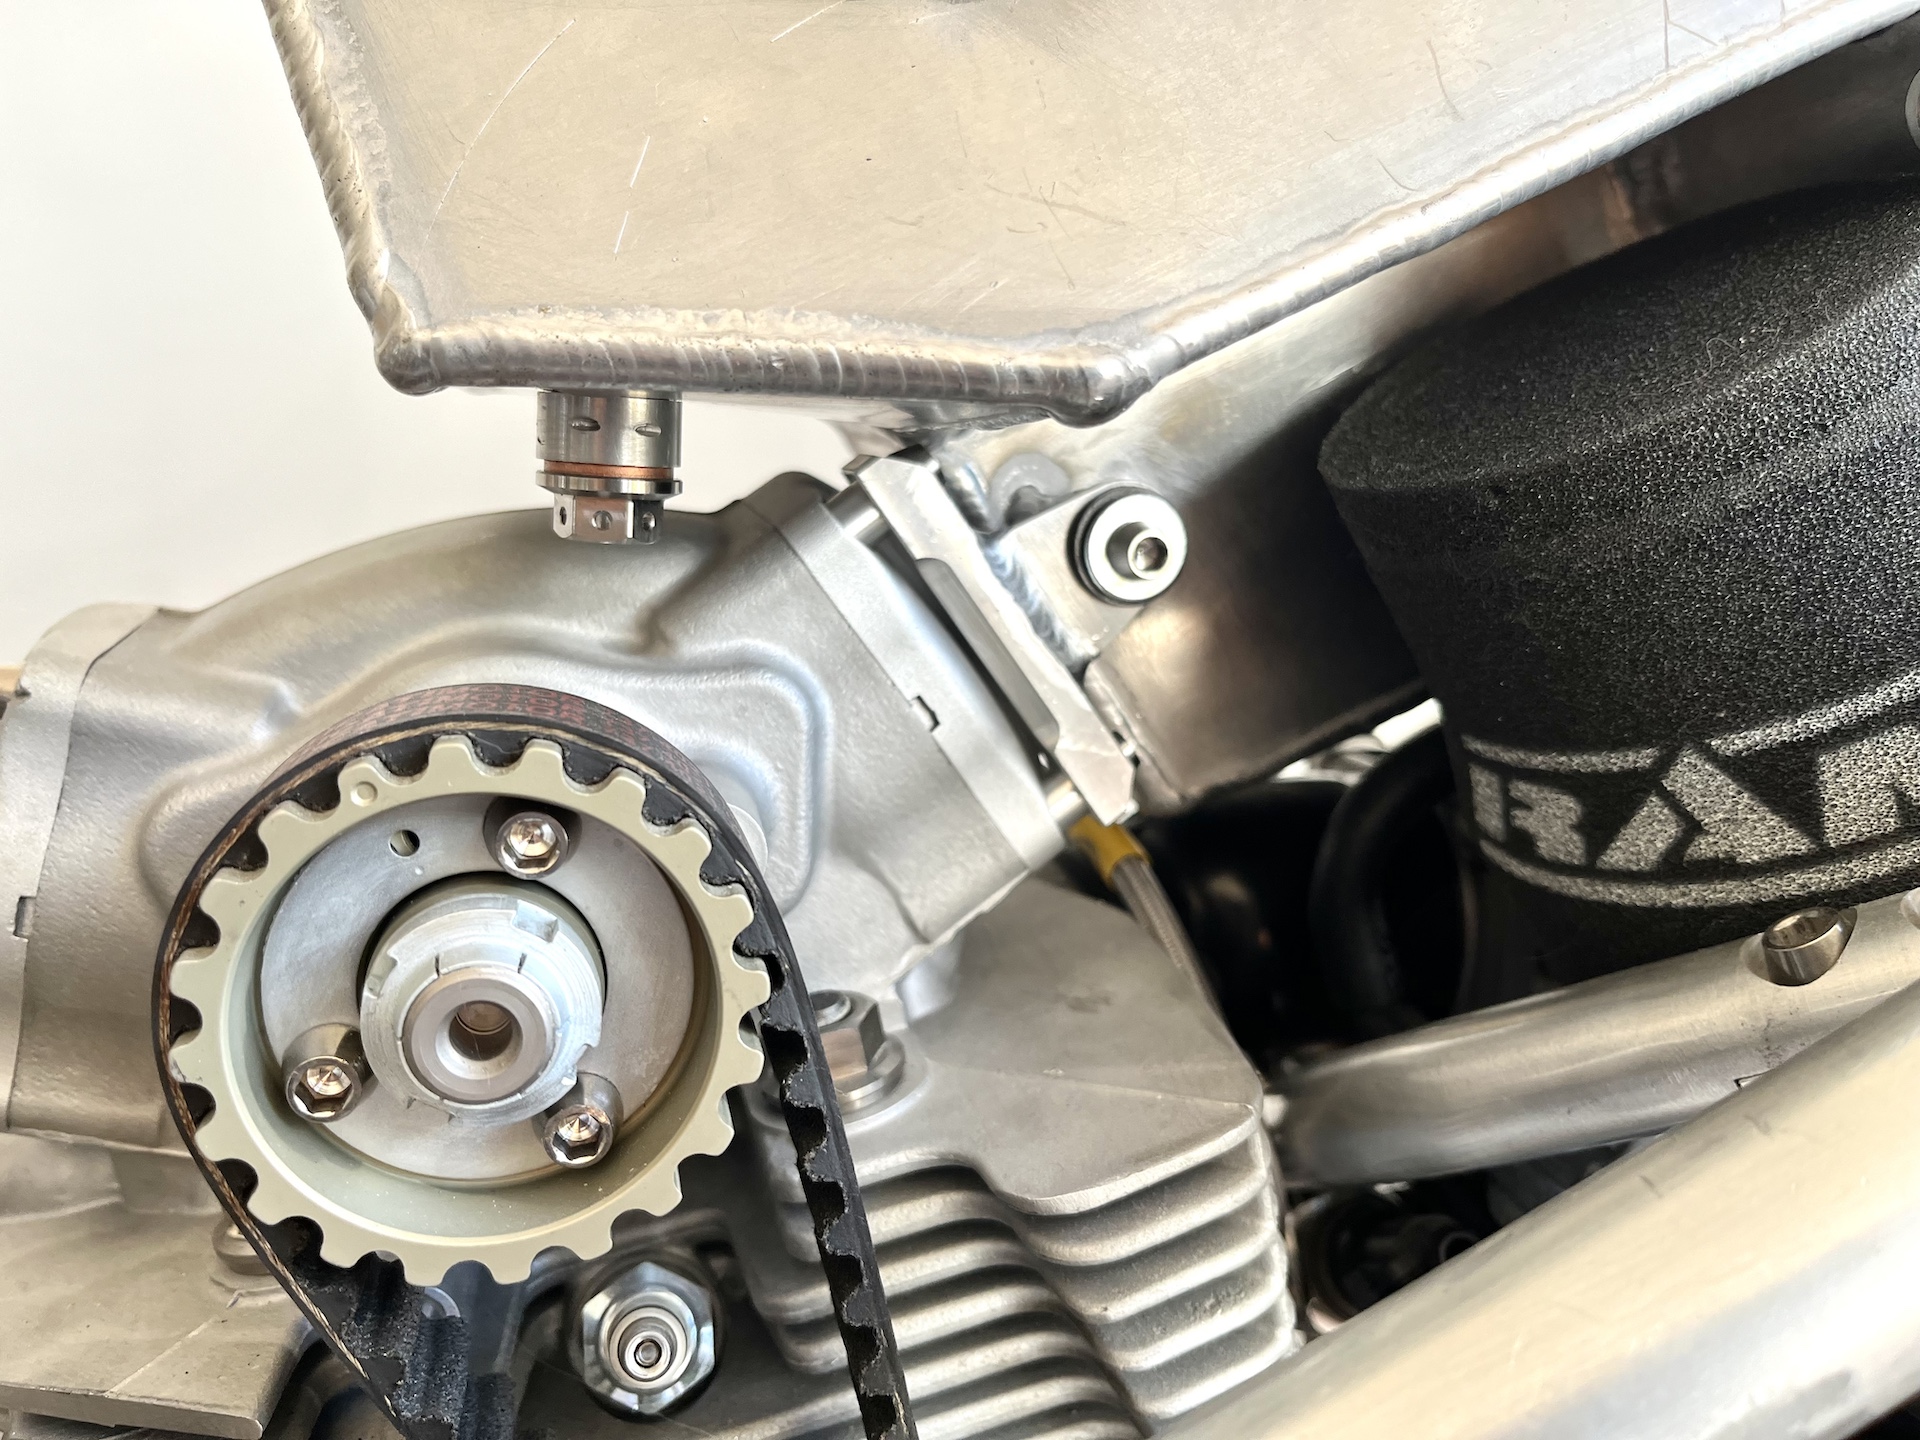
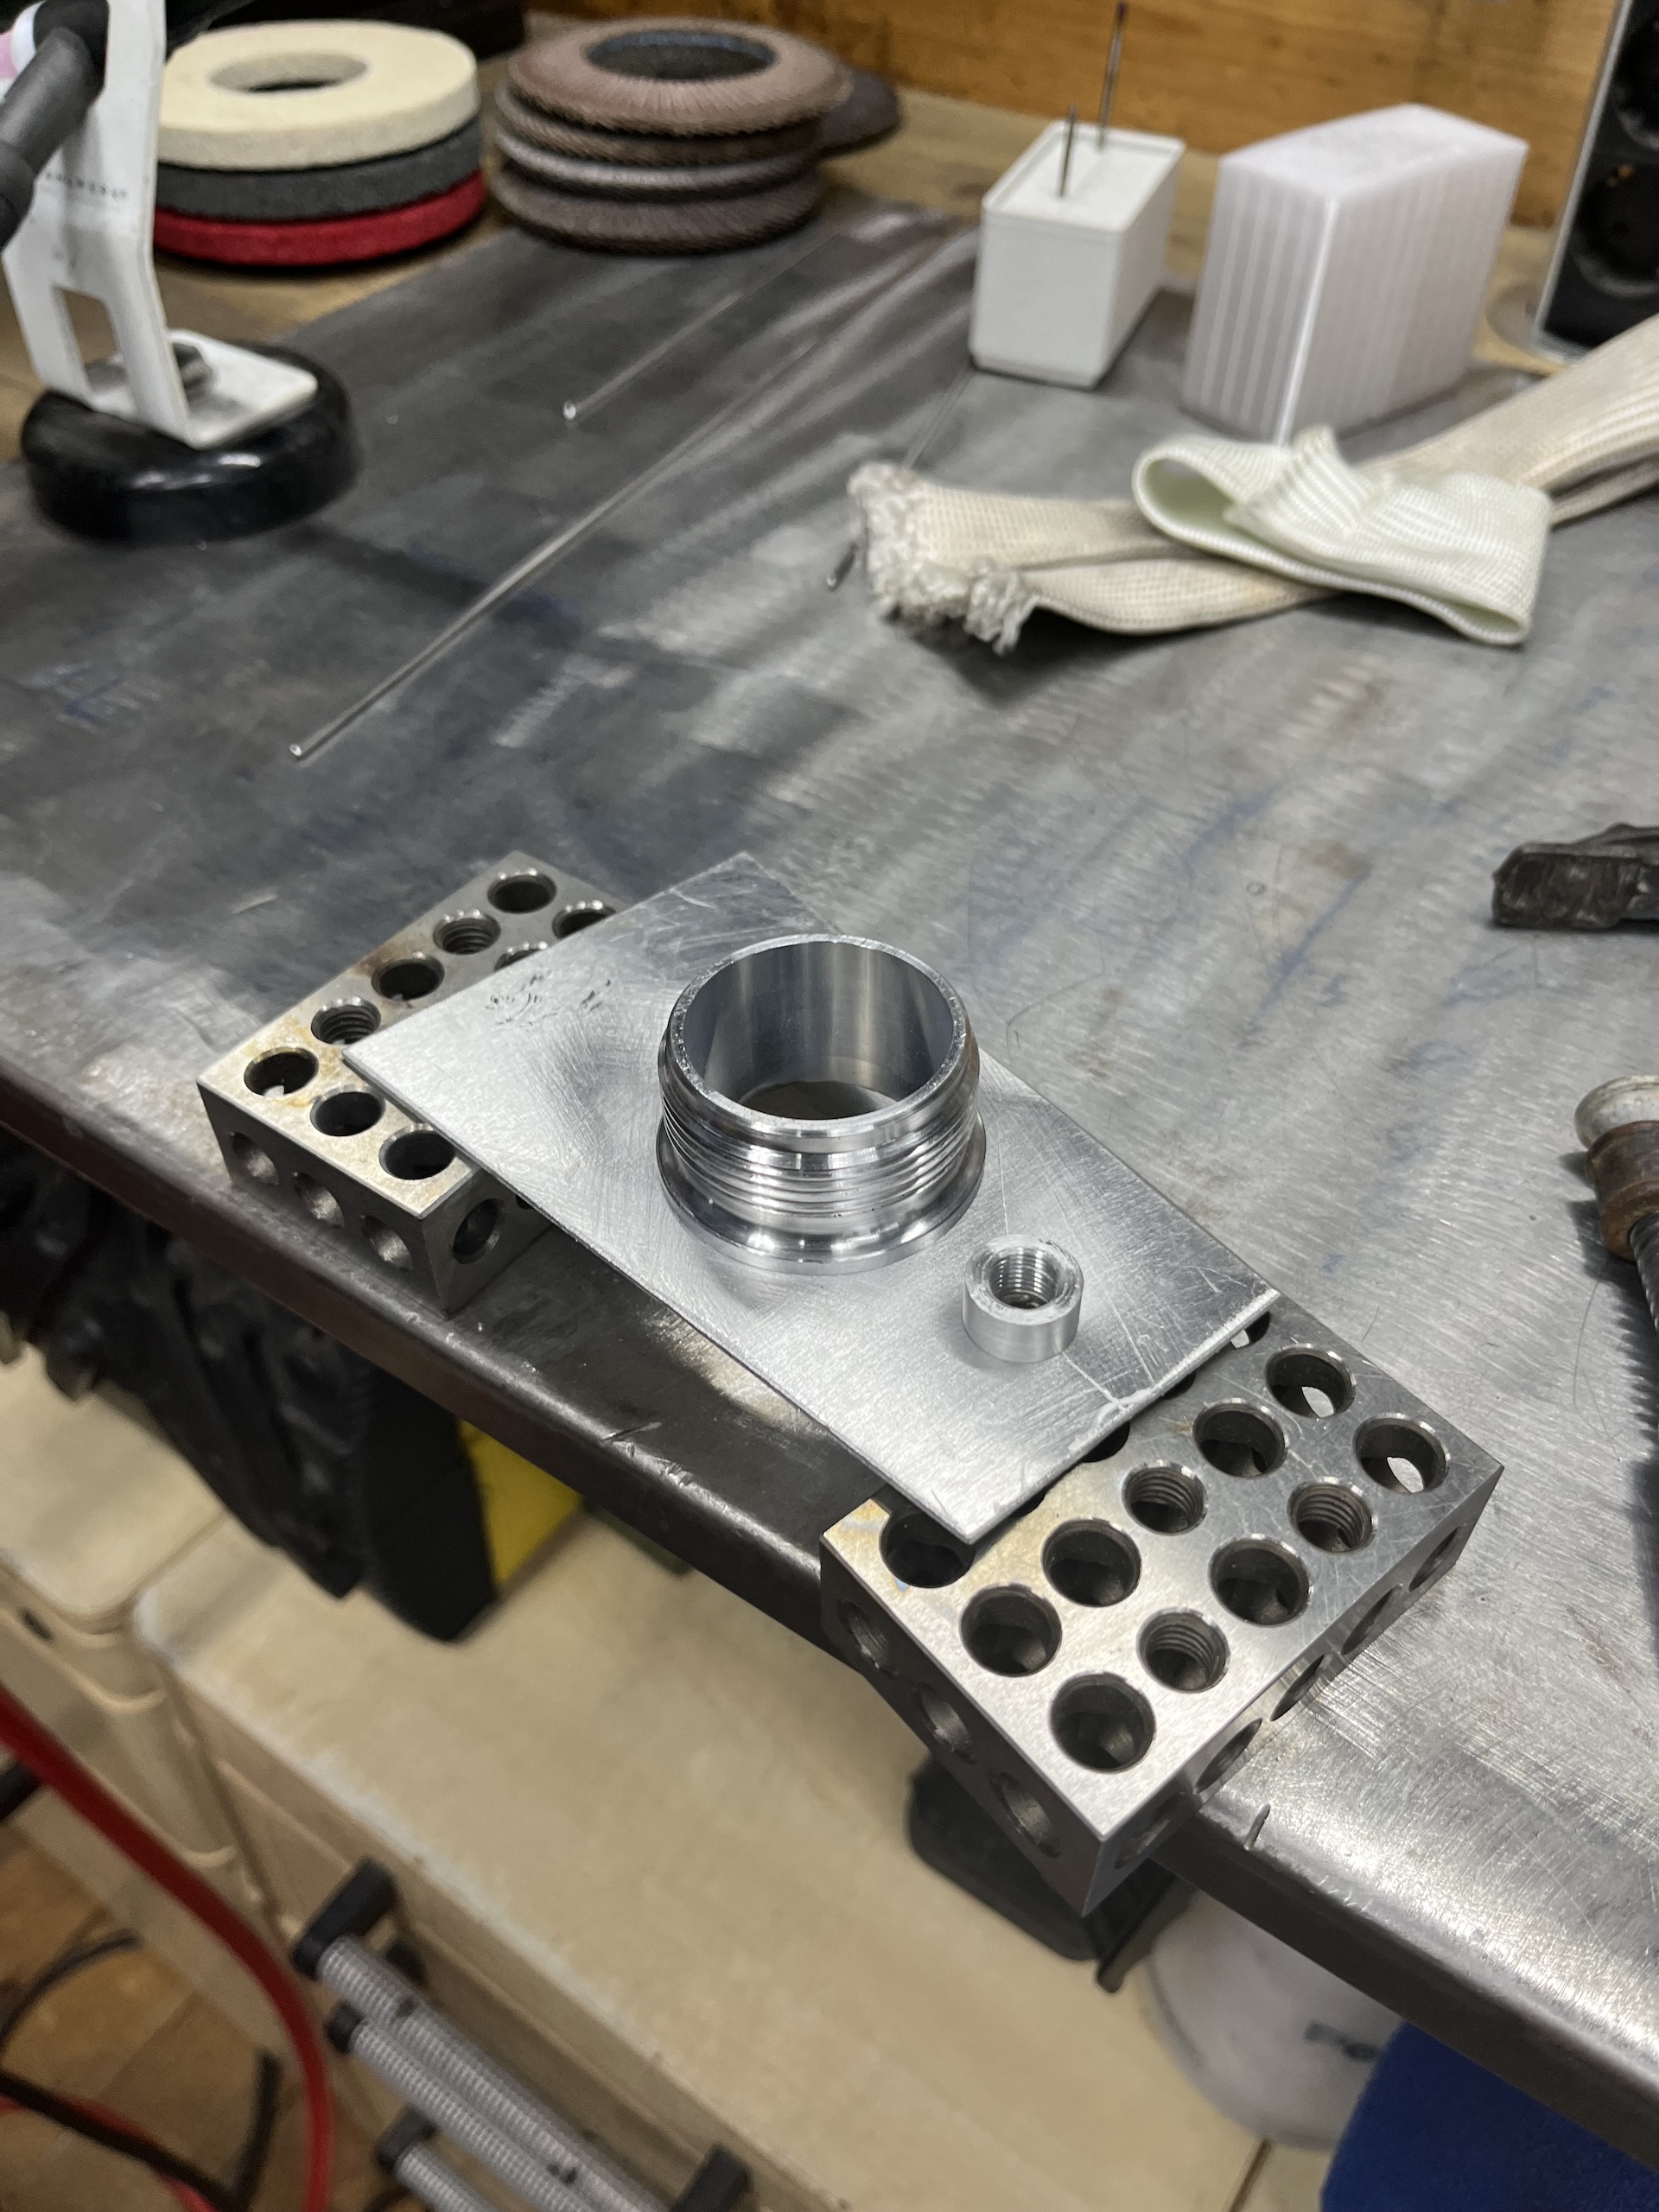
Also put the mill to good use for the first time. Fabricated a custom bracket that mounts to the vertical cylinder head for the tank to mount to.

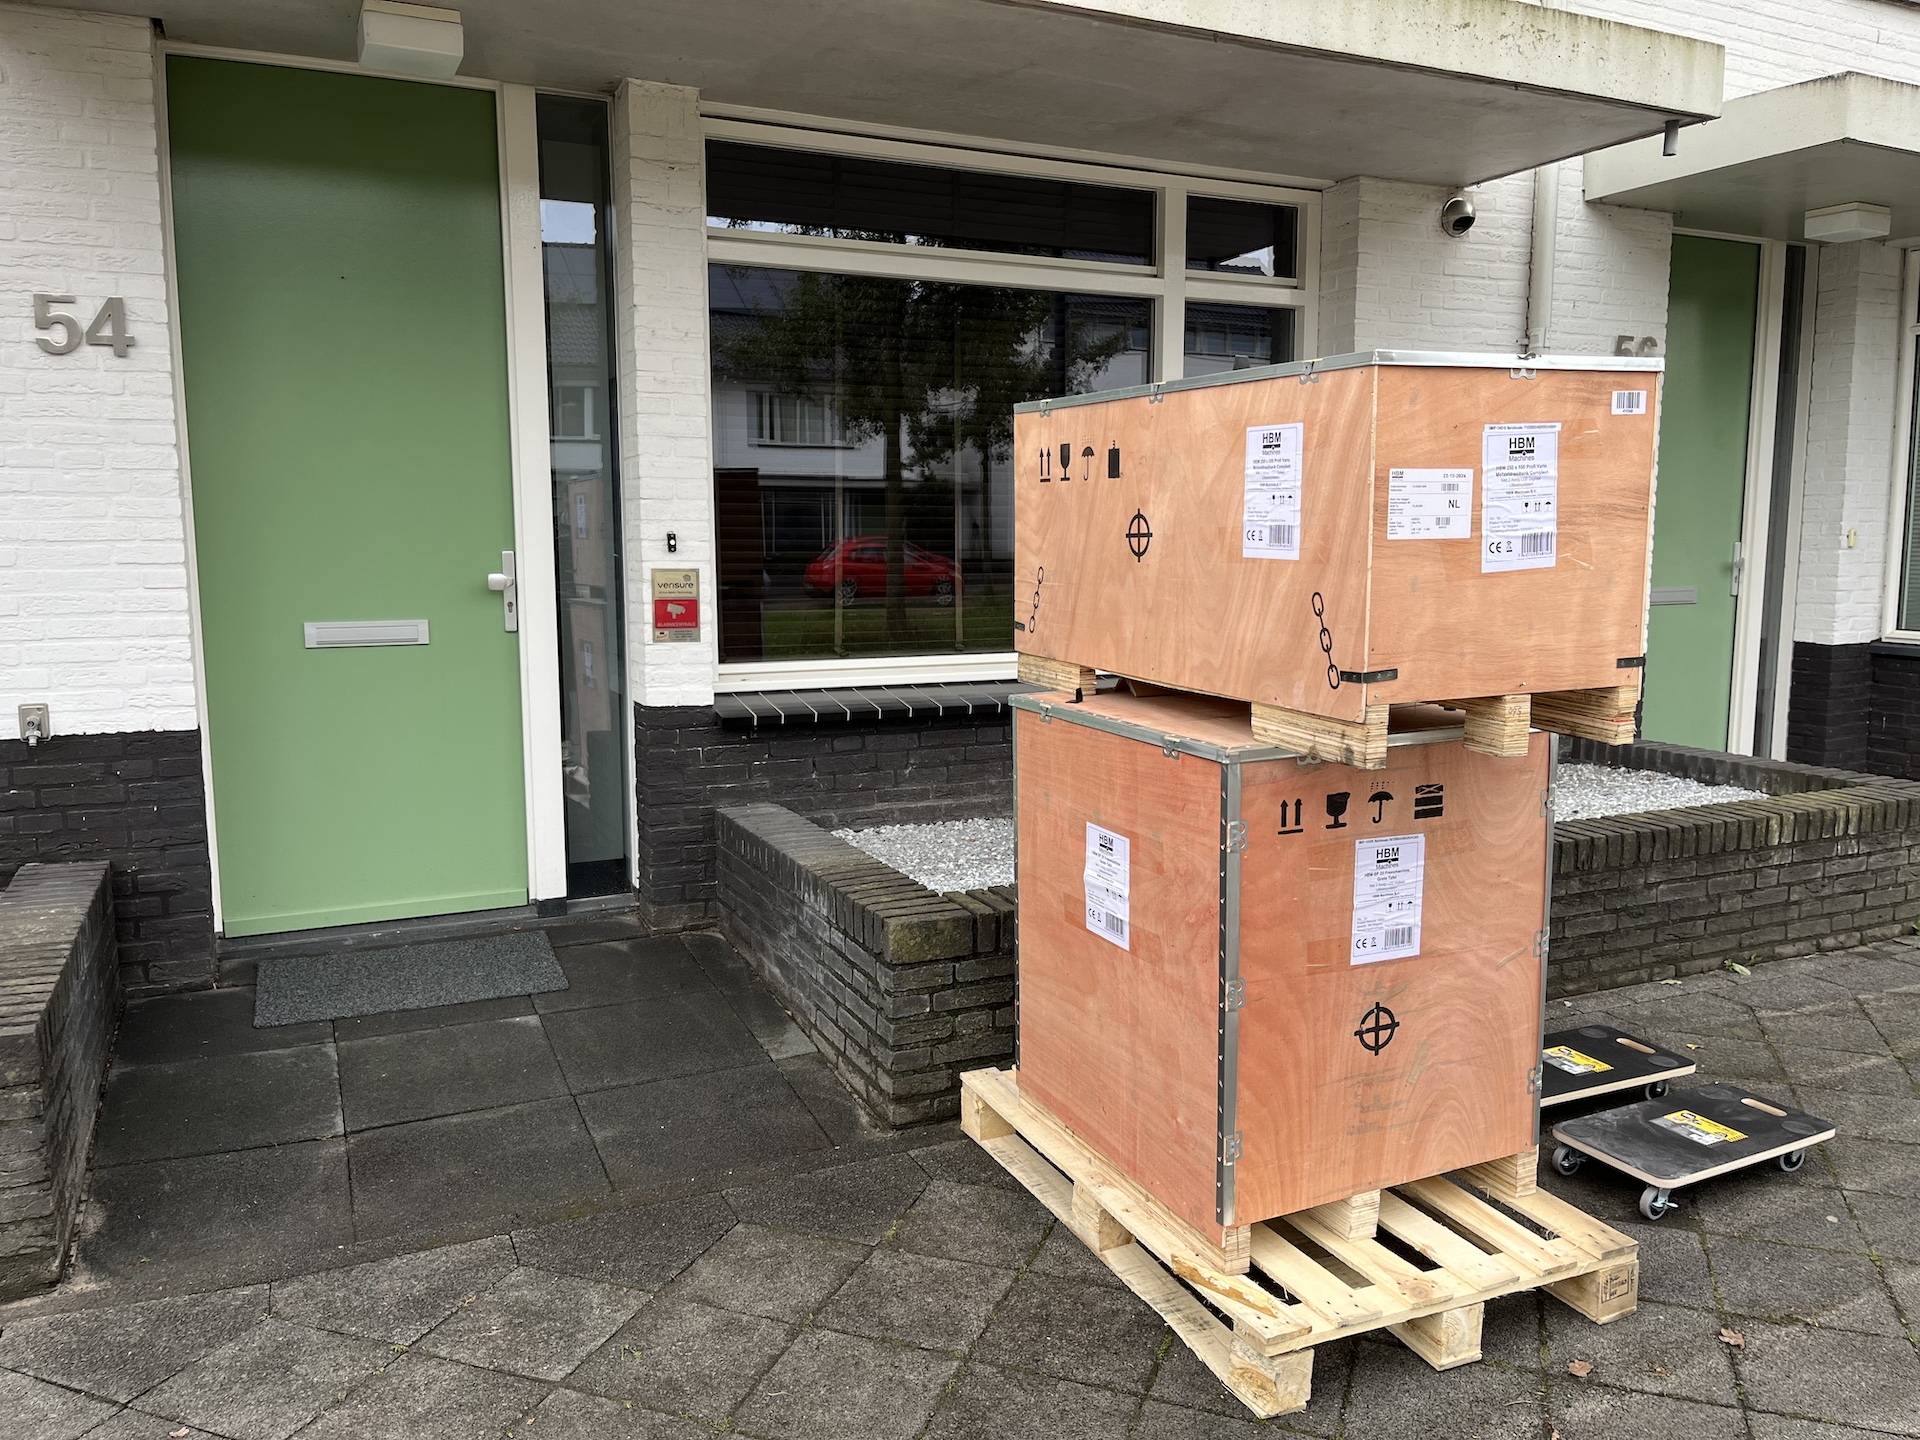
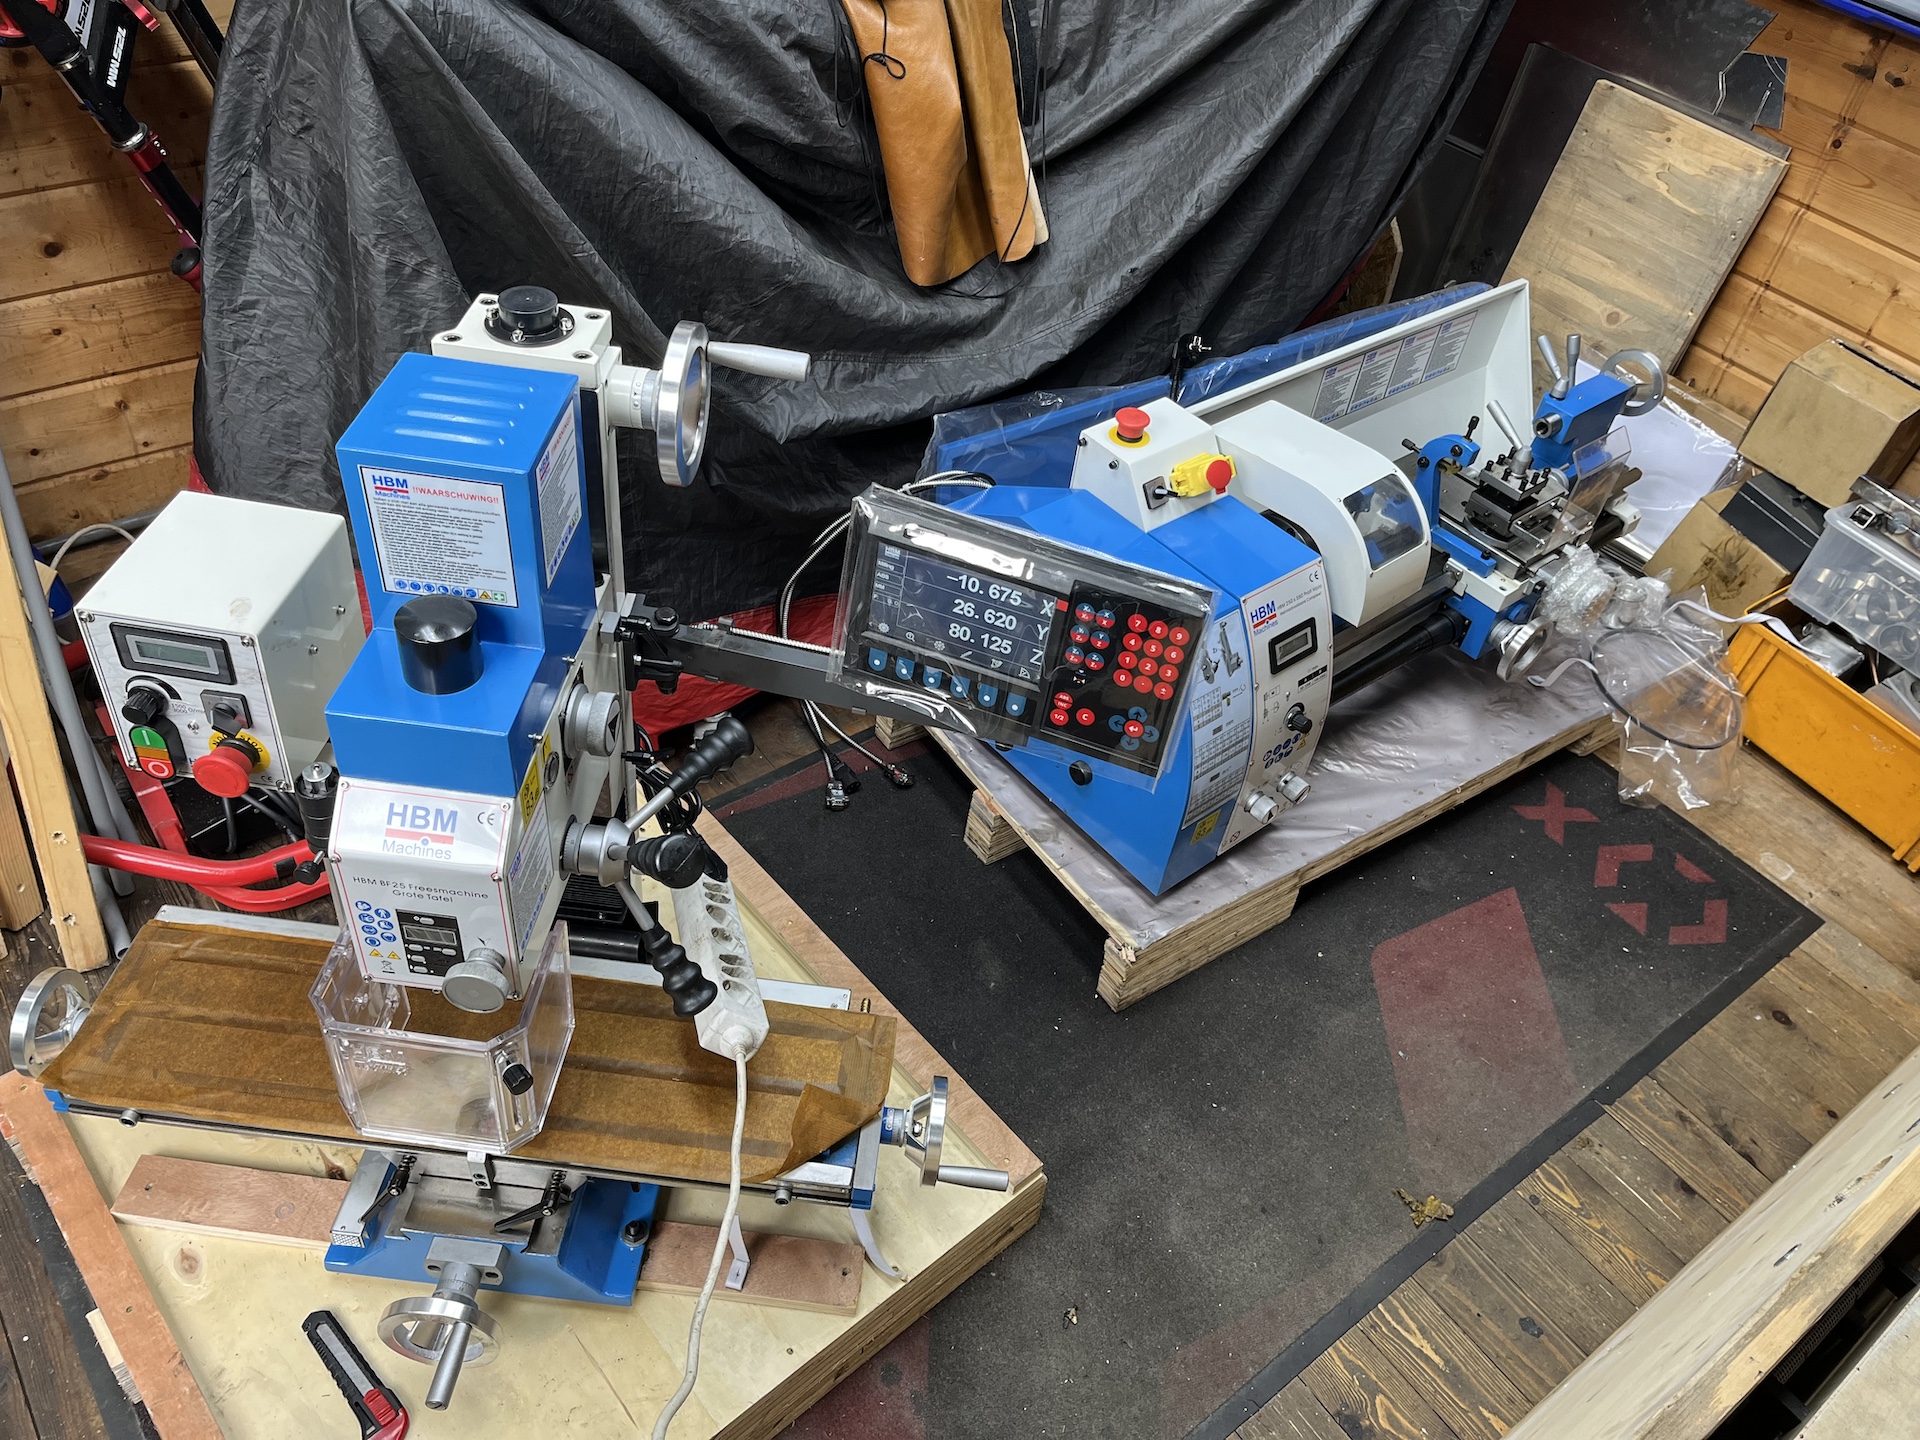
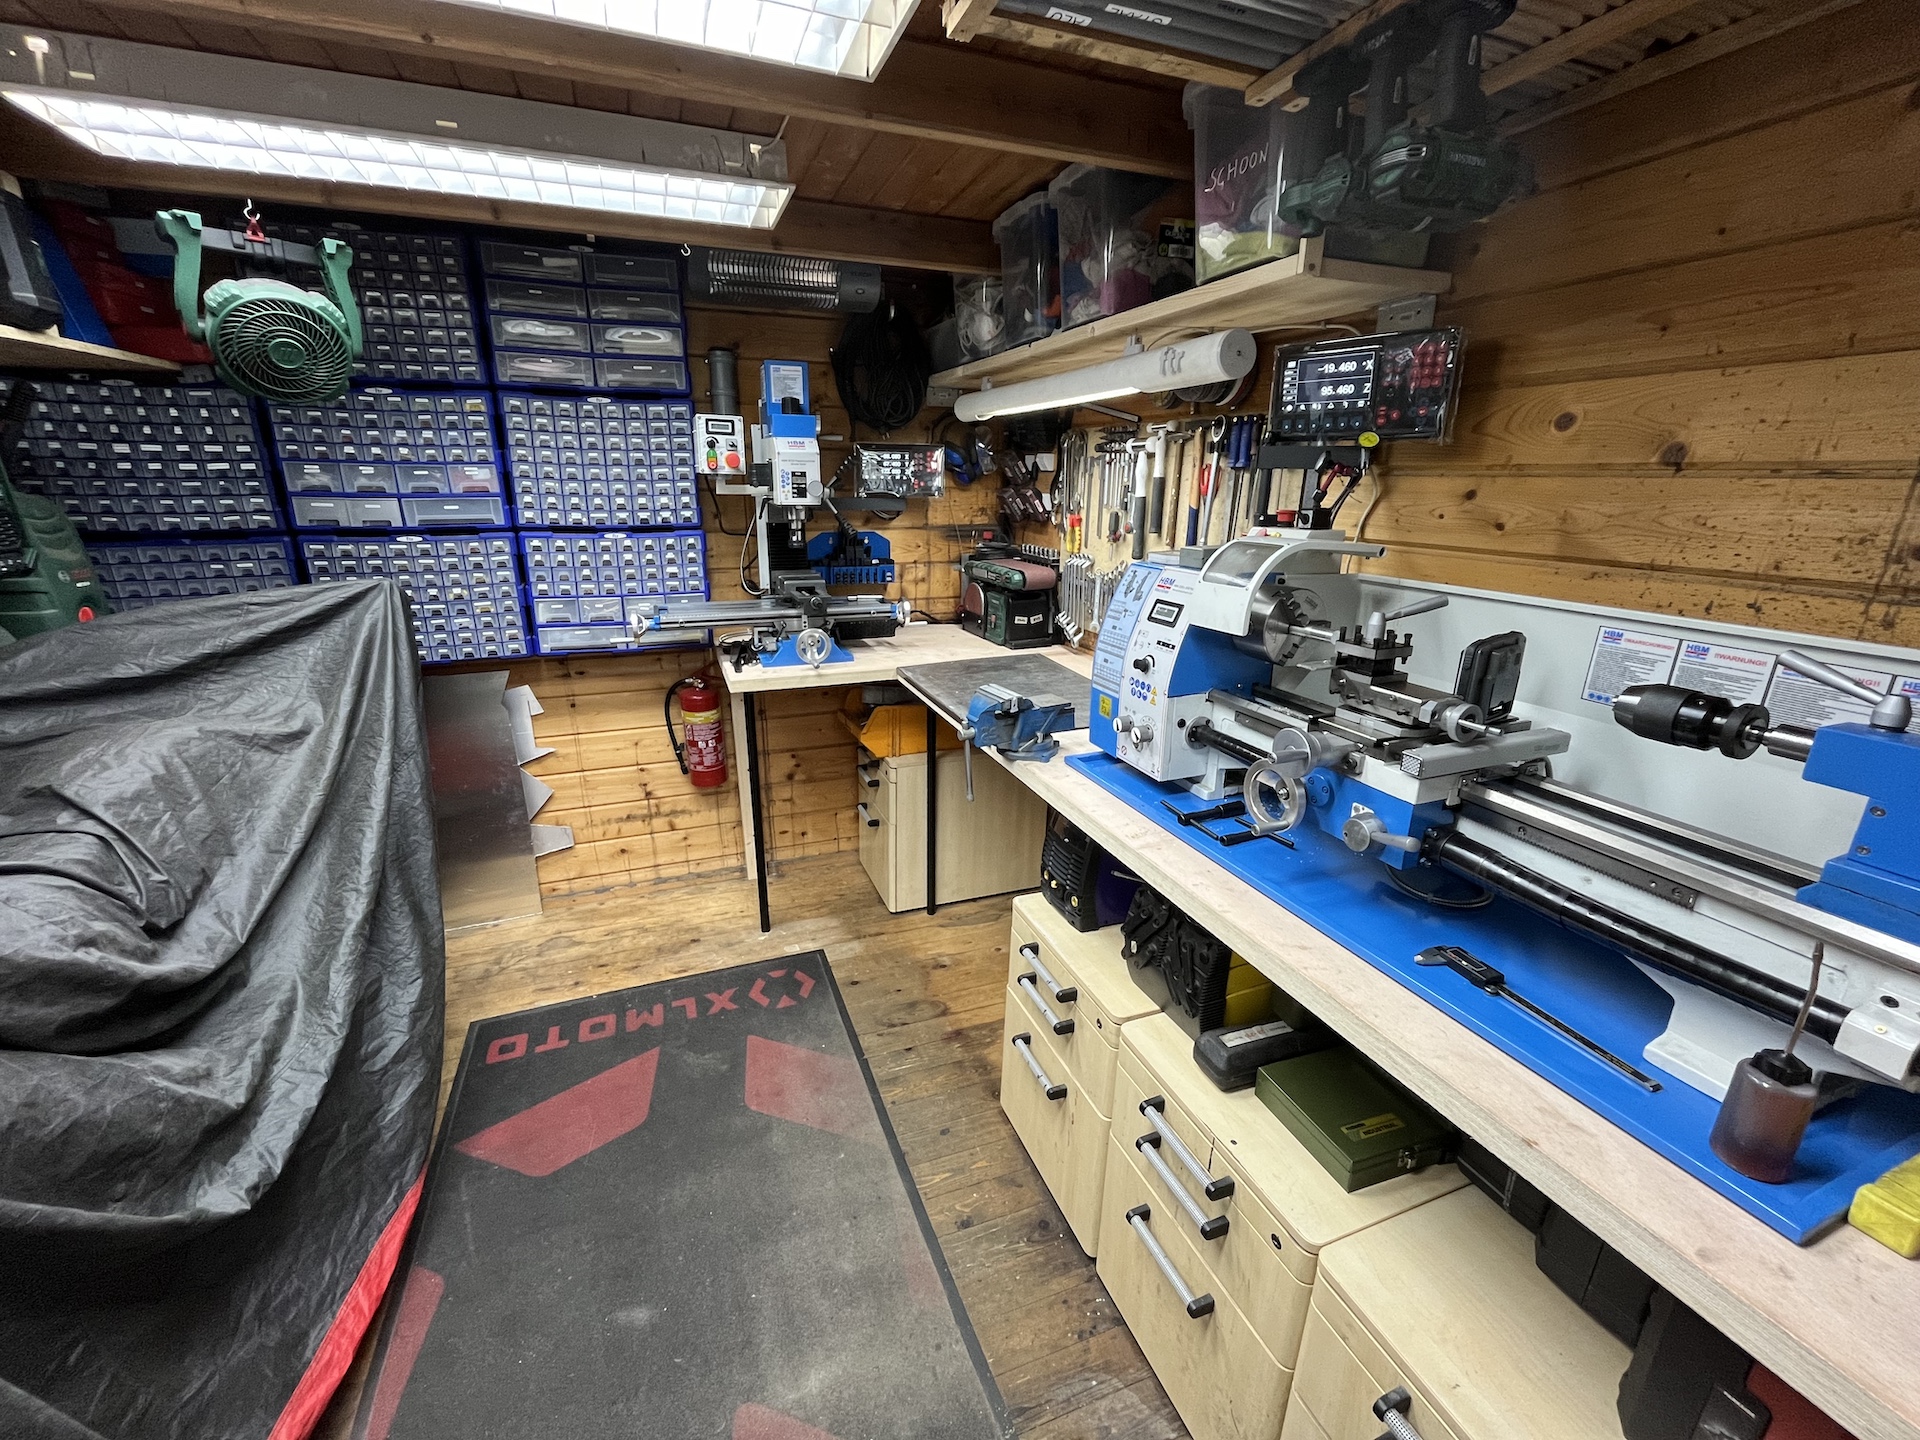
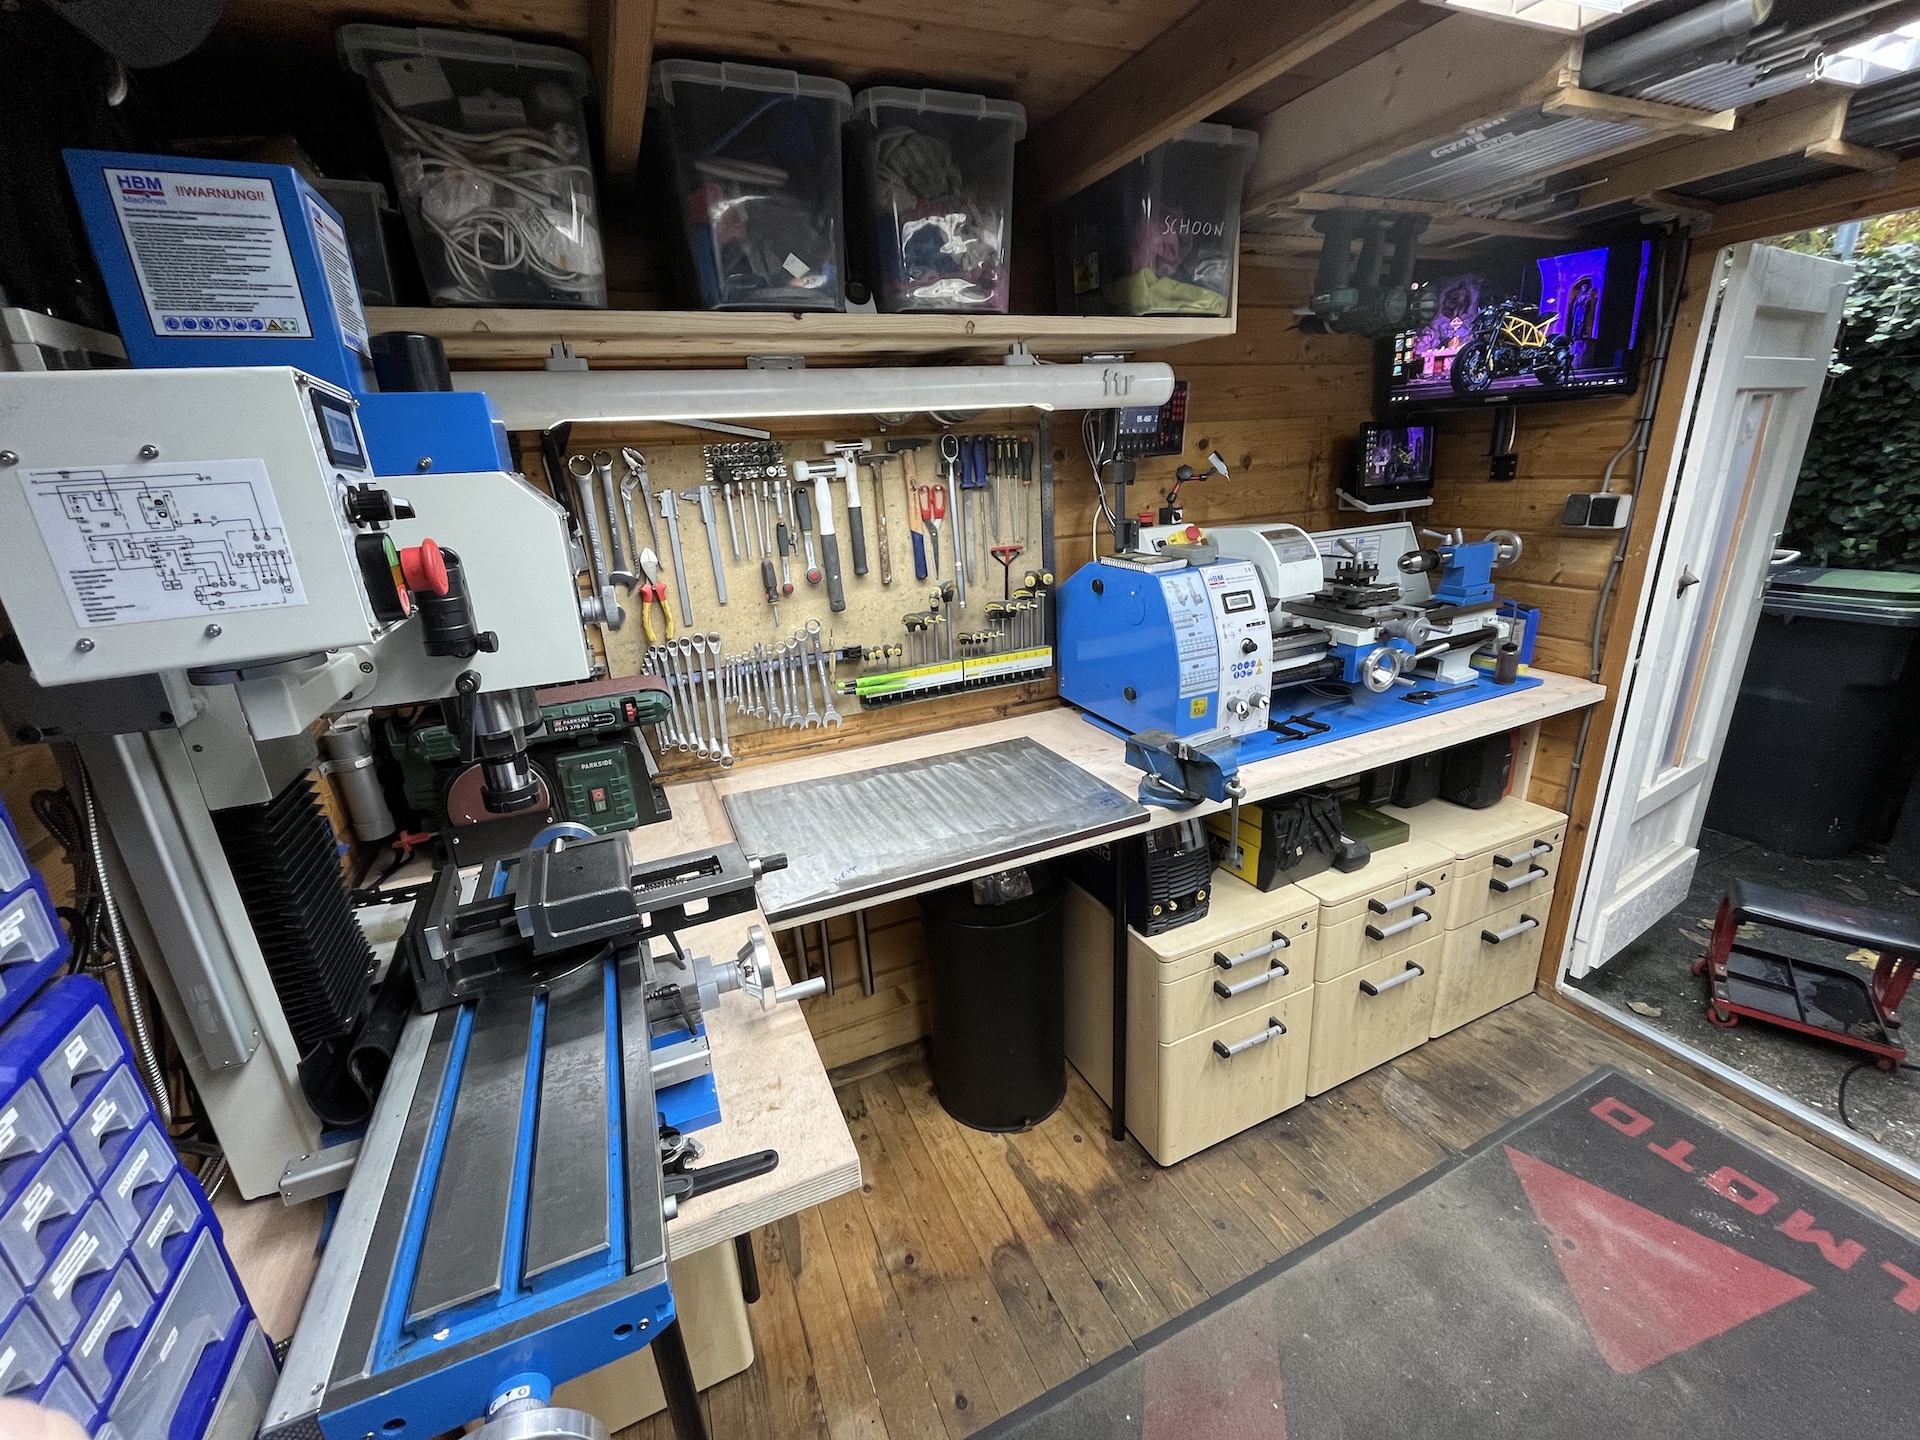
NEW TOOLS!
Time to take the workshop to a new level. My friend Marcus (RIP.) allowed me to use his lathe and mill for the last few years, but was going to sell his company. So now it was time to buy a new lathe and mill for myself in my own workshop next to my house. Restructured the workshop to create some space and almost killed myself getting these crates in. But after that we are ready to roll and start fabricating parts again.
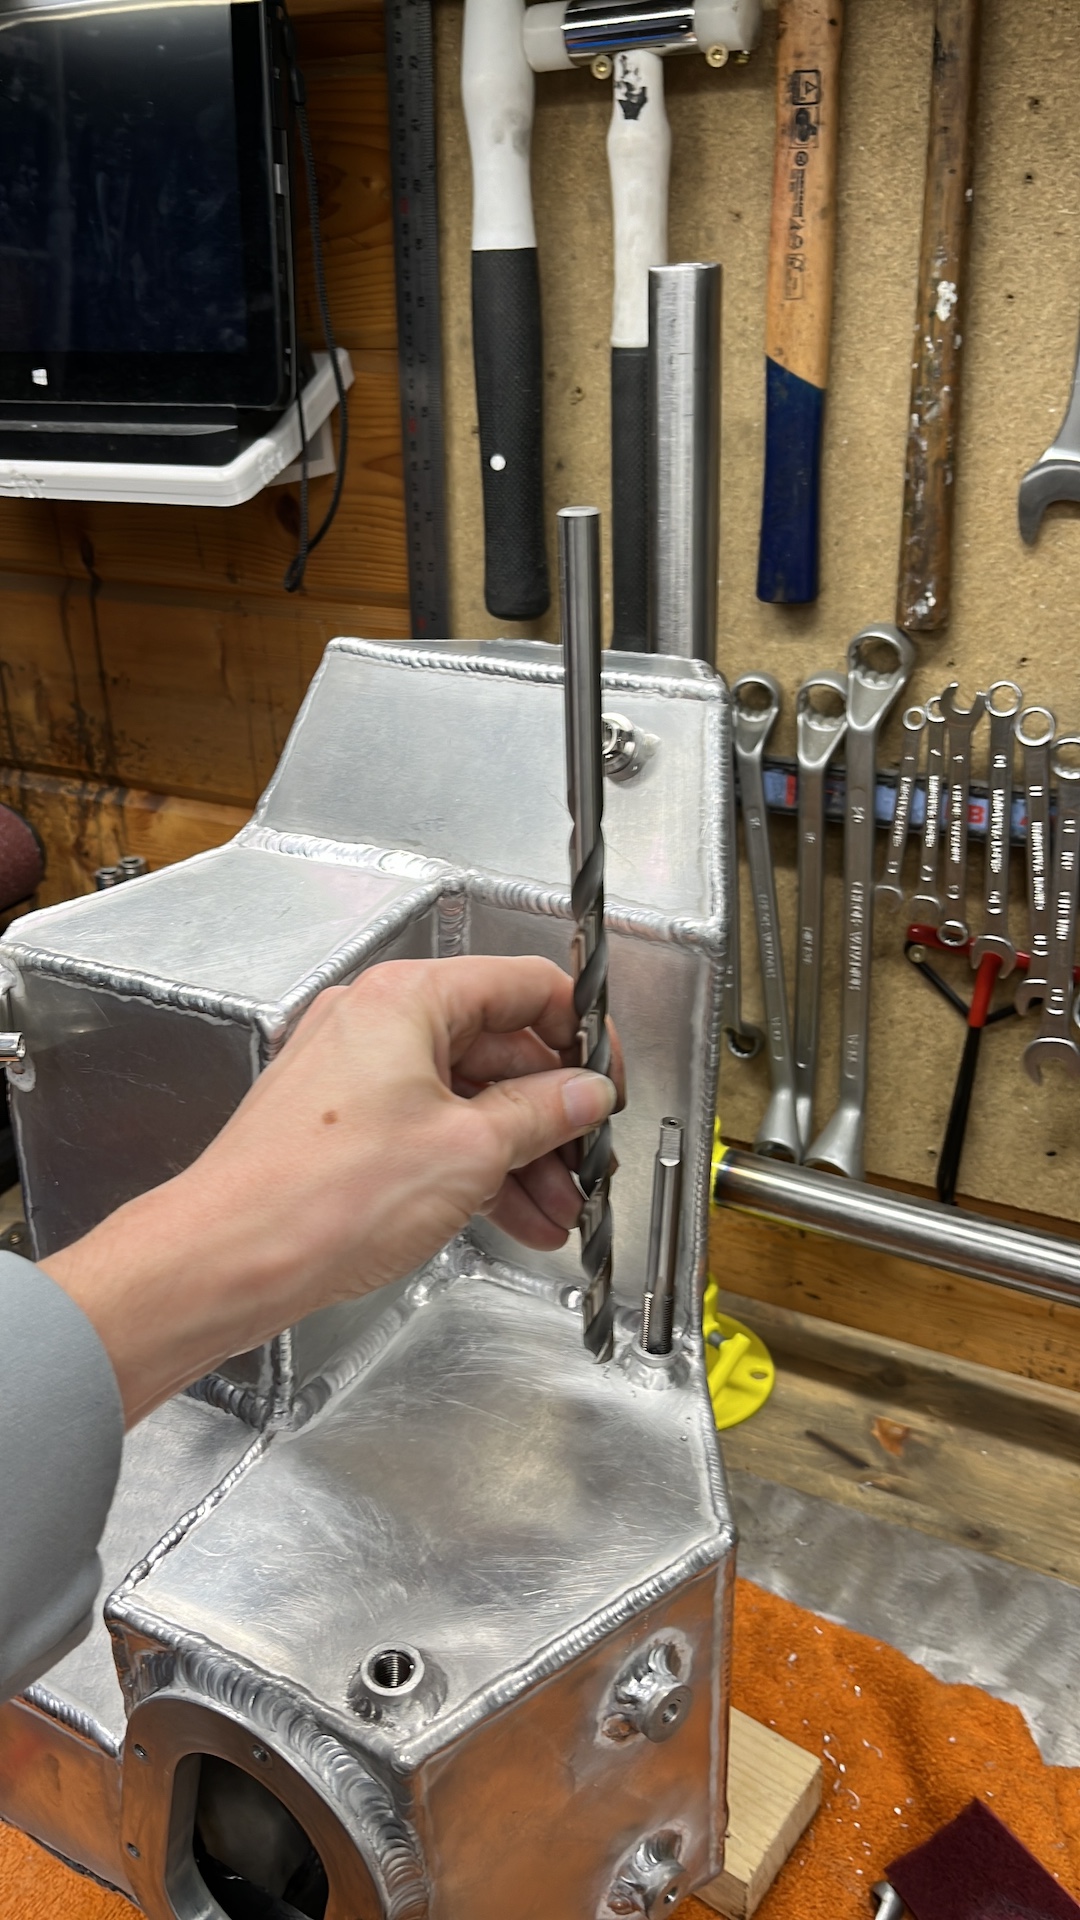
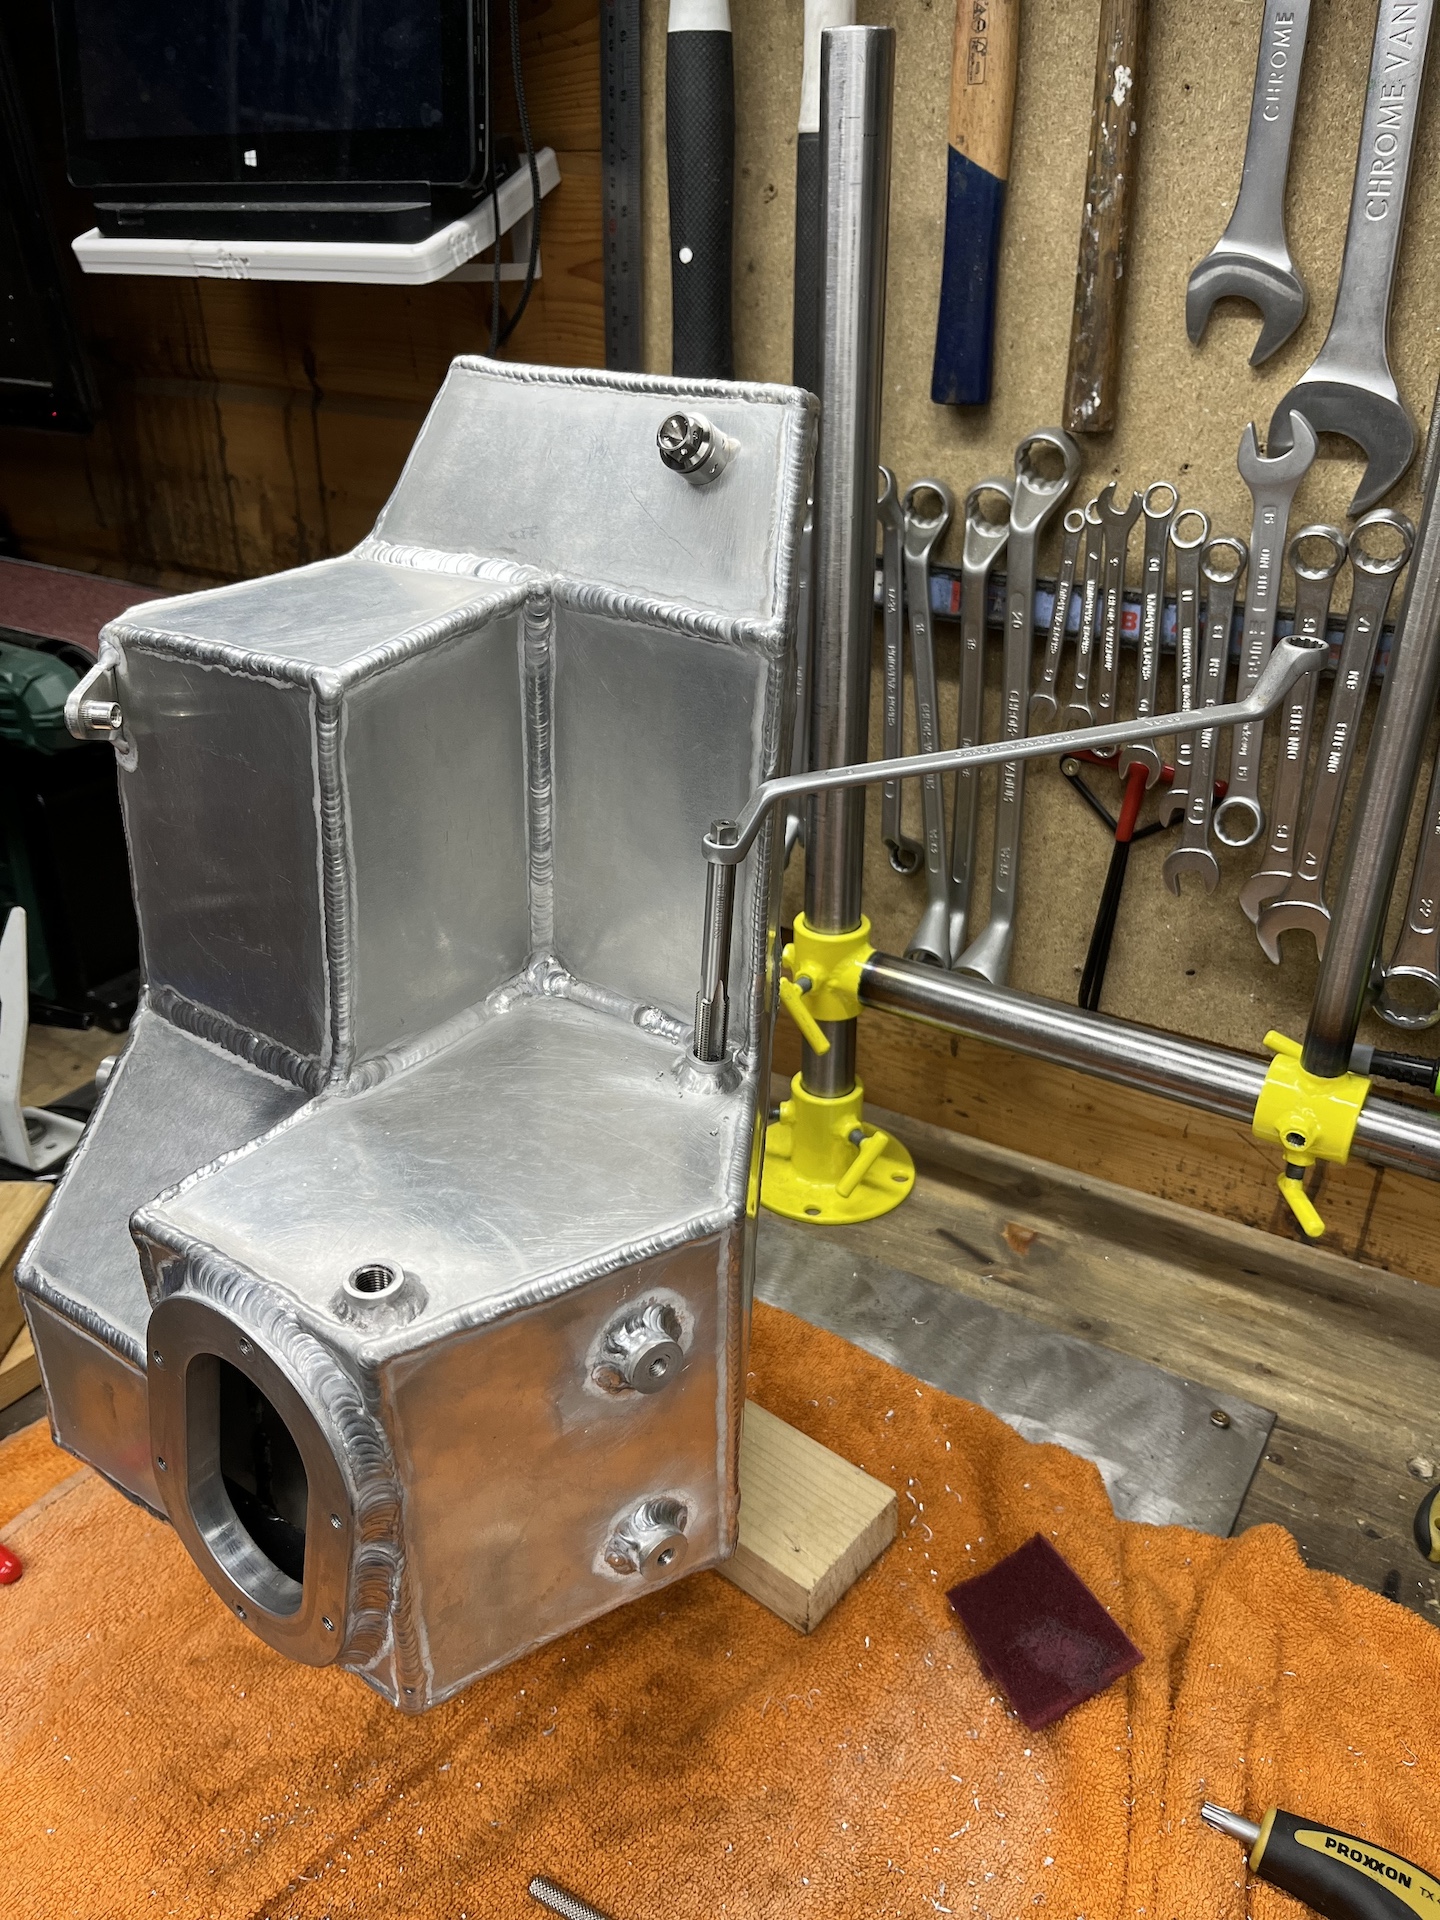
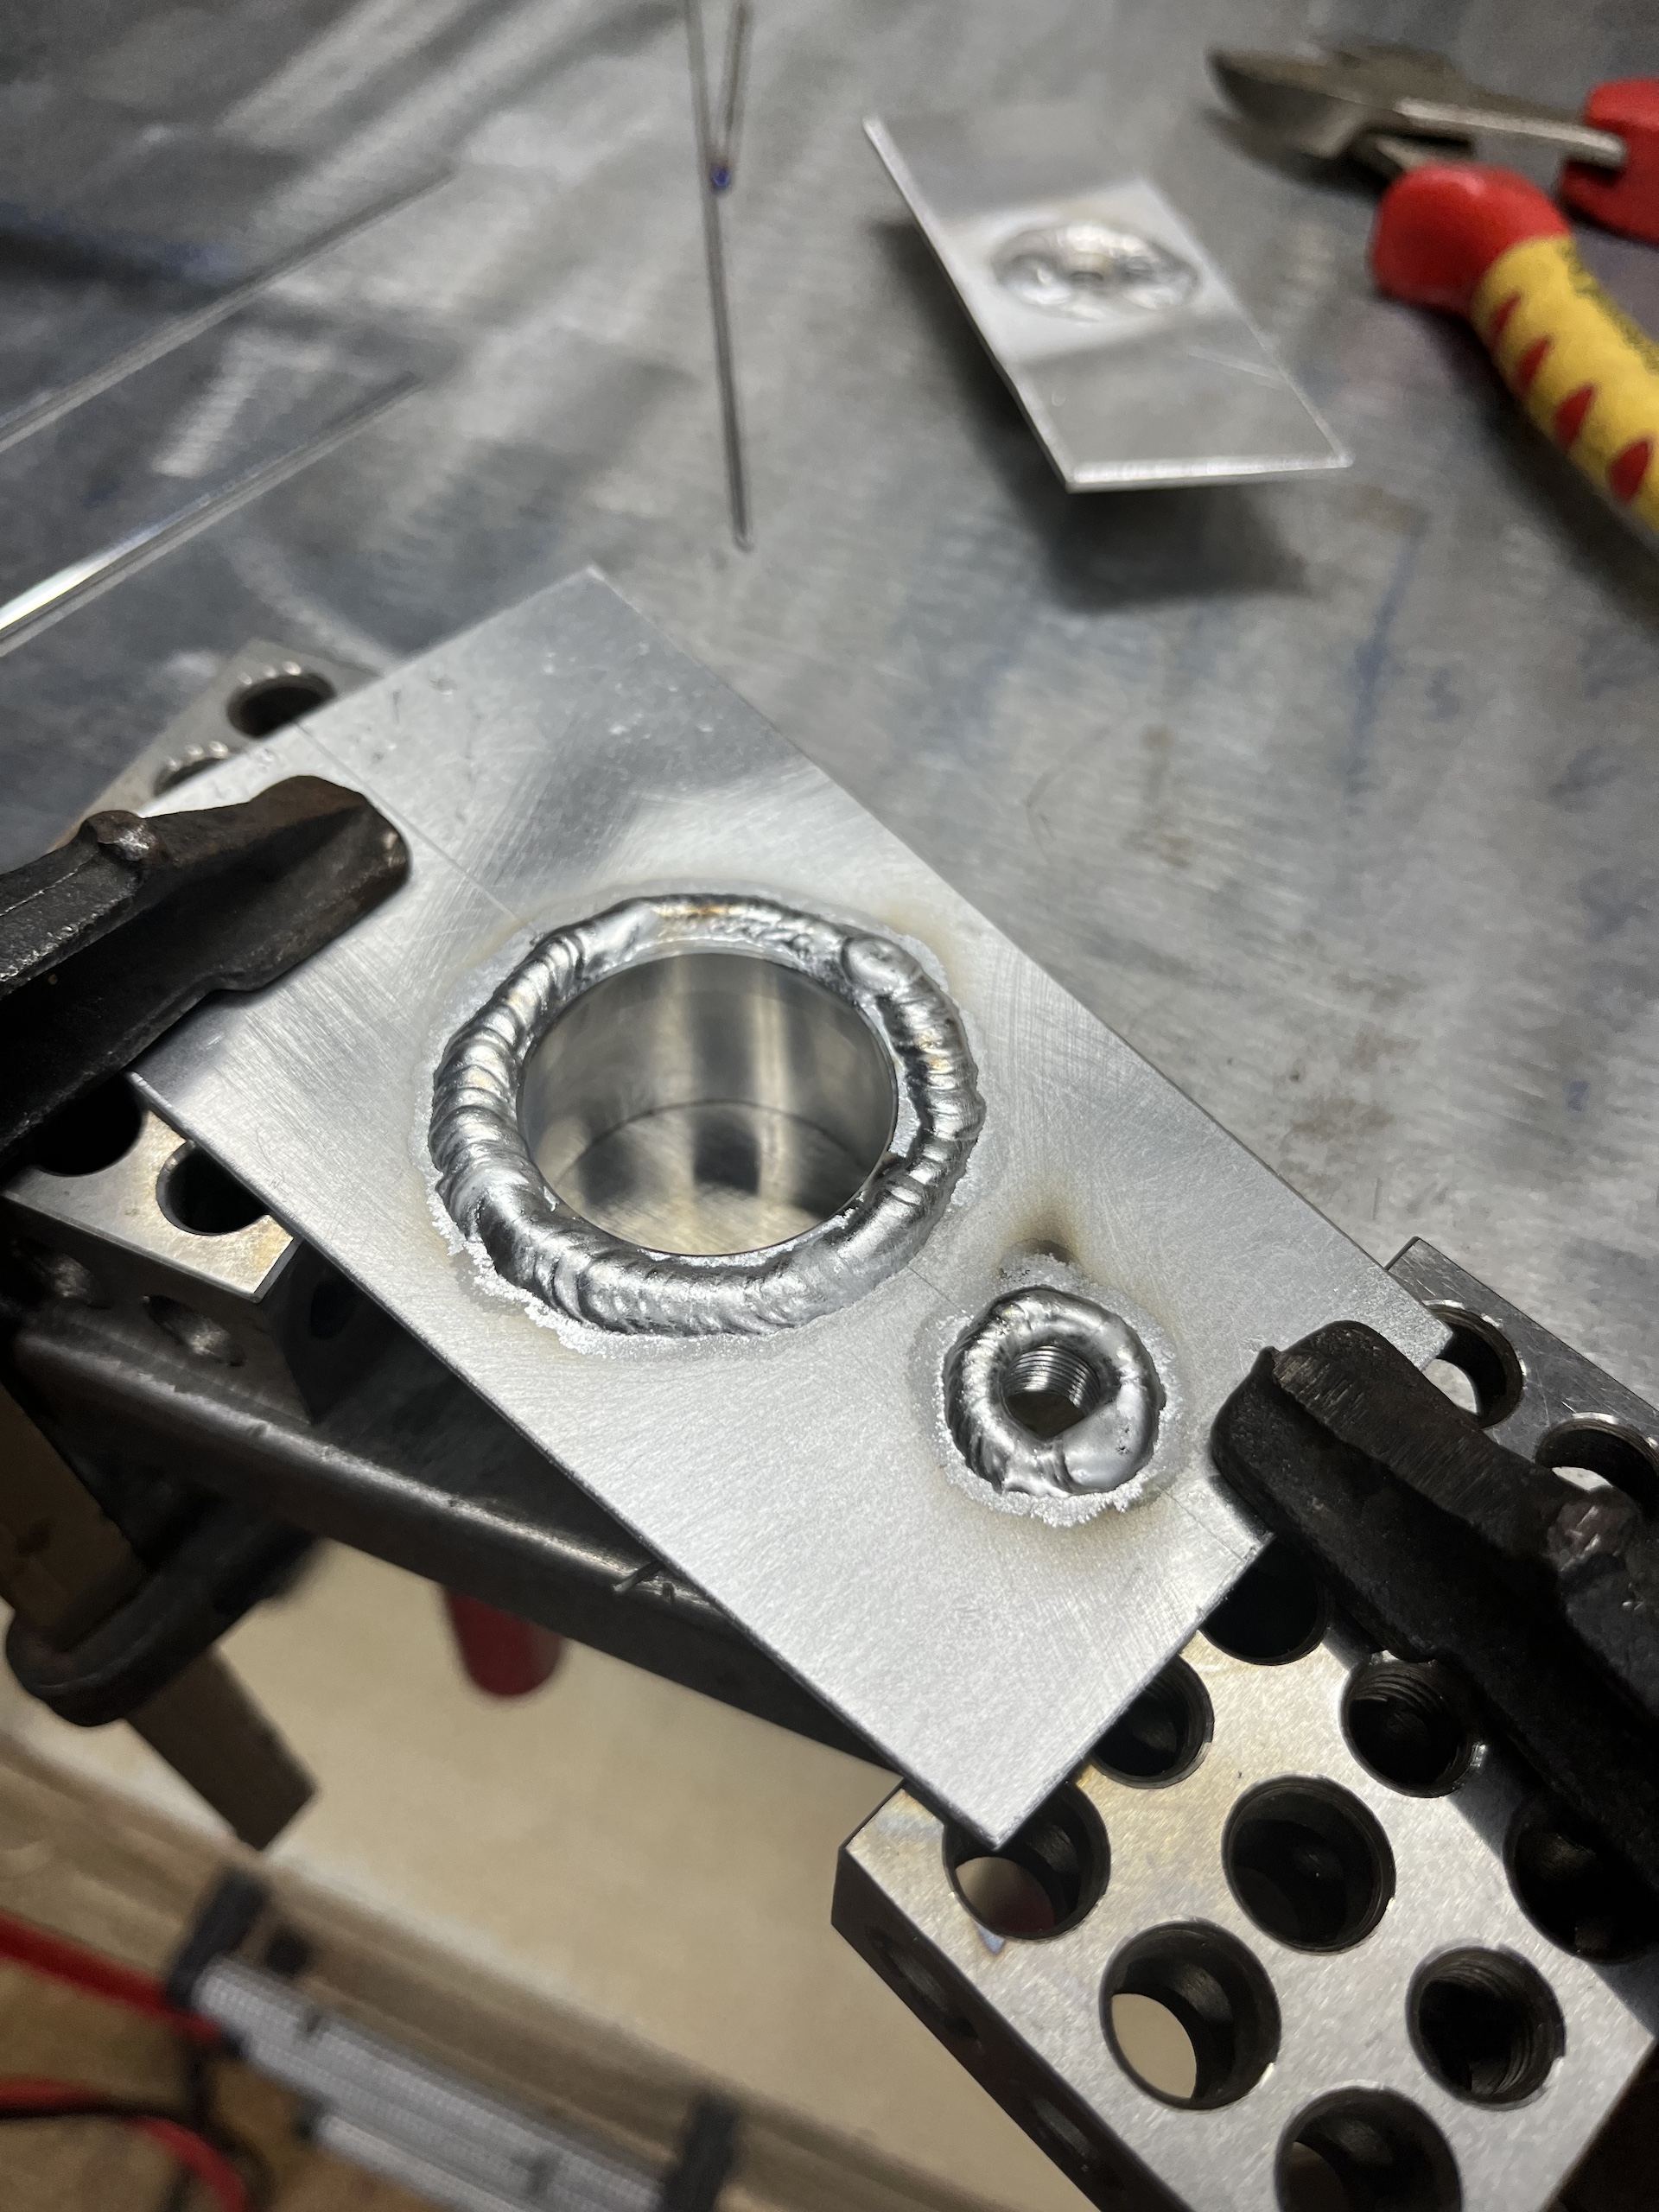
OOPS HELICOILS NEEDED
Yes I know, this was asking for trouble. M10X1.0 threads in aluminium for the banjo bolts in the tank. Threads were fucked after tightening to pressure test the tank. Time to put helicoils in. With 1 challenge…. I was not able to get a drill into 1 of the threads. So I ordered a special 10.3mm extremely long drill bit to get that sorted haha.

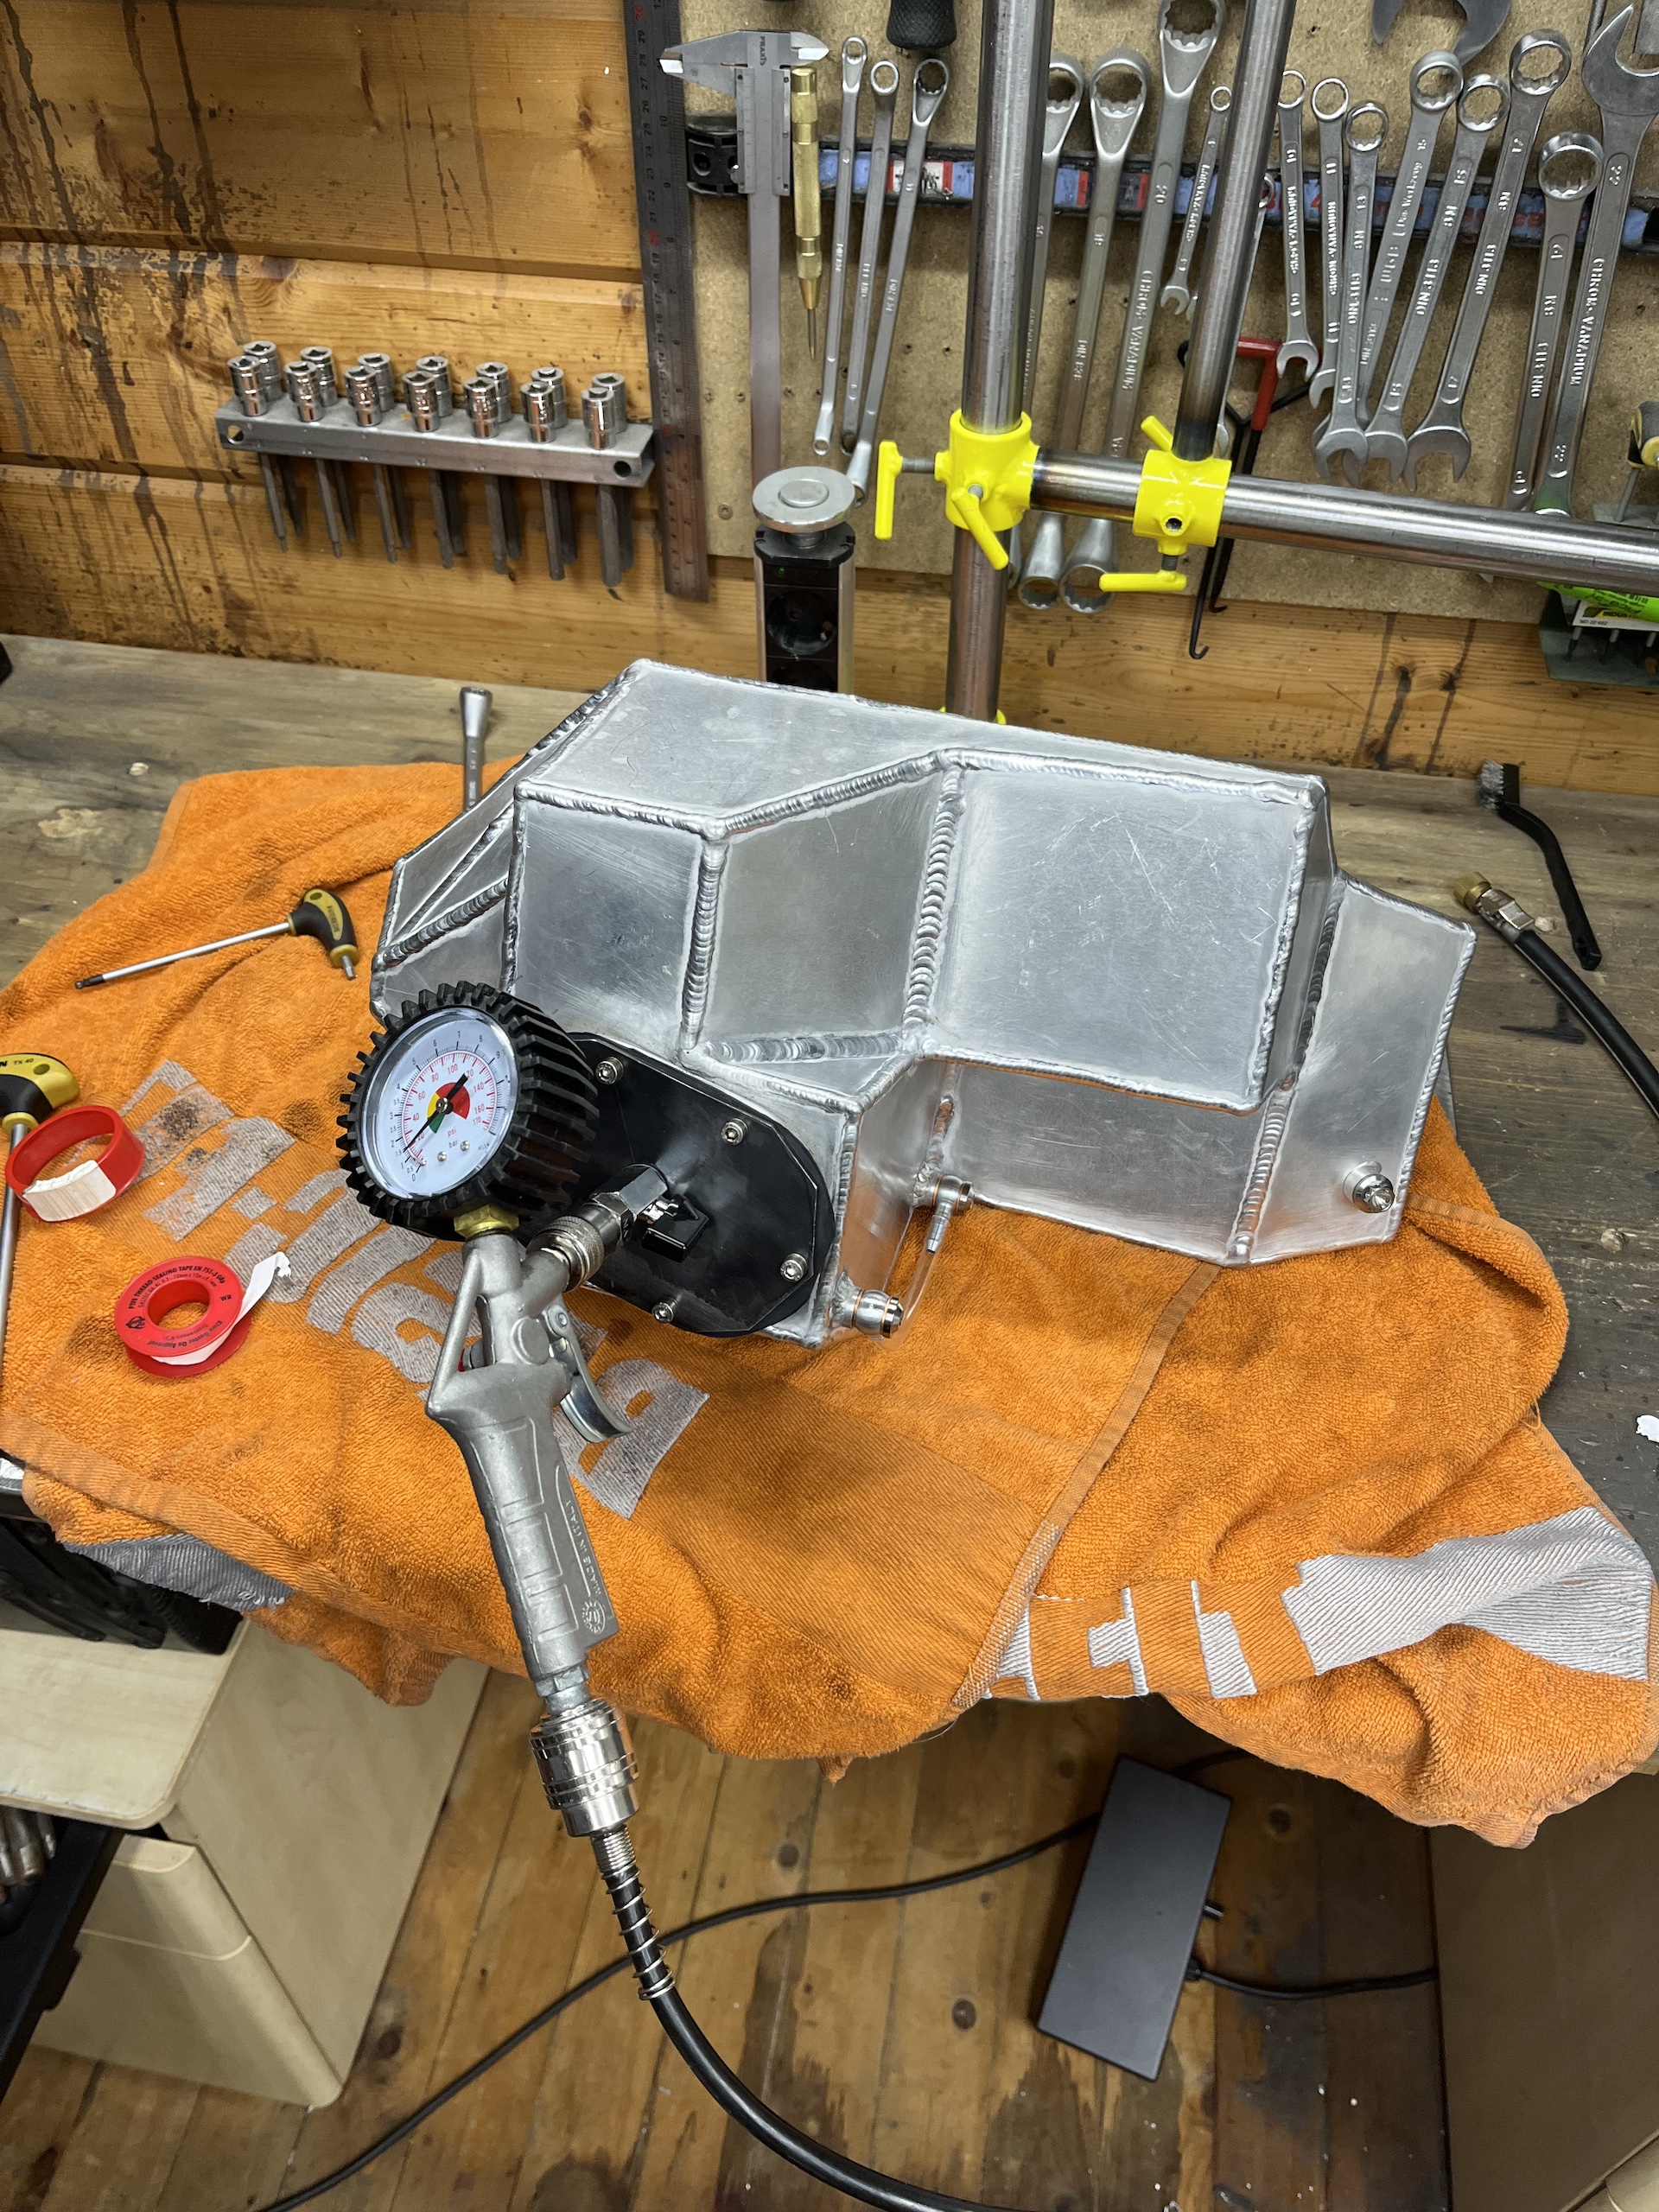
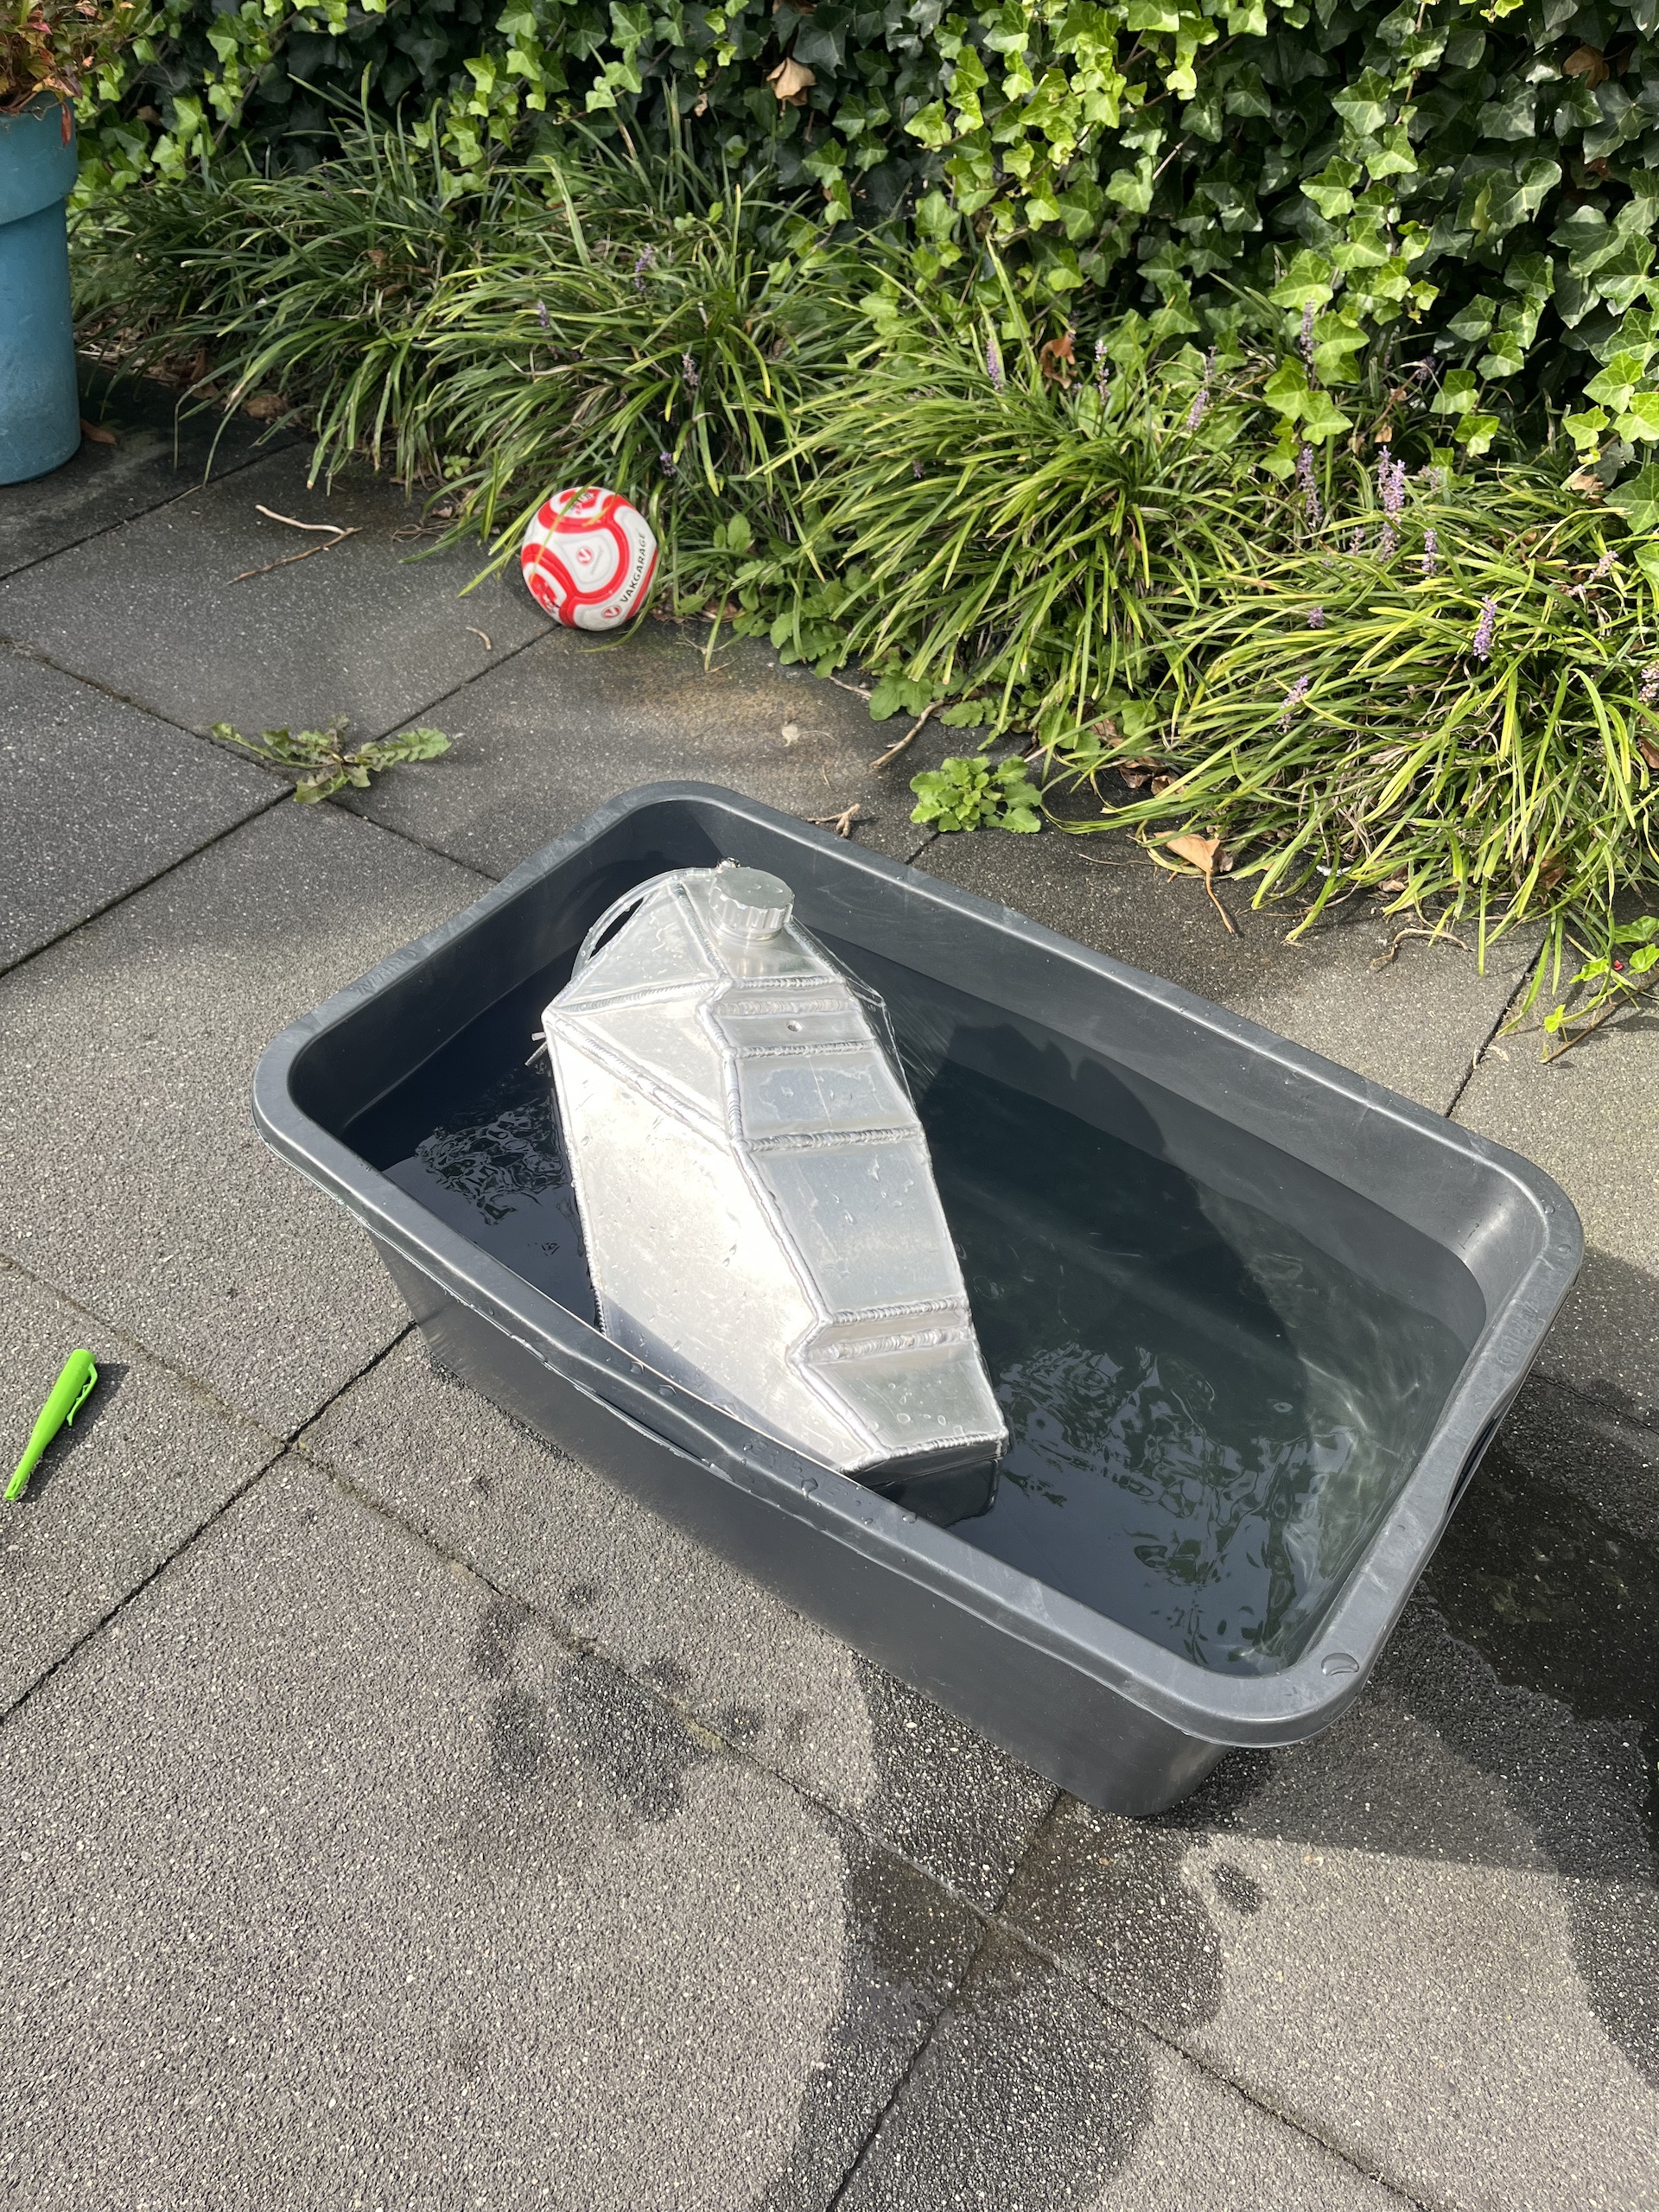
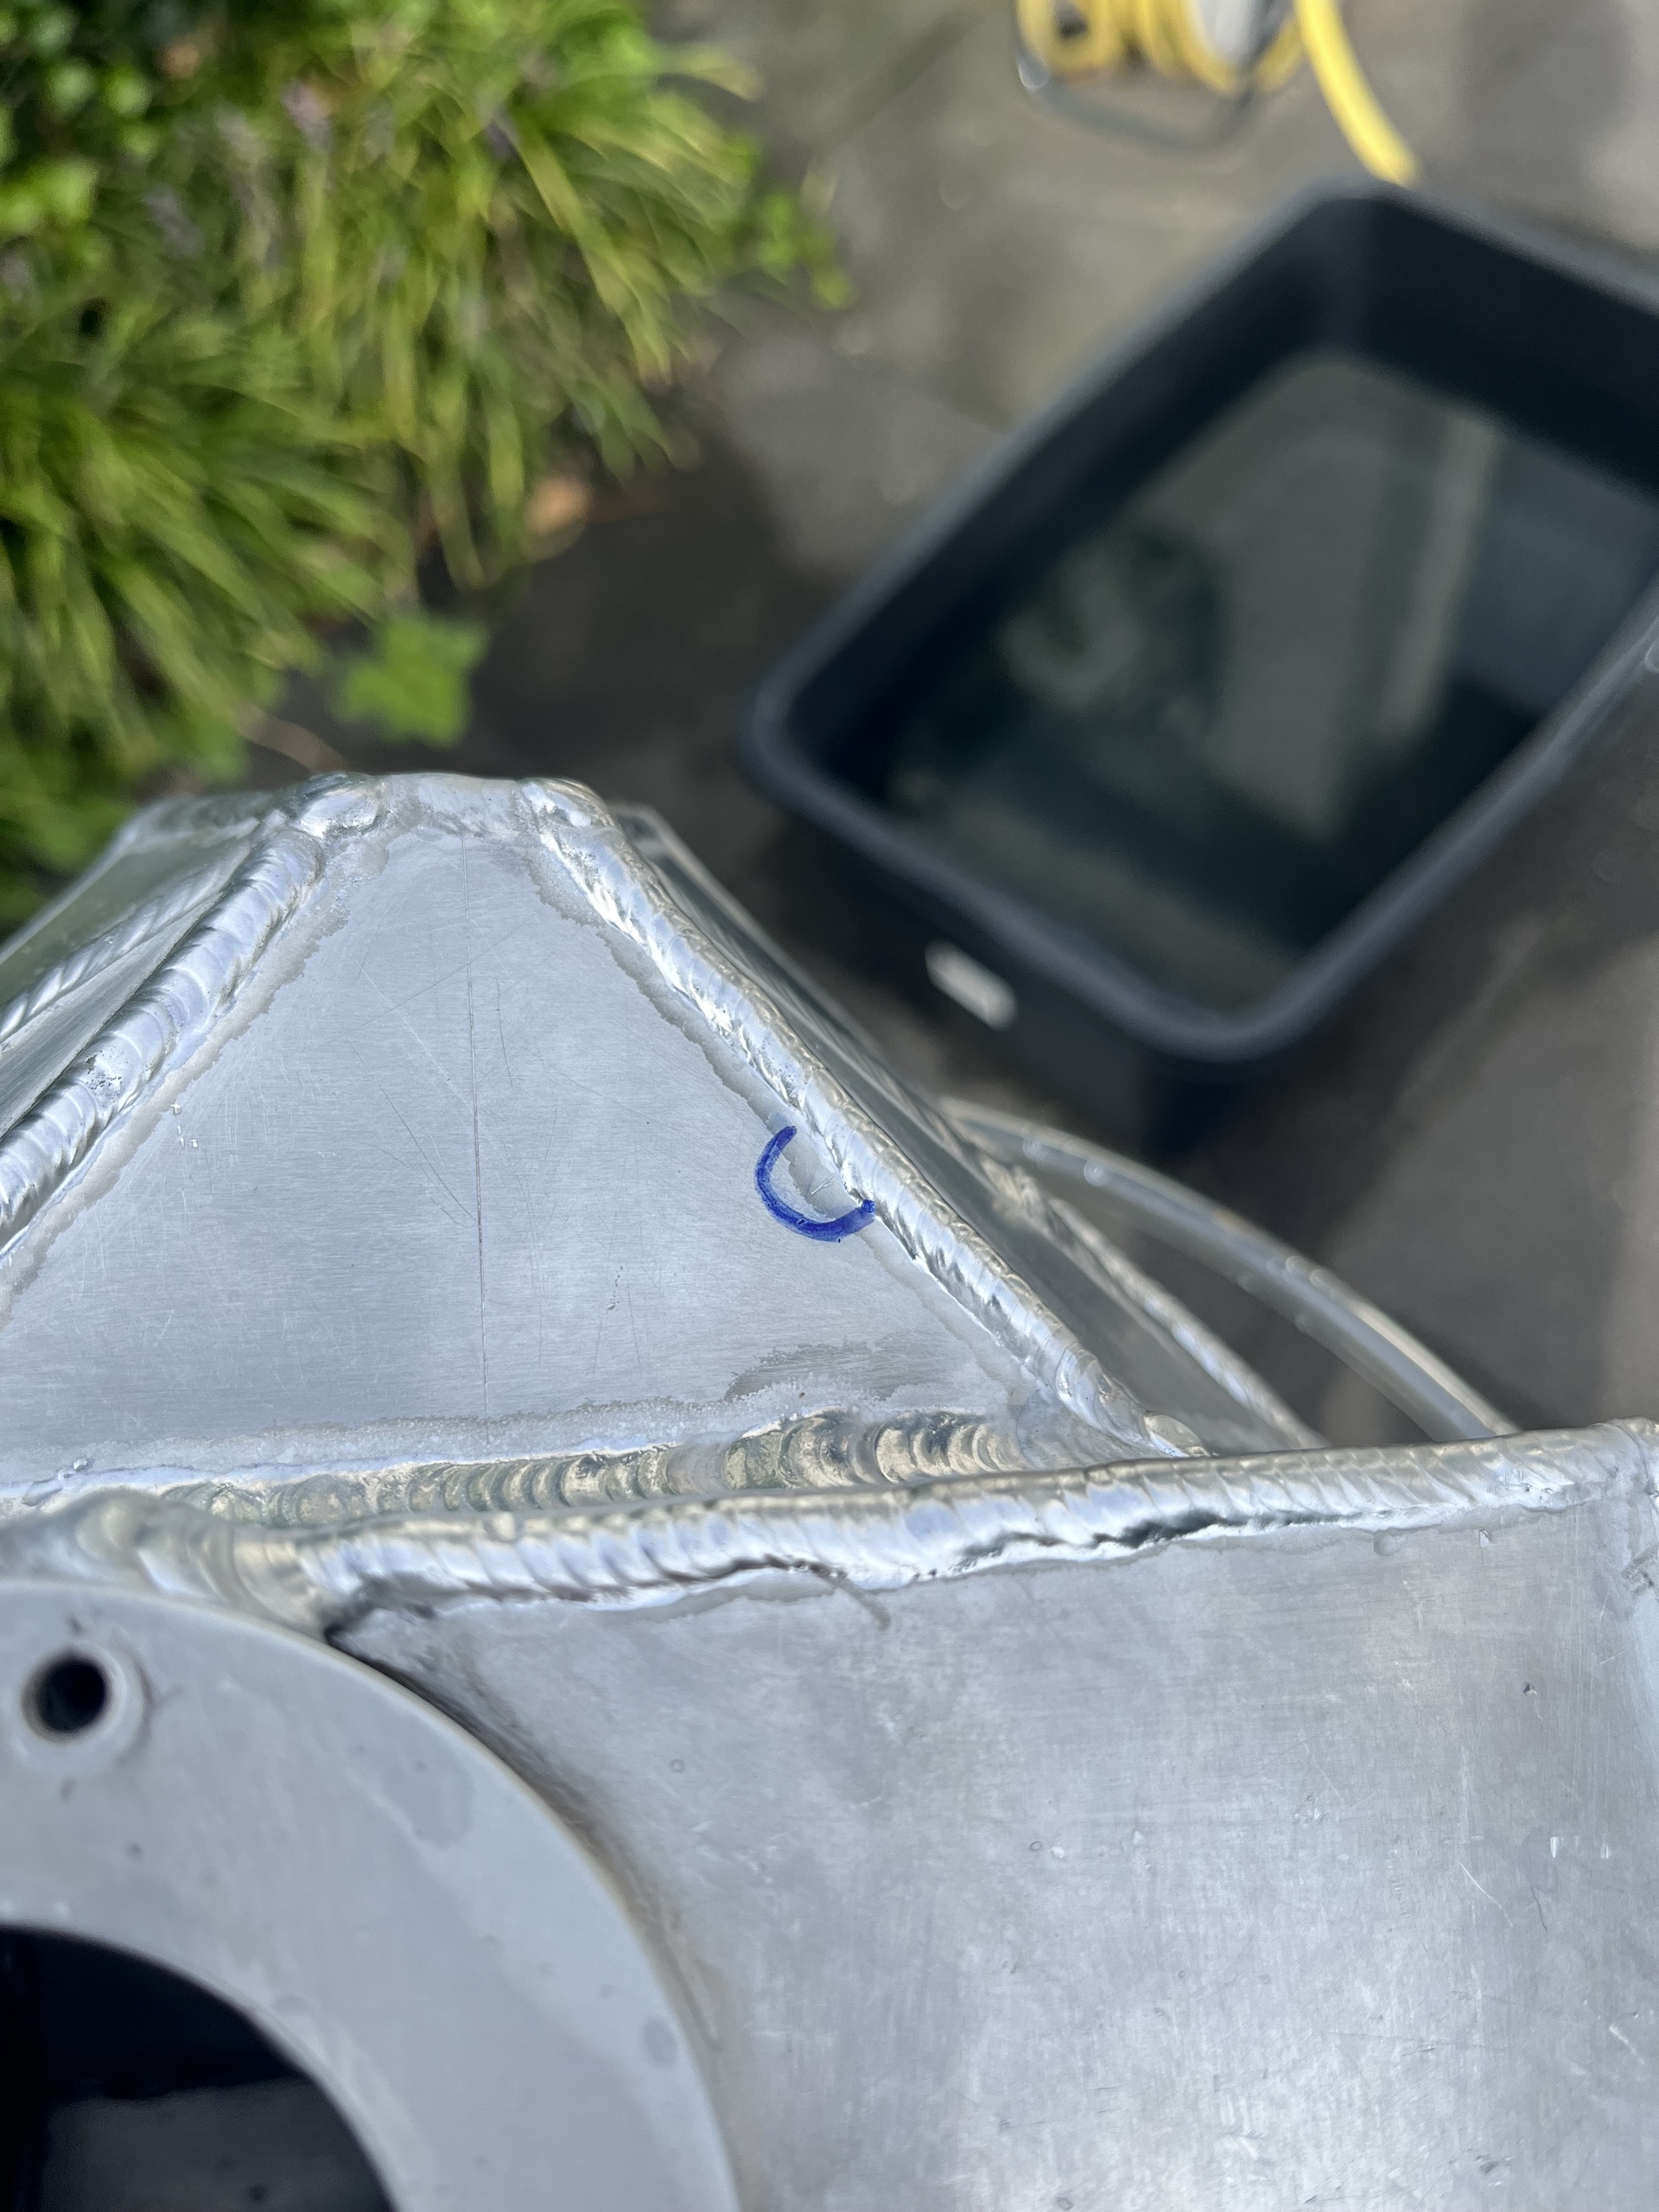
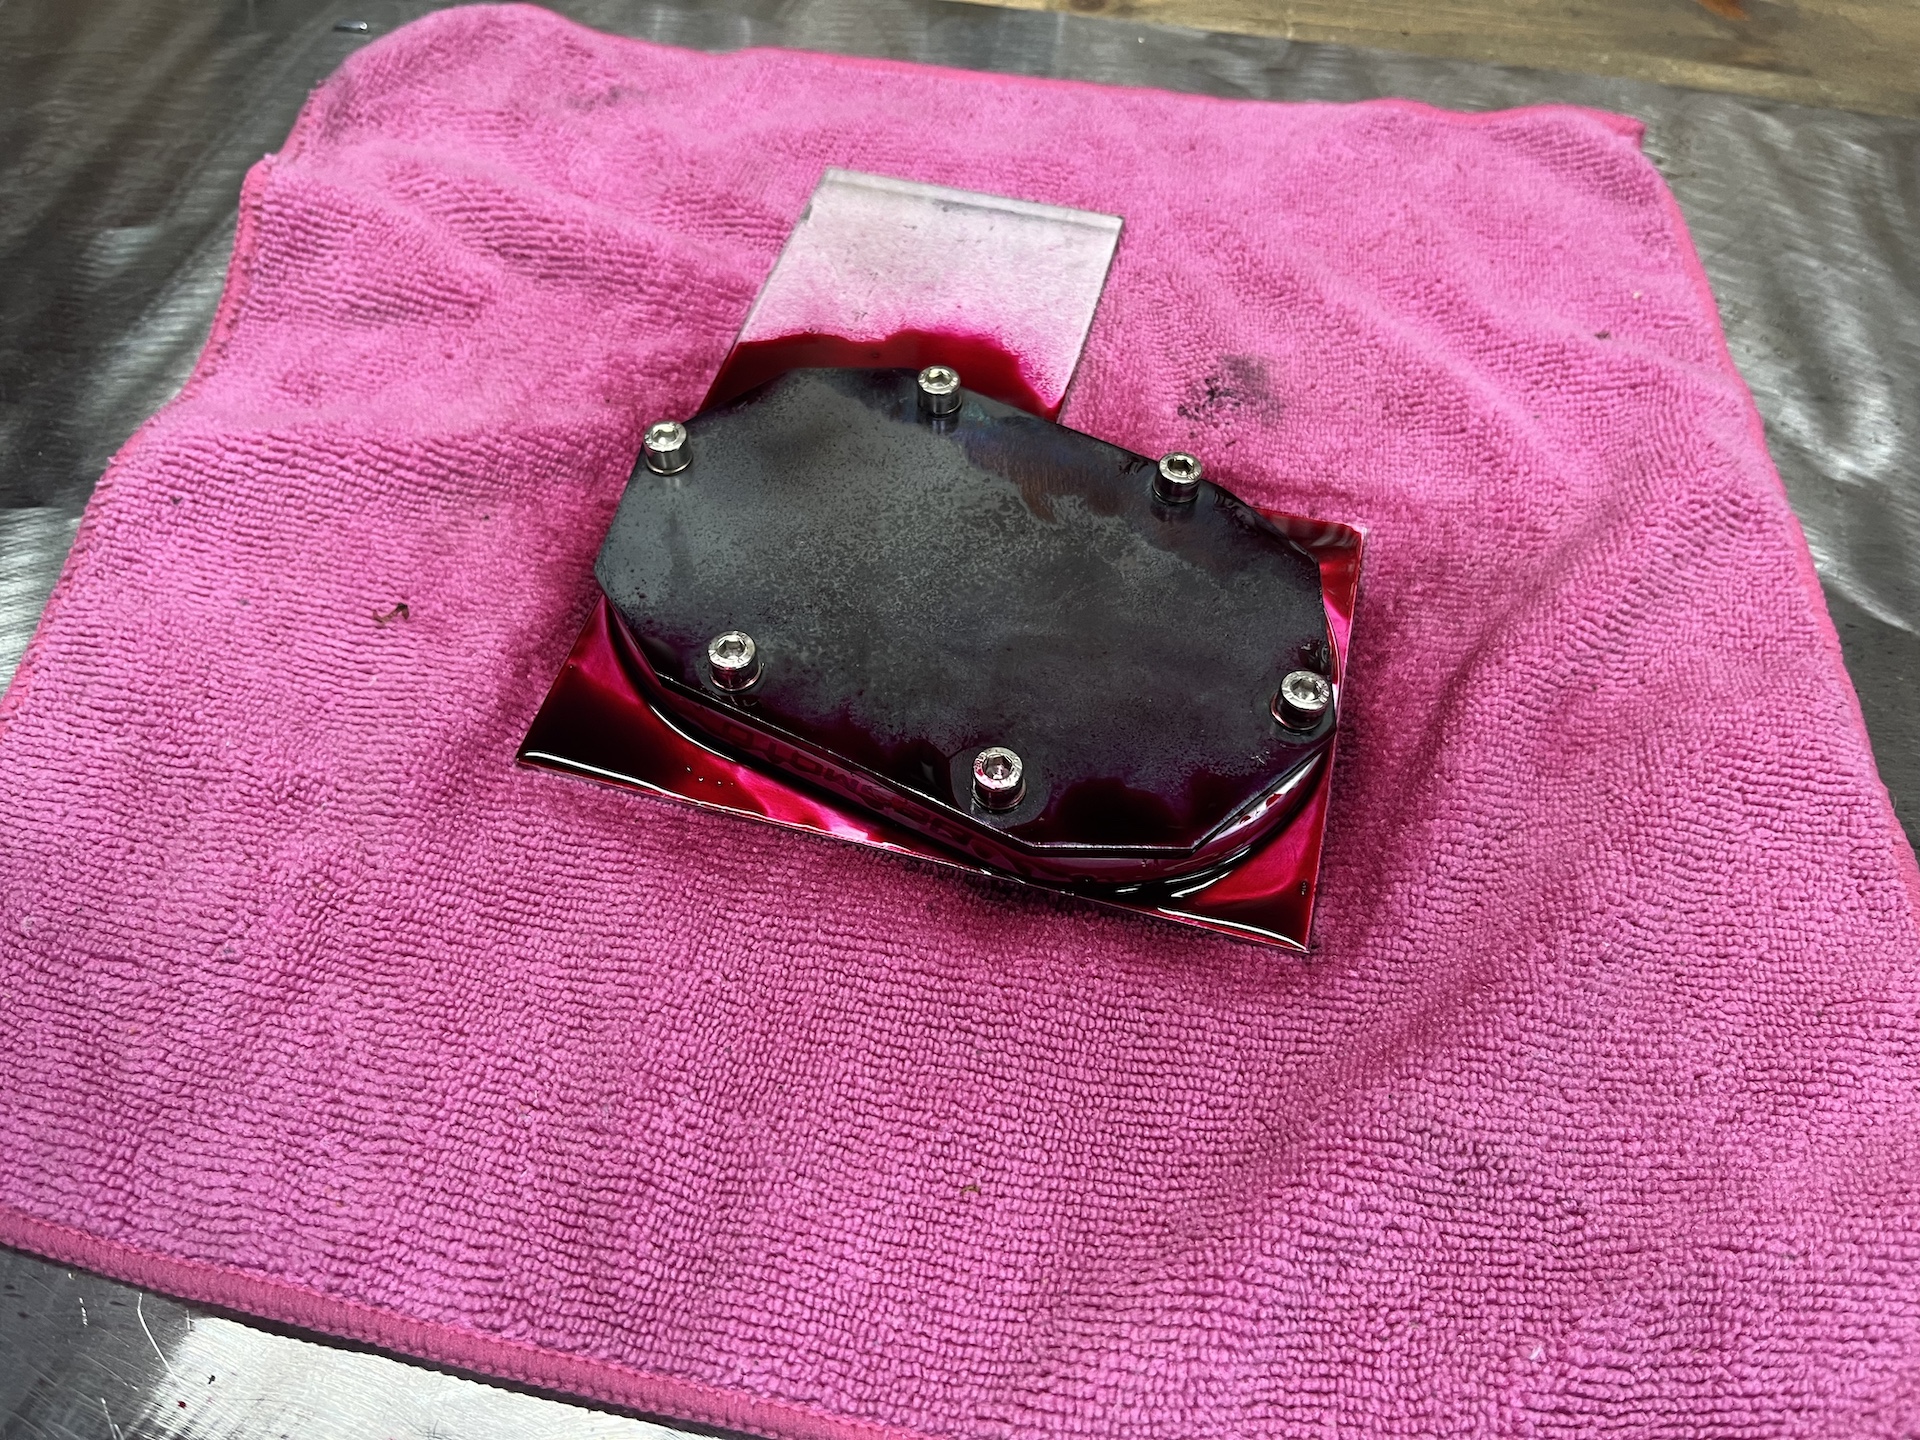
PRESSURE TESTING THE FUEL TANK
Pressure test complete!! 2 small pinholes that need to be fixed. For this amount of welding only 2 pinholes is a miracle in my opinion 😂
Tested it at 1.5bar/21psi and pushed it down under water in a large bucket.
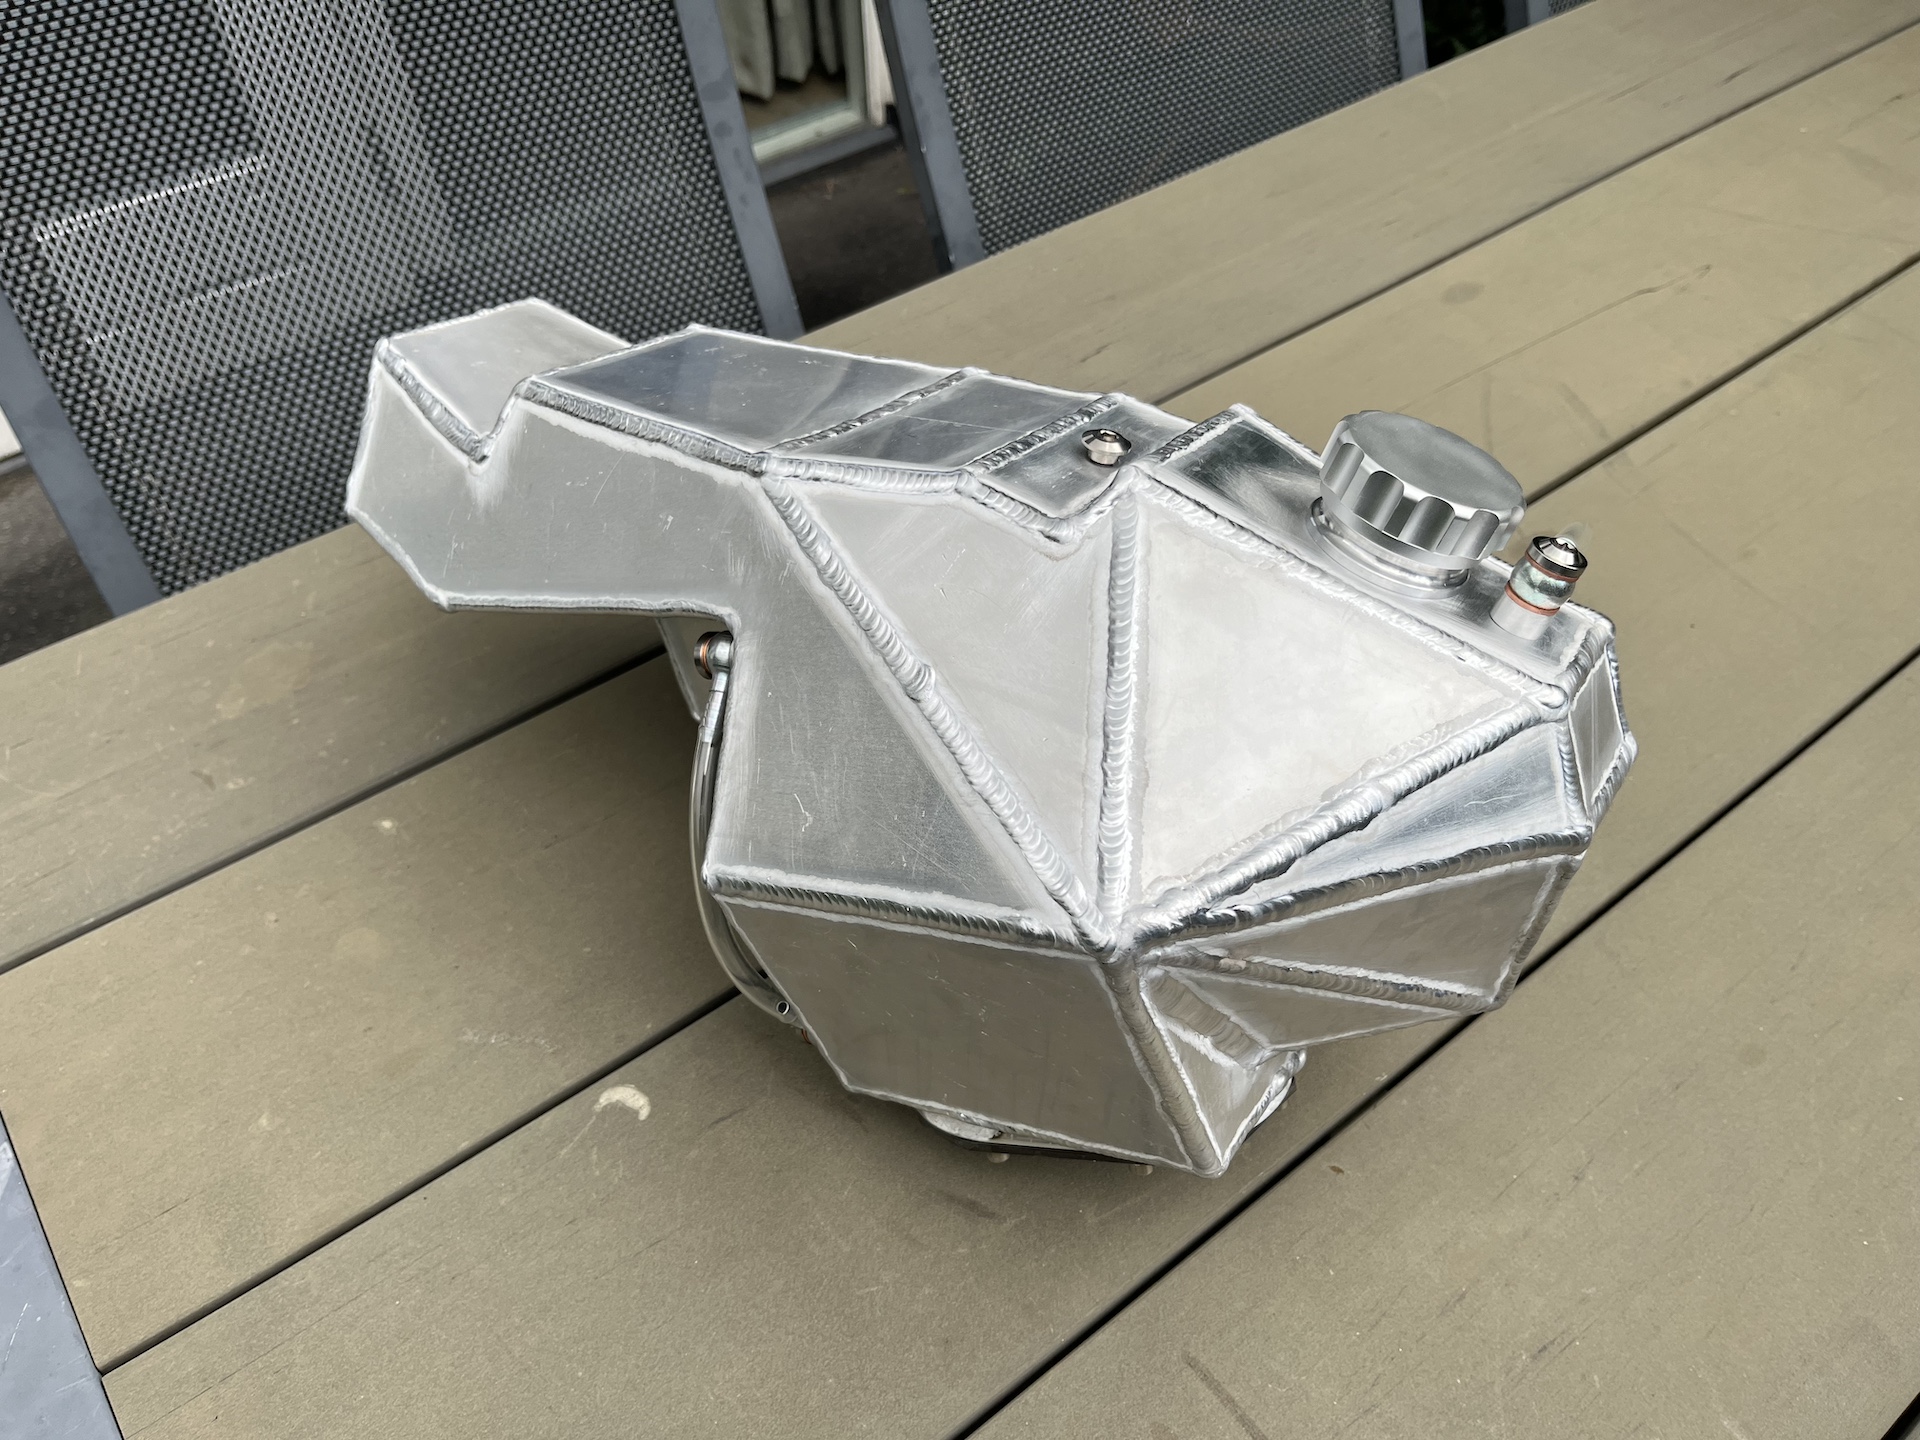
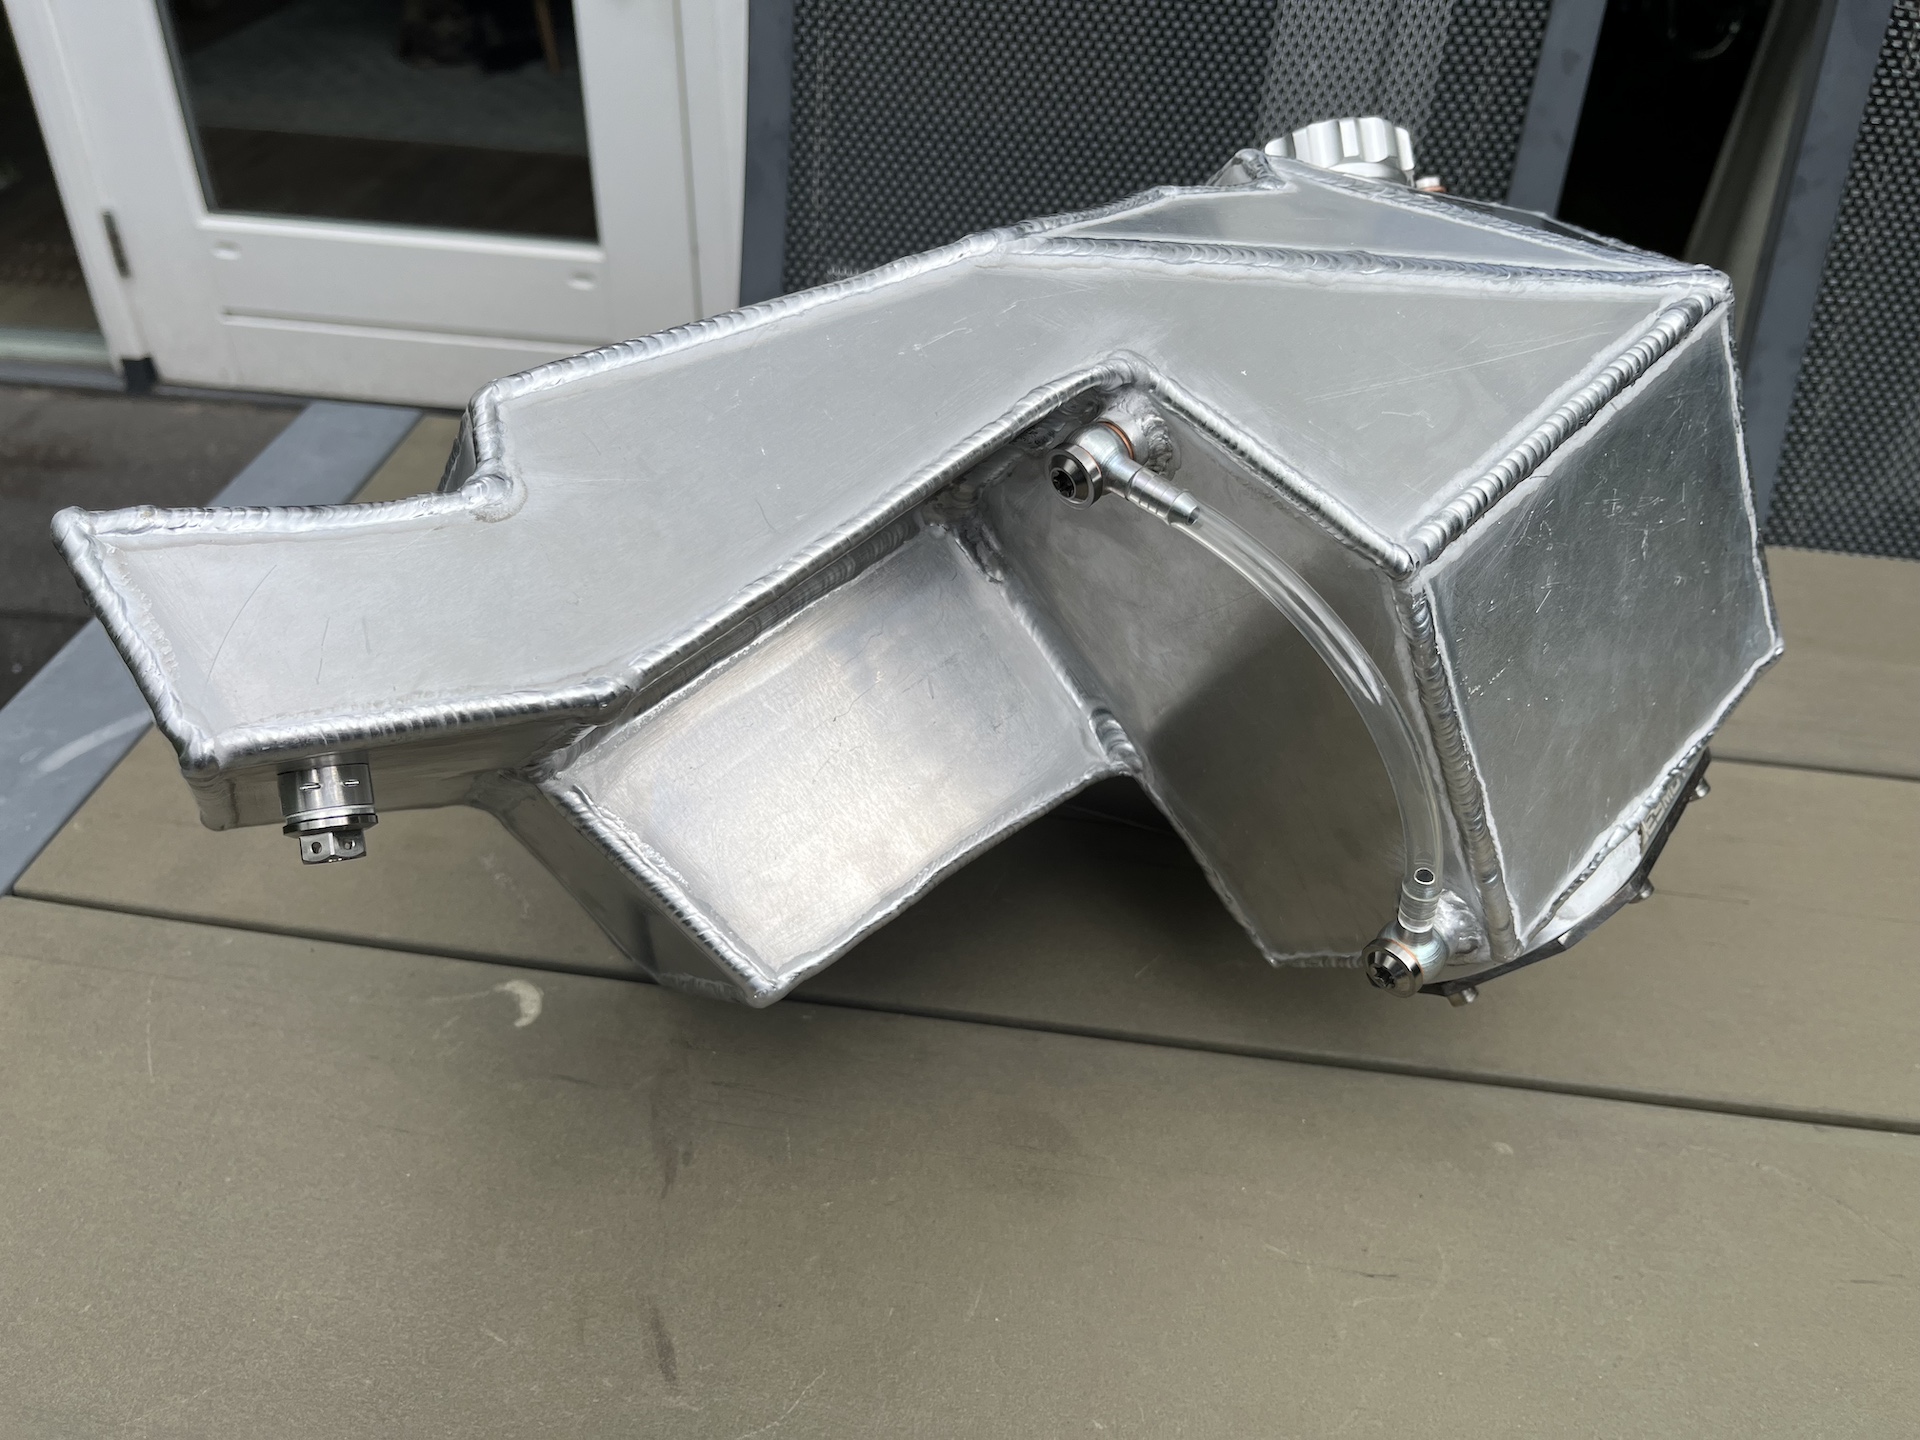
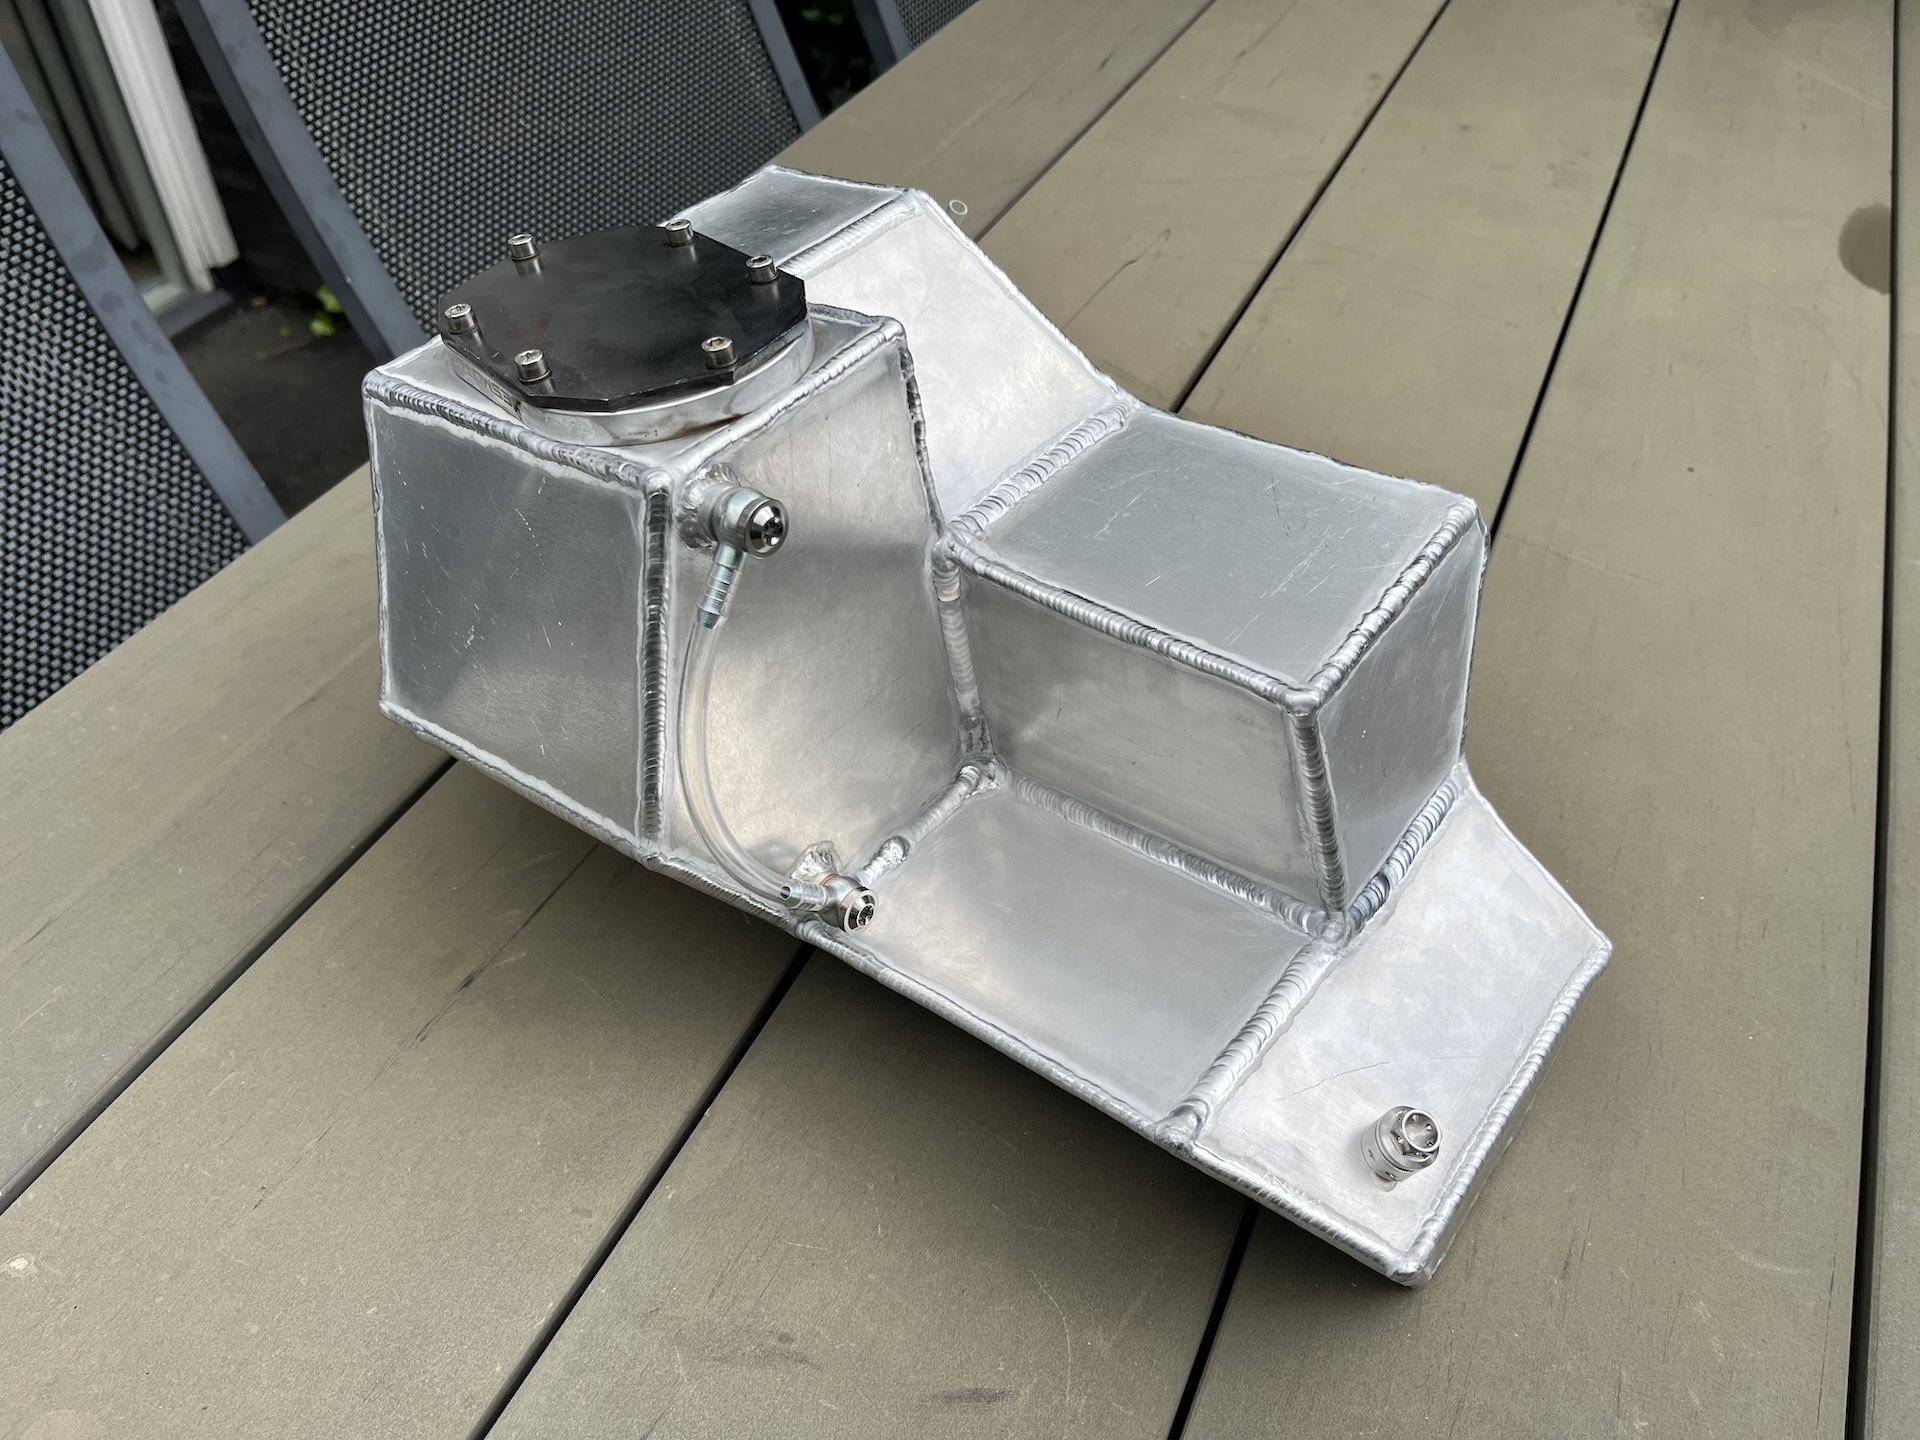
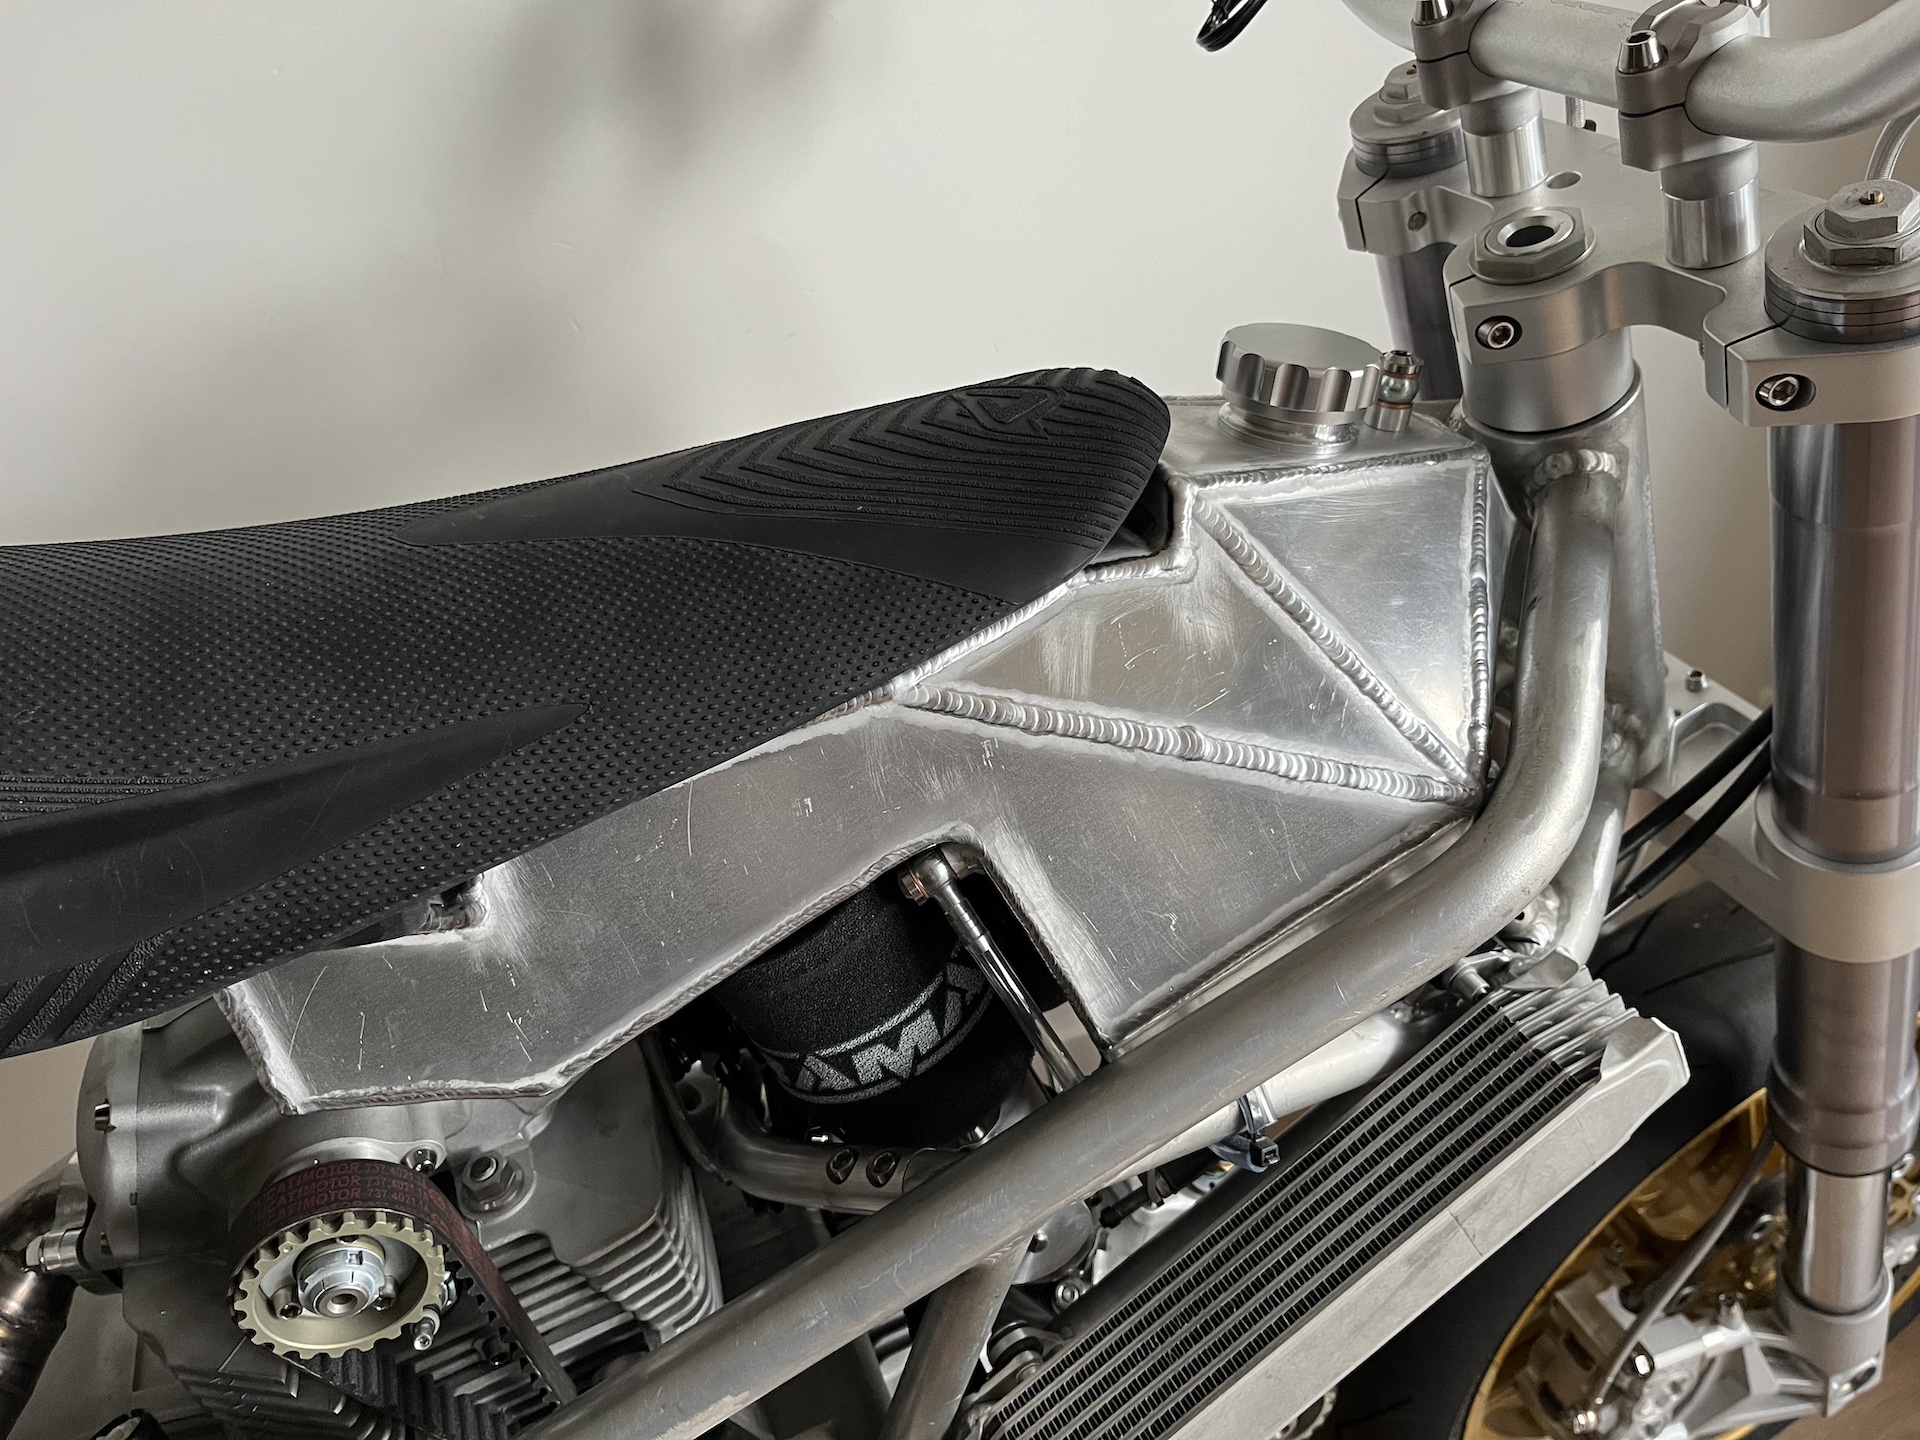
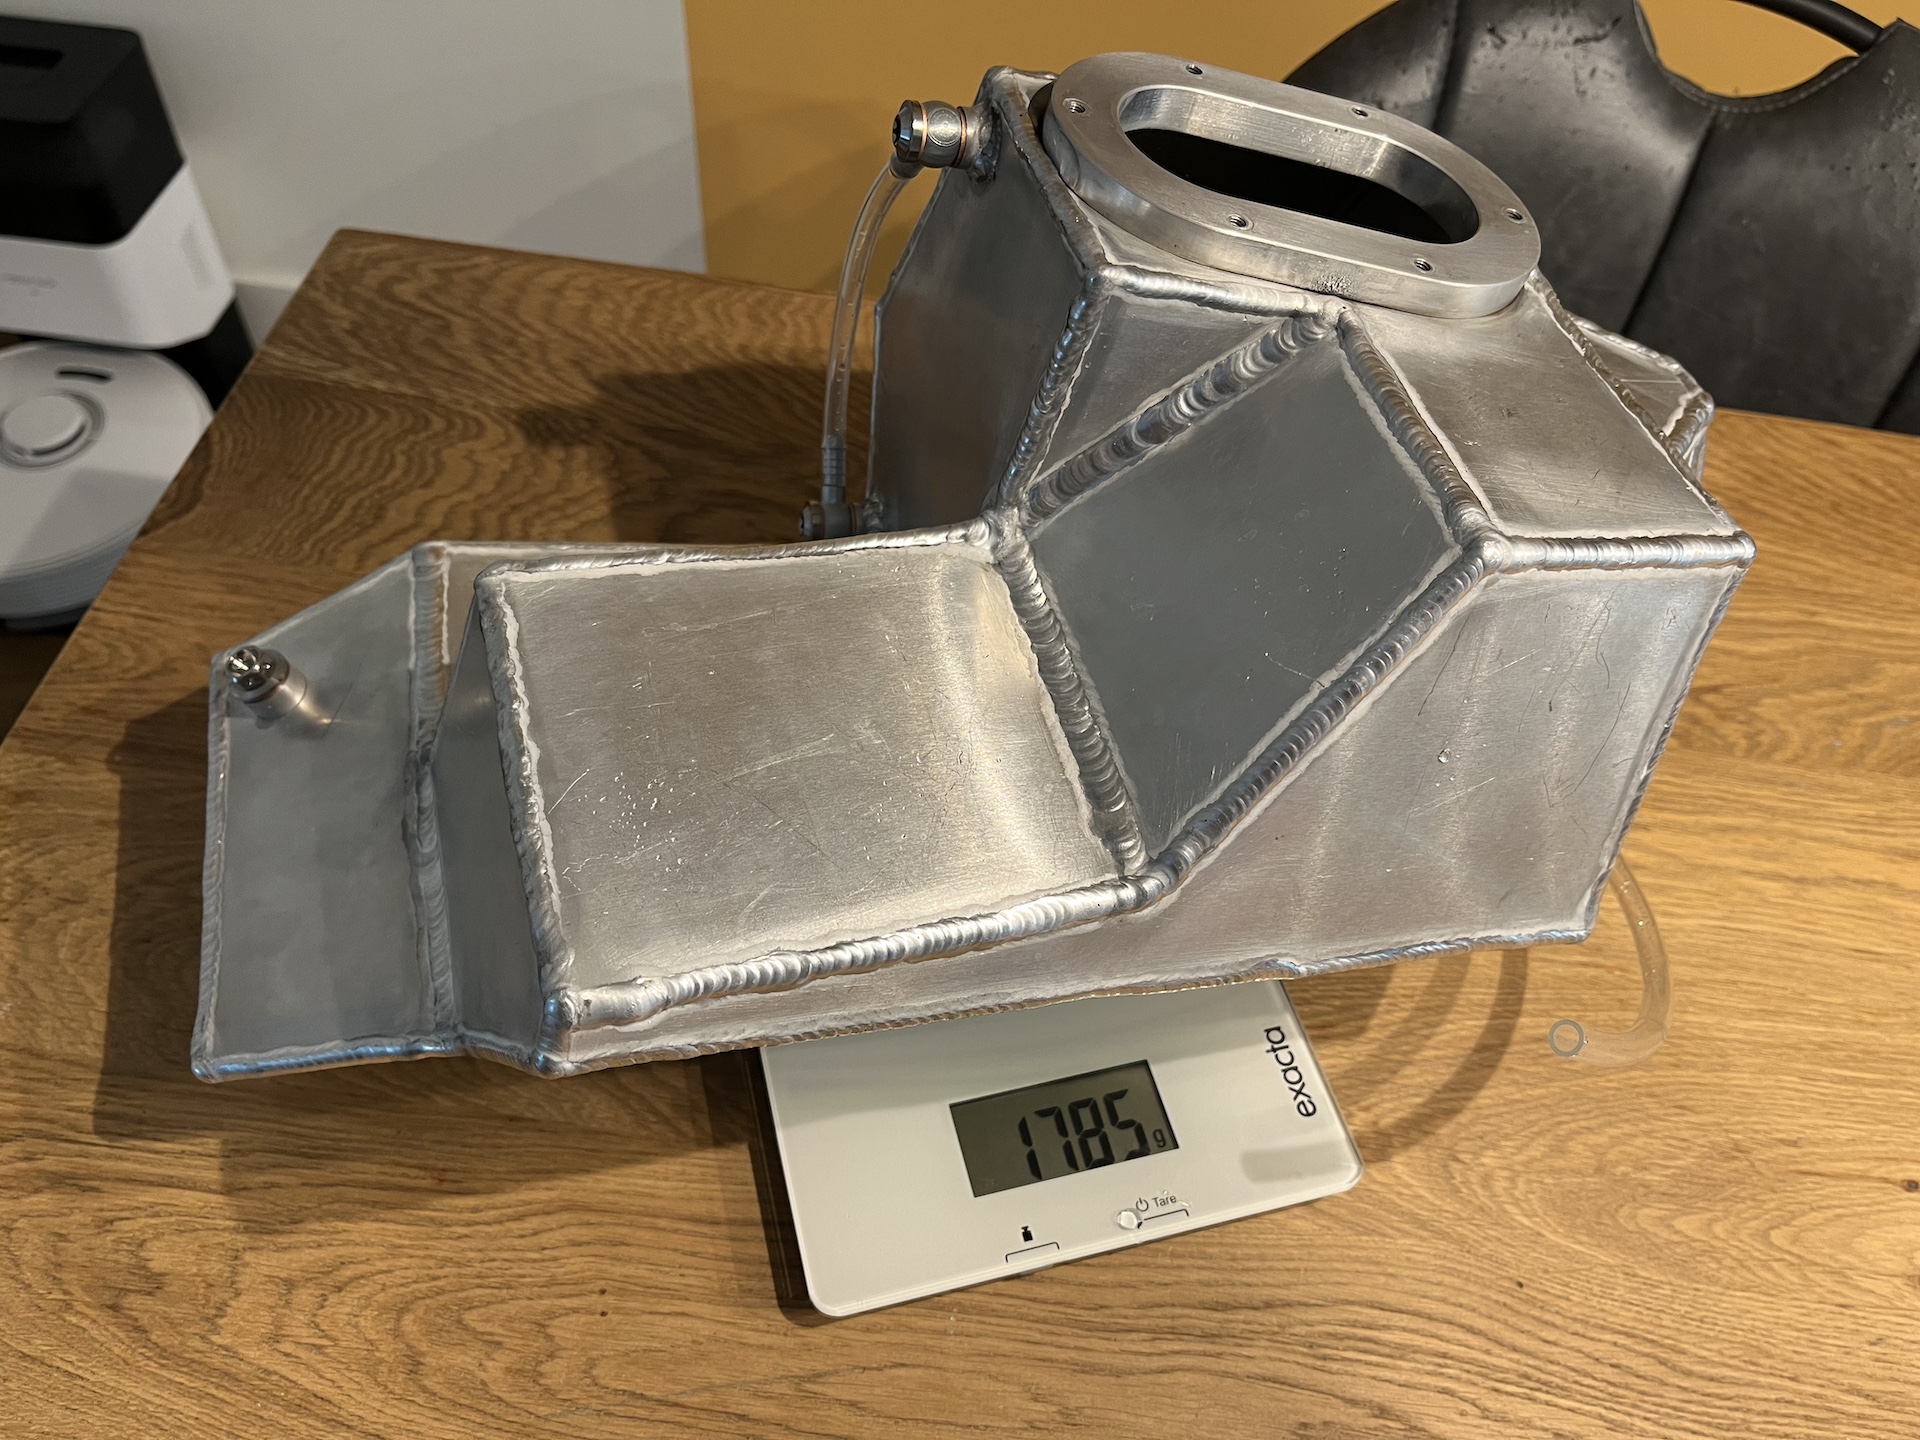
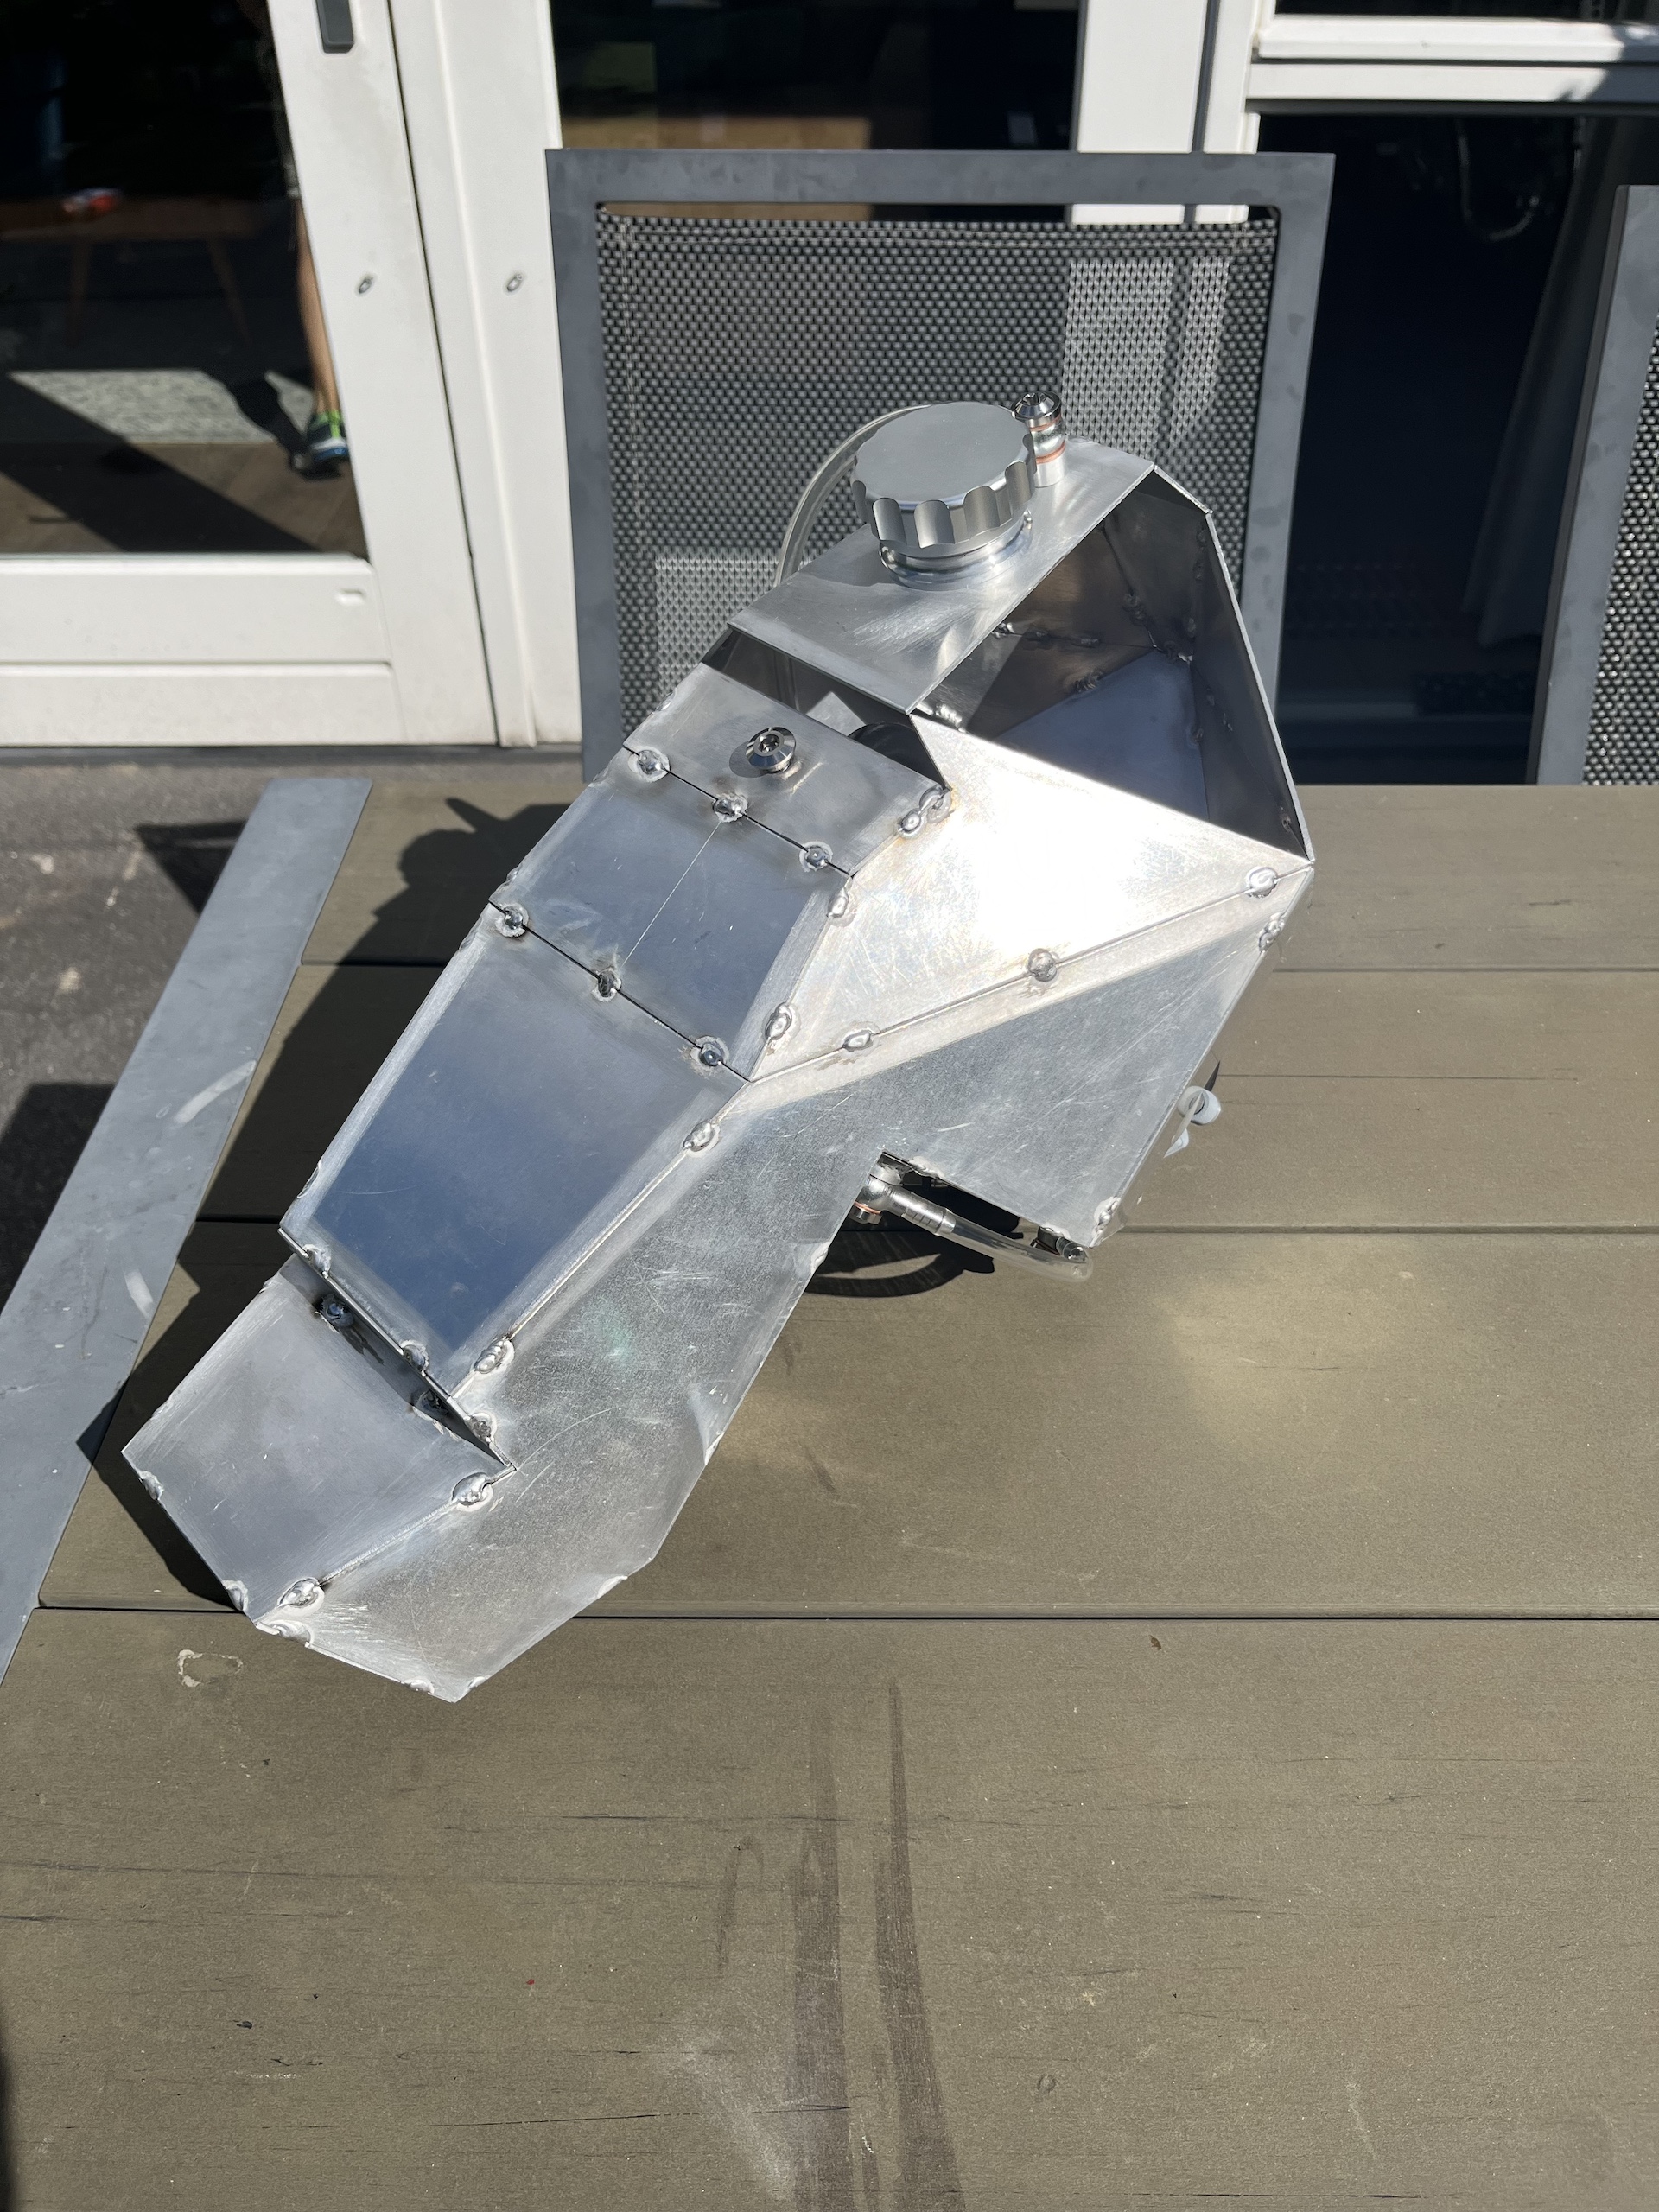
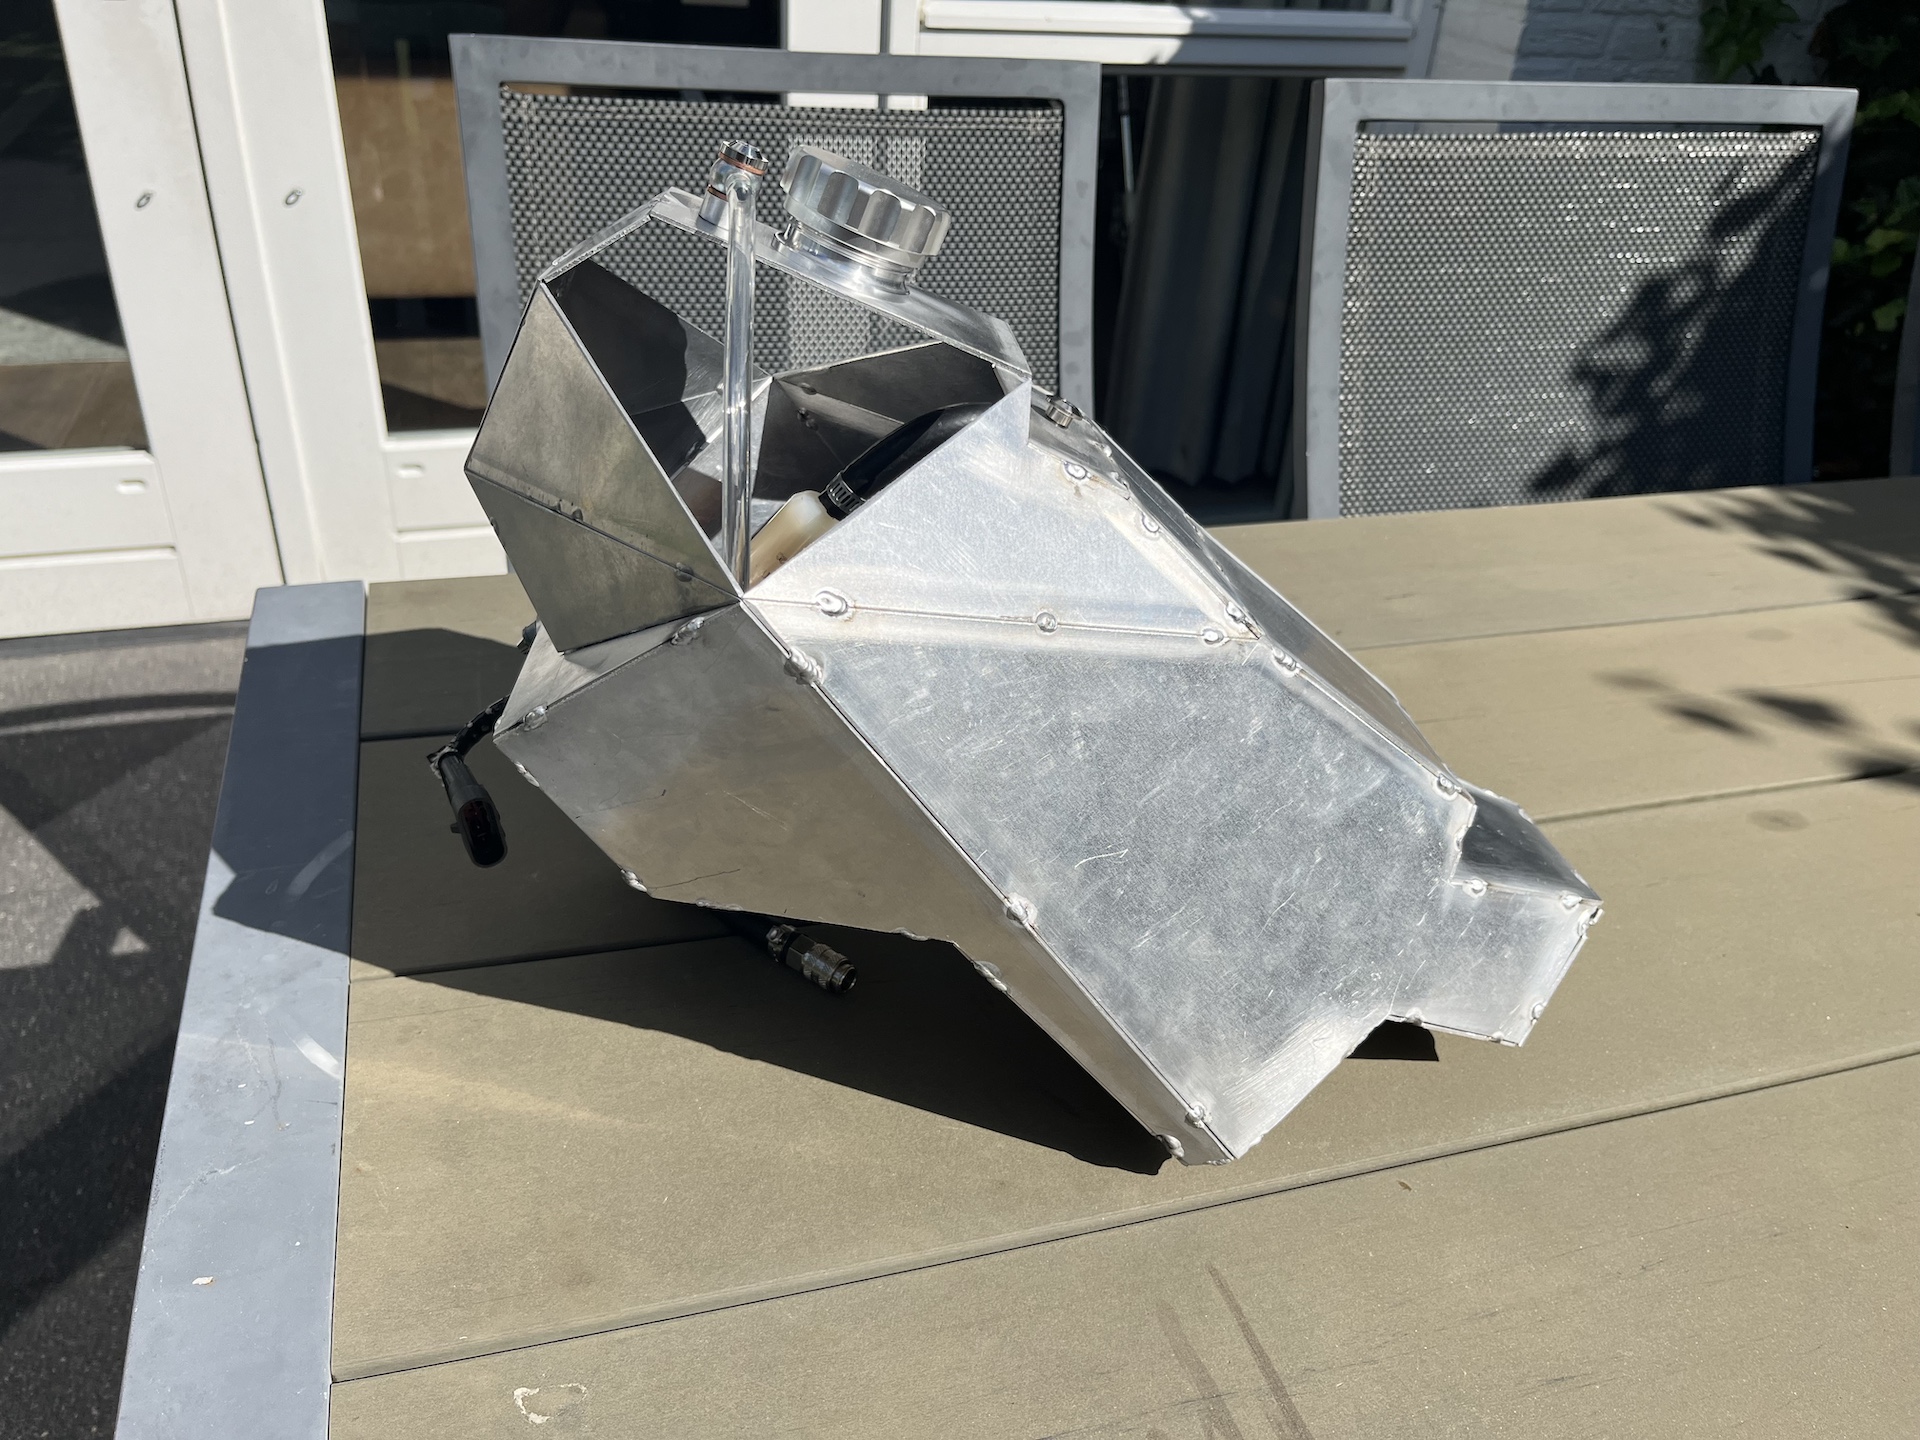
FUEL TANK DONE!!!
It took +/- 70 weld seams, 1500 liters of Argon and almost 8 months of spare time to get this done. This was a very large hurdle that took allot of learning and effort, but I must say I am pretty happy with the final result.
To bad allot of it will be covered up by custom carbon fairings haha.
Time for pressure testing tomorrow to search for any possible leaks. And after that finishing it off with scotch-brite for a brushed aluminium look and fabricating the mounting brackets with rubbers grommets.
The final fuel capacity is 10.1 liters! YES, that’s good news since I was praying for a minimum of 9 liters haha. The final weight is also very low at a total of 1,785kg!
Its taking shape!

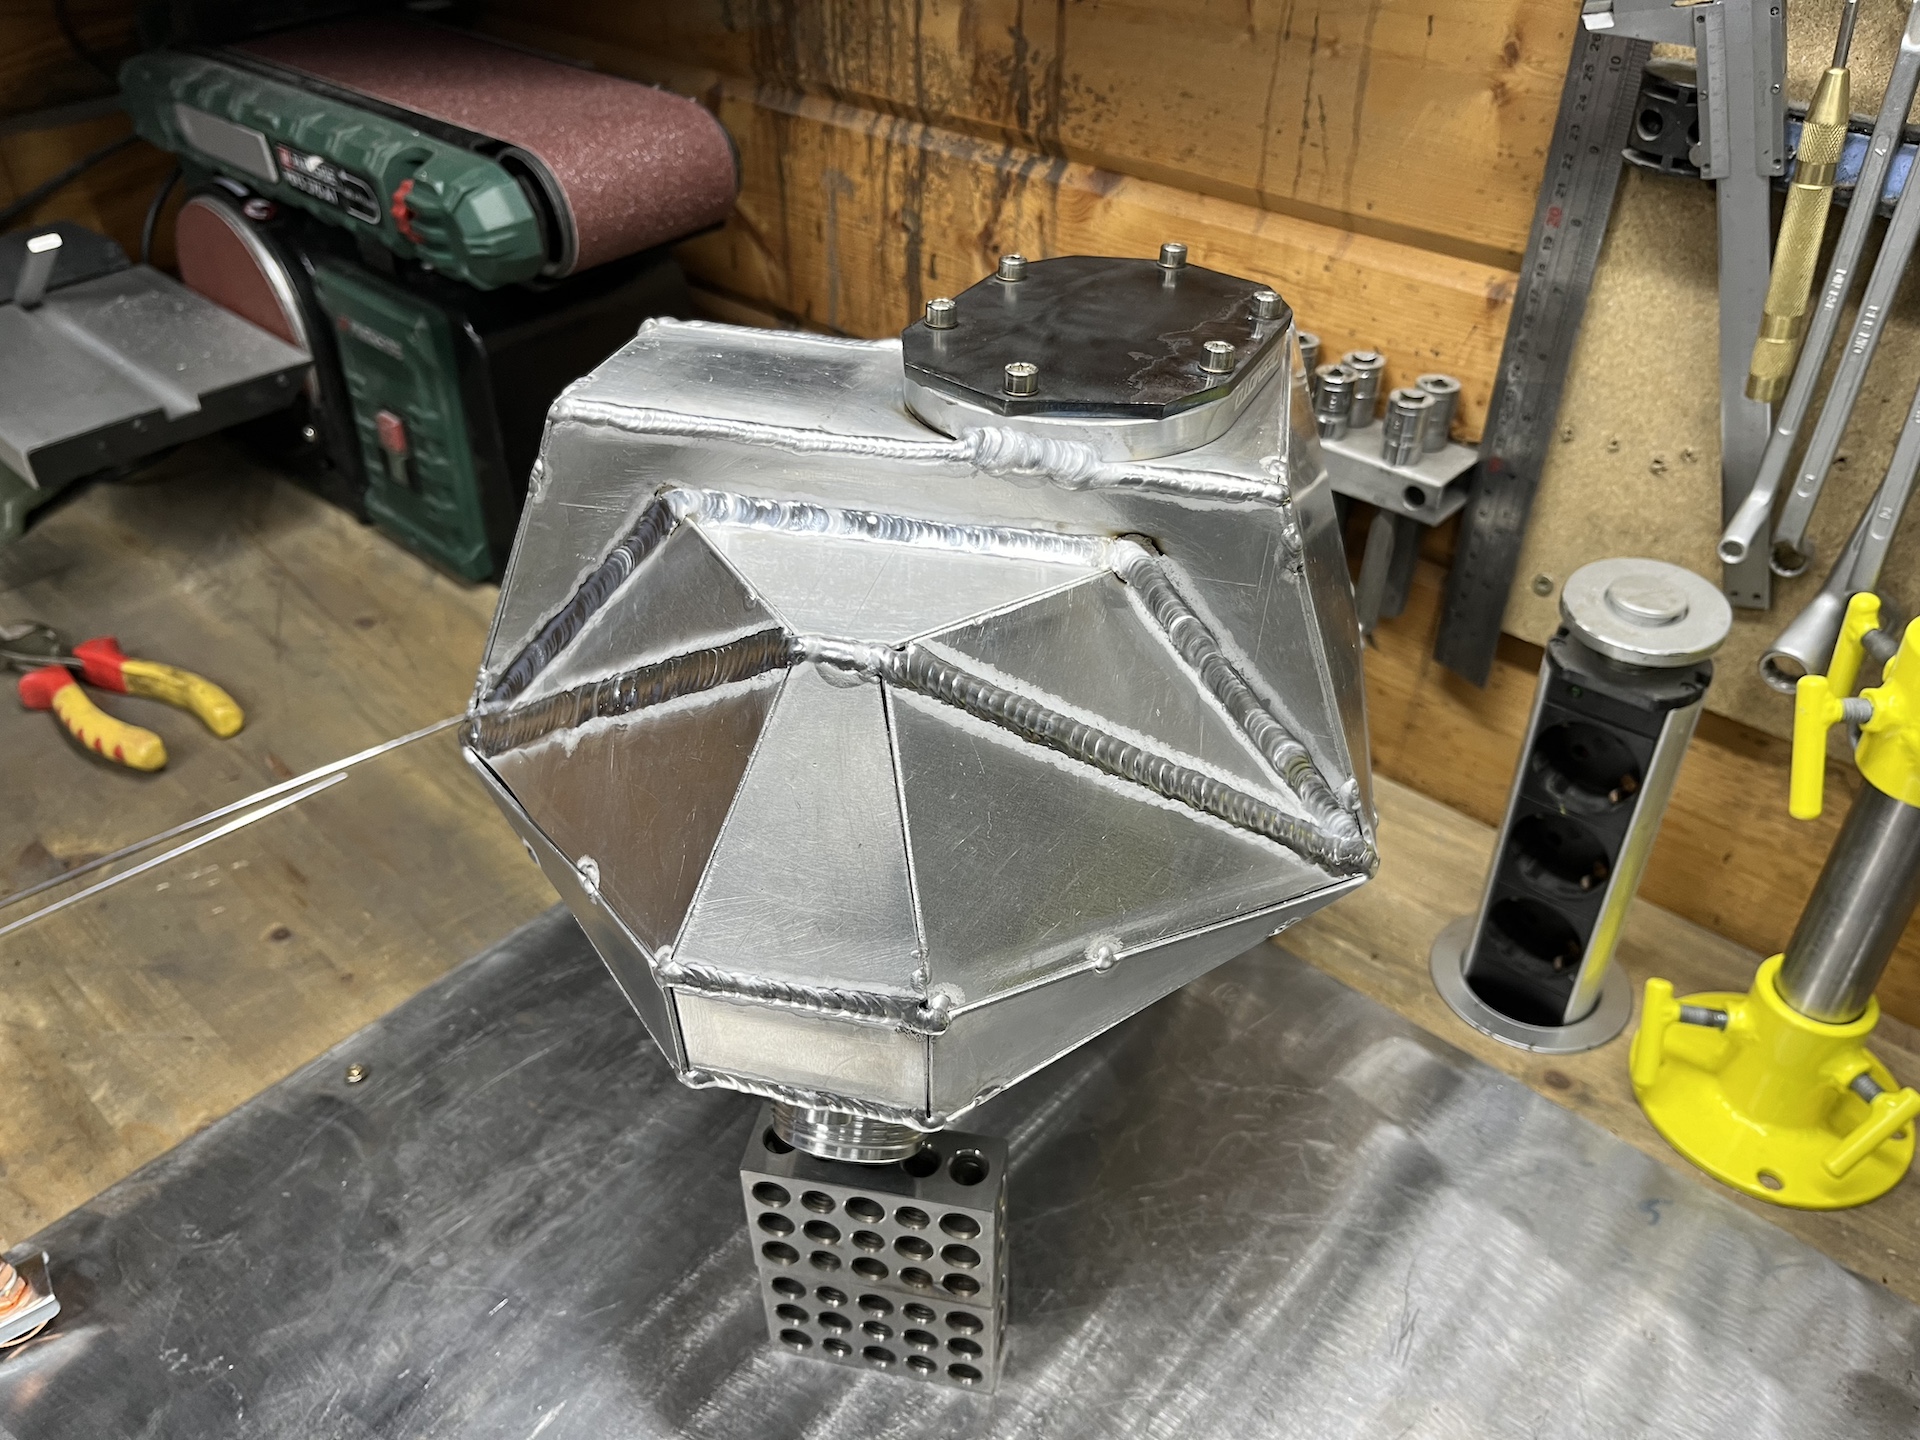
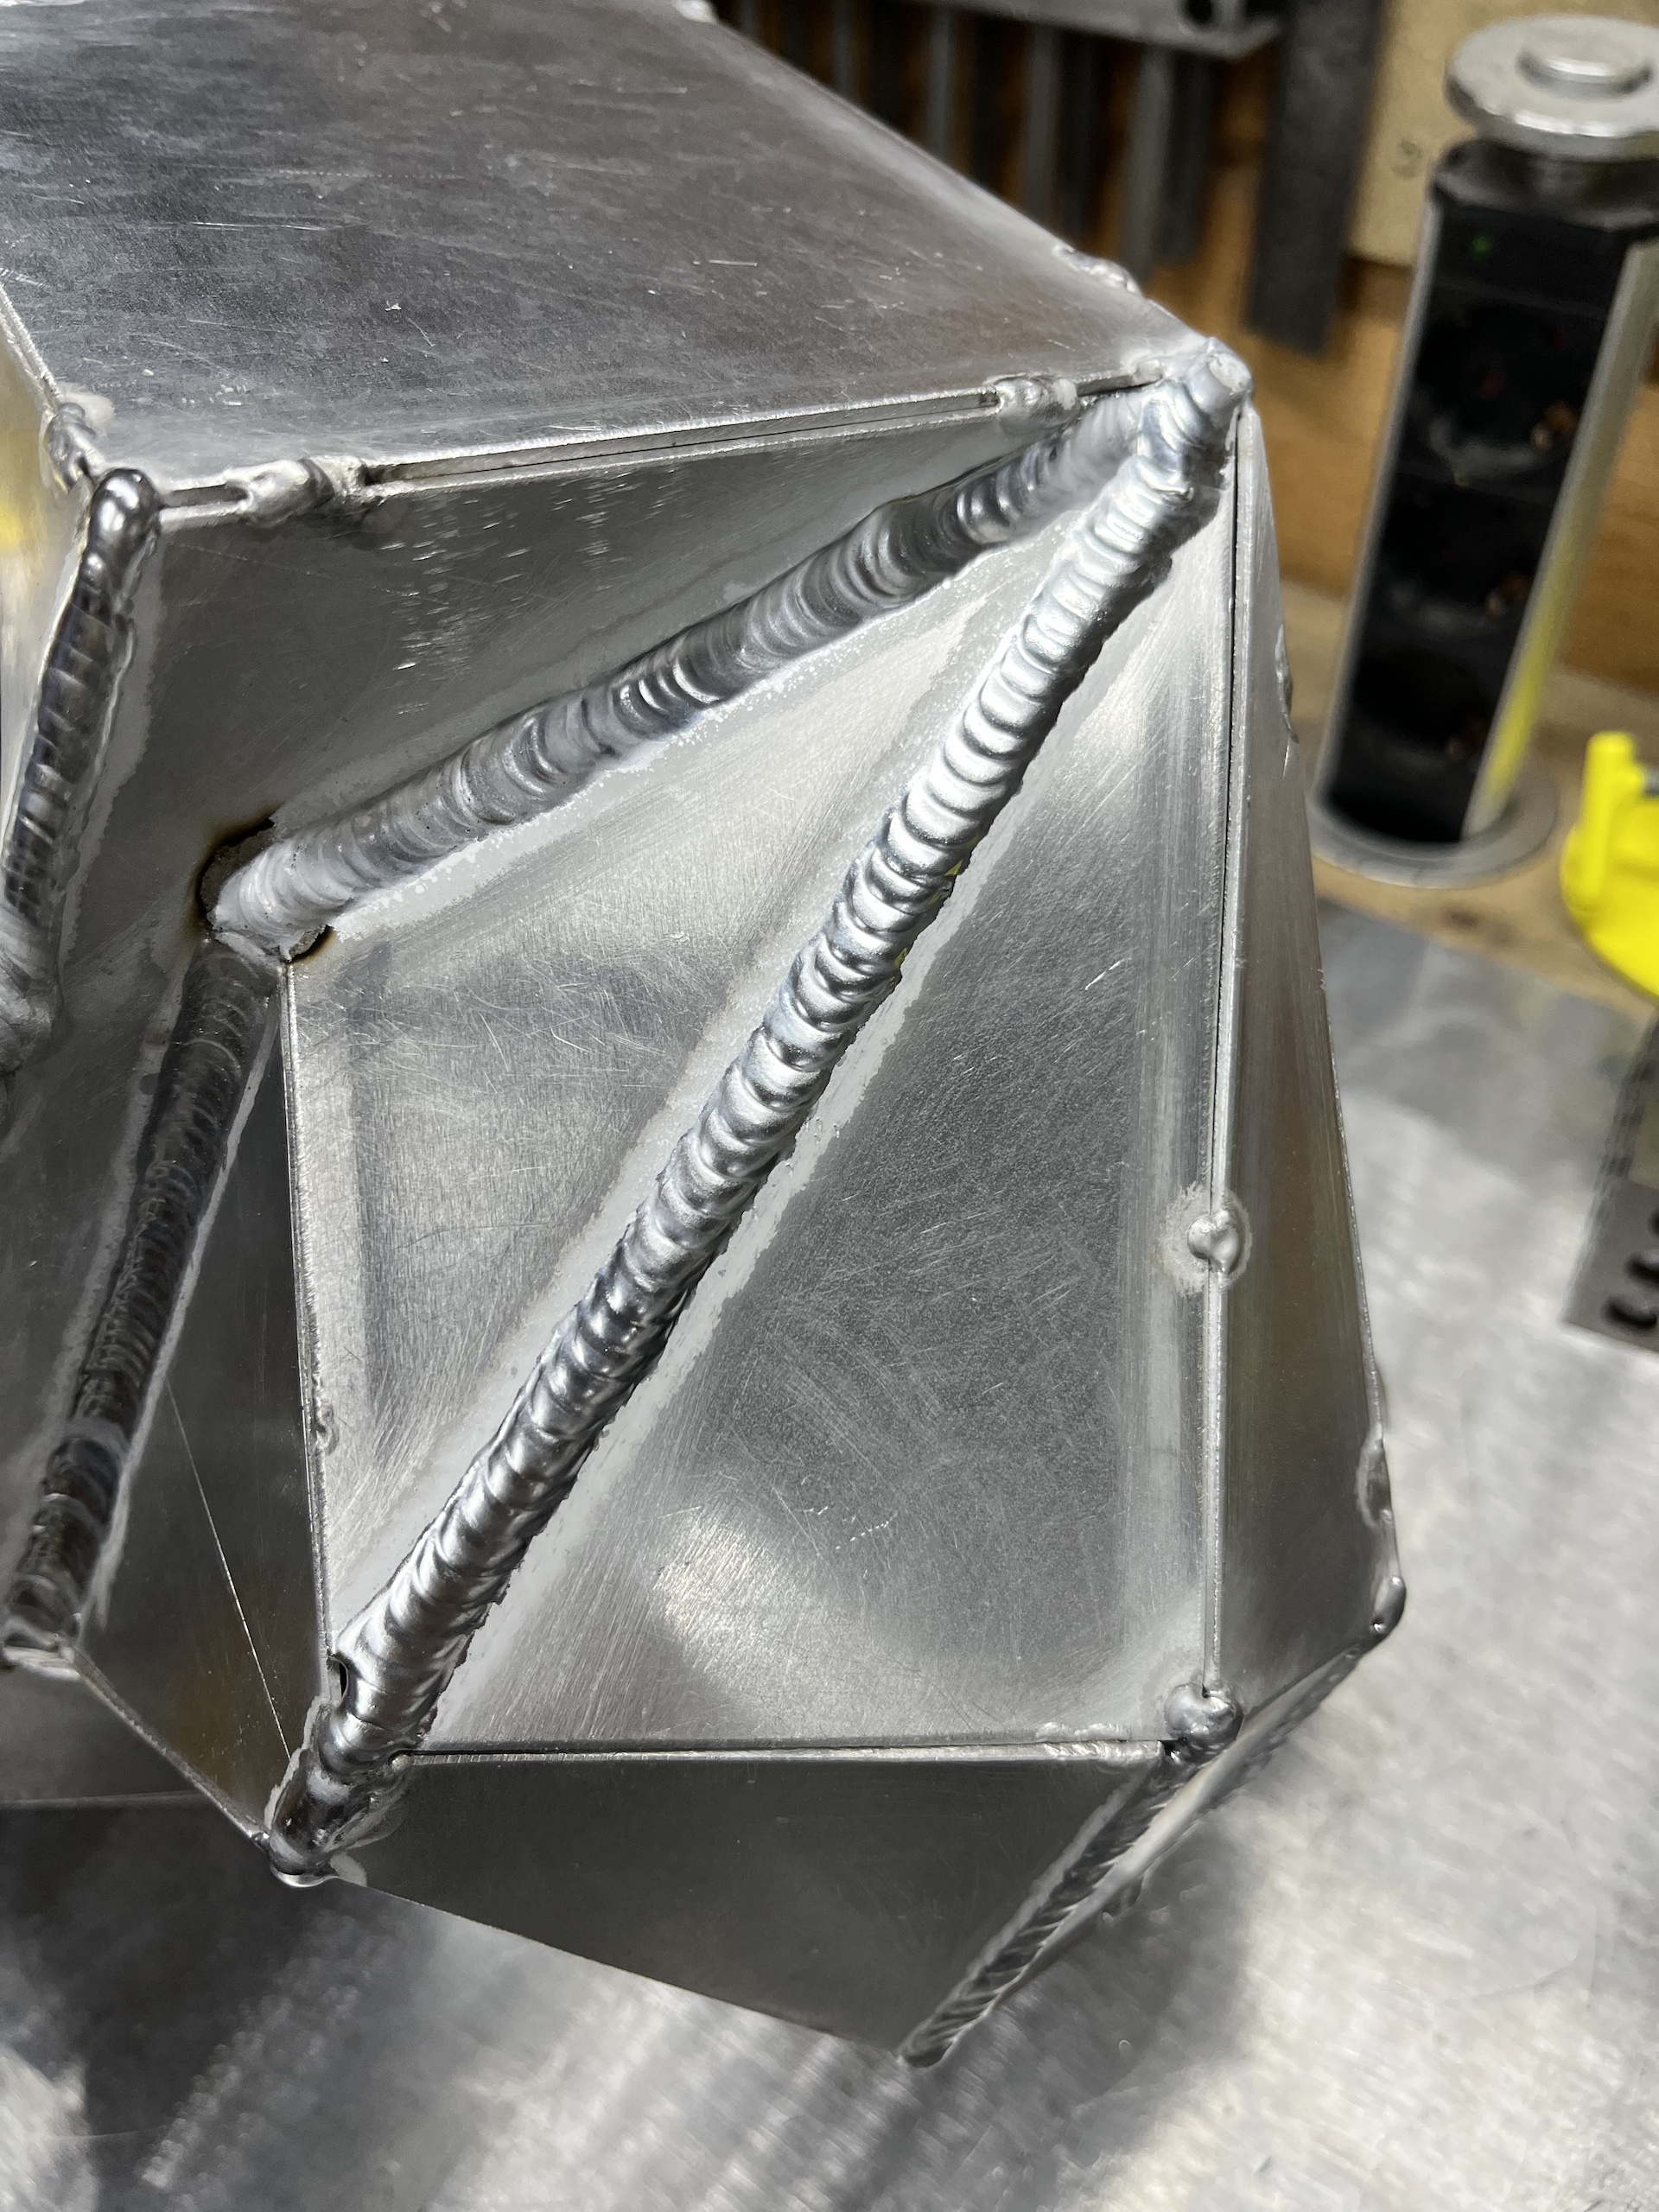
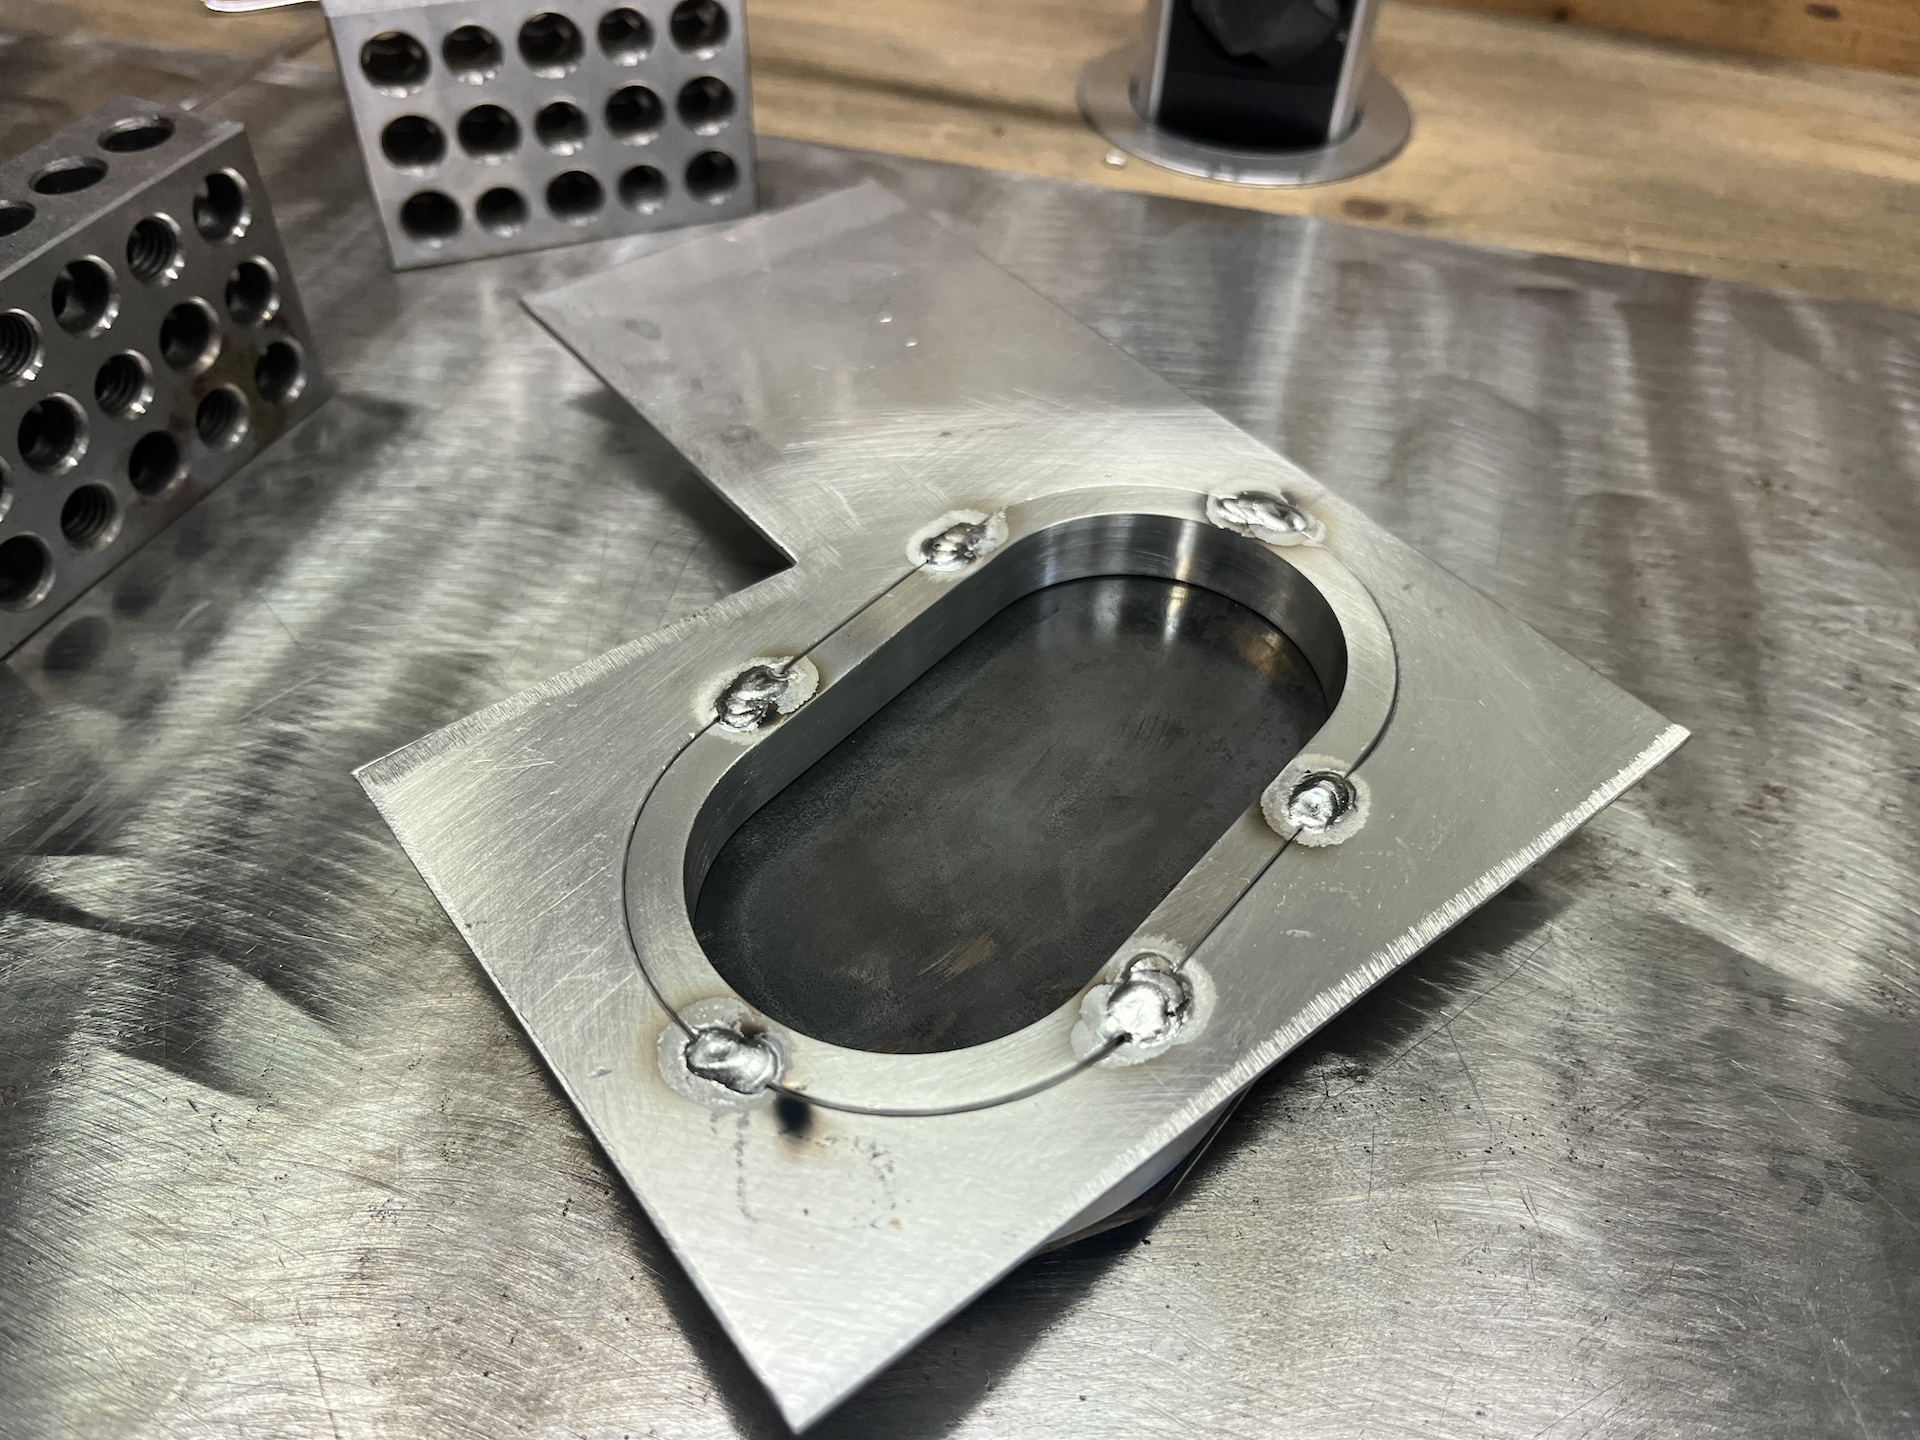
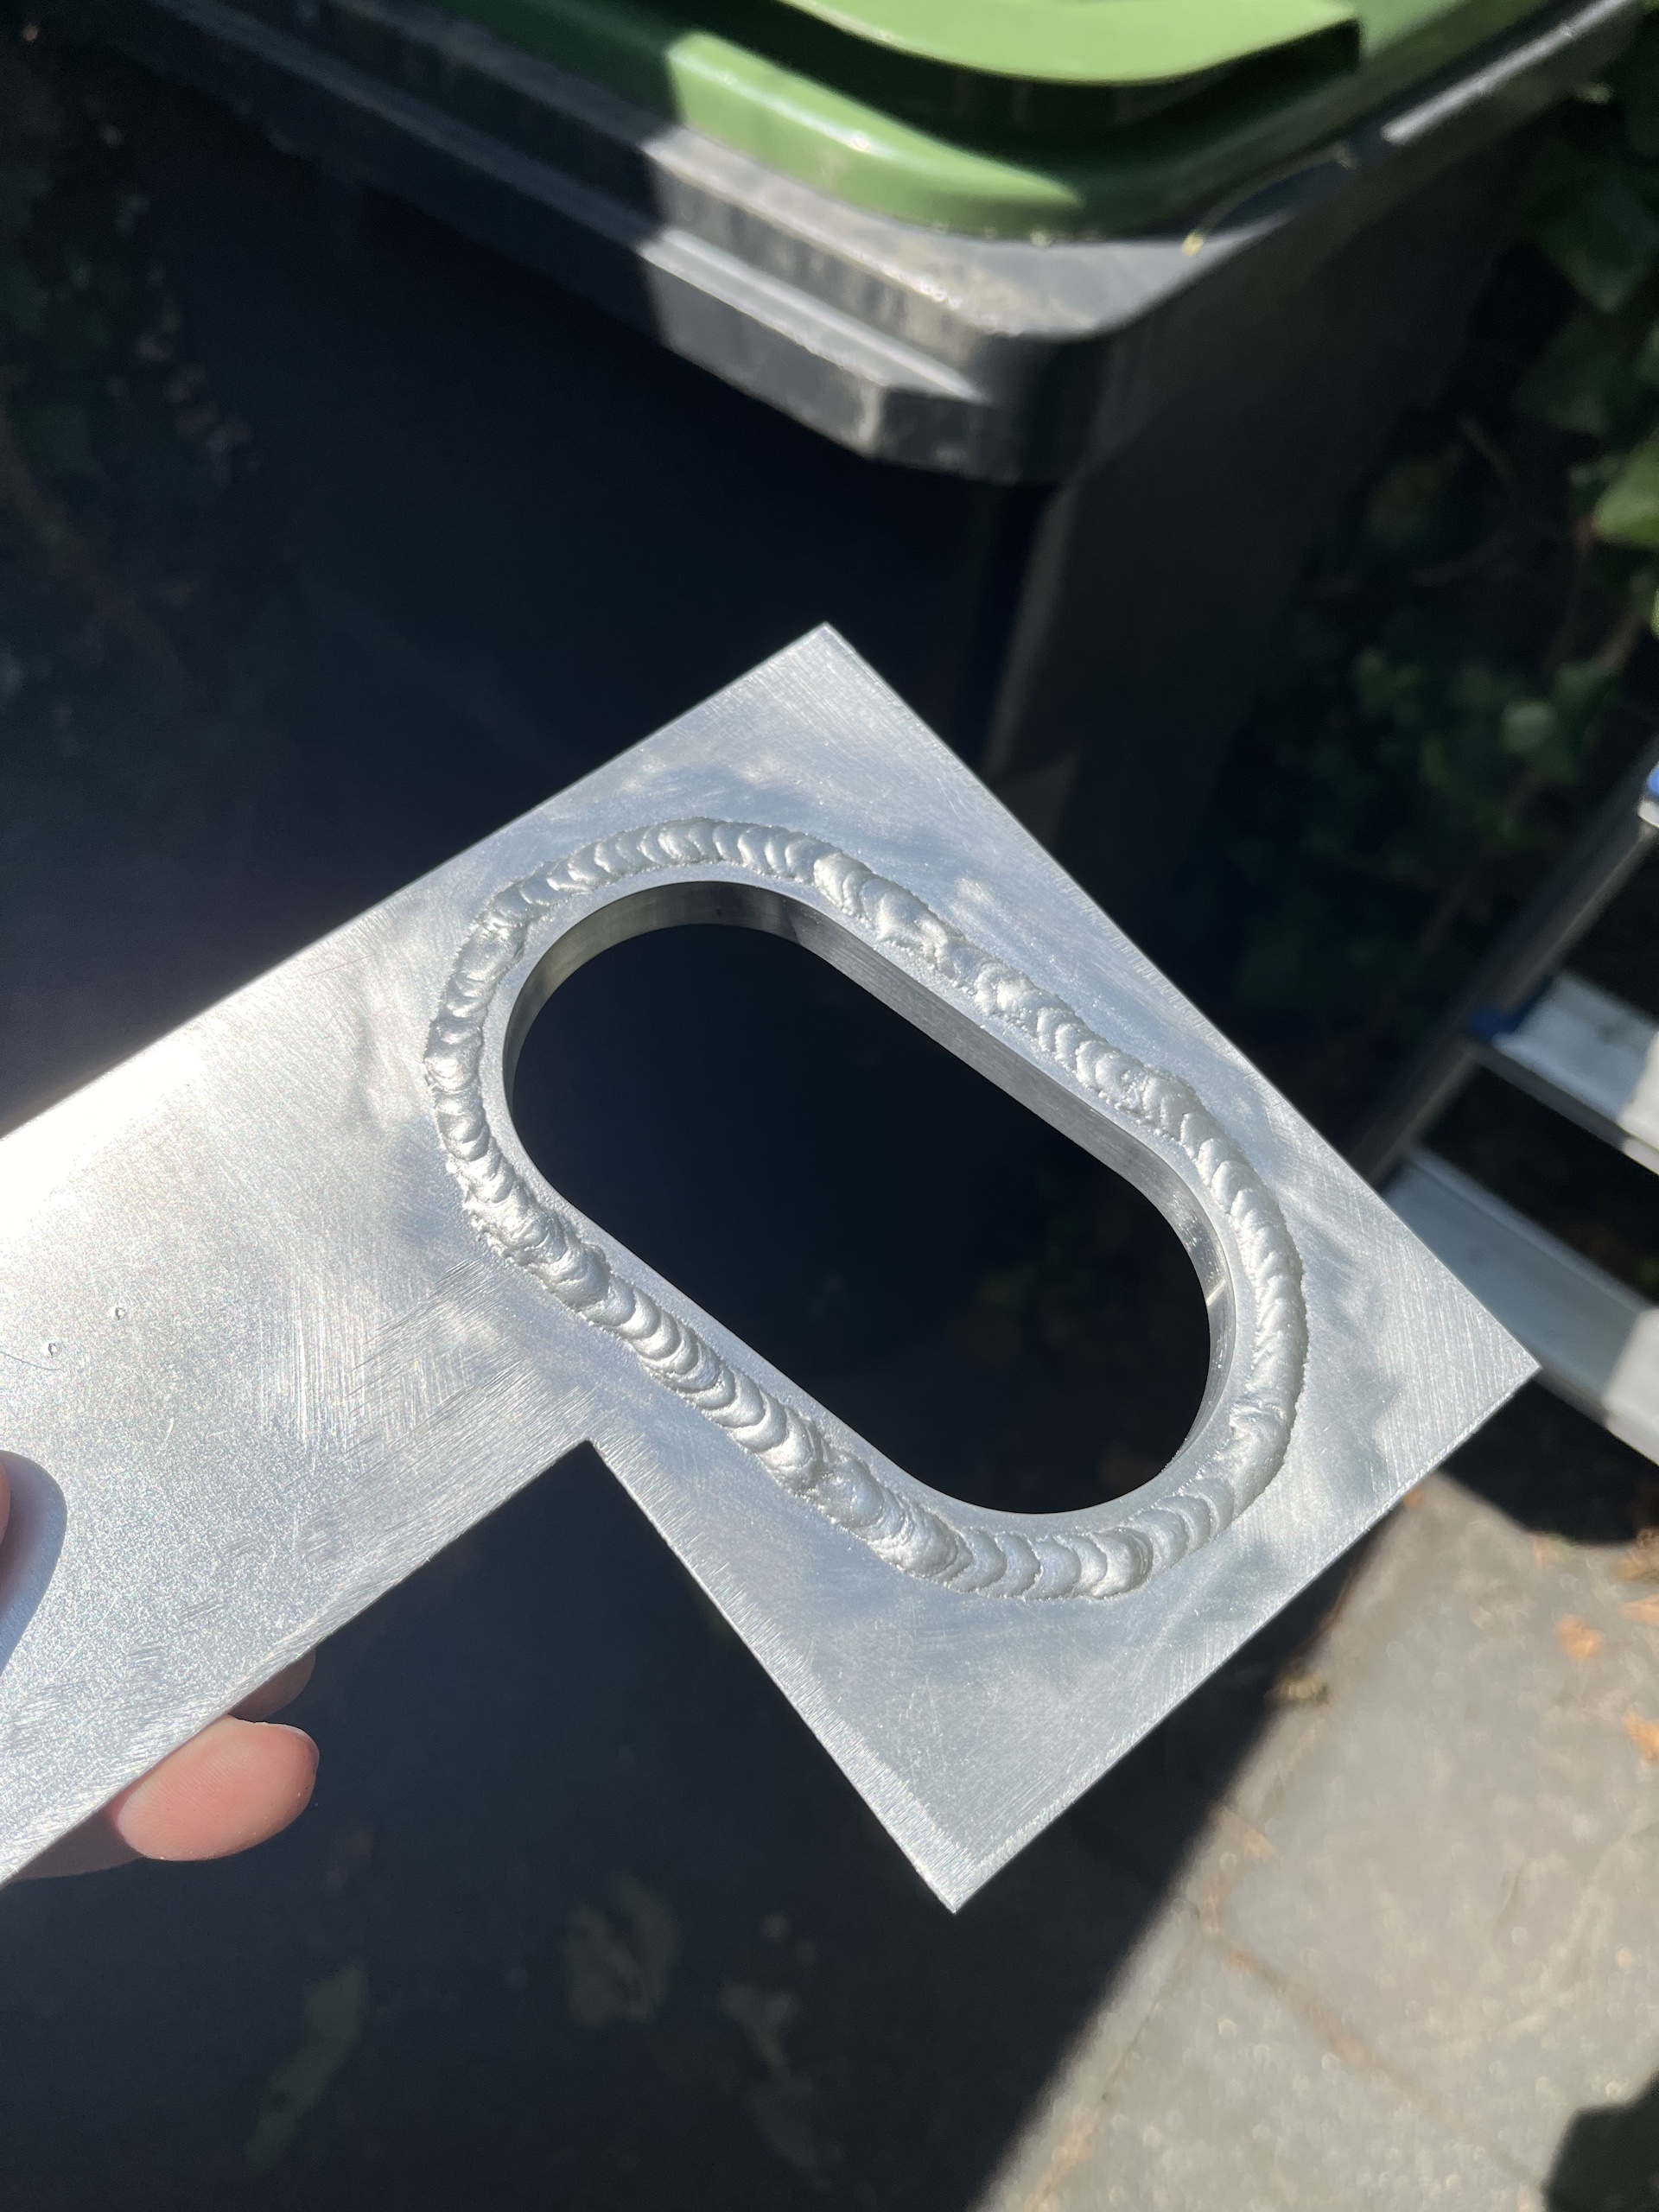
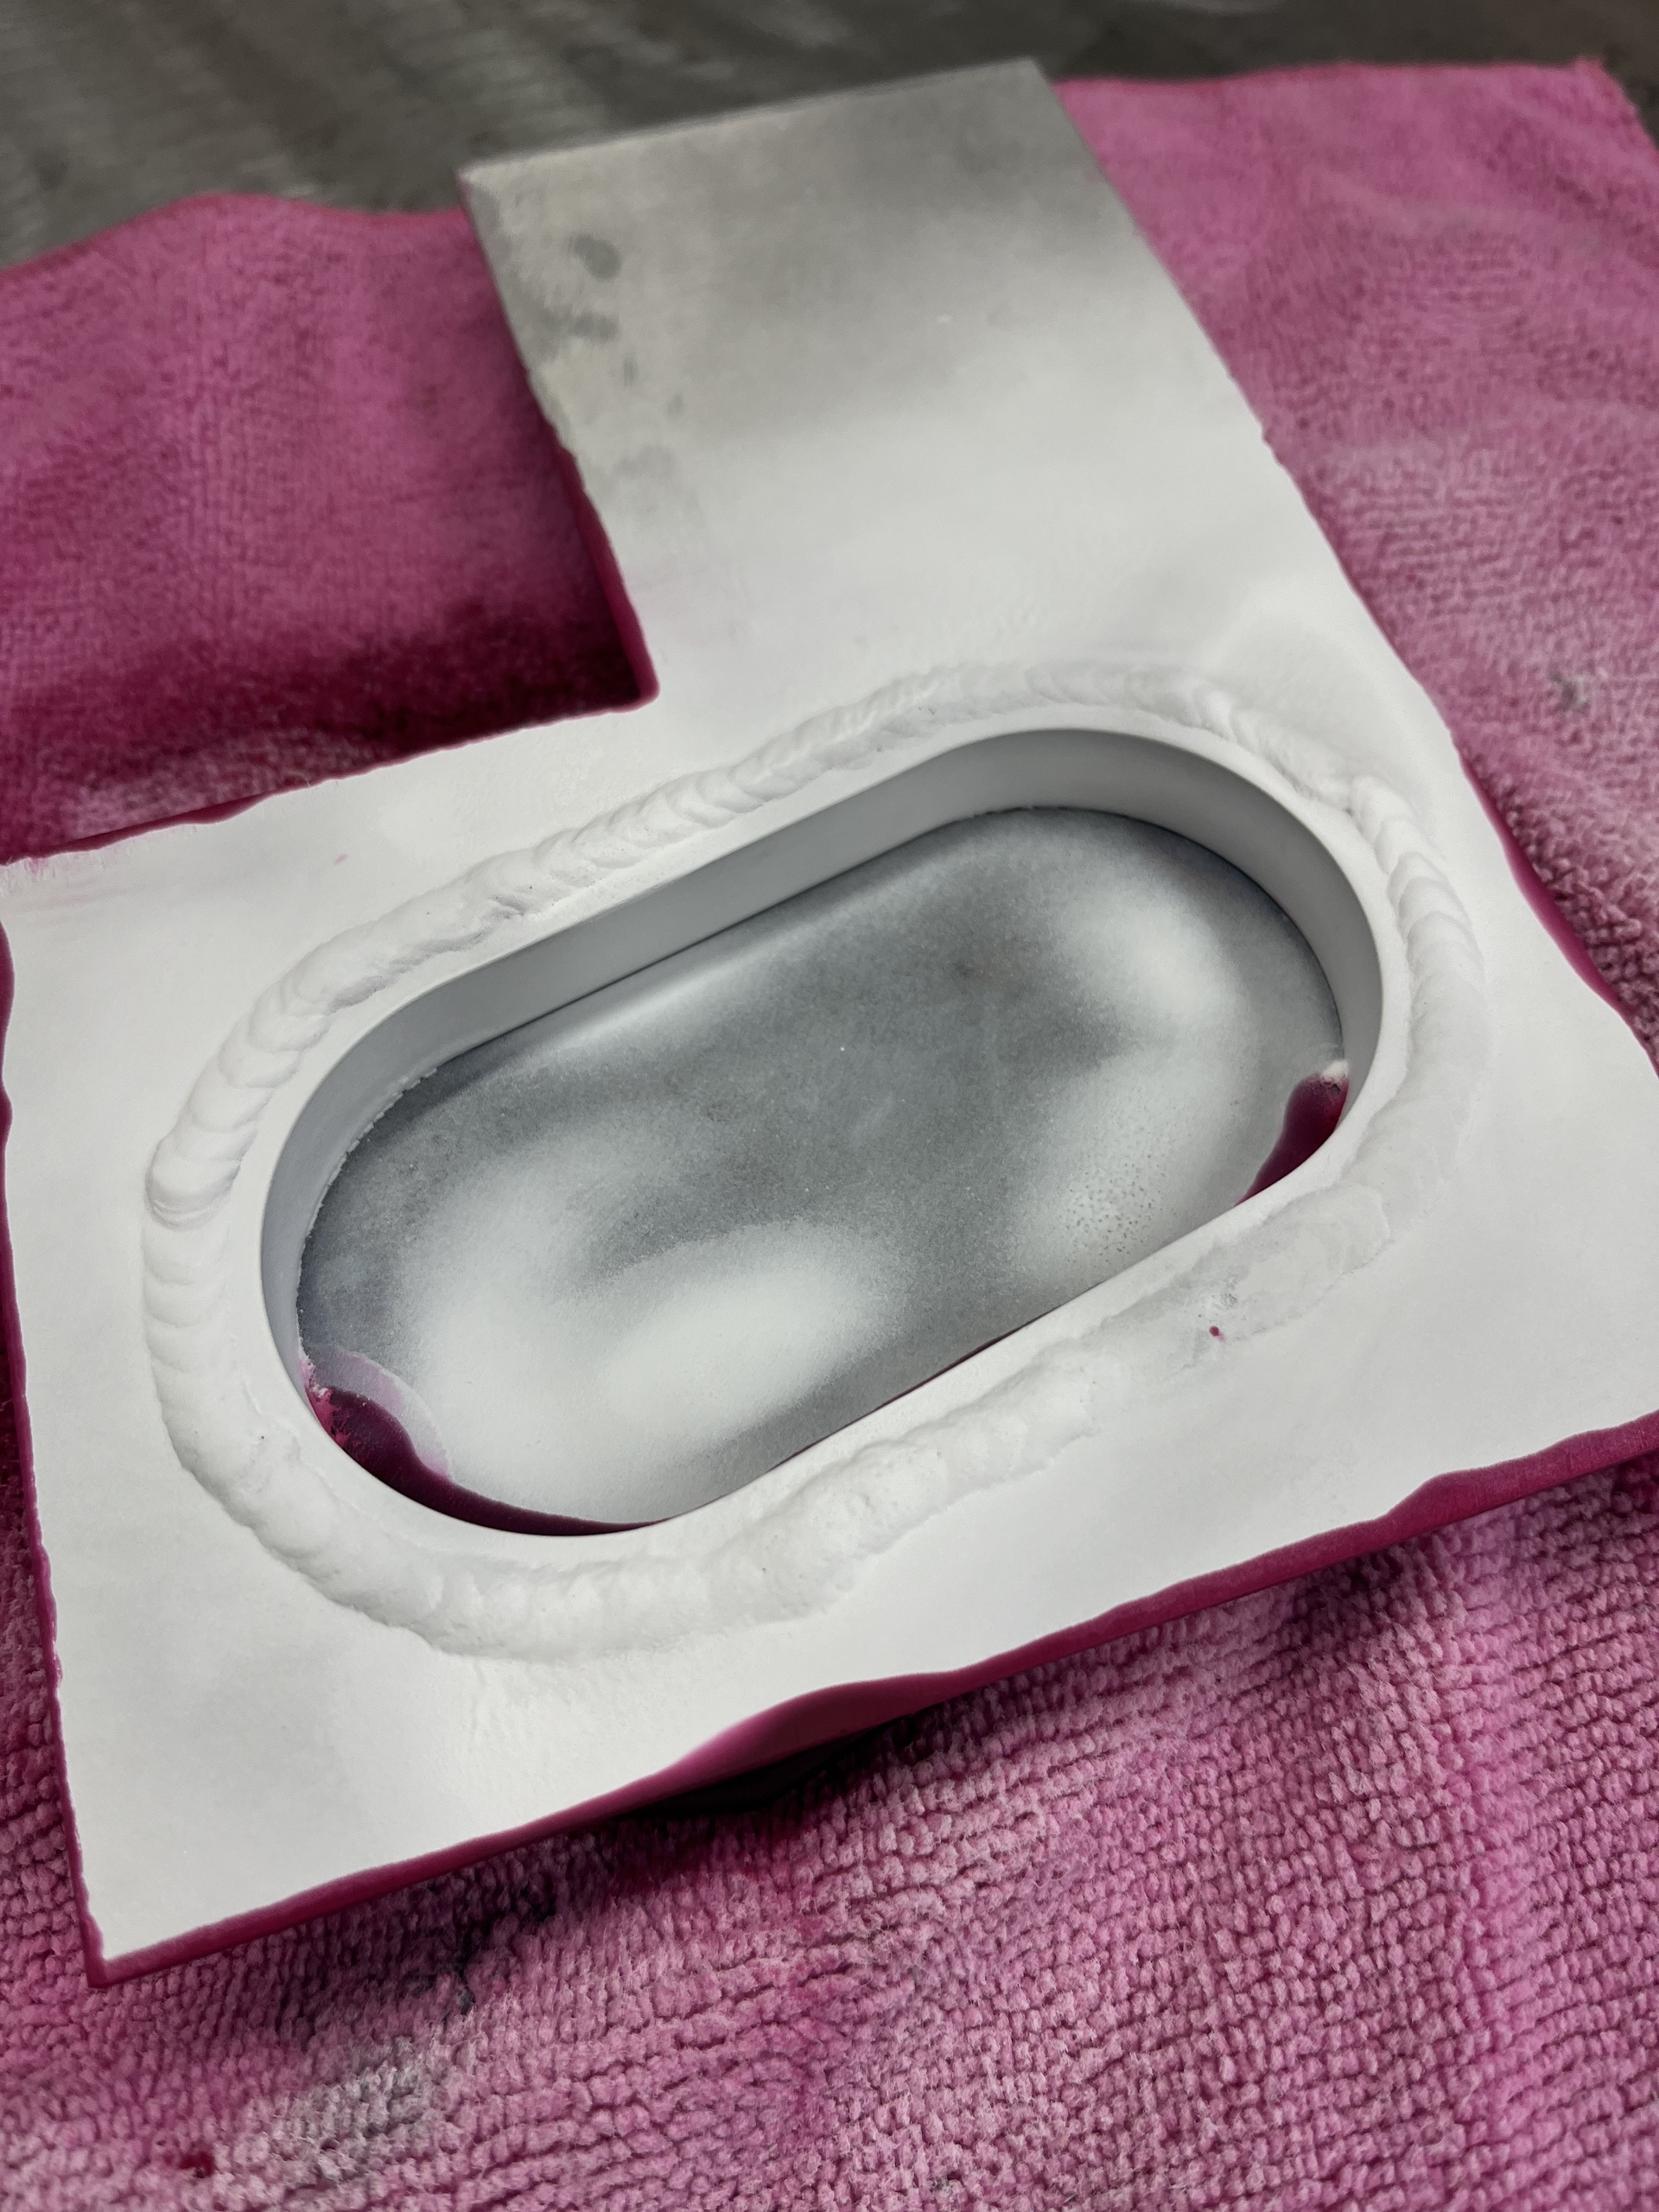
WELDING UP THE FUEL TANK
Finally the last stint has begun! Welding up the fuel tank. Around 70 weld seems, so lets go!

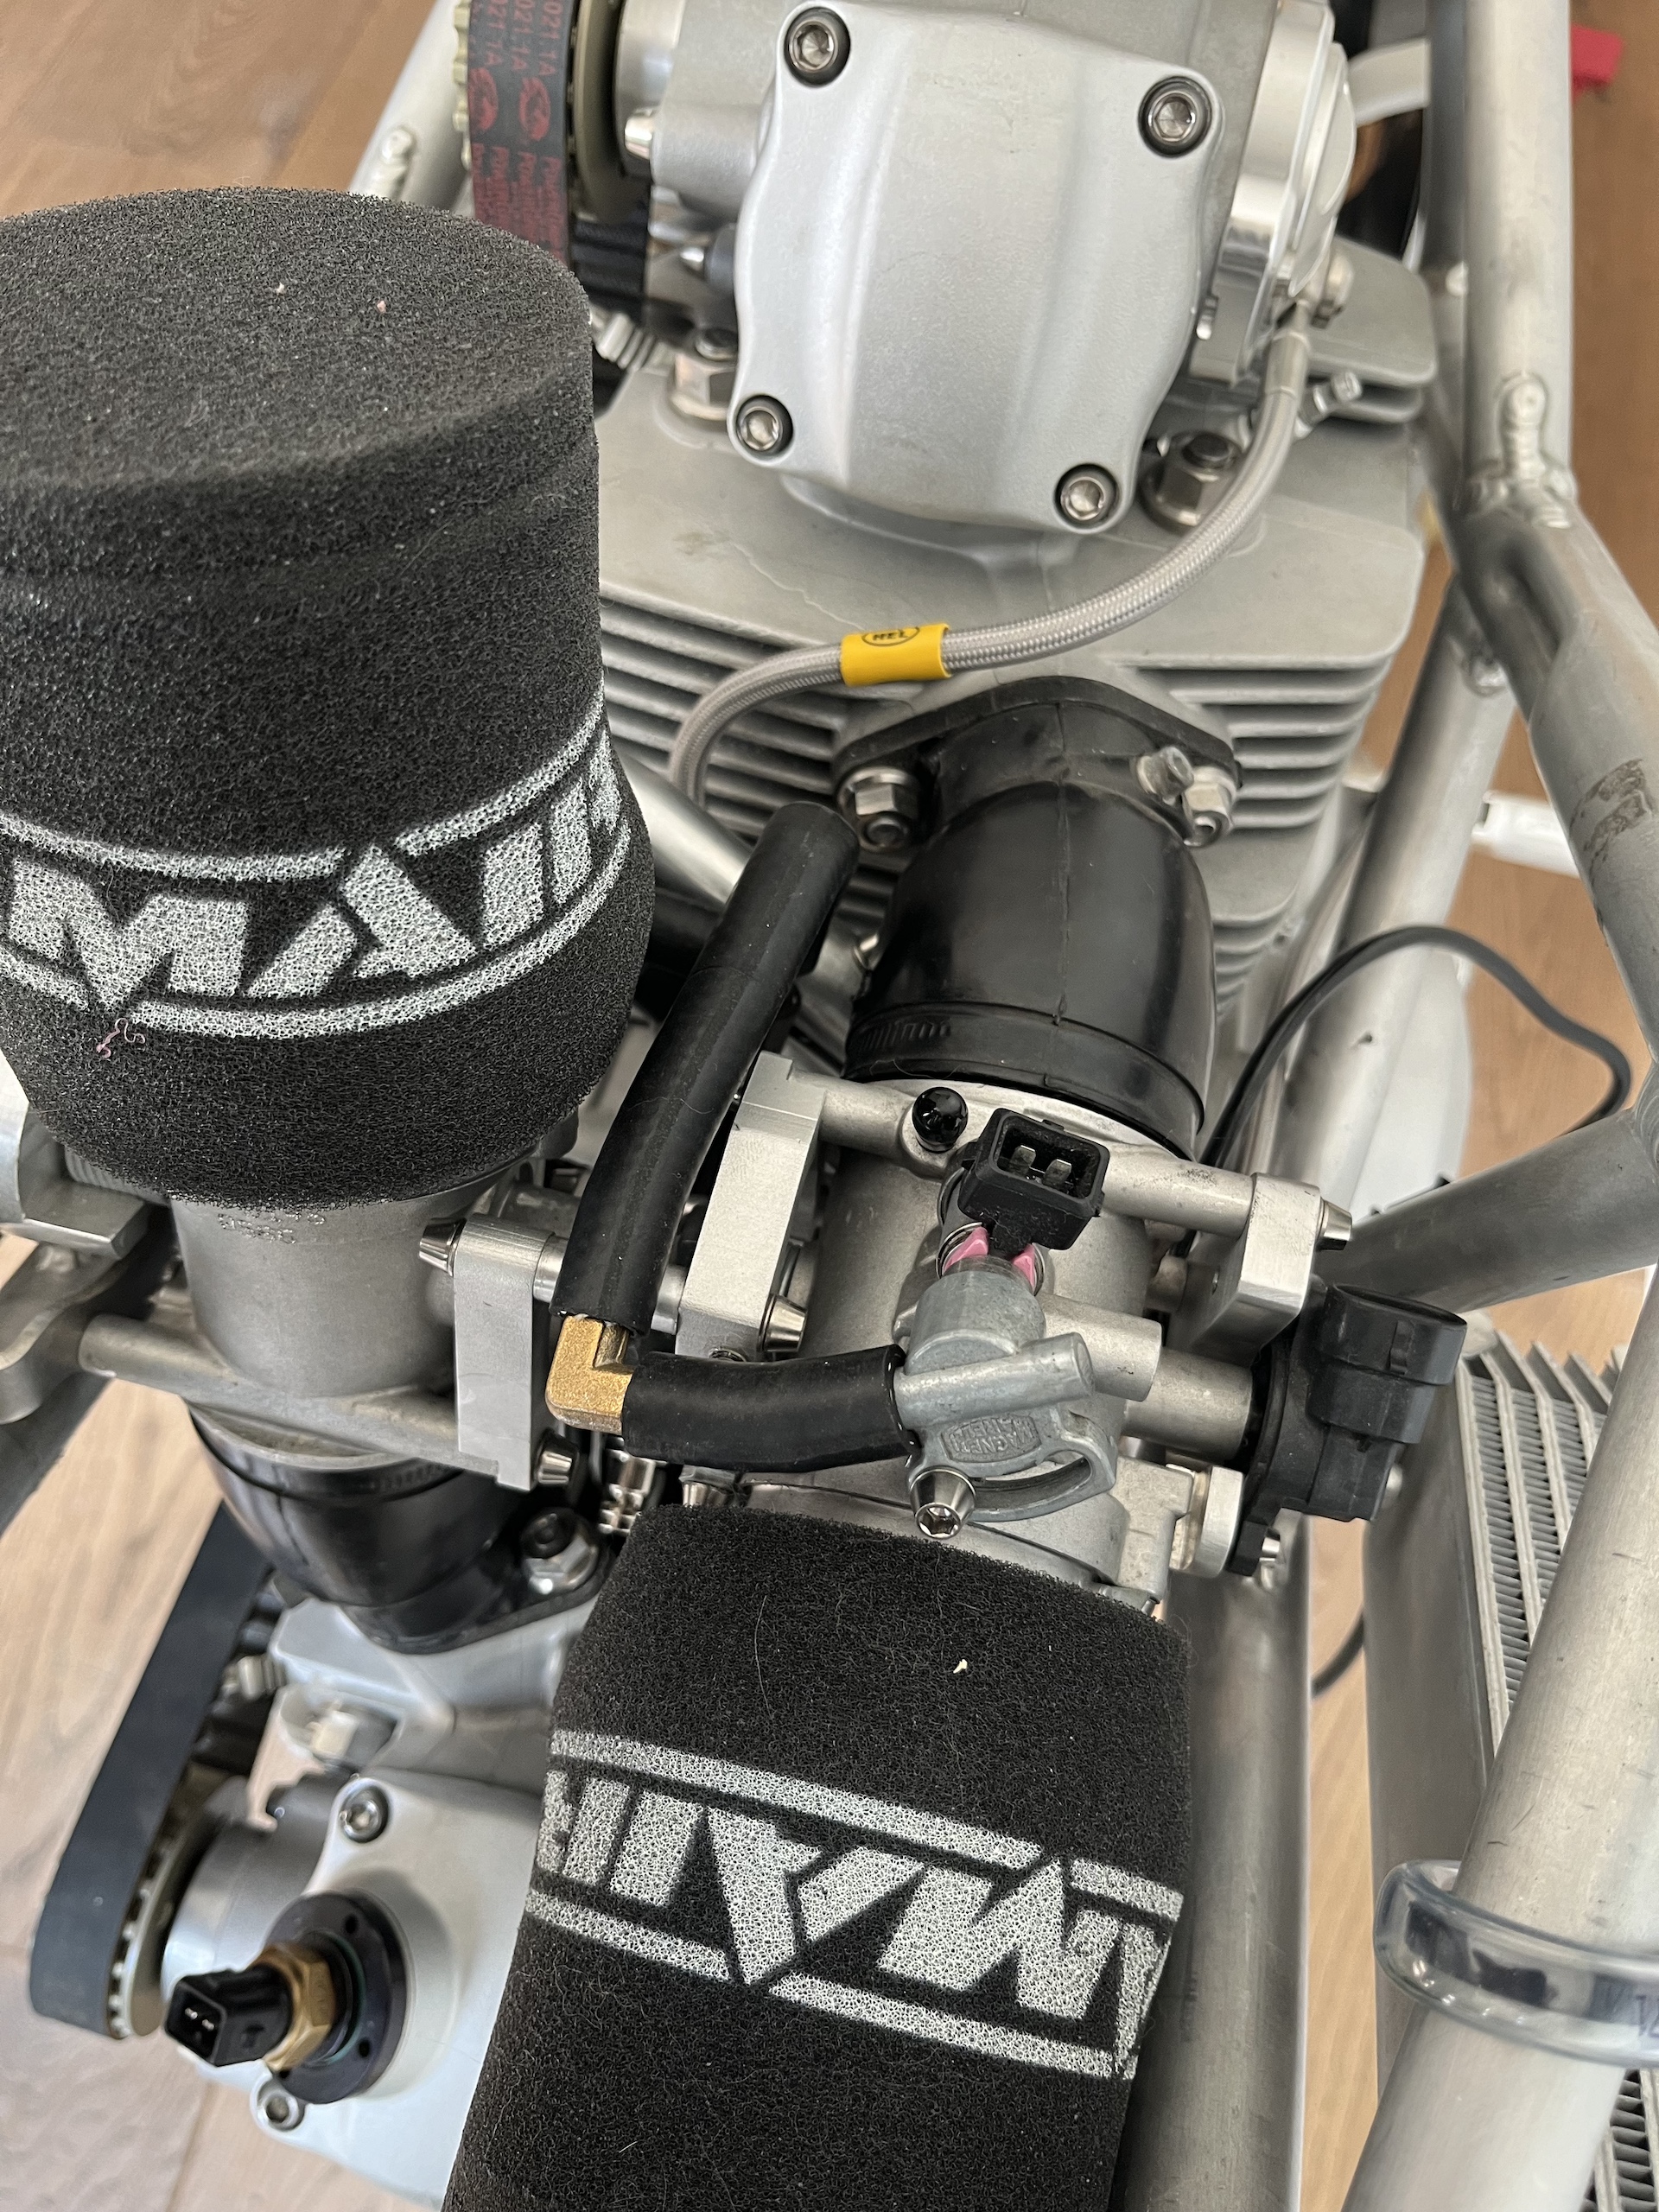
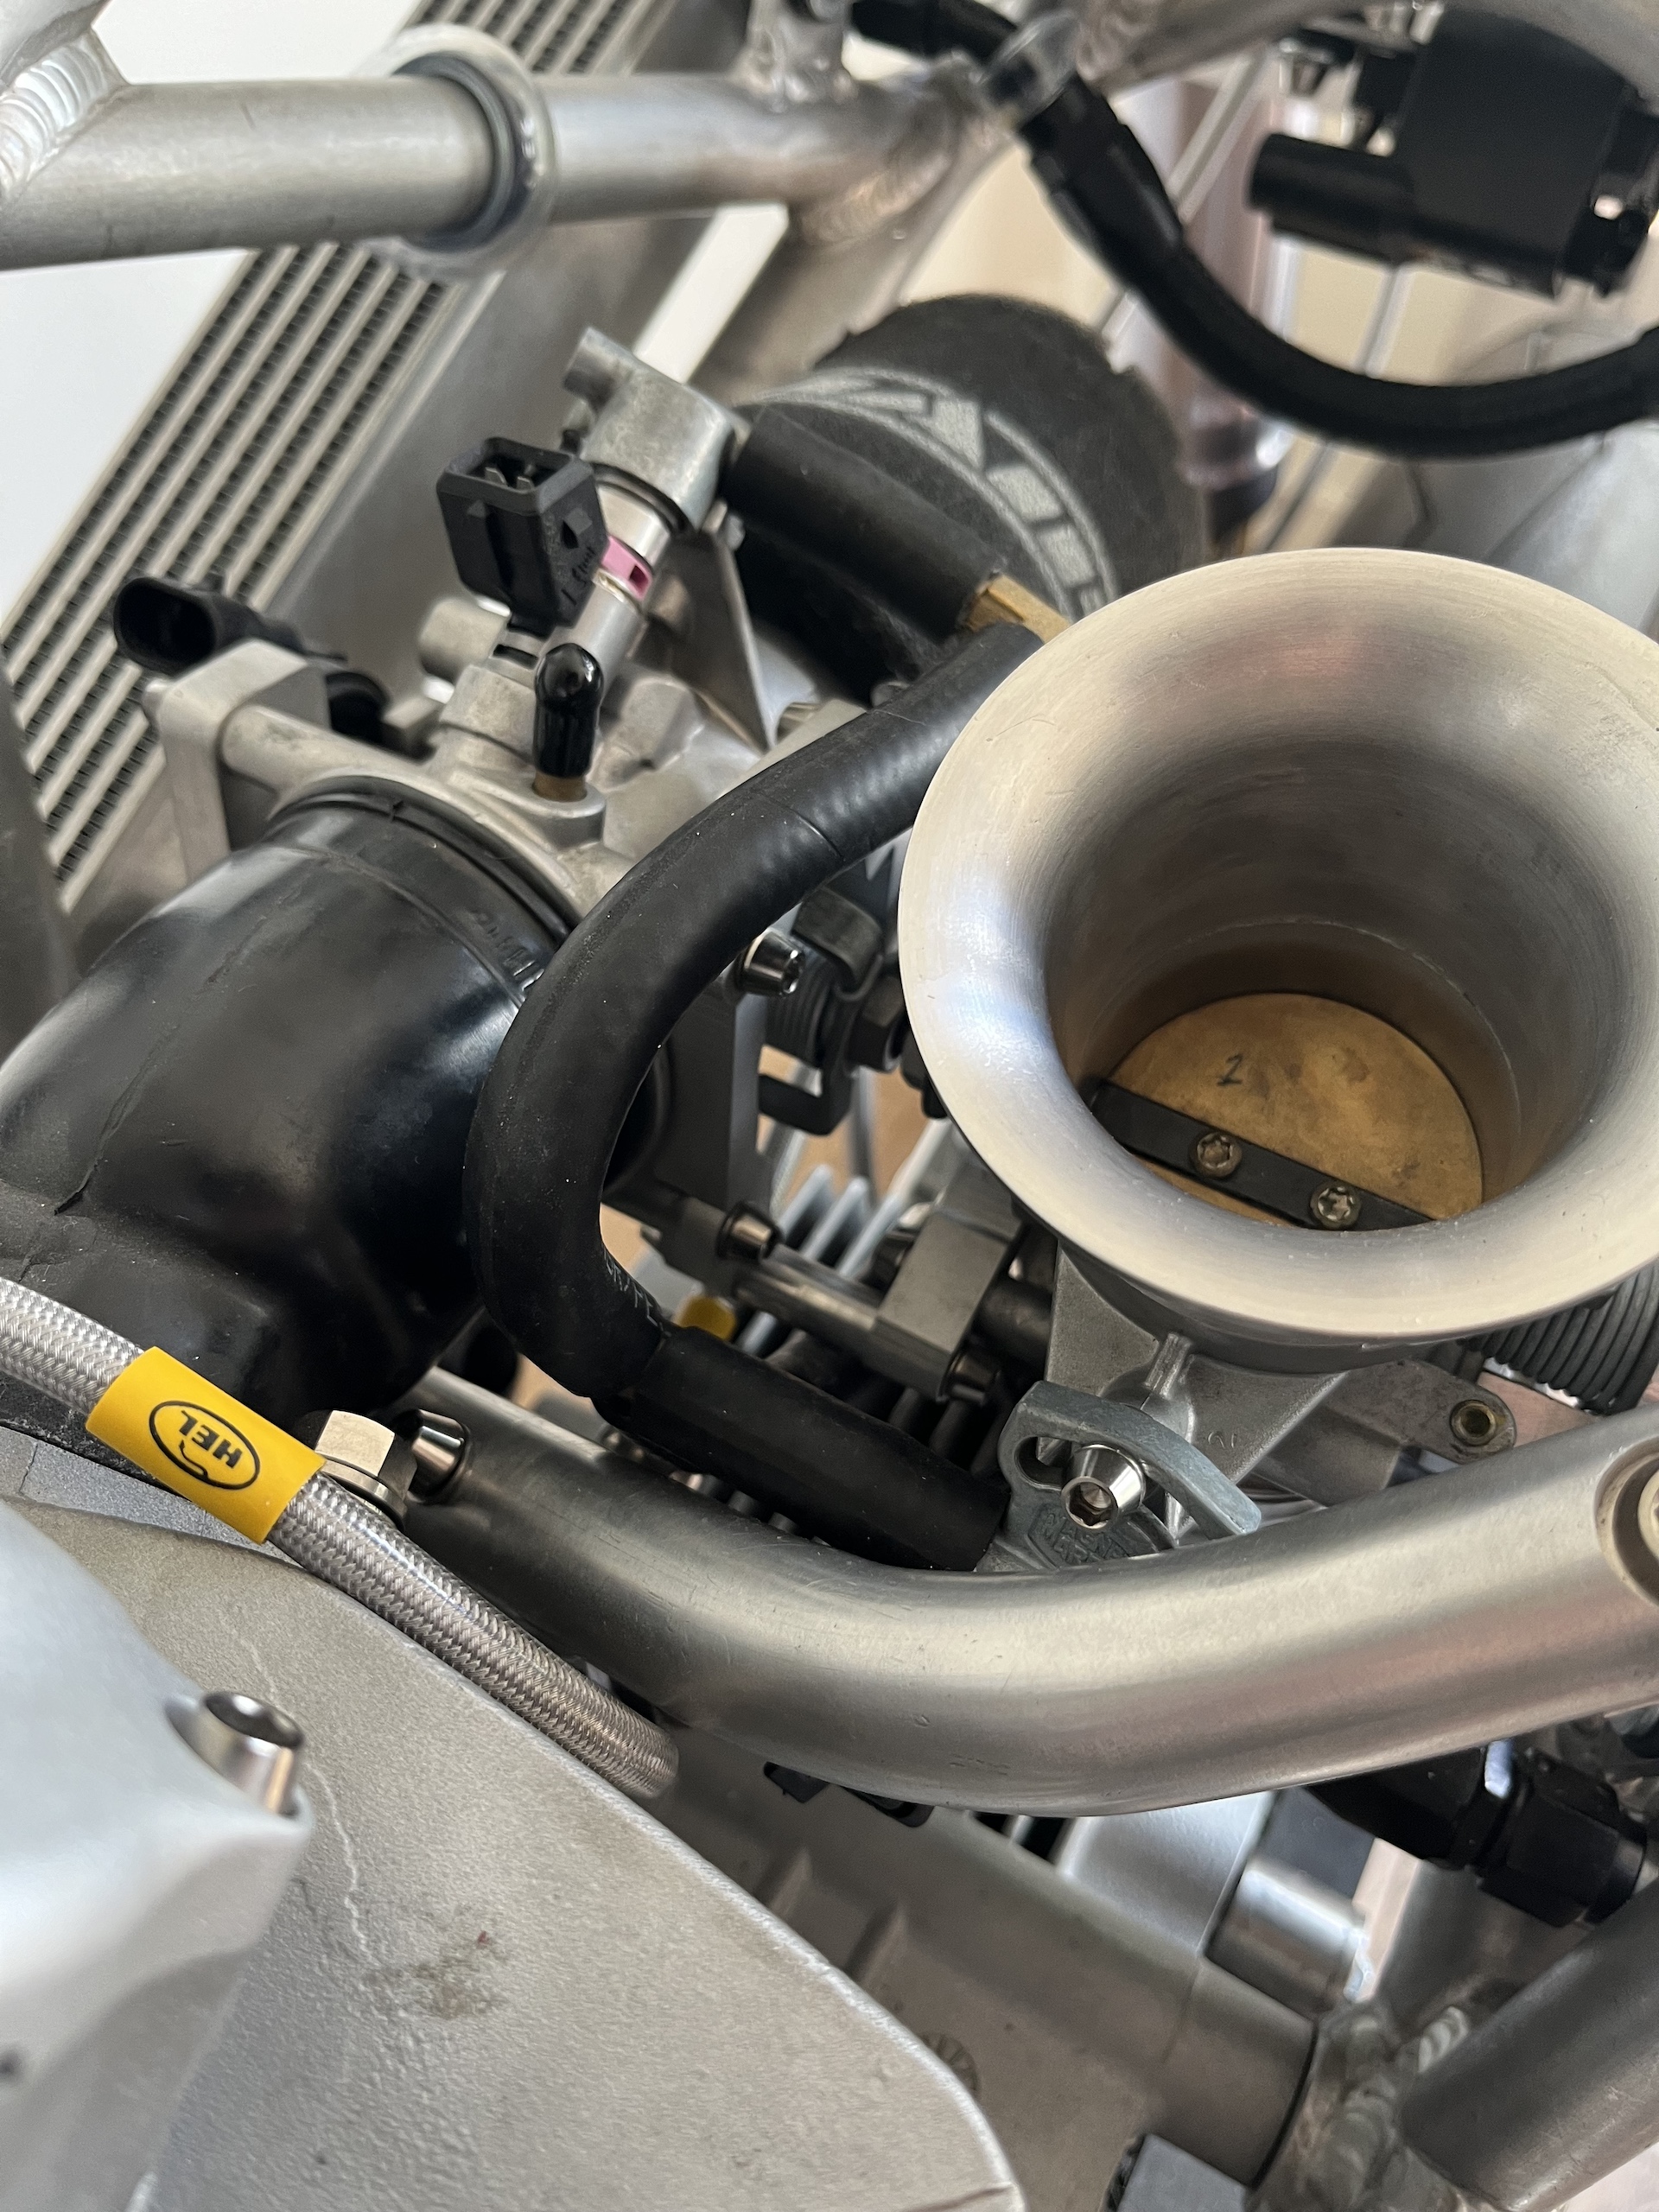
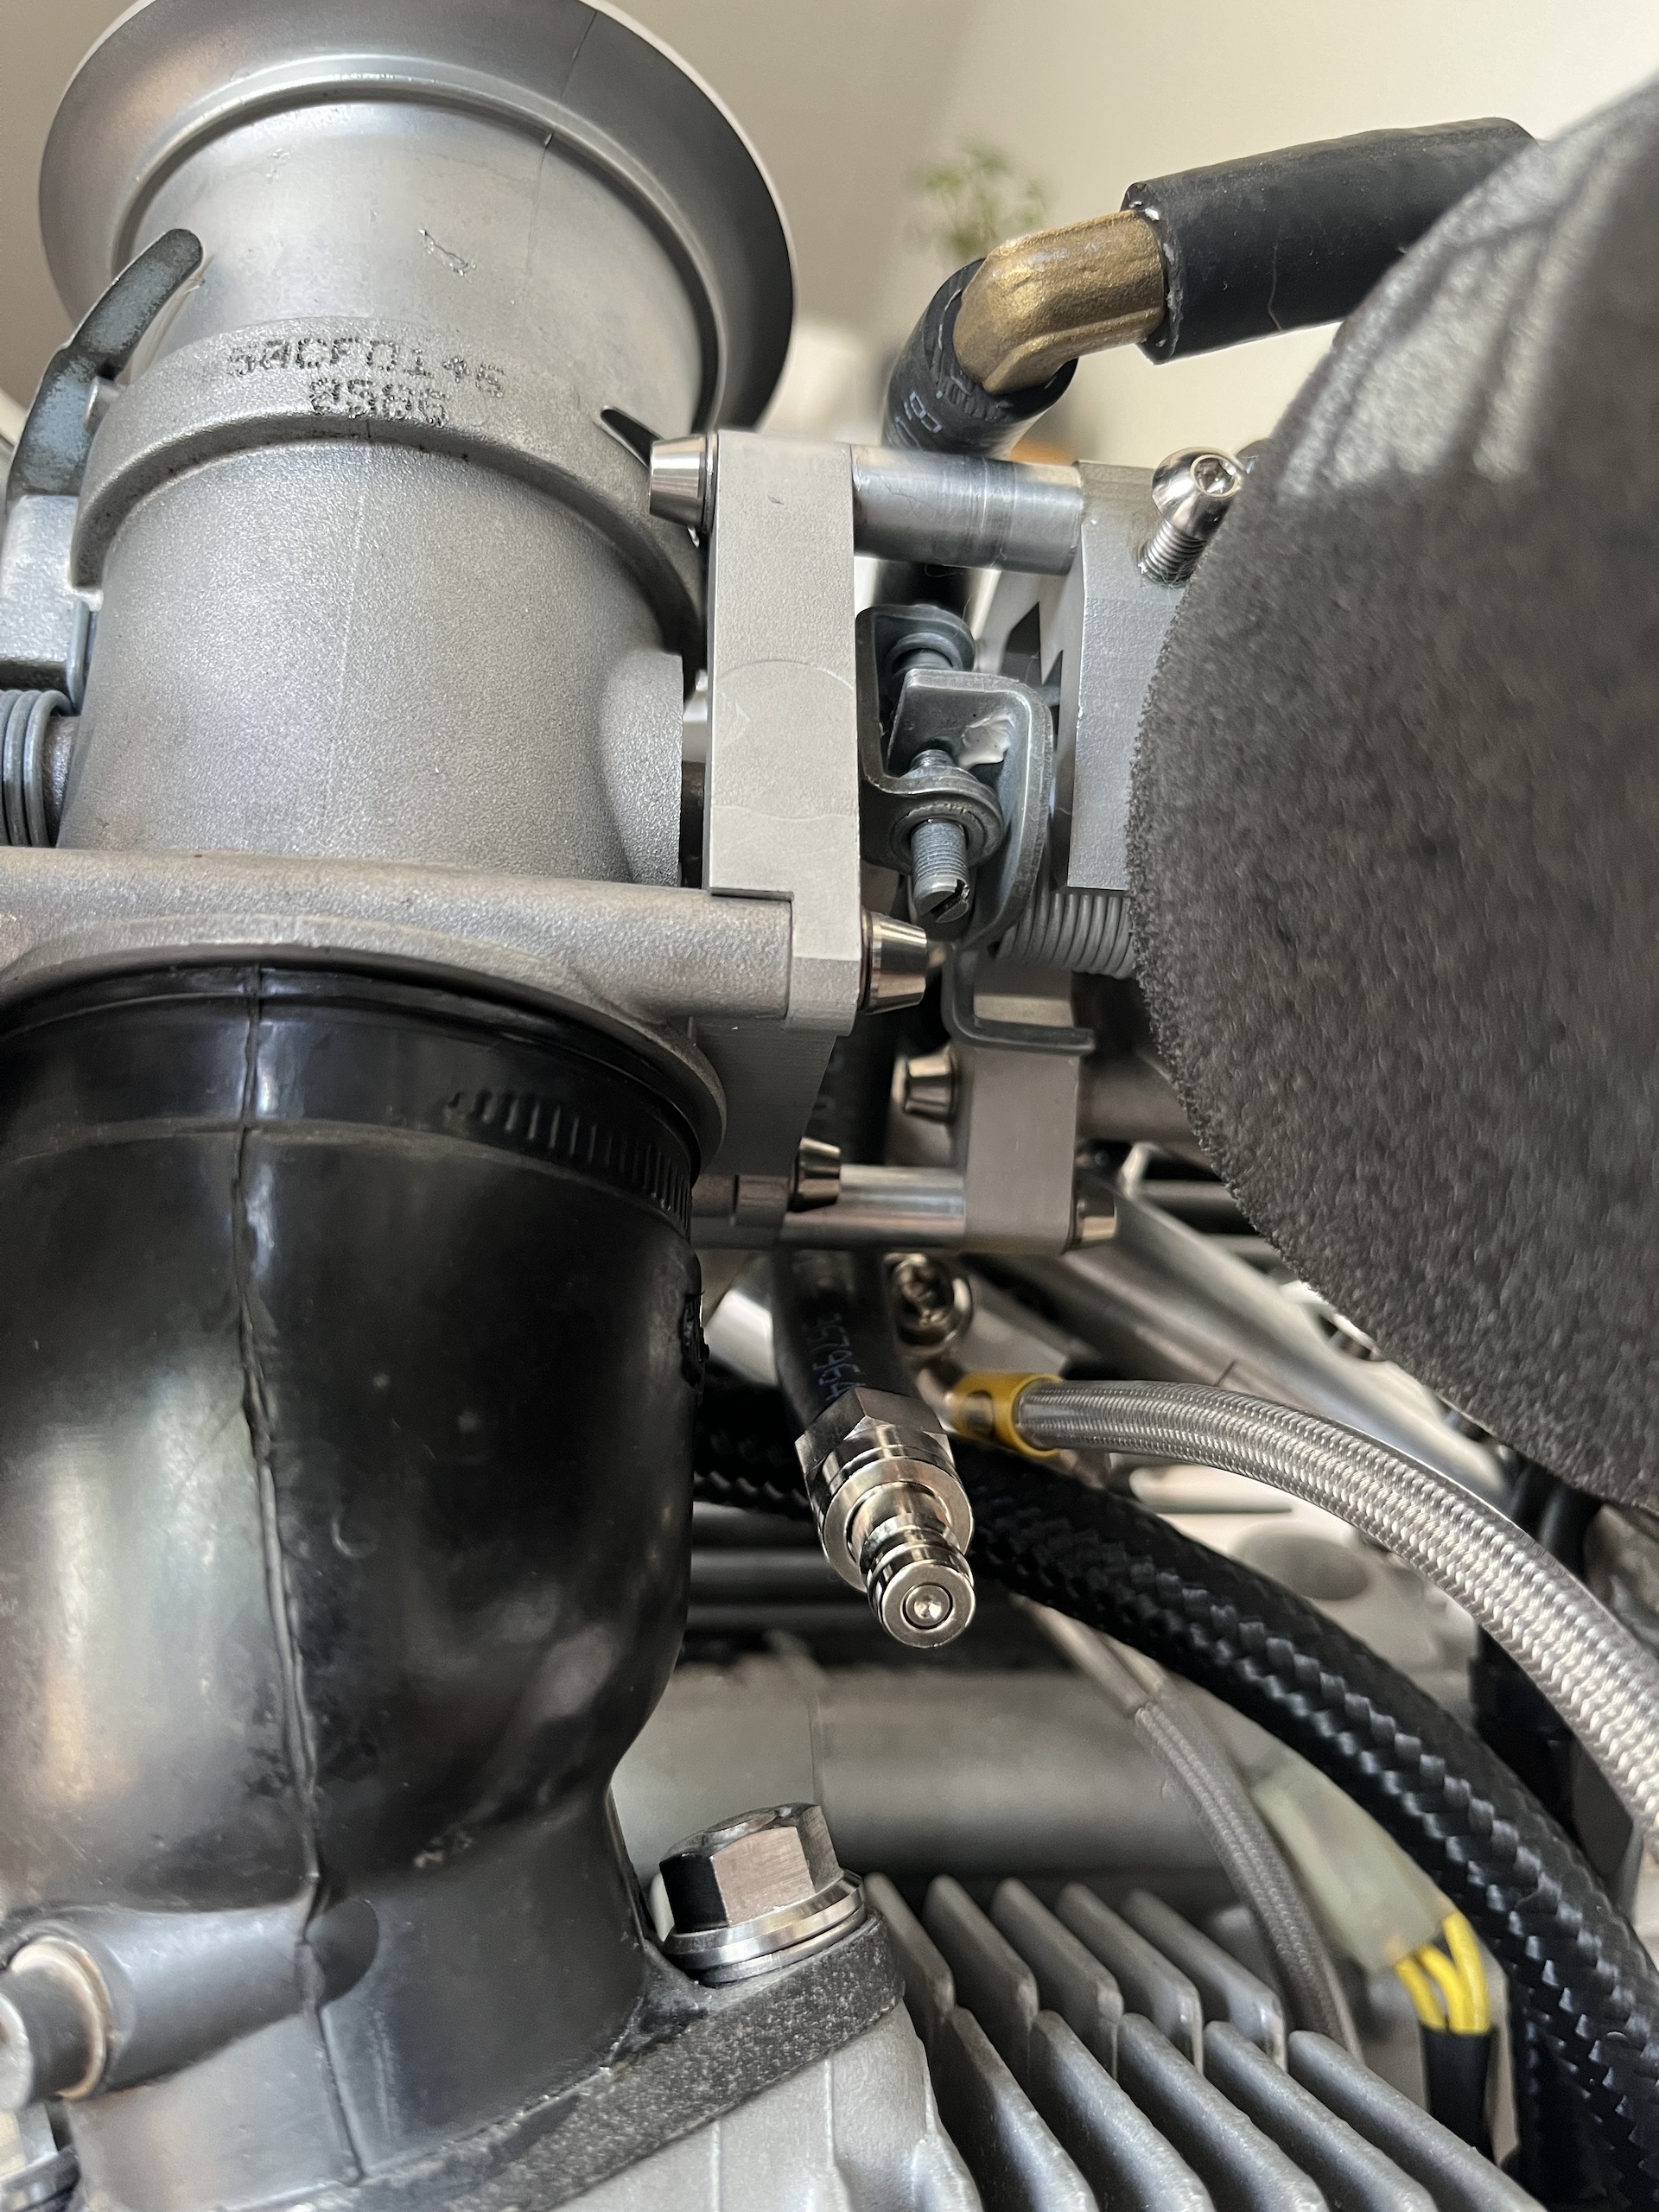
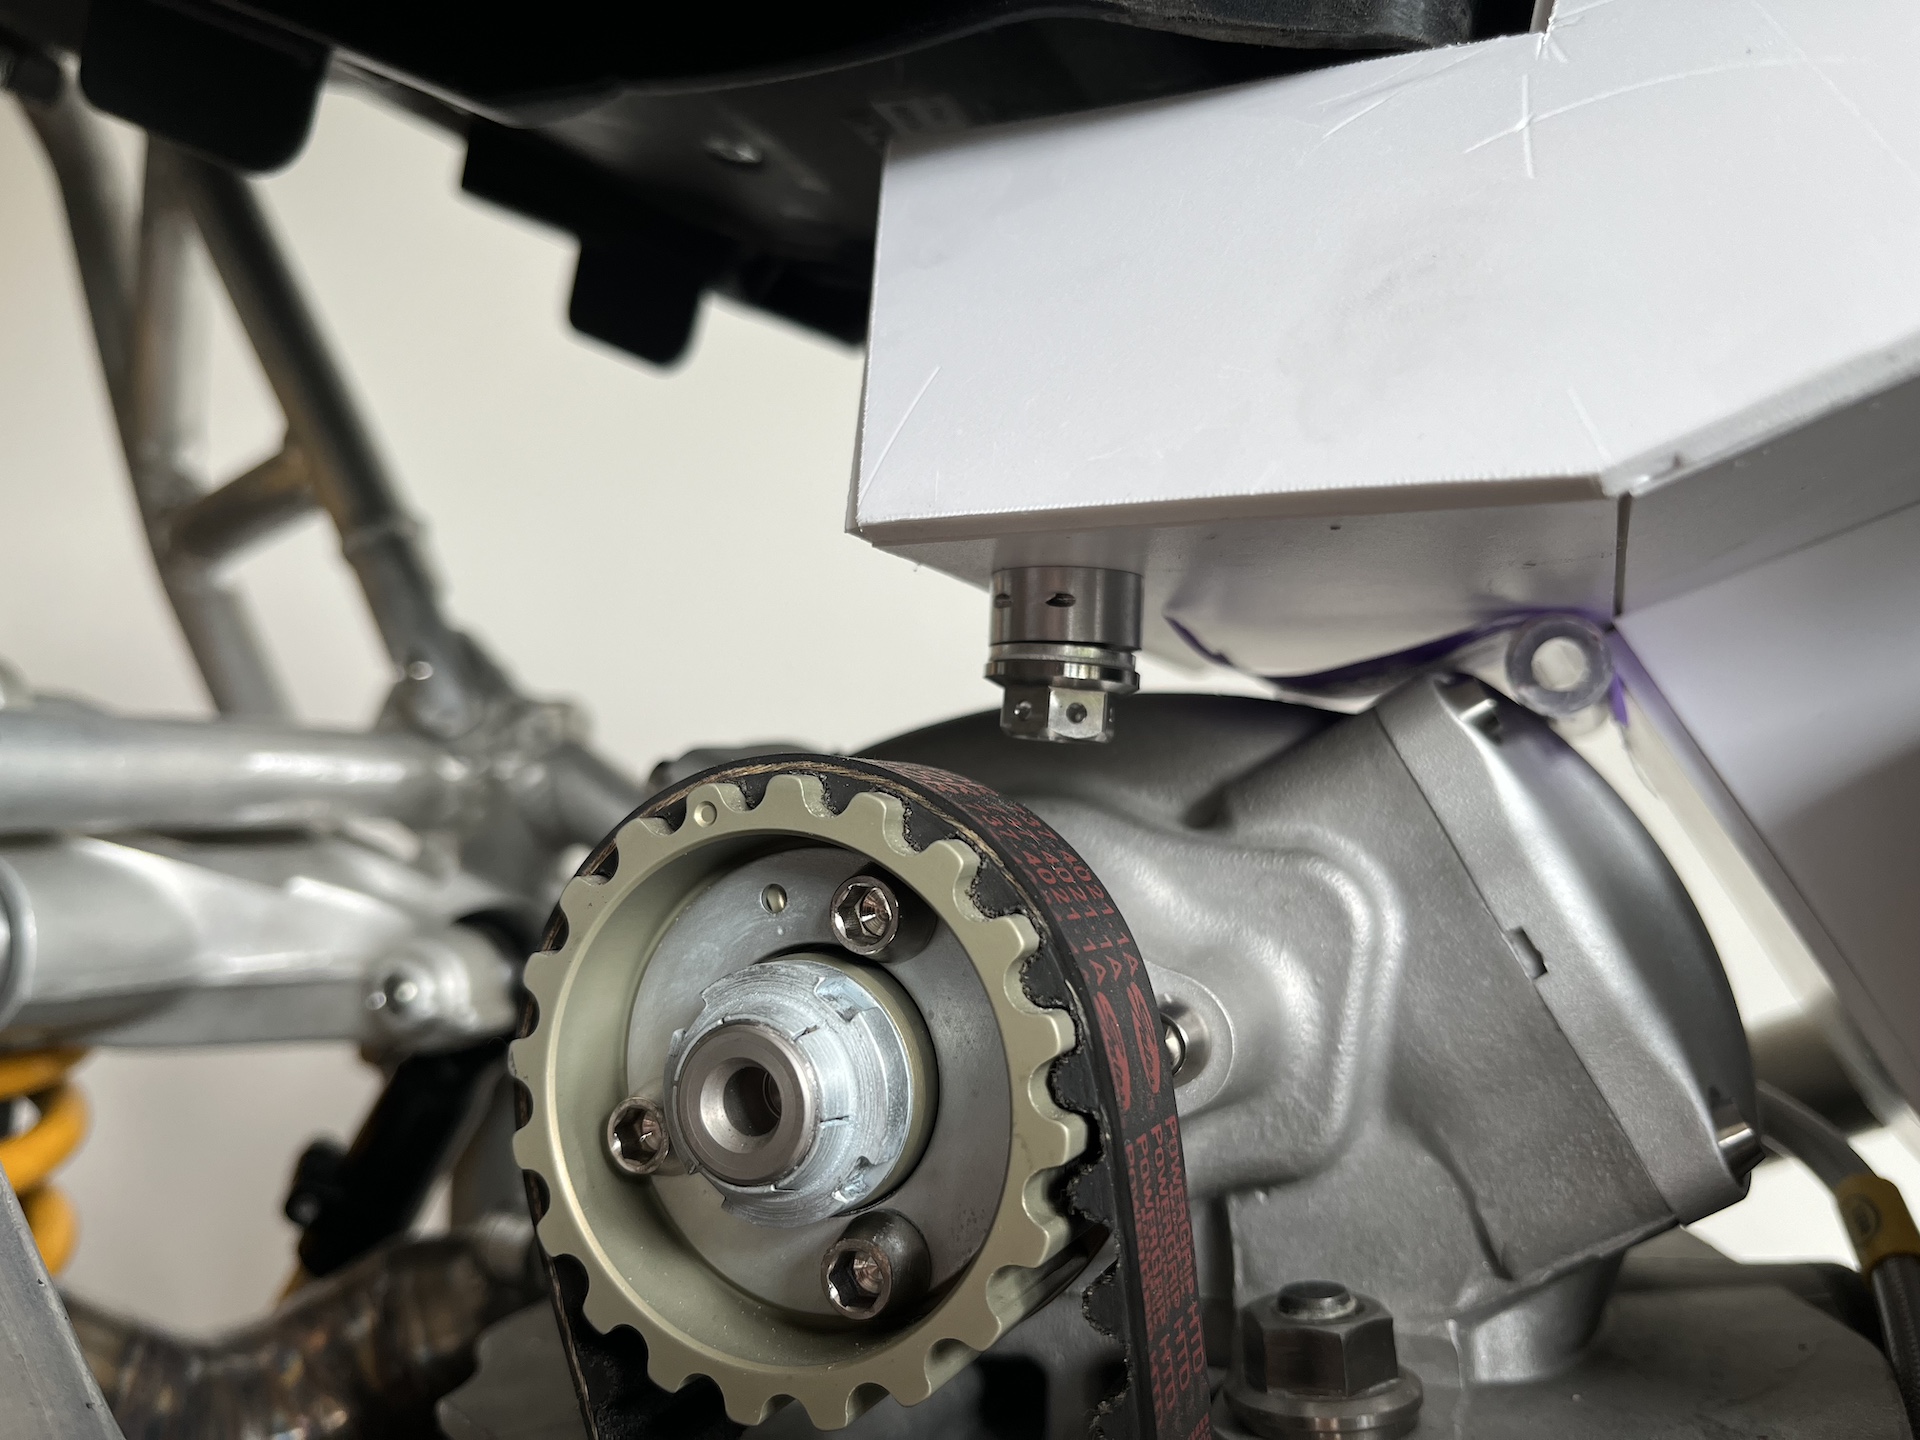
FUEL LINE ROUTING
The fuel line routing is a bit different… Modified the injector caps to only feed from 1 side and then using T and 90 degree fittings to get everything routed. Mimicking the 848/1098 fuel line routing. All connected to the using a quick release fitting that seals the injector and tank side.
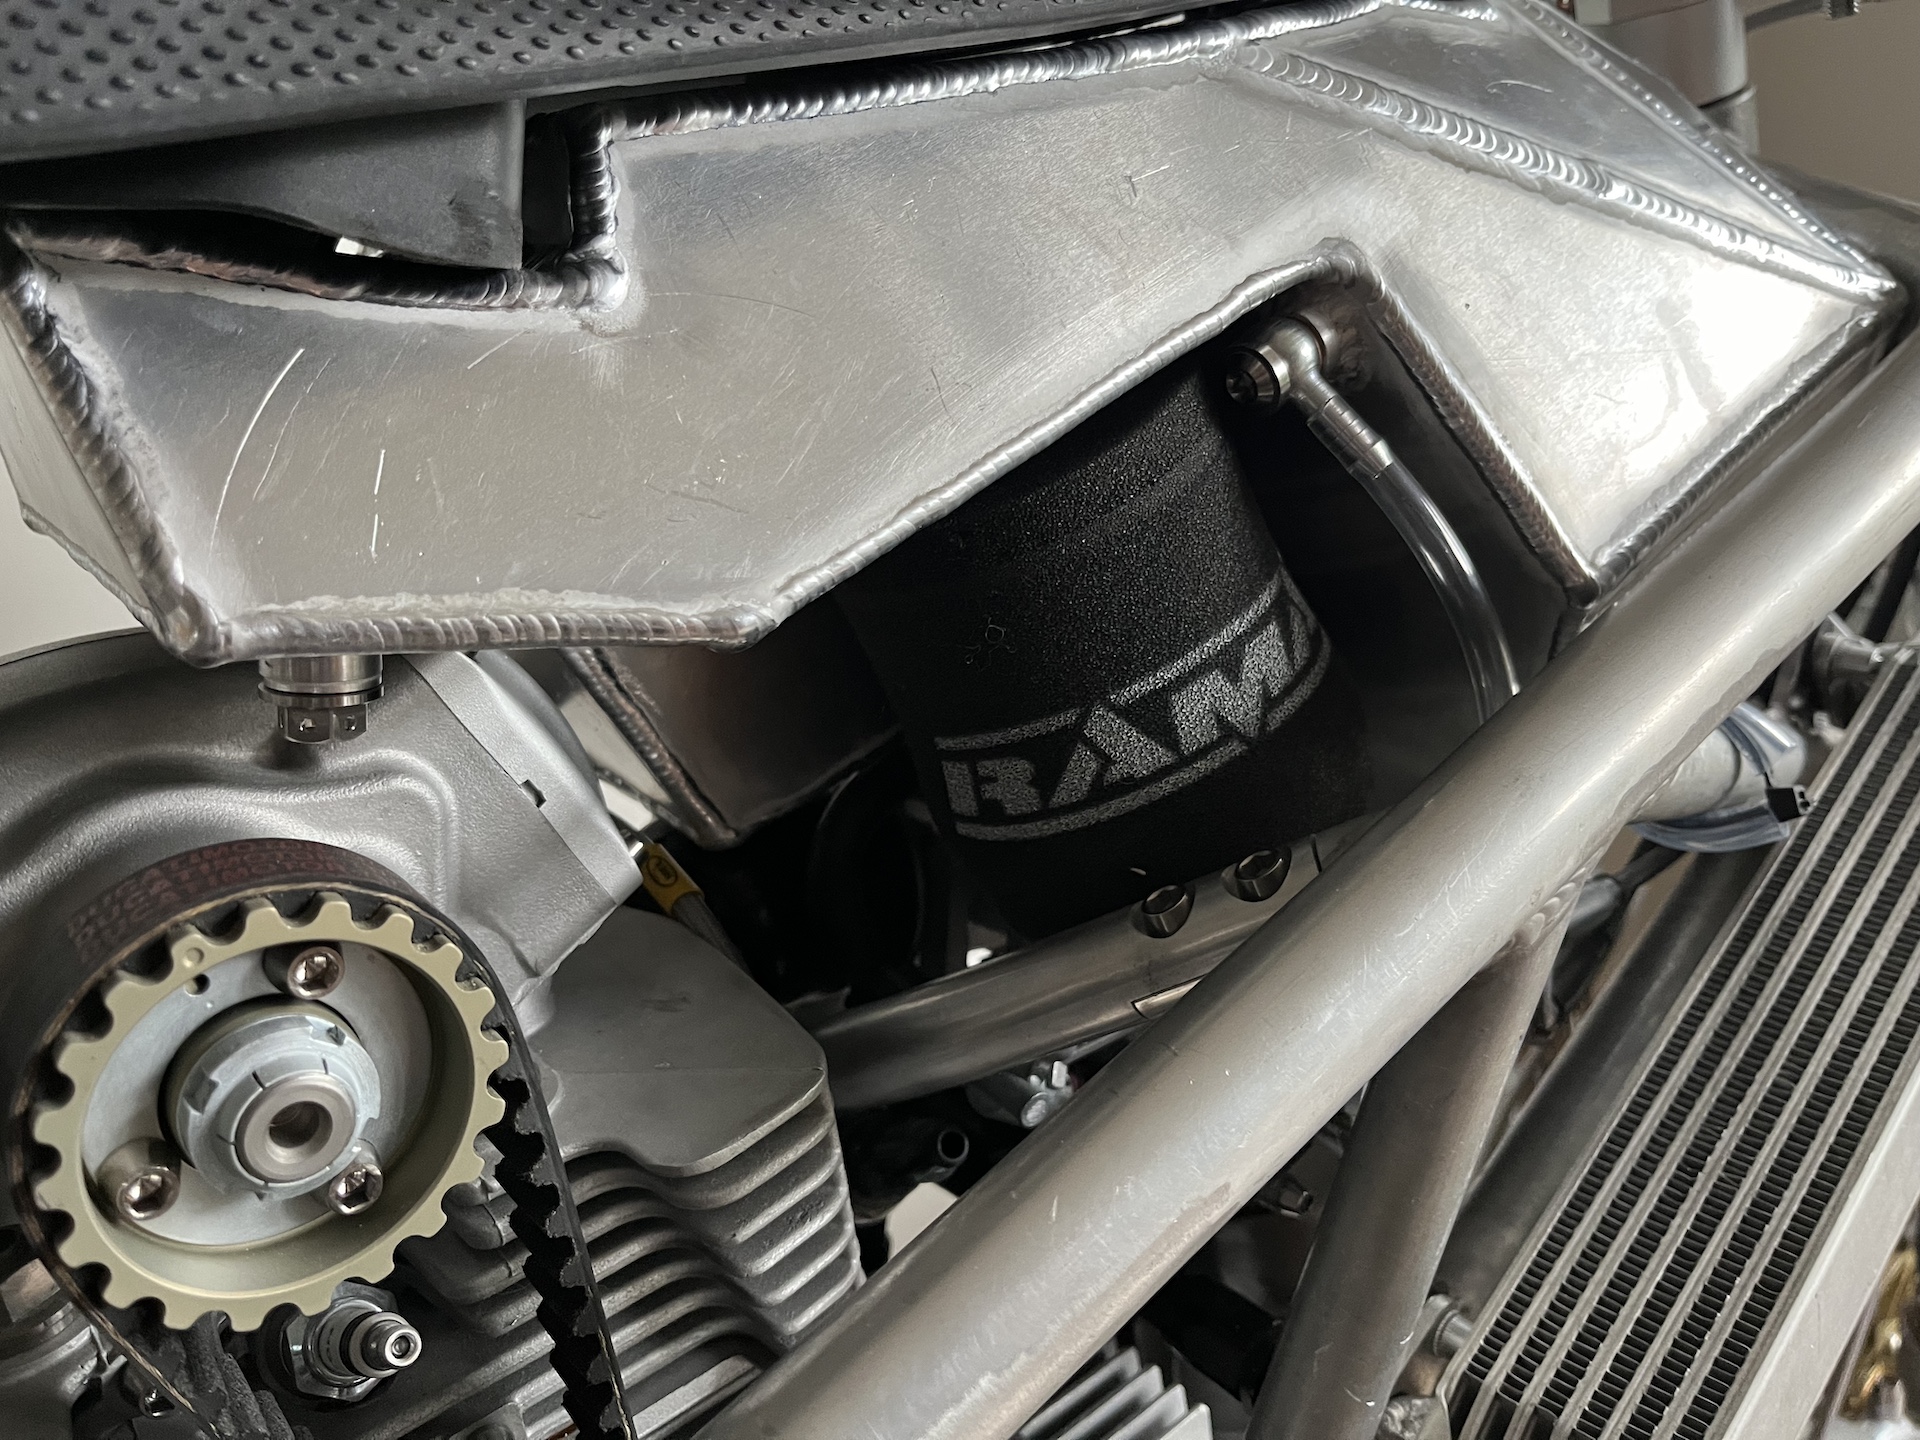
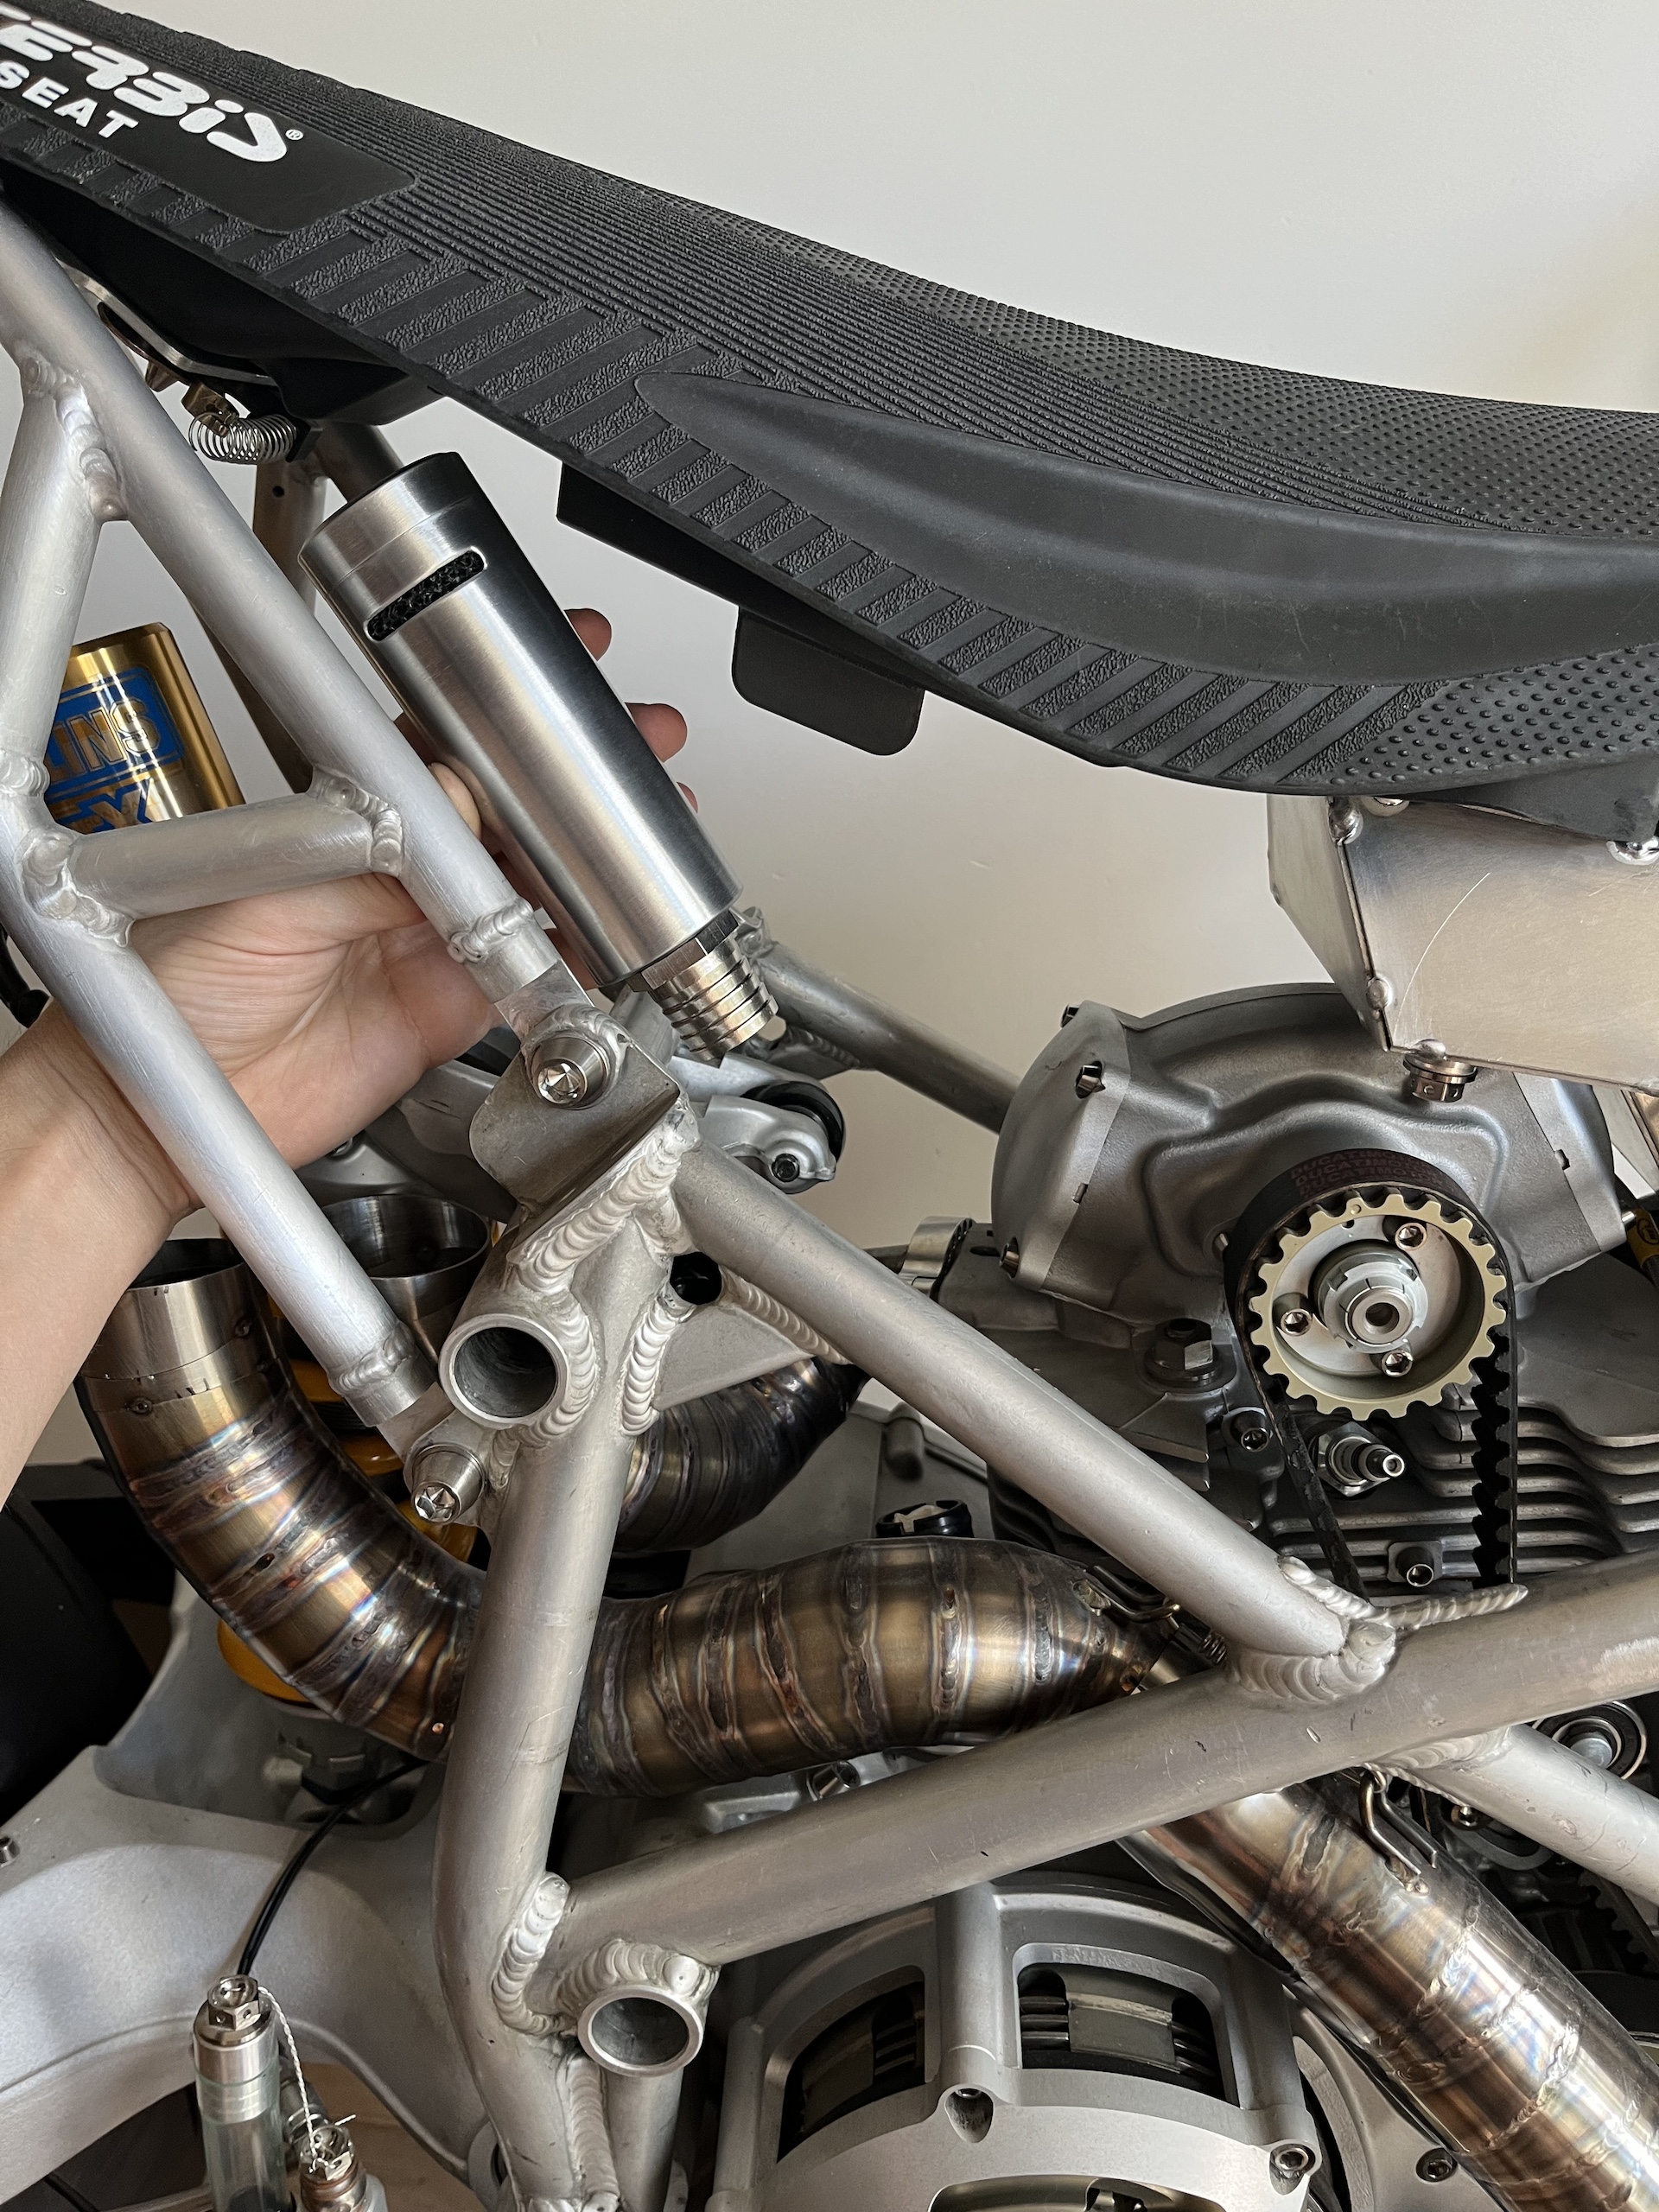
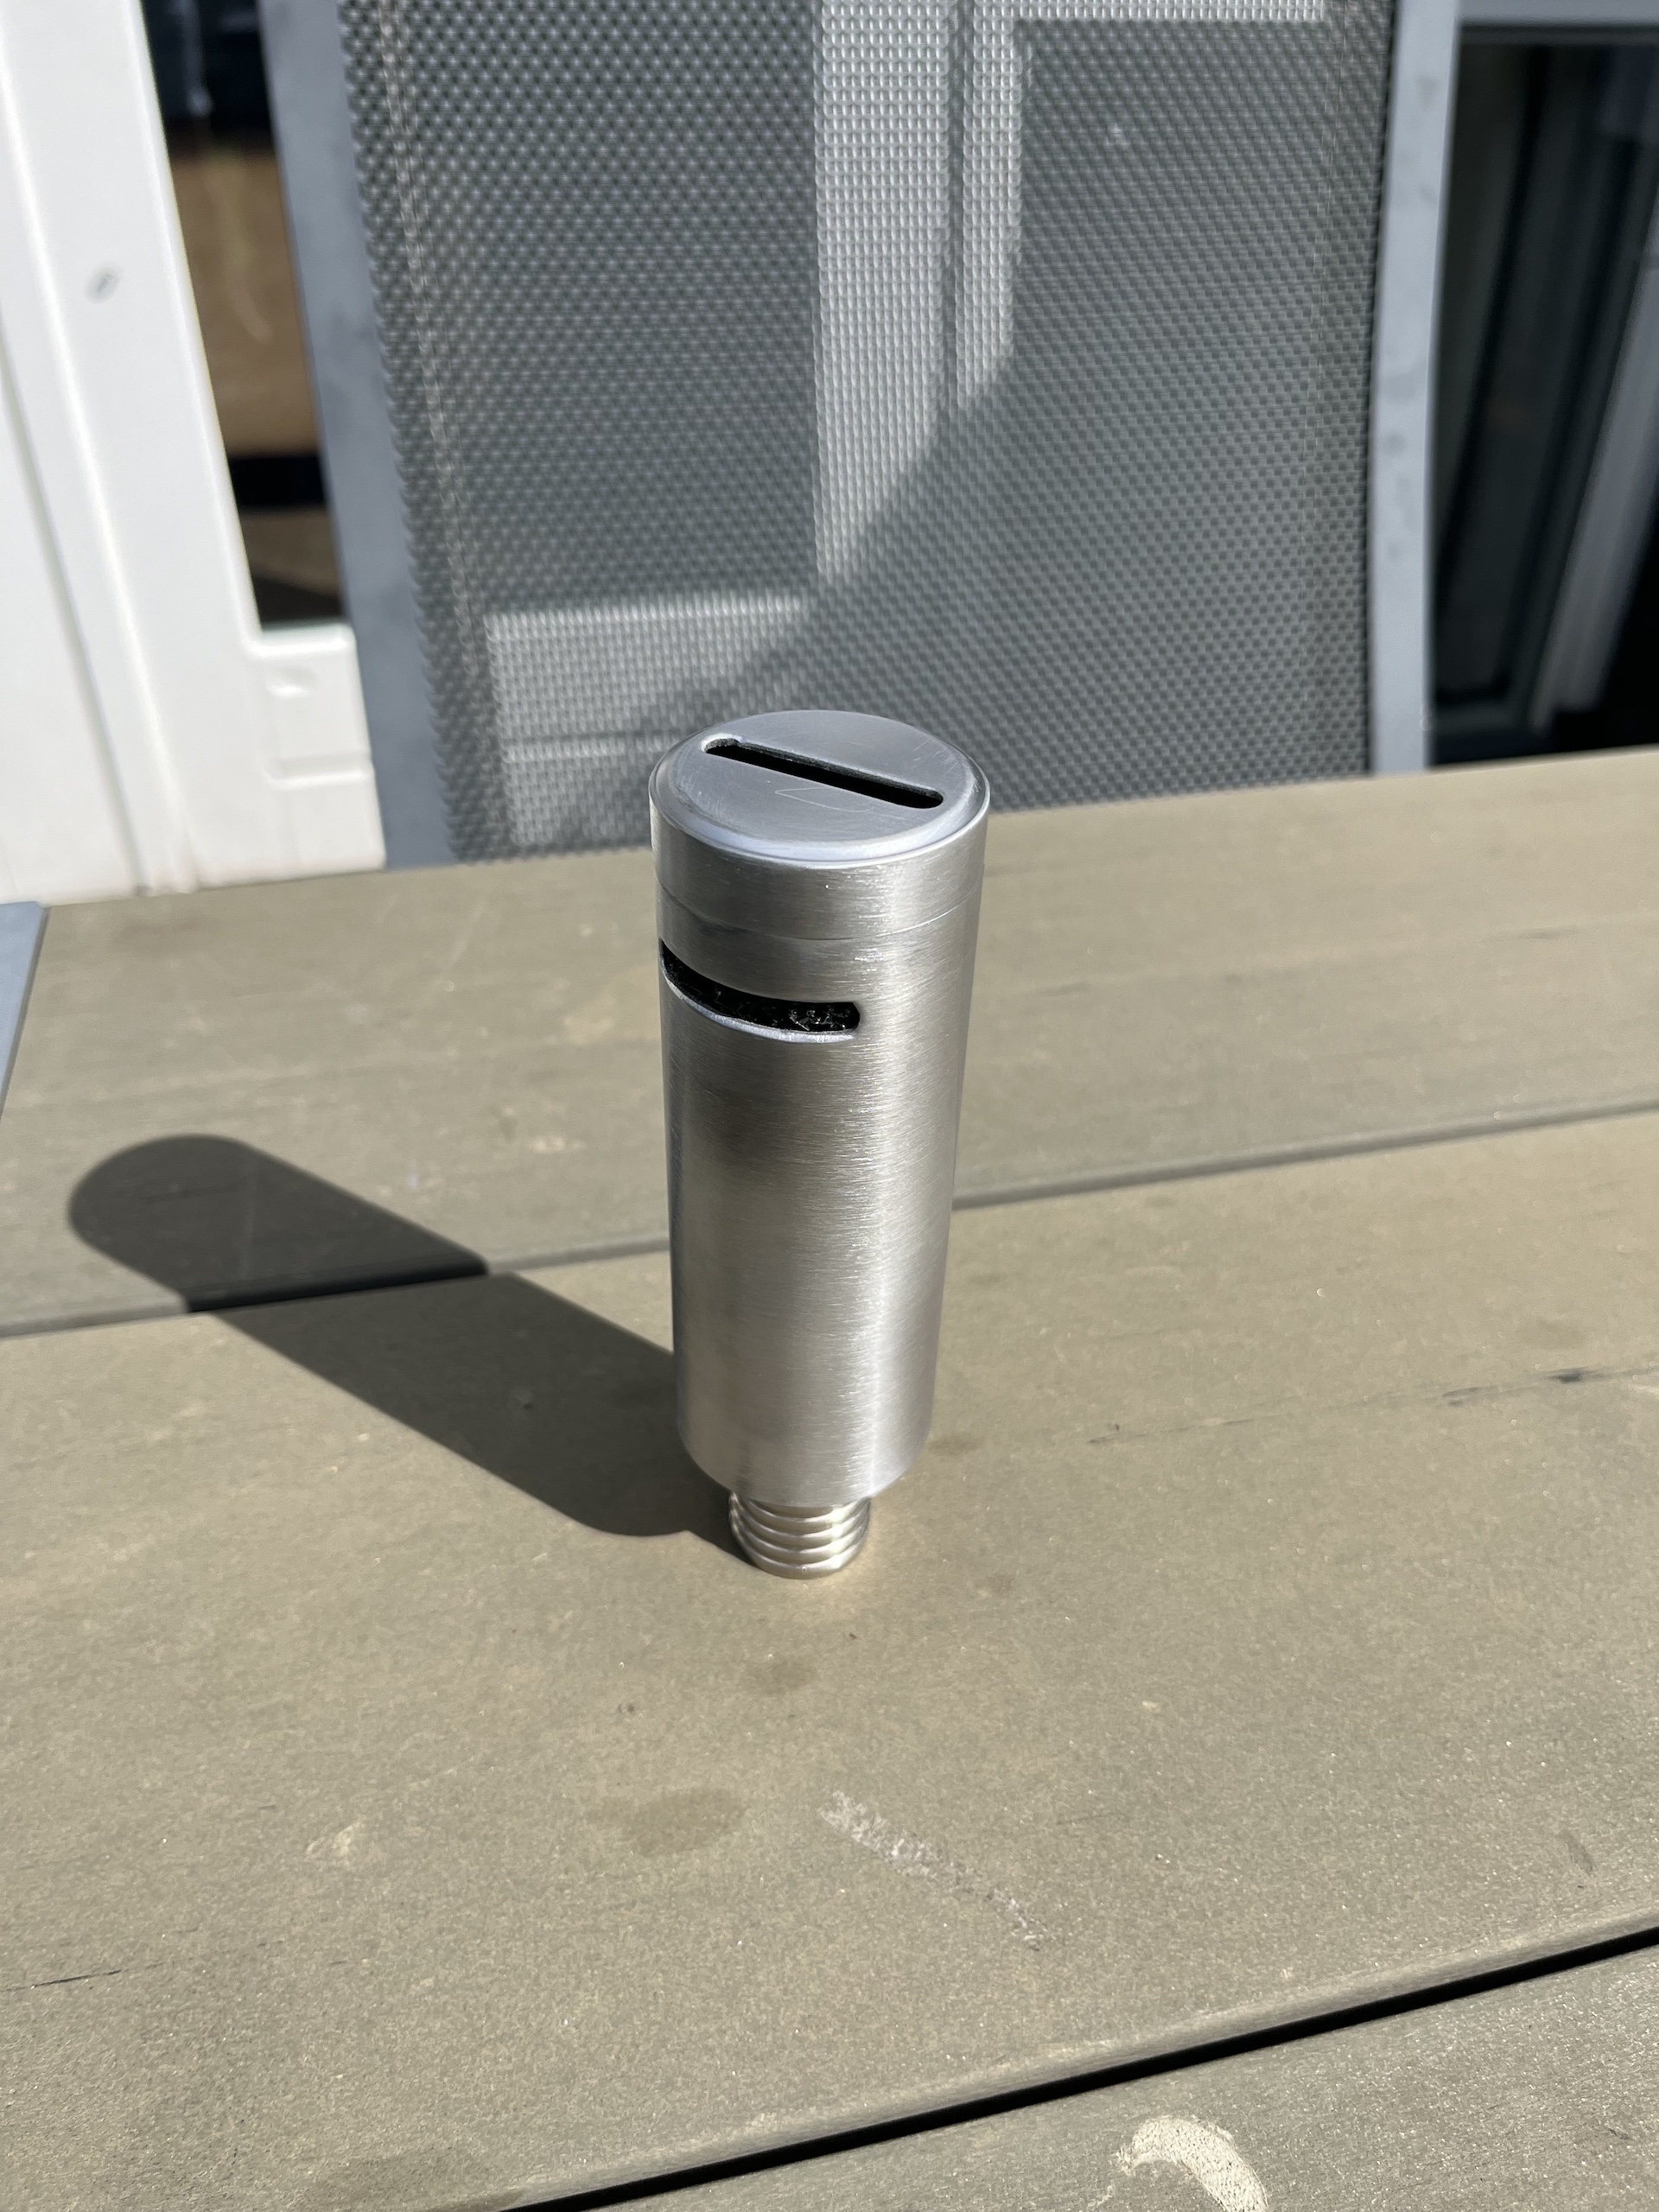
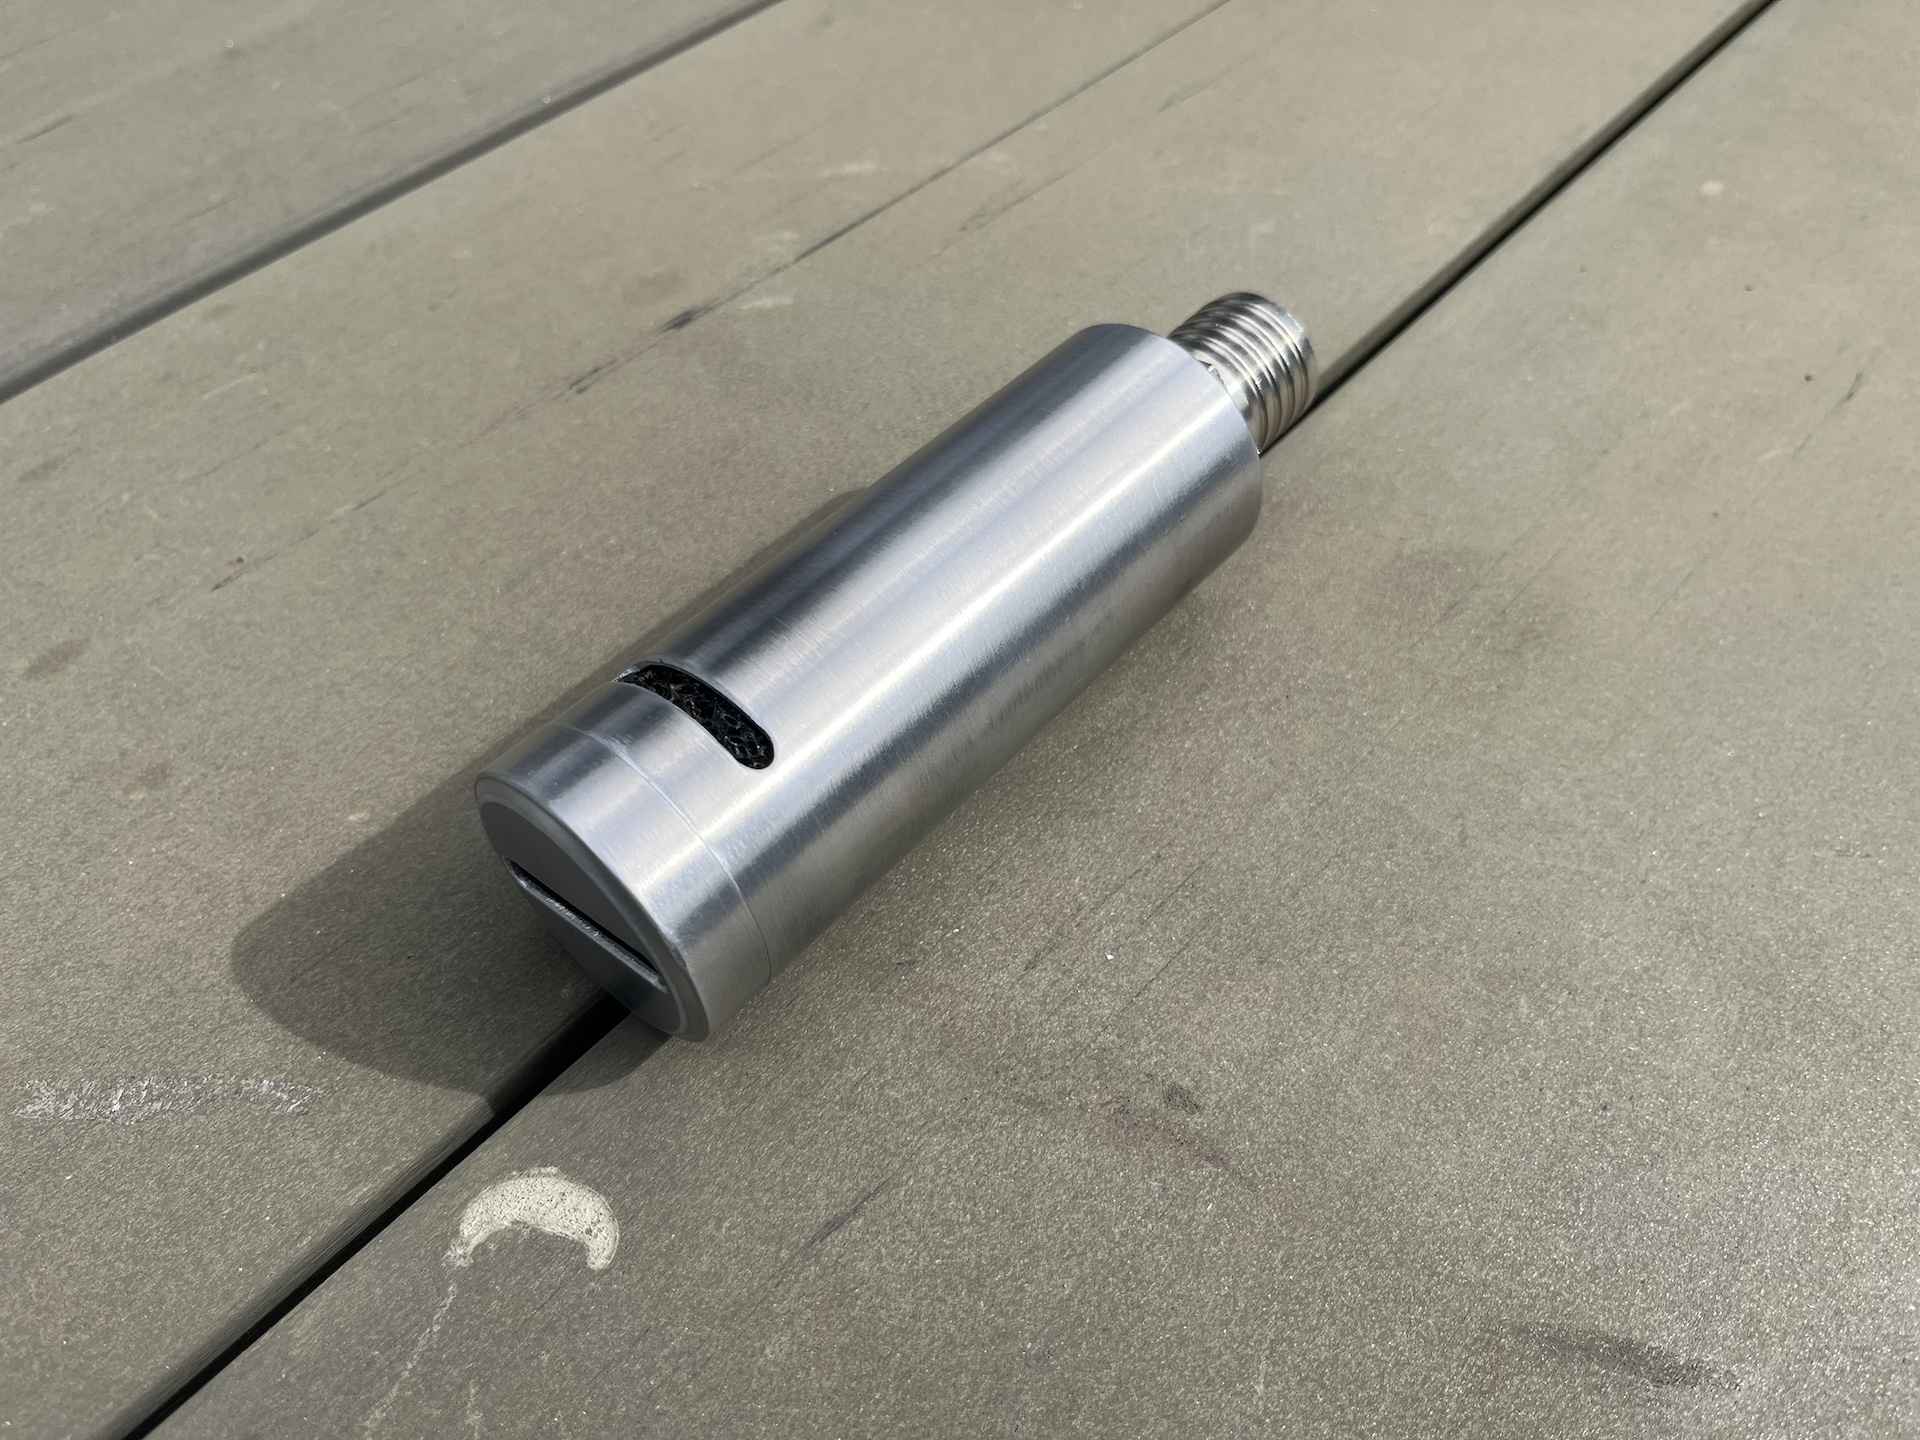
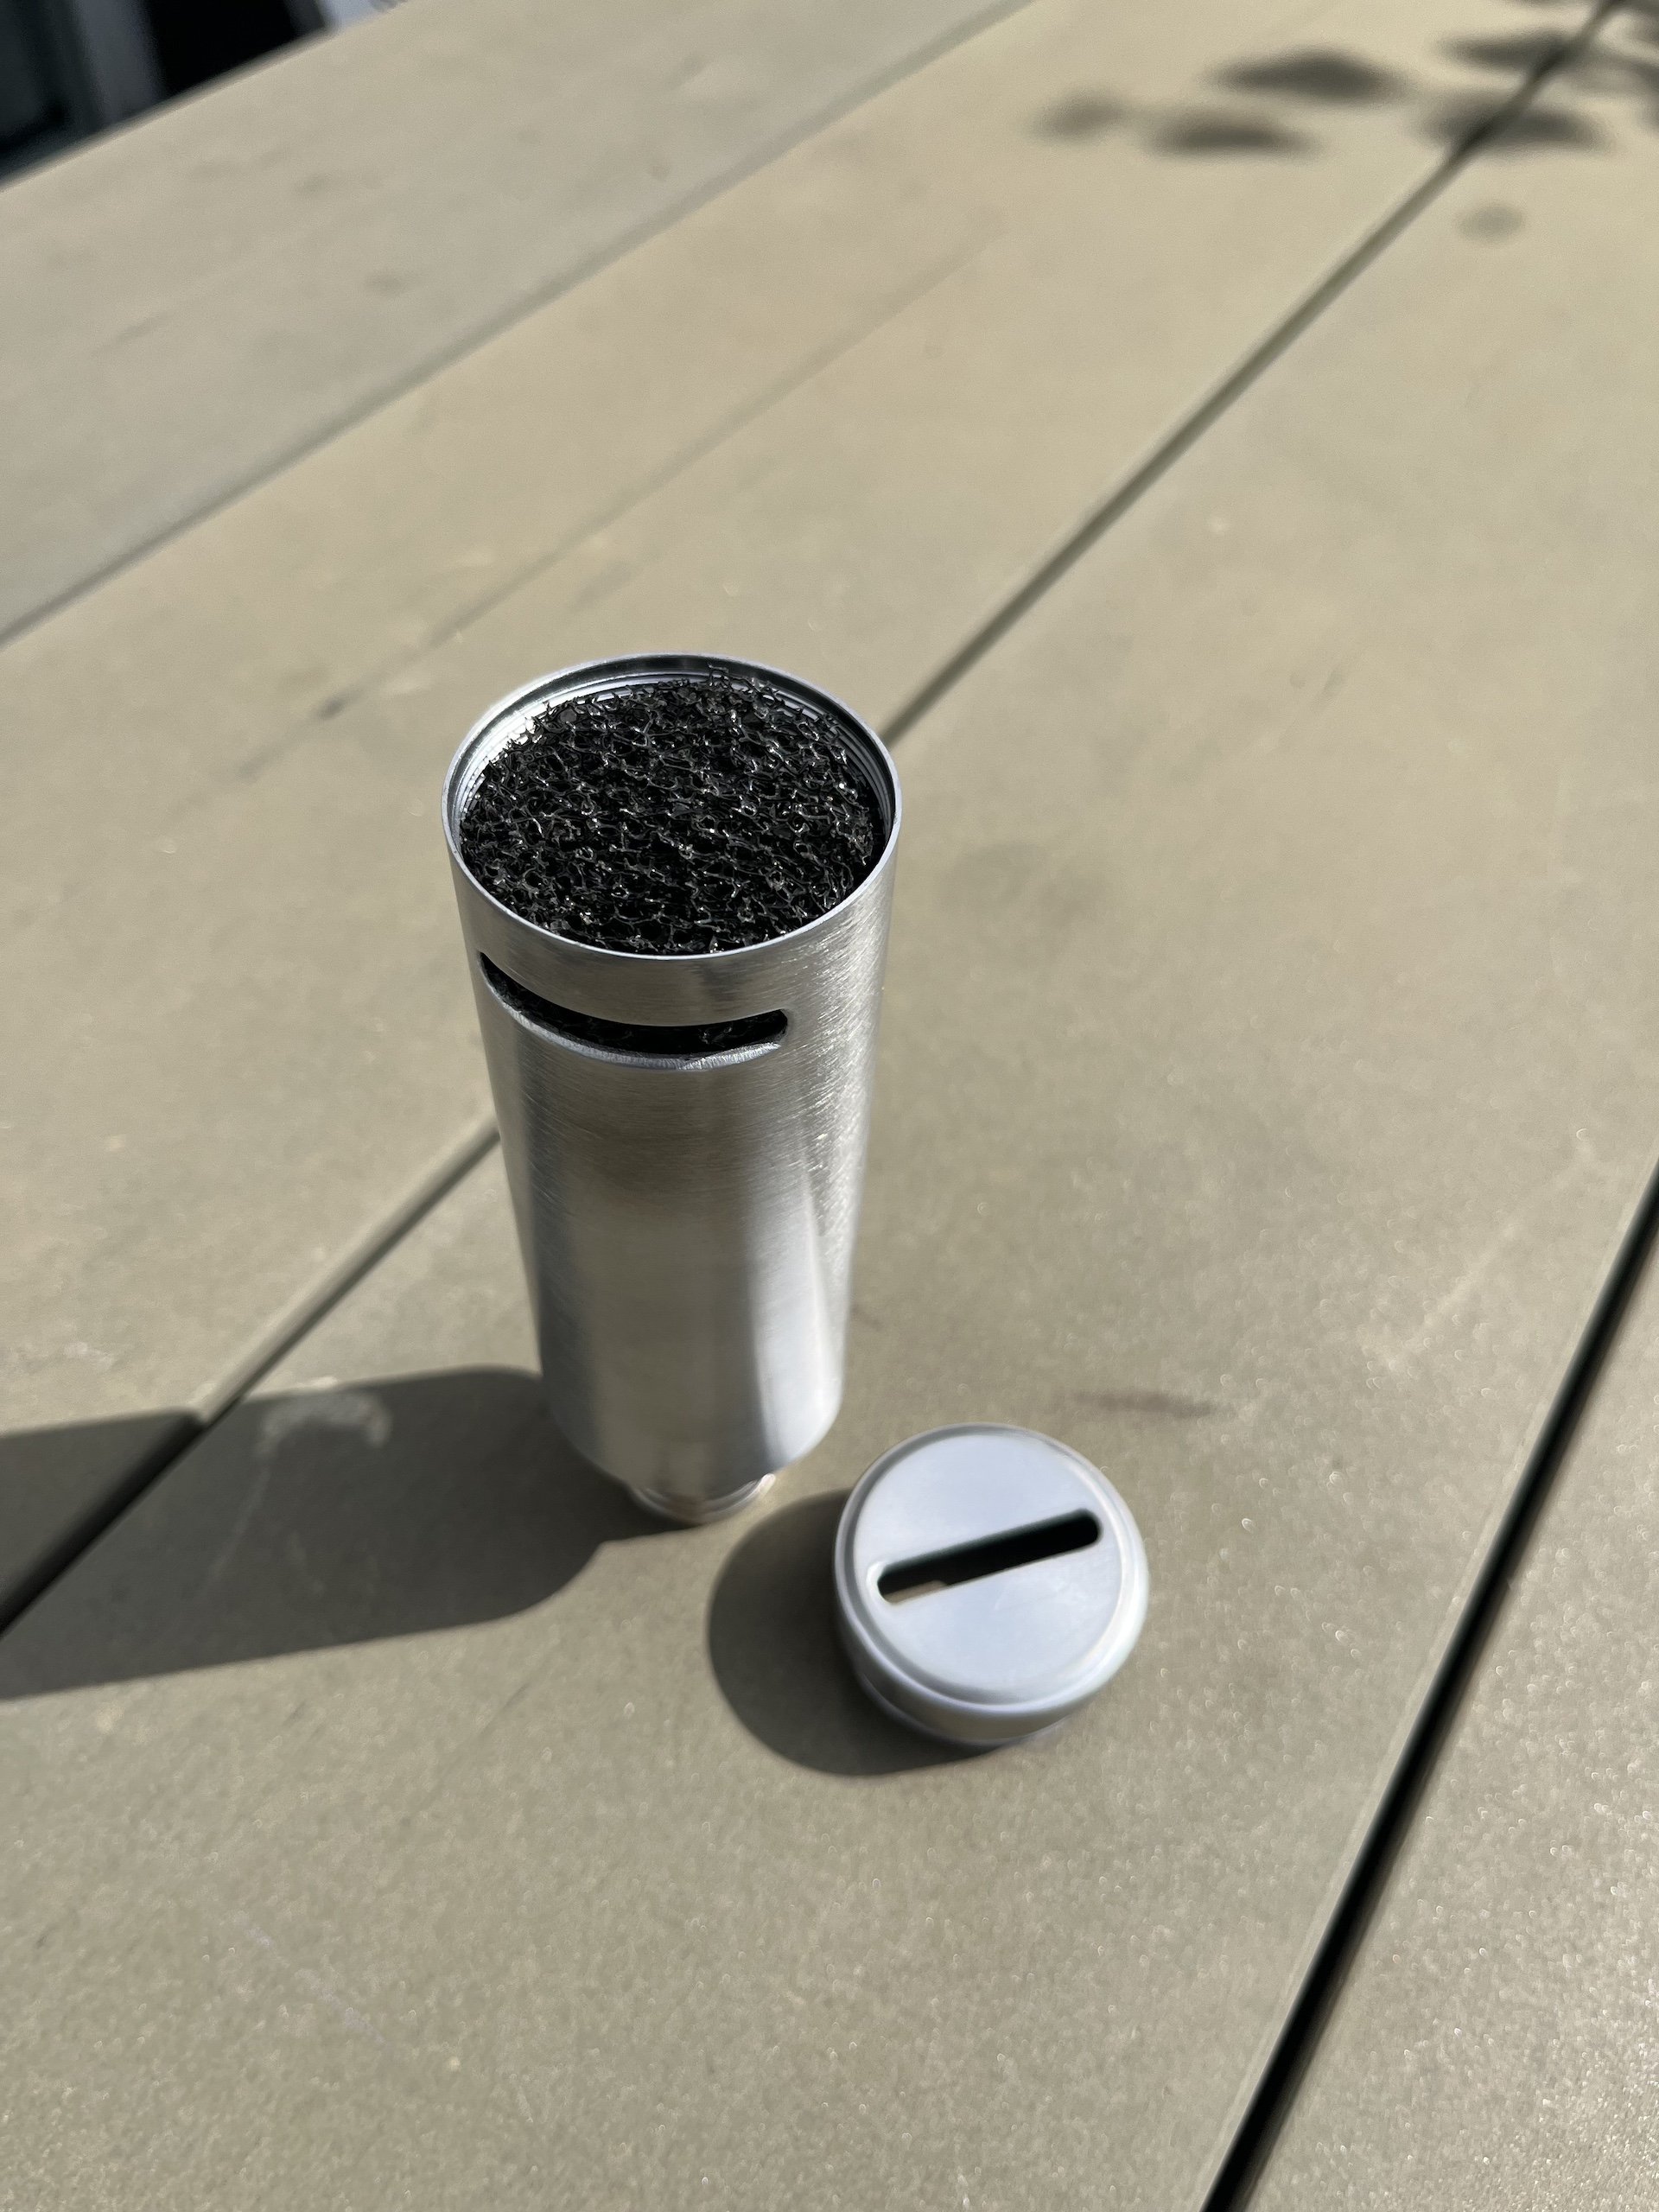
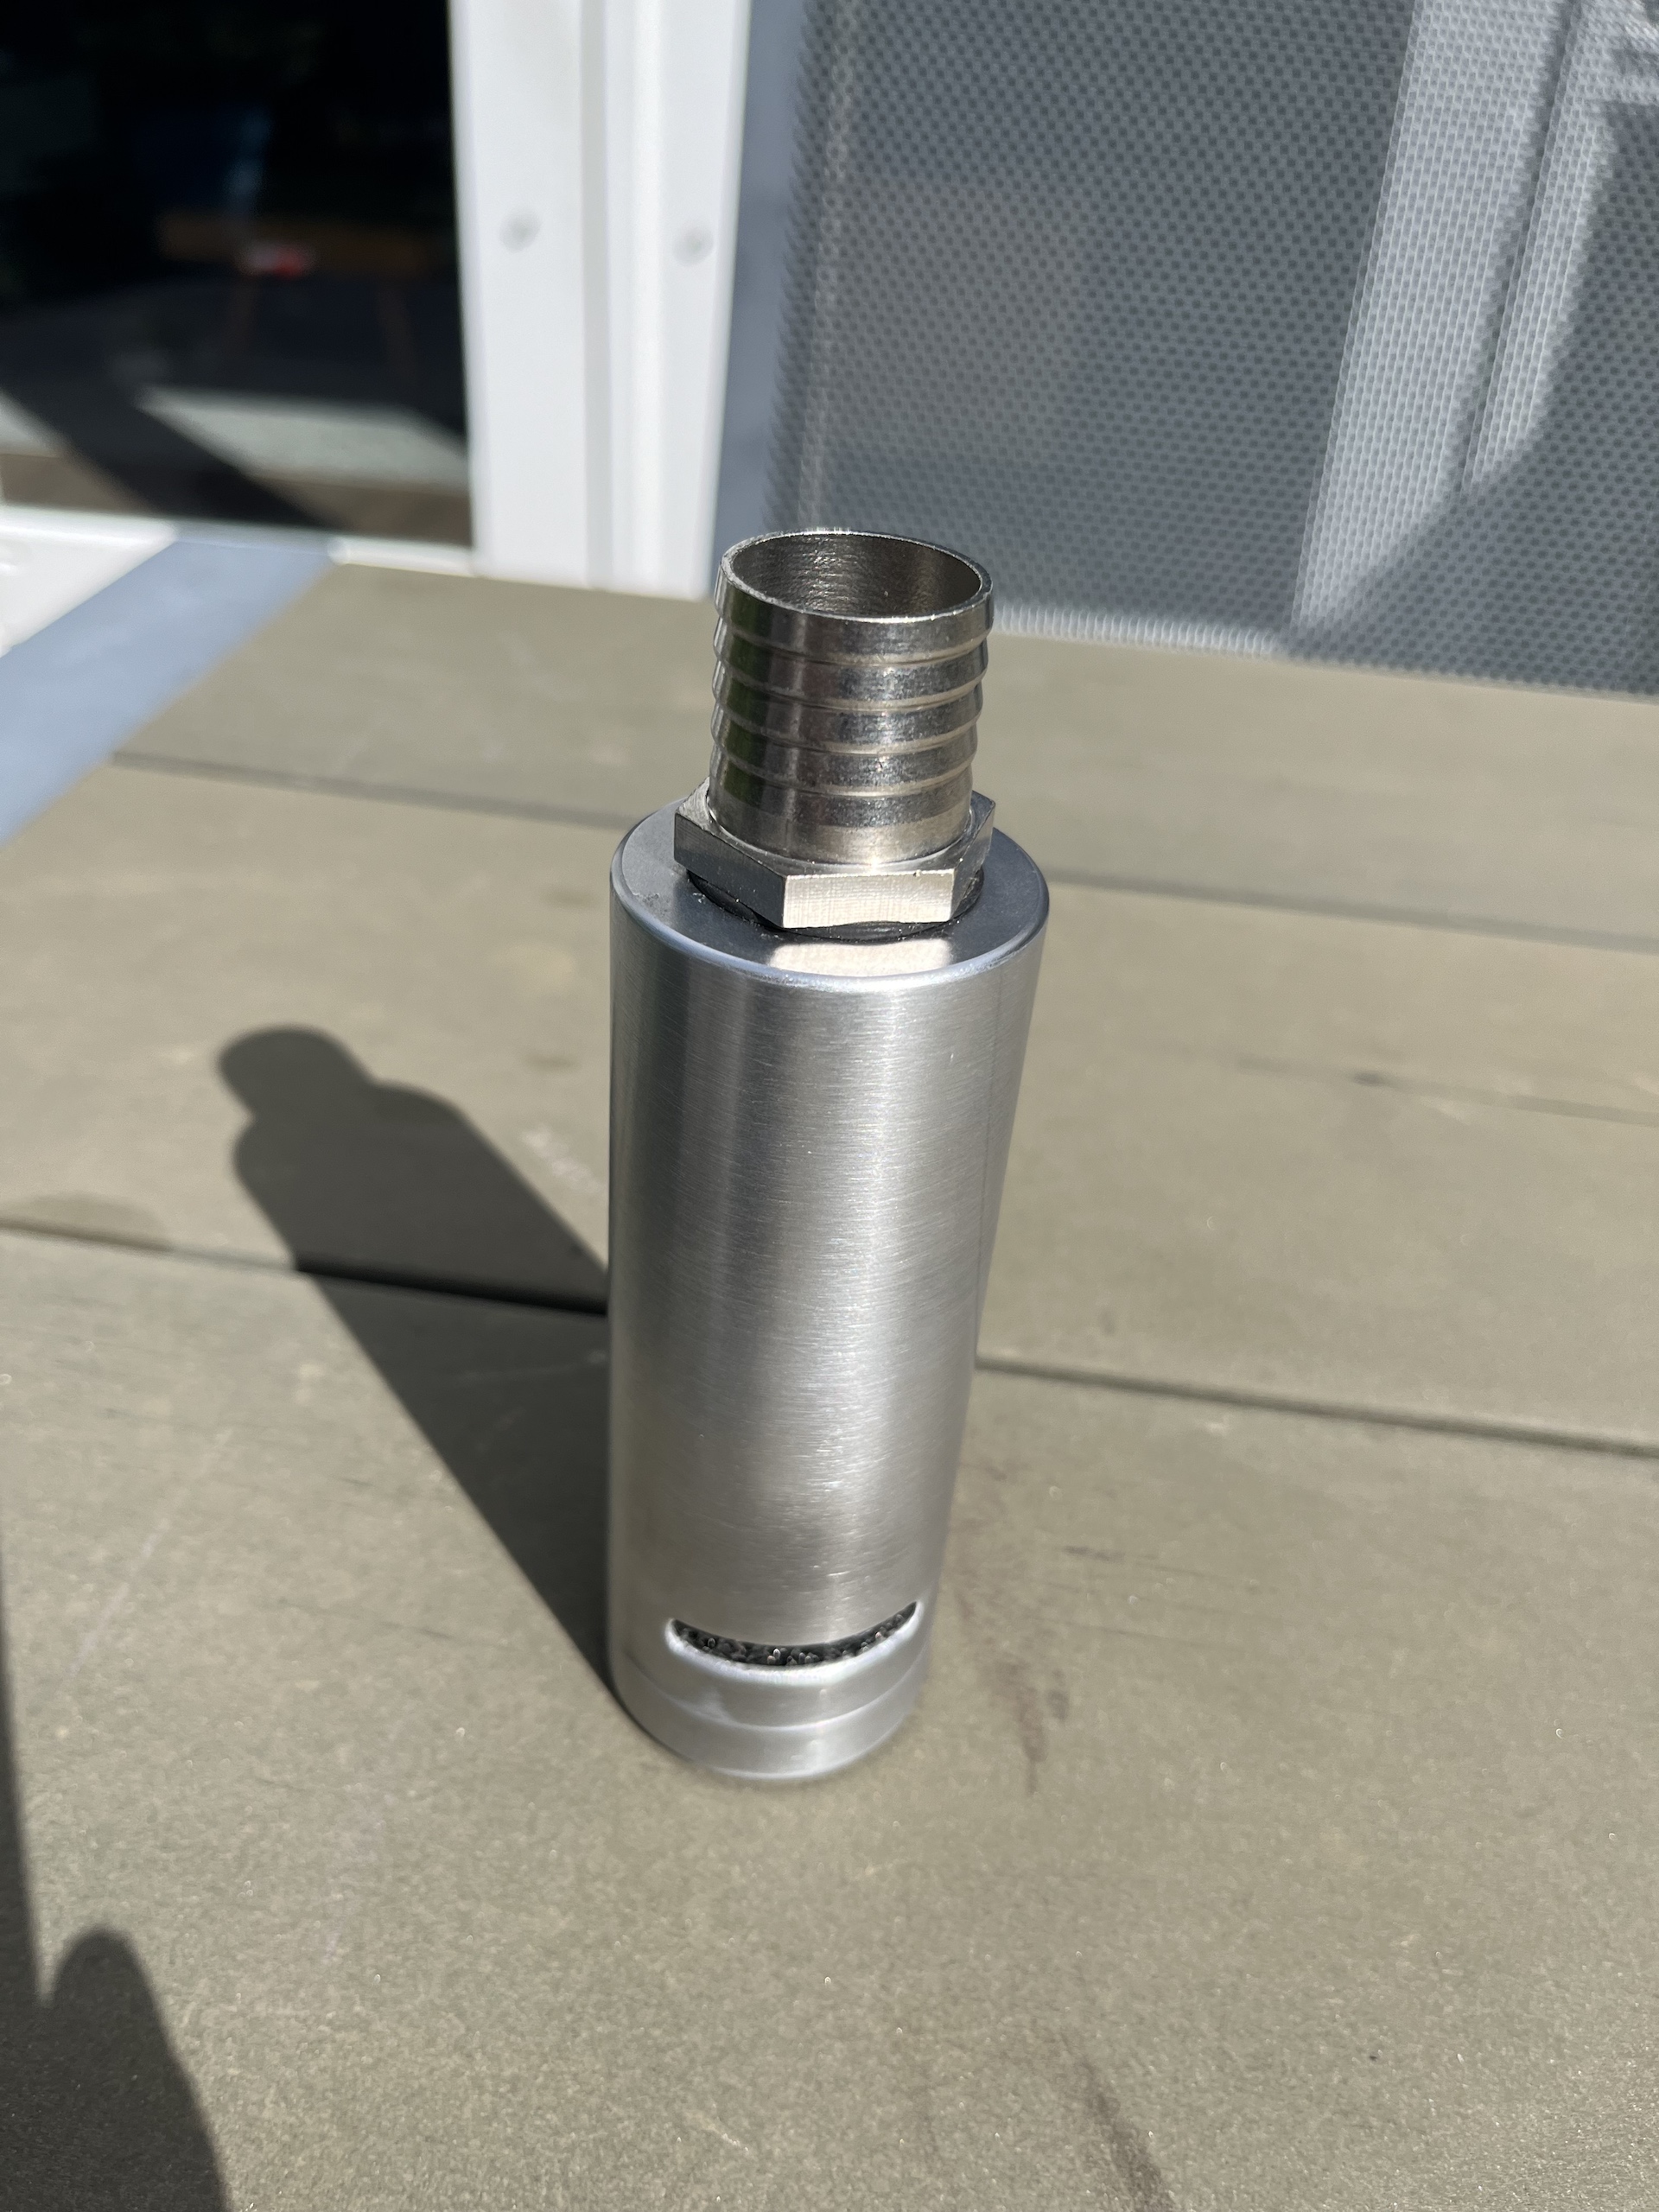
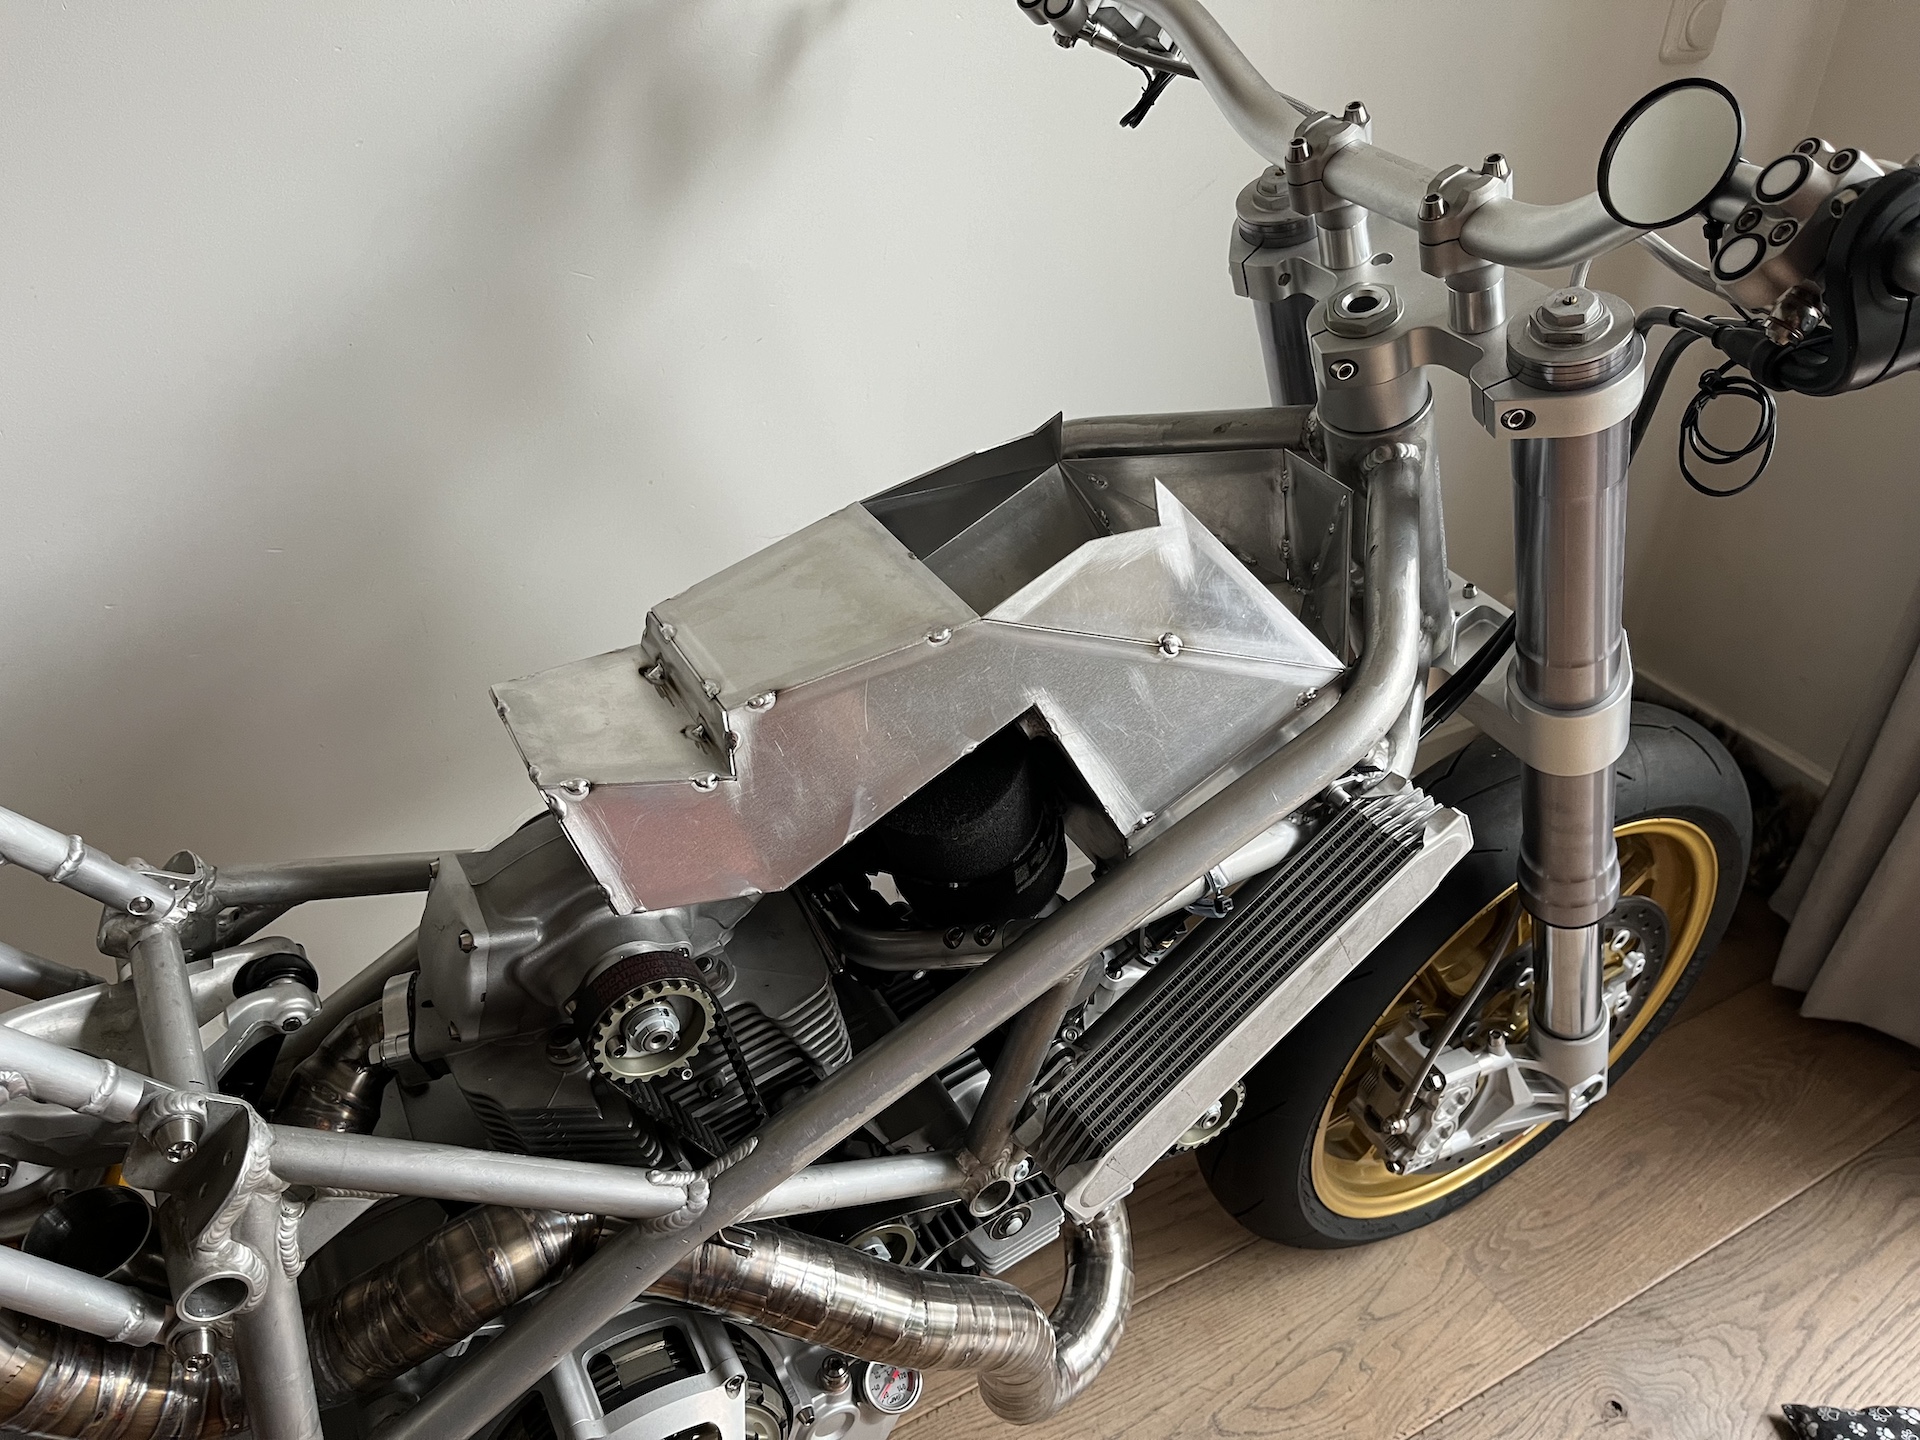
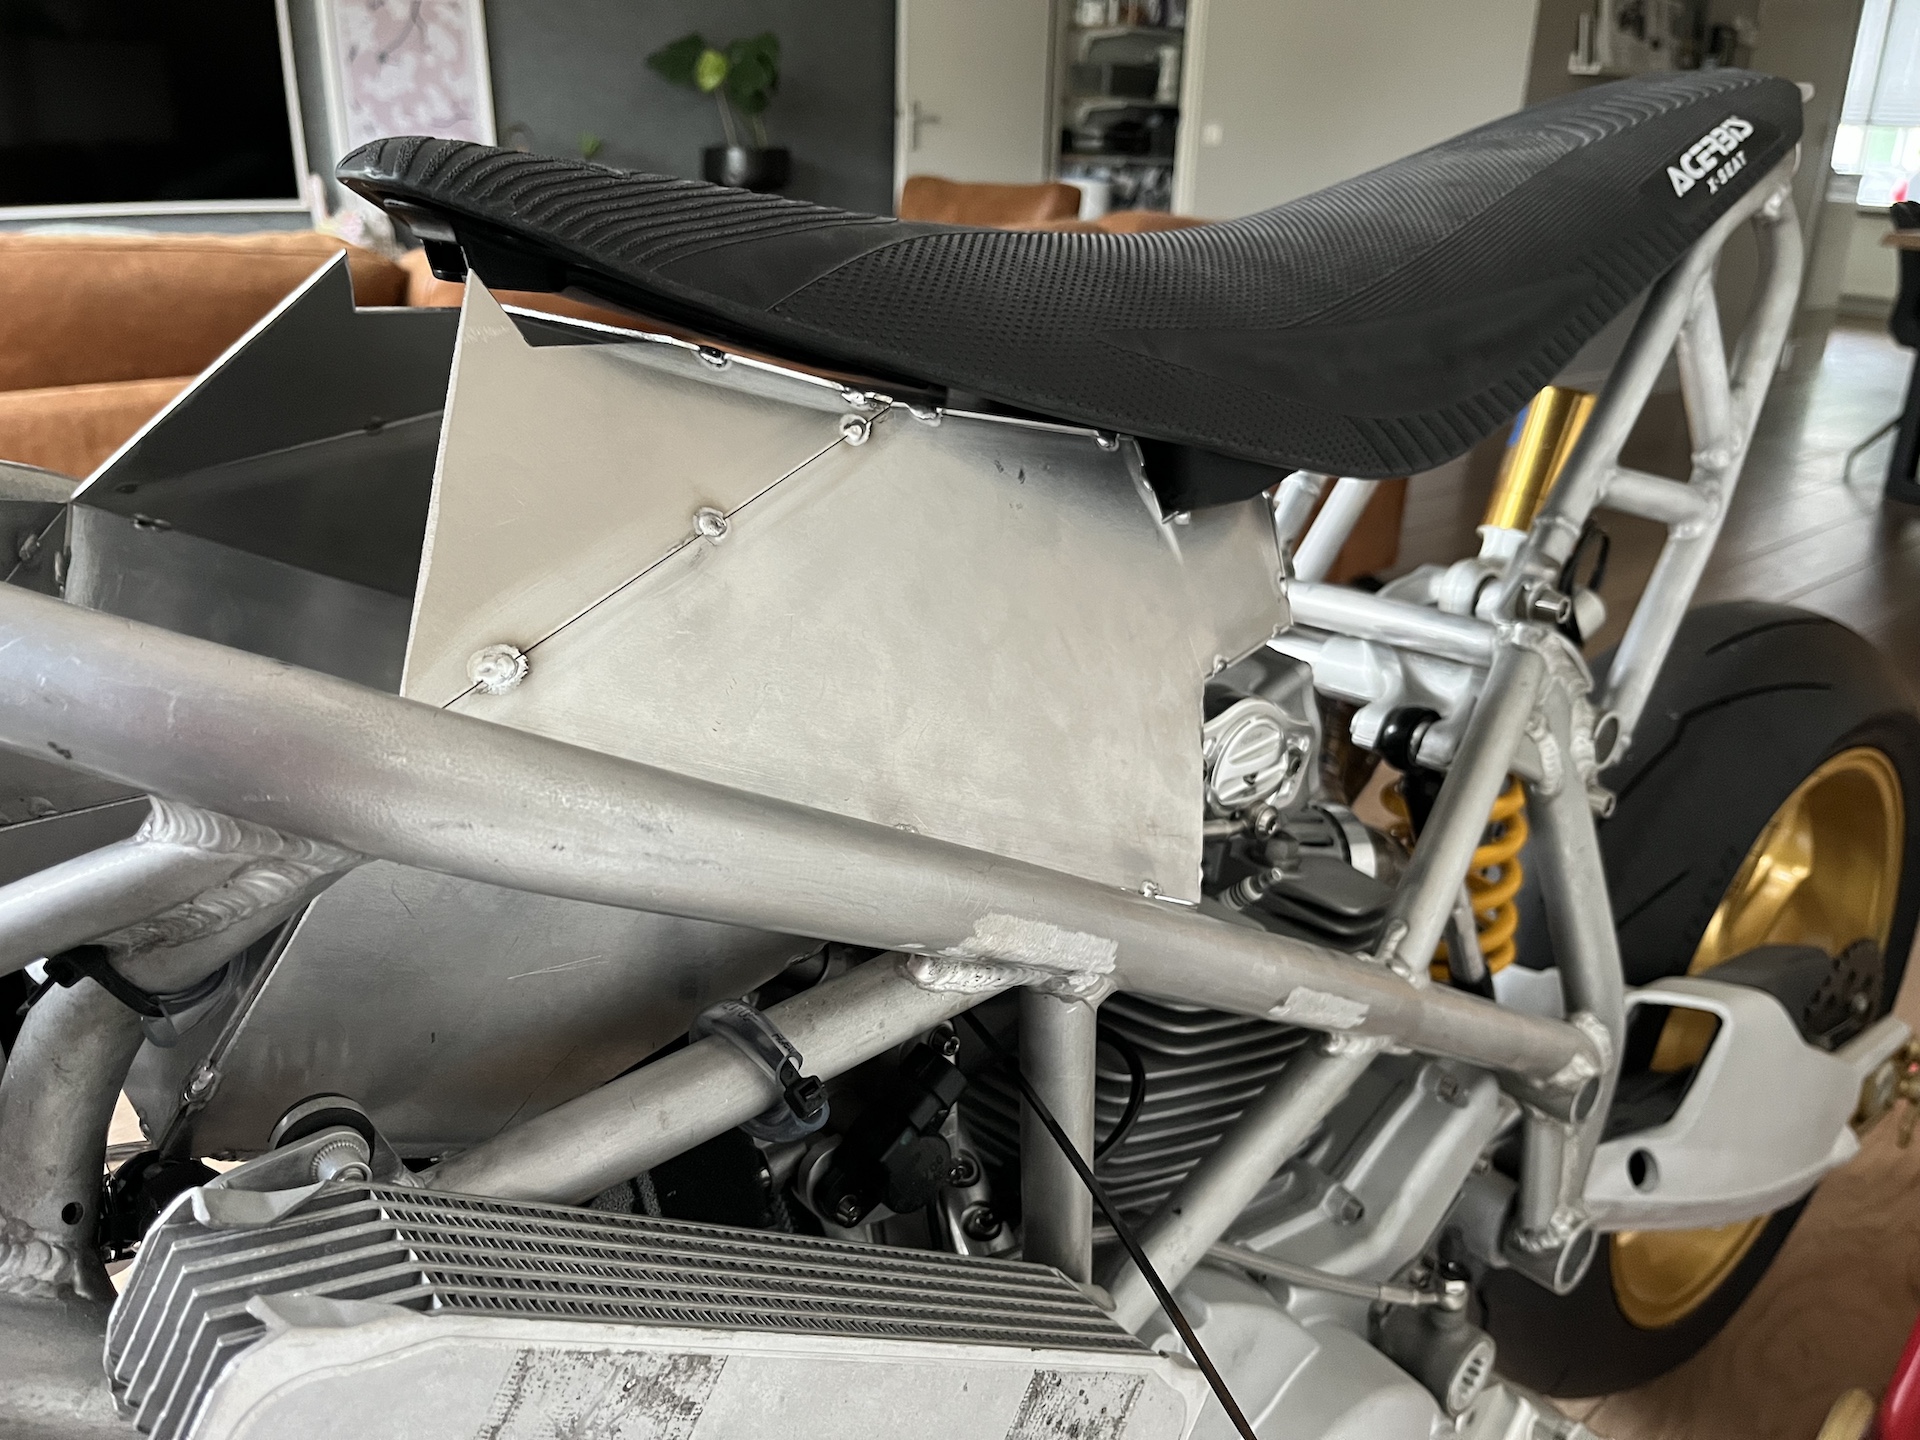
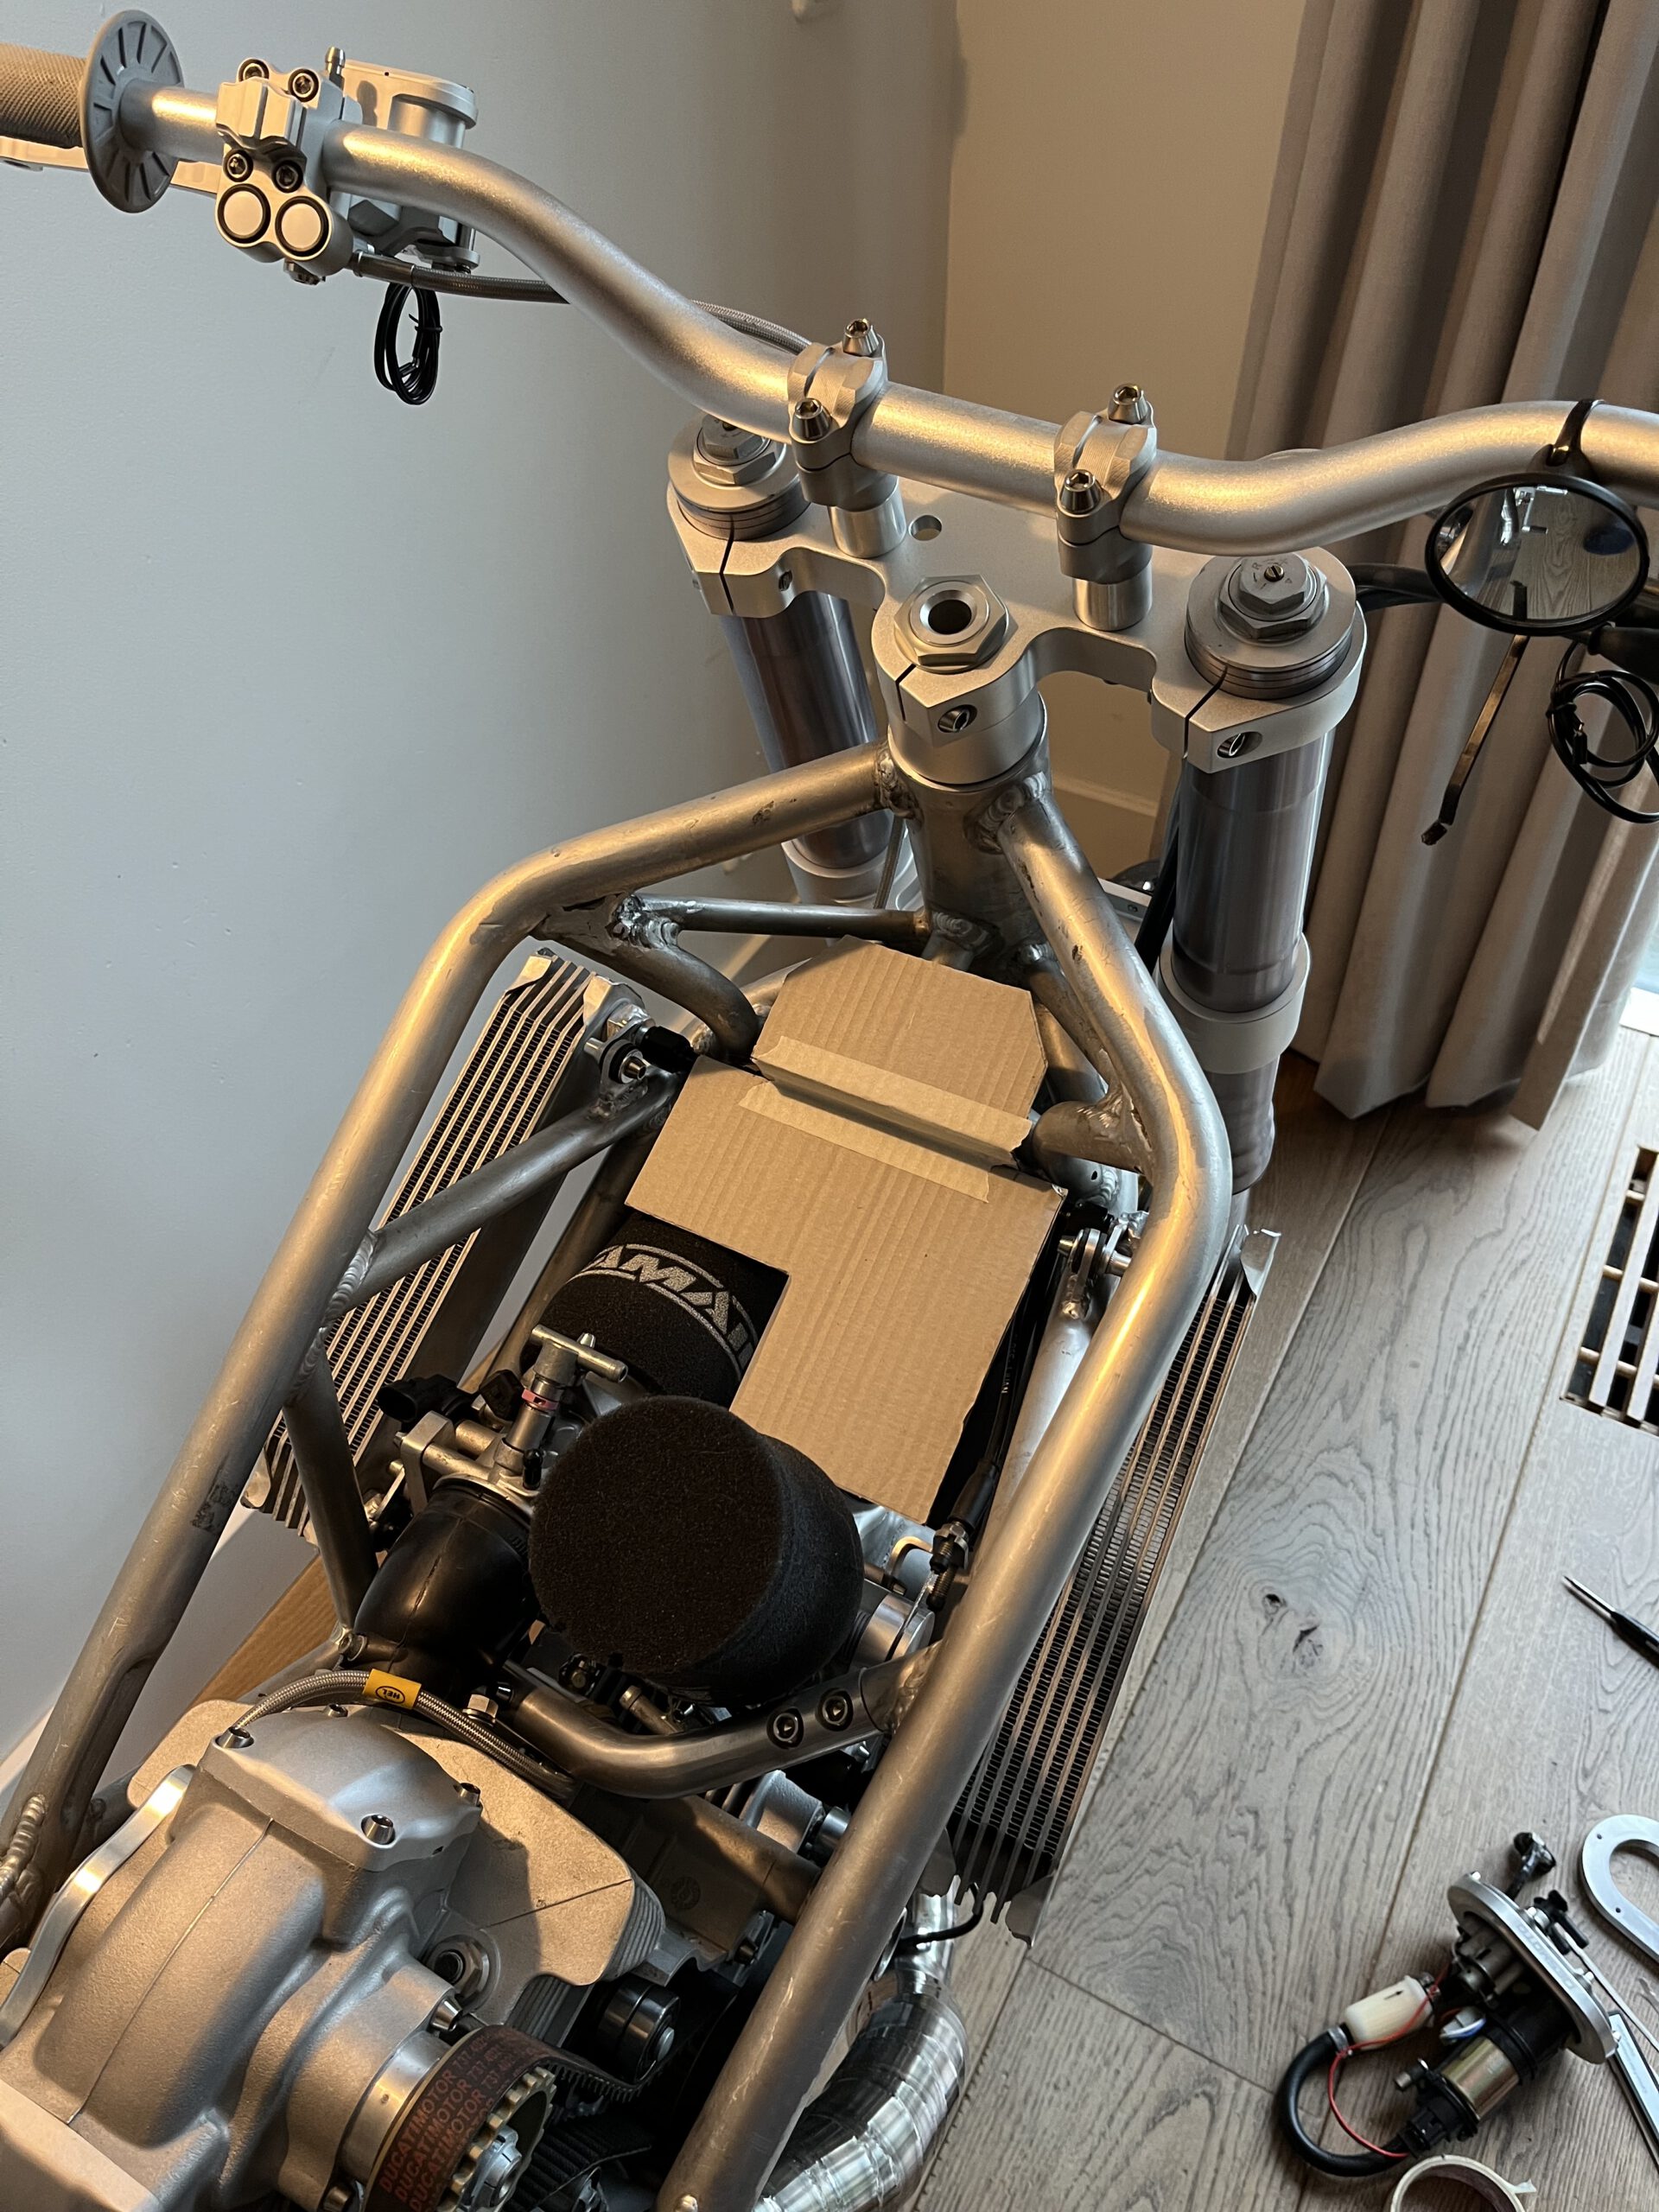
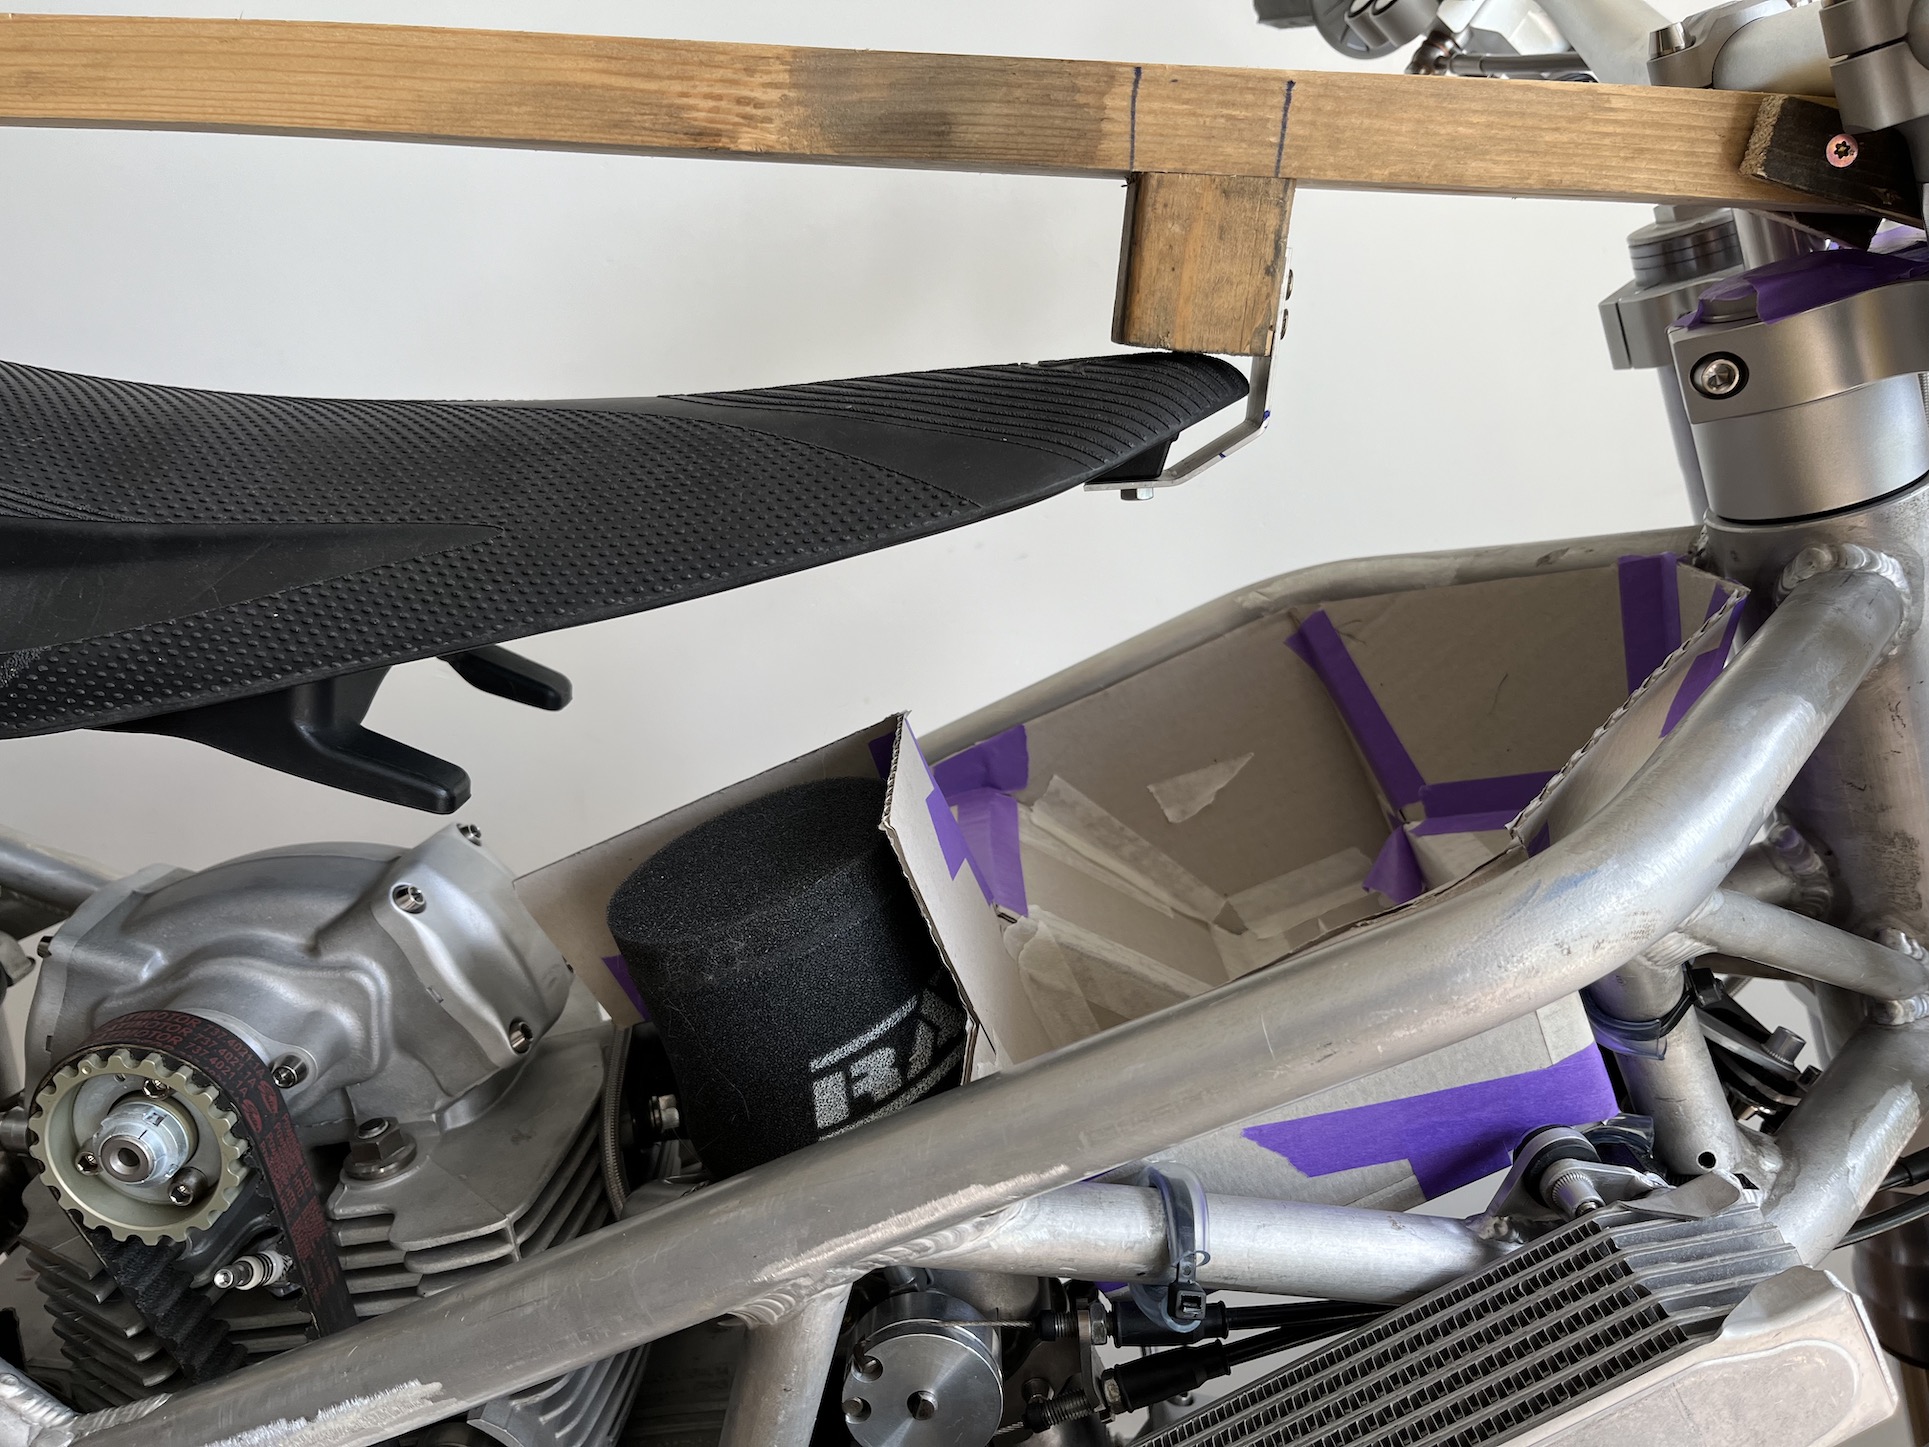
CUSTOM CRANKCASE BREATHER FILTER
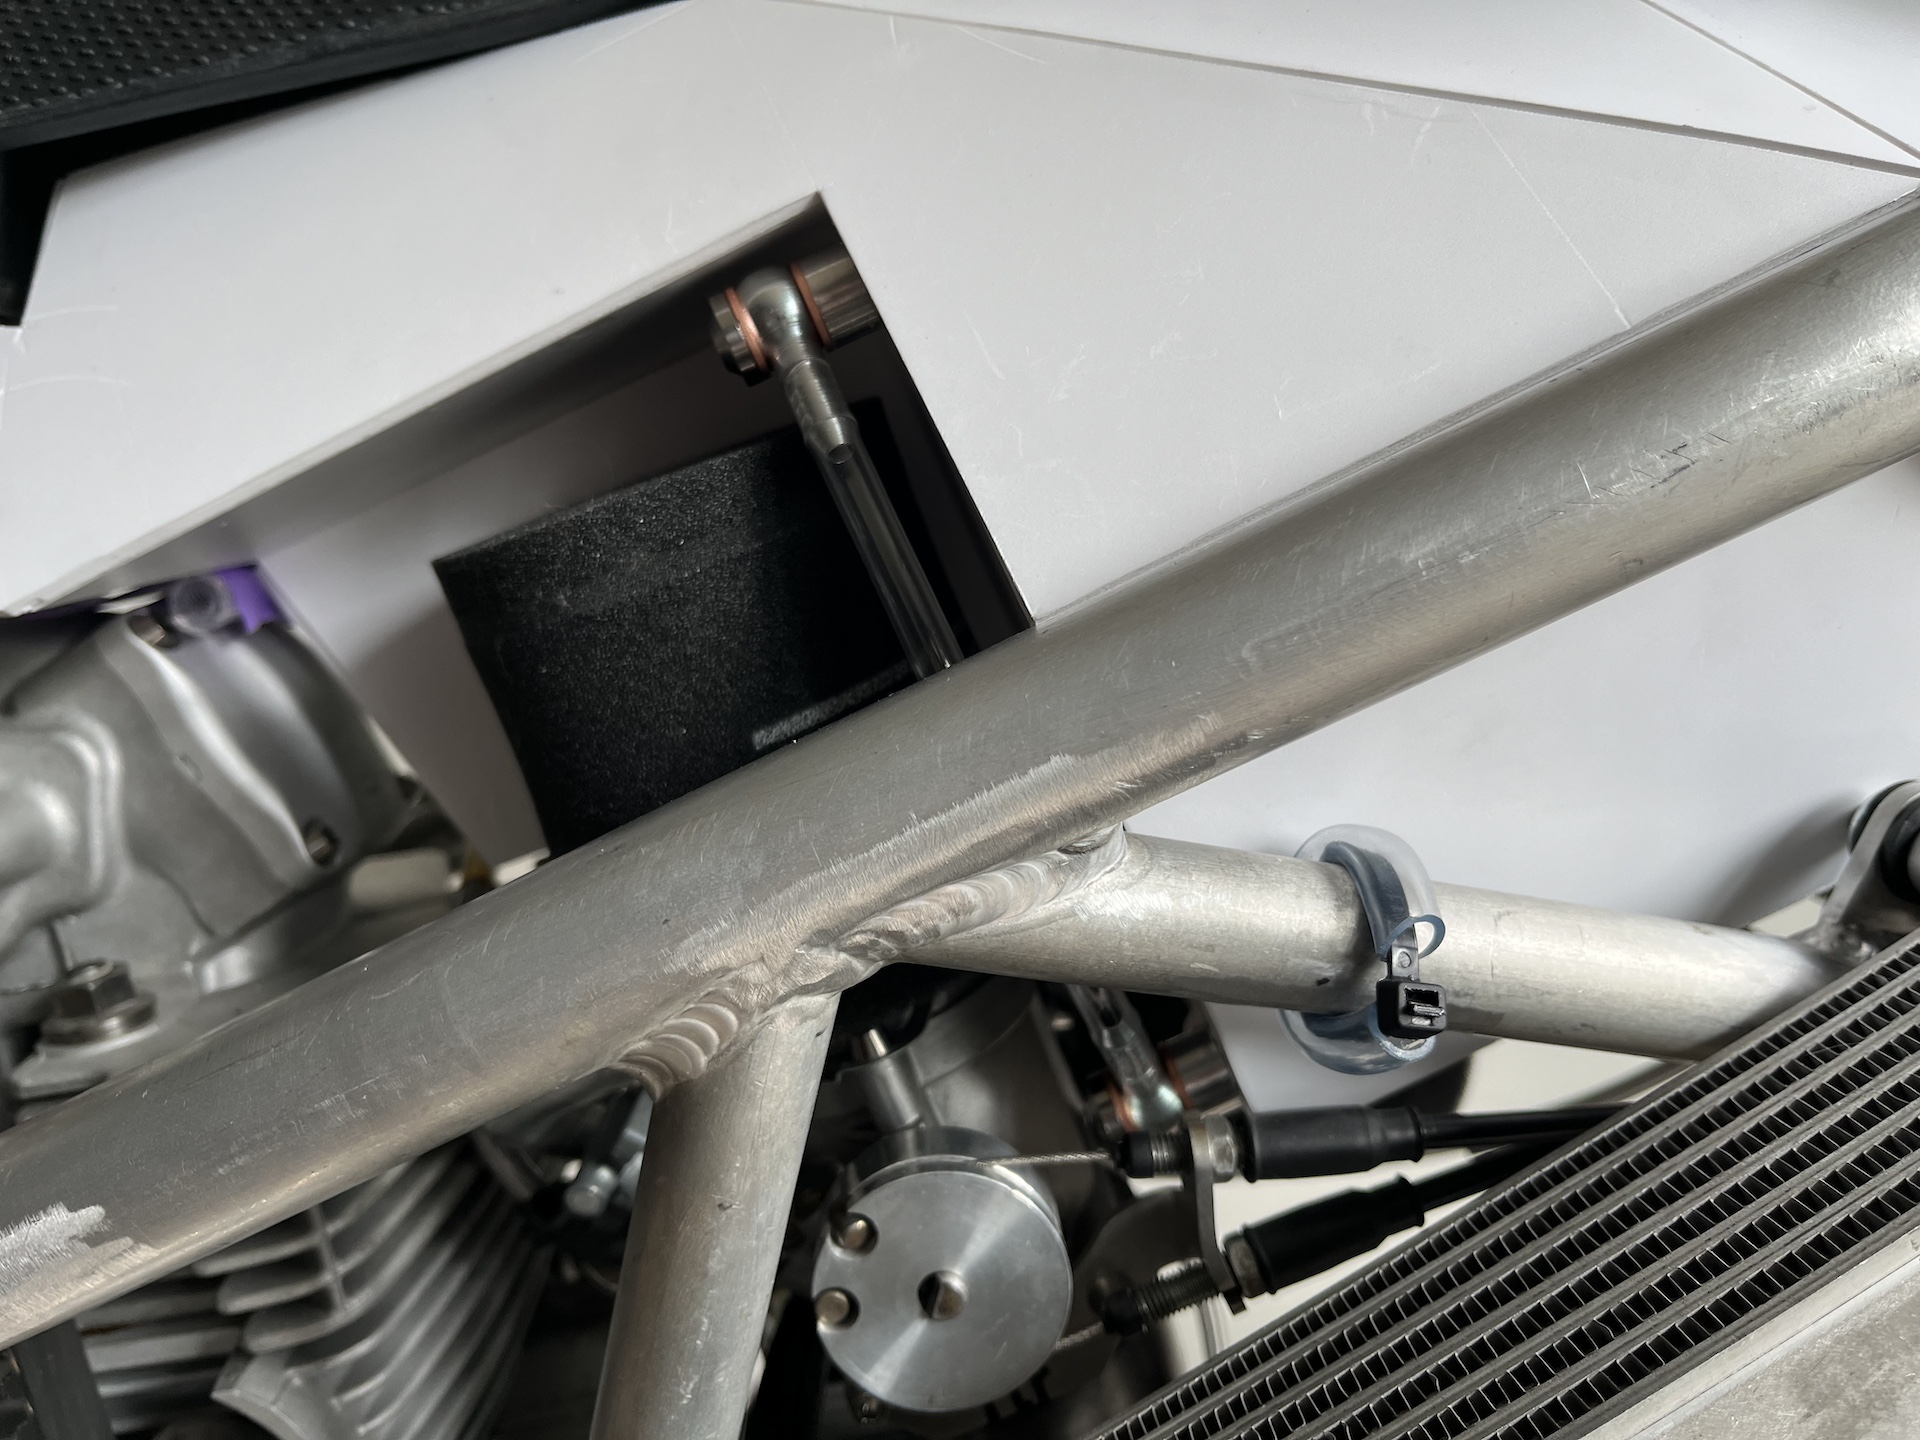
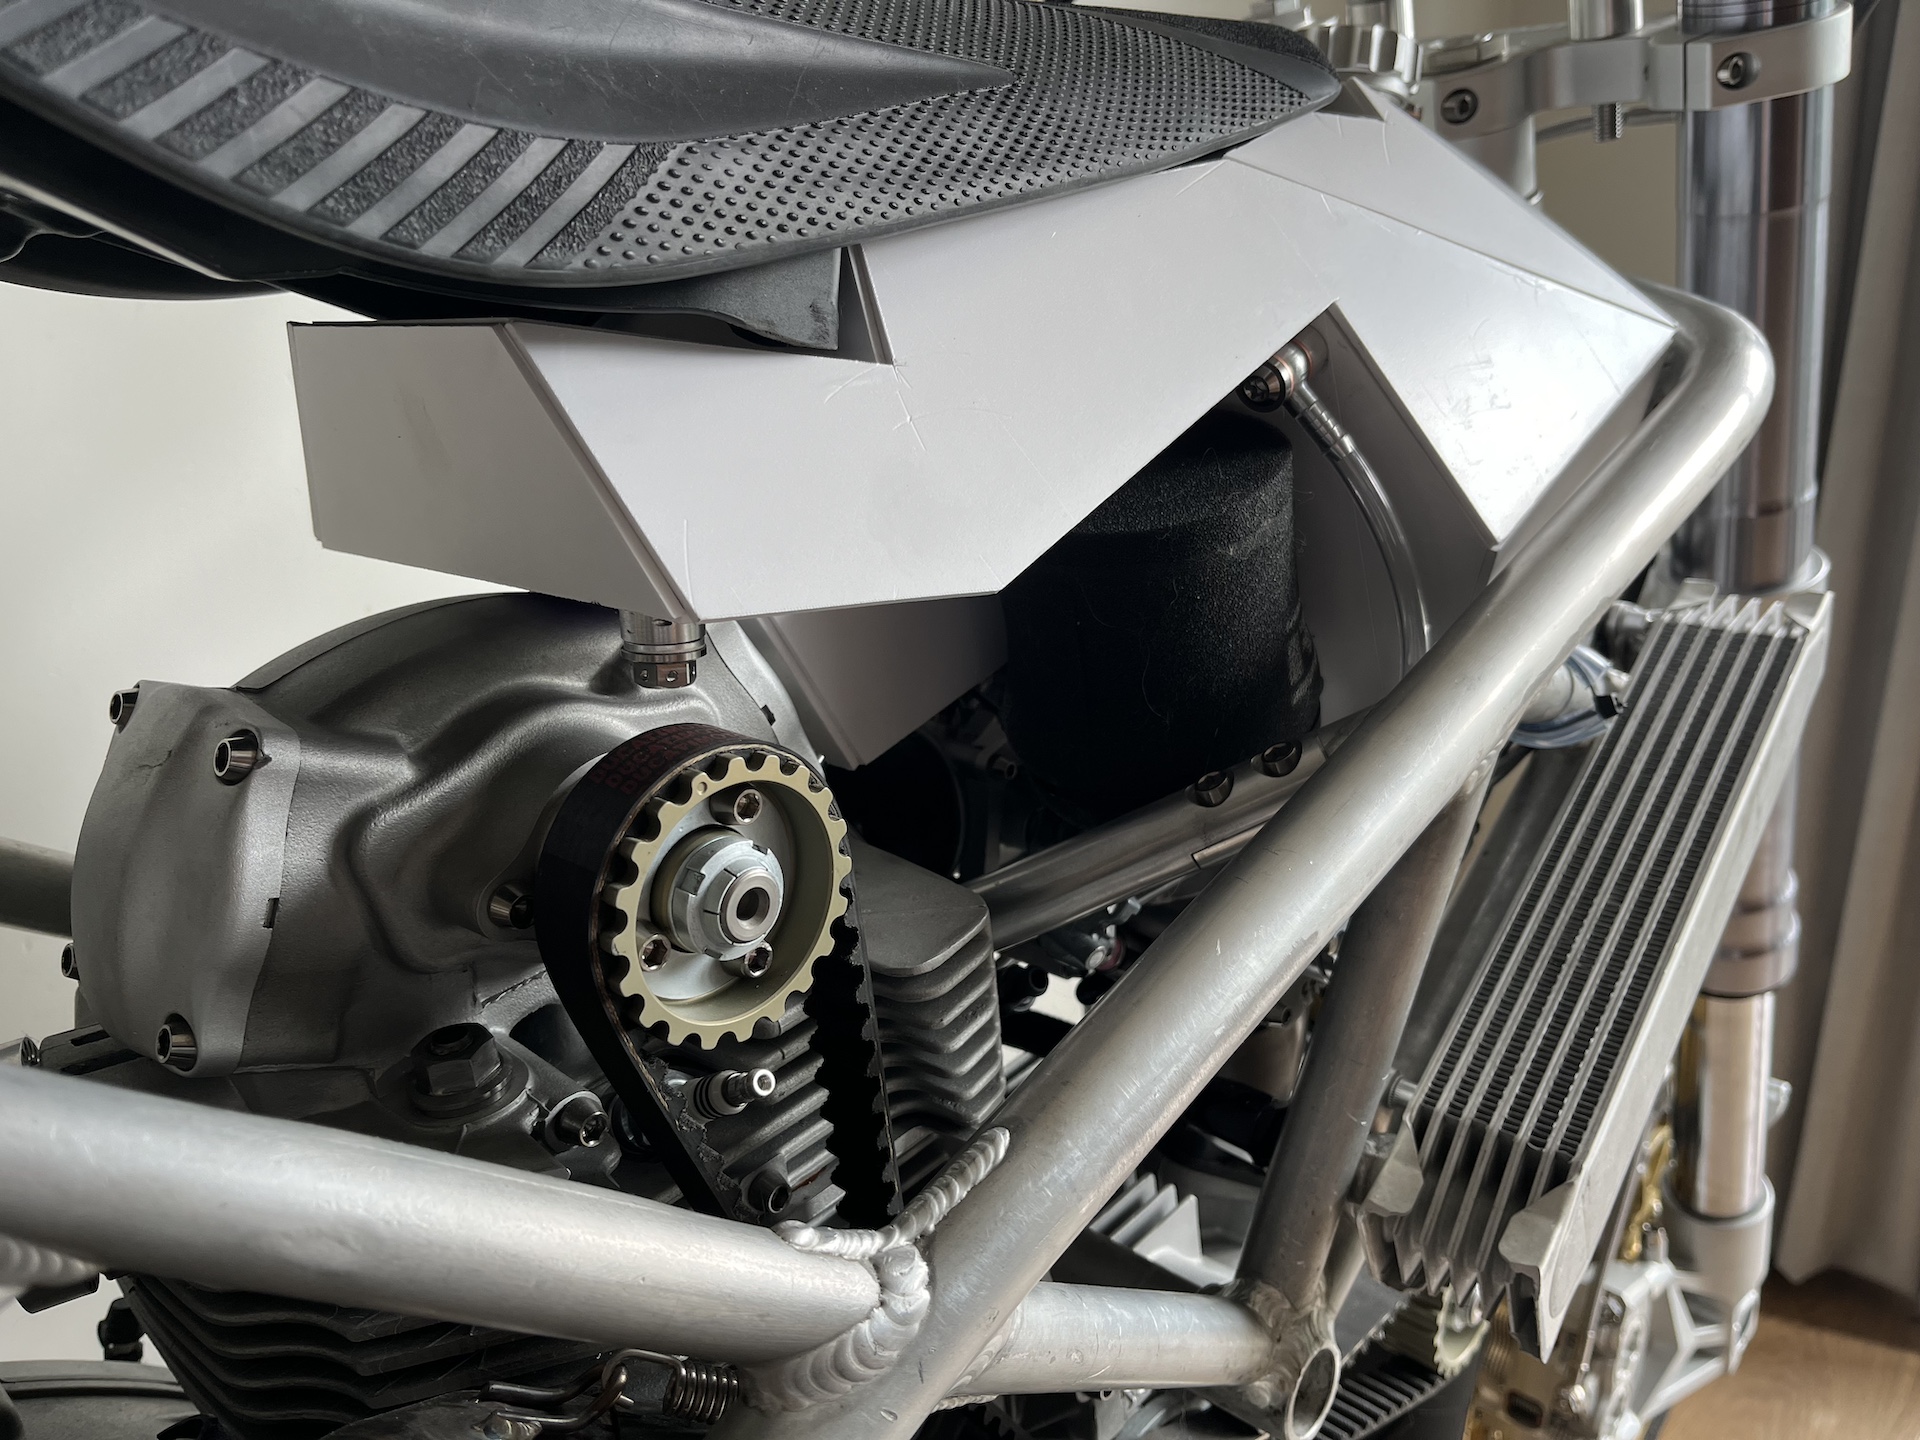
Fabricated a custom crankcase breather is made out of a aluminium storage canister. Milled out some slots, turned out a hole on the lathe for a bulkhead fitting and filled it with explosafe foam. Will be mounted somewhere in the rear below the seat like in the pictures. Looks slick!
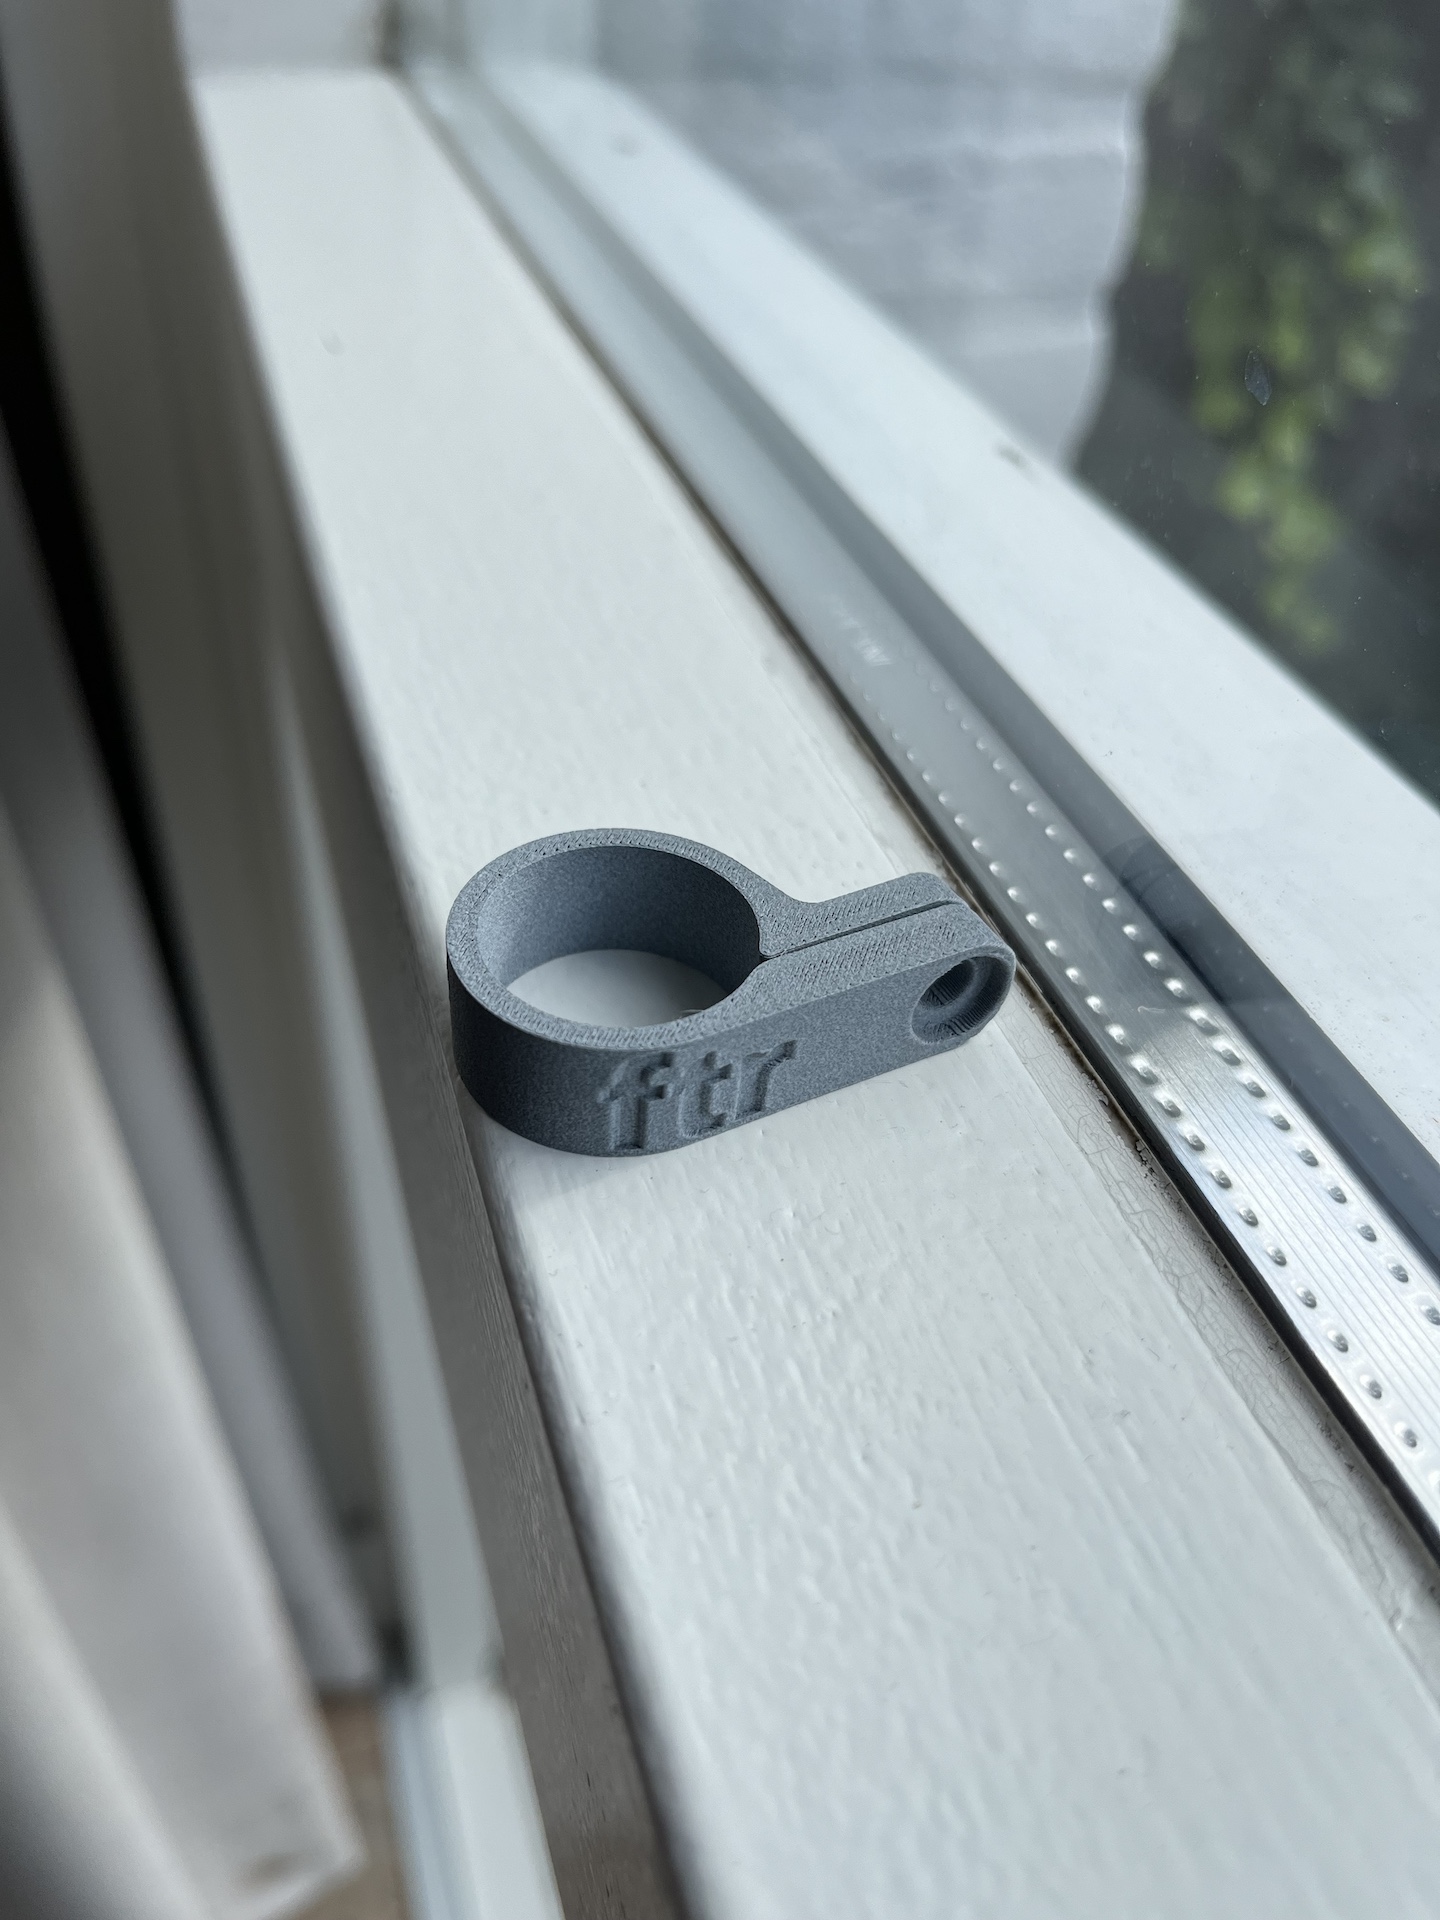
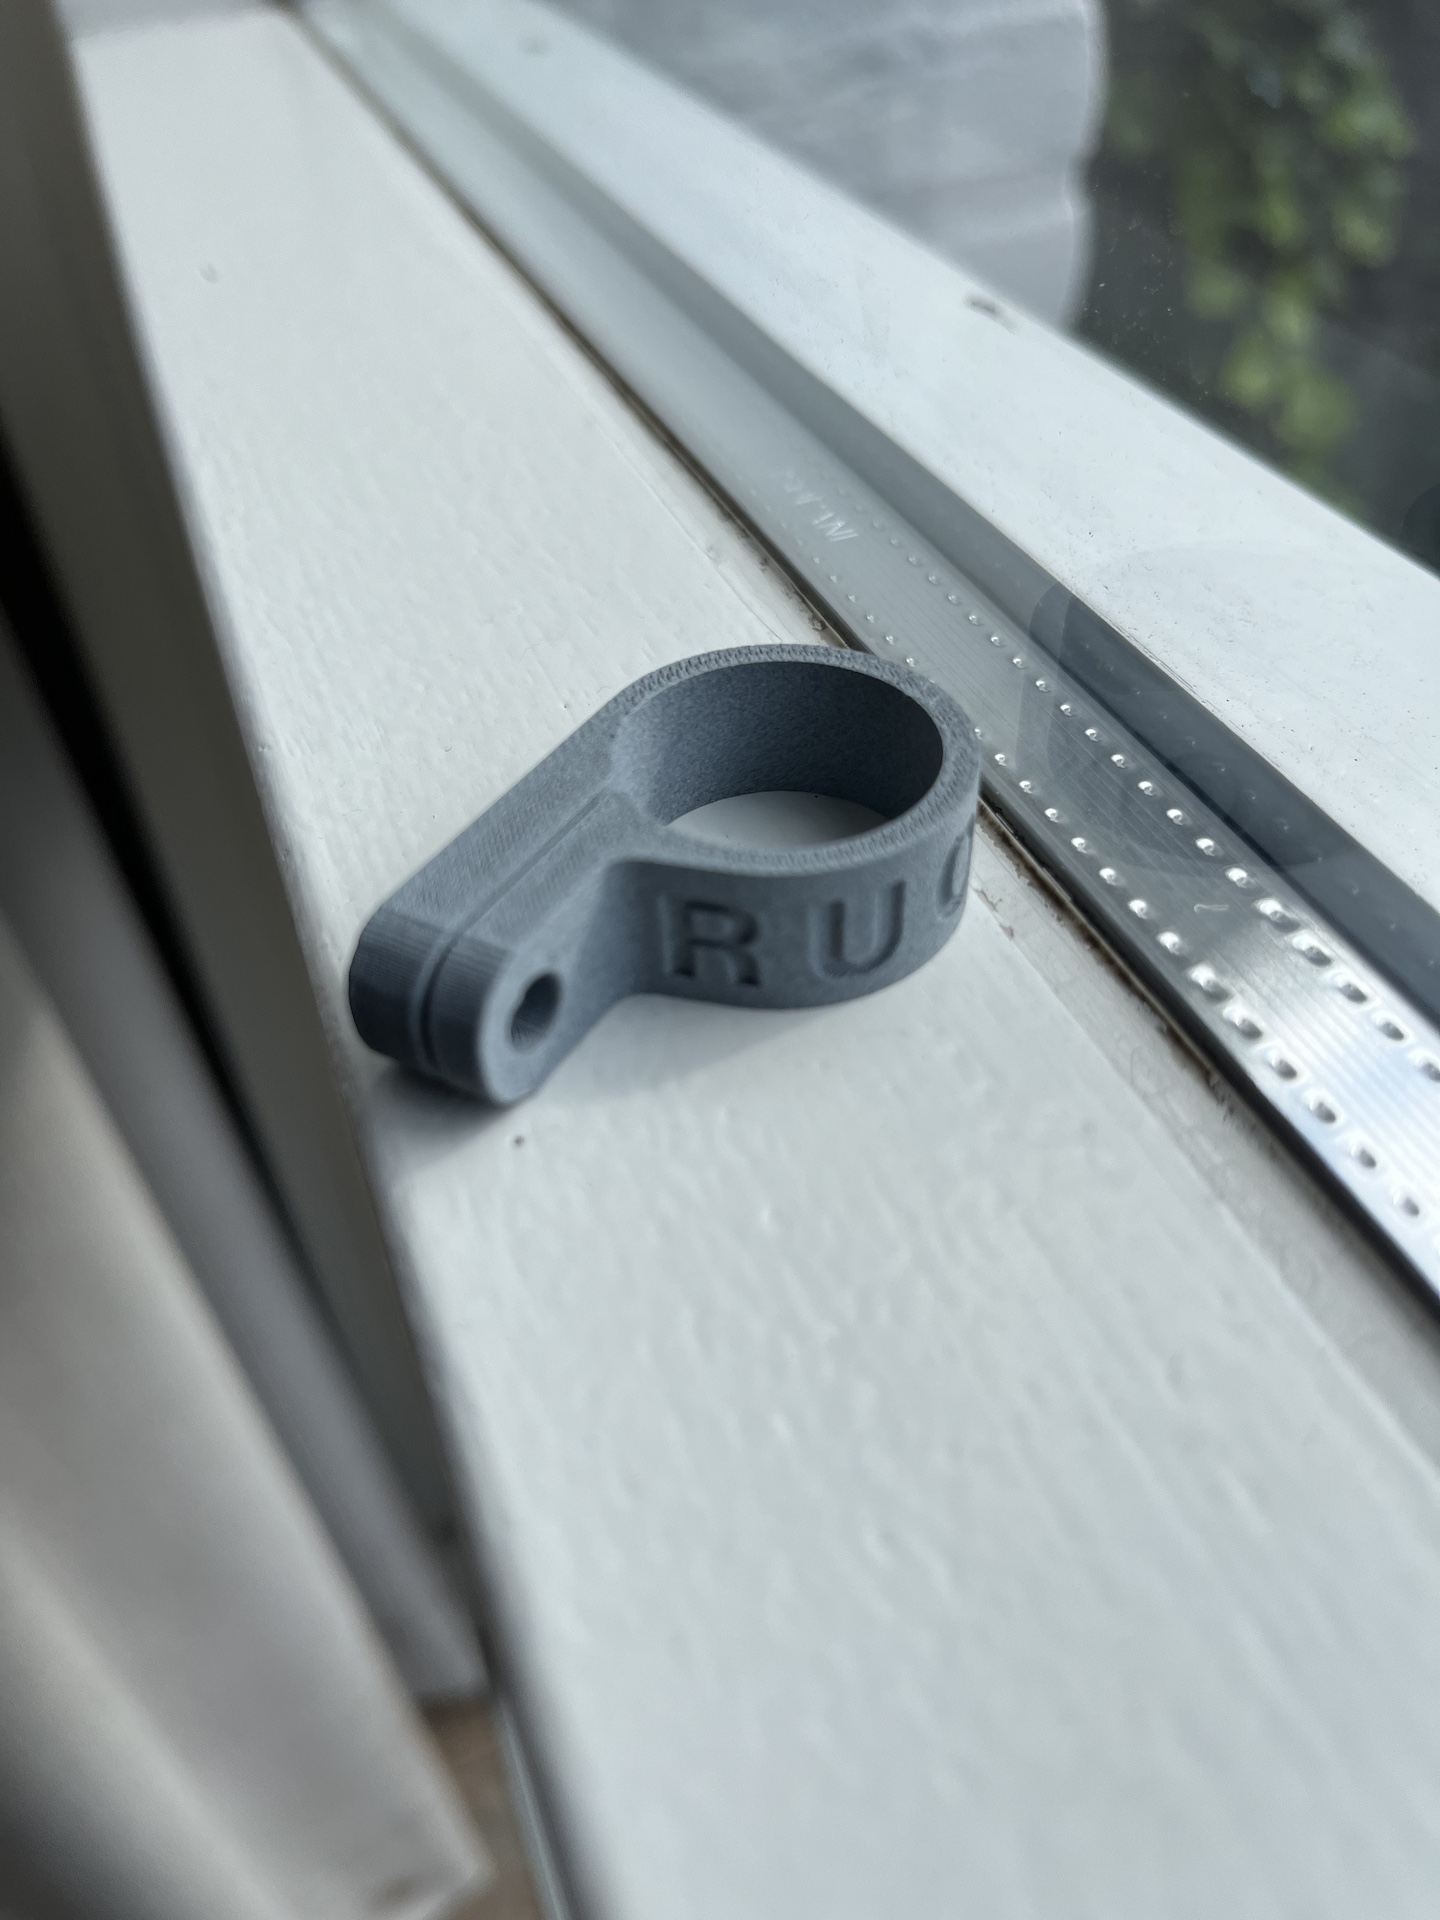
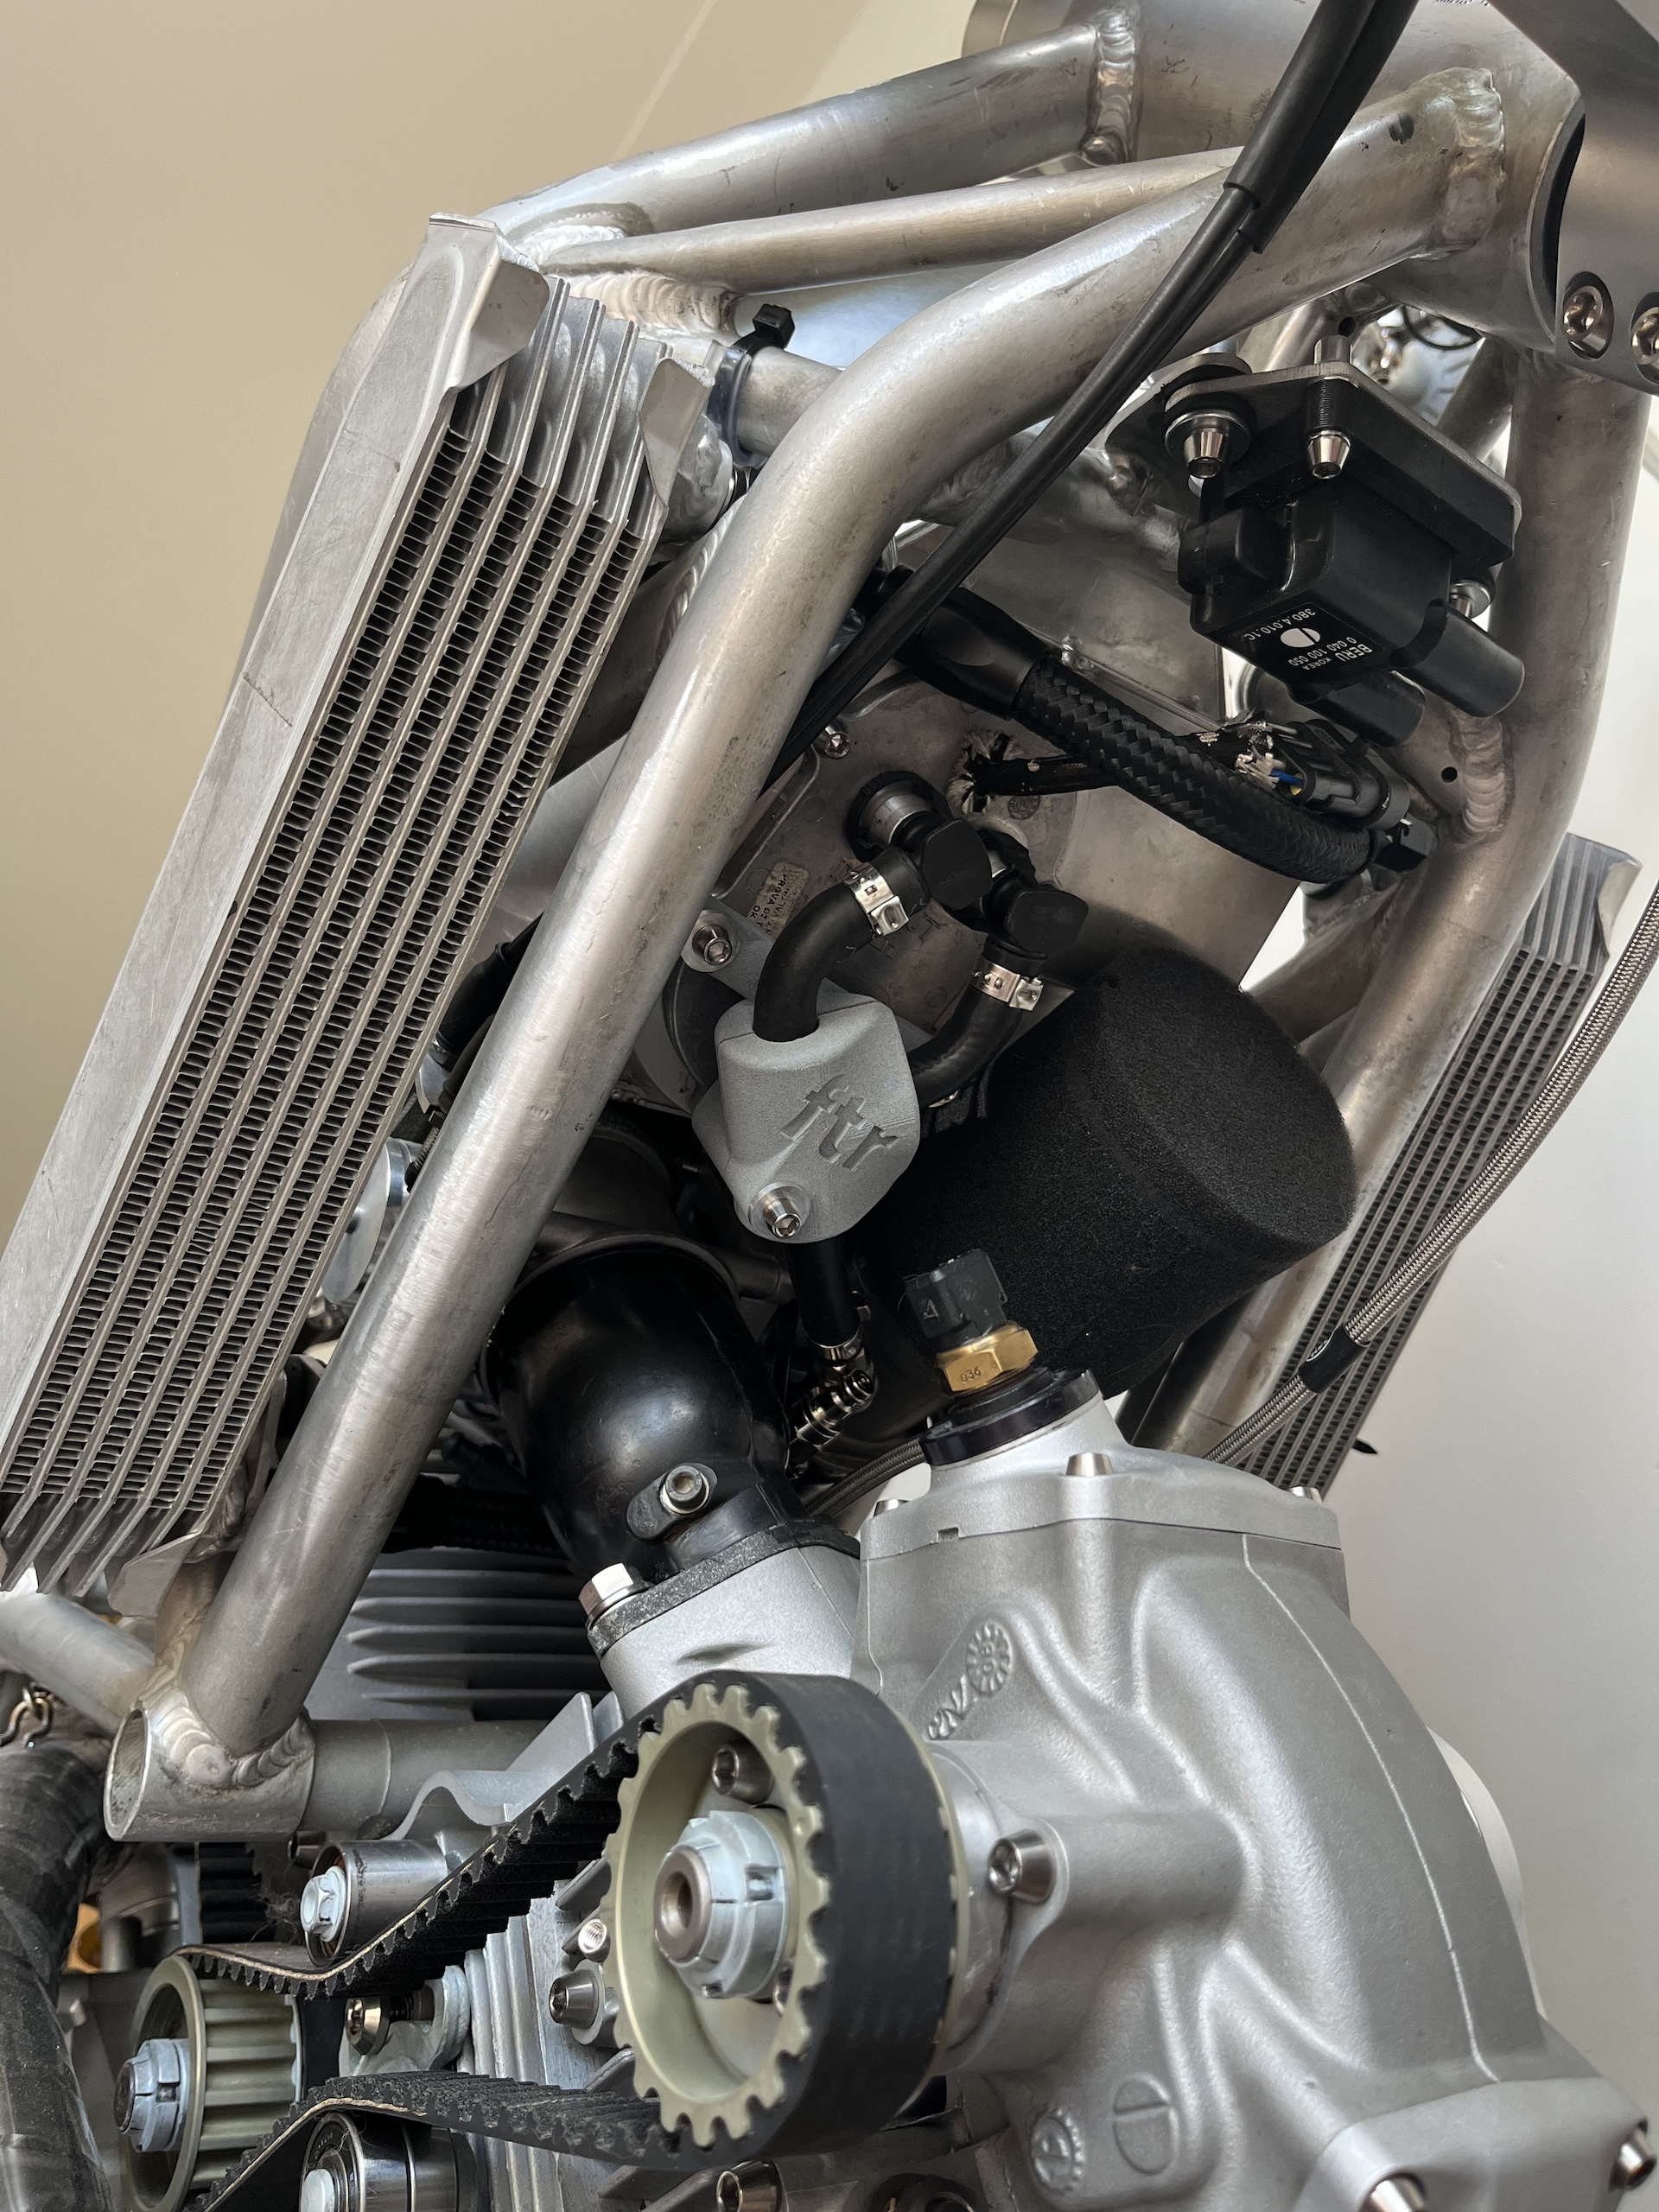
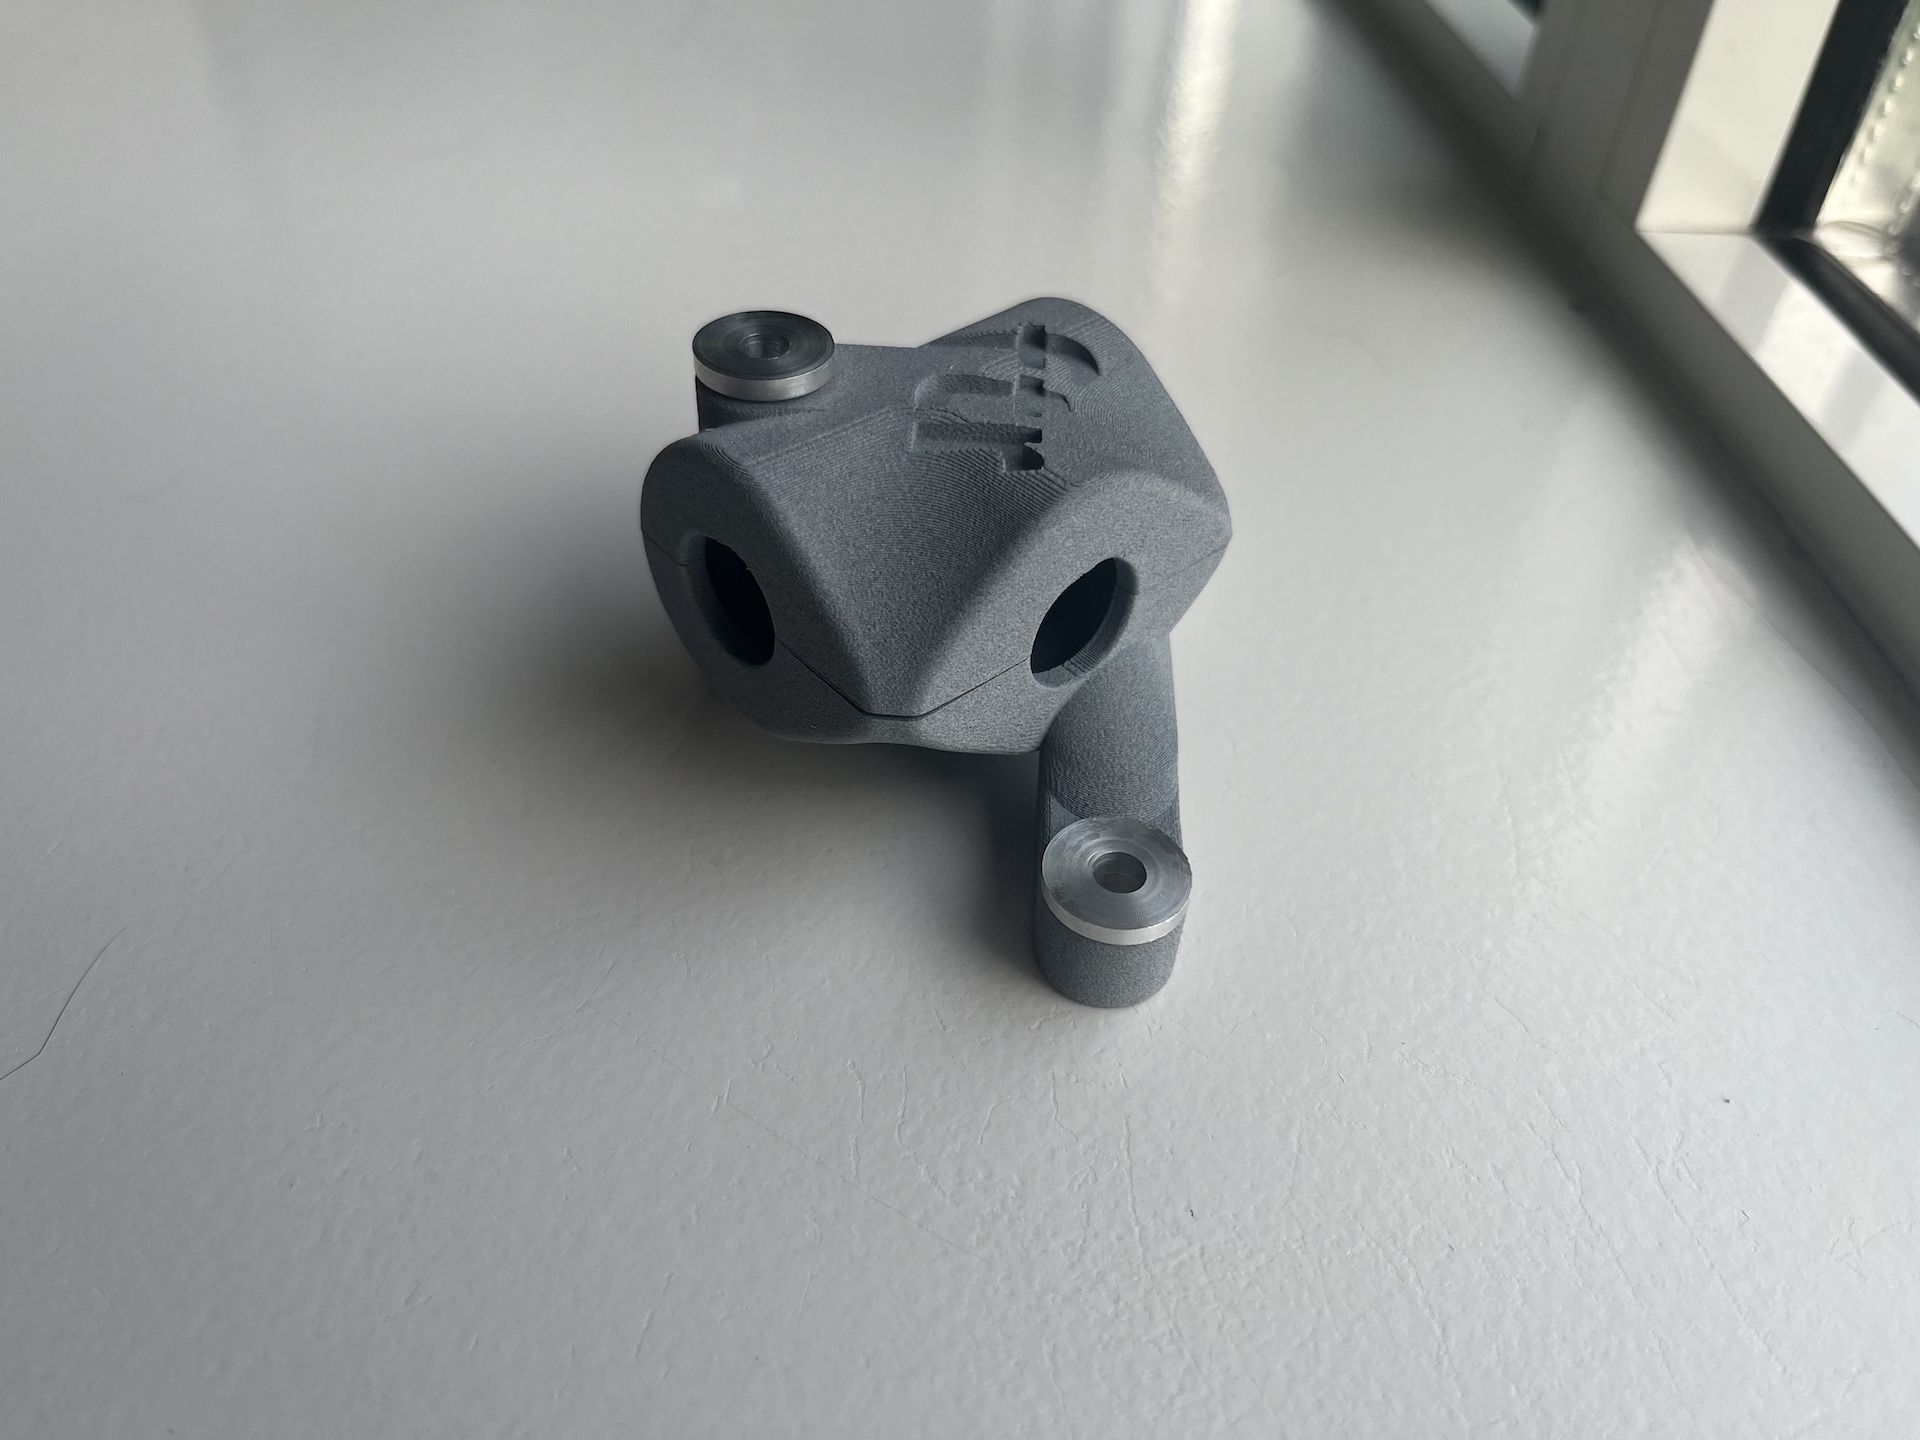
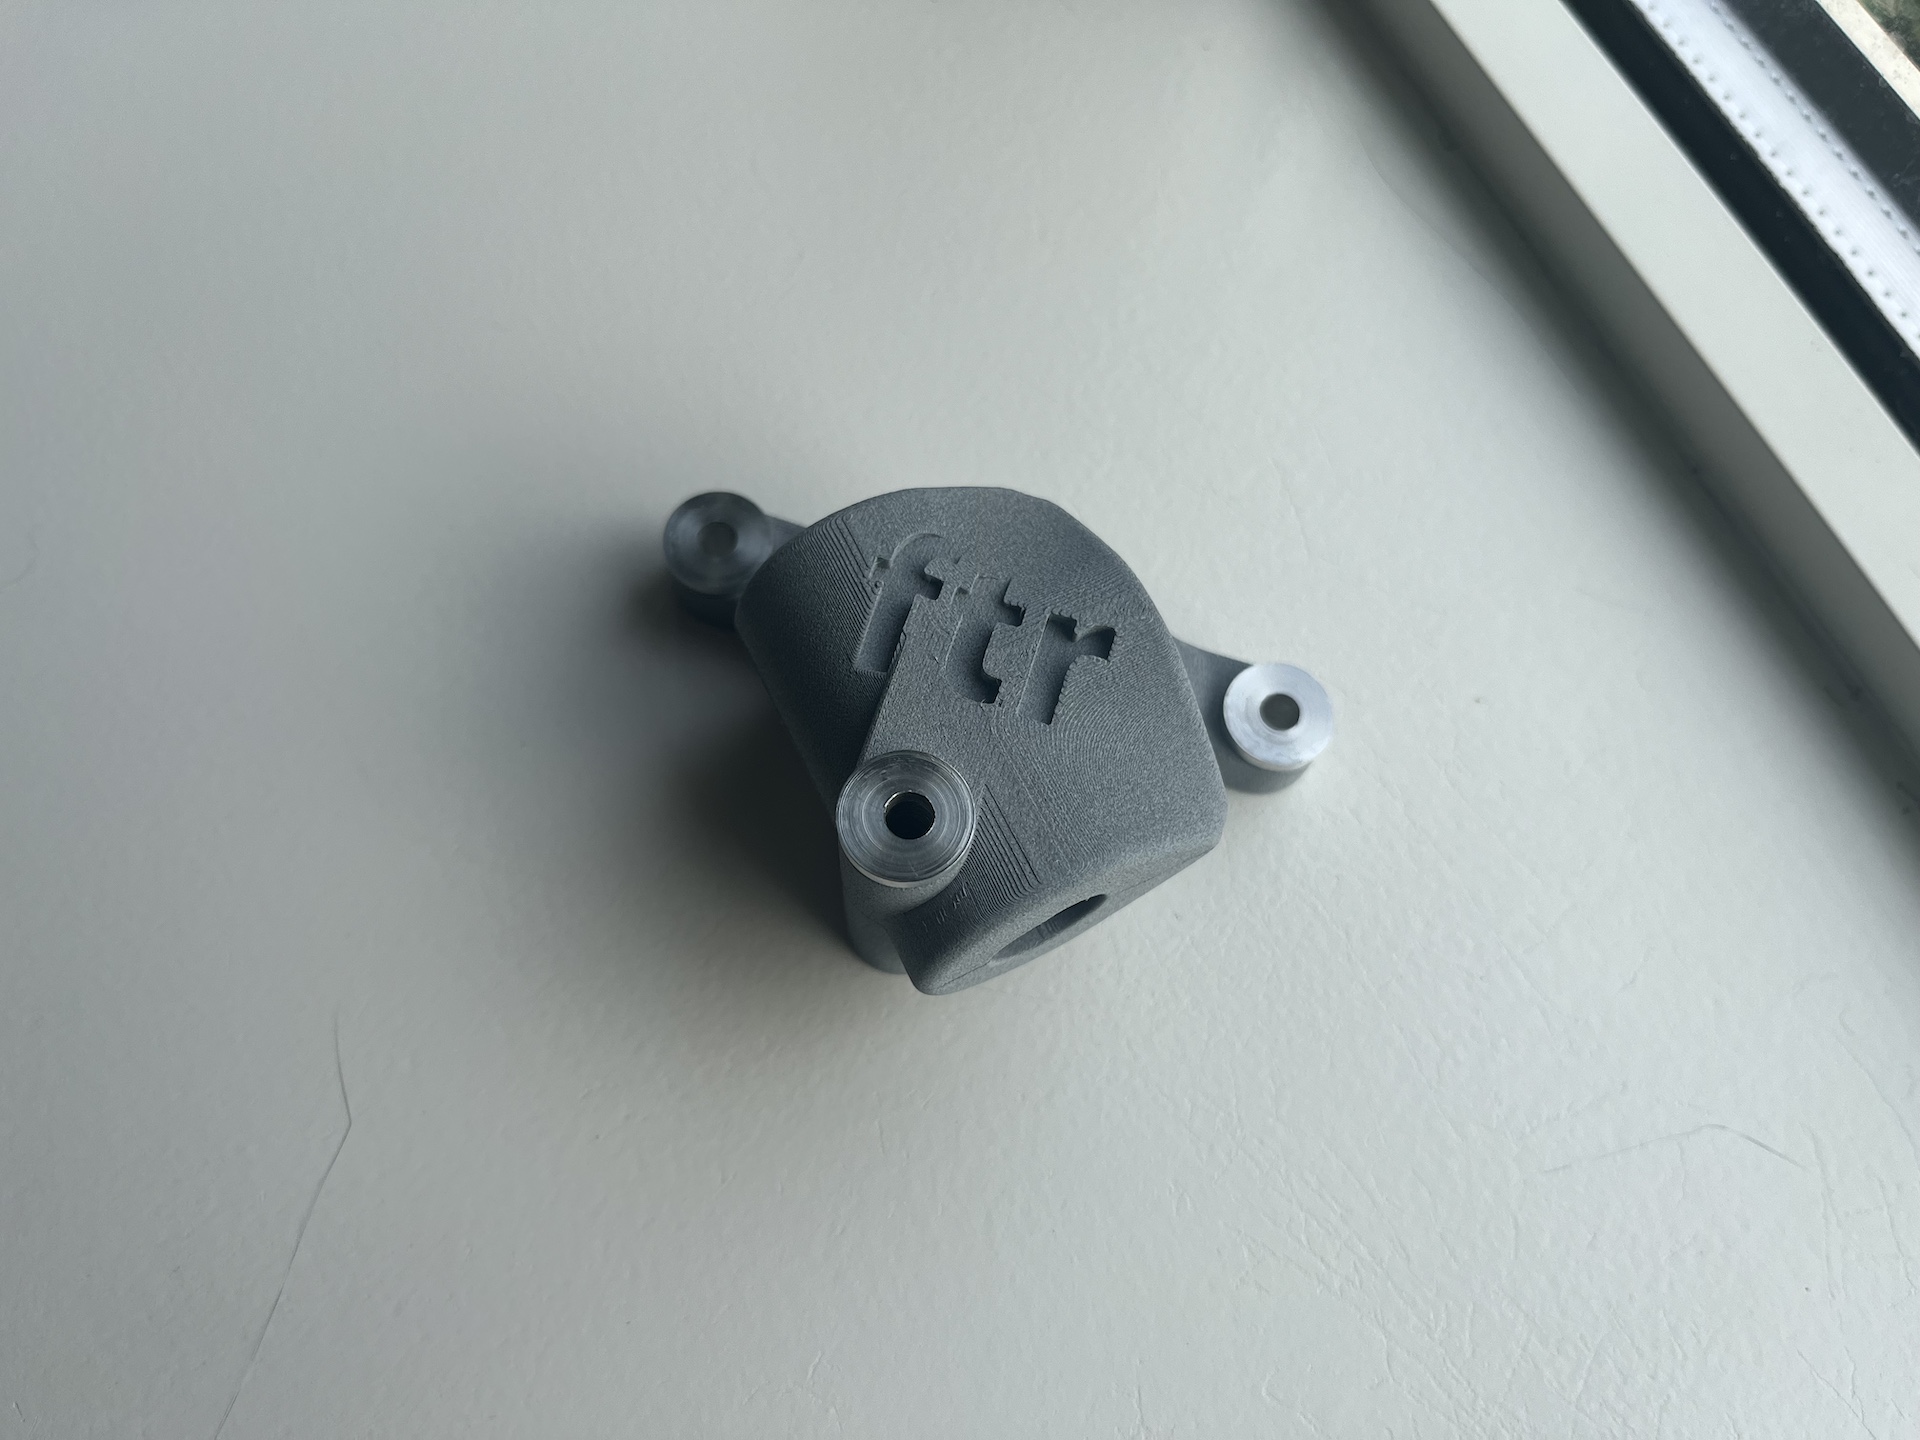
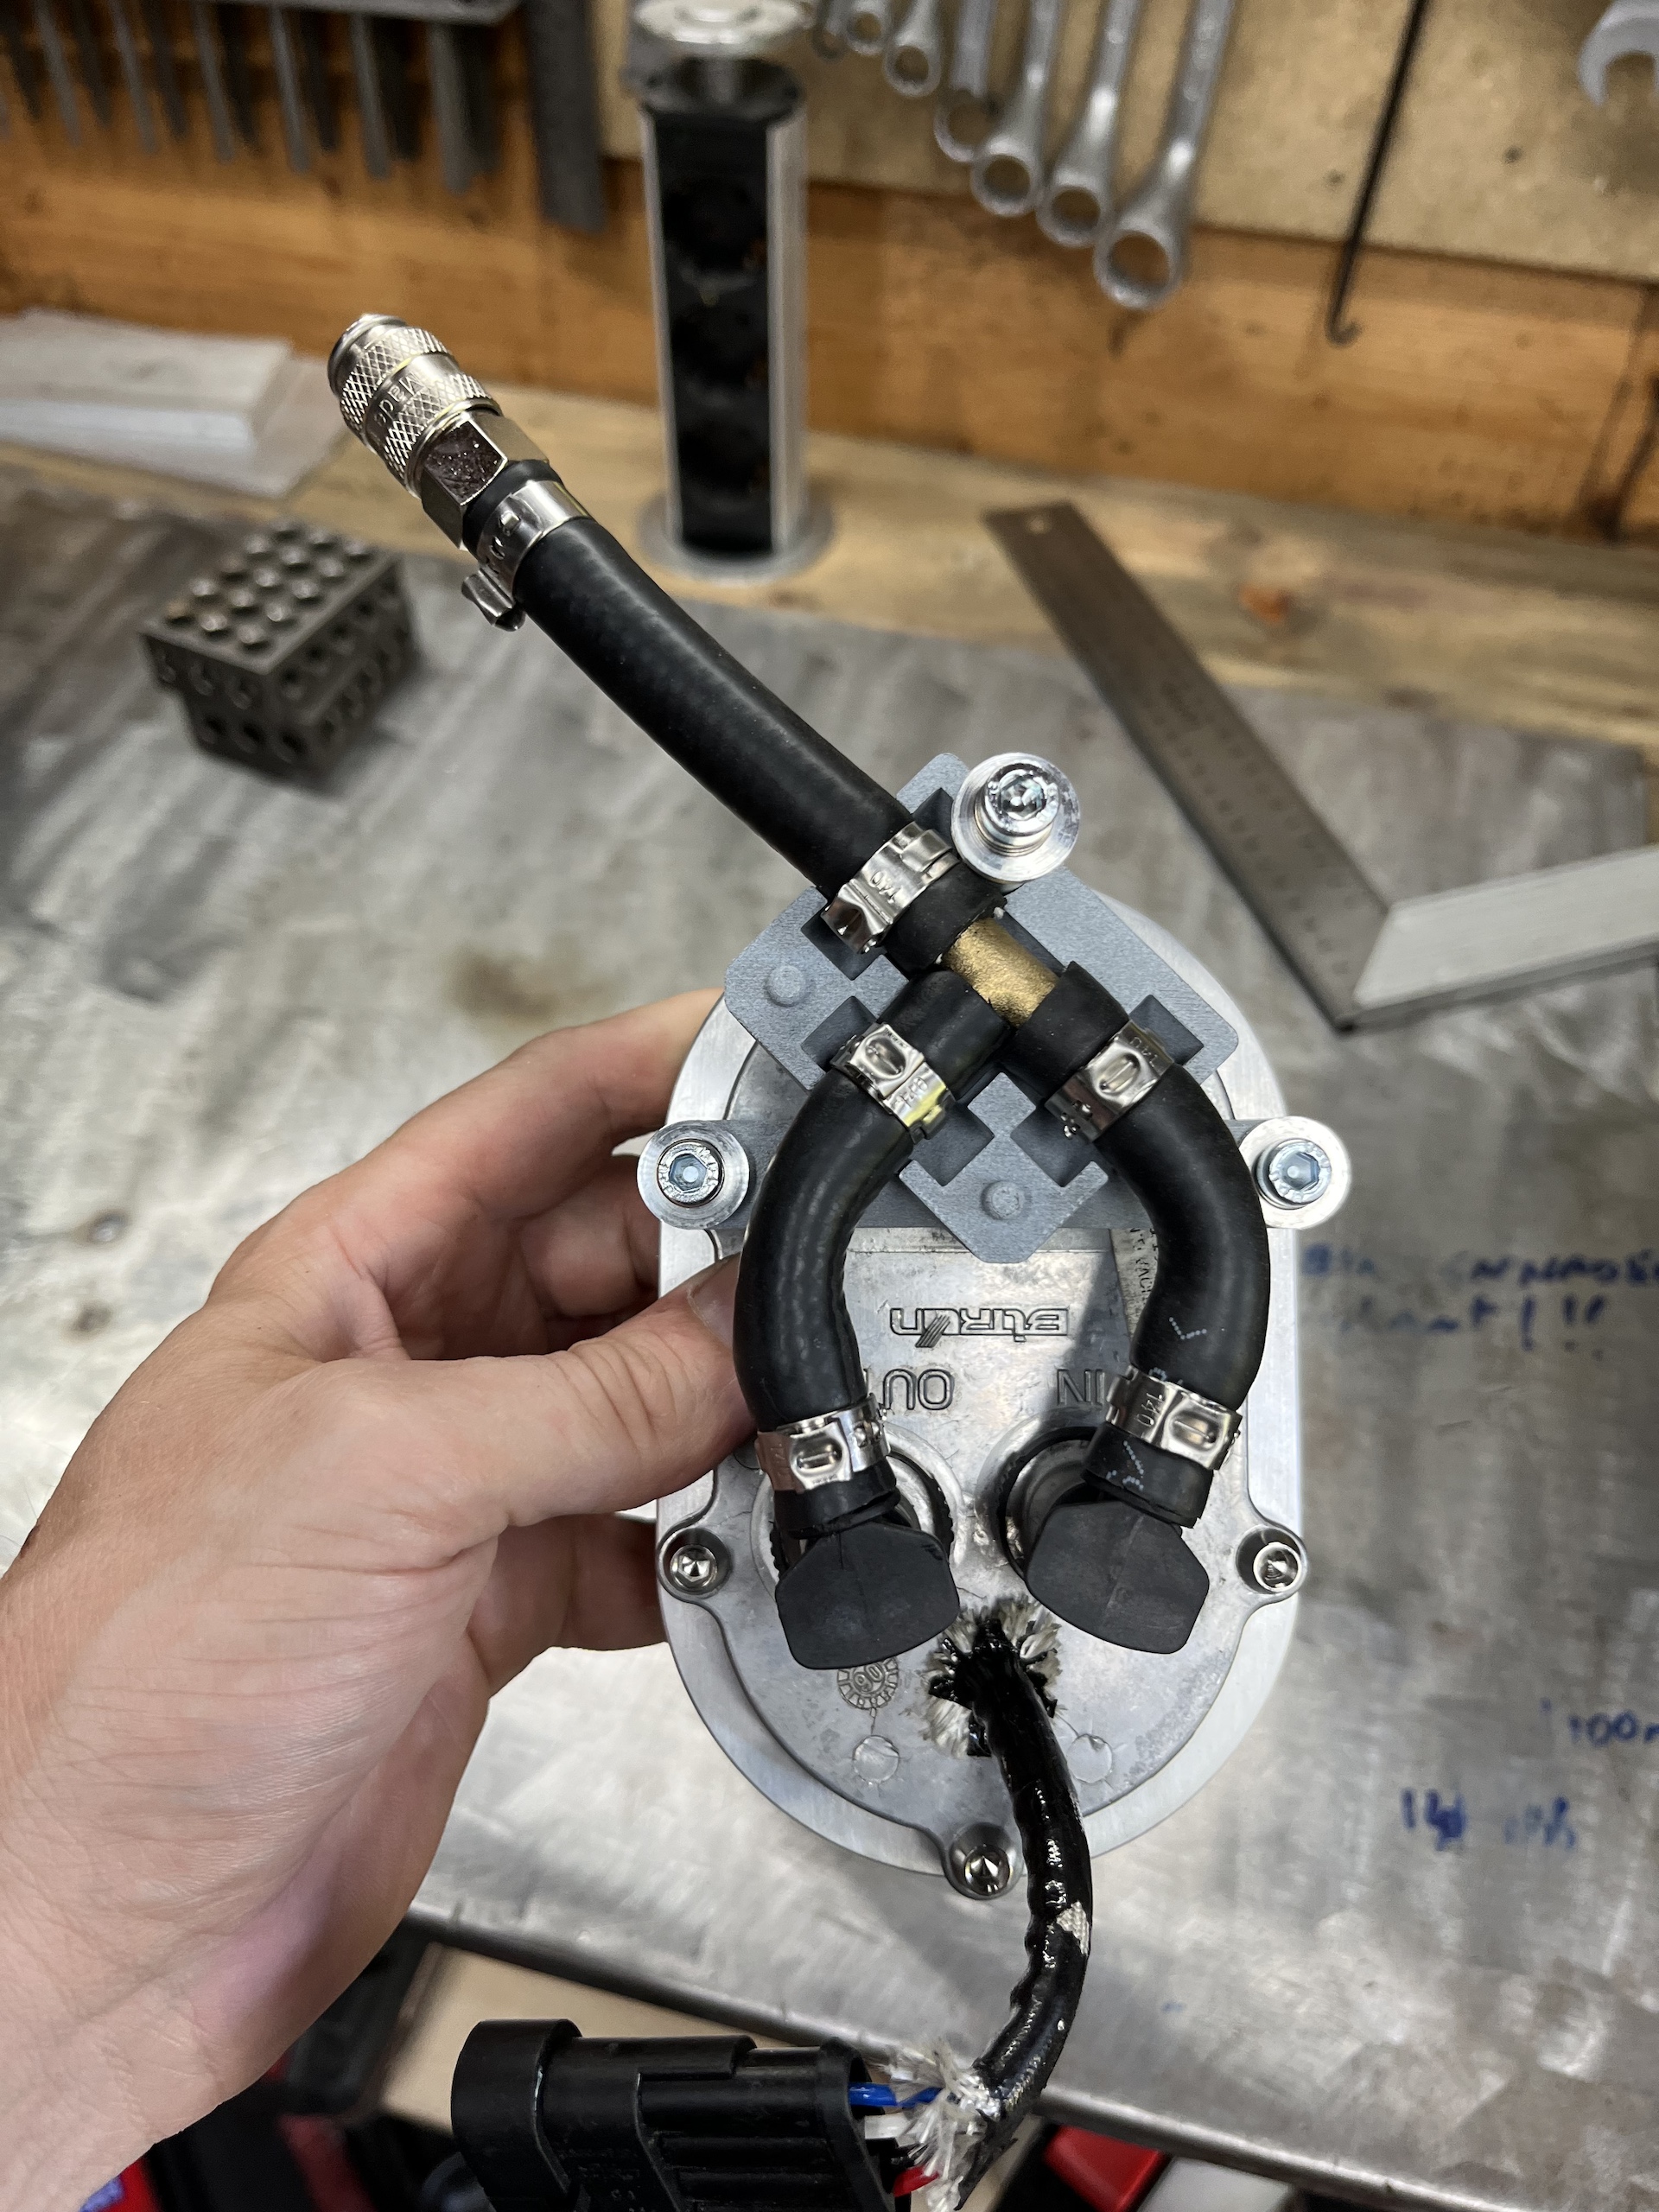
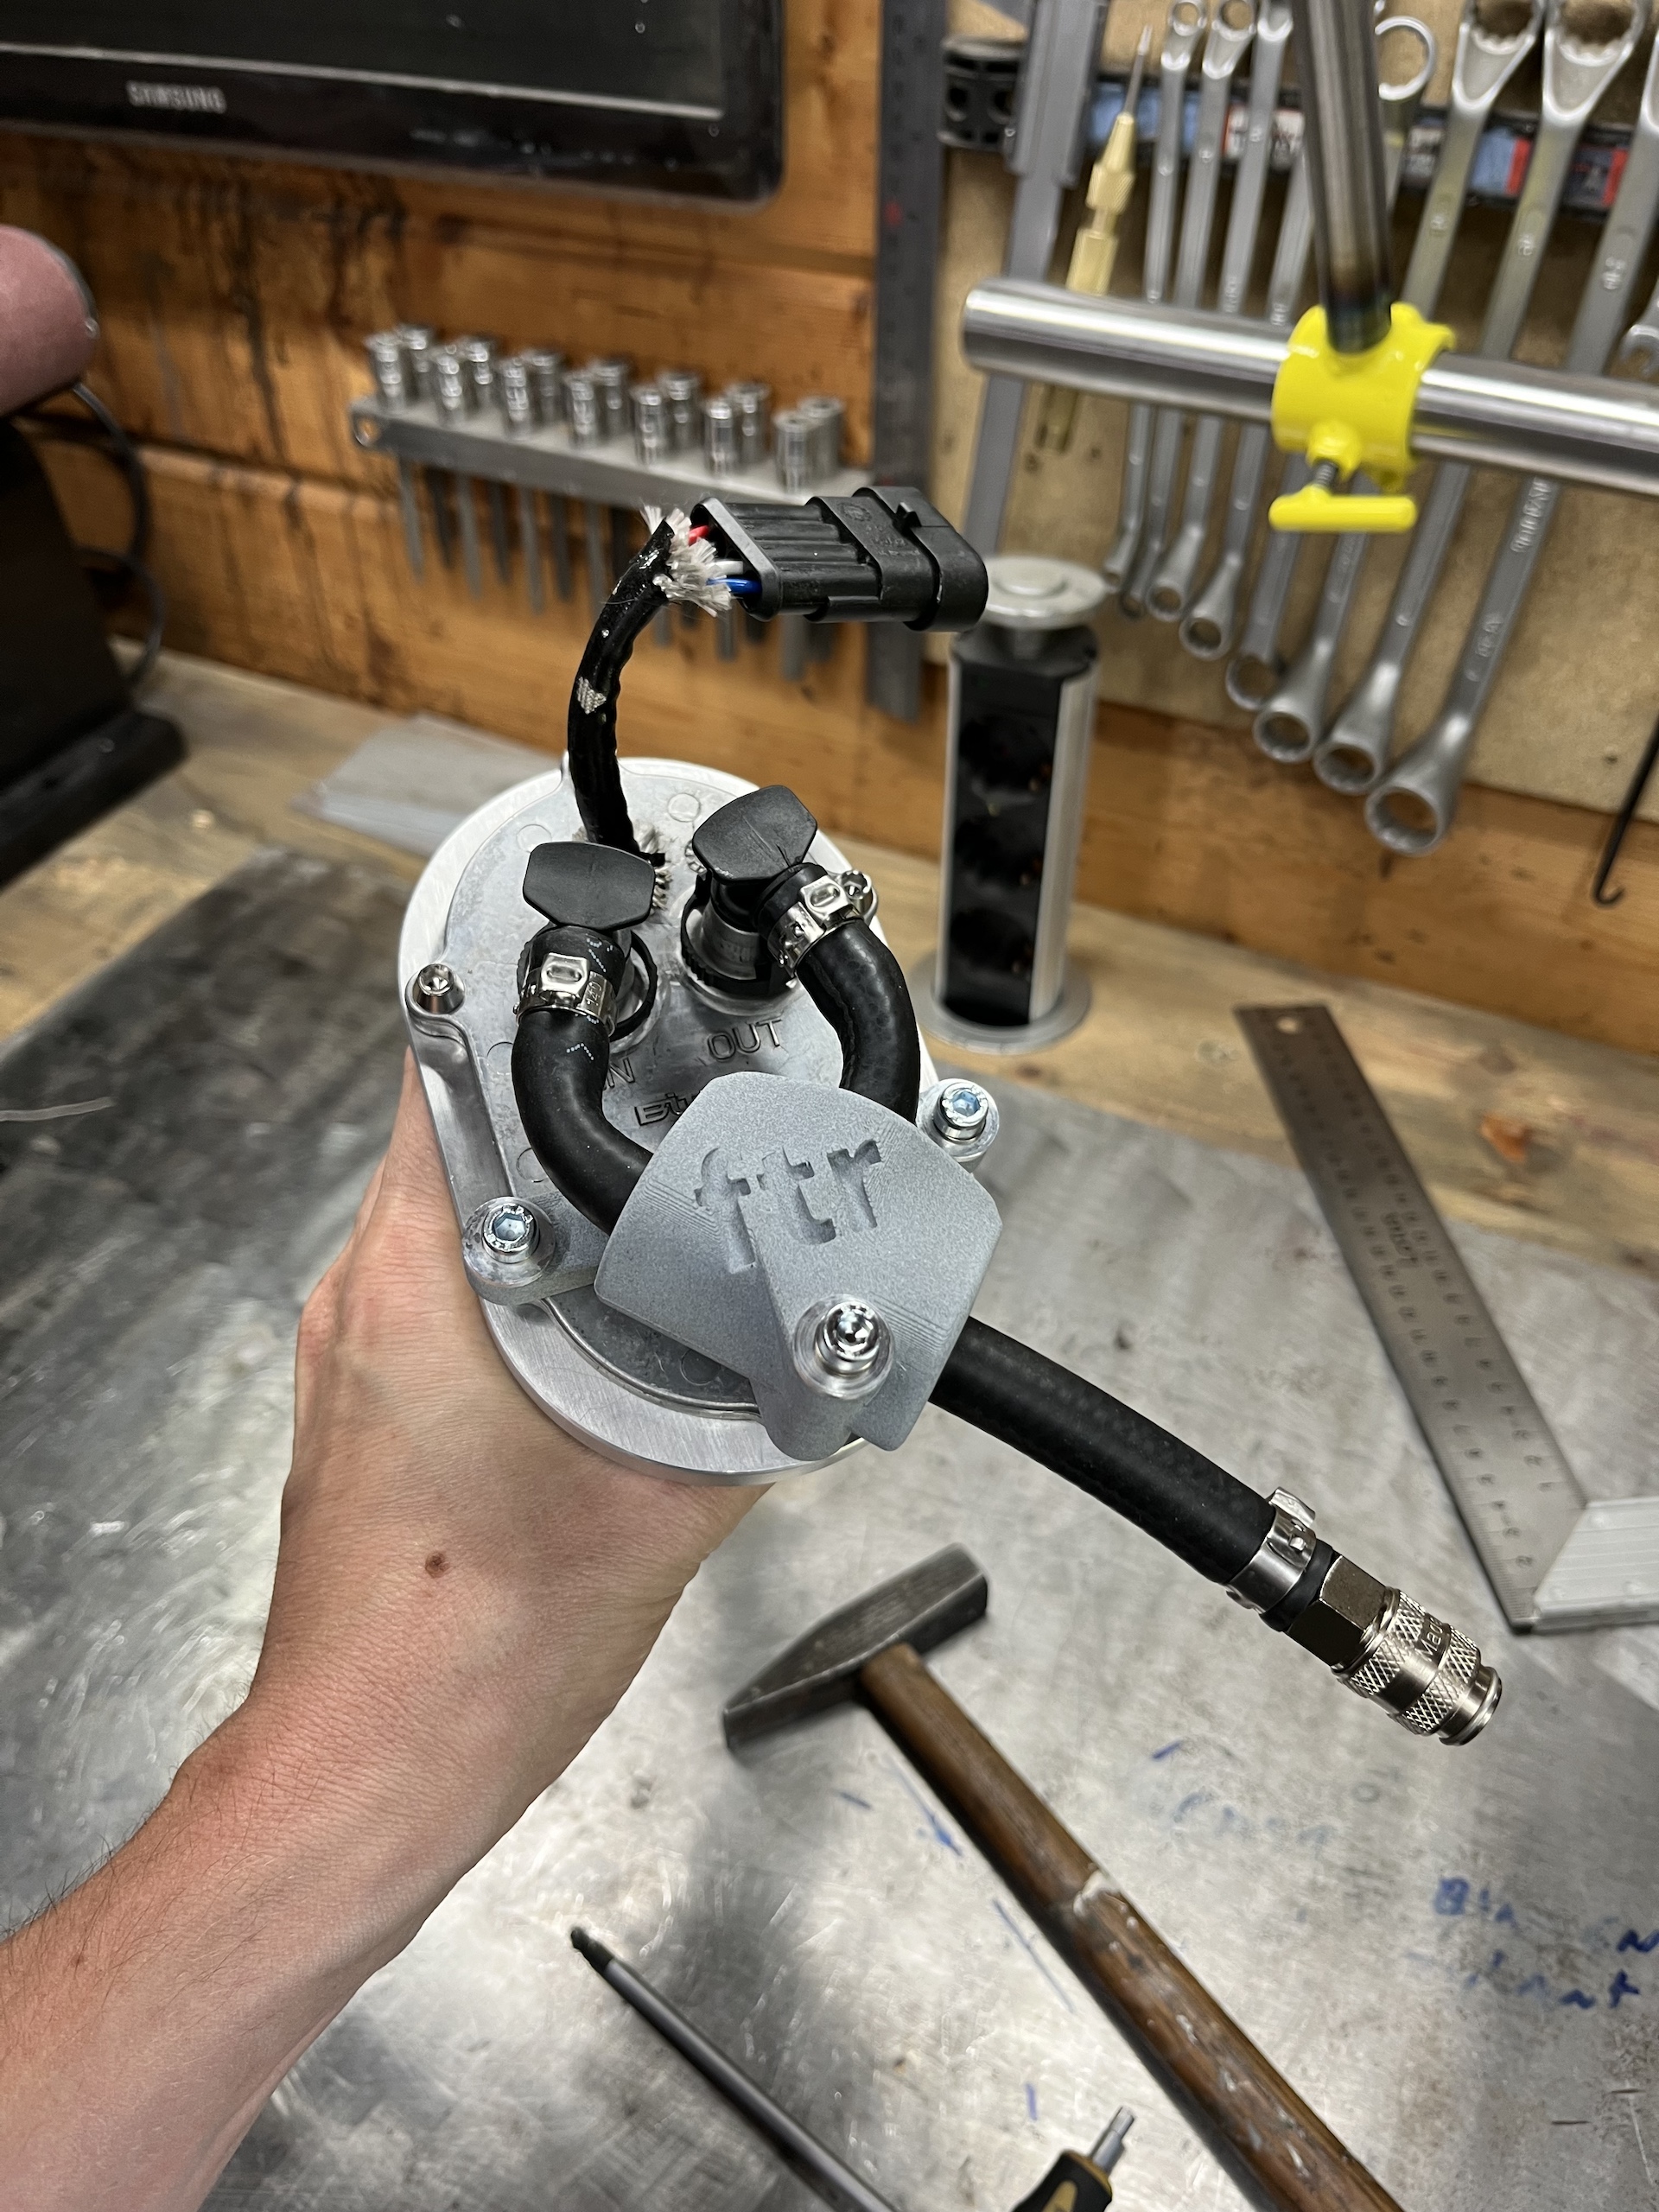
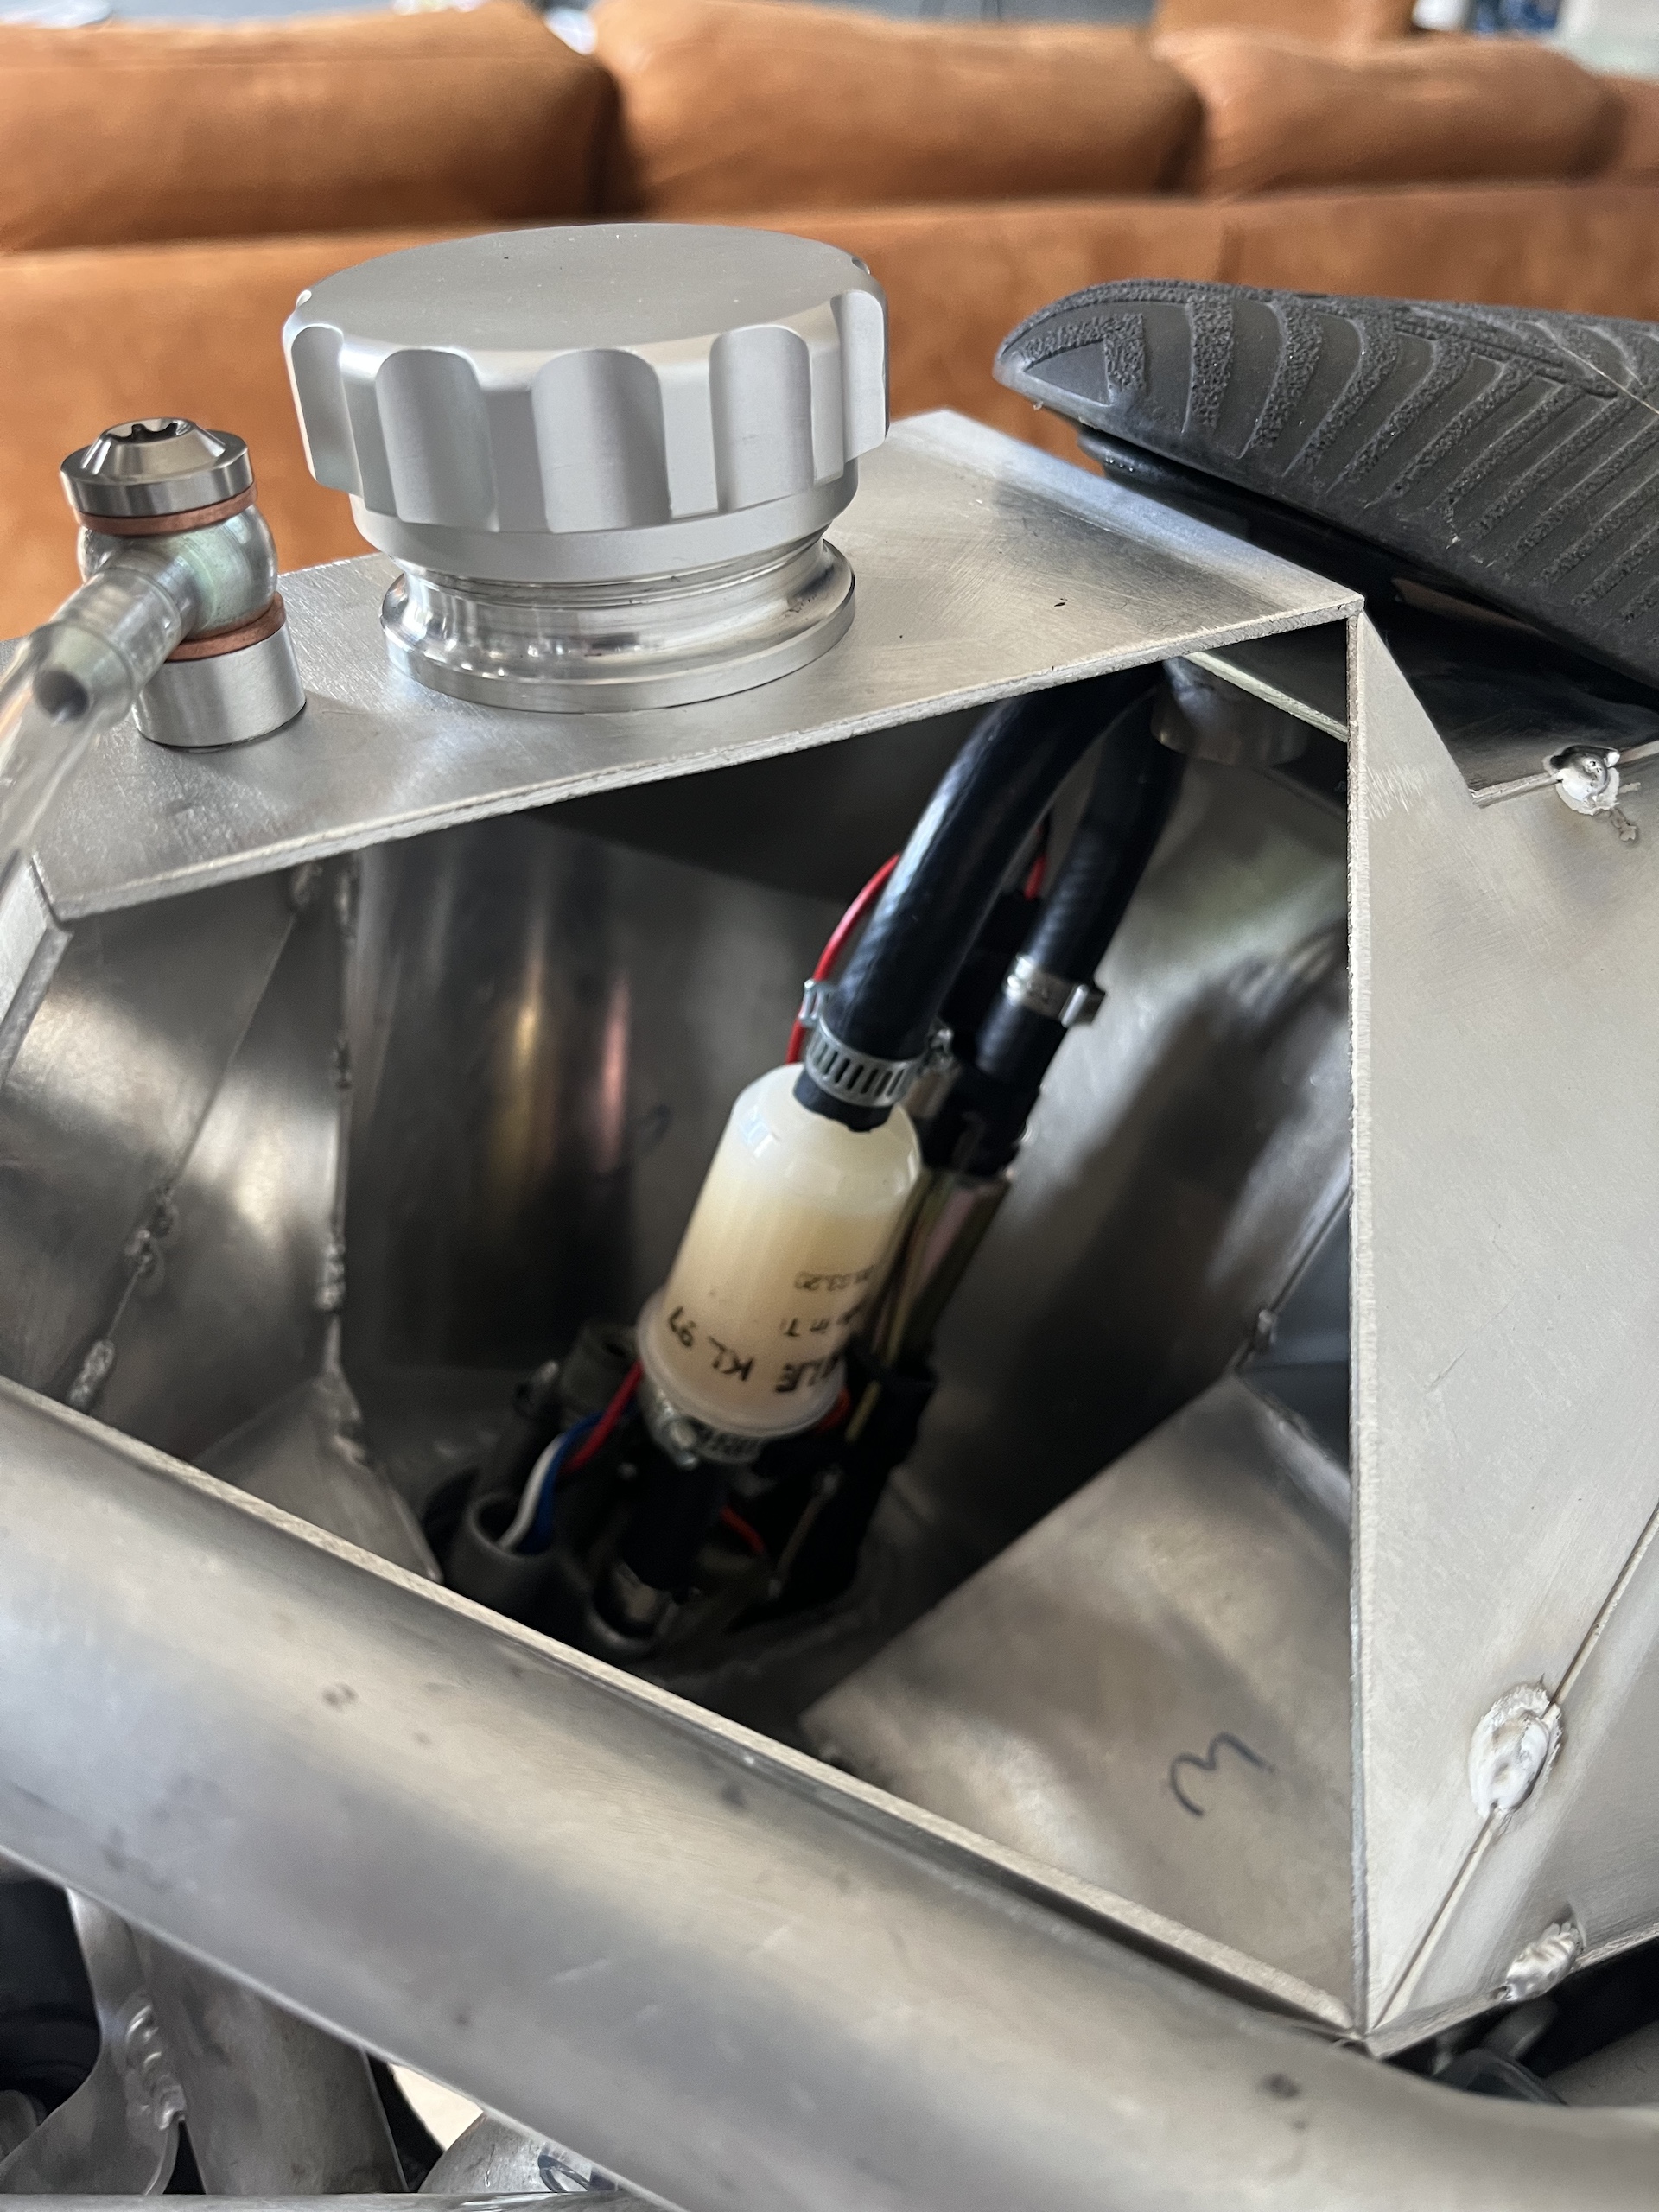
FUEL LINE BRACKET
Designed and 3D printed a fuel line bracket to mount directly on the fuel pump. This will take the load of the plastic fittings since they are prone to leak when under tension so came up with this solution.
Printed out of HTPLA with 10% Carbon fibers and then baked in the oven so it can now withstand temperatures up to 155C and is super strong.
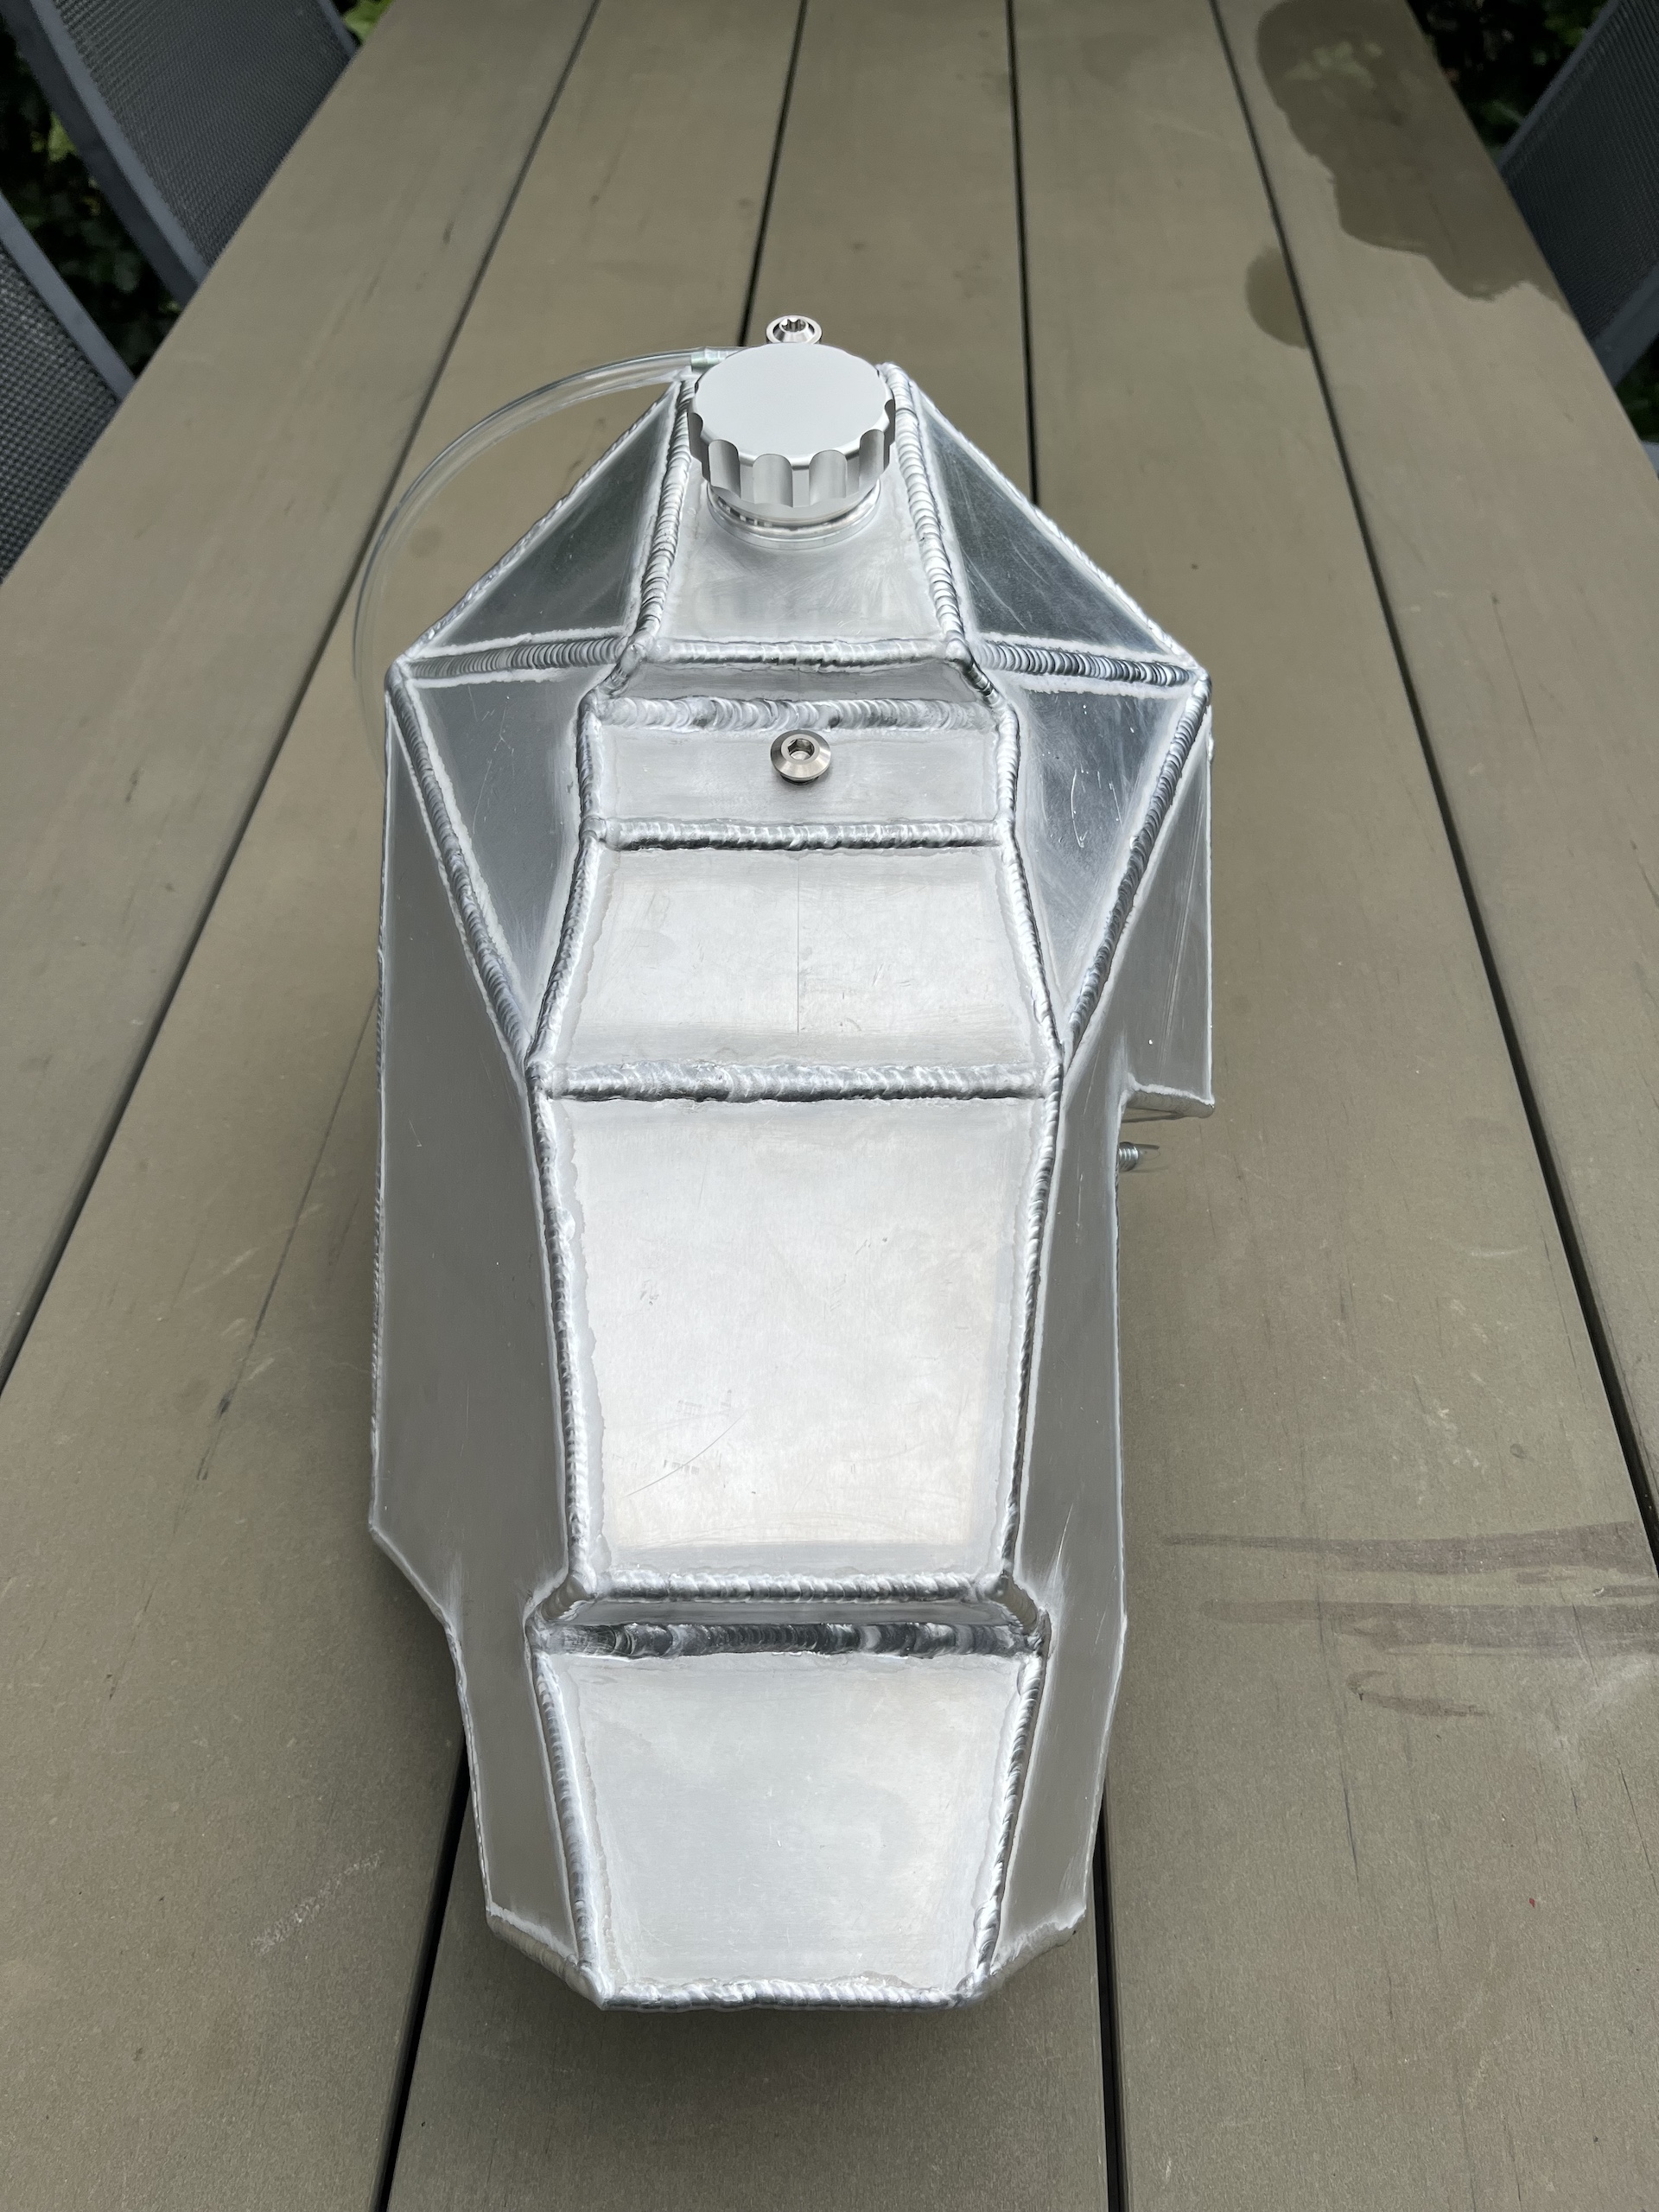
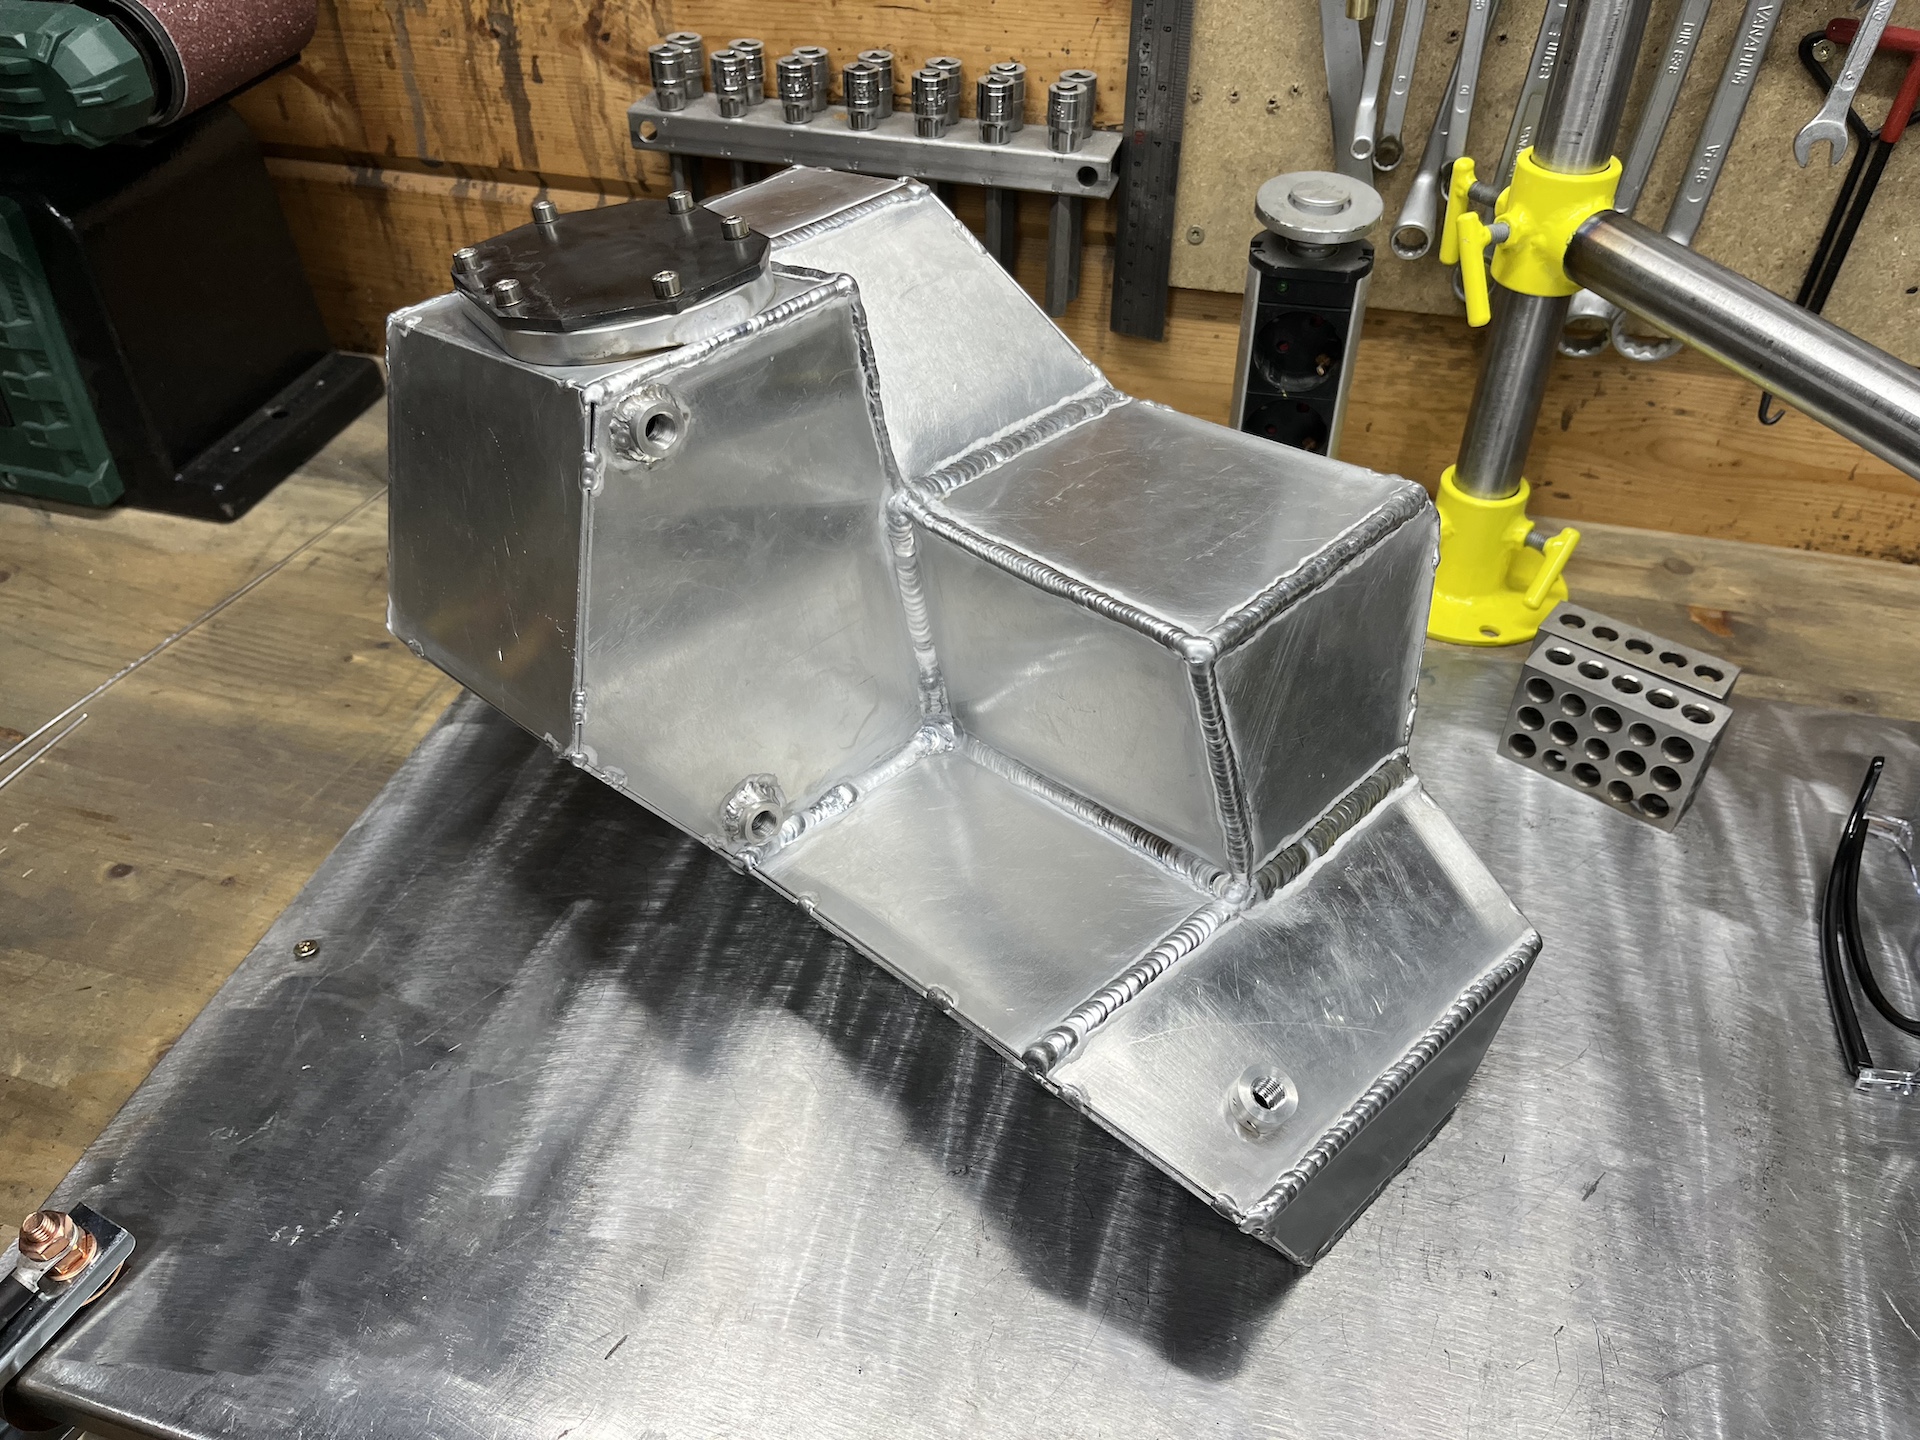
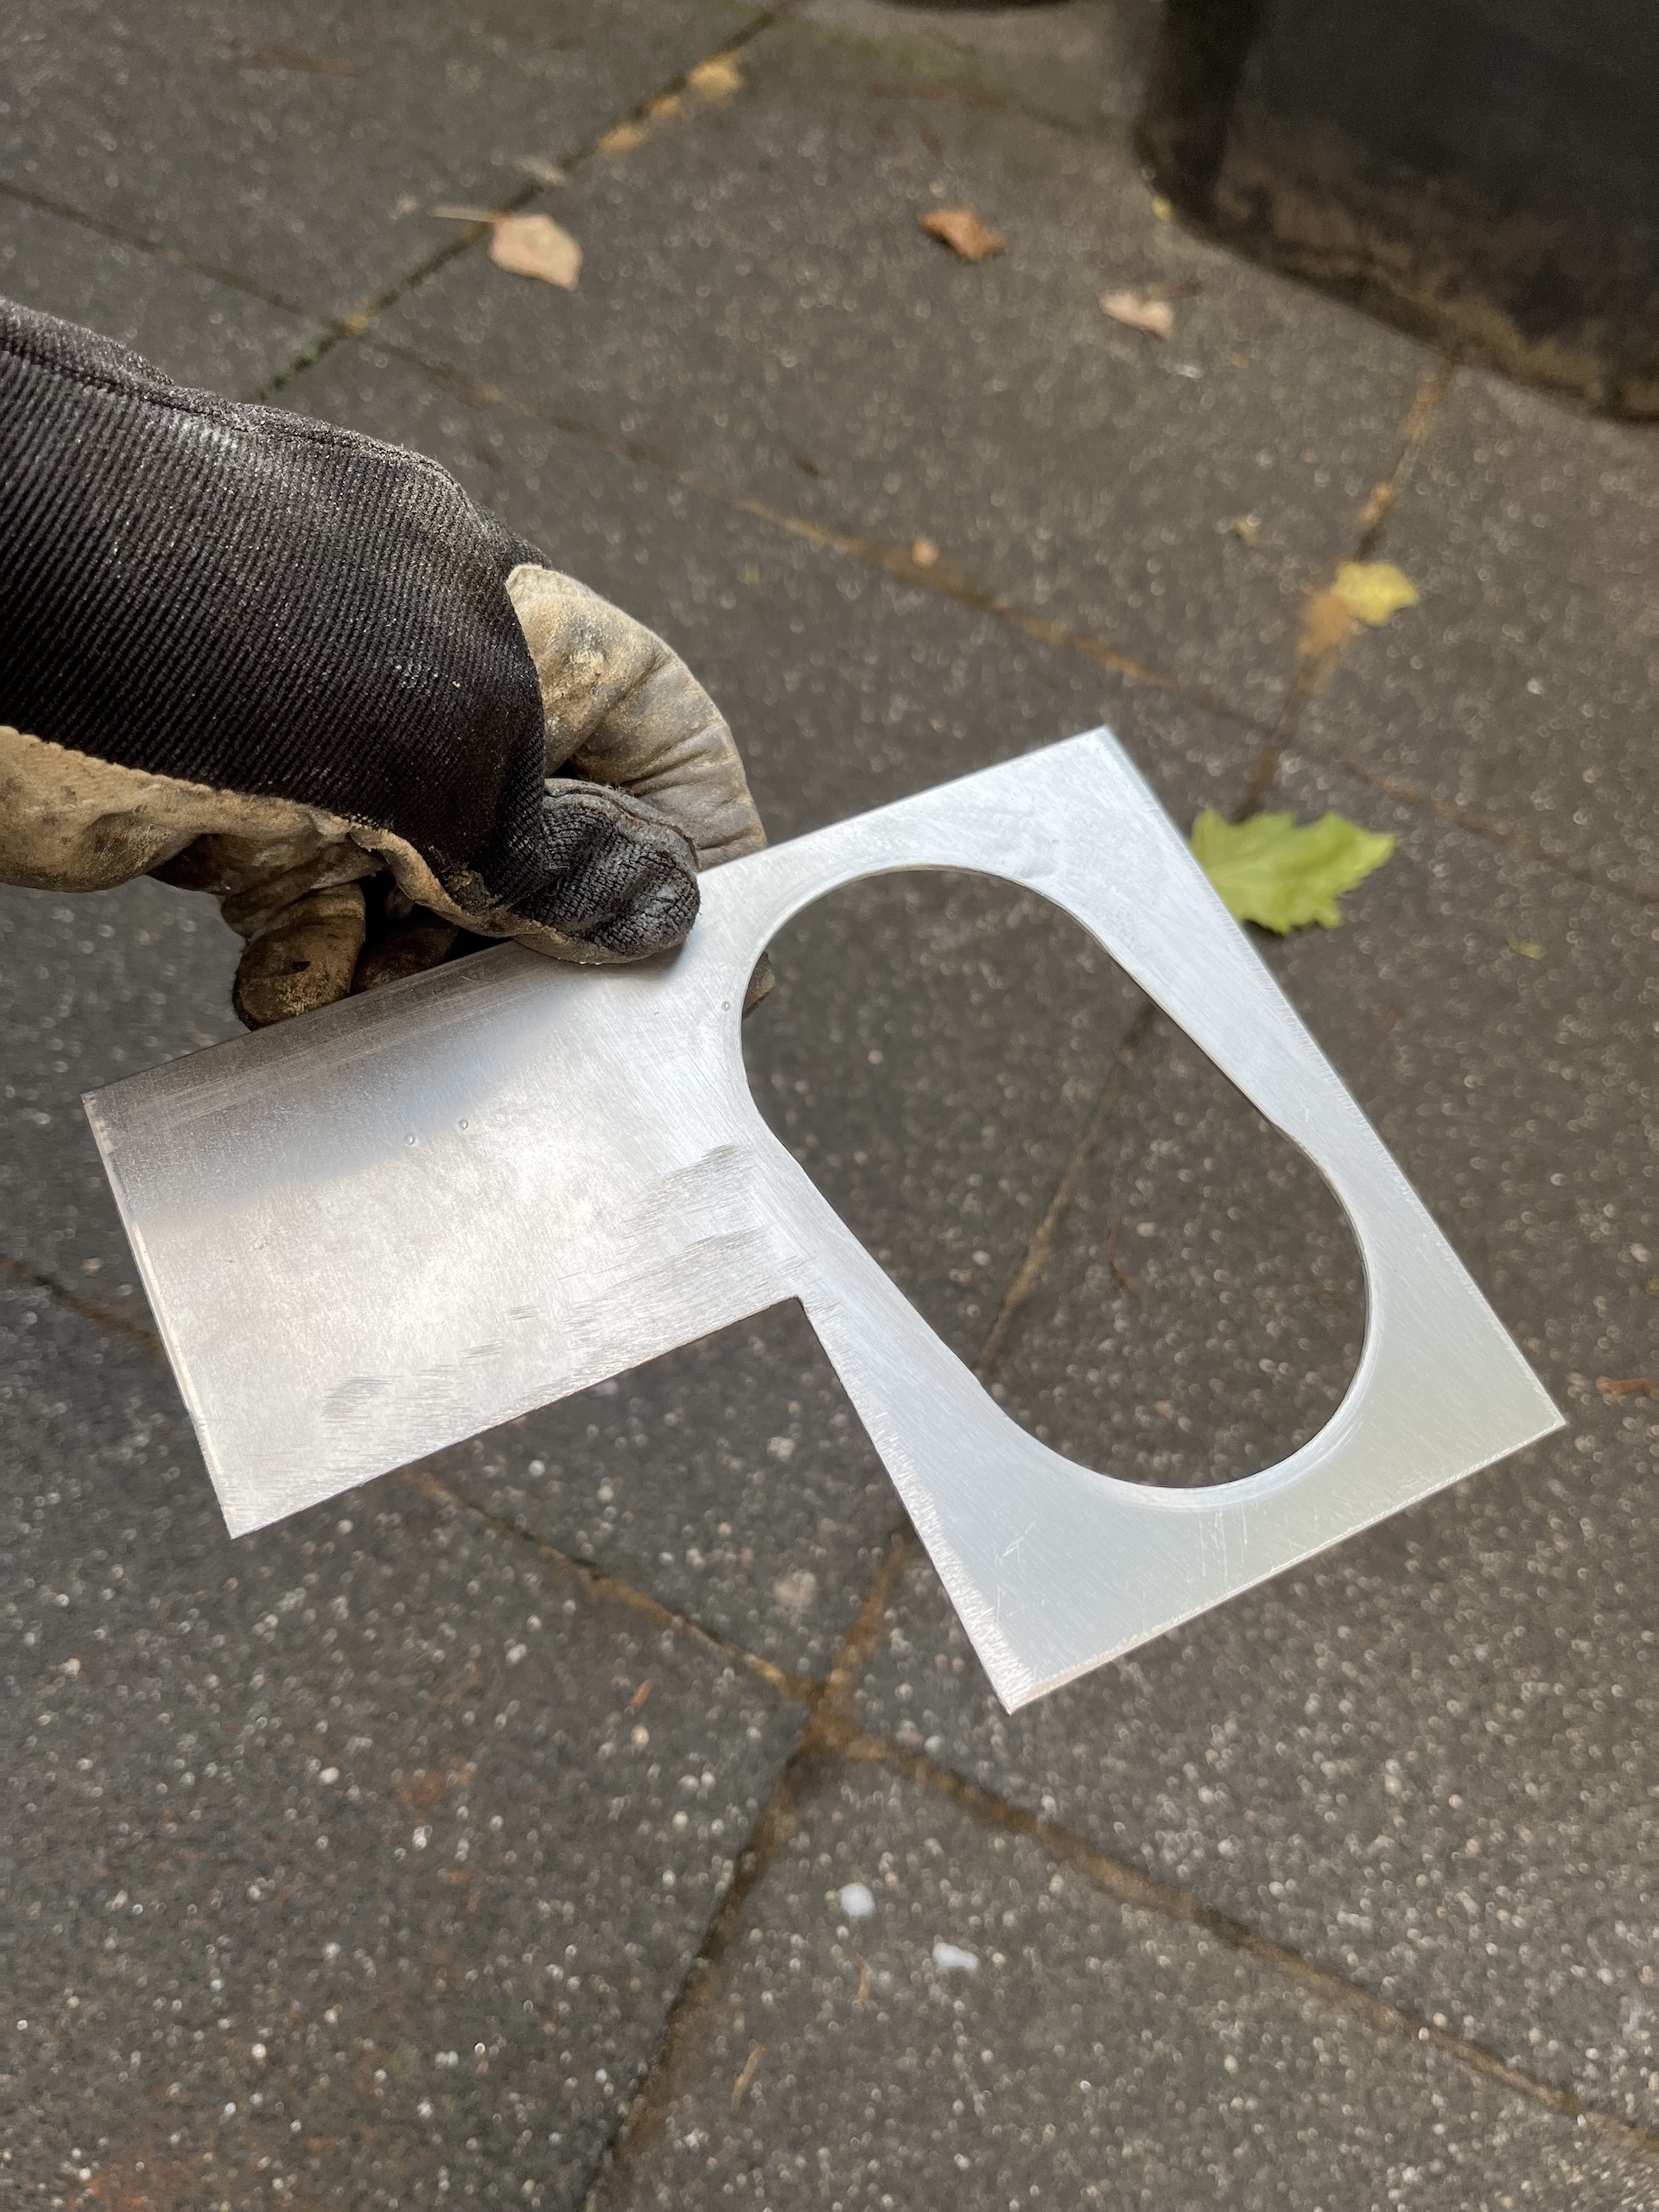
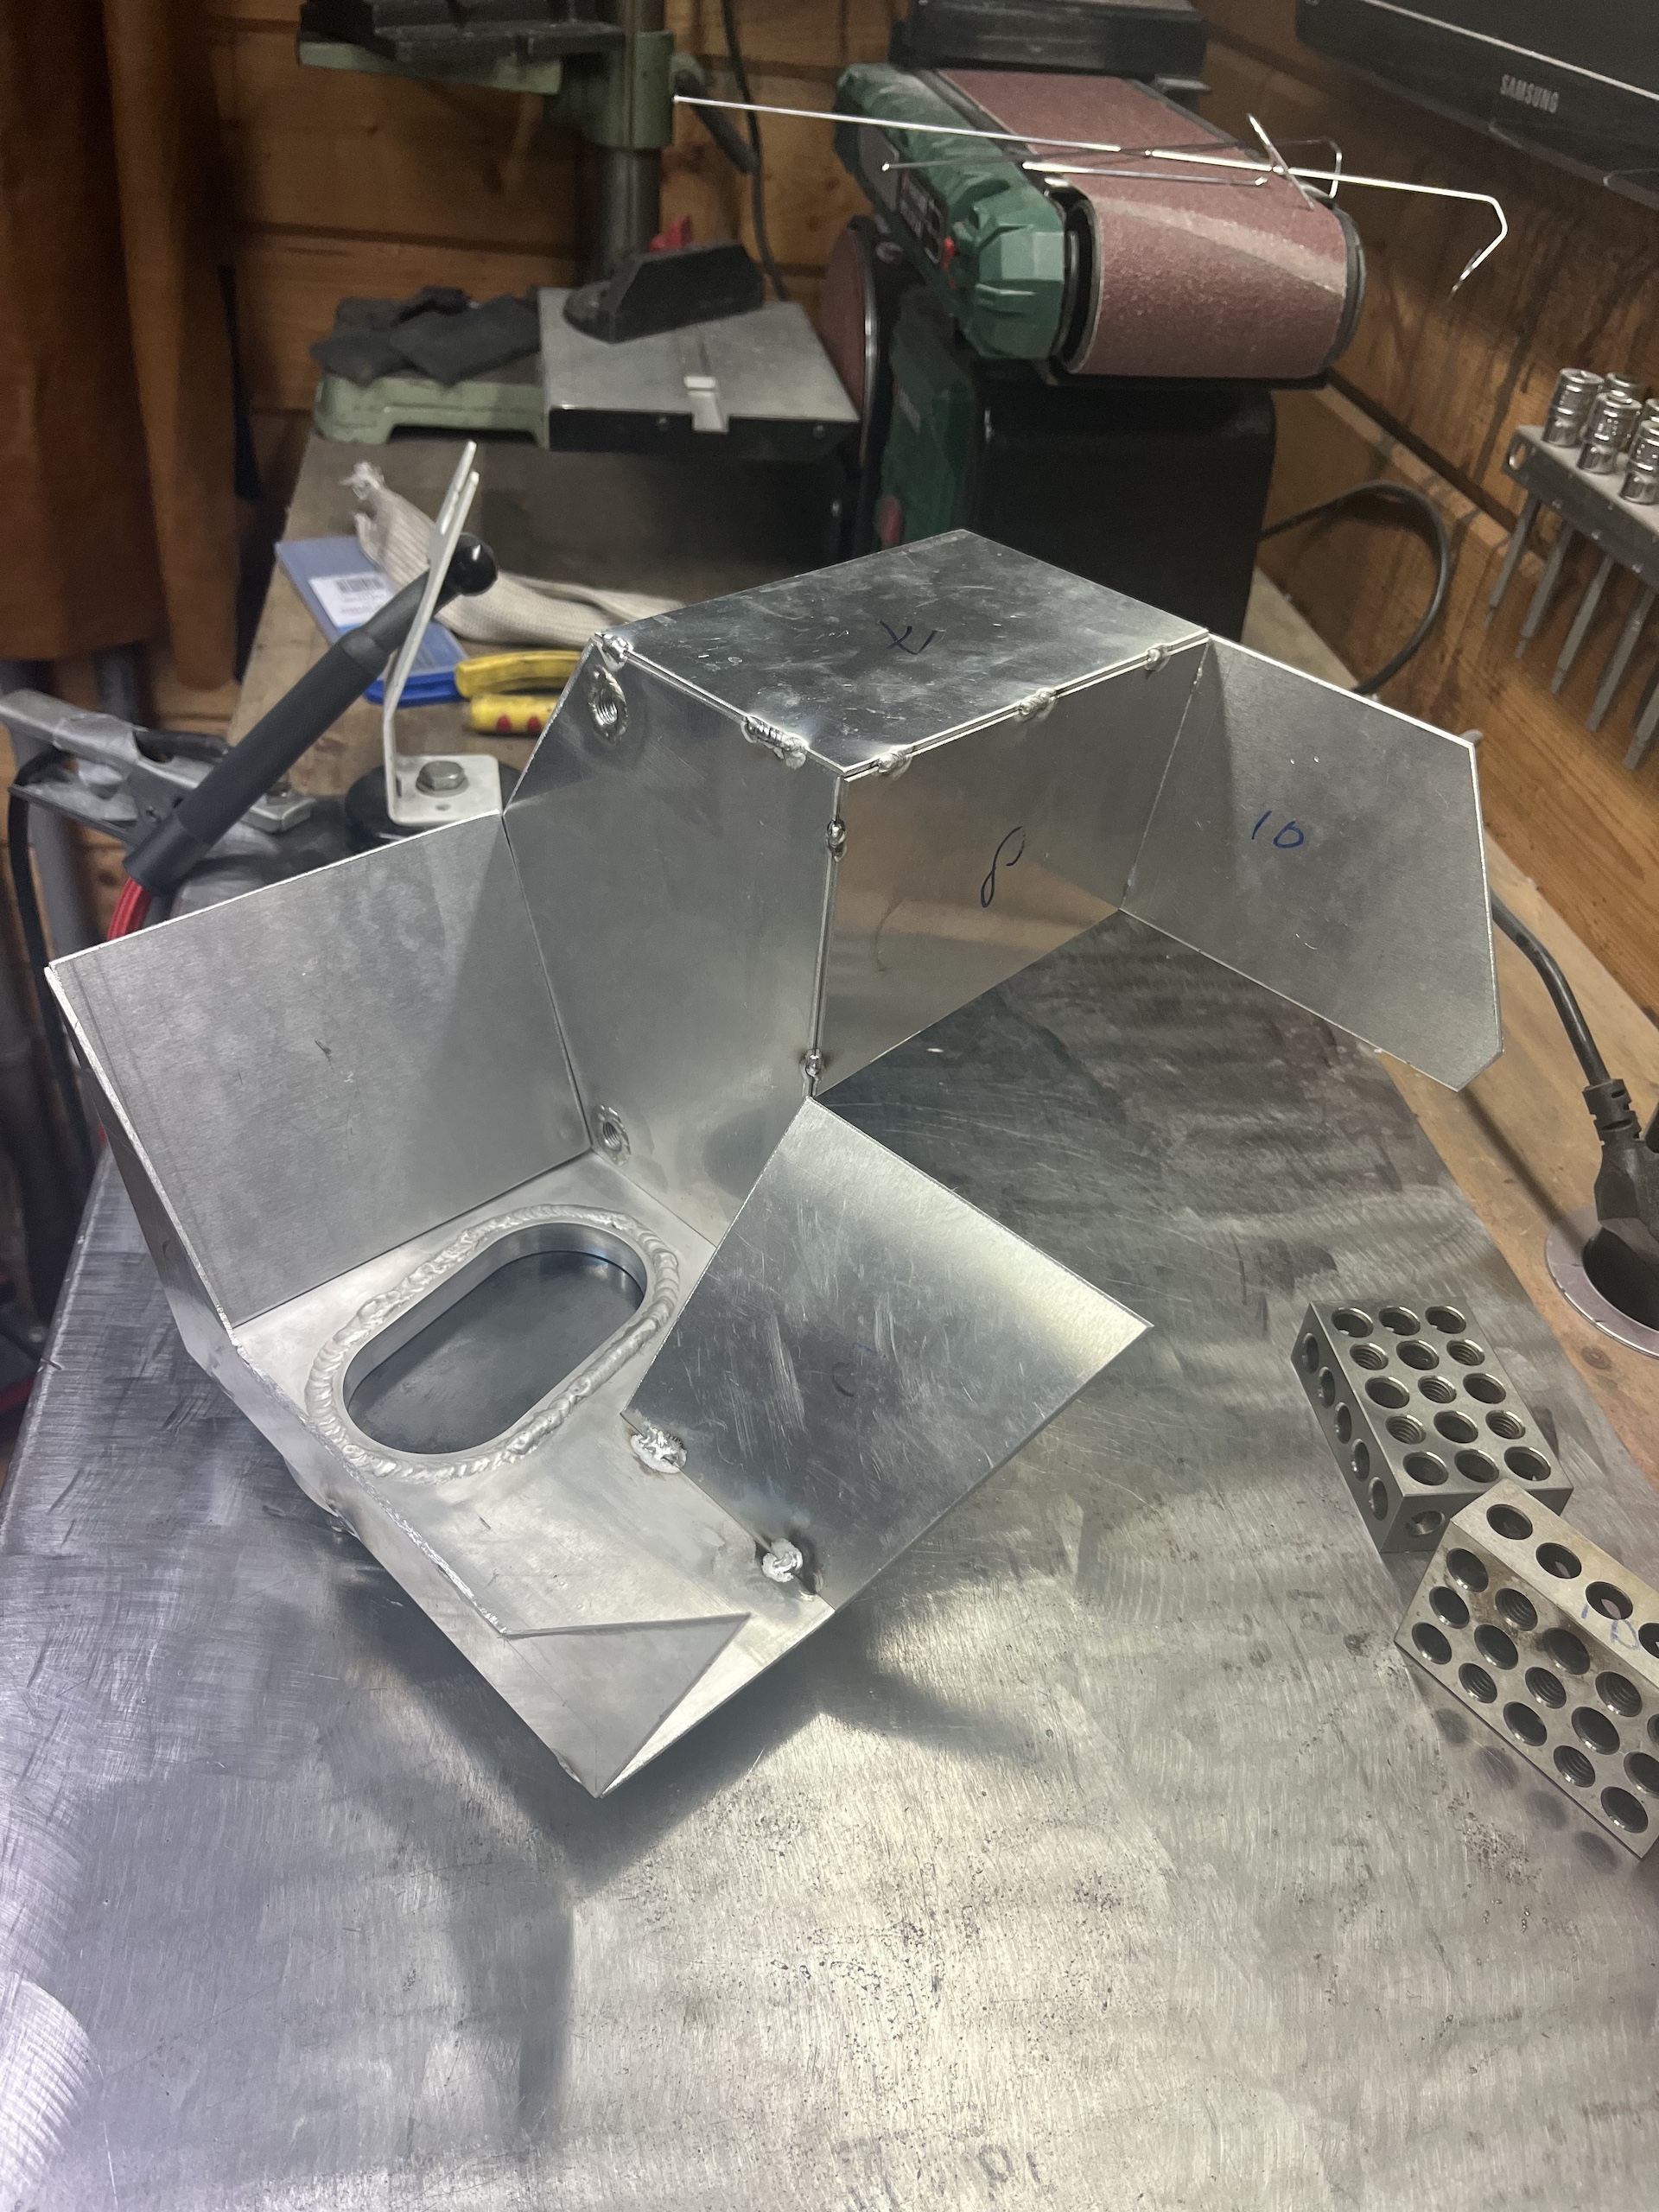
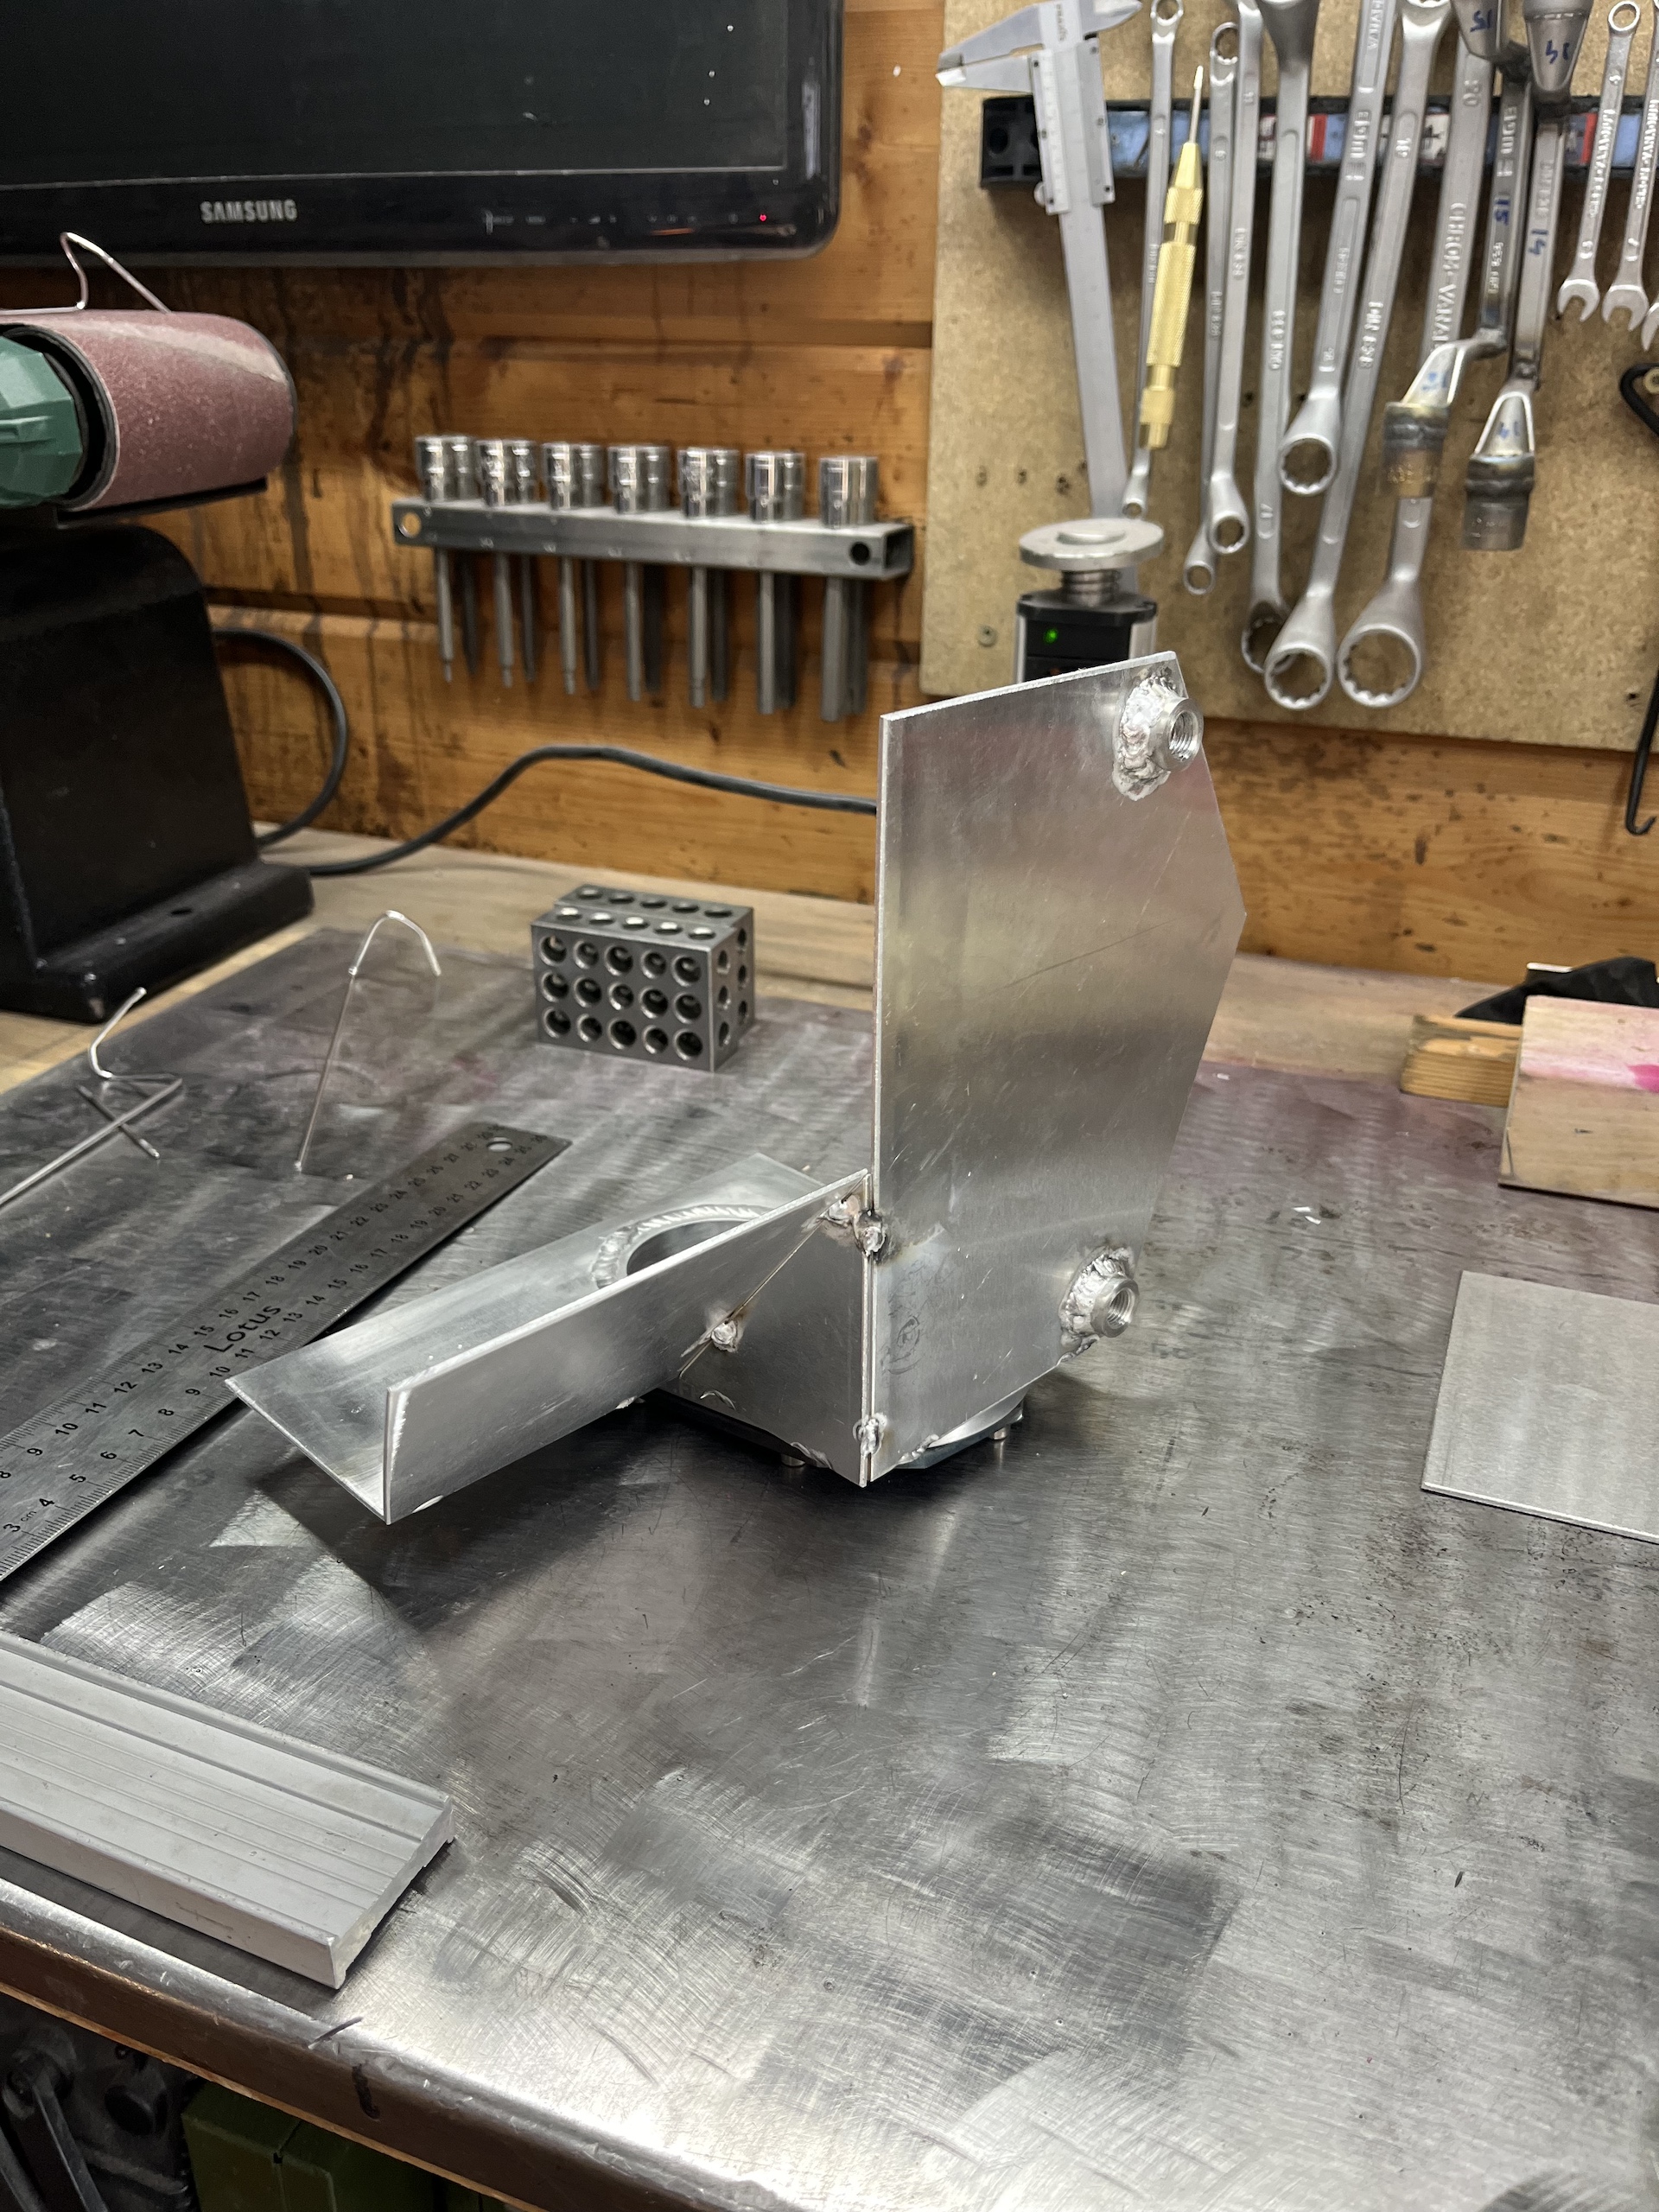
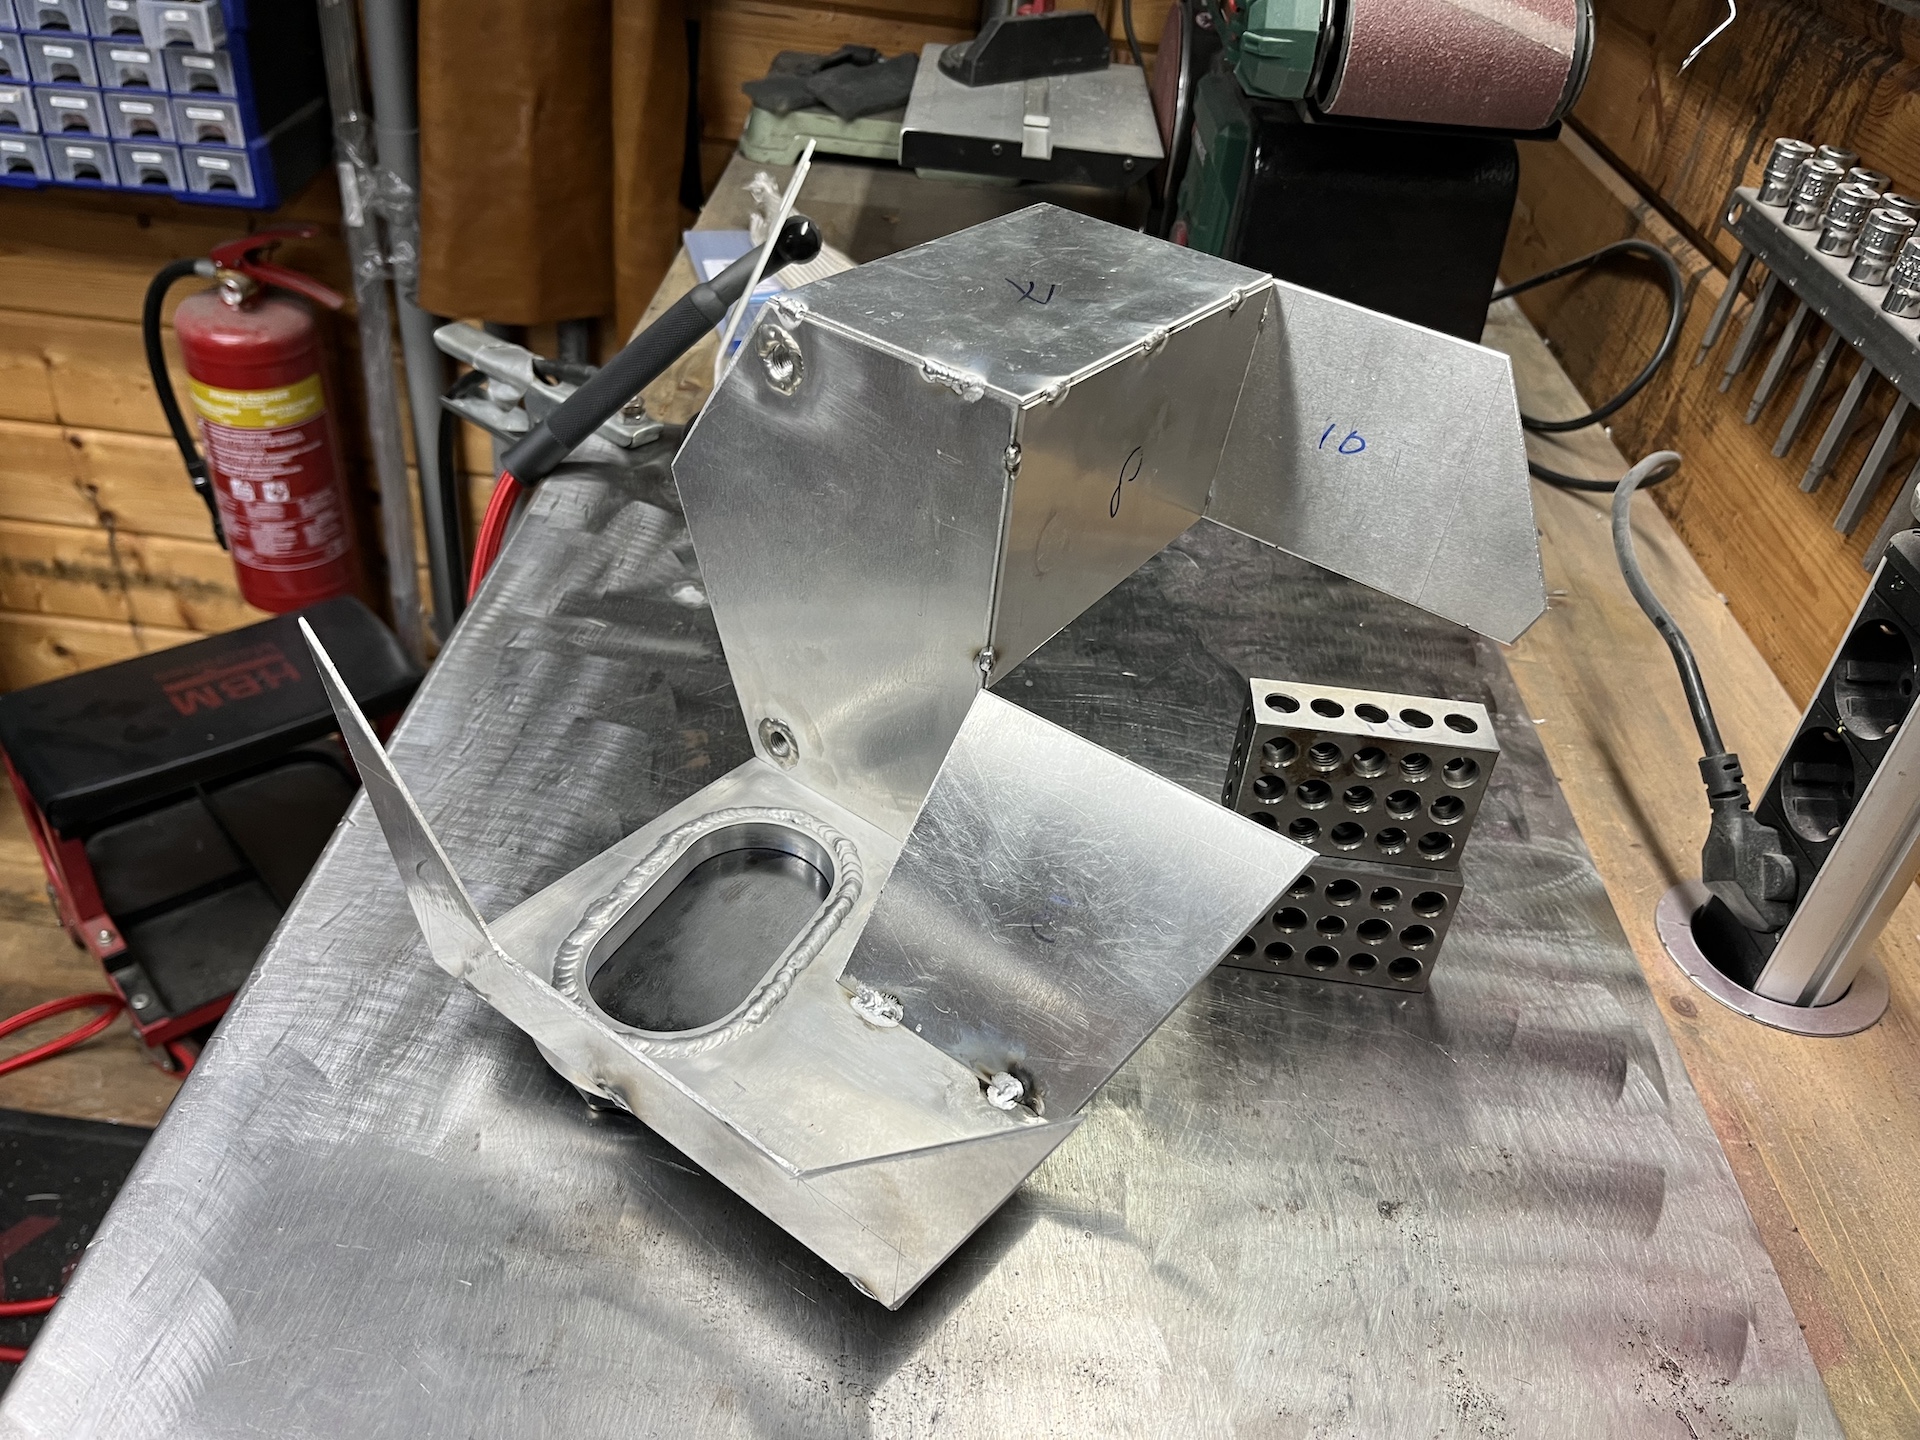
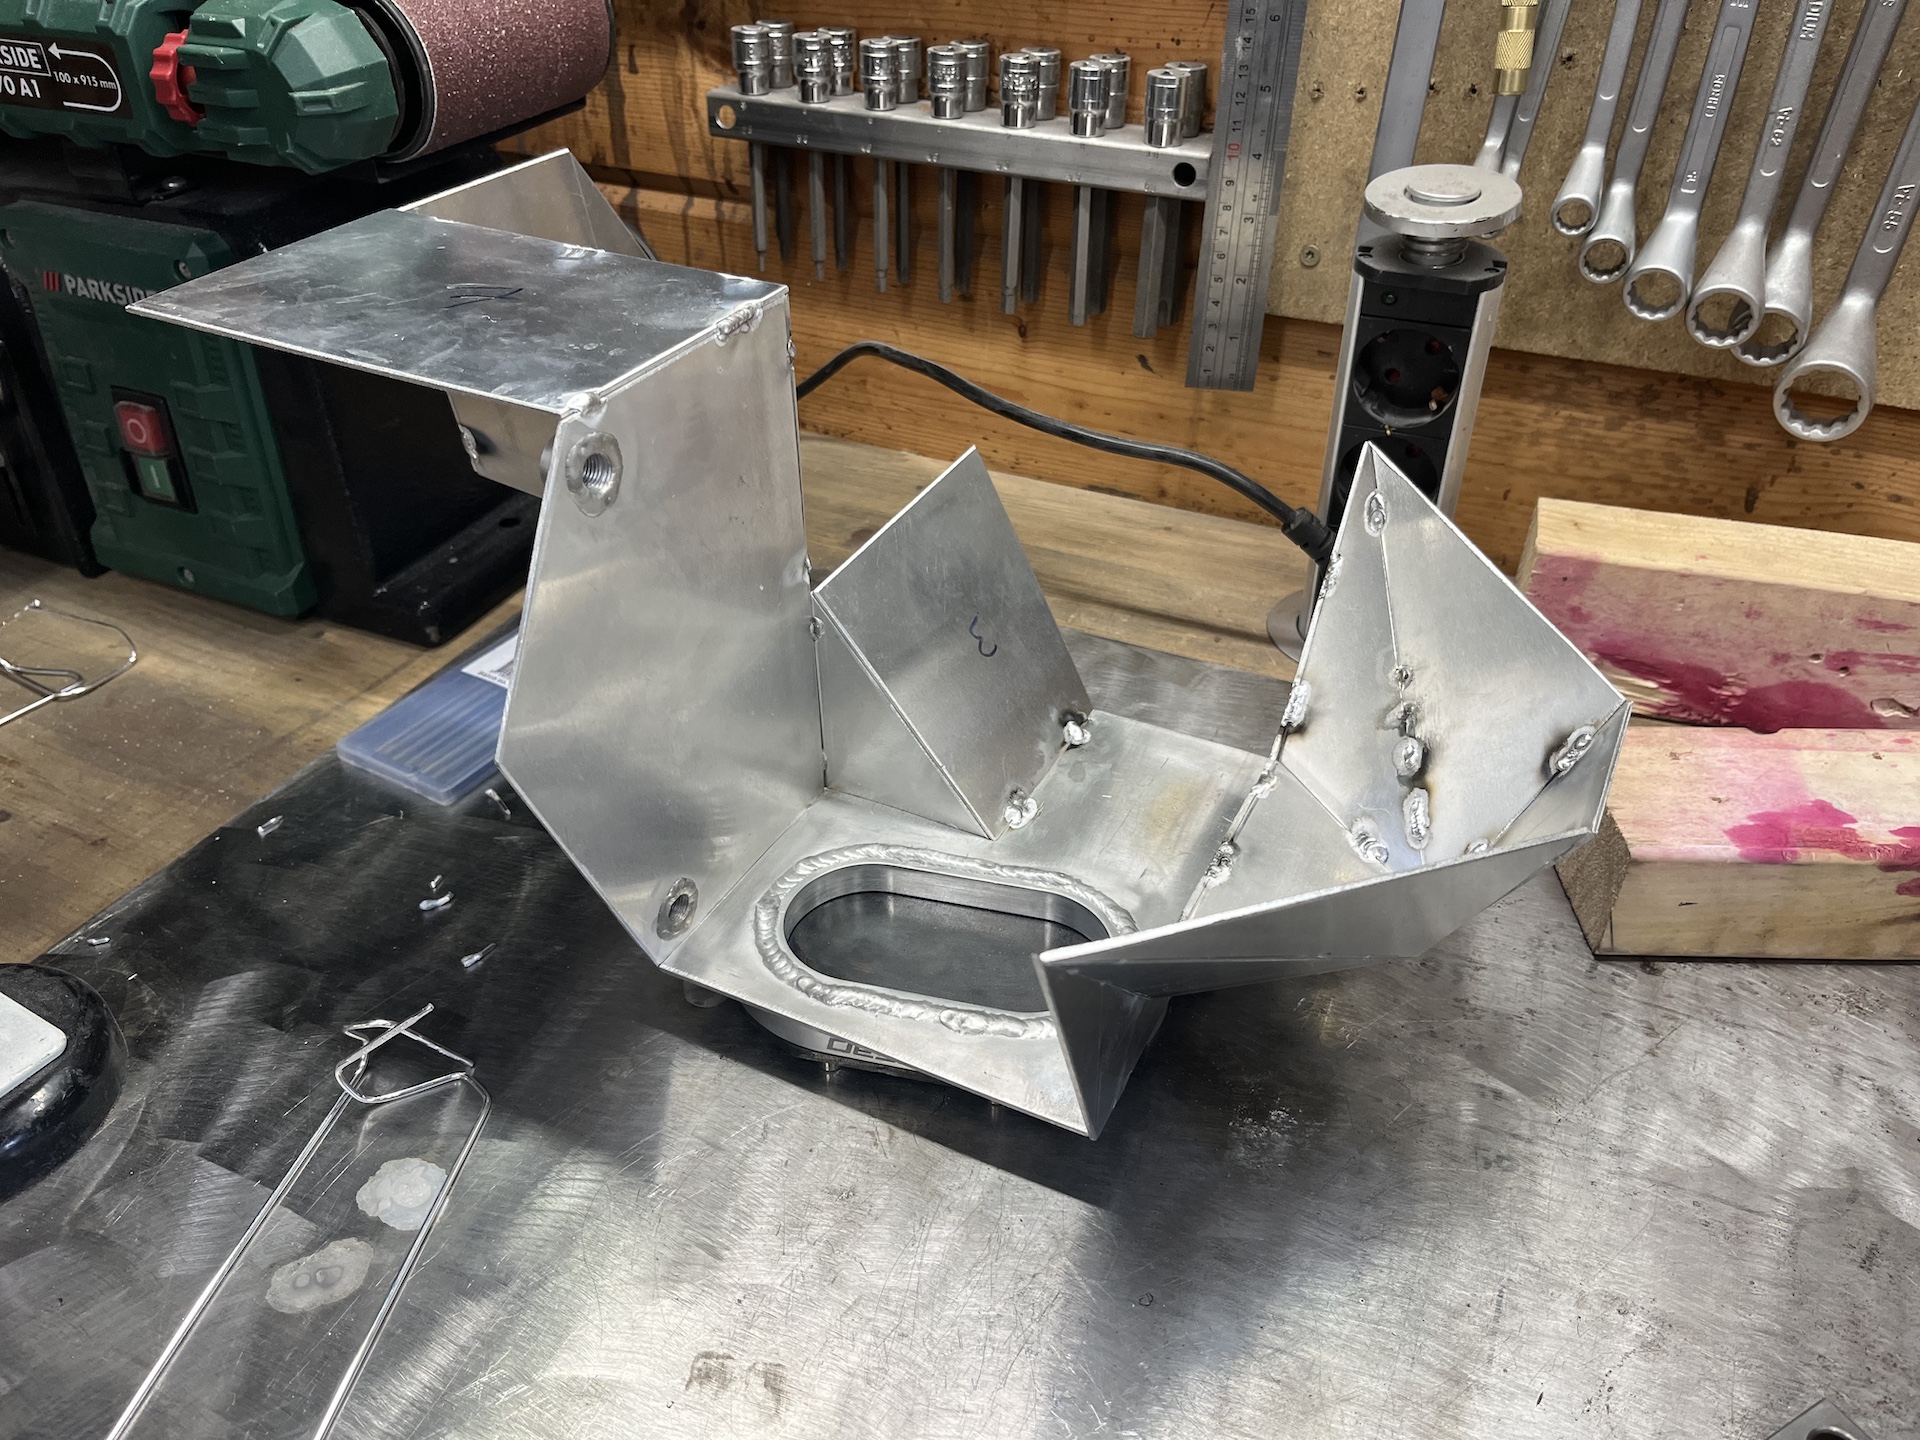
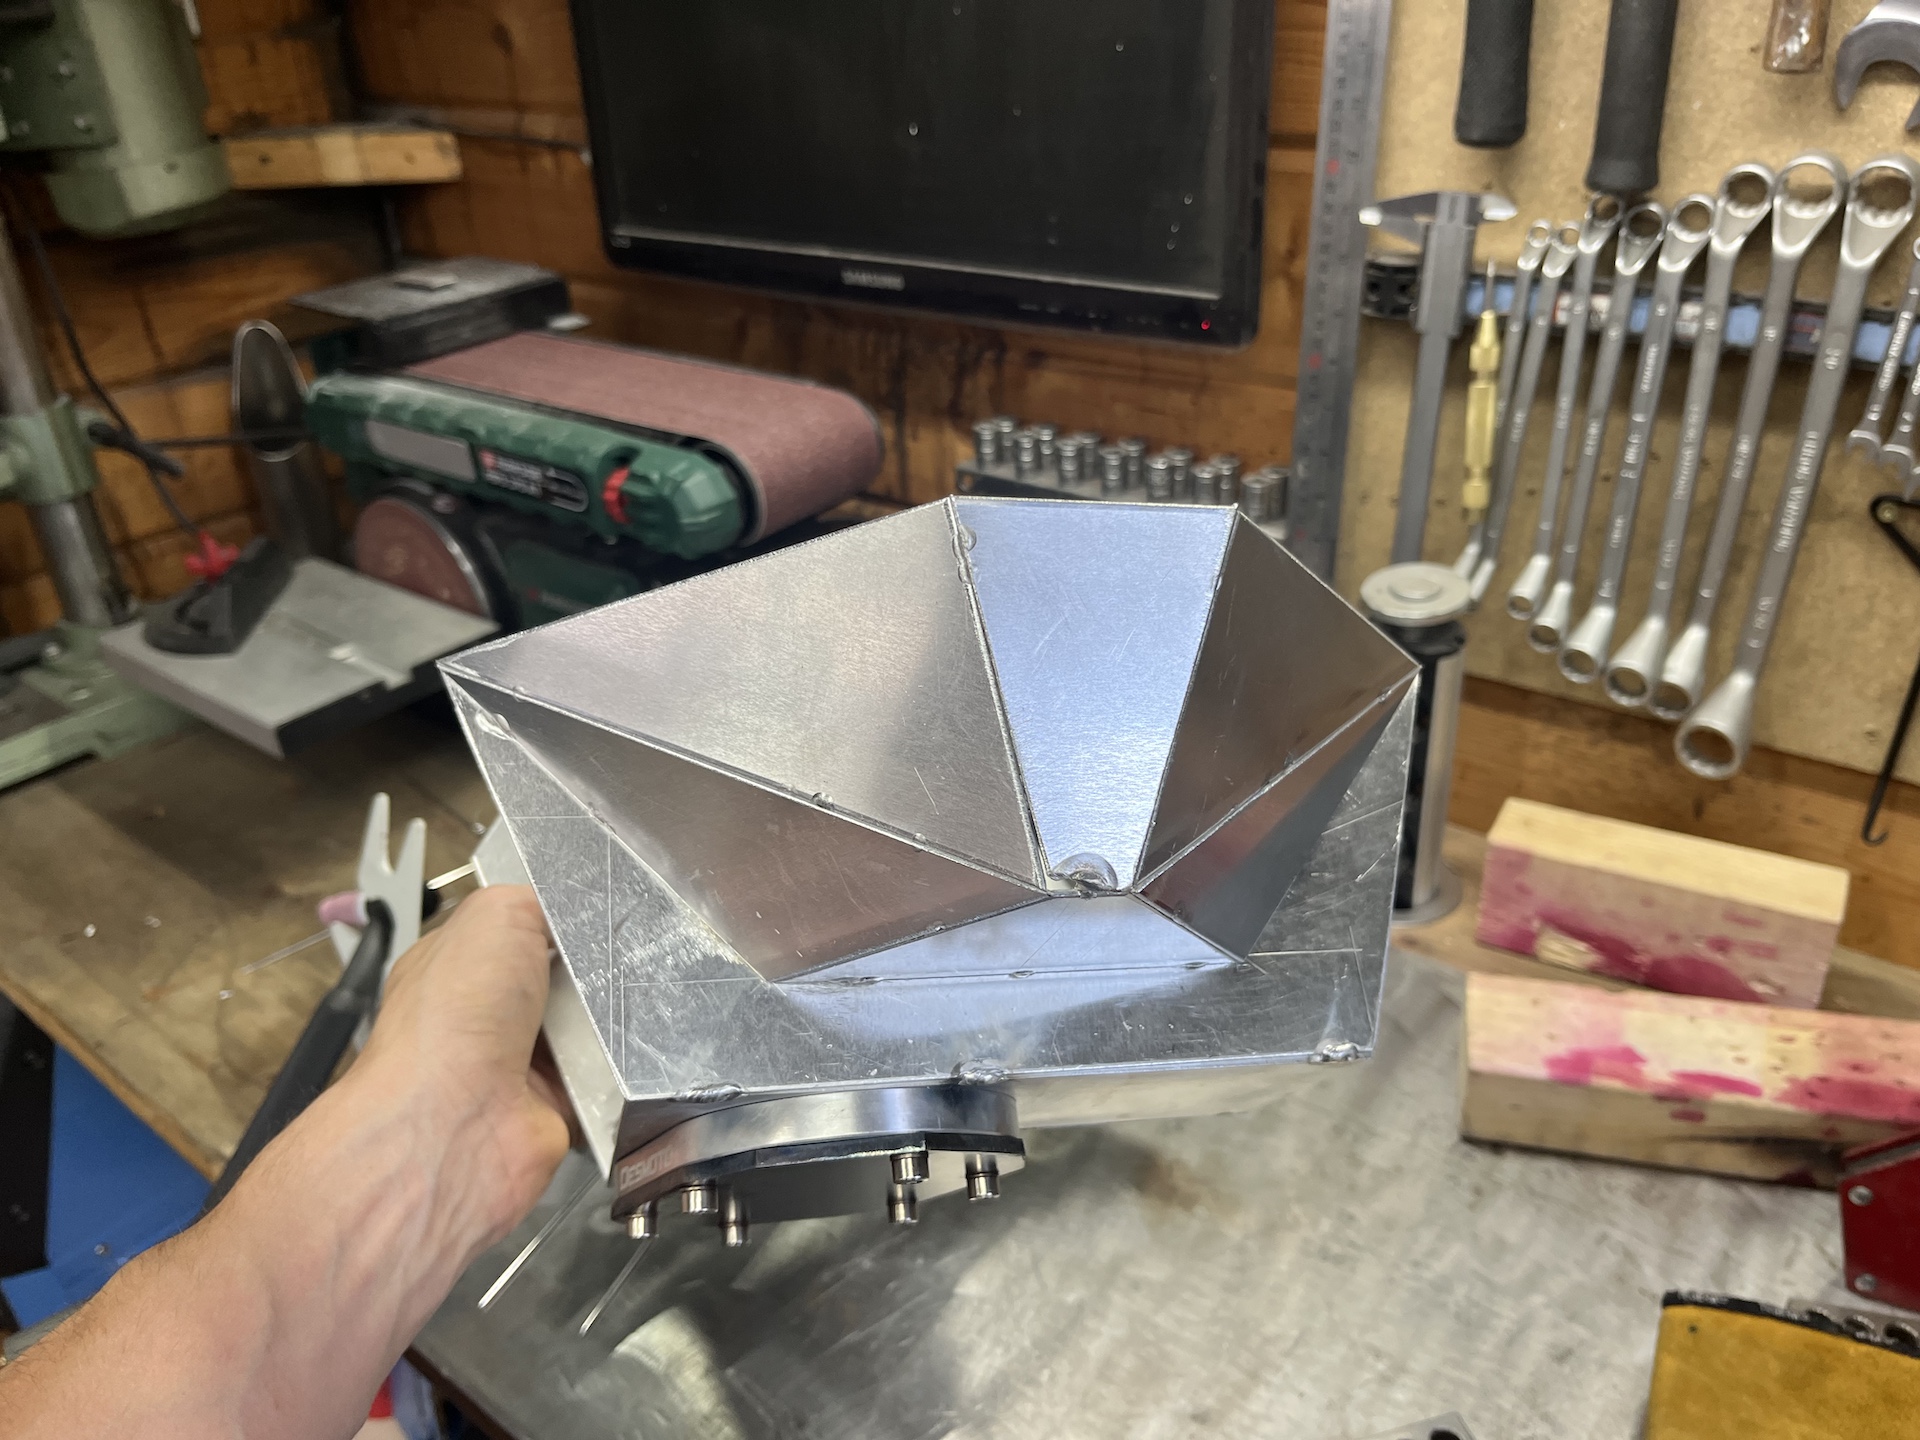
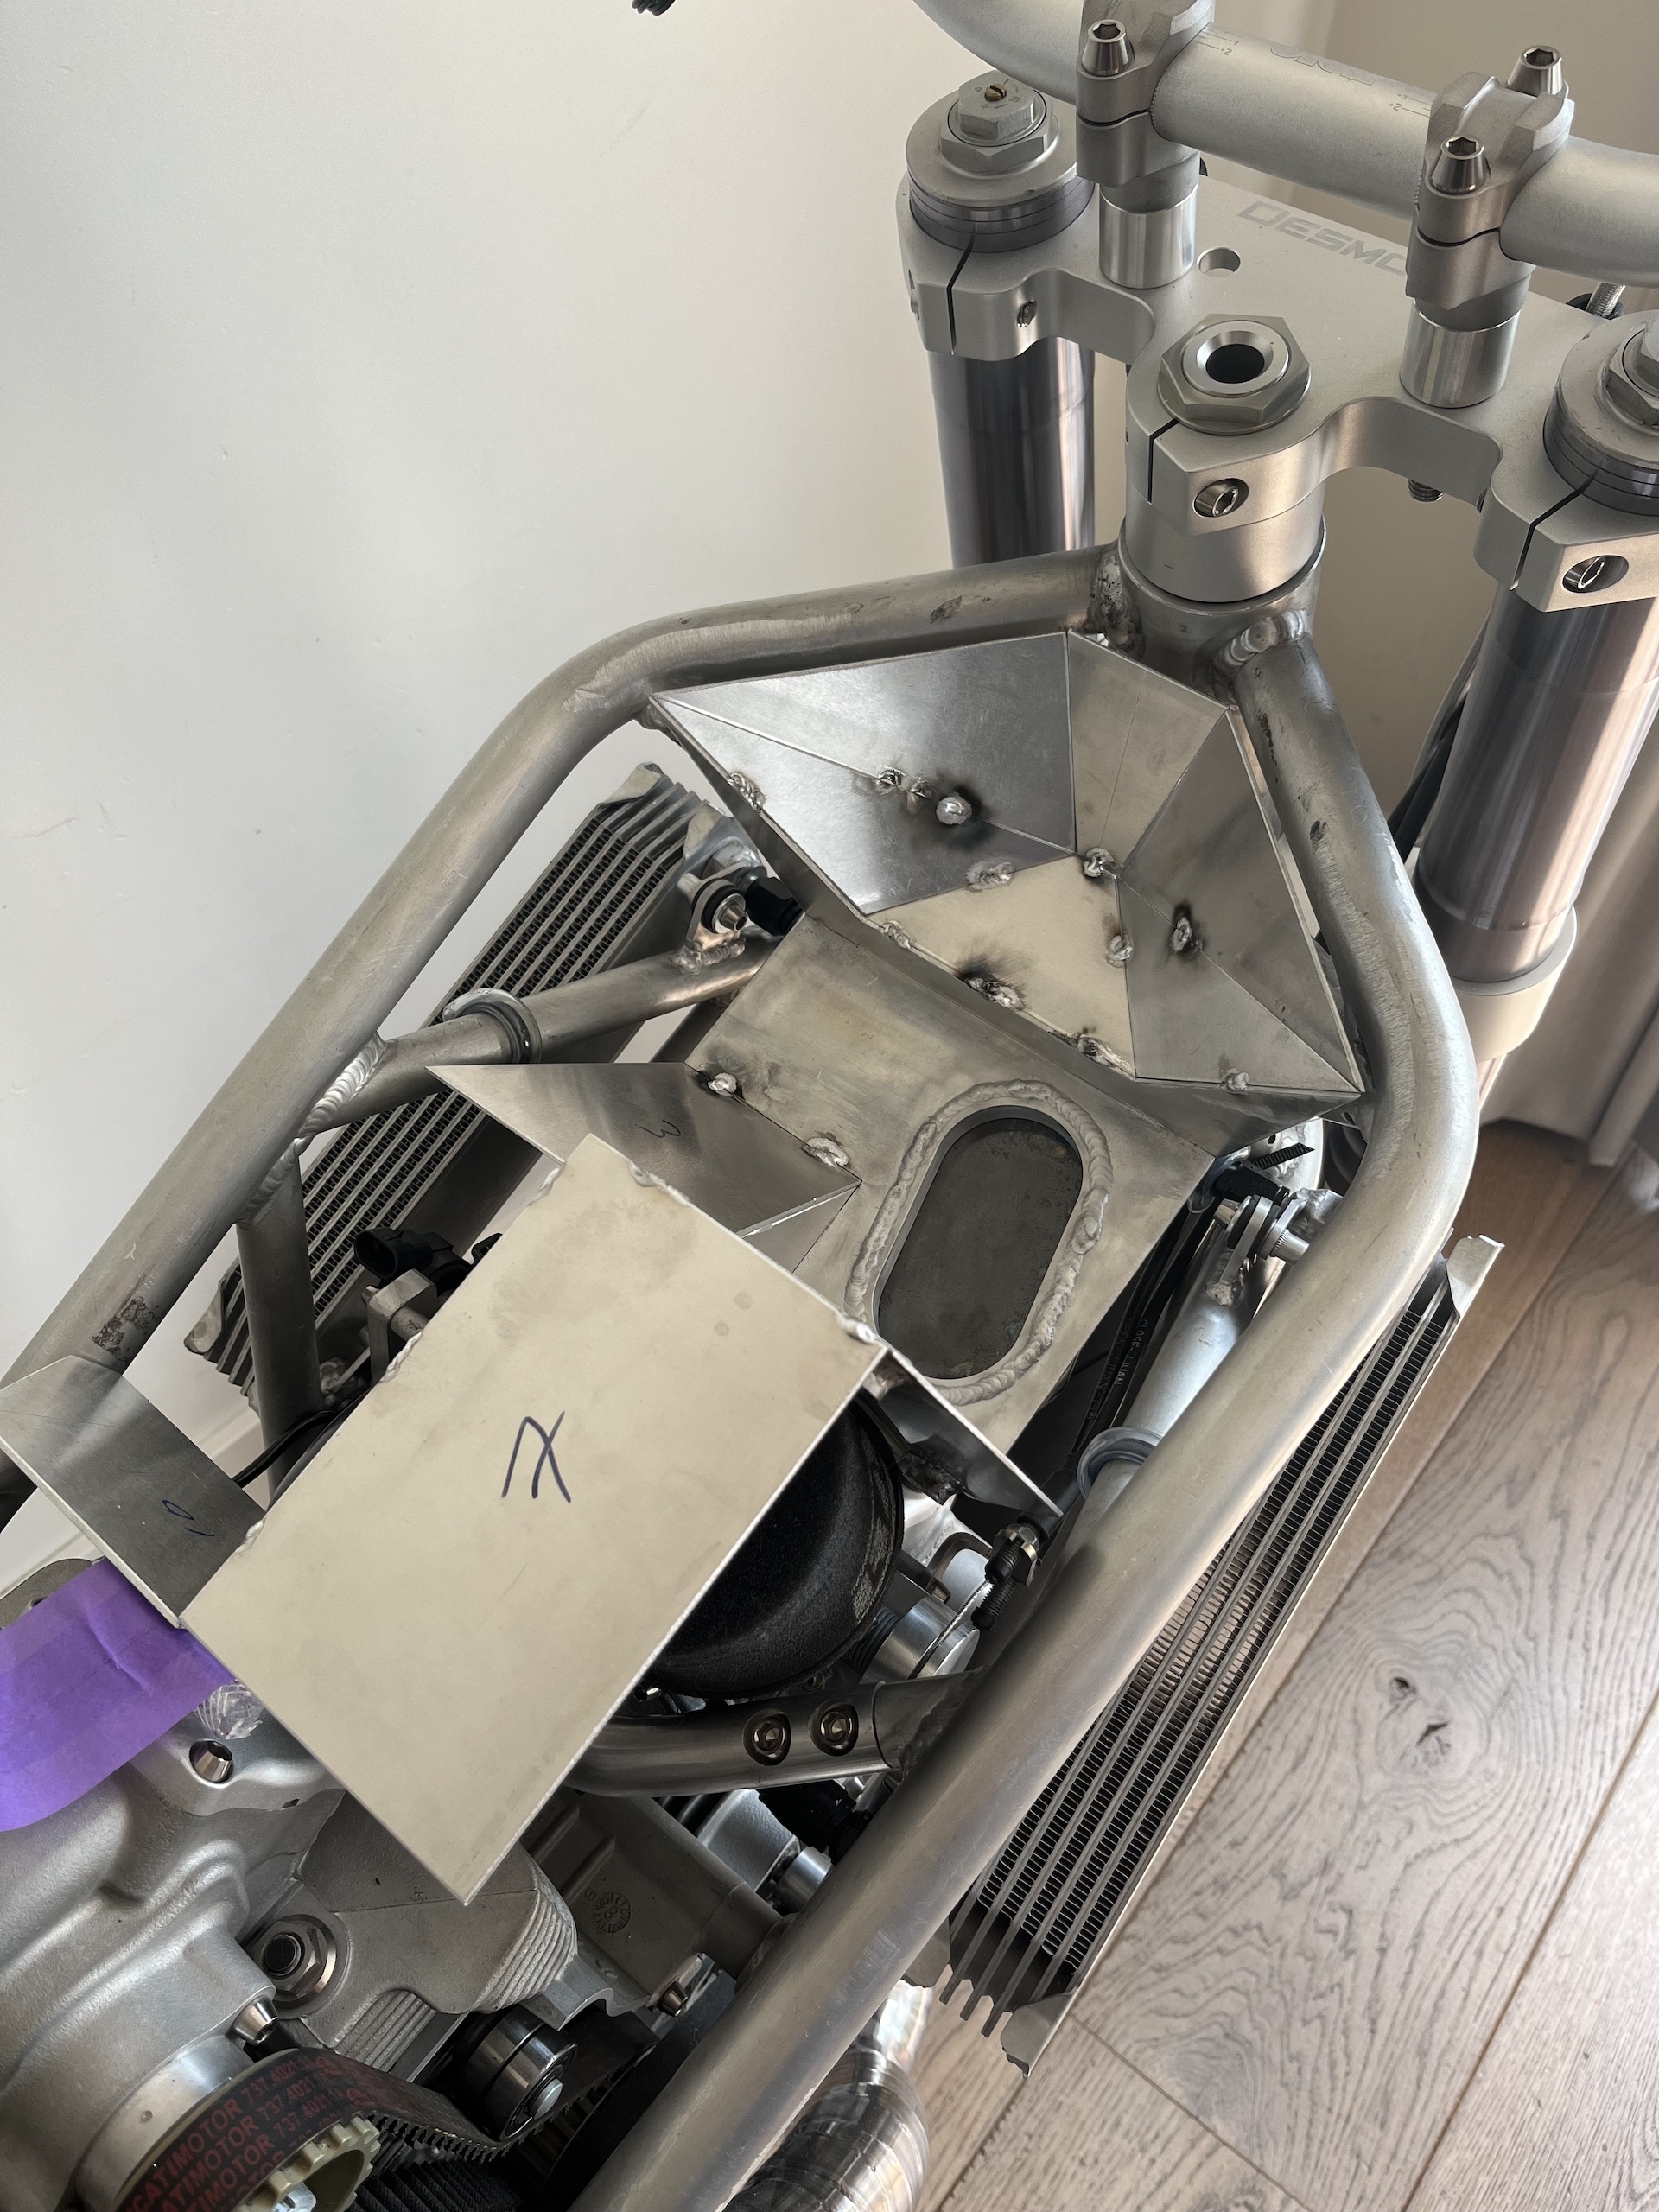
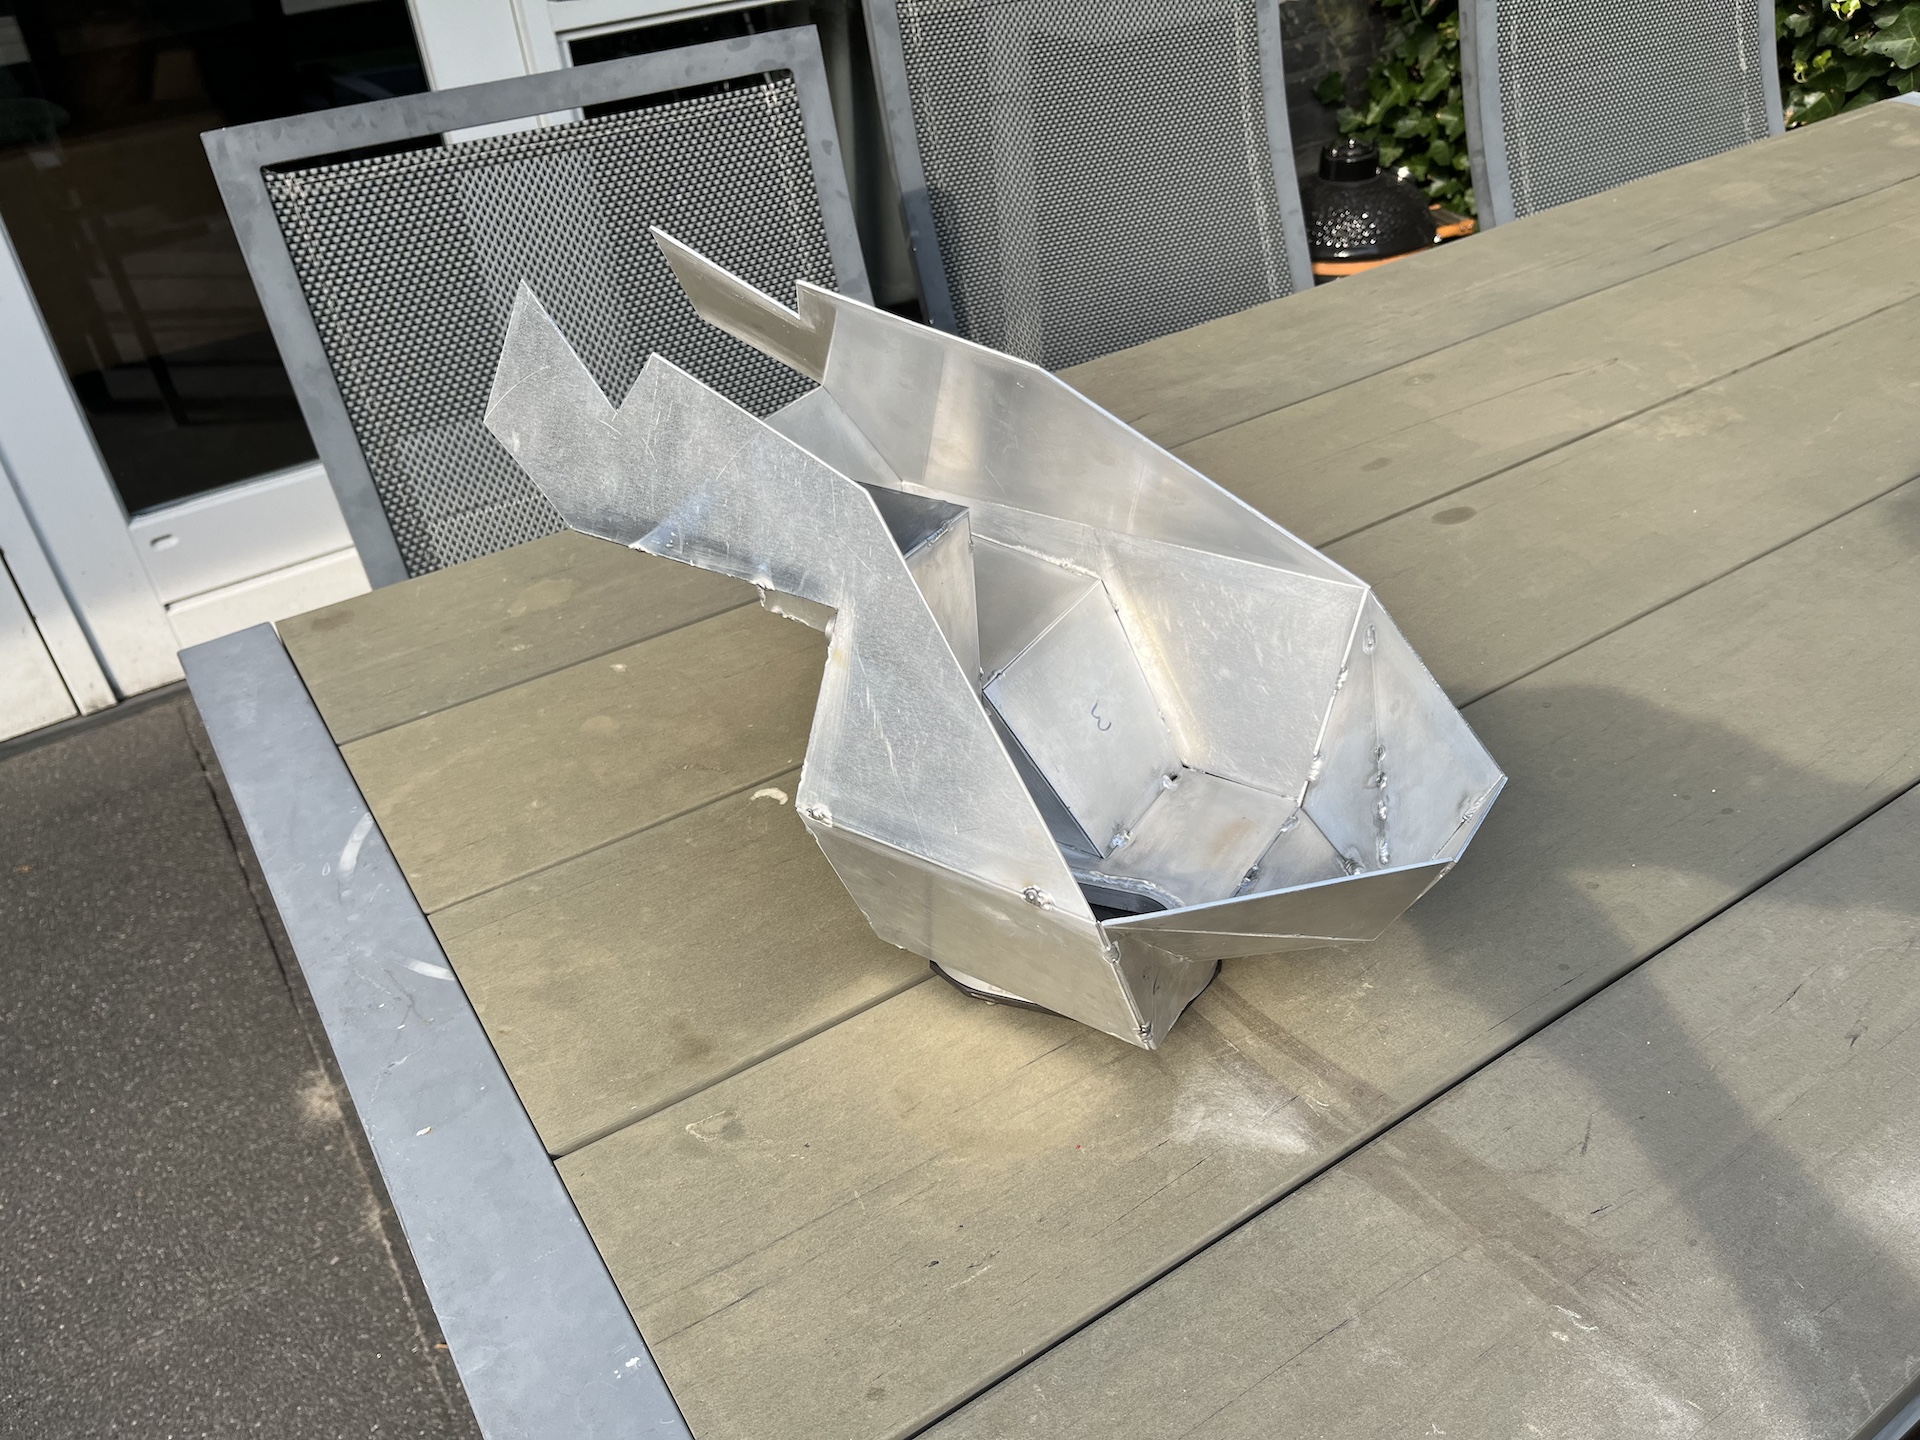
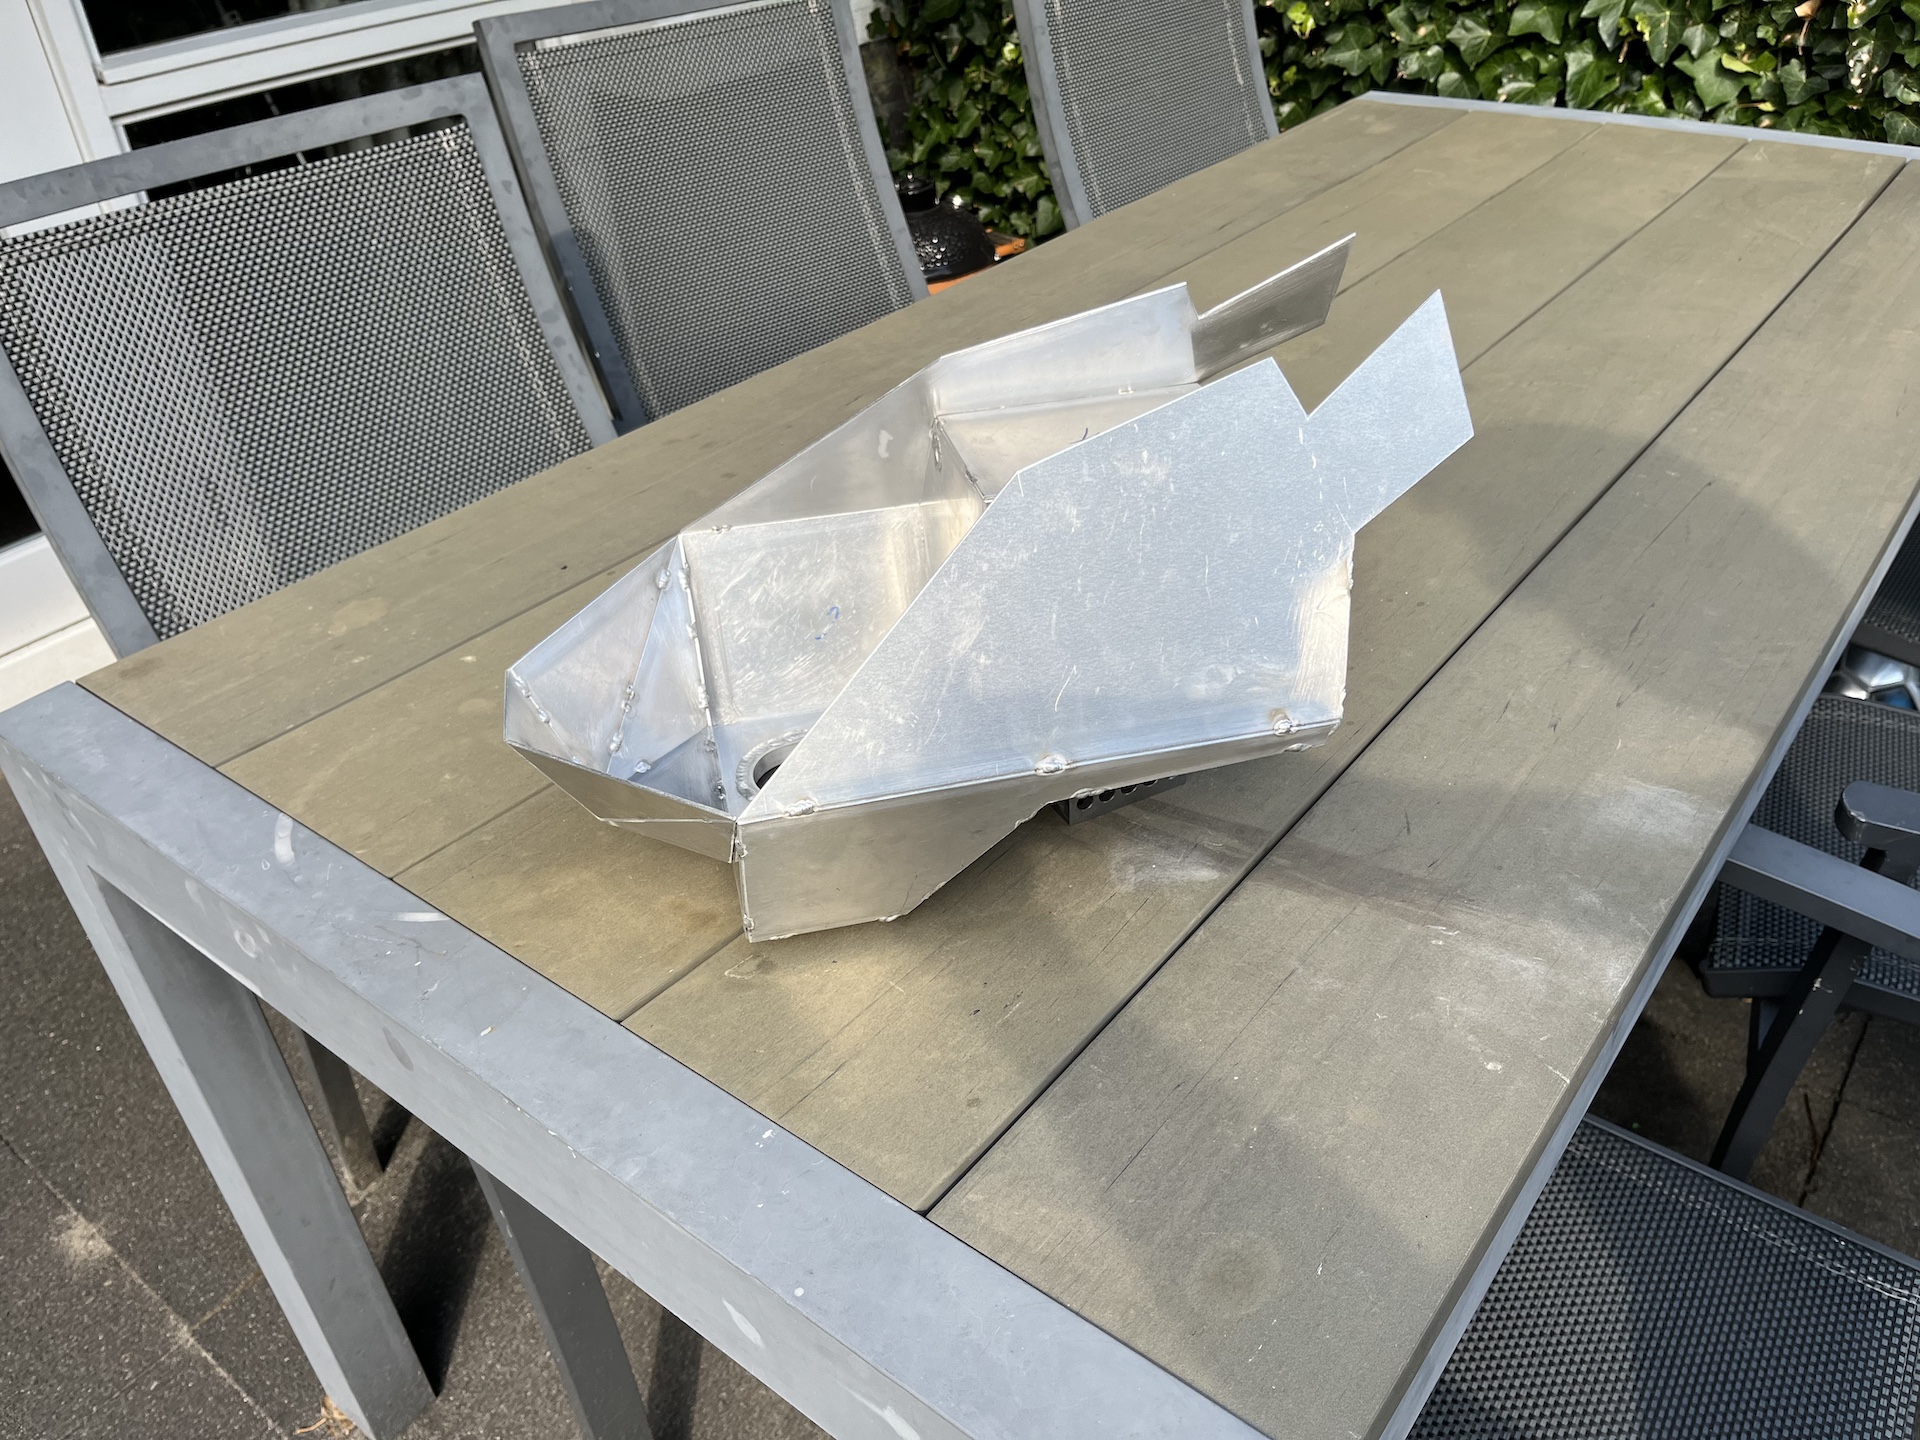
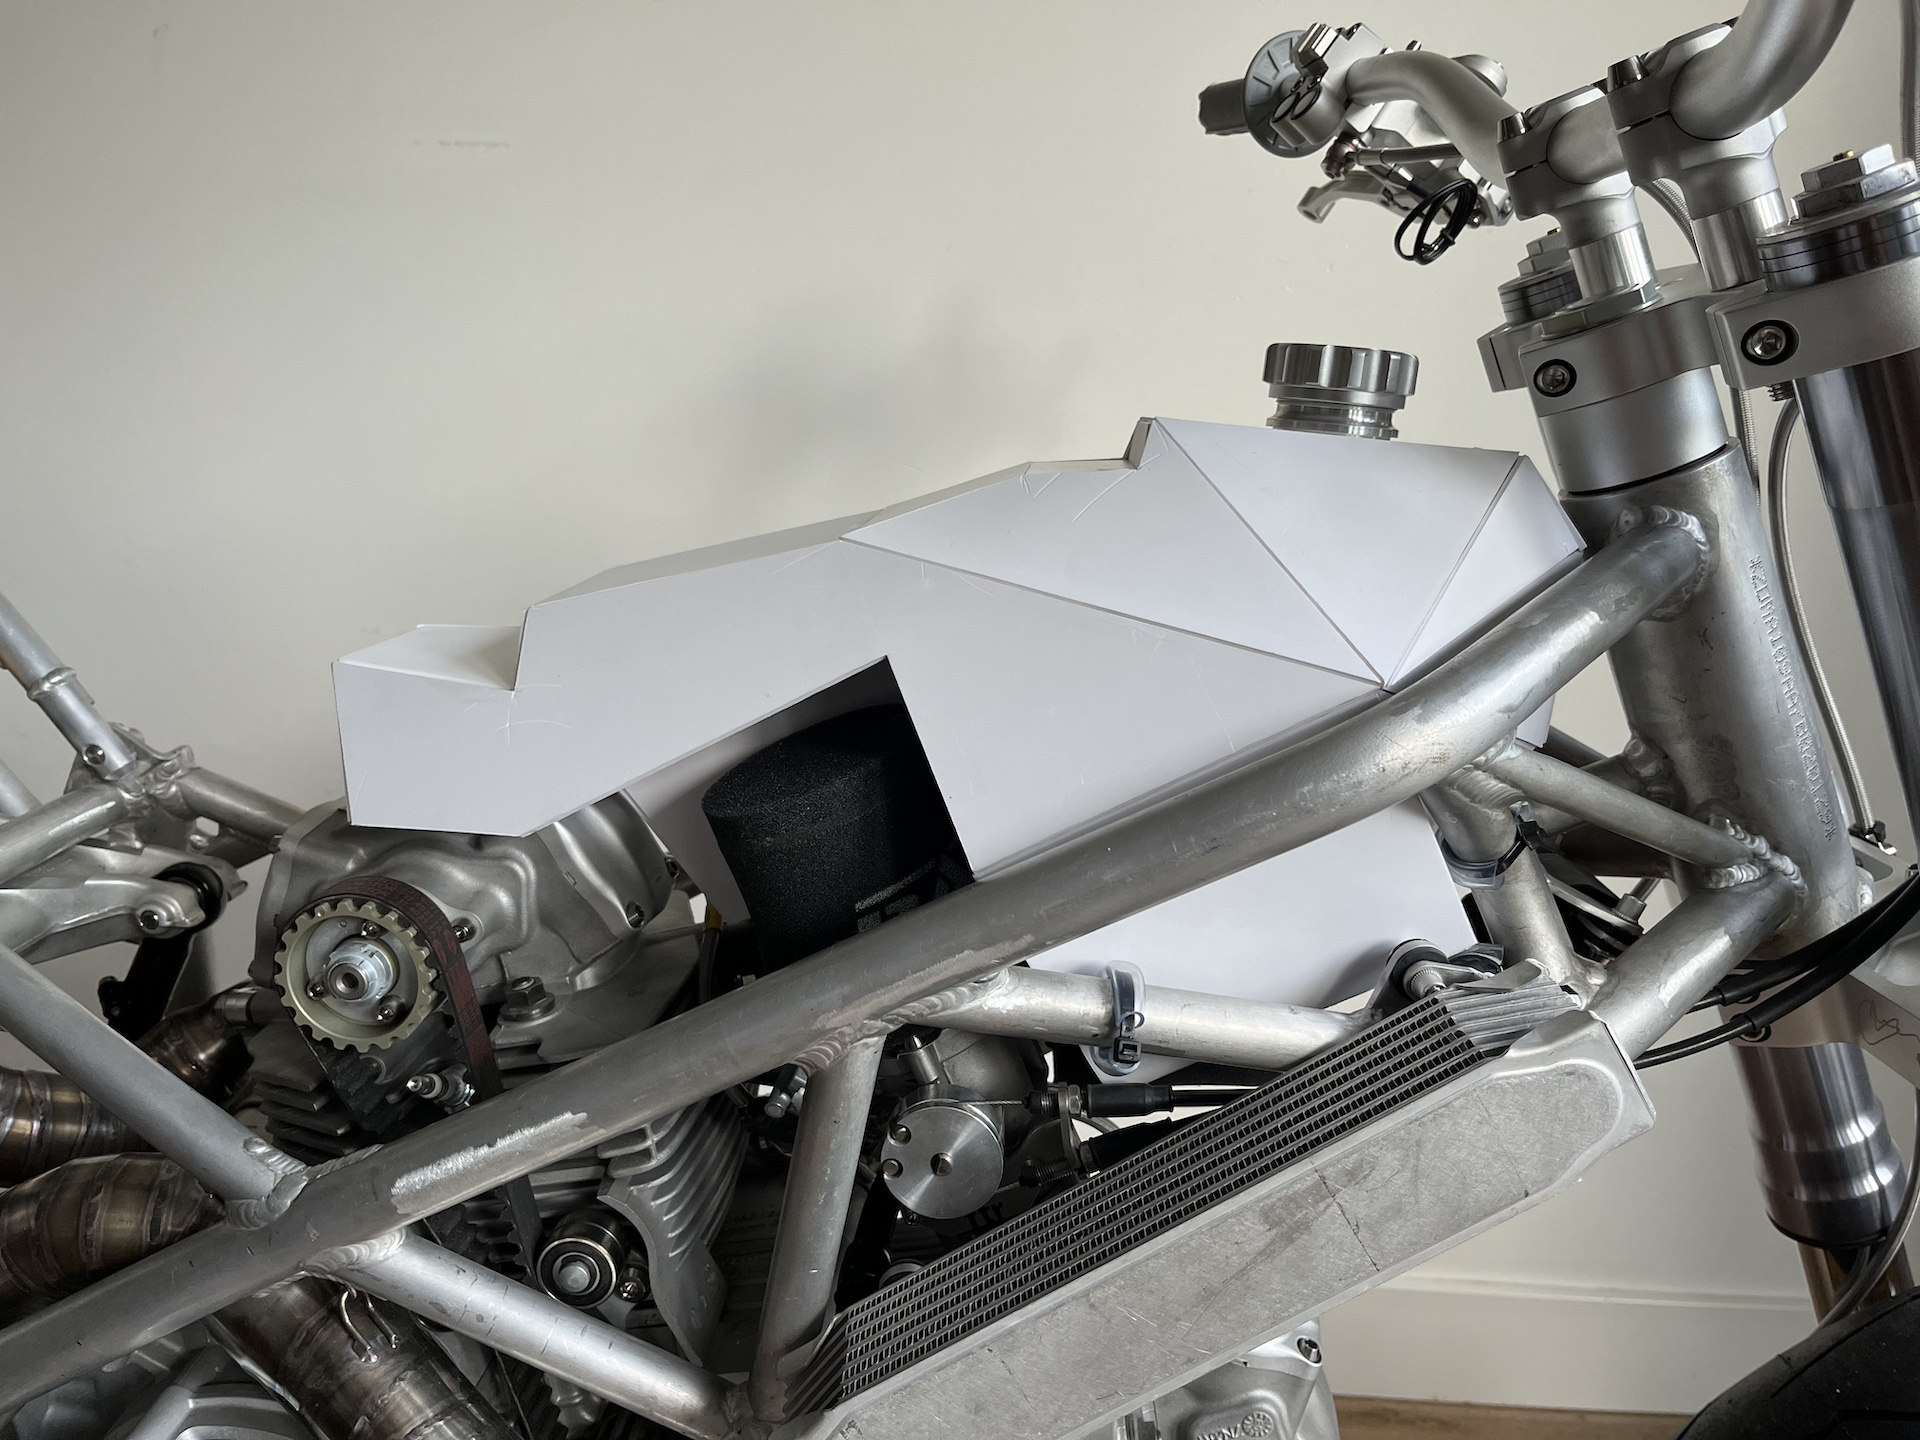
ROUGH FUEL TANK FABRICATION…
Finally started fabricating the fuel tank (WARNING, allot of pictures haha)!
When I started the project 3.5 years ago this one has been on my mind because of it being a massive challenge because of the limited space and complex shape.
It has been a long run planning, mocking up/3d modeling, cutting and welding to get to this stage in 5/6 months. After this I still need to fabricate the rubber grommet mounting tabs for the tank to mount to the frame.
In the meantime I have been going back to school becoming a certified aluminum TIG welder. Finishing that up in the next 3 weeks so welding up the tank should not be that big of a deal. TIG aluminium was one of my weak spots so it was worth the investment getting properly schooled, and I have been loving it!!!


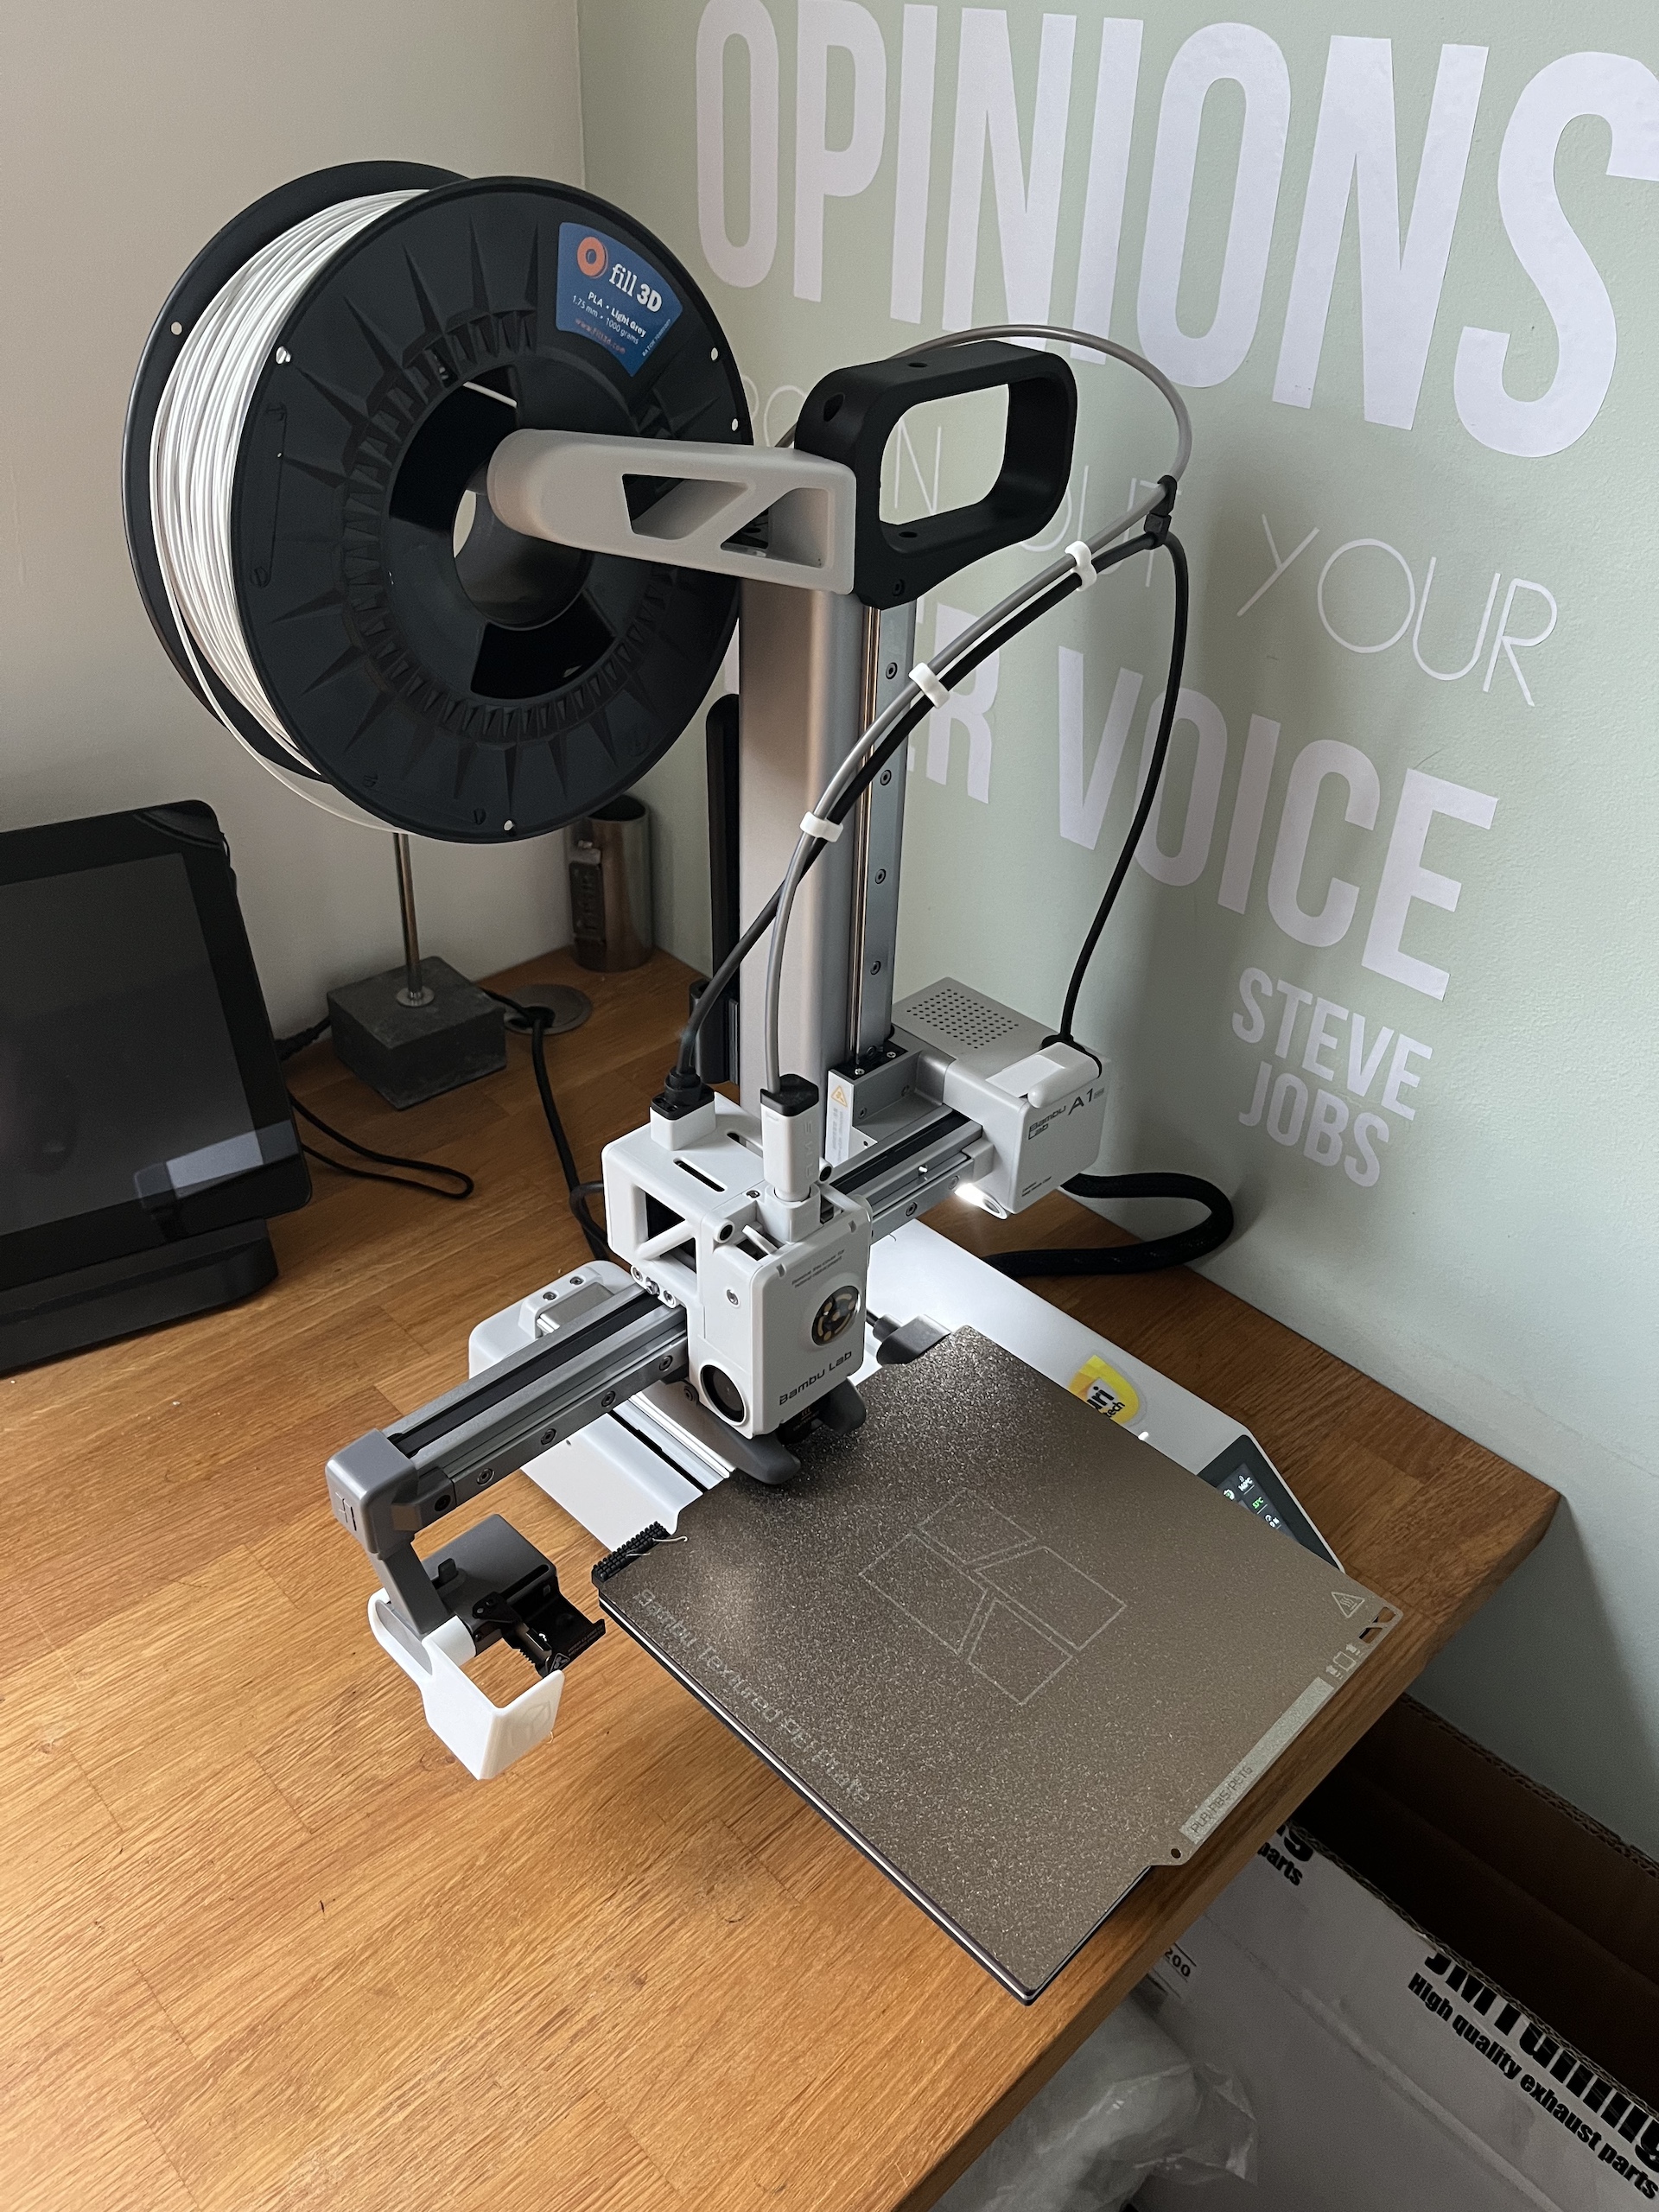
3D PRINTING PARTS
New addition to the futuri parts development arsenal. BambuLab 3D printer. Not the largest and not the best, but perfect for quick prototyping and test fitting parts before fabricating them out of metal. And in certain situations even perfect to fabricate parts that are not exposed to high heat and UV sunlight.
First parts already being tested such as a fuel pump drilling guide!

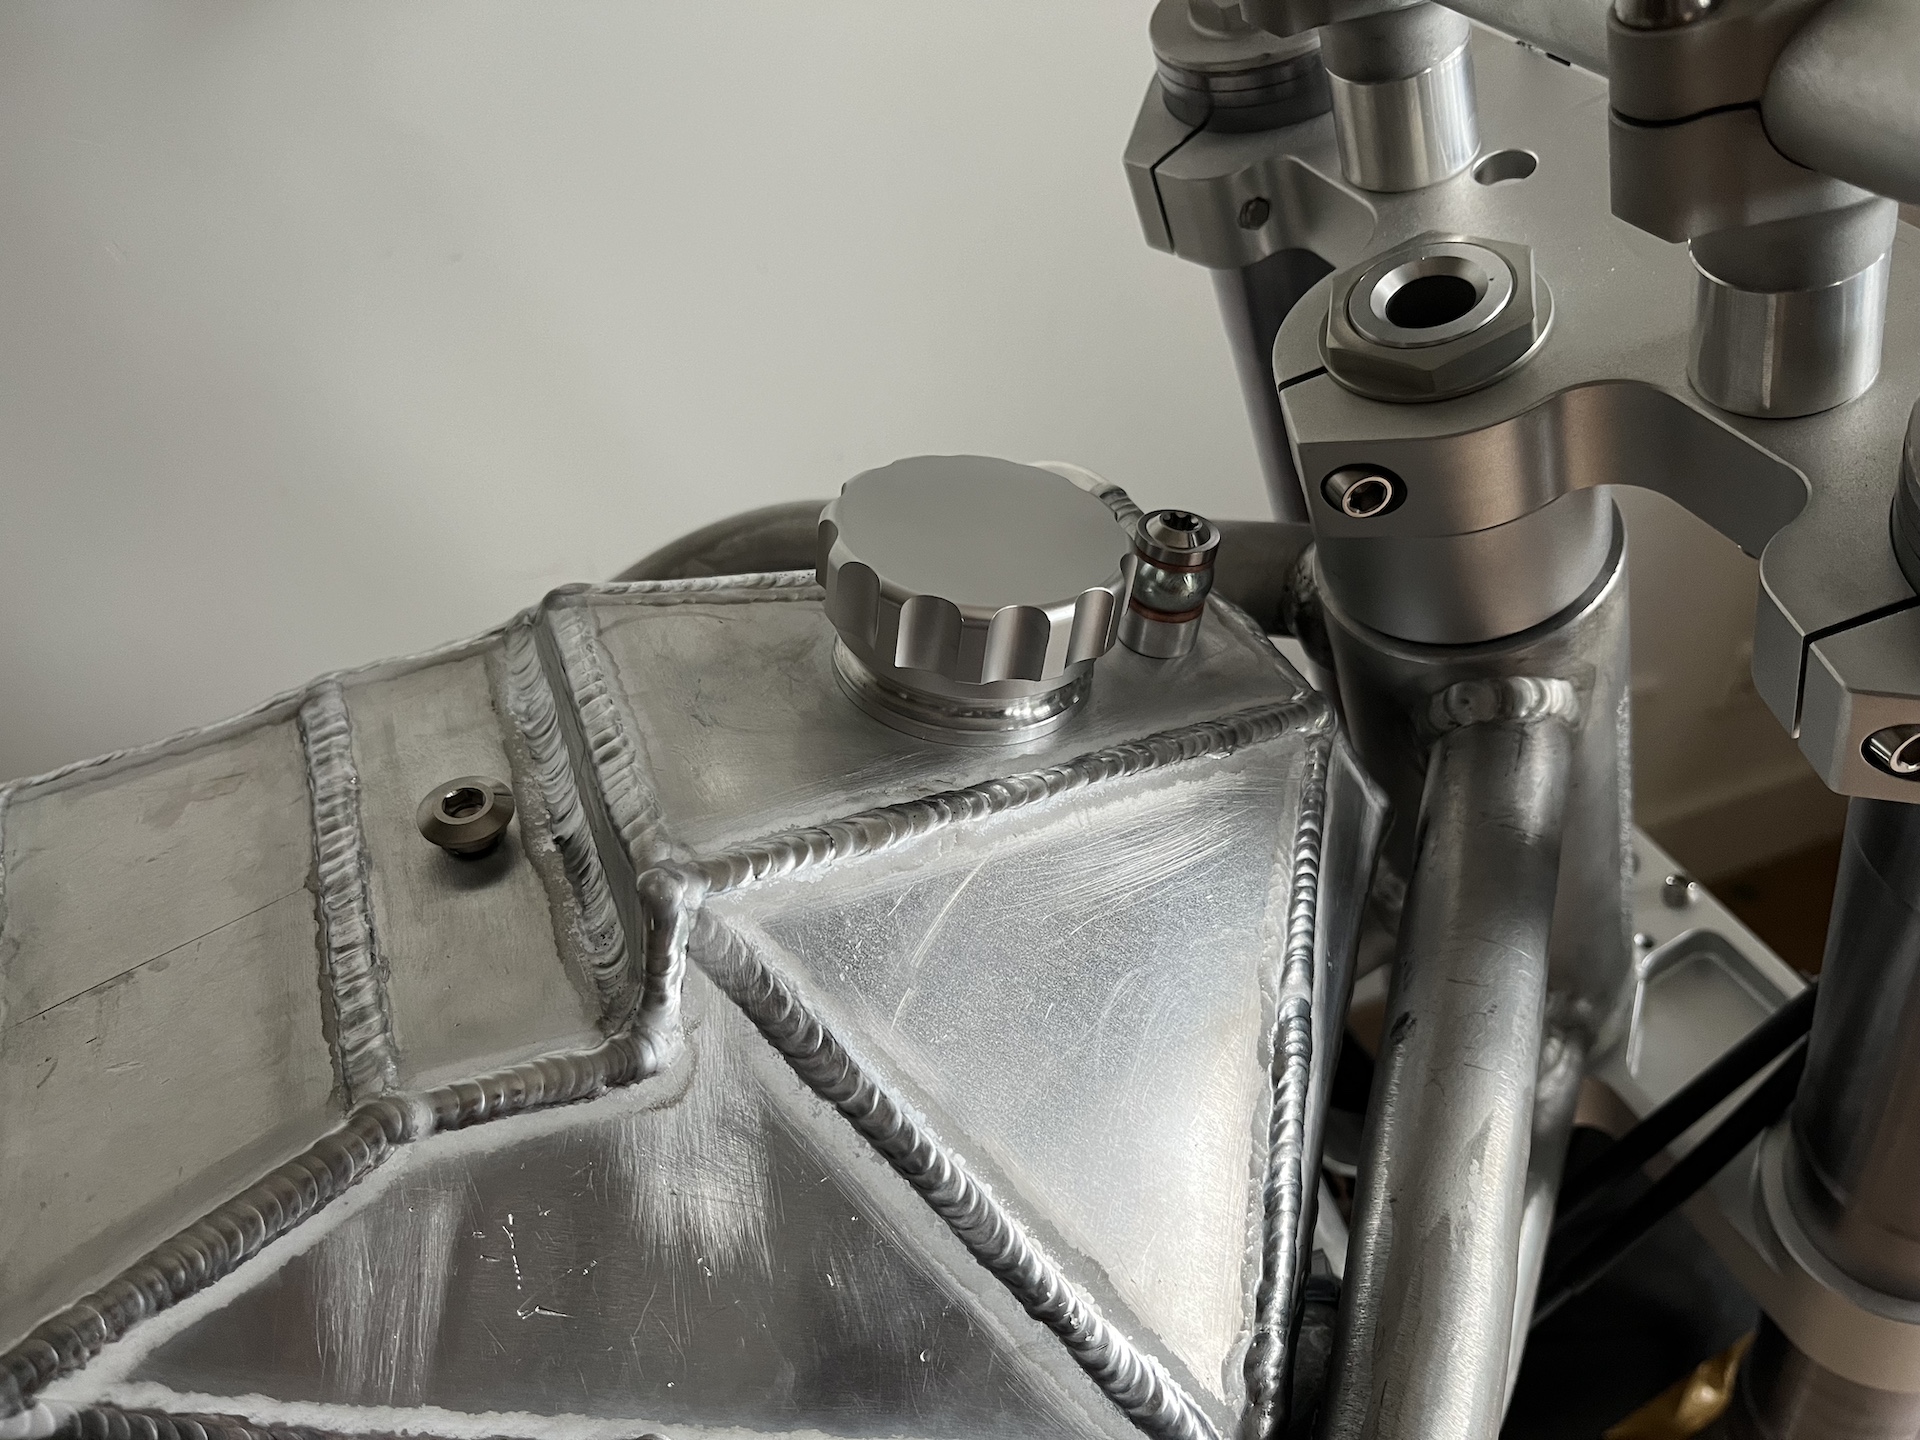
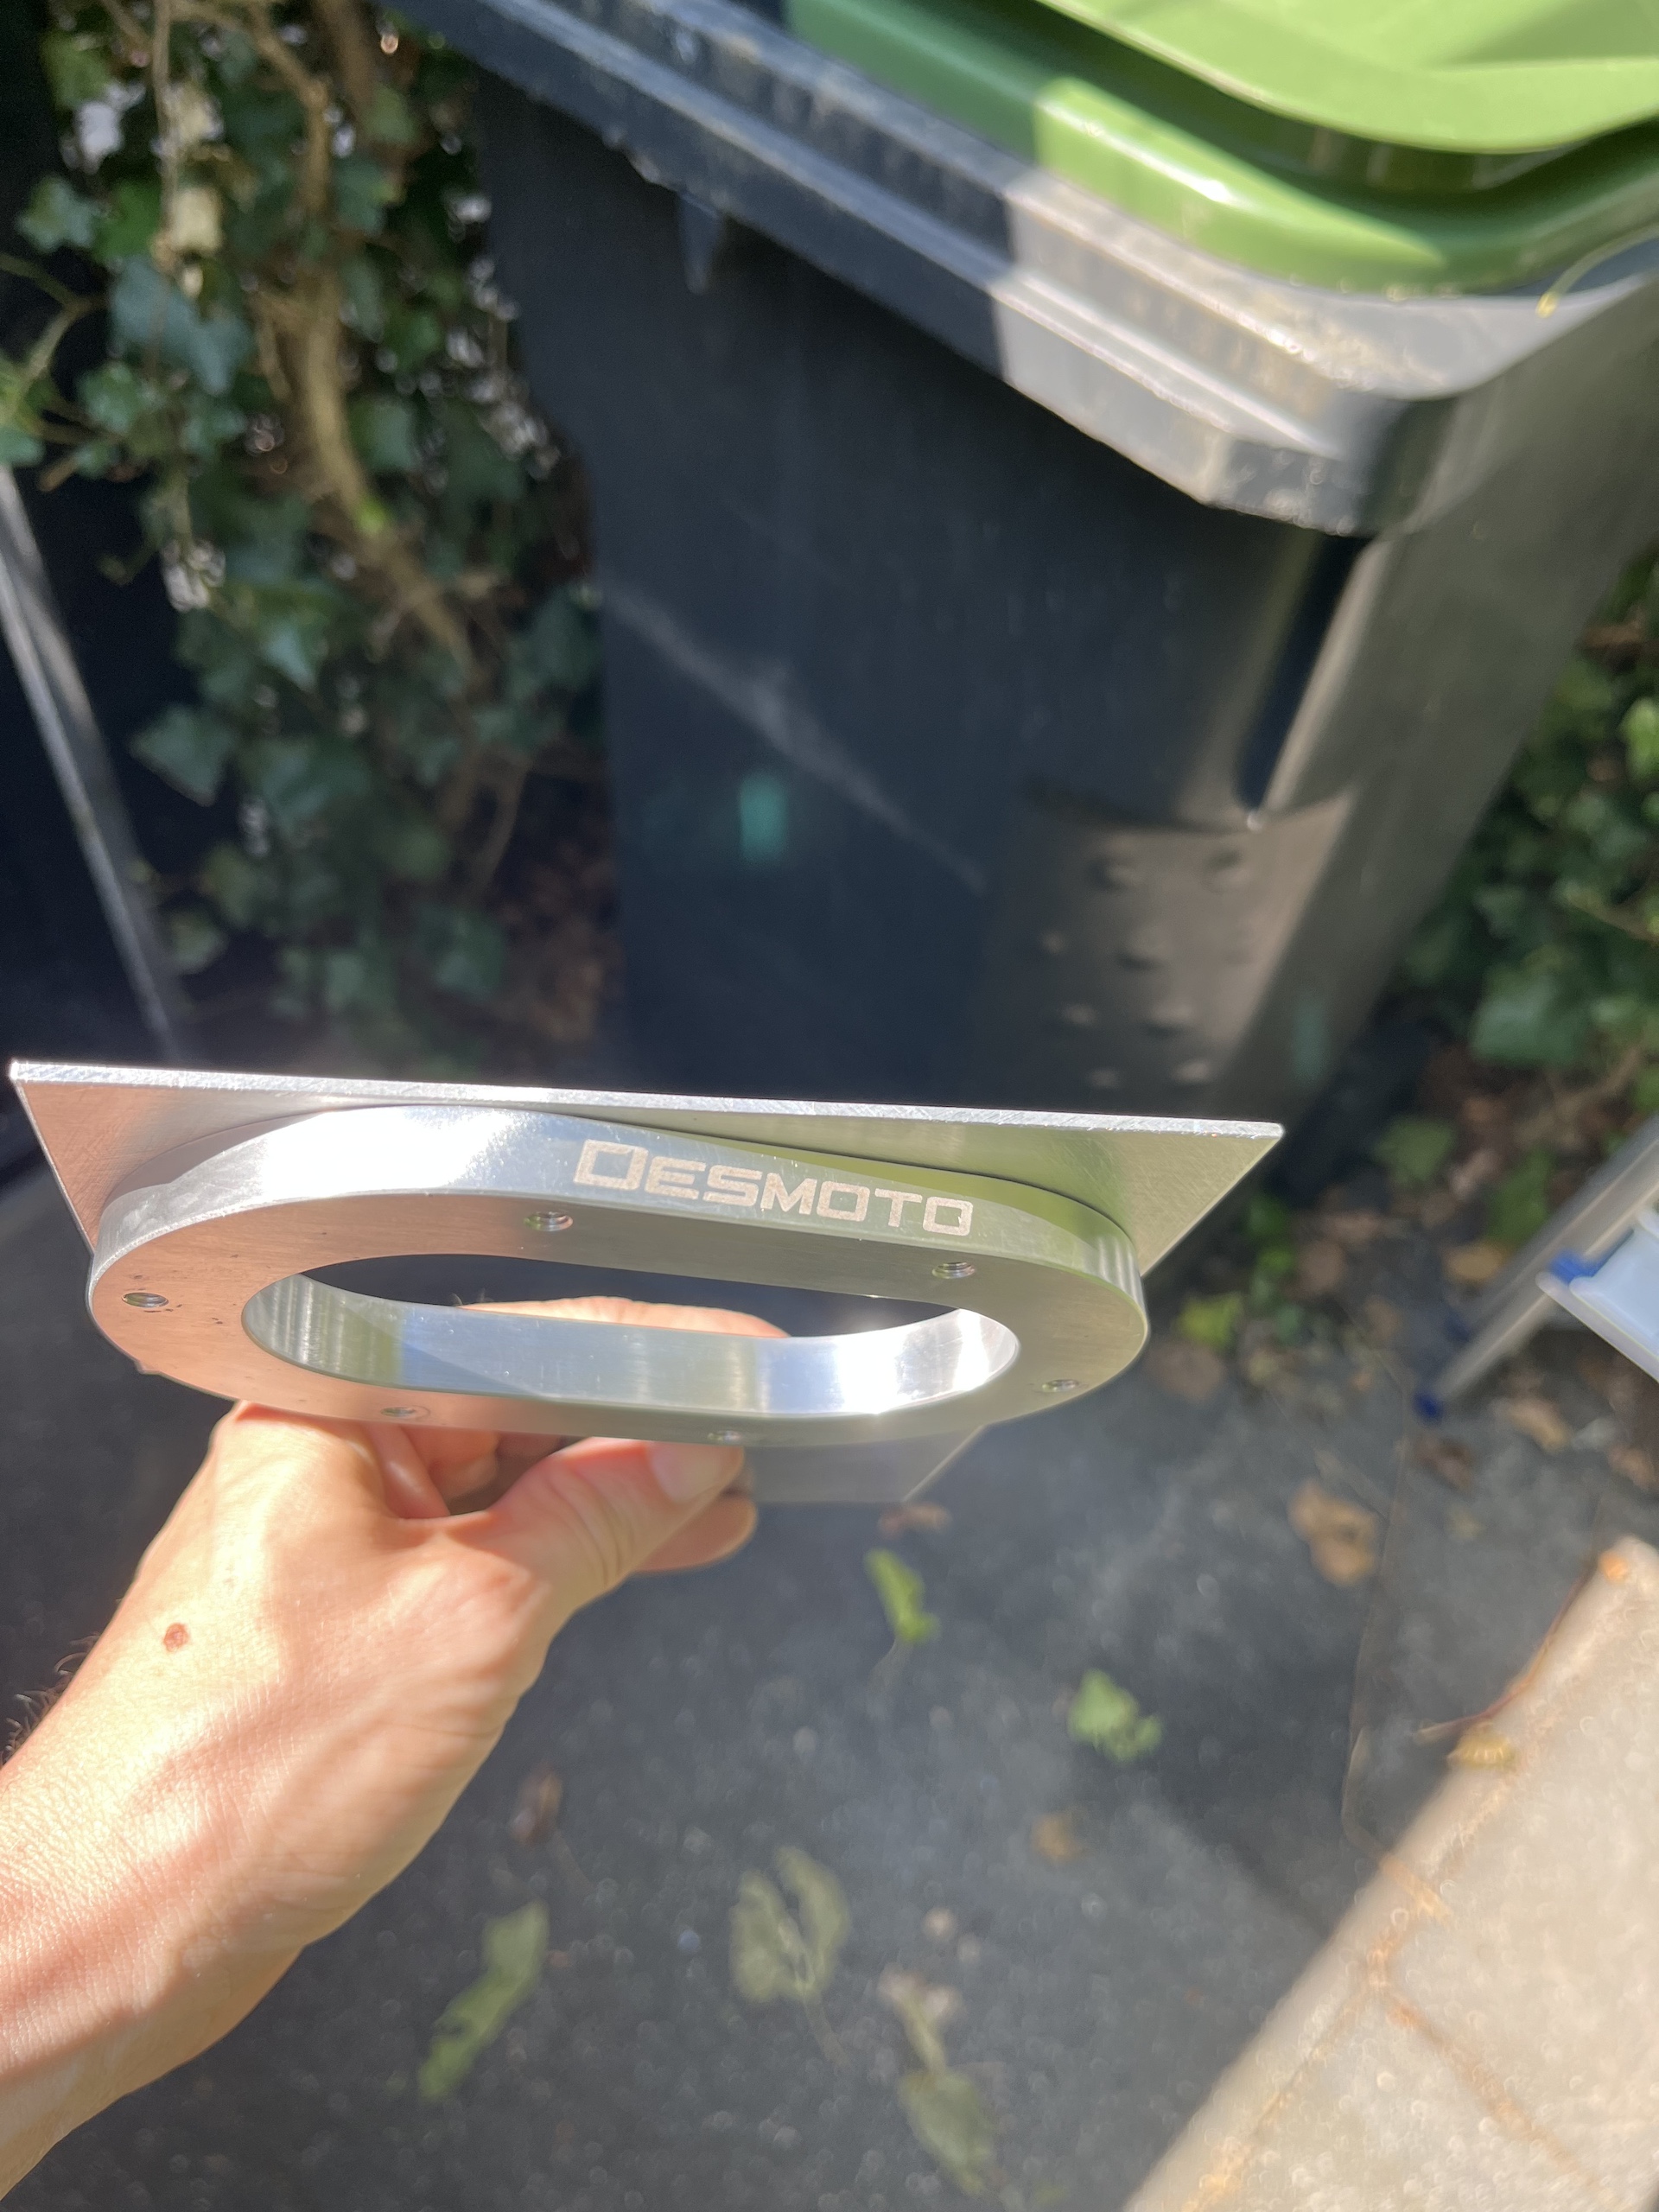
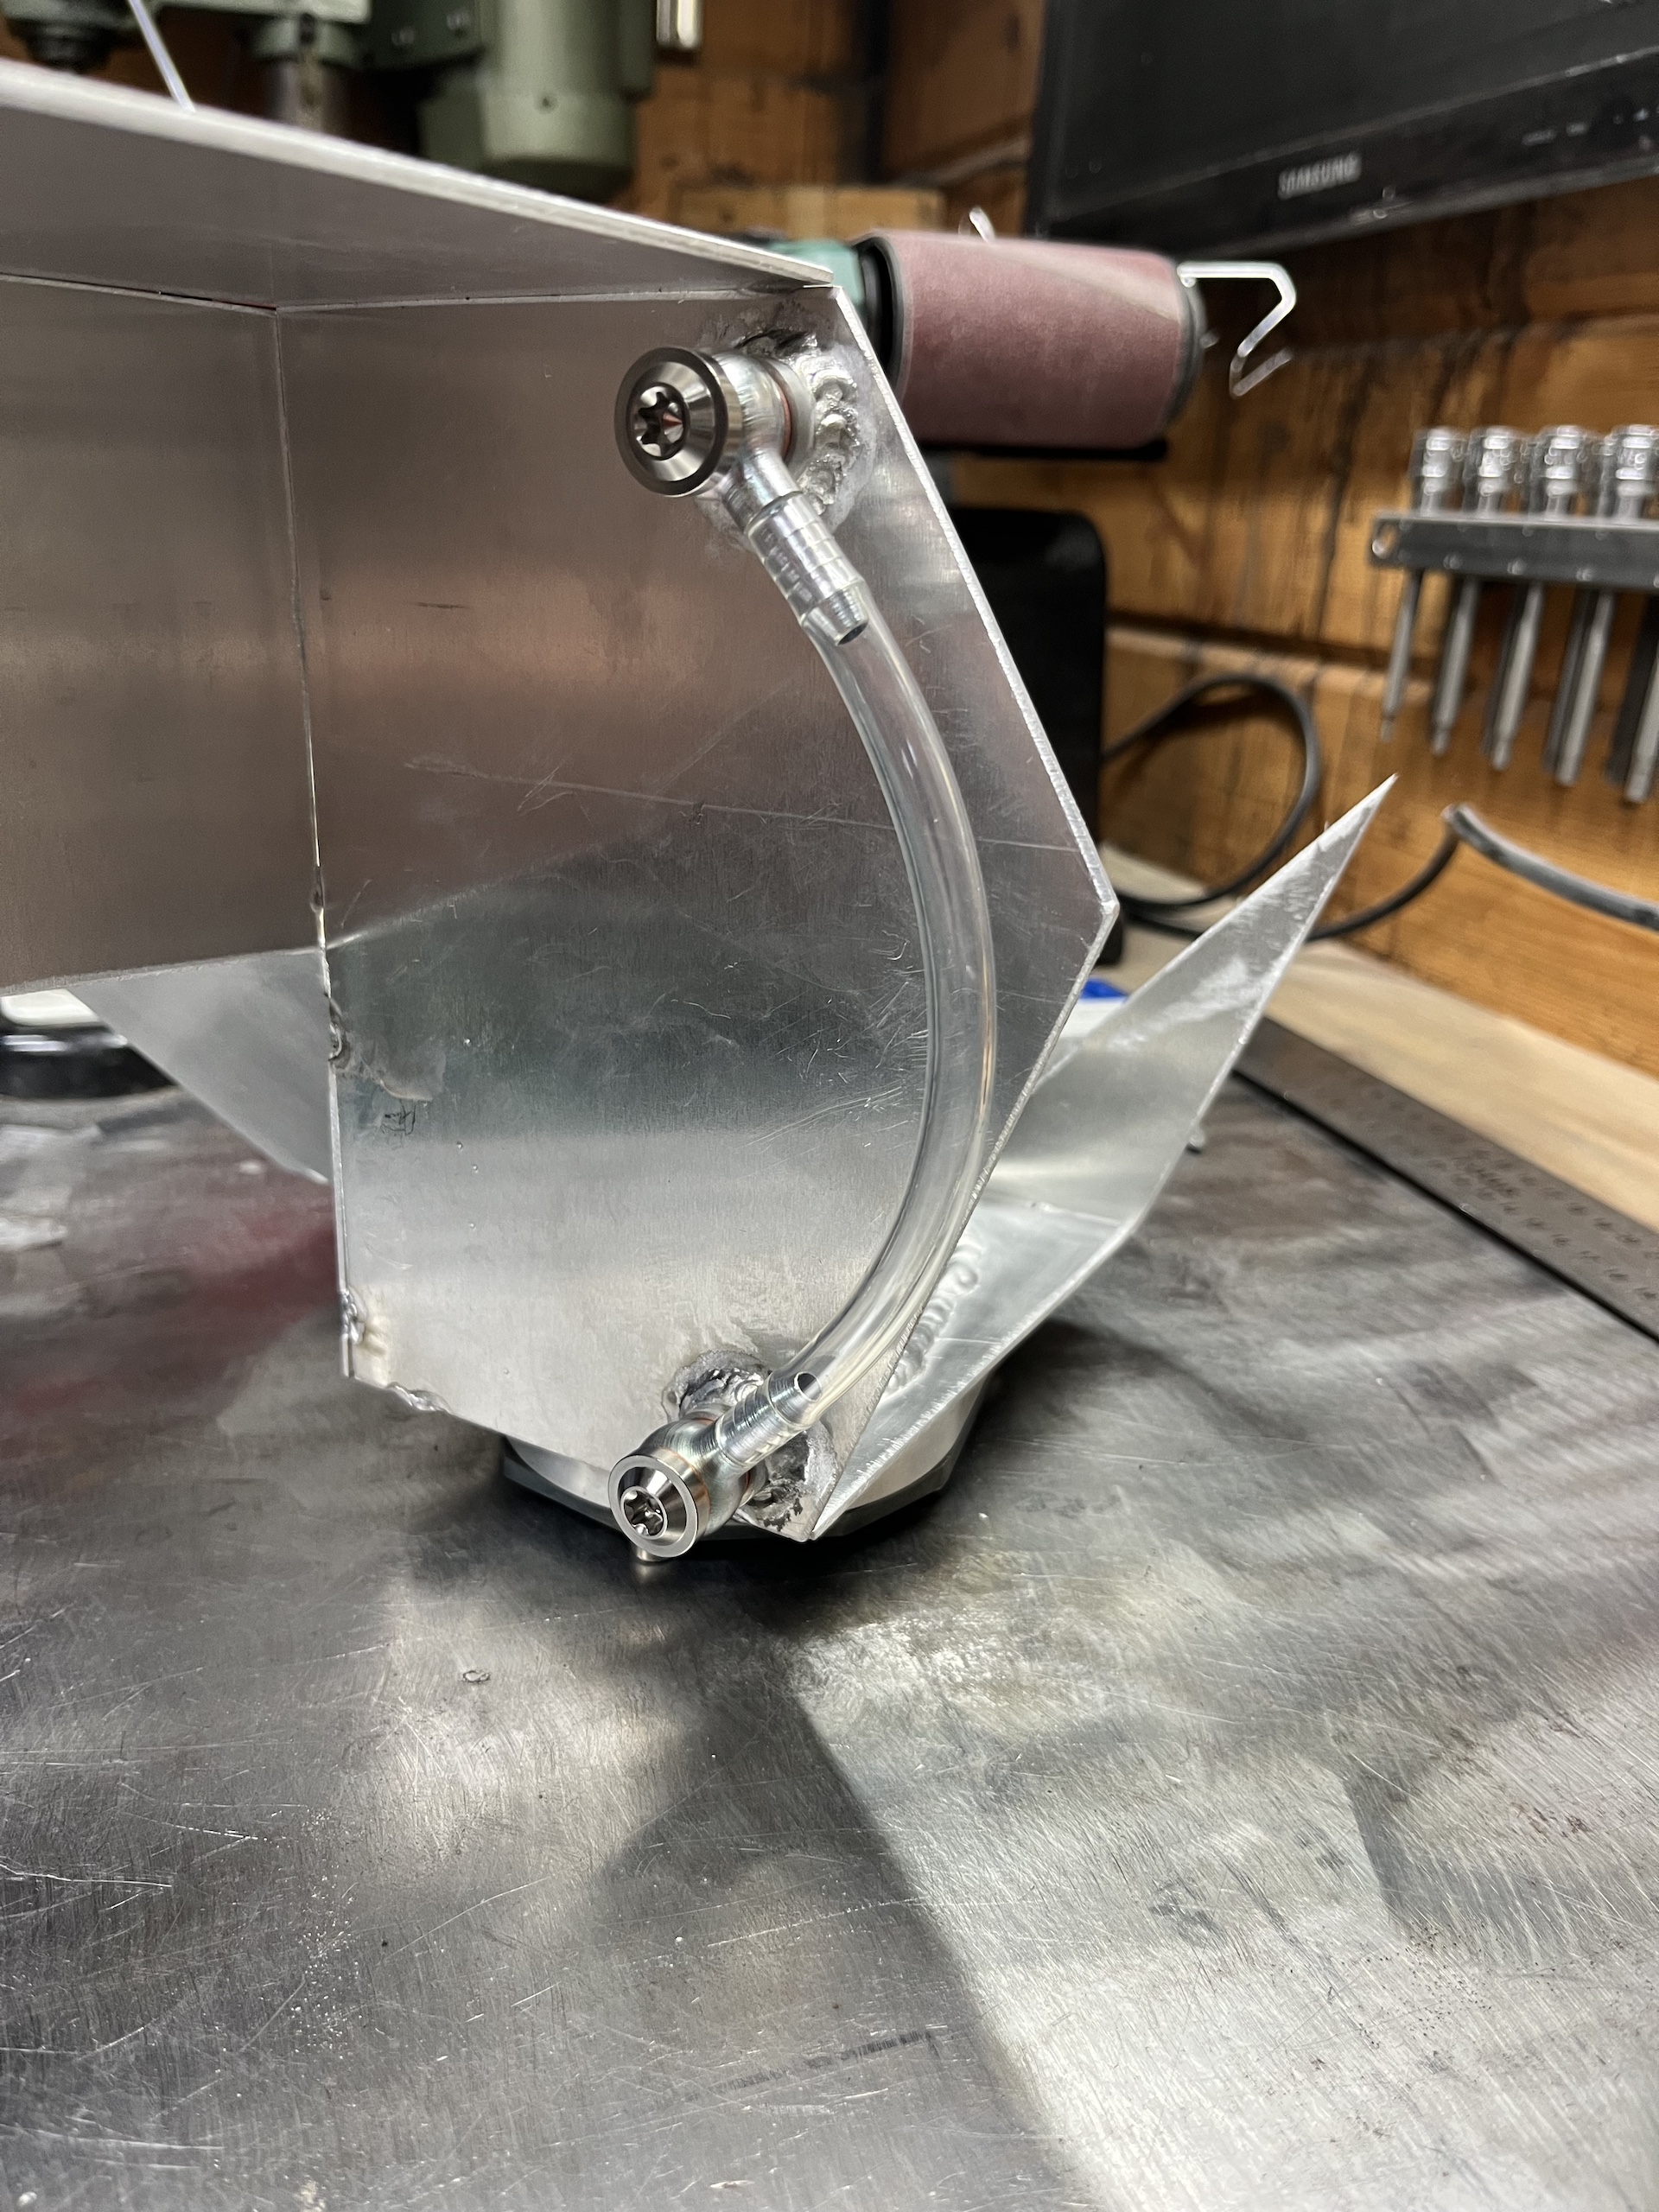
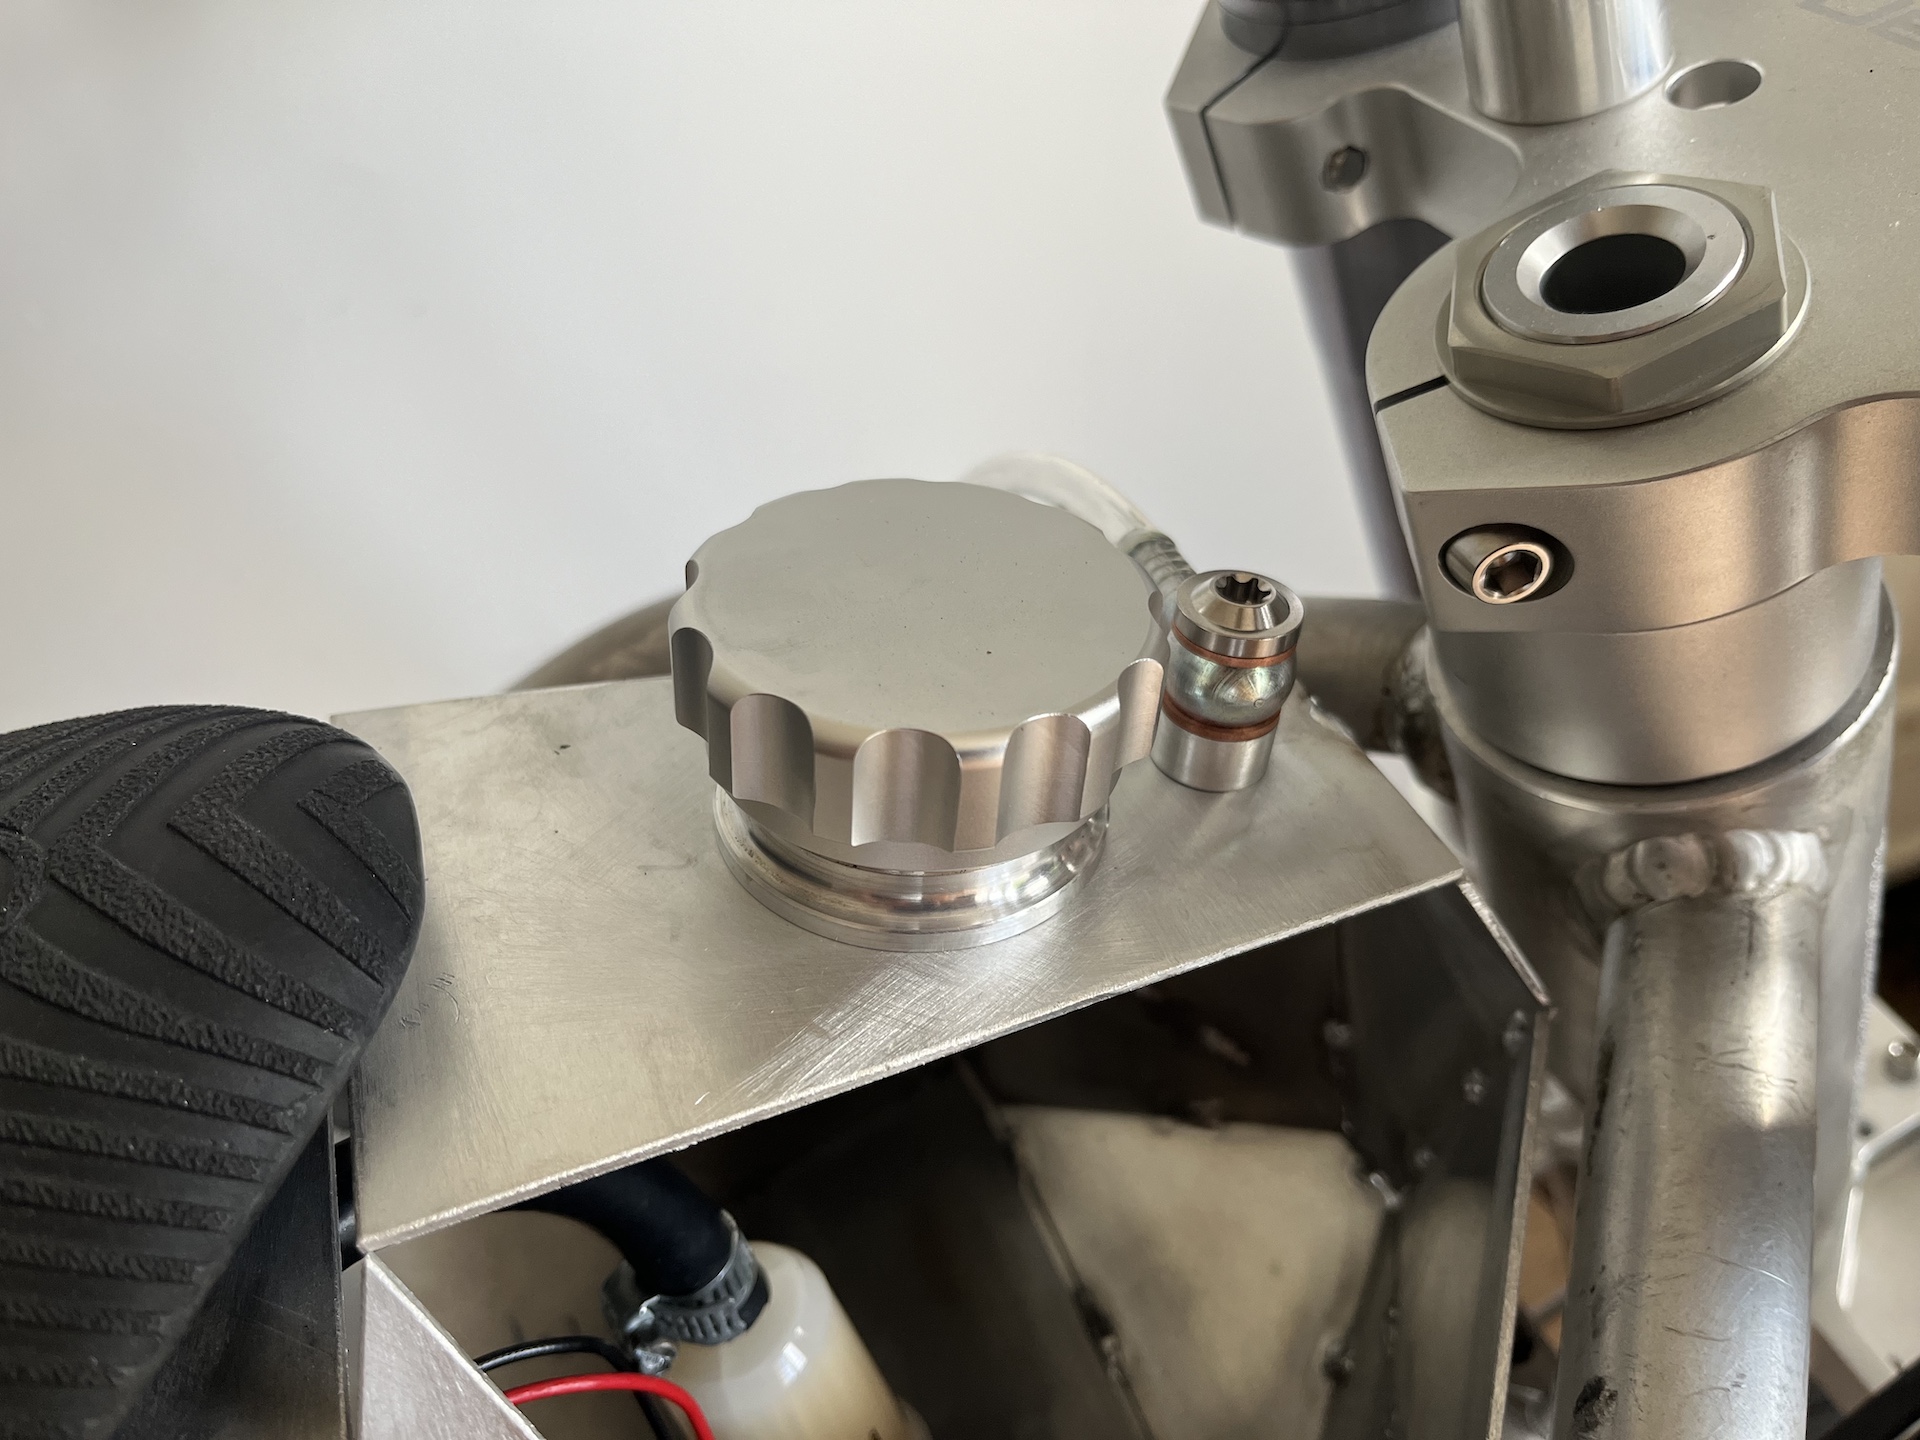
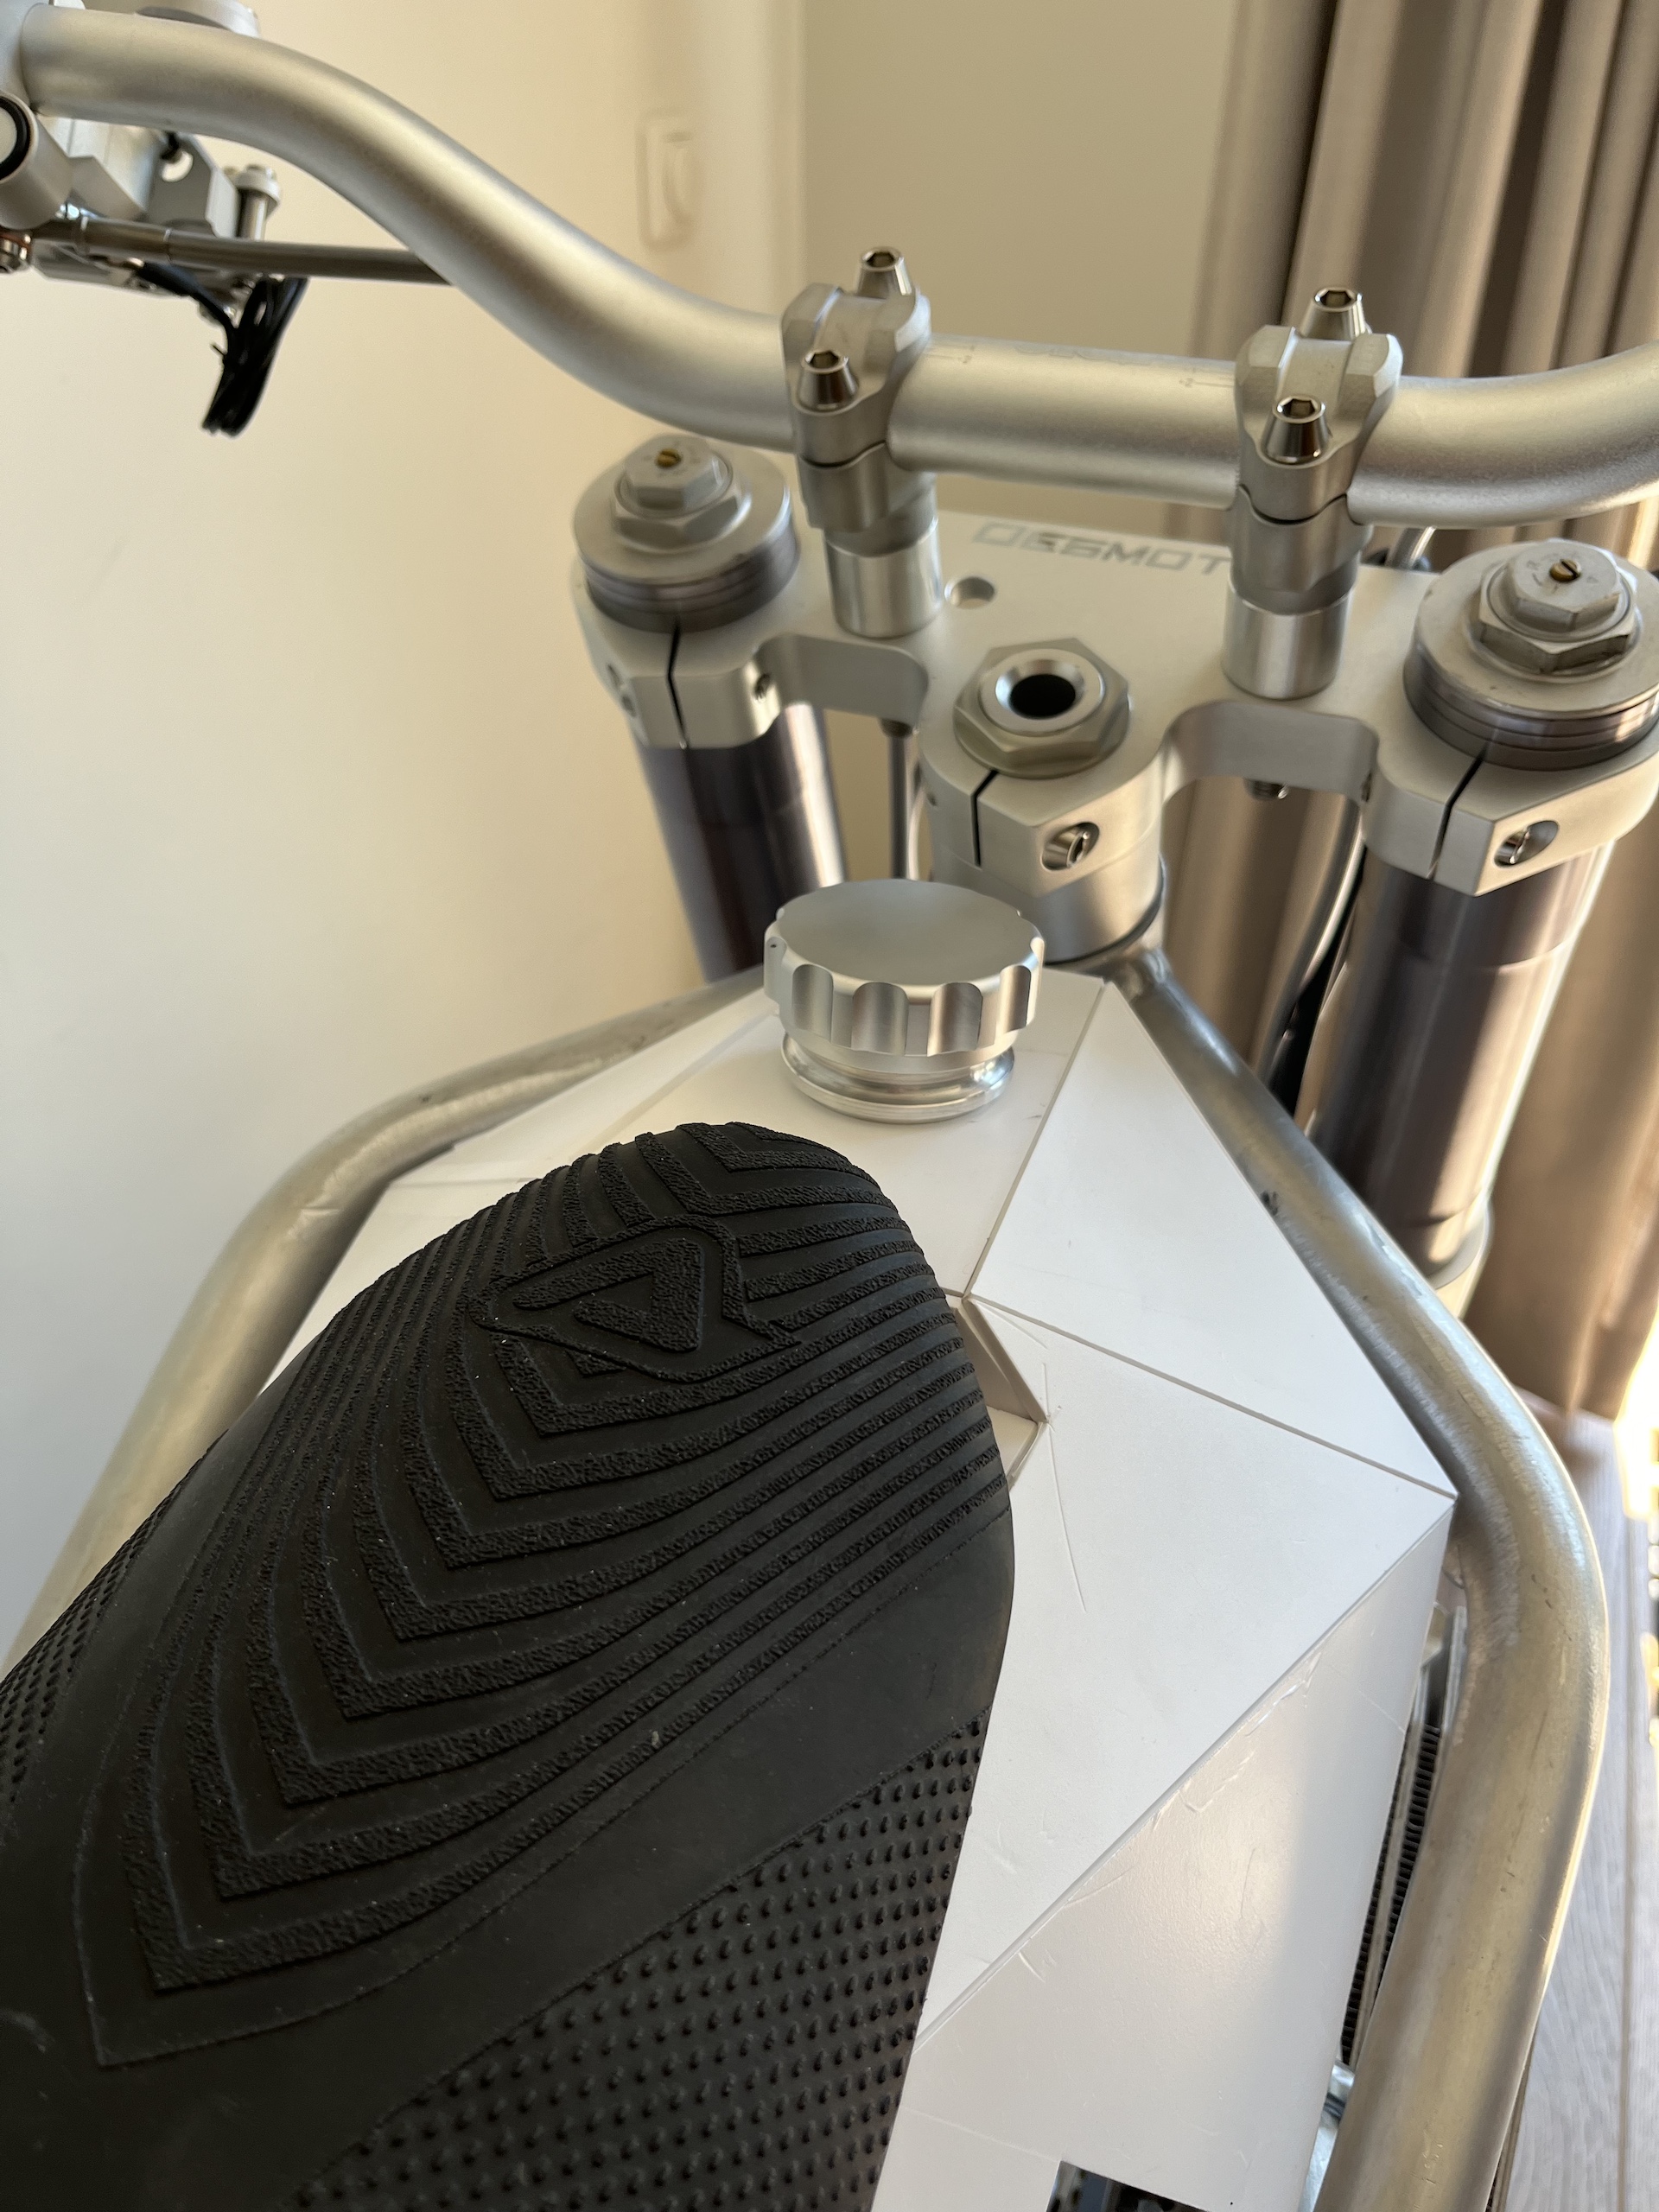
FUEL TANK ADDITIONS
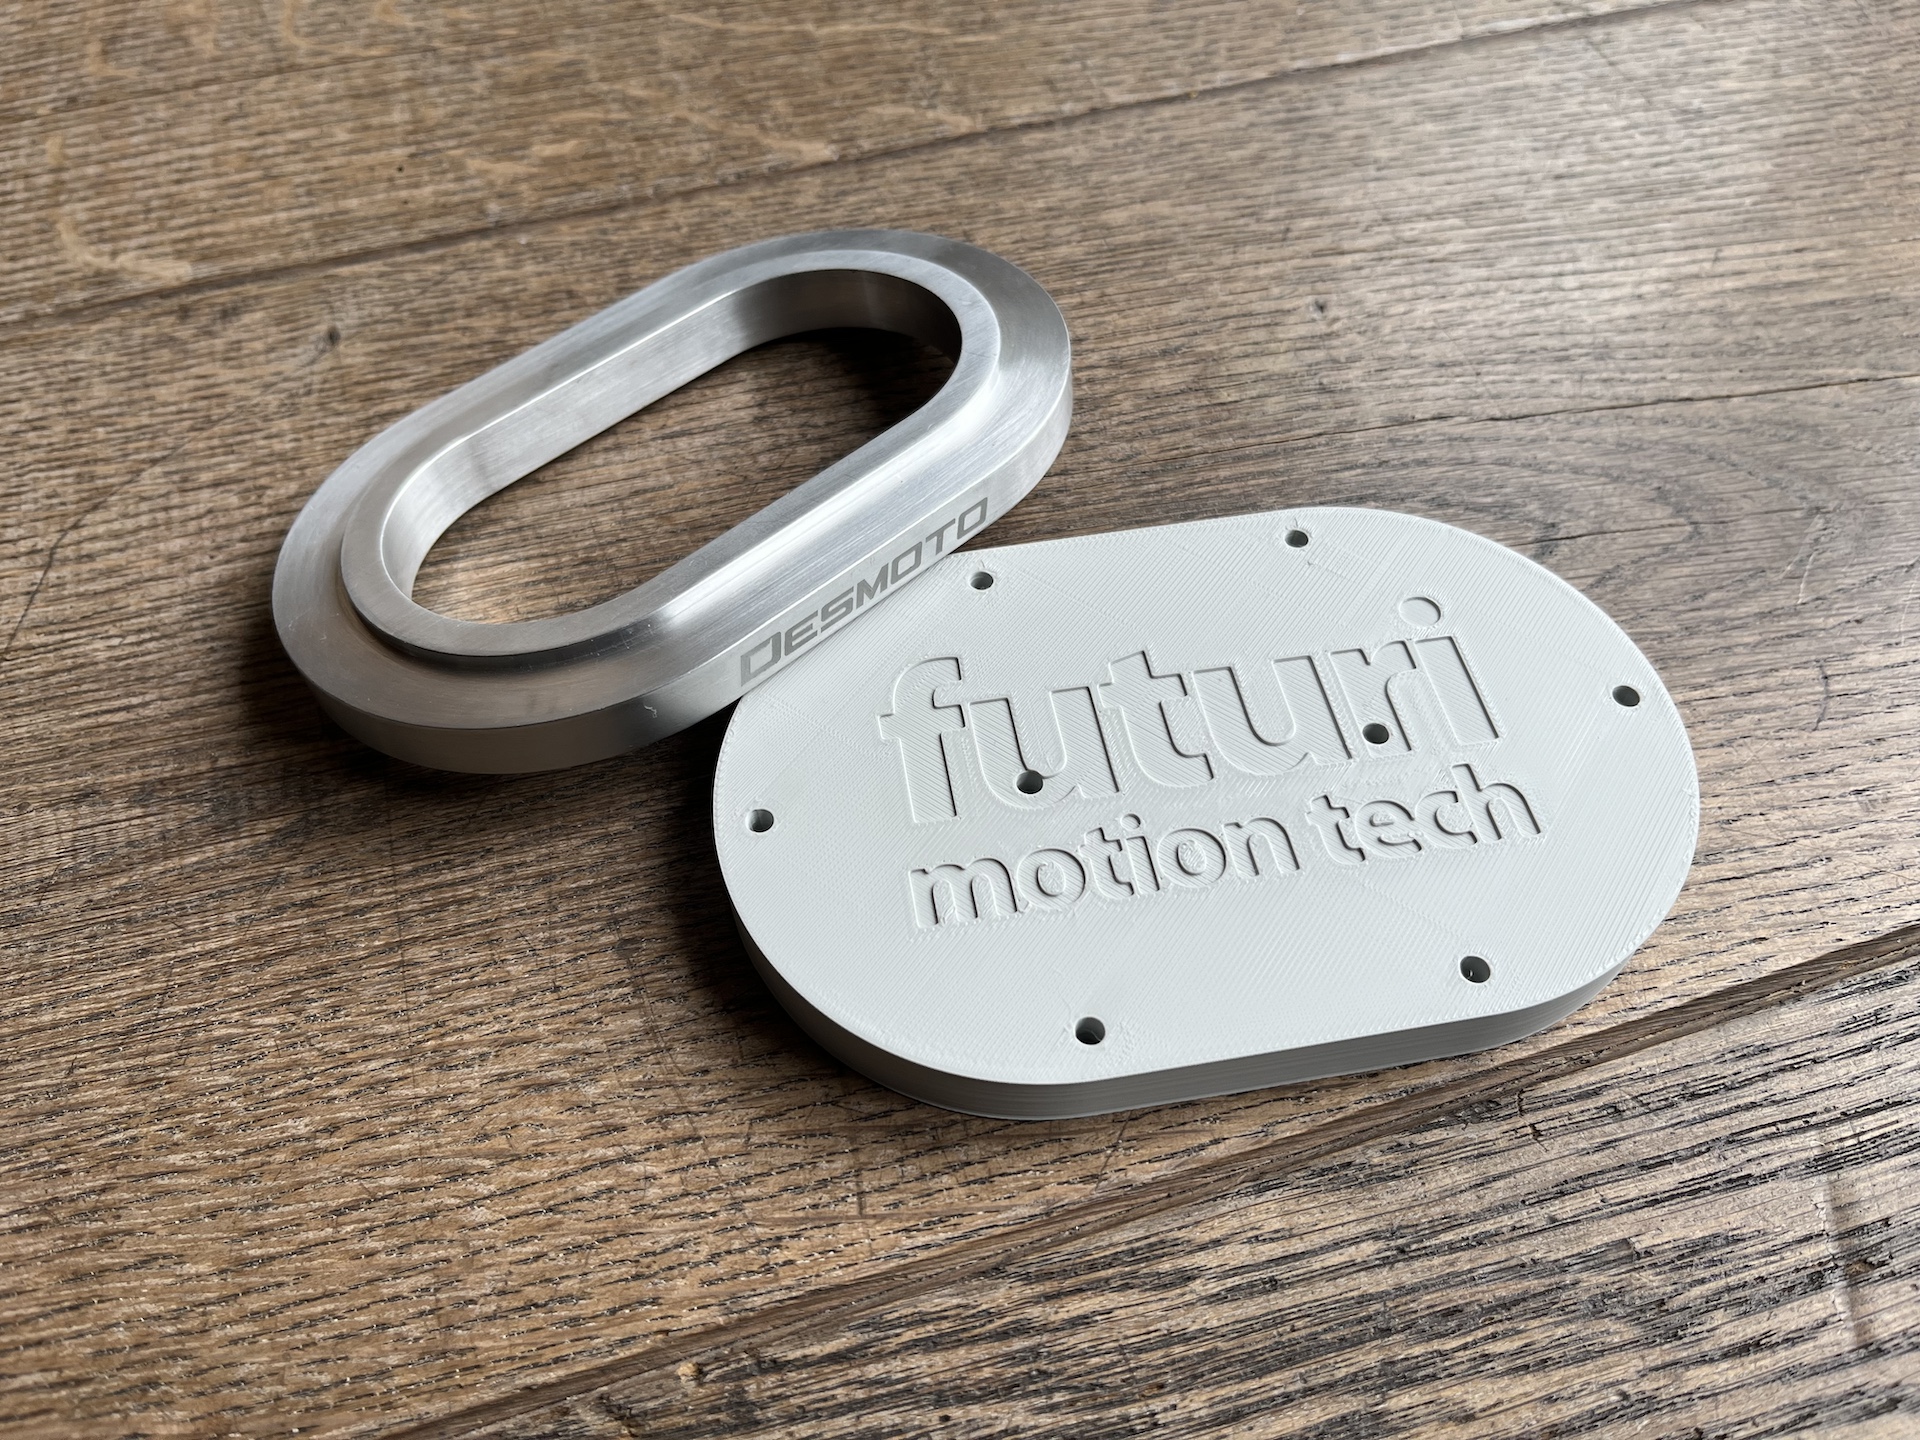
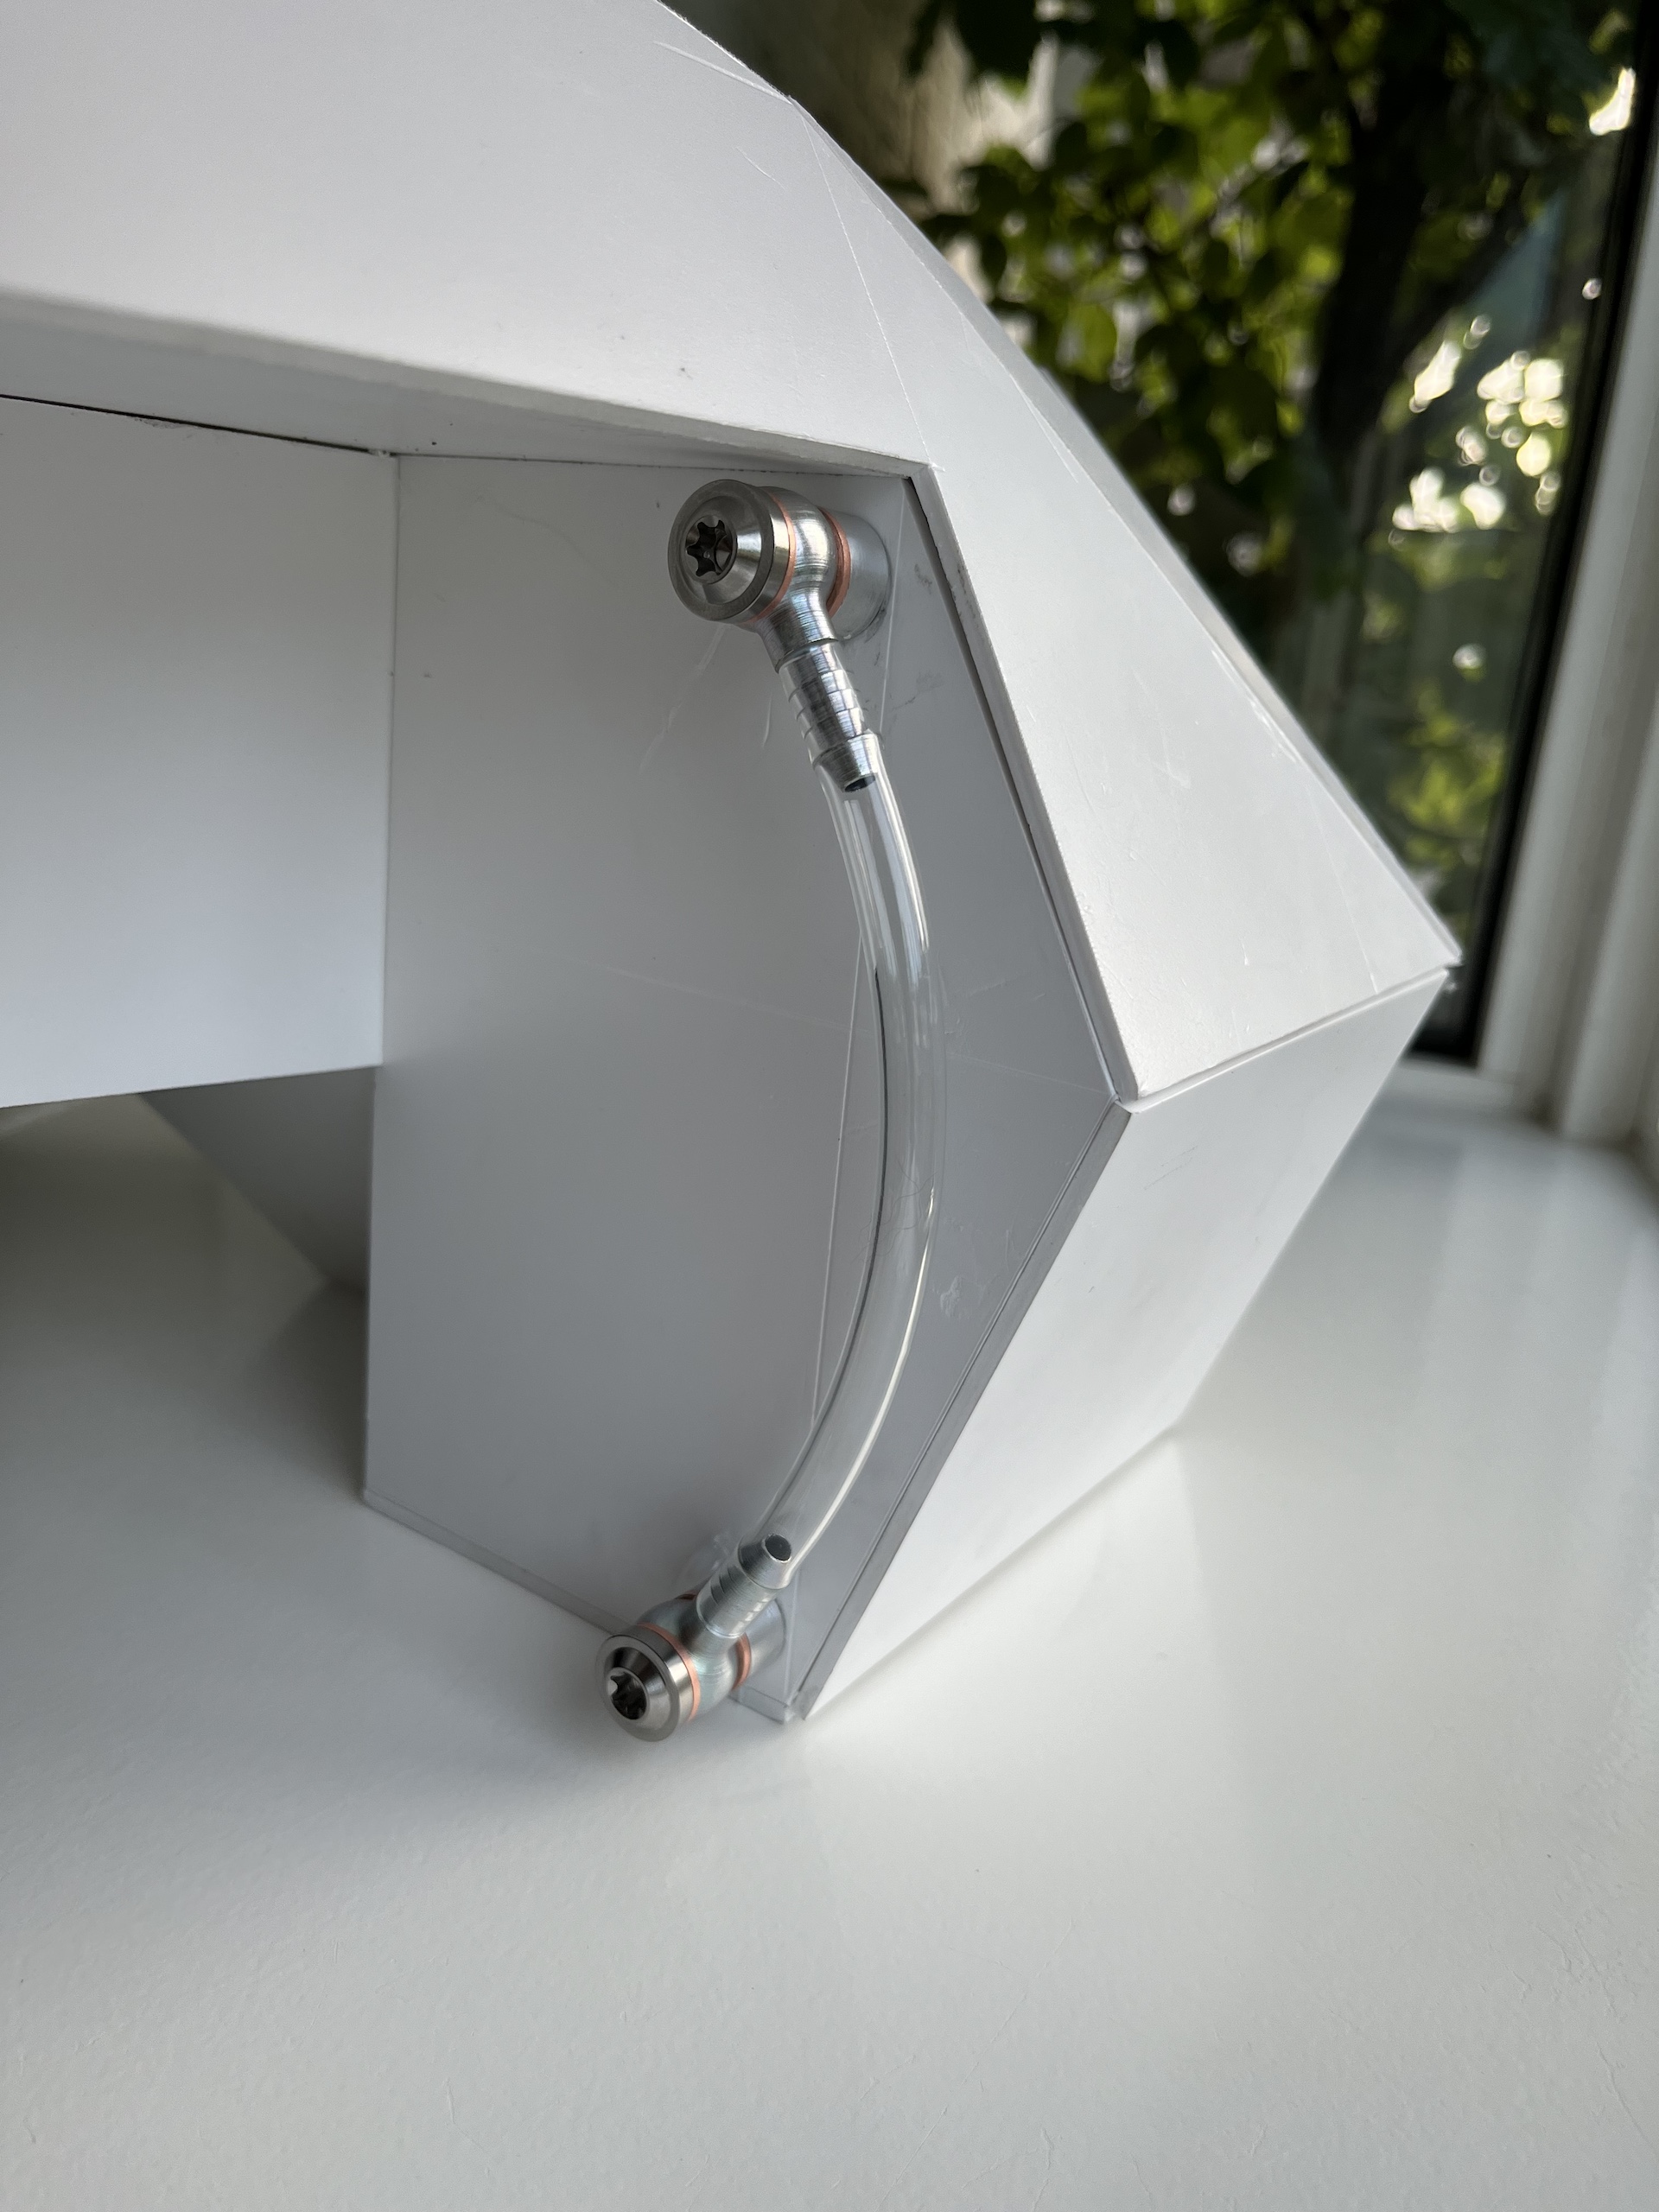
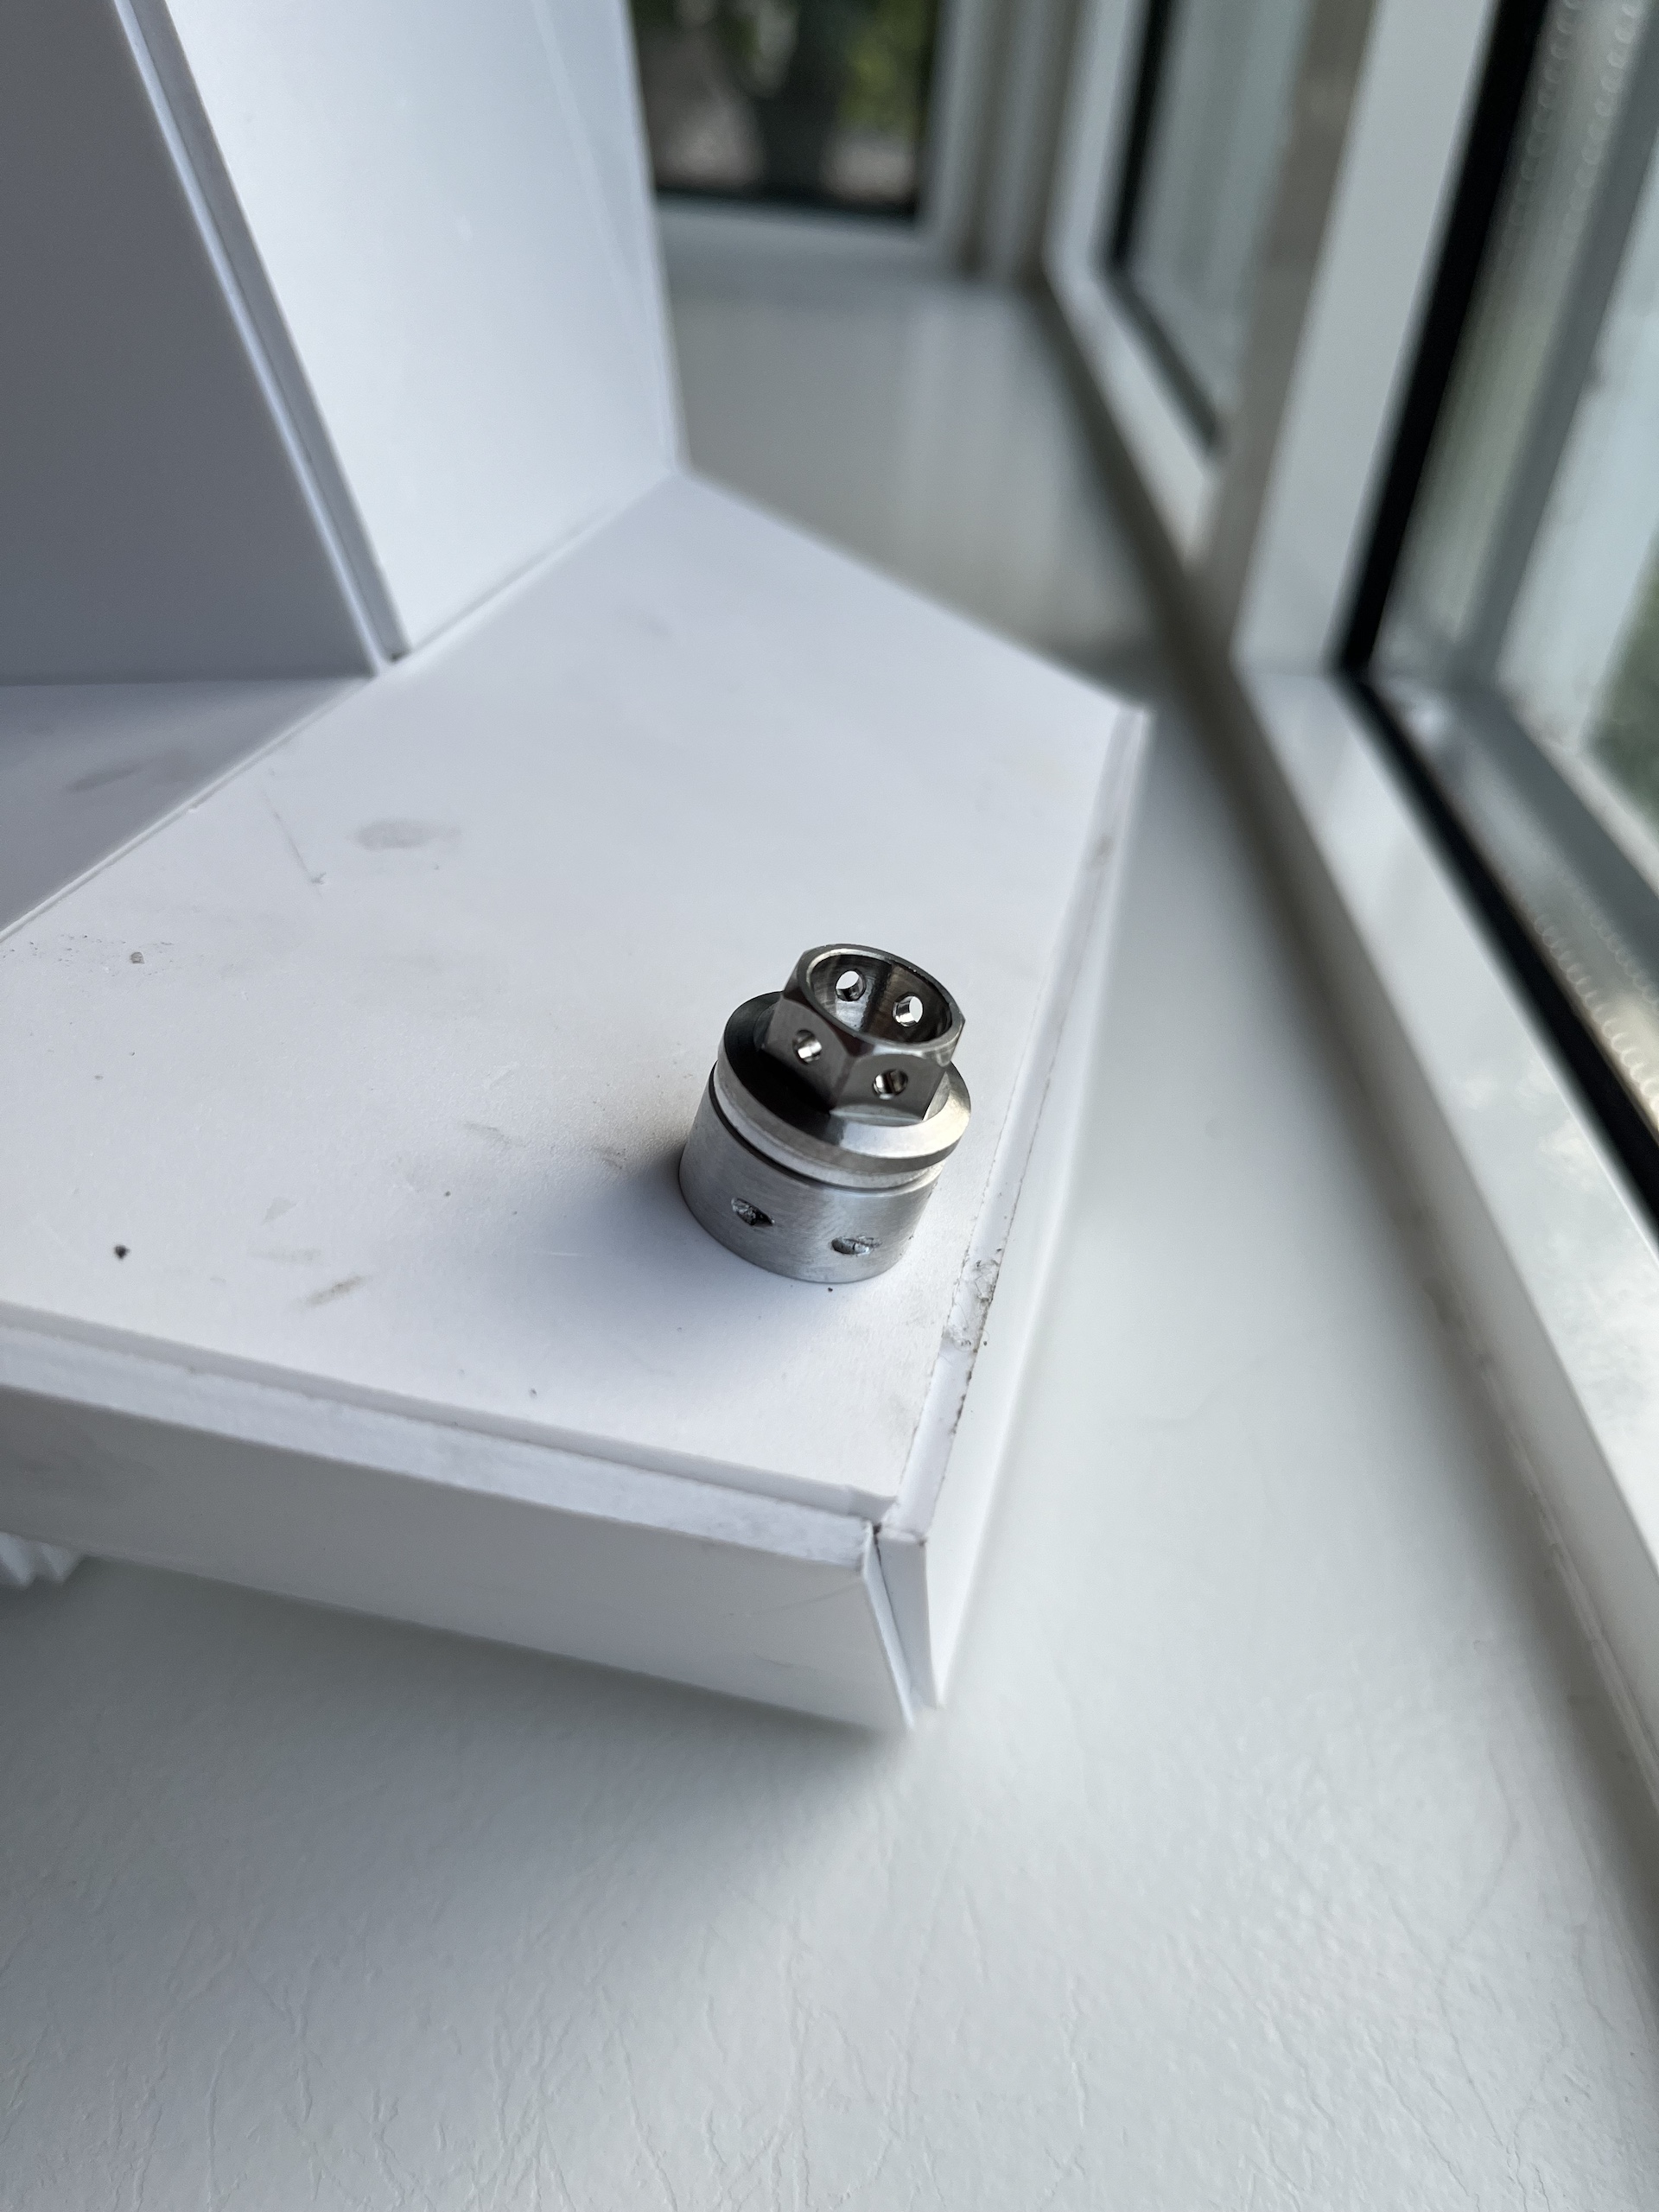
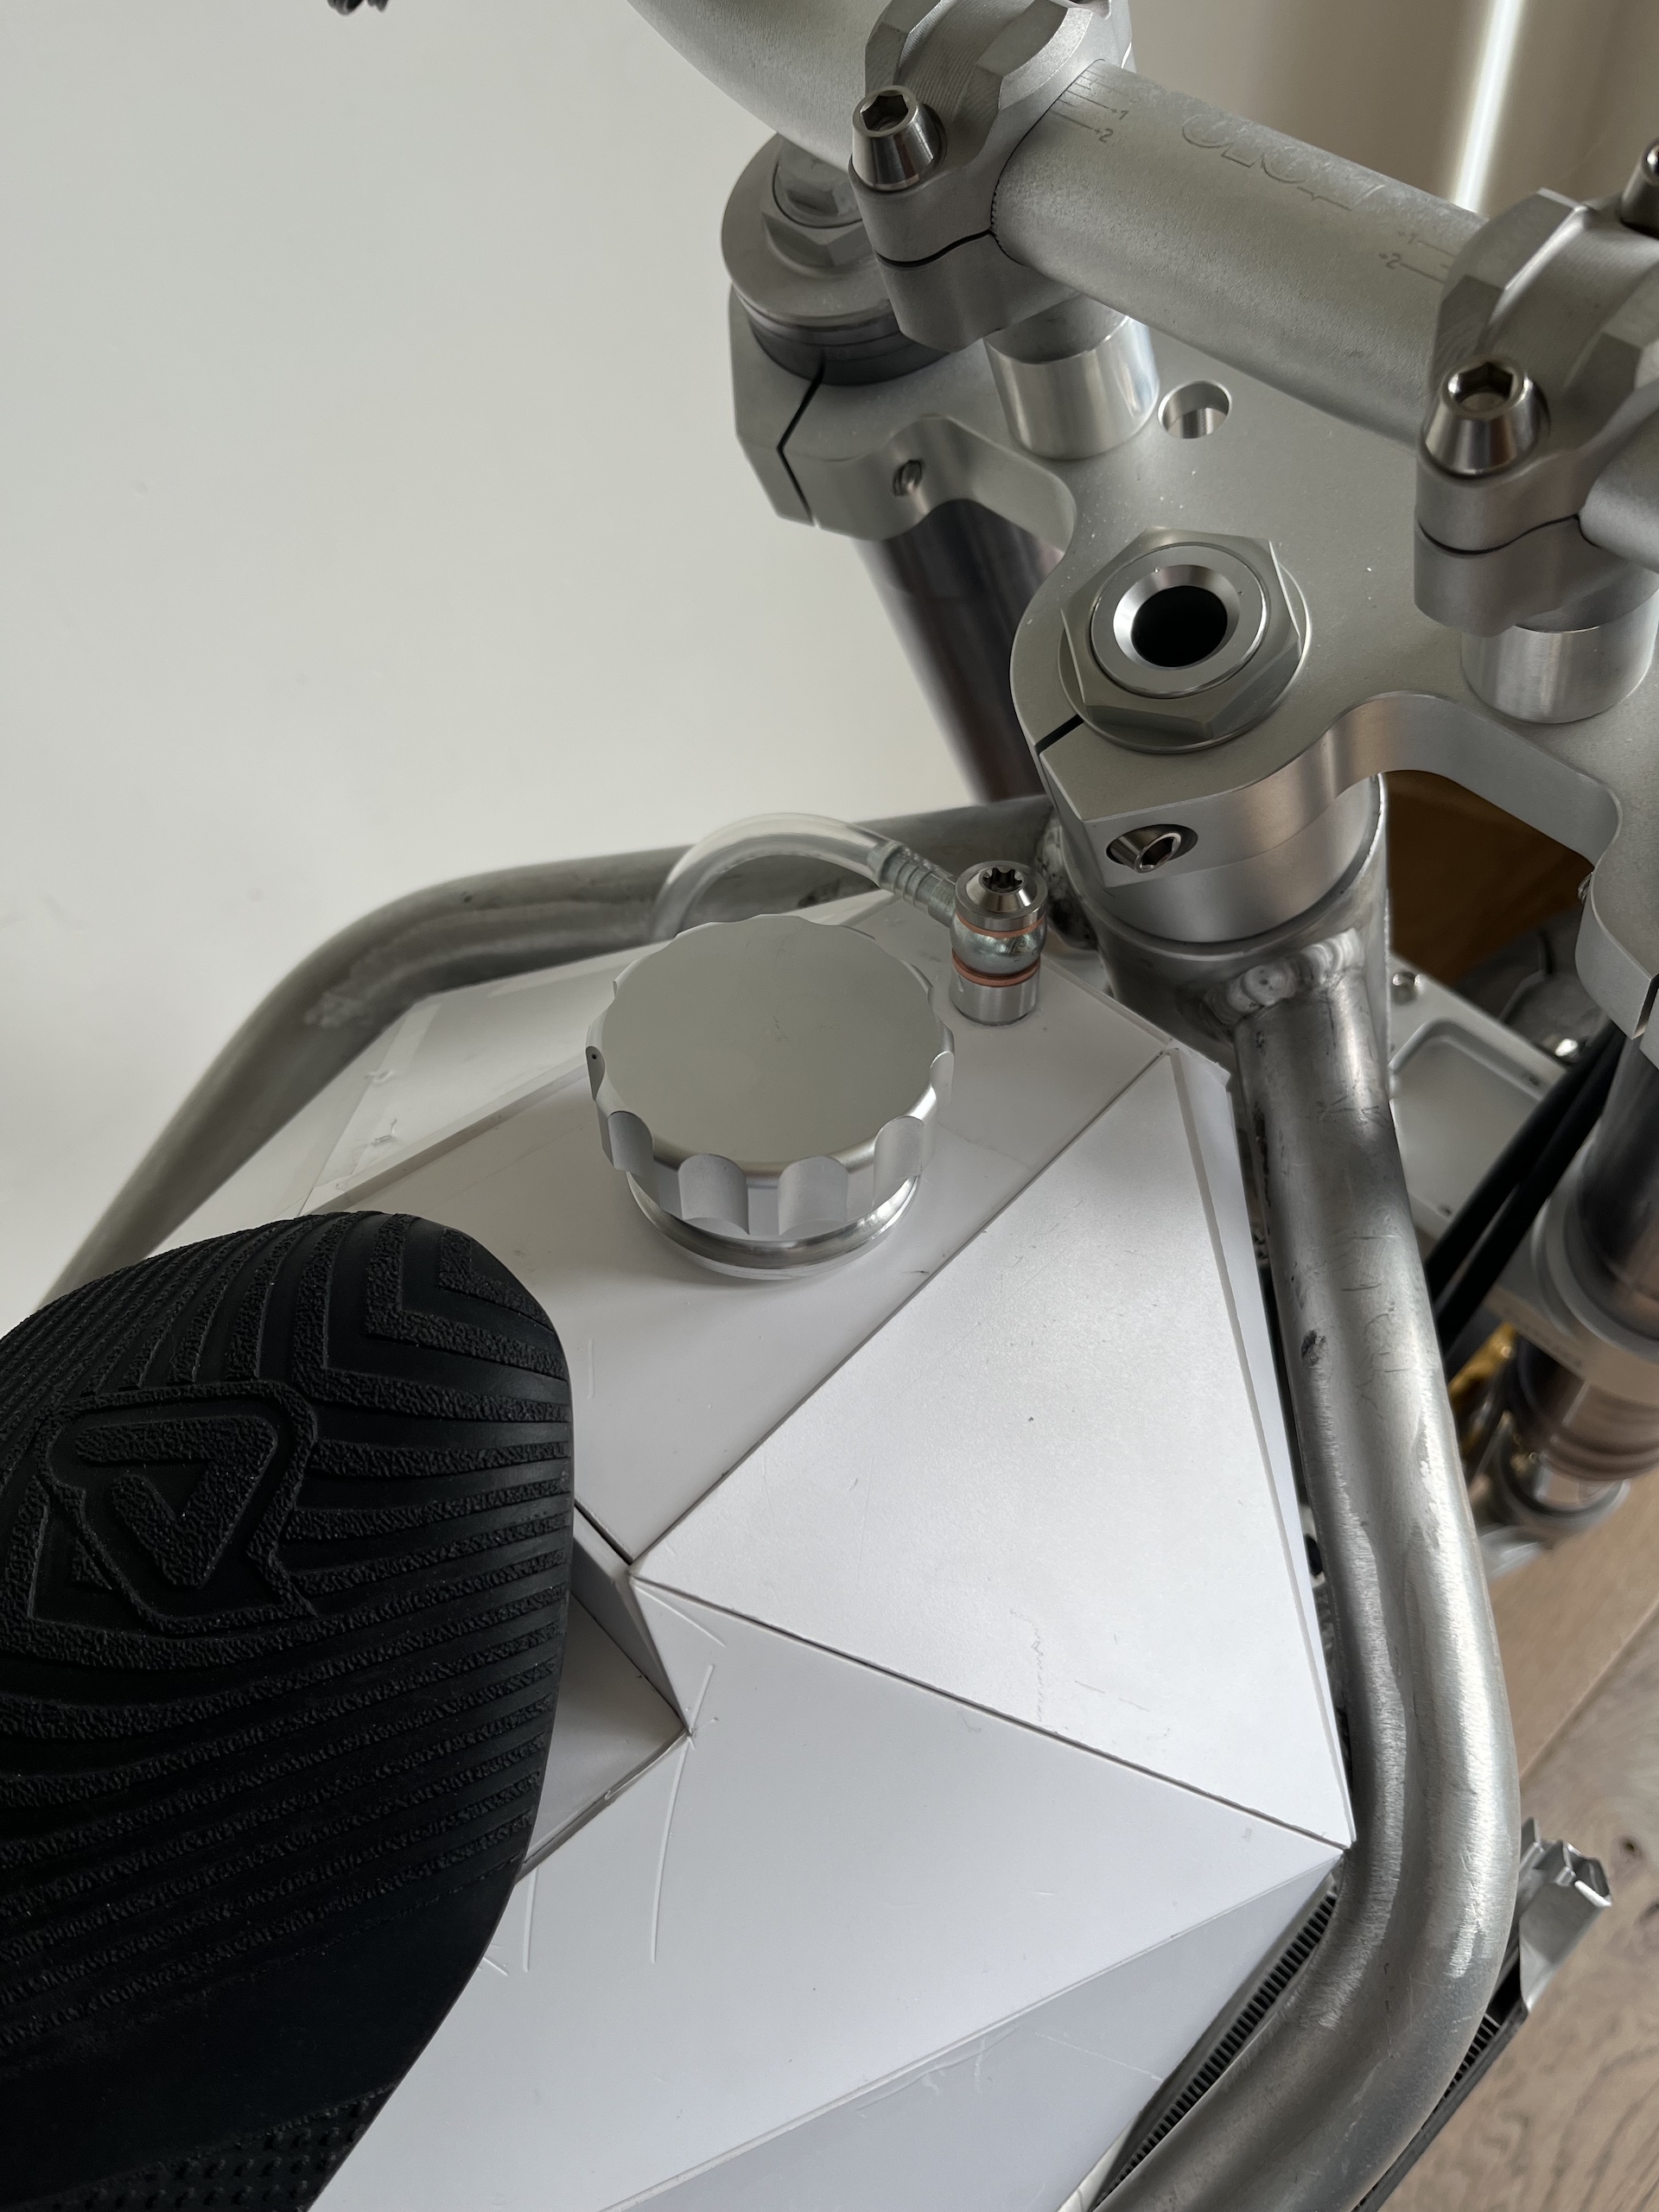
I want the drainplug and fuel level to be something special on this tank. The fuel level can be checked by an external transparant fuel hose. Mounted using titanium banjo bolts and a banjo to 6mm hose conversion fitting. Cool looks and an old school method of acting as your fuel reserve light ;).
The bleed valve to make sure the tank will never have issues with a vacuum is mounted with the same solution on top of the tank, with the hose going to a one way valve. Making sure the tank can only suck in air, but not expel fuel gasses.
And the drain plug is a titanium bolt that can be secured with lockingwire to the tank Located at the bank for easy draining.

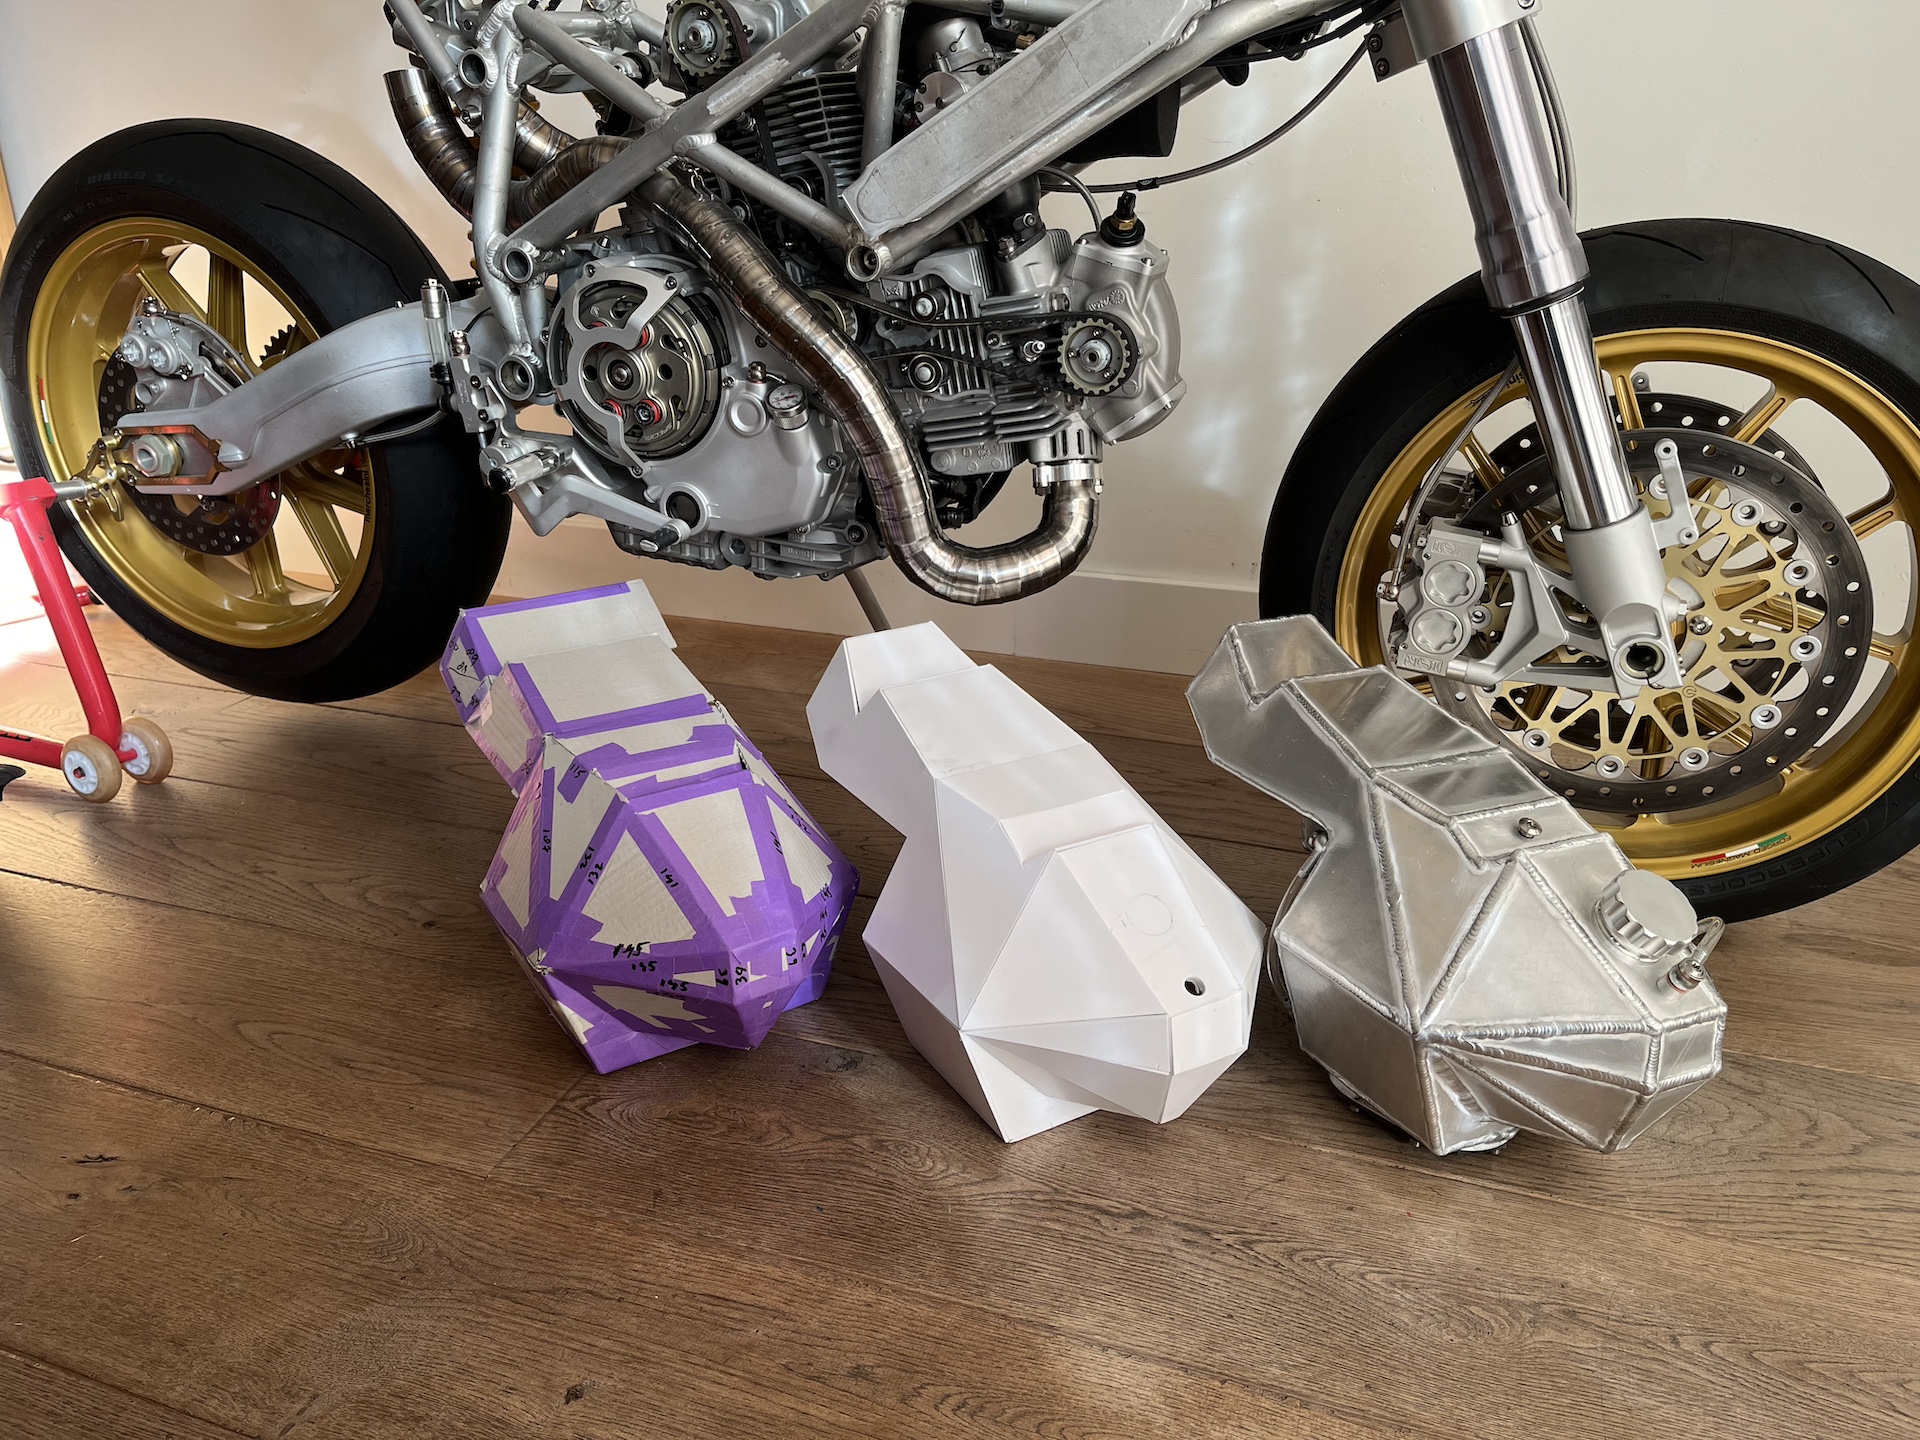
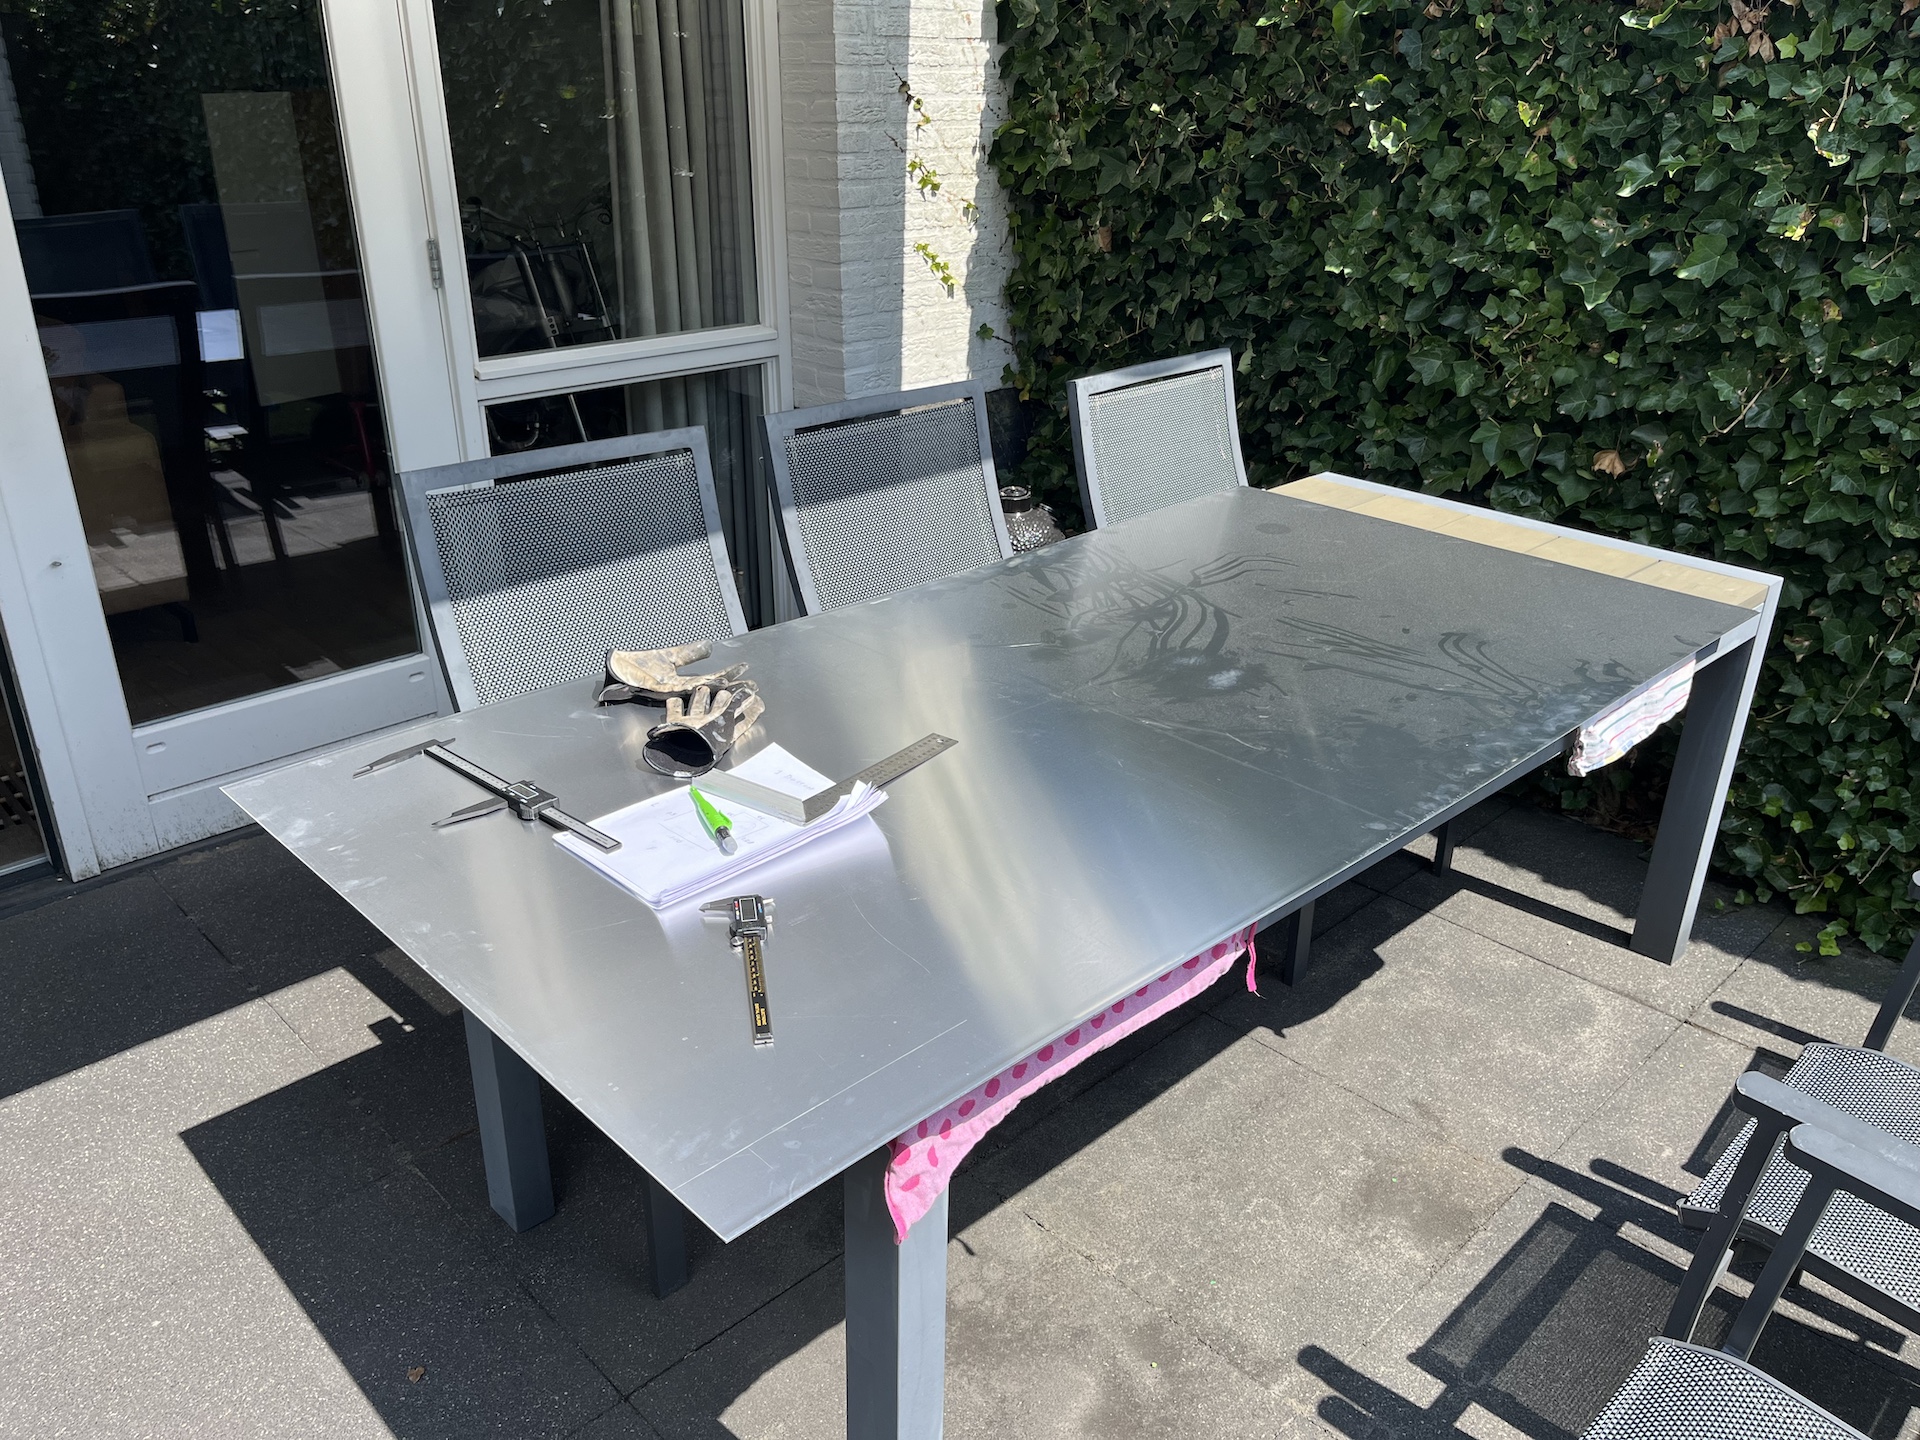
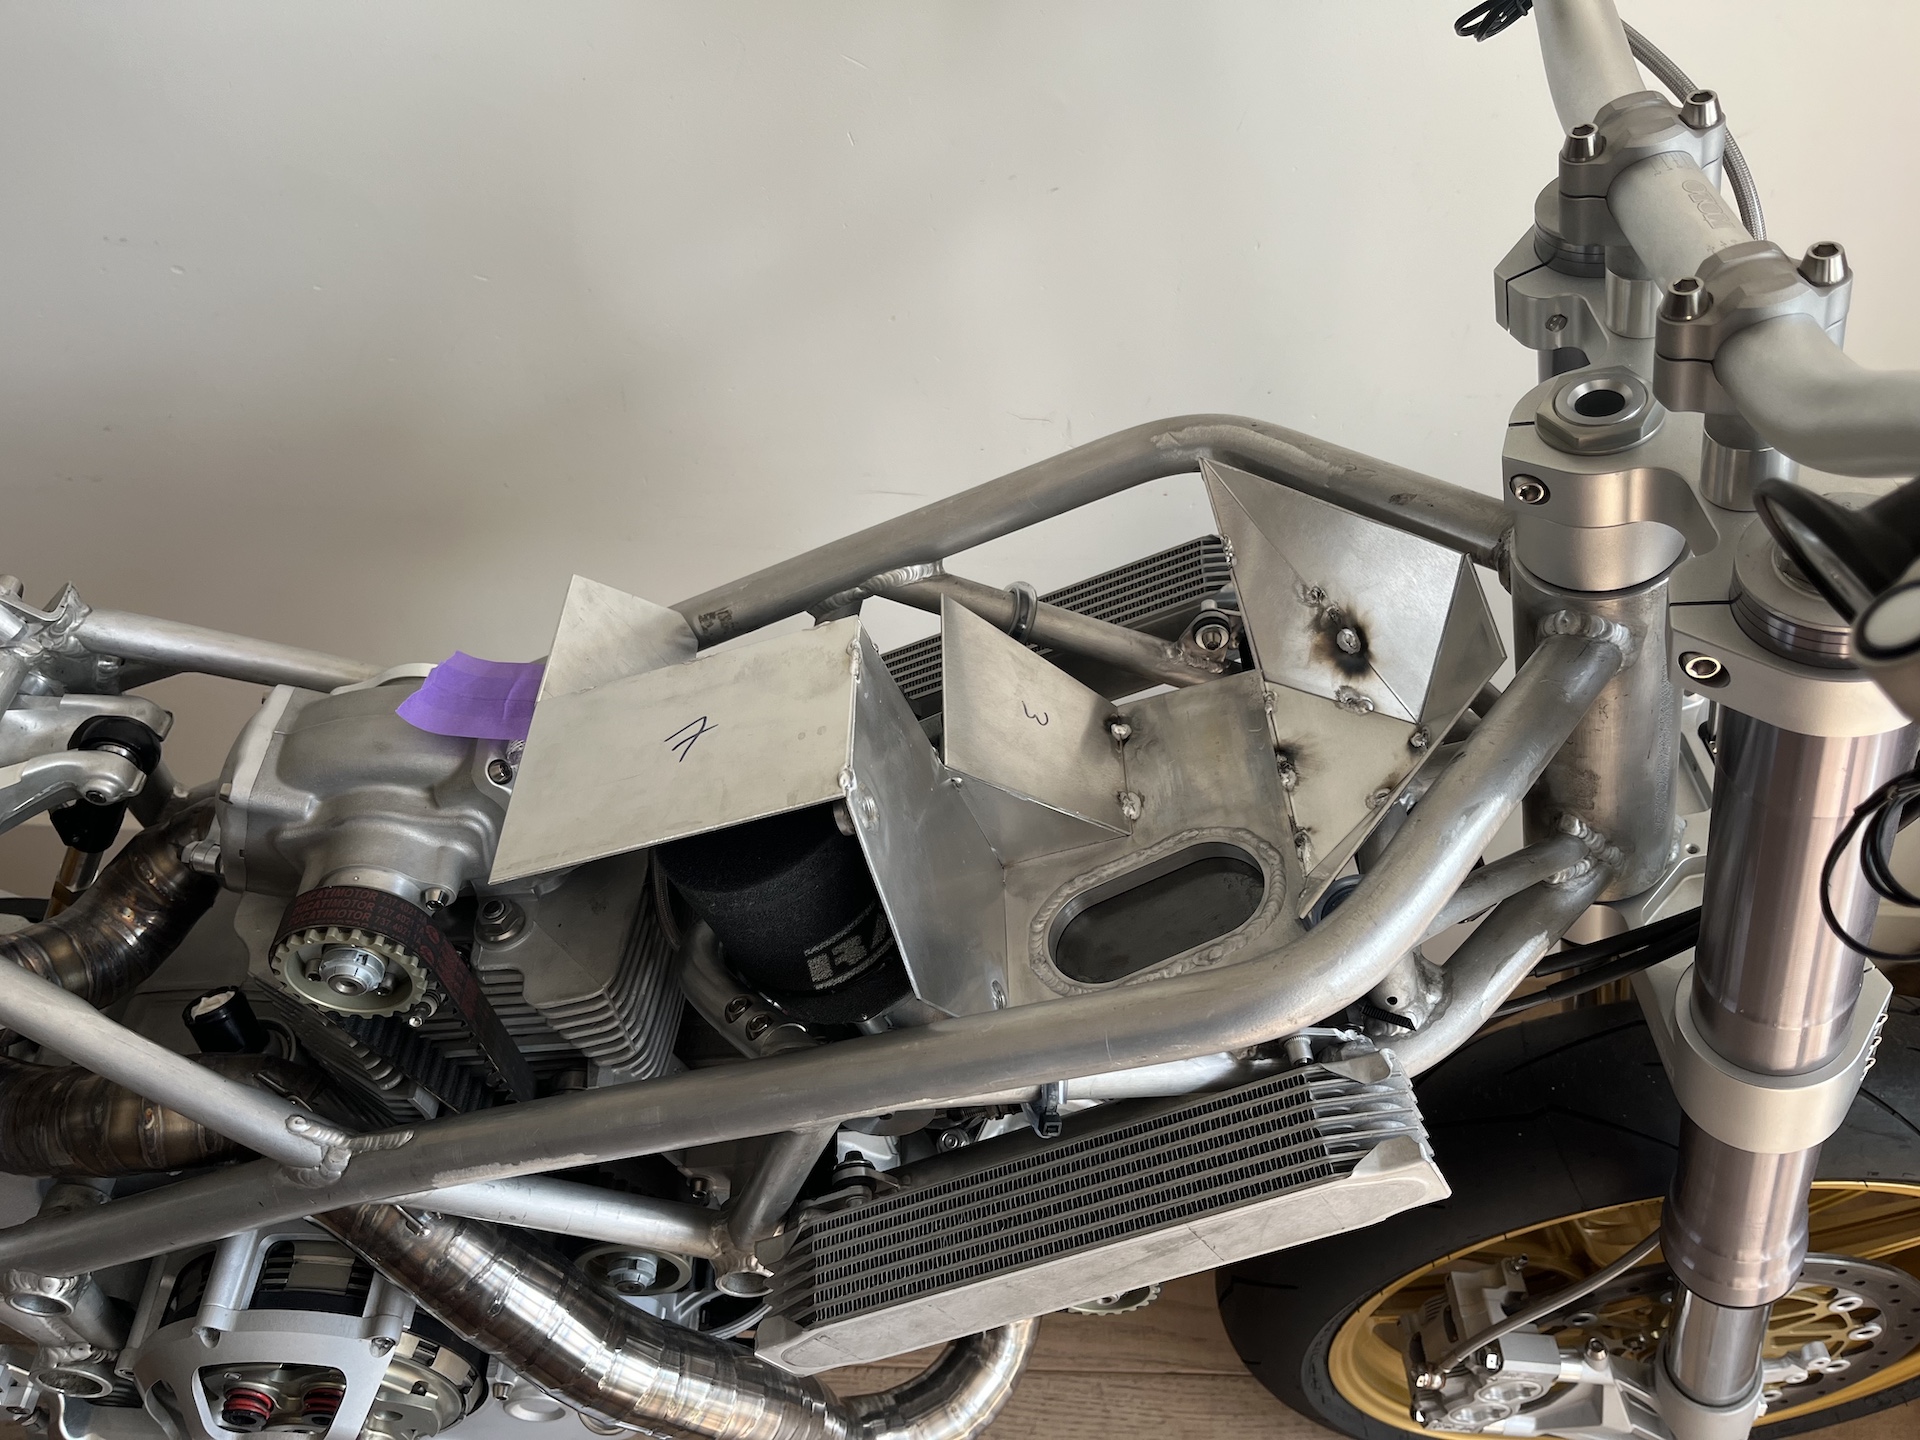
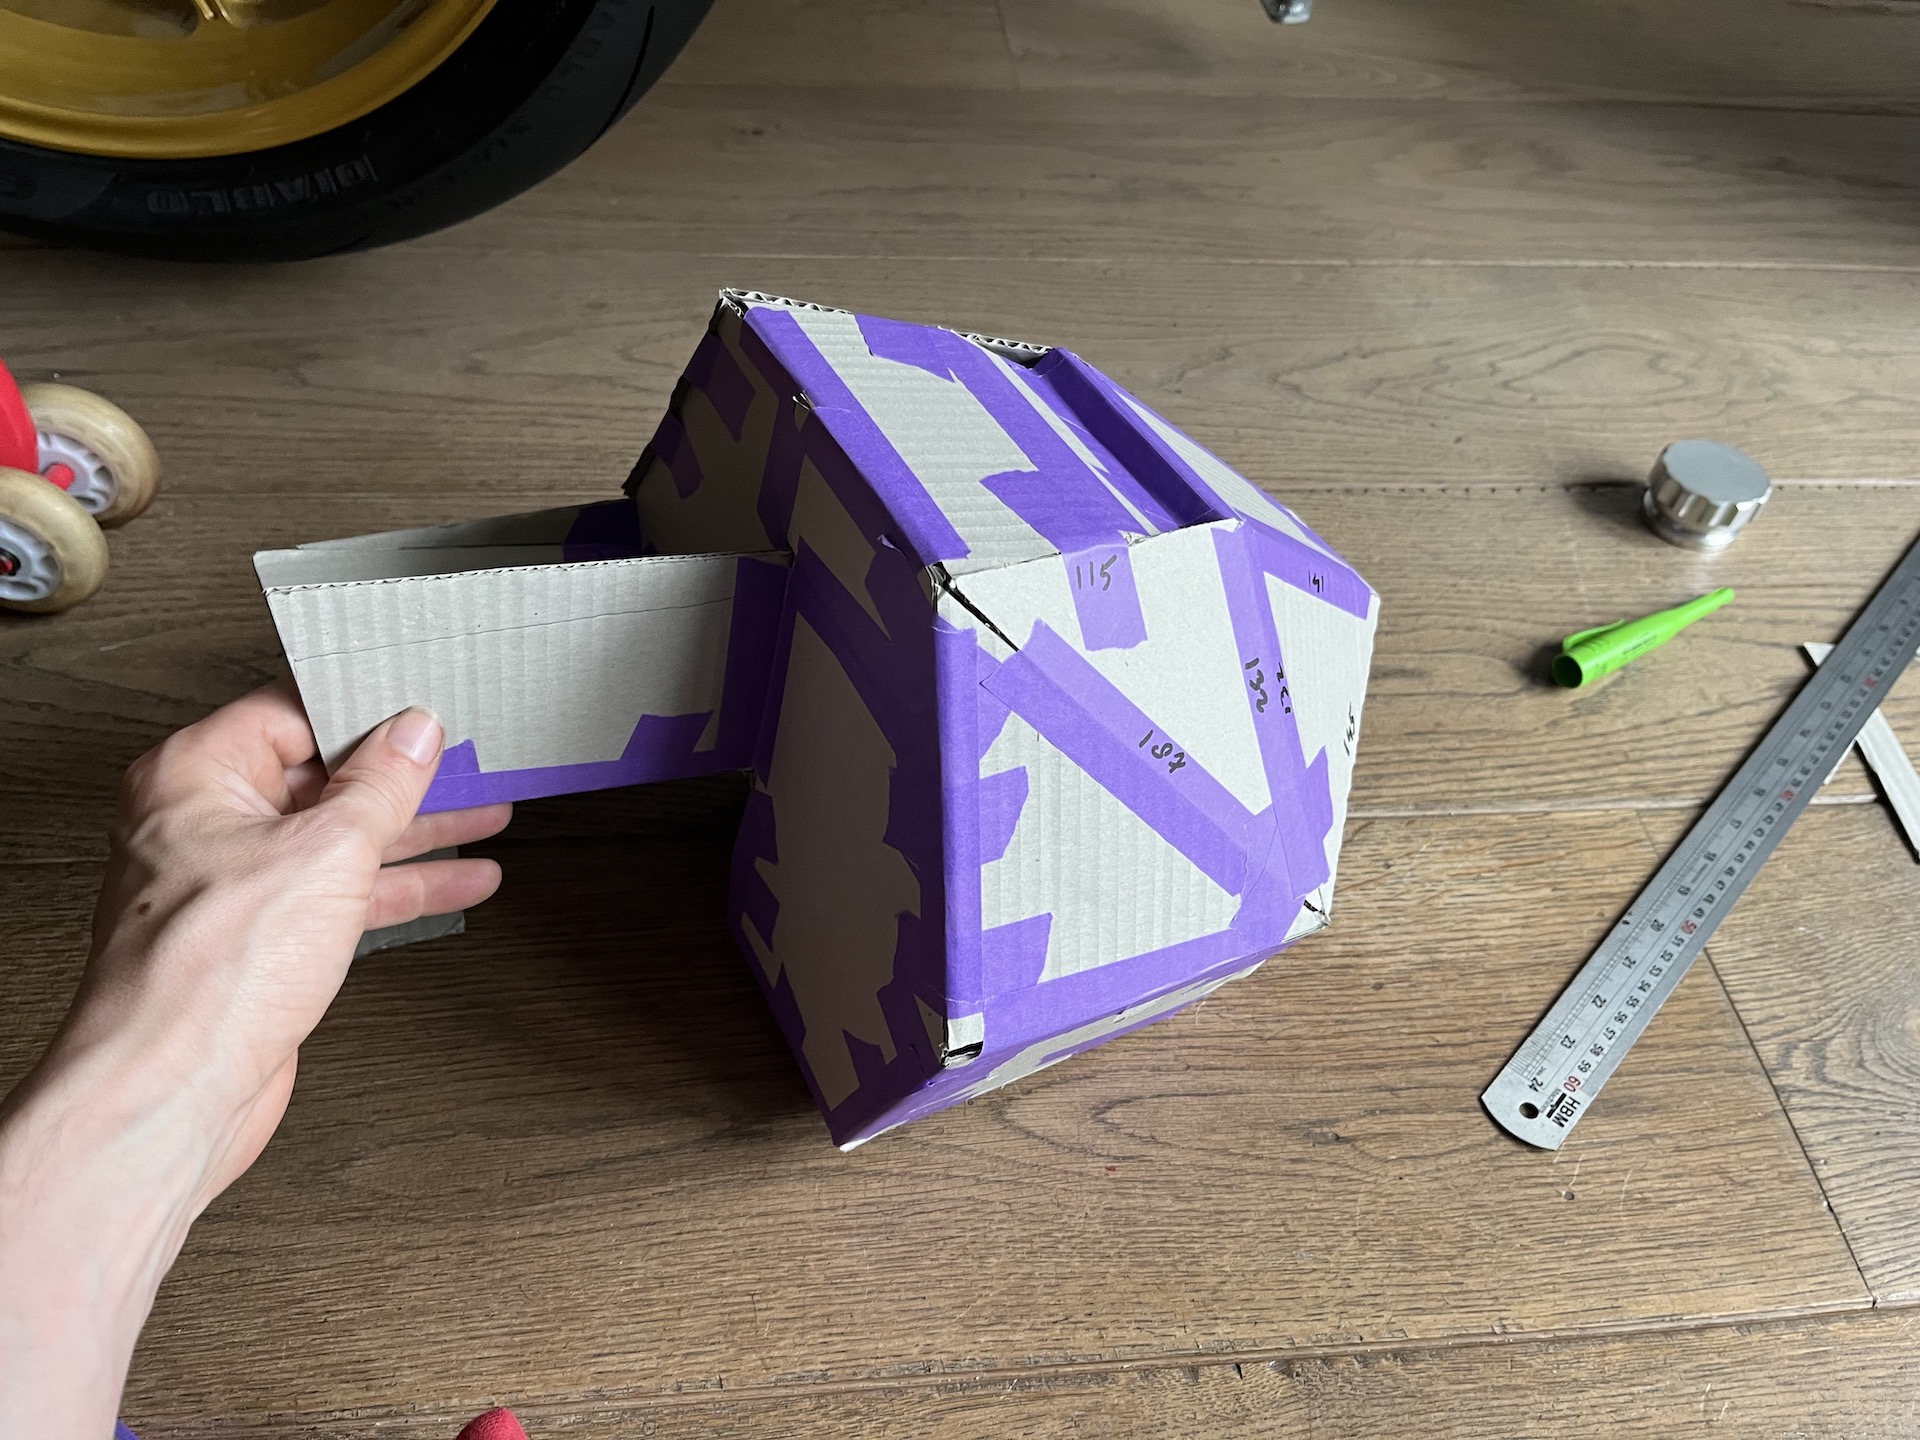
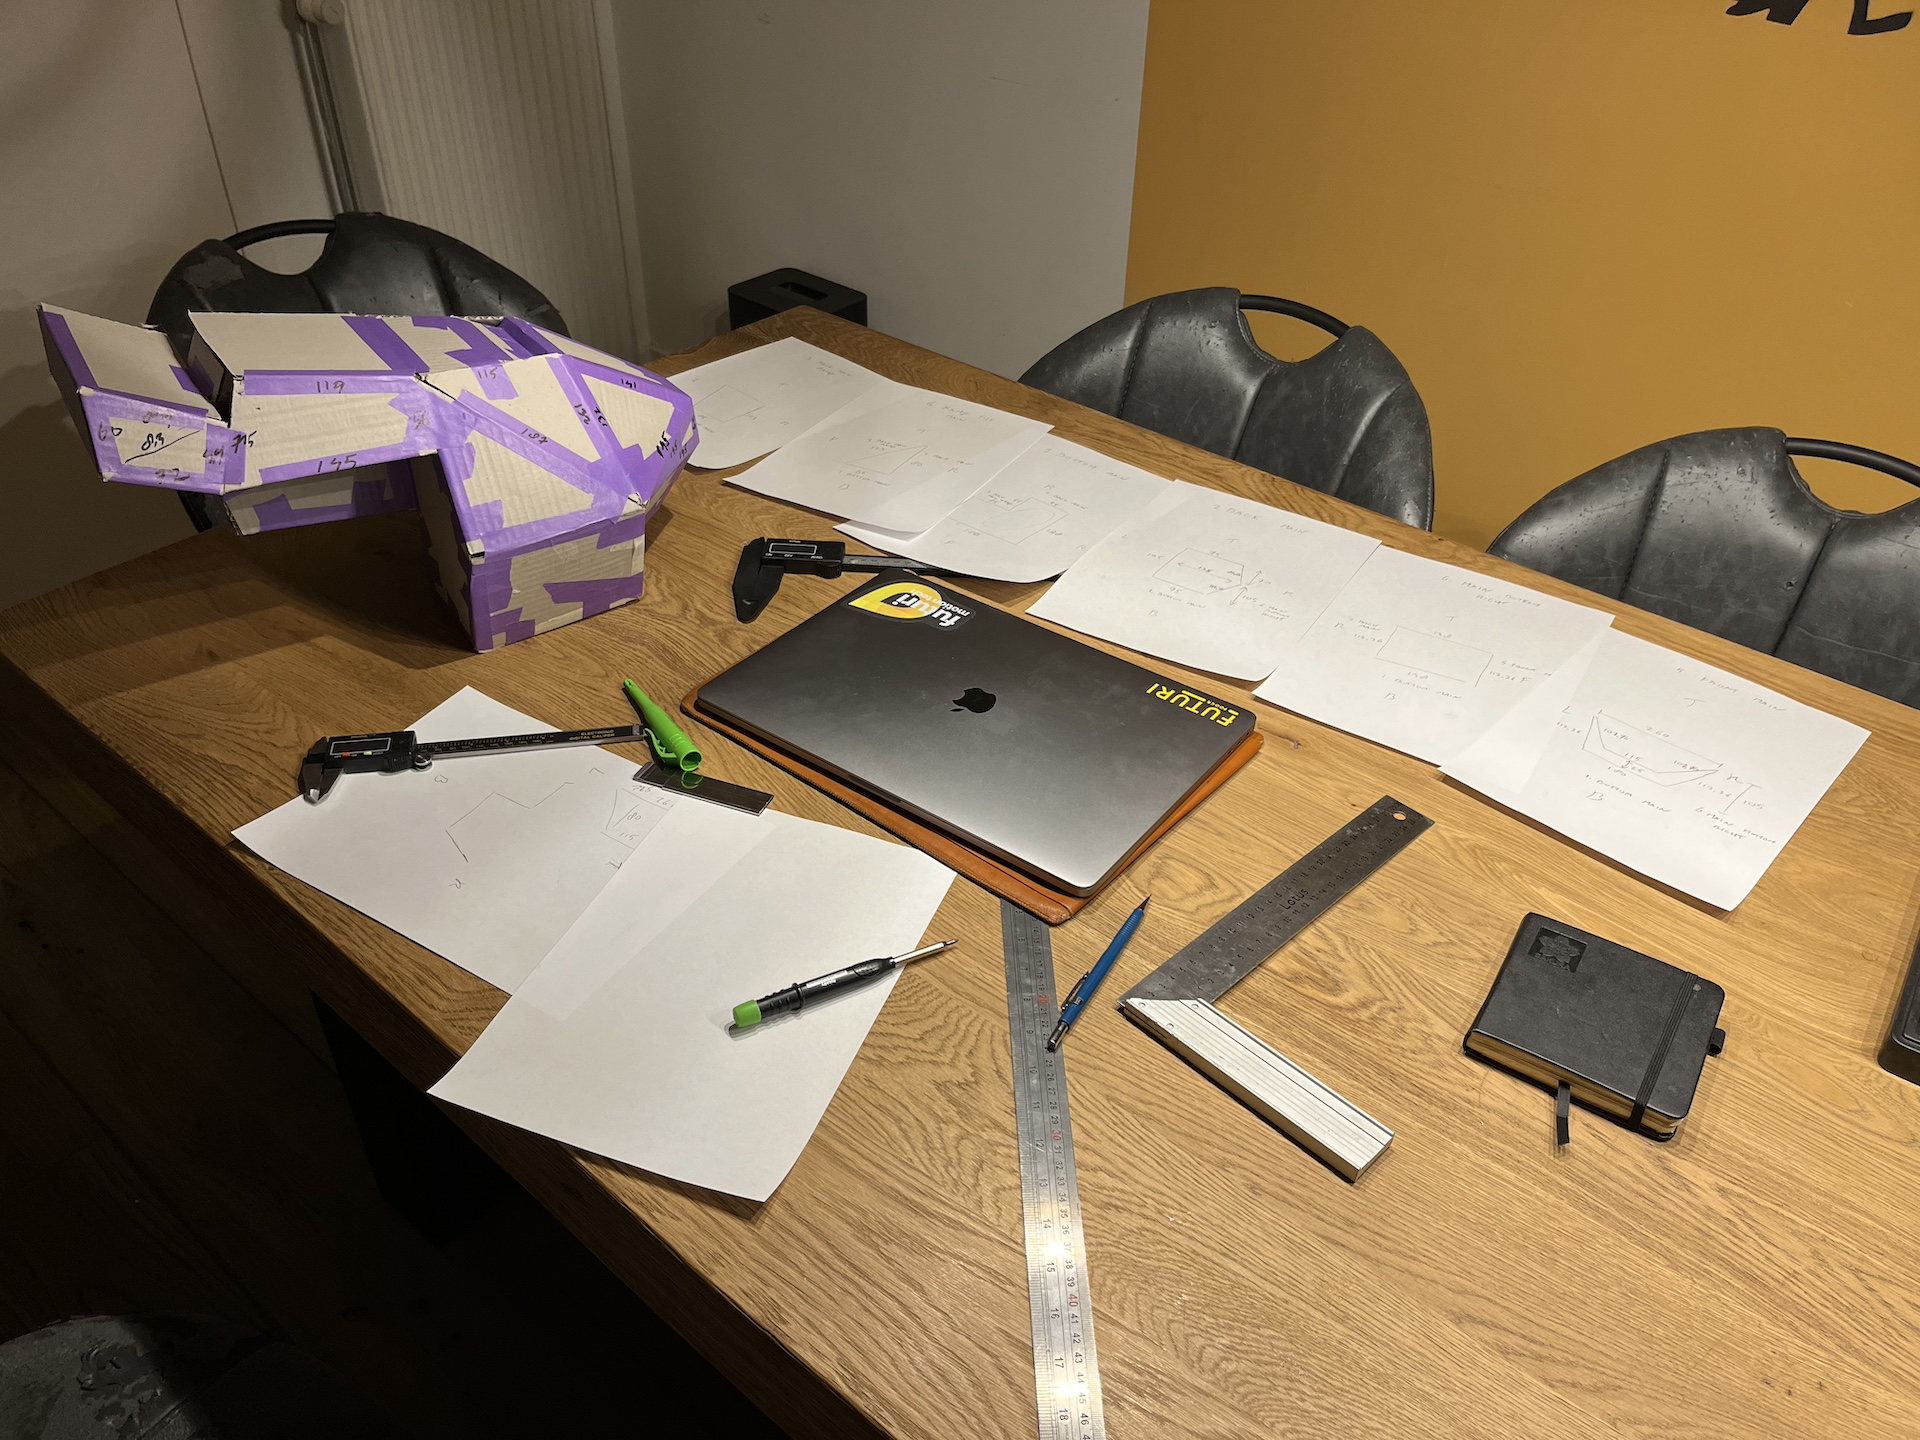
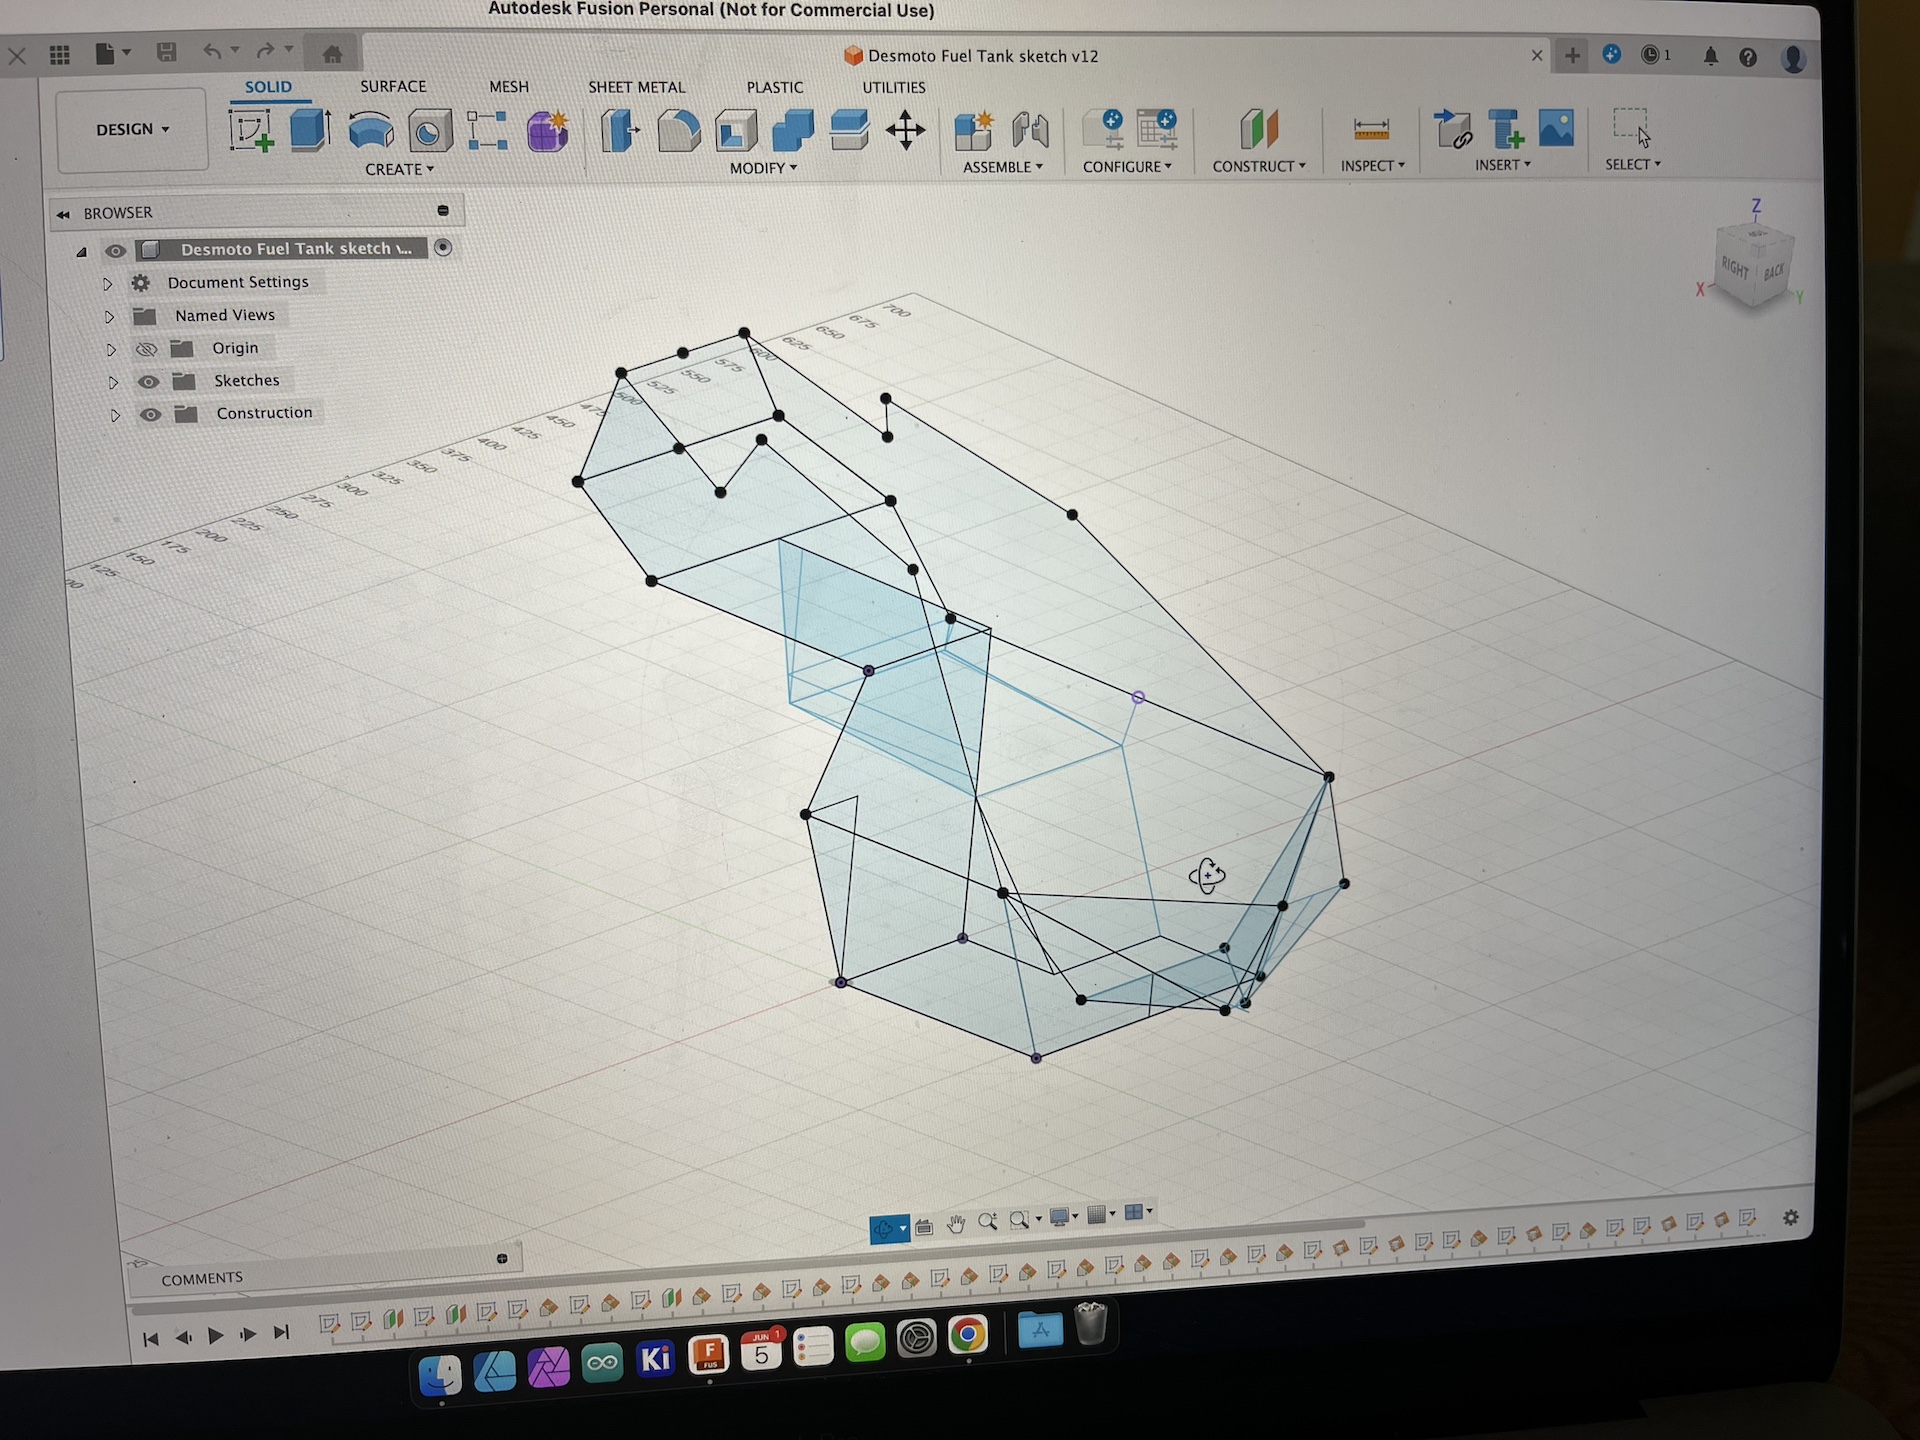
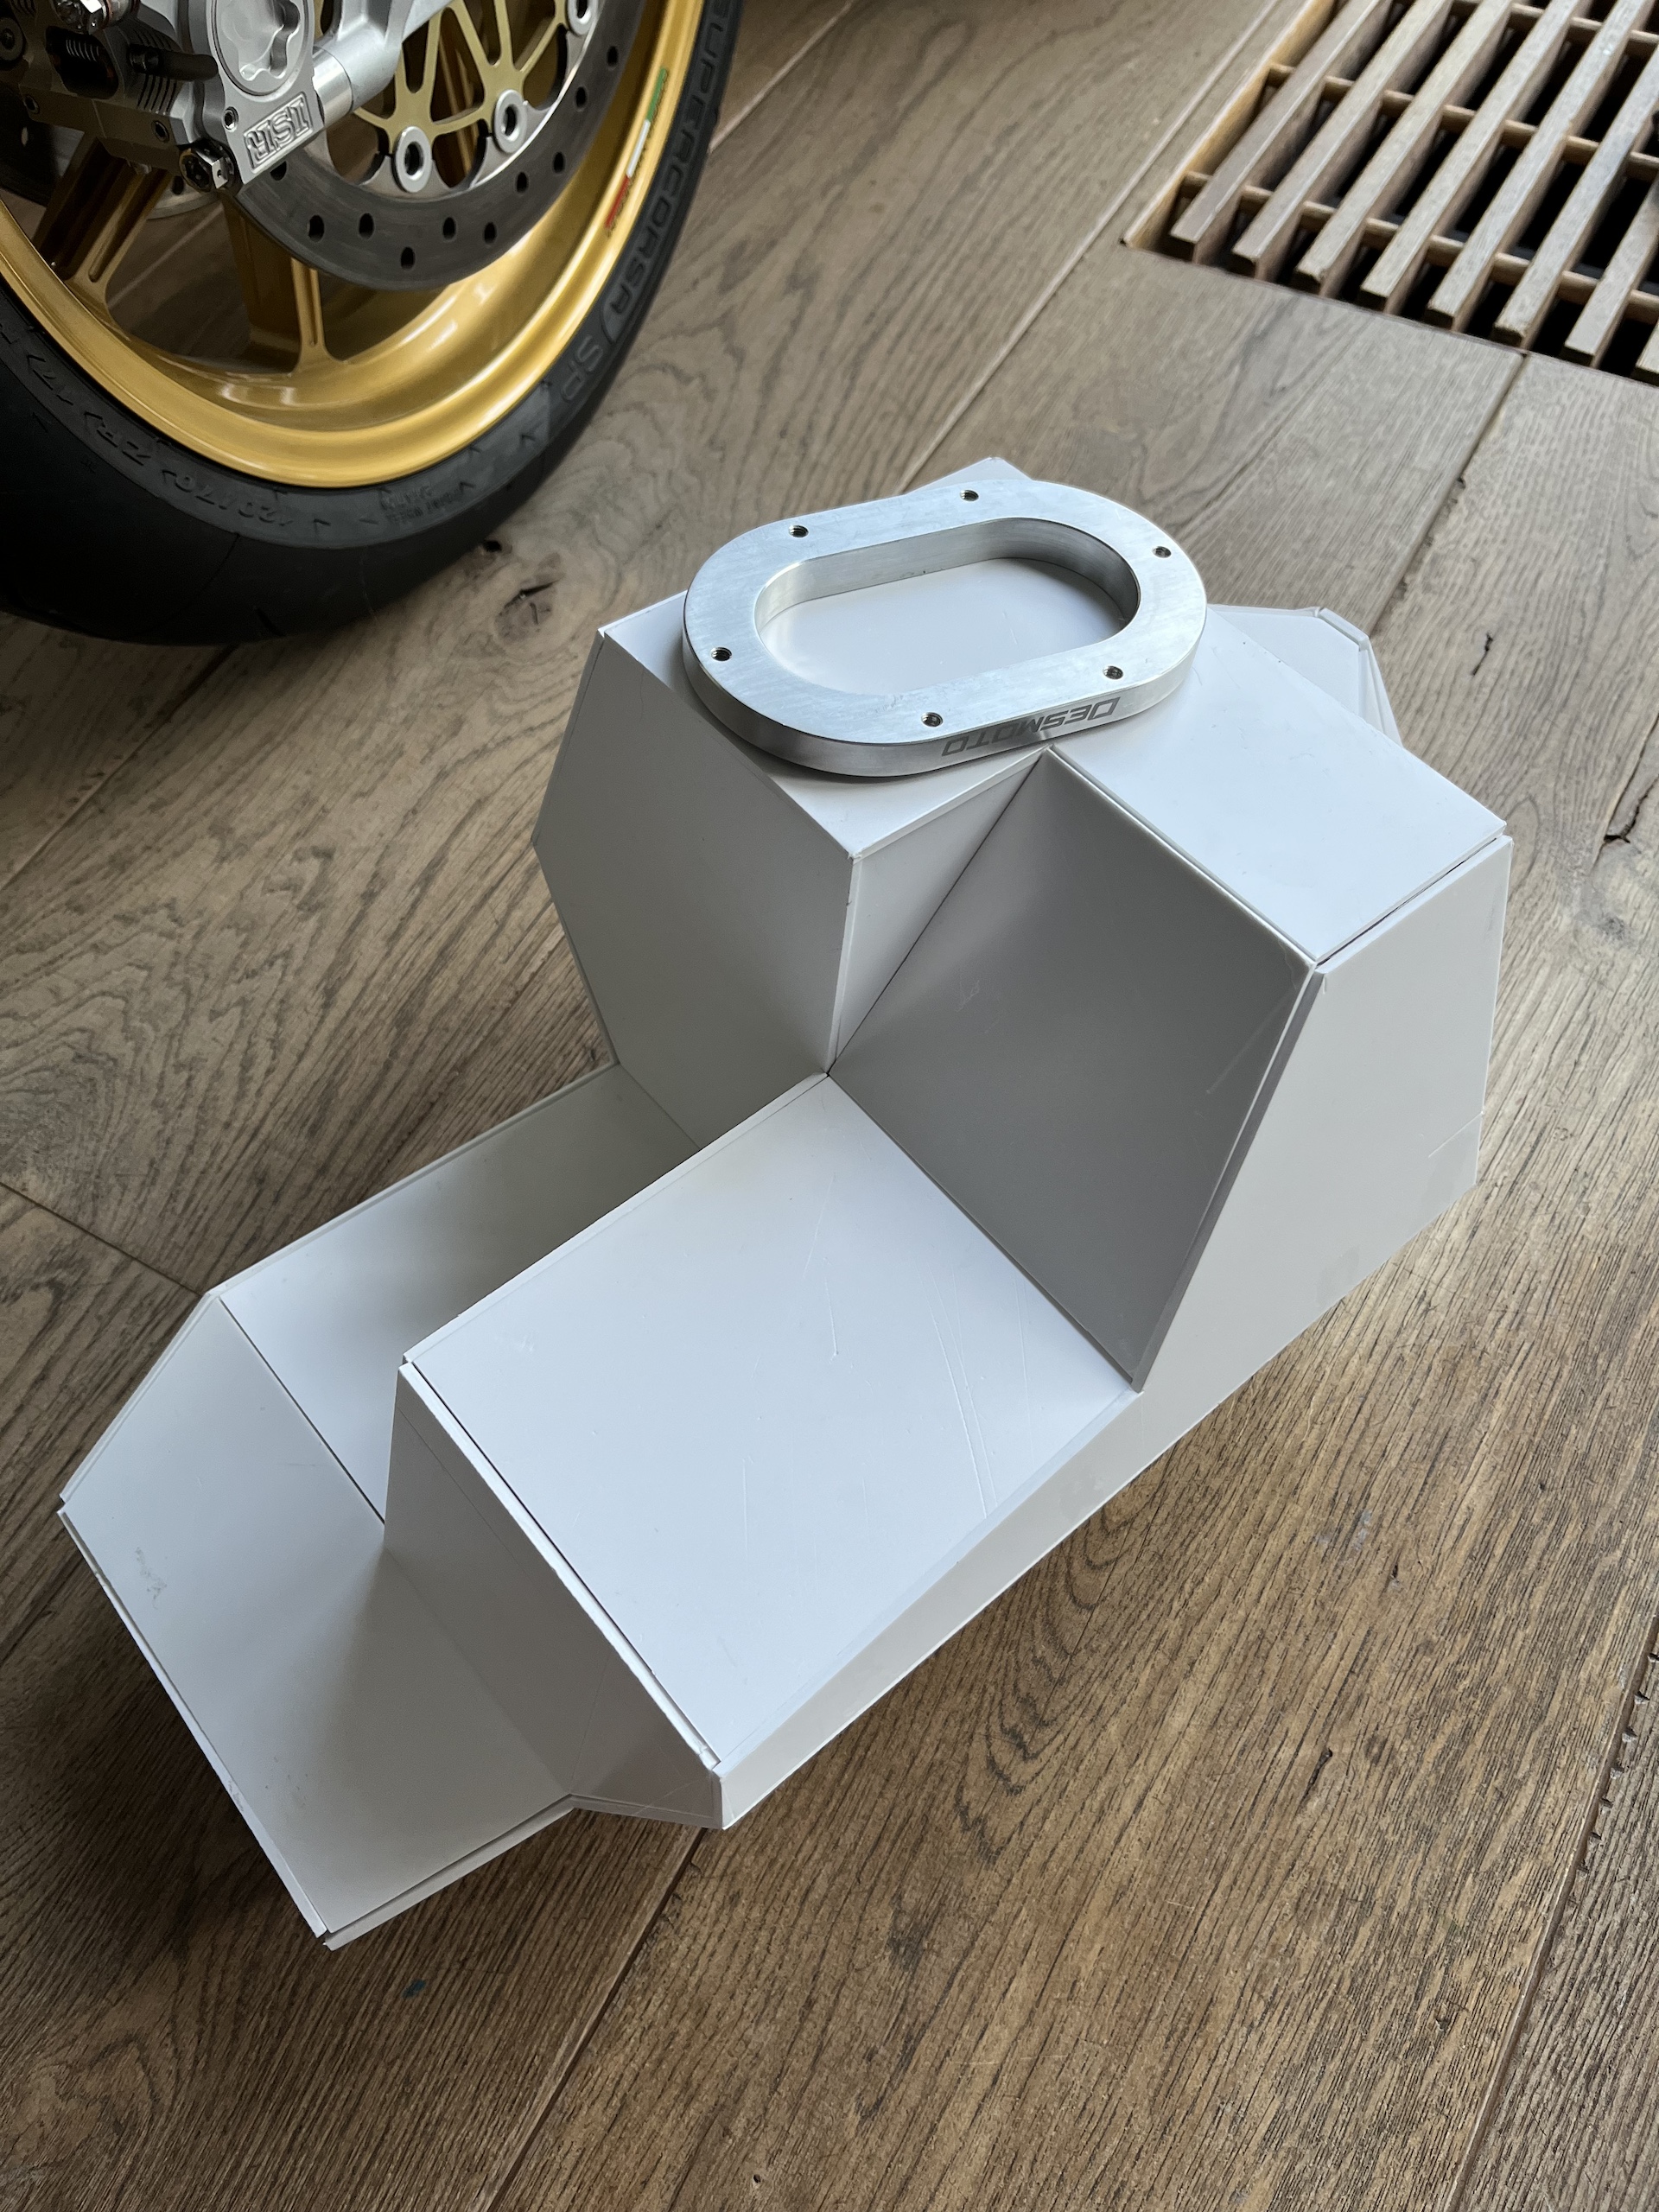
DESIGNING THE FUEL TANK
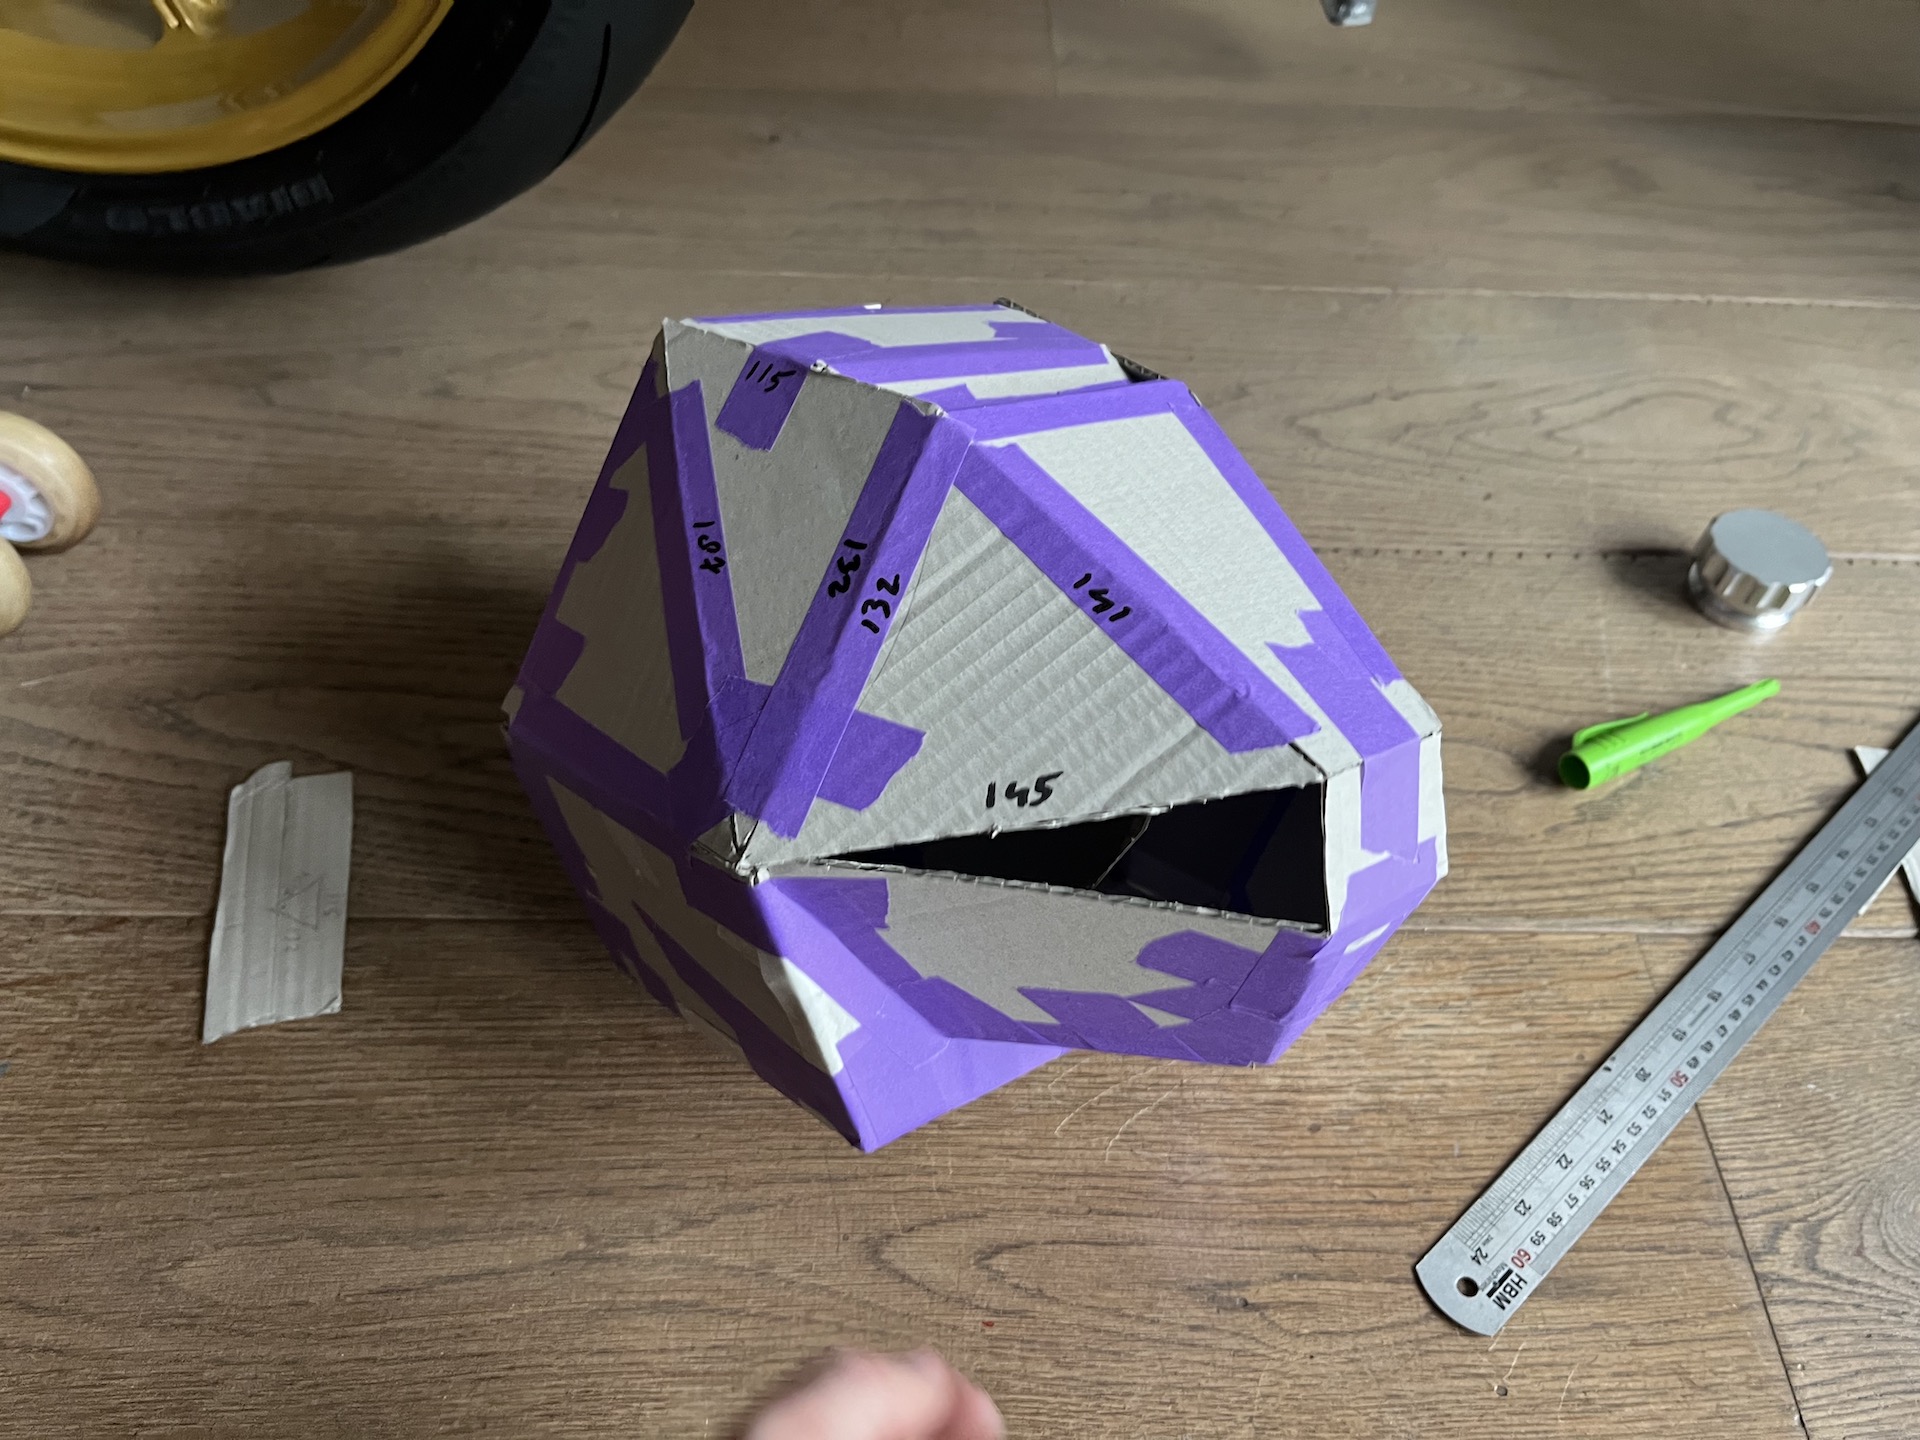
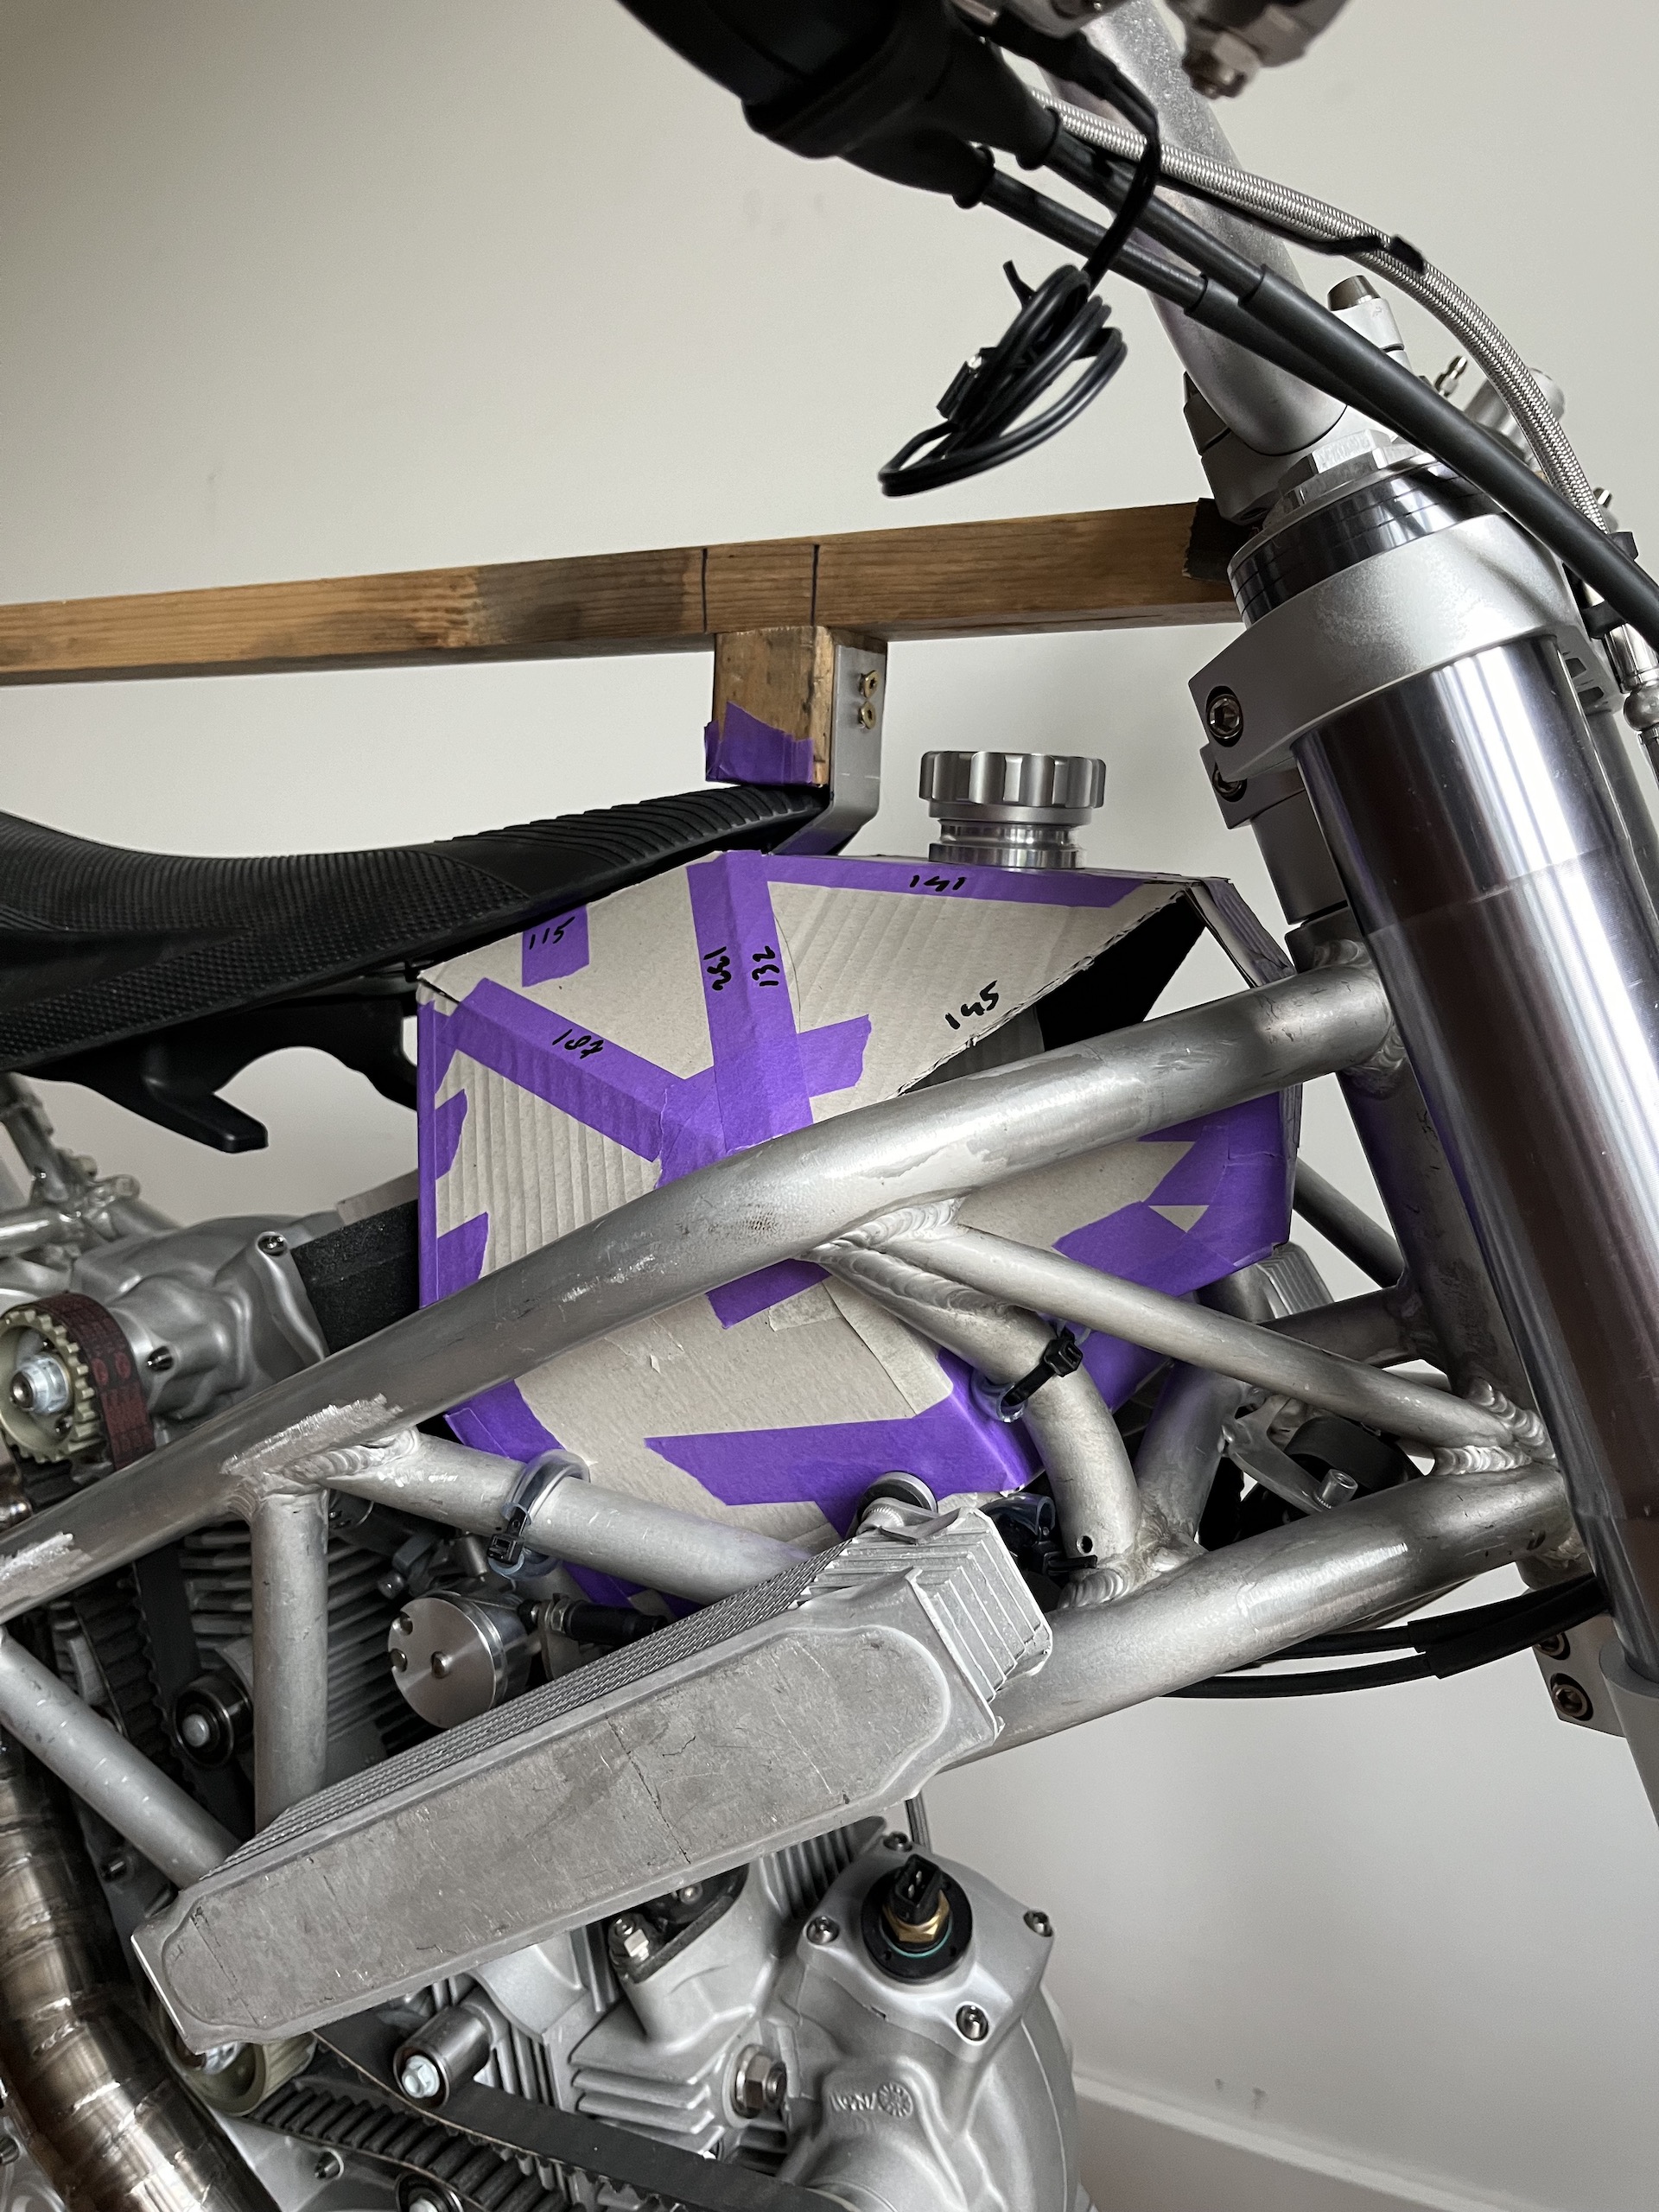
It’s time to start work on the fuel tank! Finally..
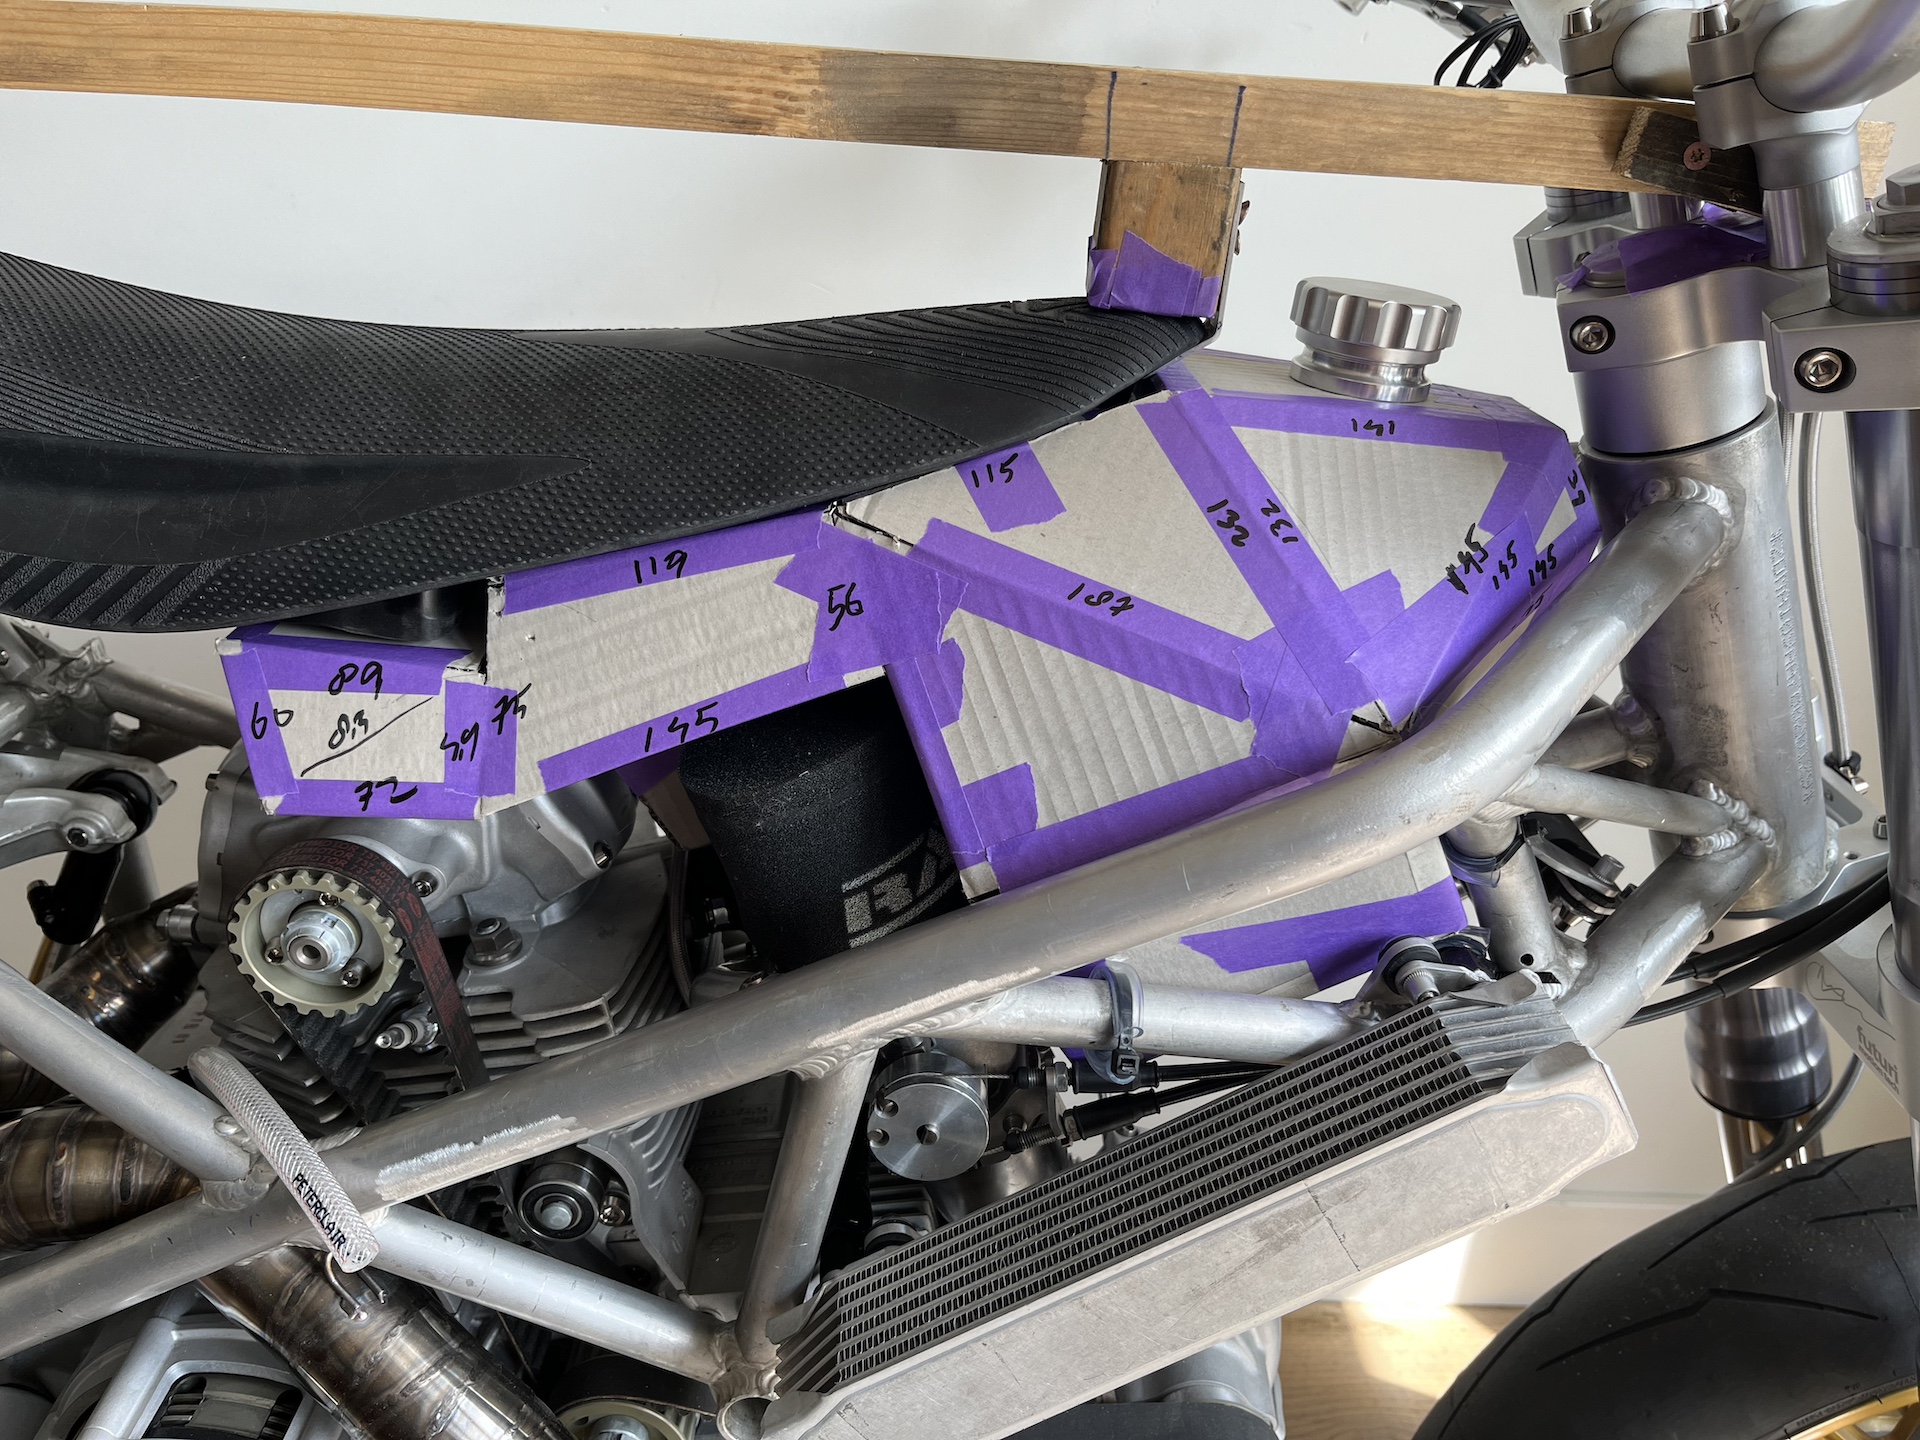
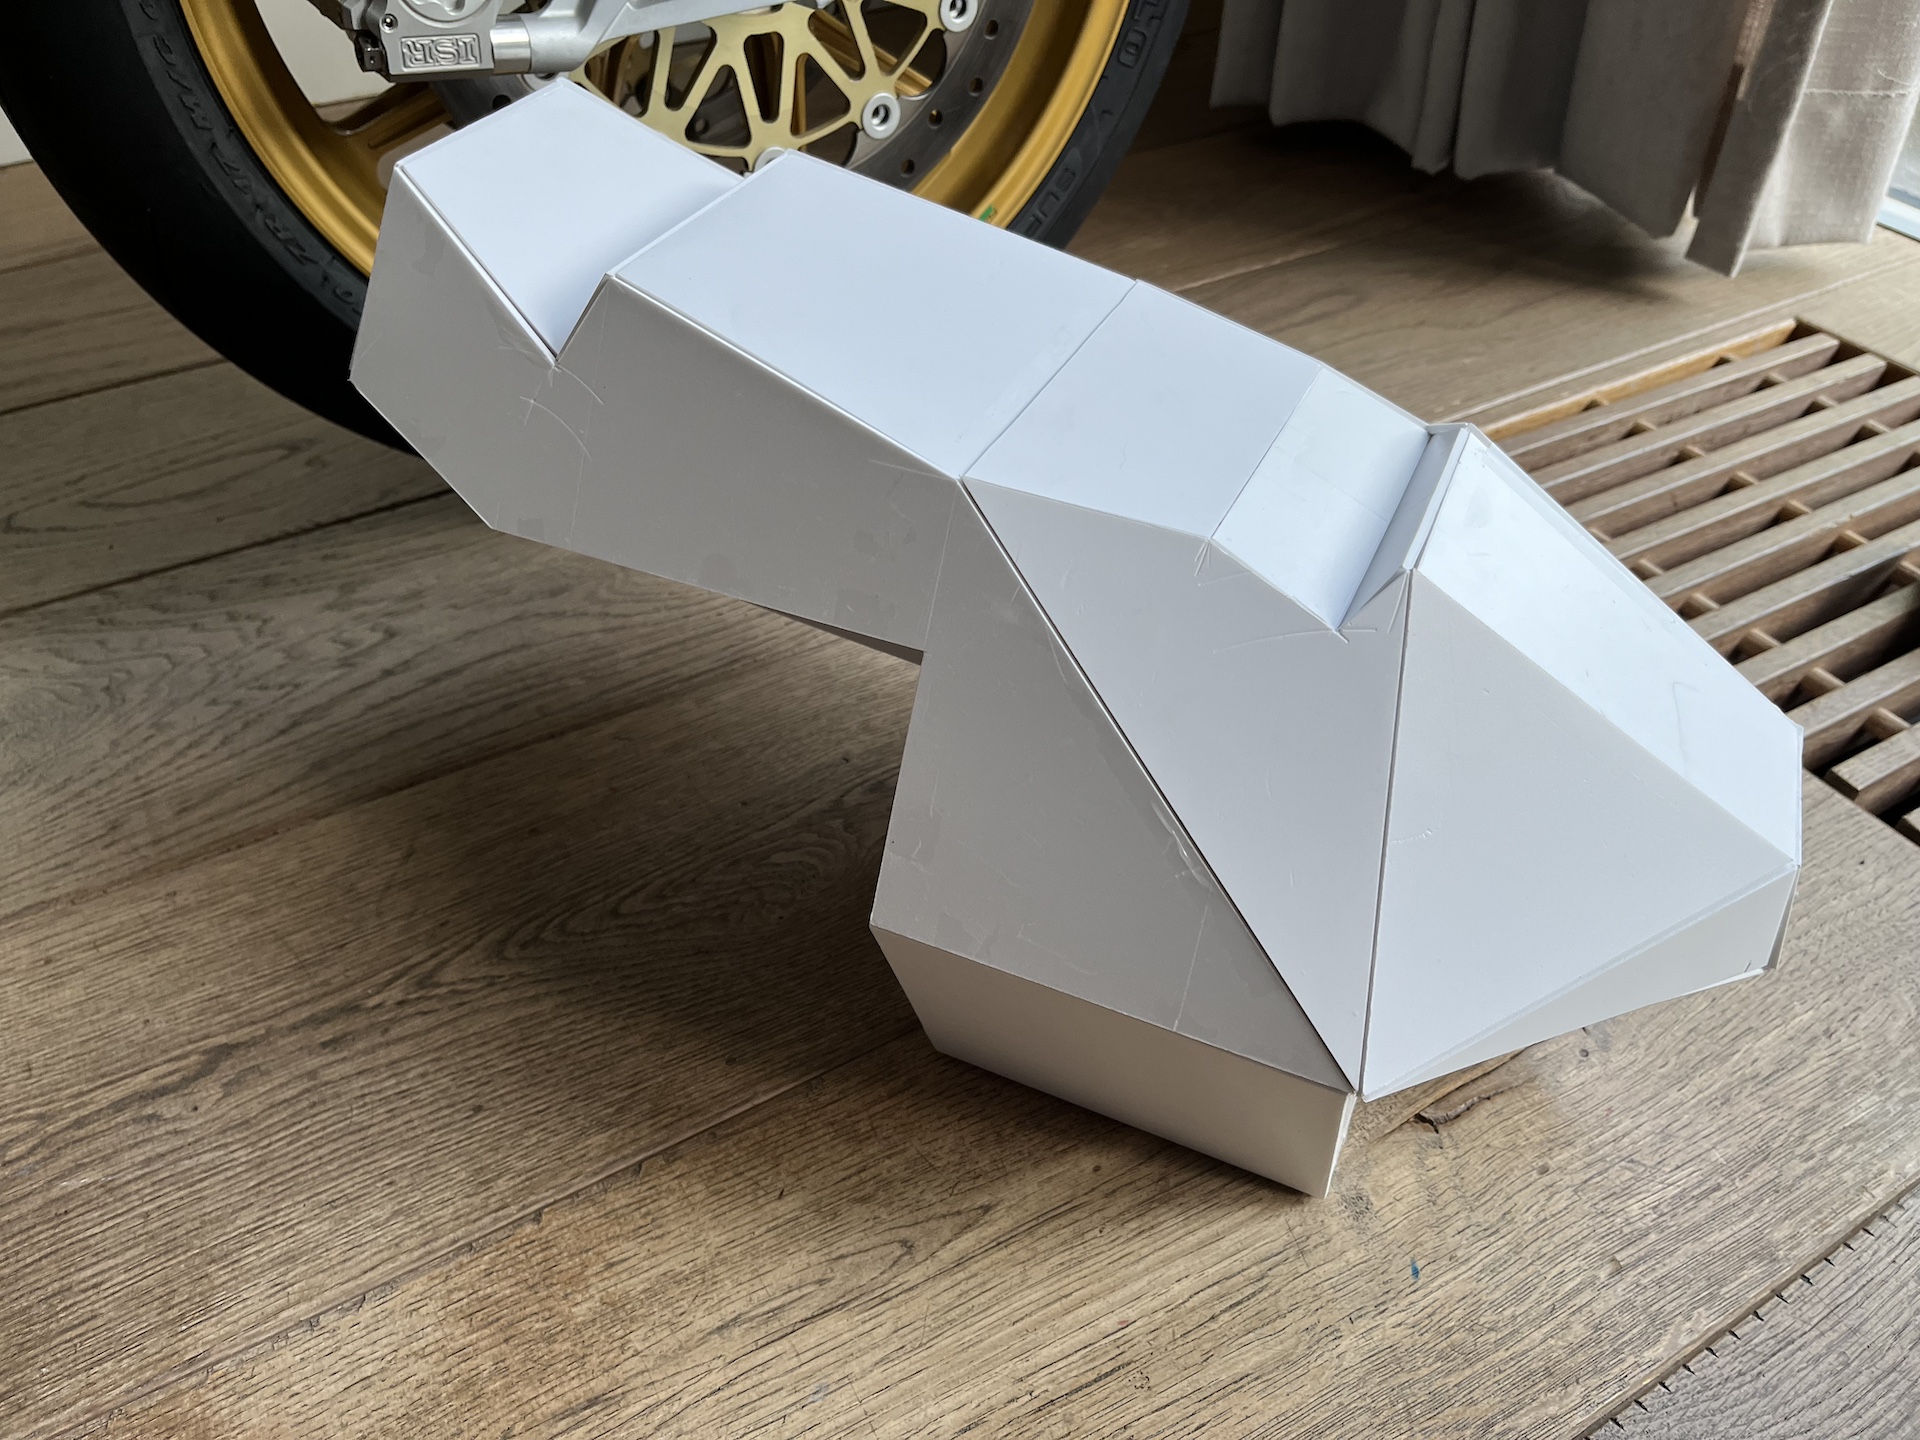
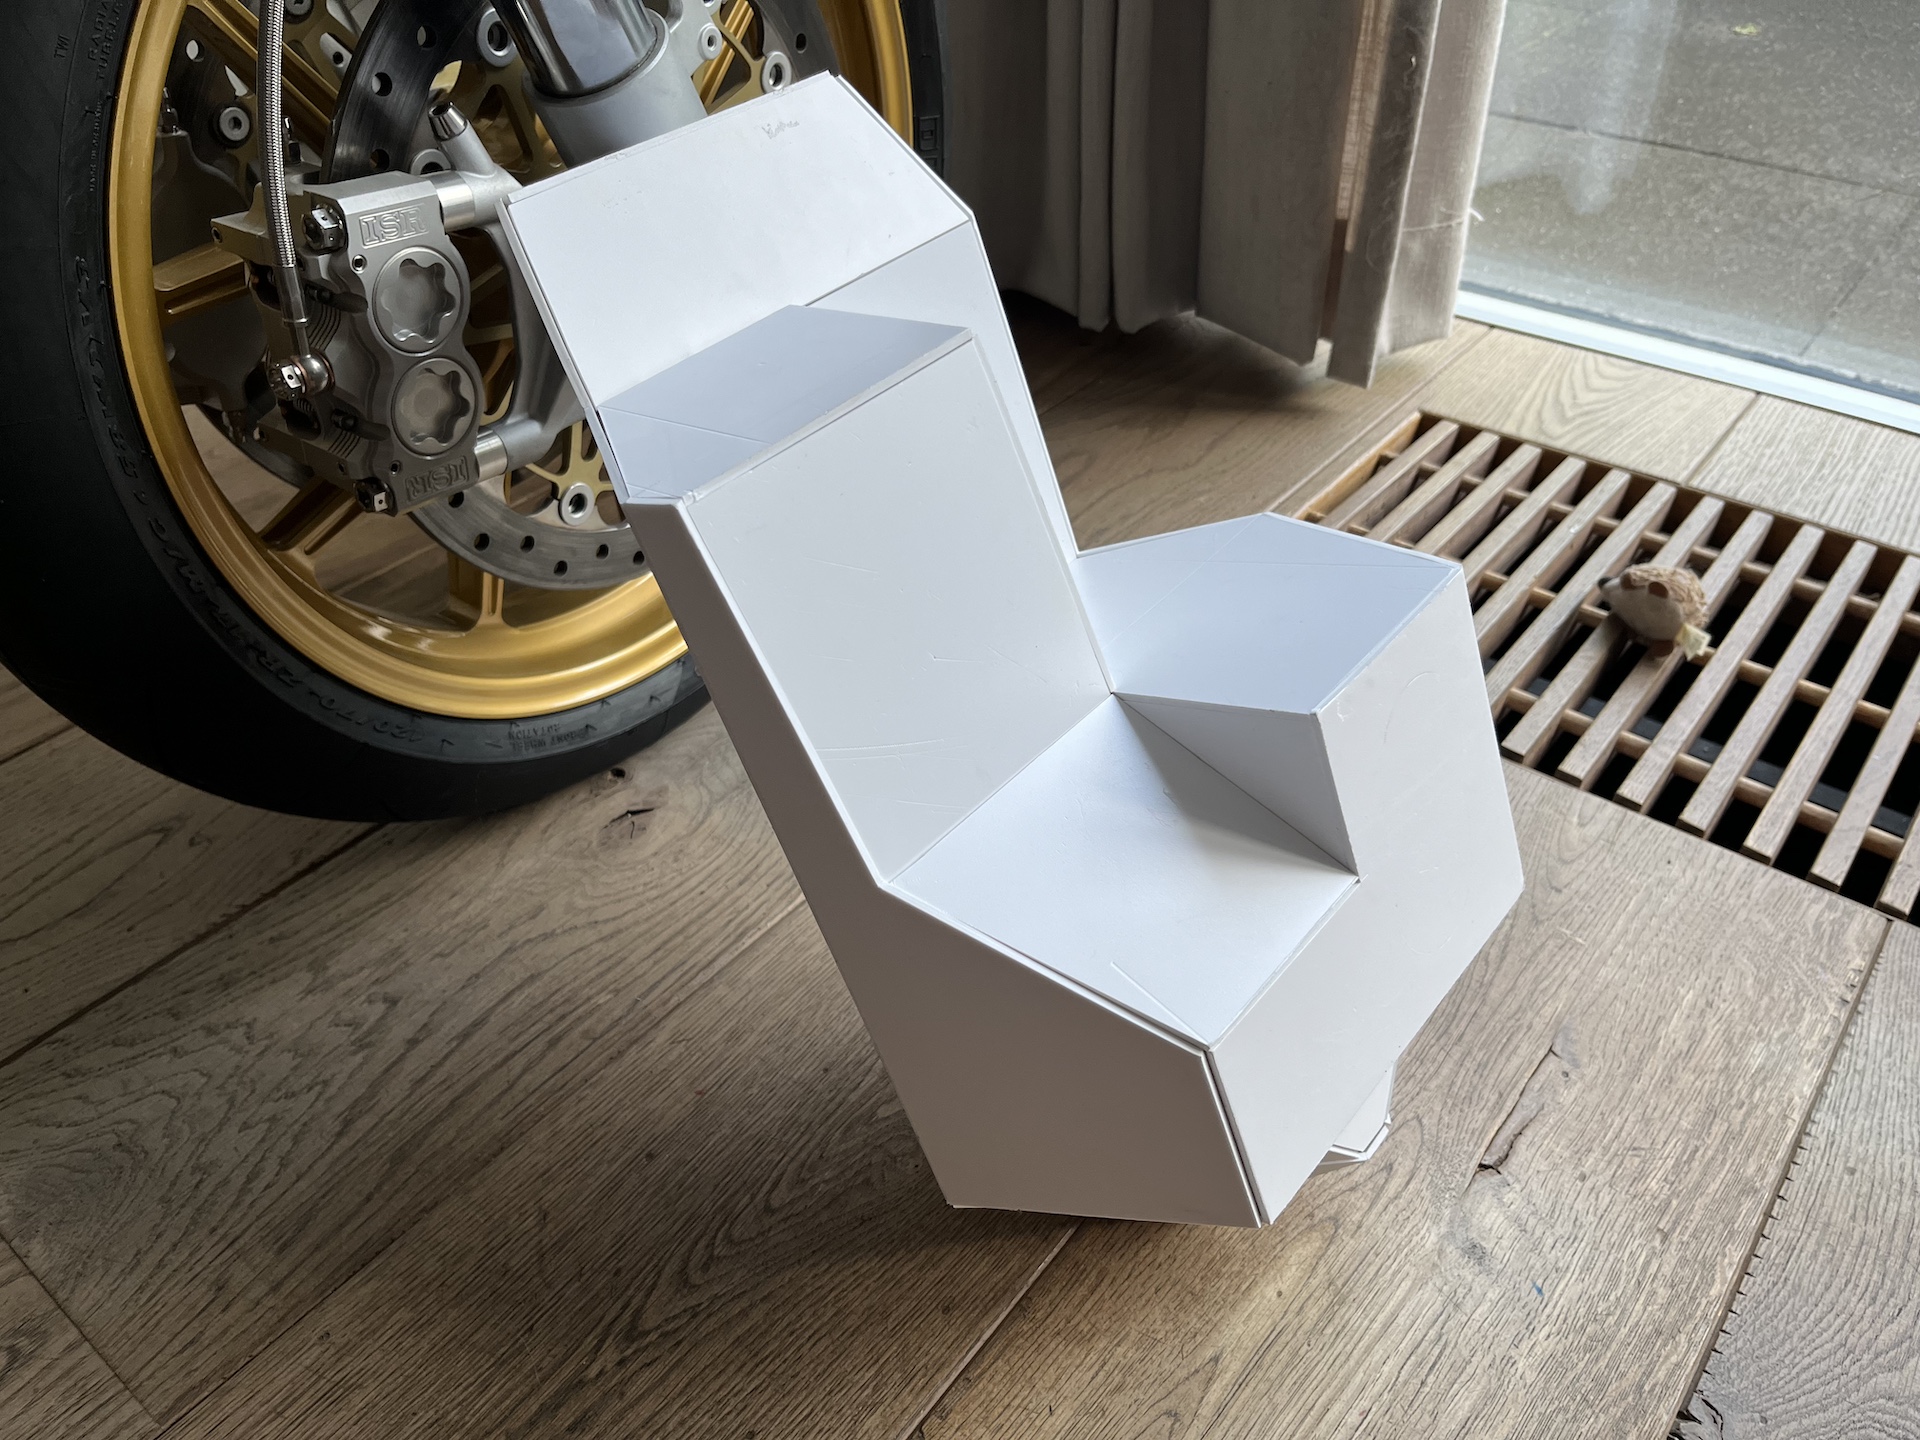
Made a mock-up out of cardboard to get a rough shape and made sure we can maximize all the space available. Cardboard is an easy way to prototype rough shapes. Not very reliable however to get exact measurements for a complex shape like this.
After that I fabricated another more refined version from plastic hobby-board to validate the final design, all while drawning it in CAD to validate and log all the measurements. So much shapes and triangles this thing makes my head hurt.. 35 pieces in total!
Need to maximize all the space I have to get the tank as big as possible. Hopefully minimum 9 liters, and yes that’s already very small 😂..
Onwards to fabricating everything out of 2mm thin wall aluminium.


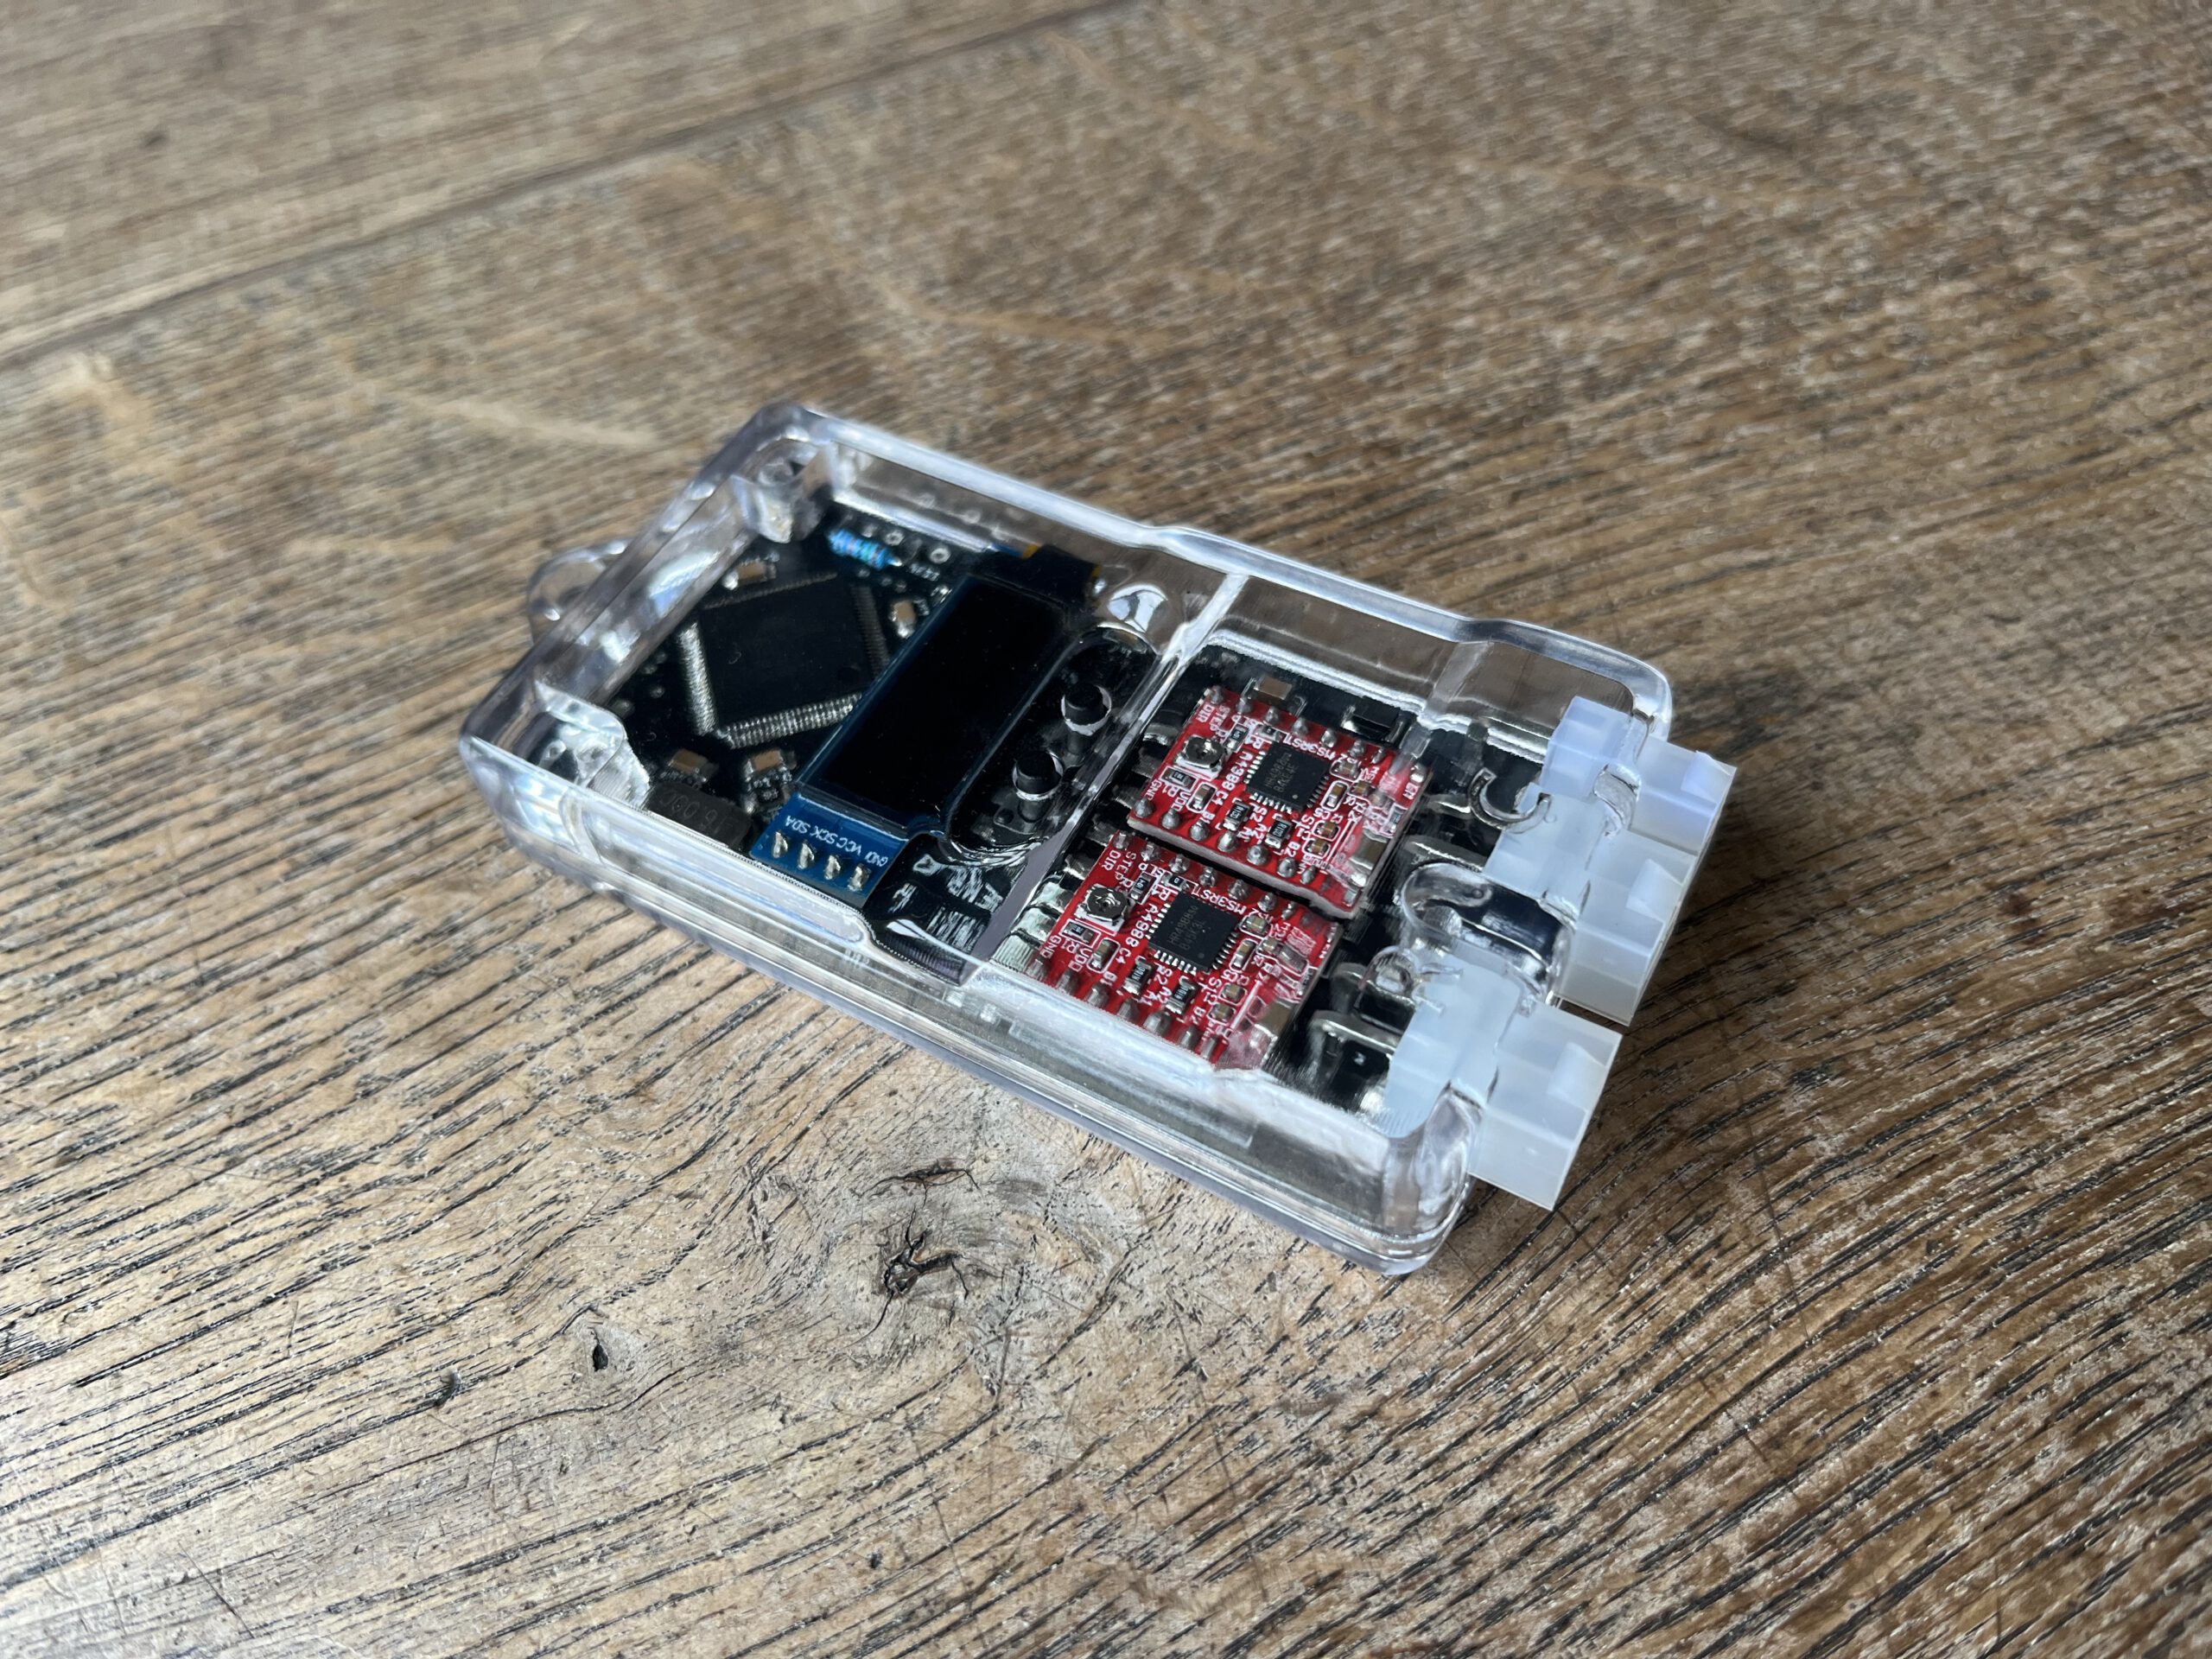
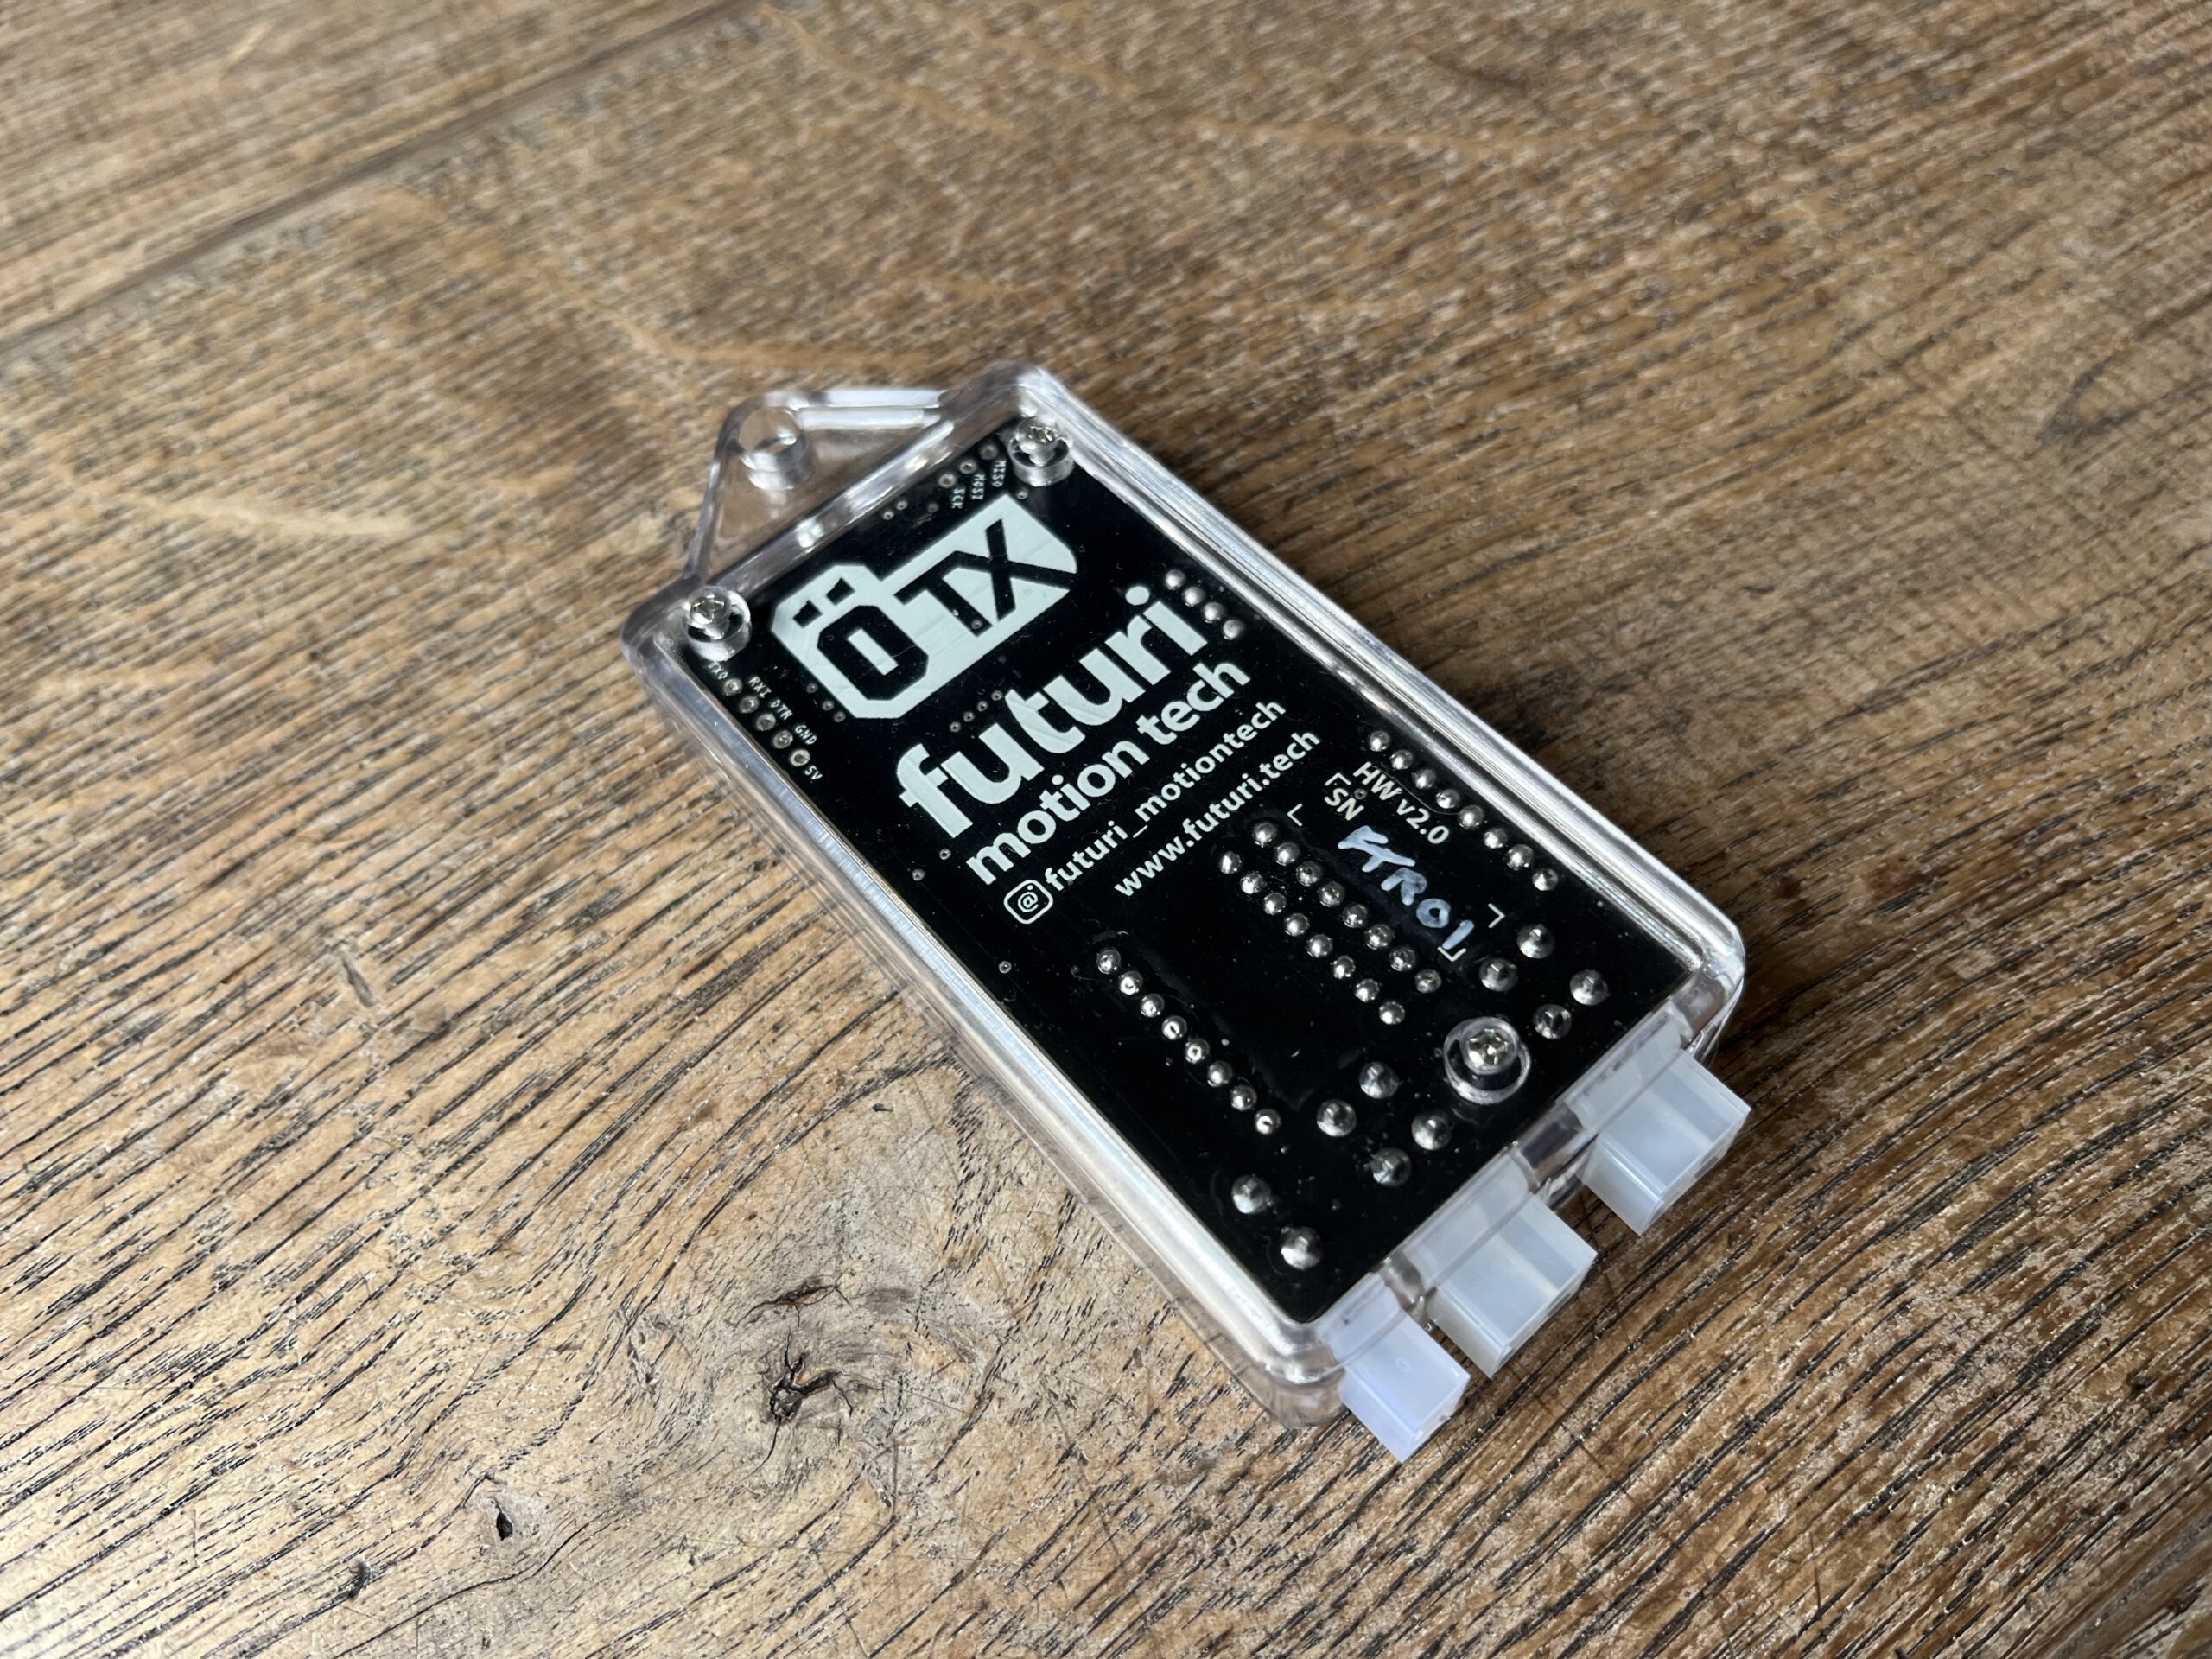
ÖTX CONTROLLER DONE!
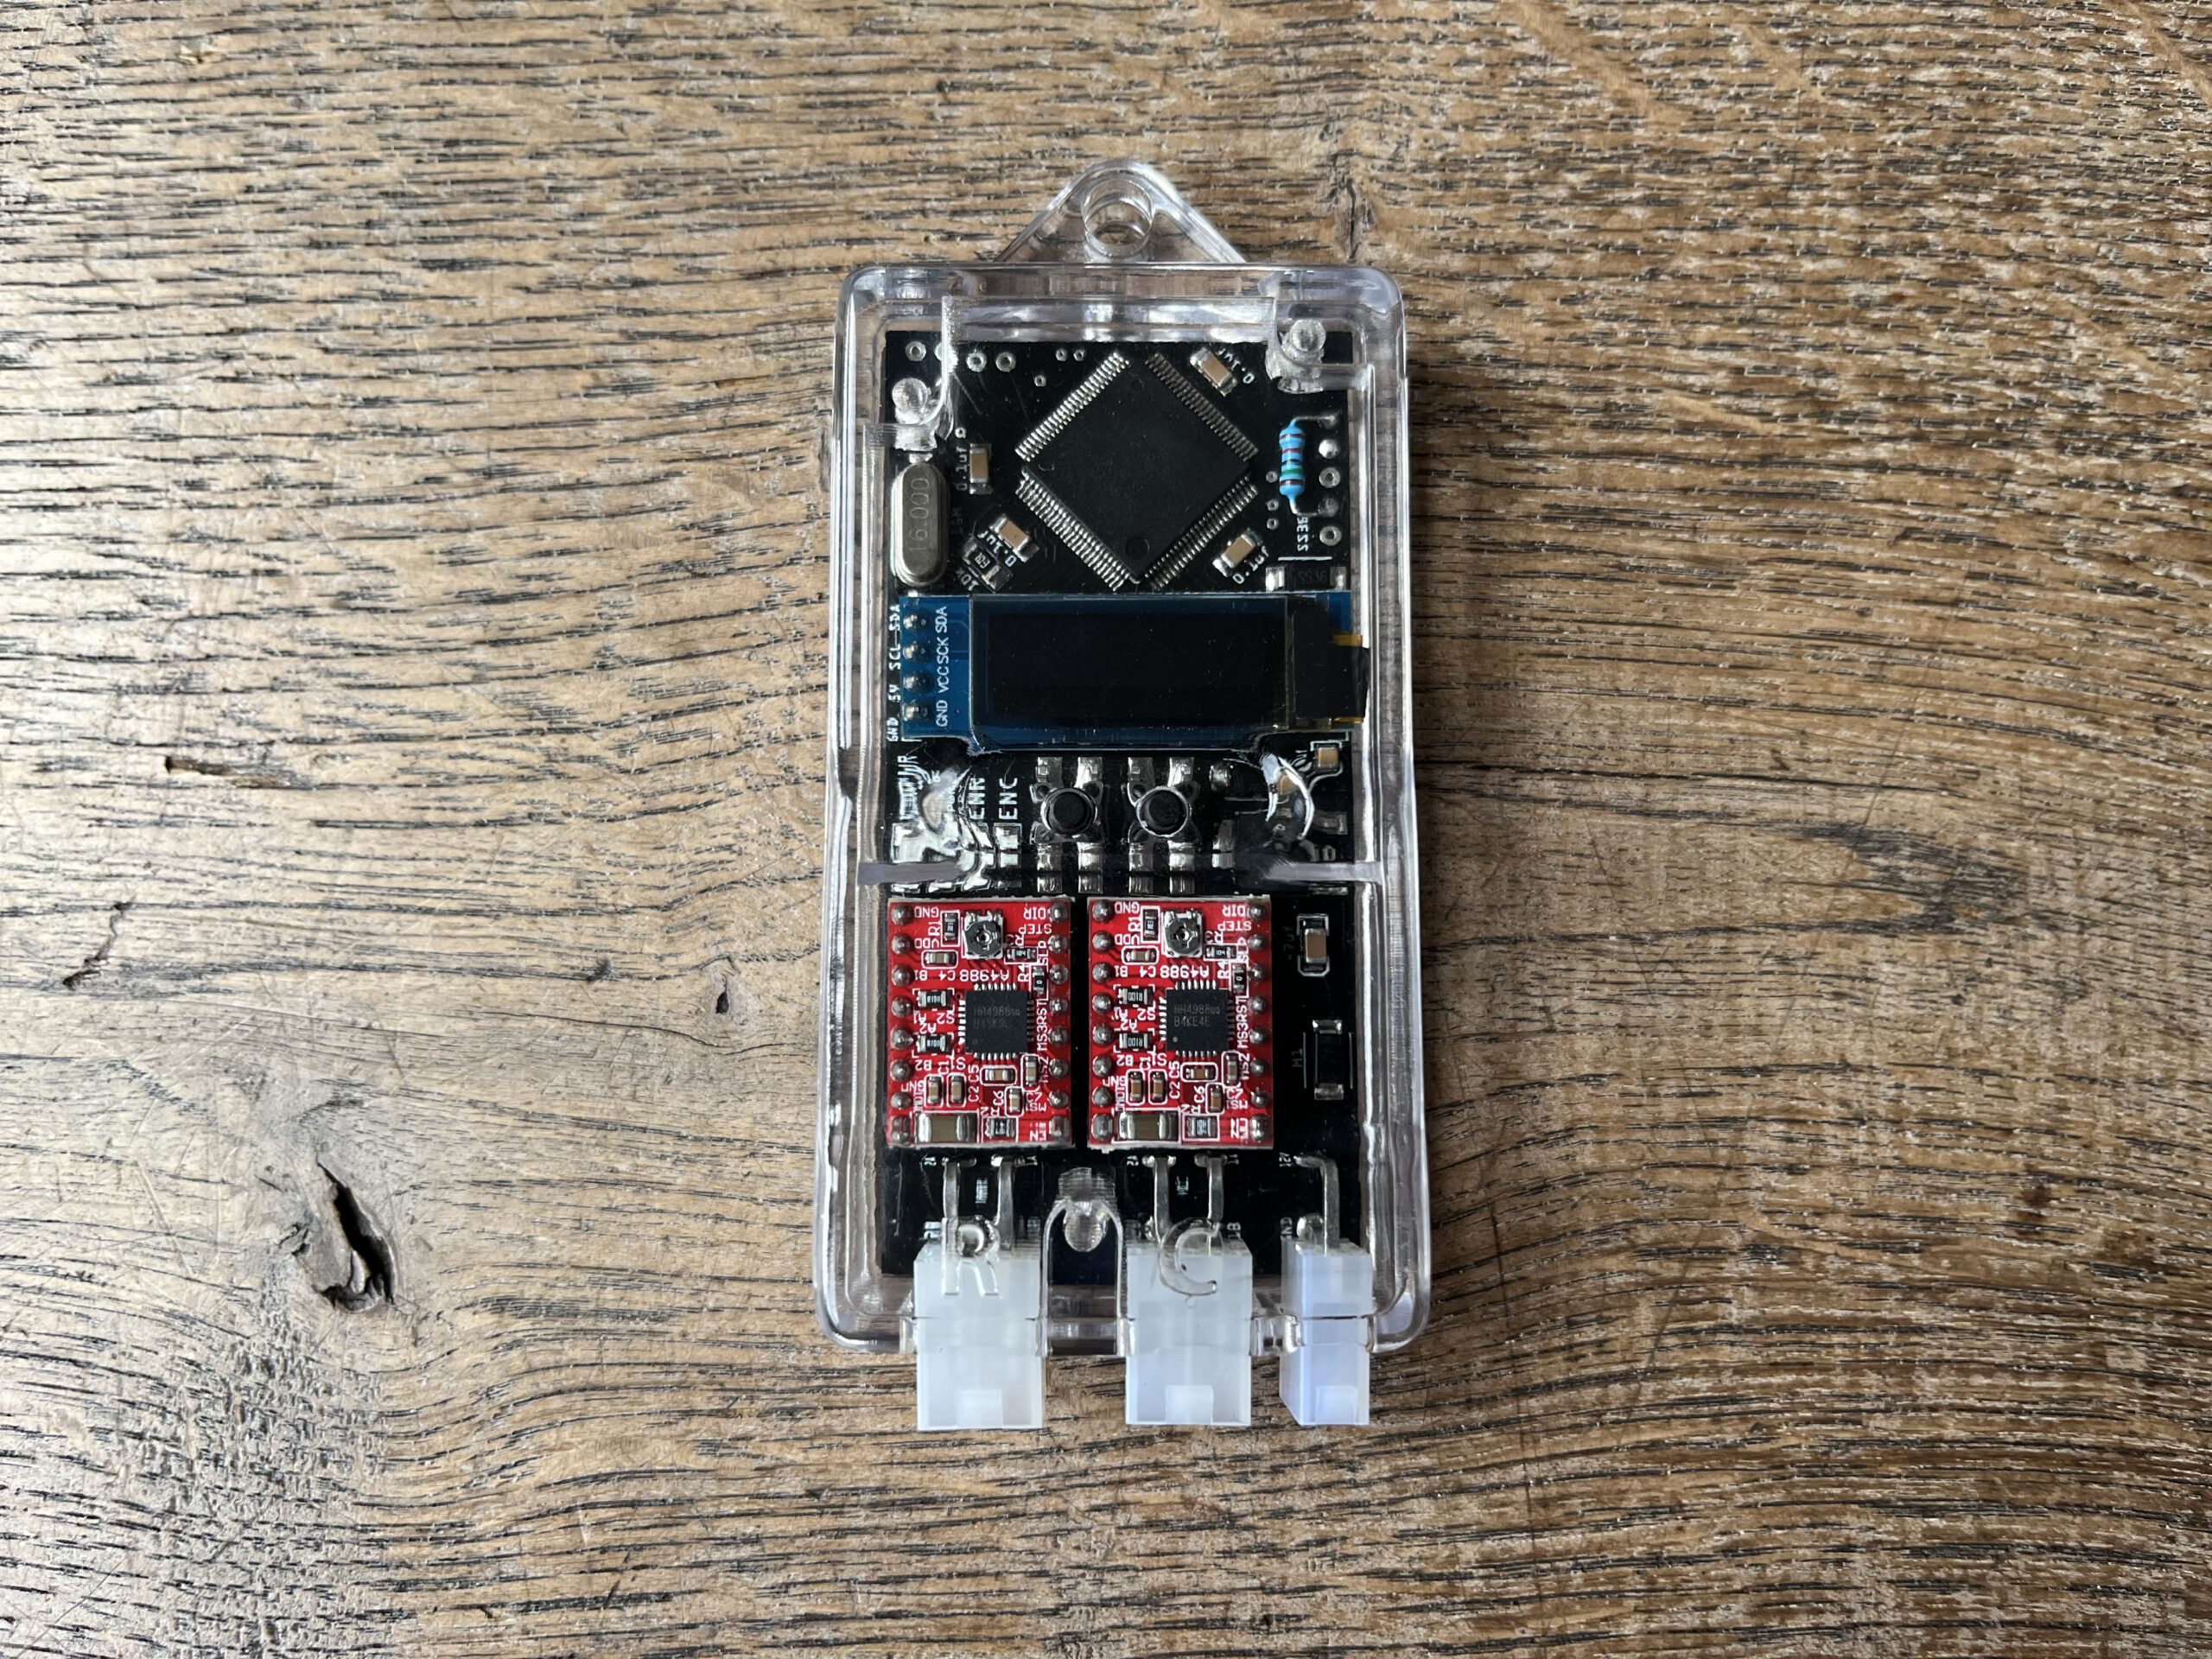
Finally done 🔥! The ÖTX controller allows you to configure your rebound and compression settings on ANY electronically controlled Öhlins TTX rear shock or front fork. All packaged within this very small amazing clear case that fits in the palm of your hand. Giving off a 90s GameBoy vibe.
The development of this controller was sparked from the Desmoto project, since I needed to have a solution to adjust my TTX rear shock for this project.
A full fledged plug and play/easy to use product for any other custom bike builder!

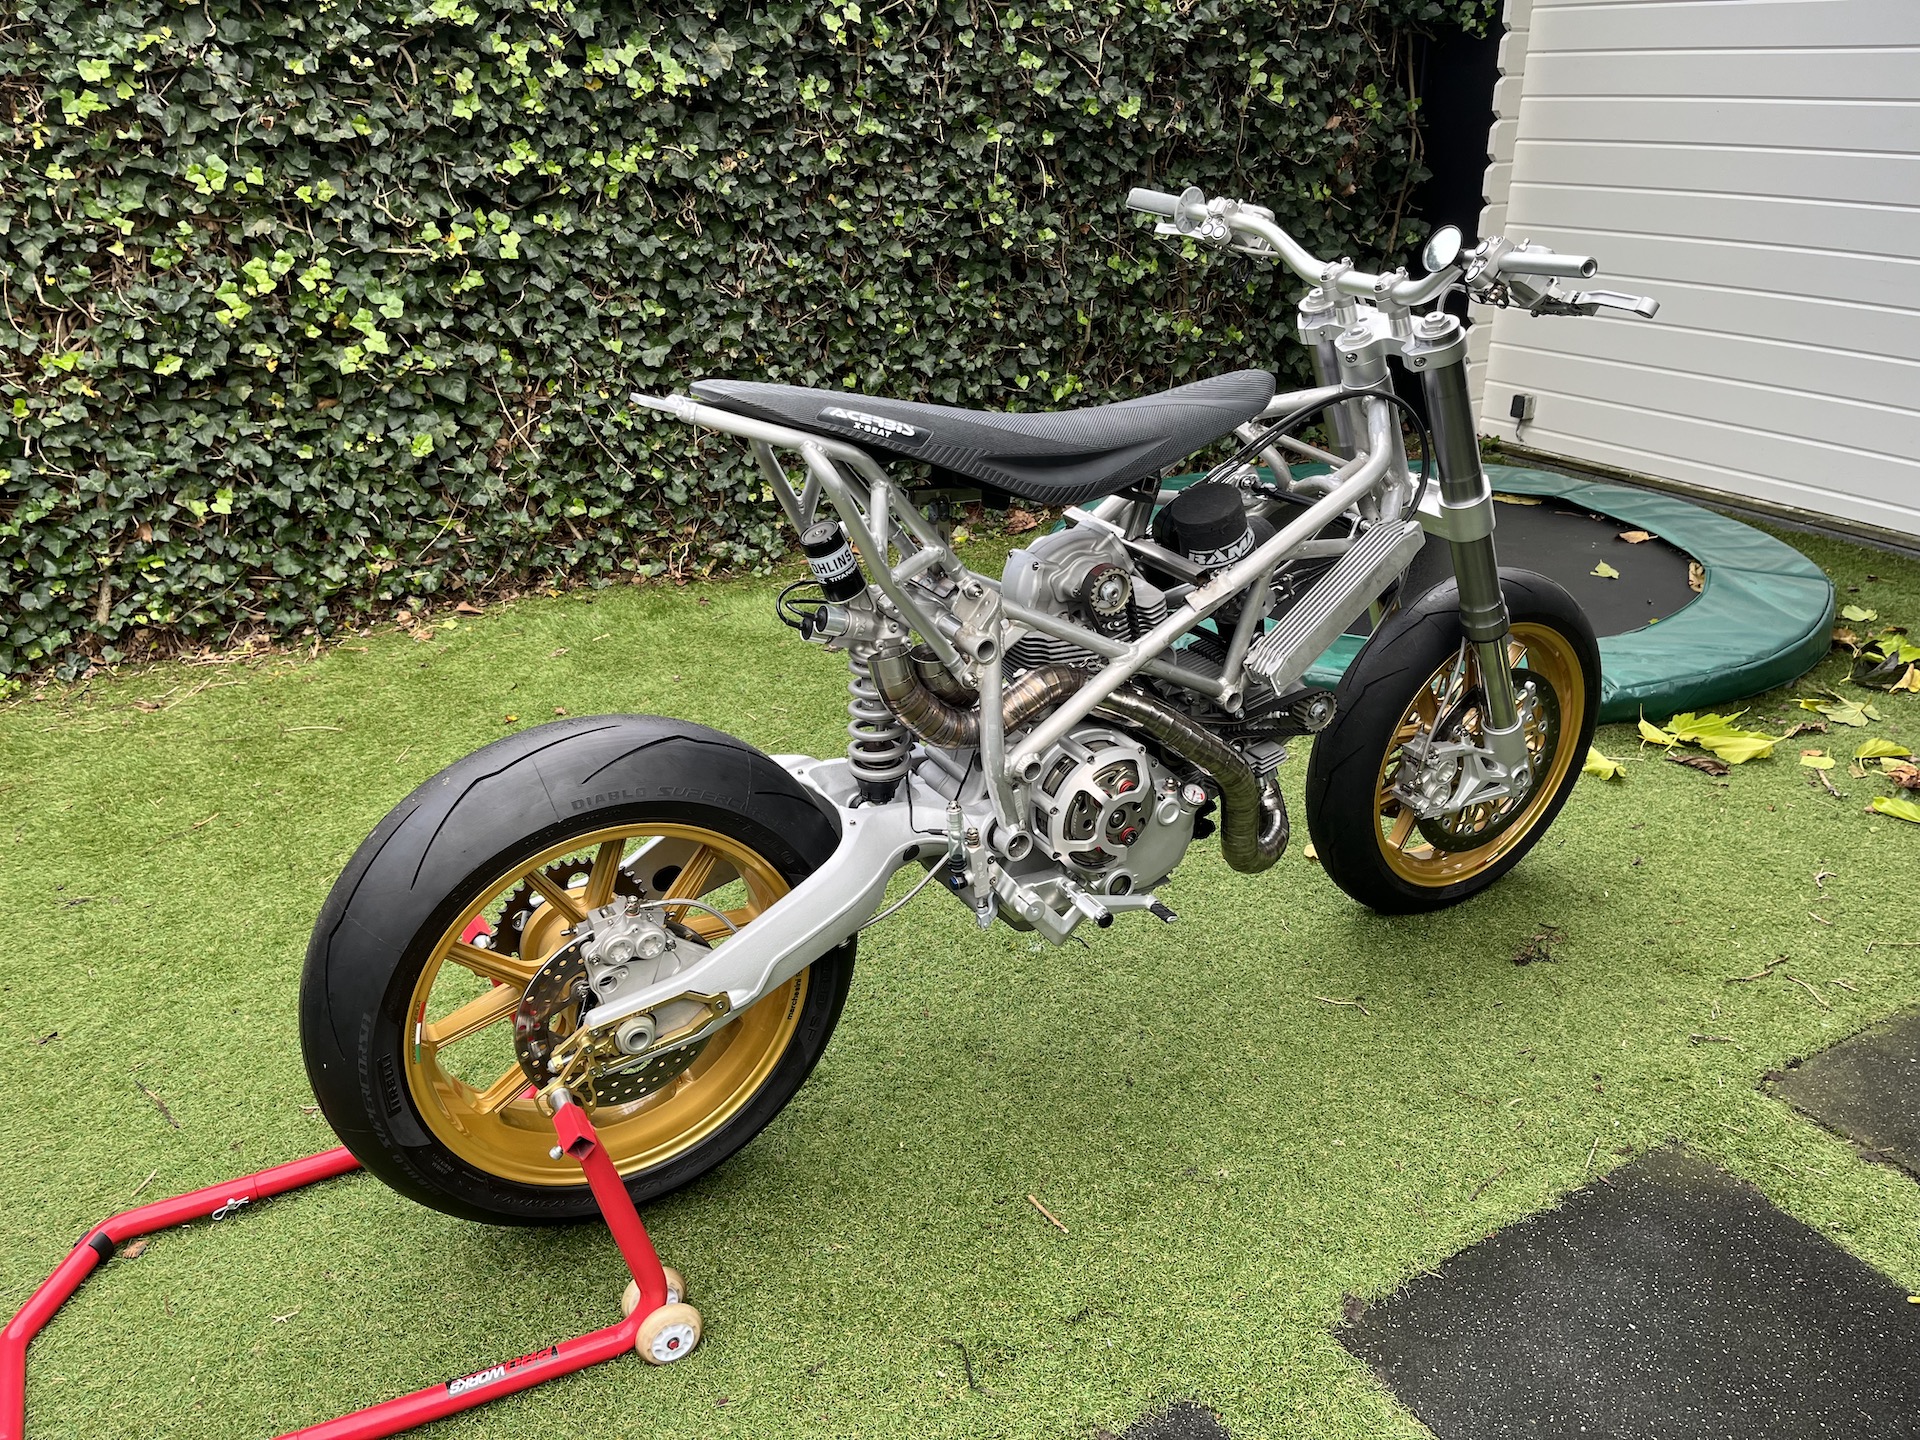
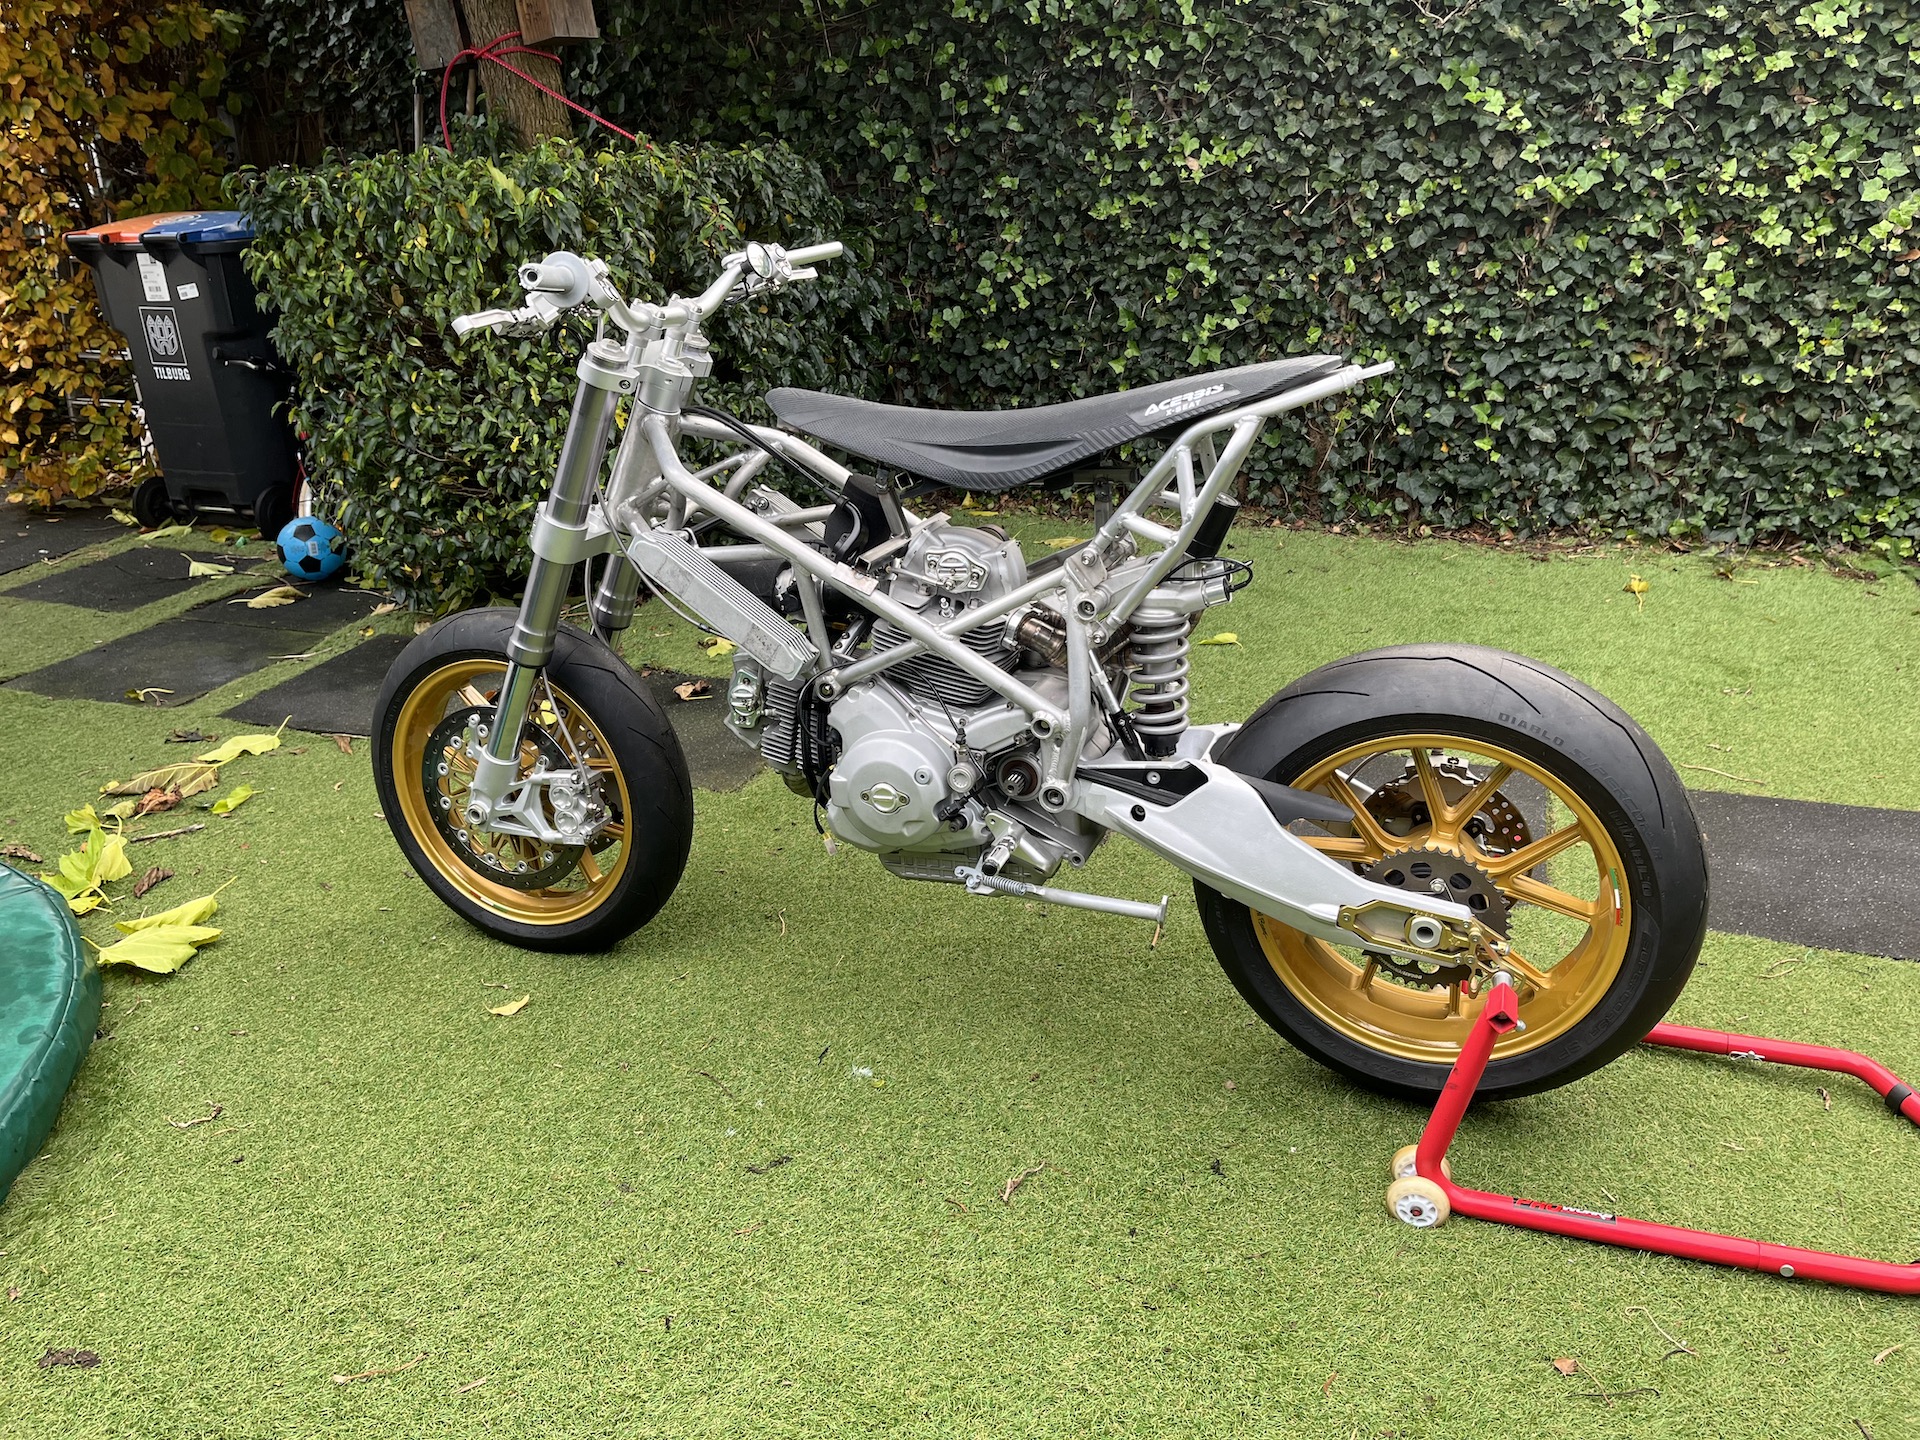
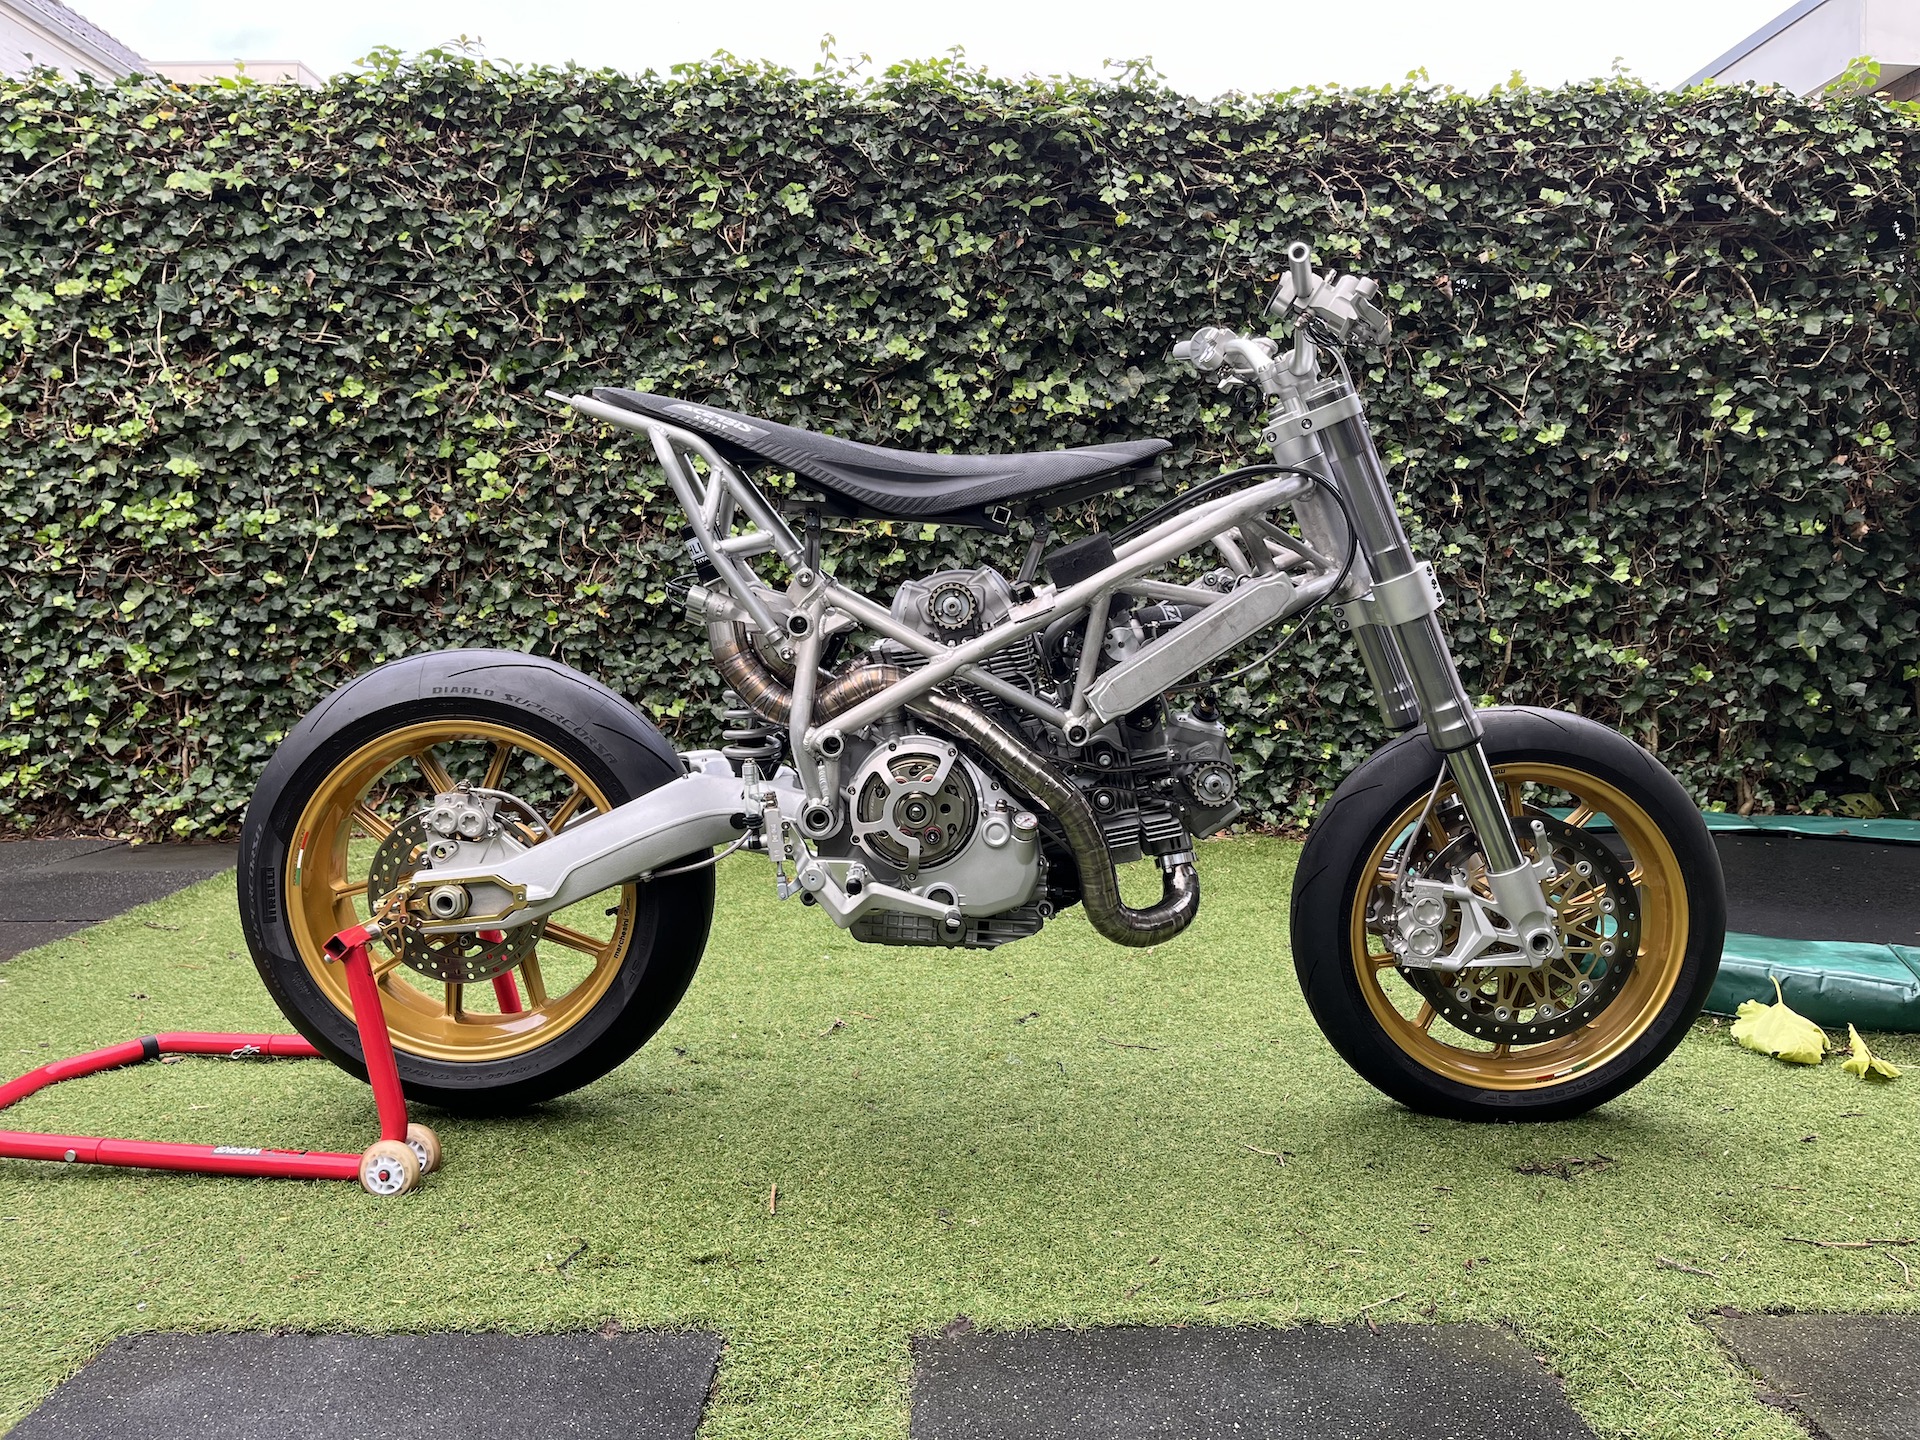
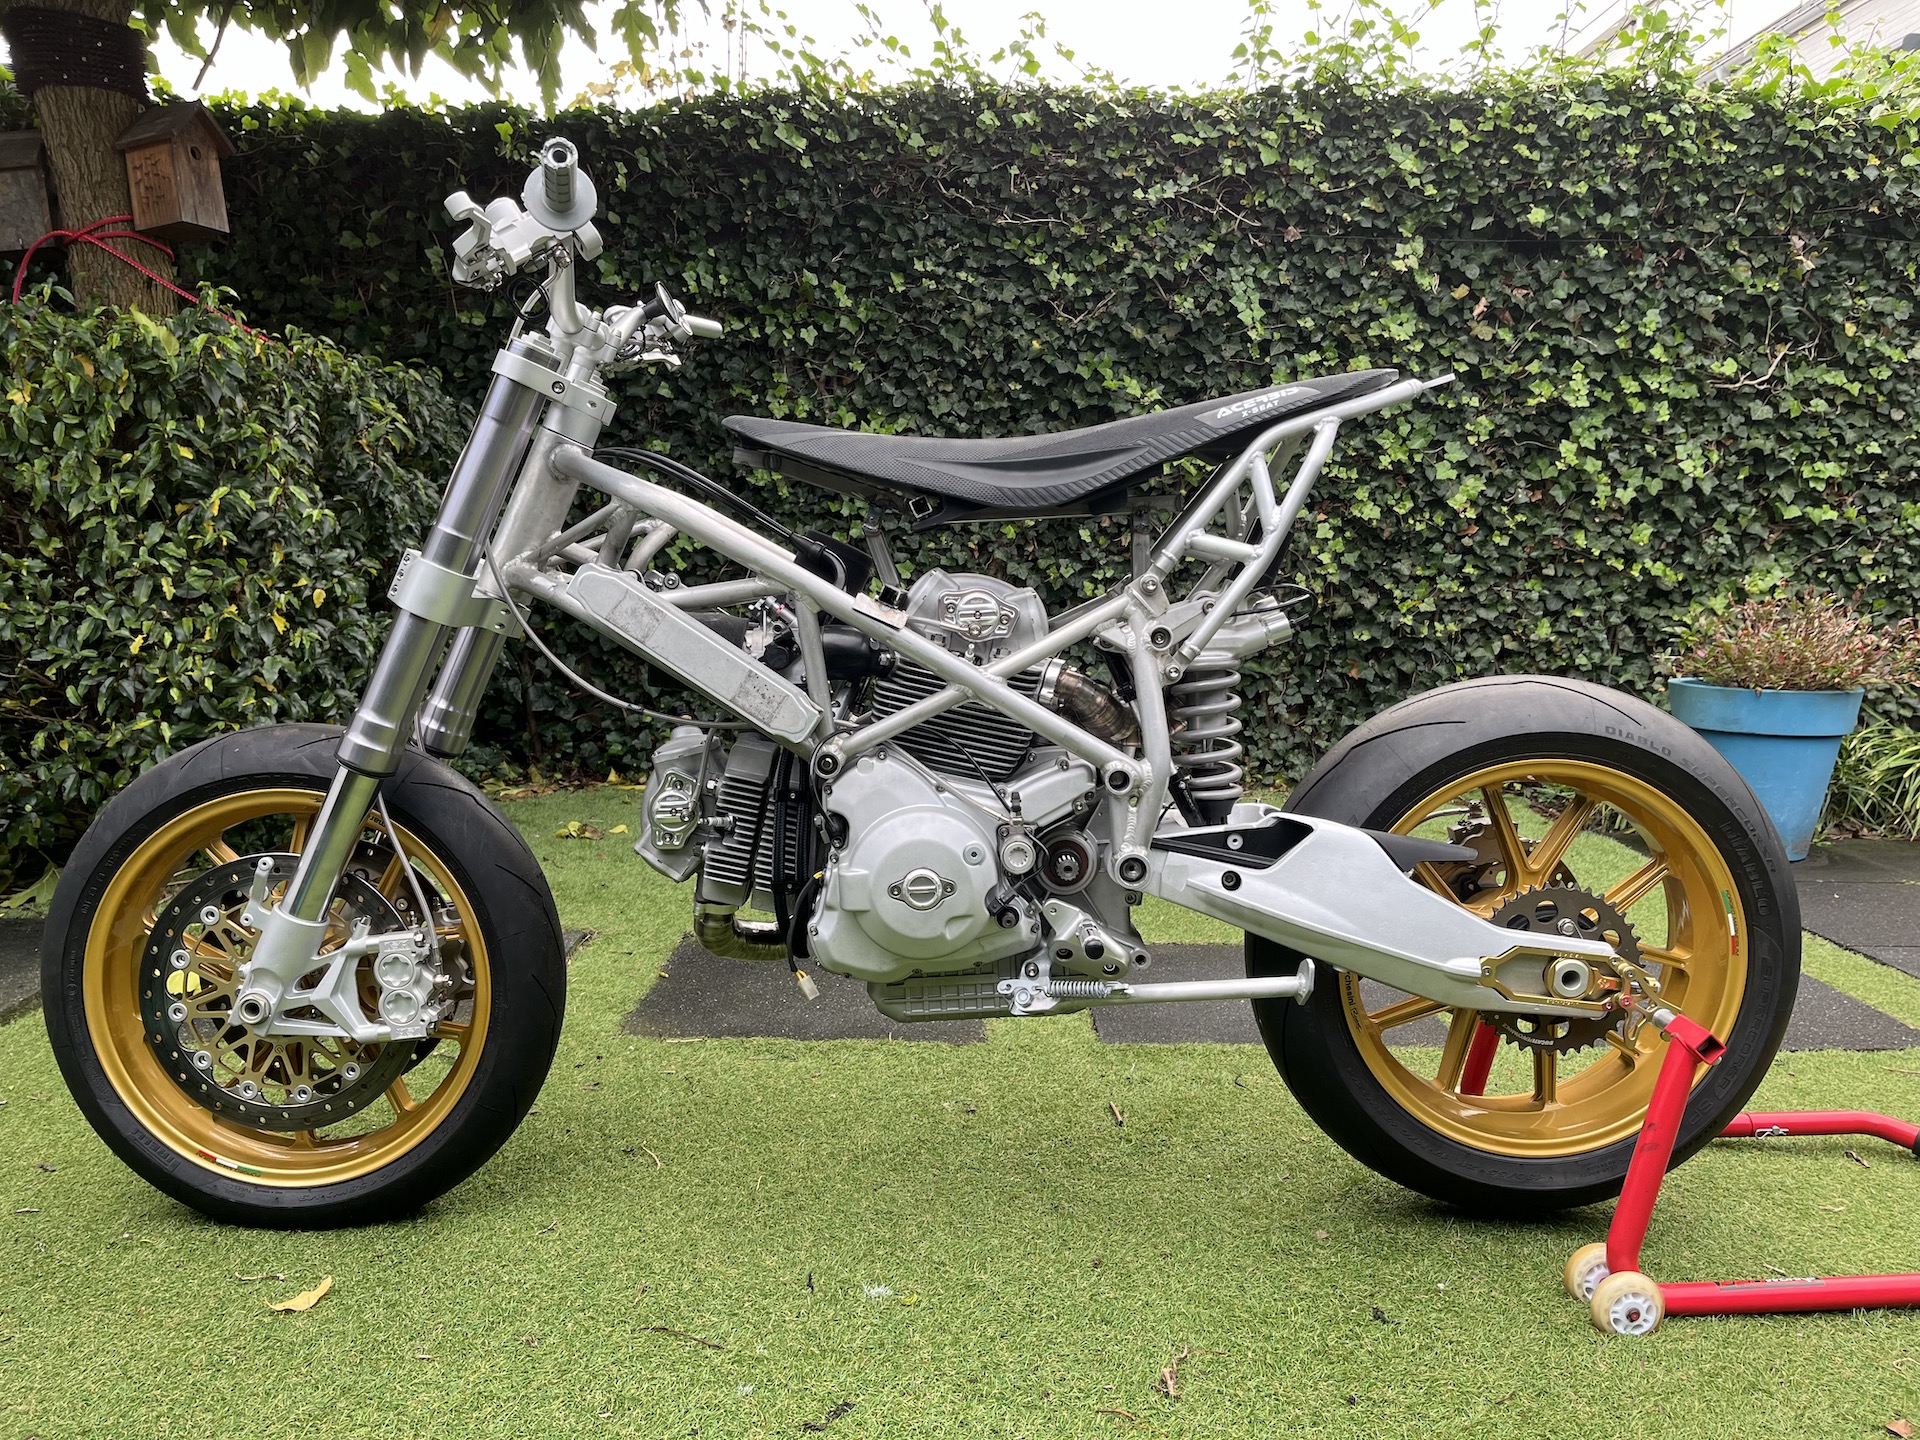
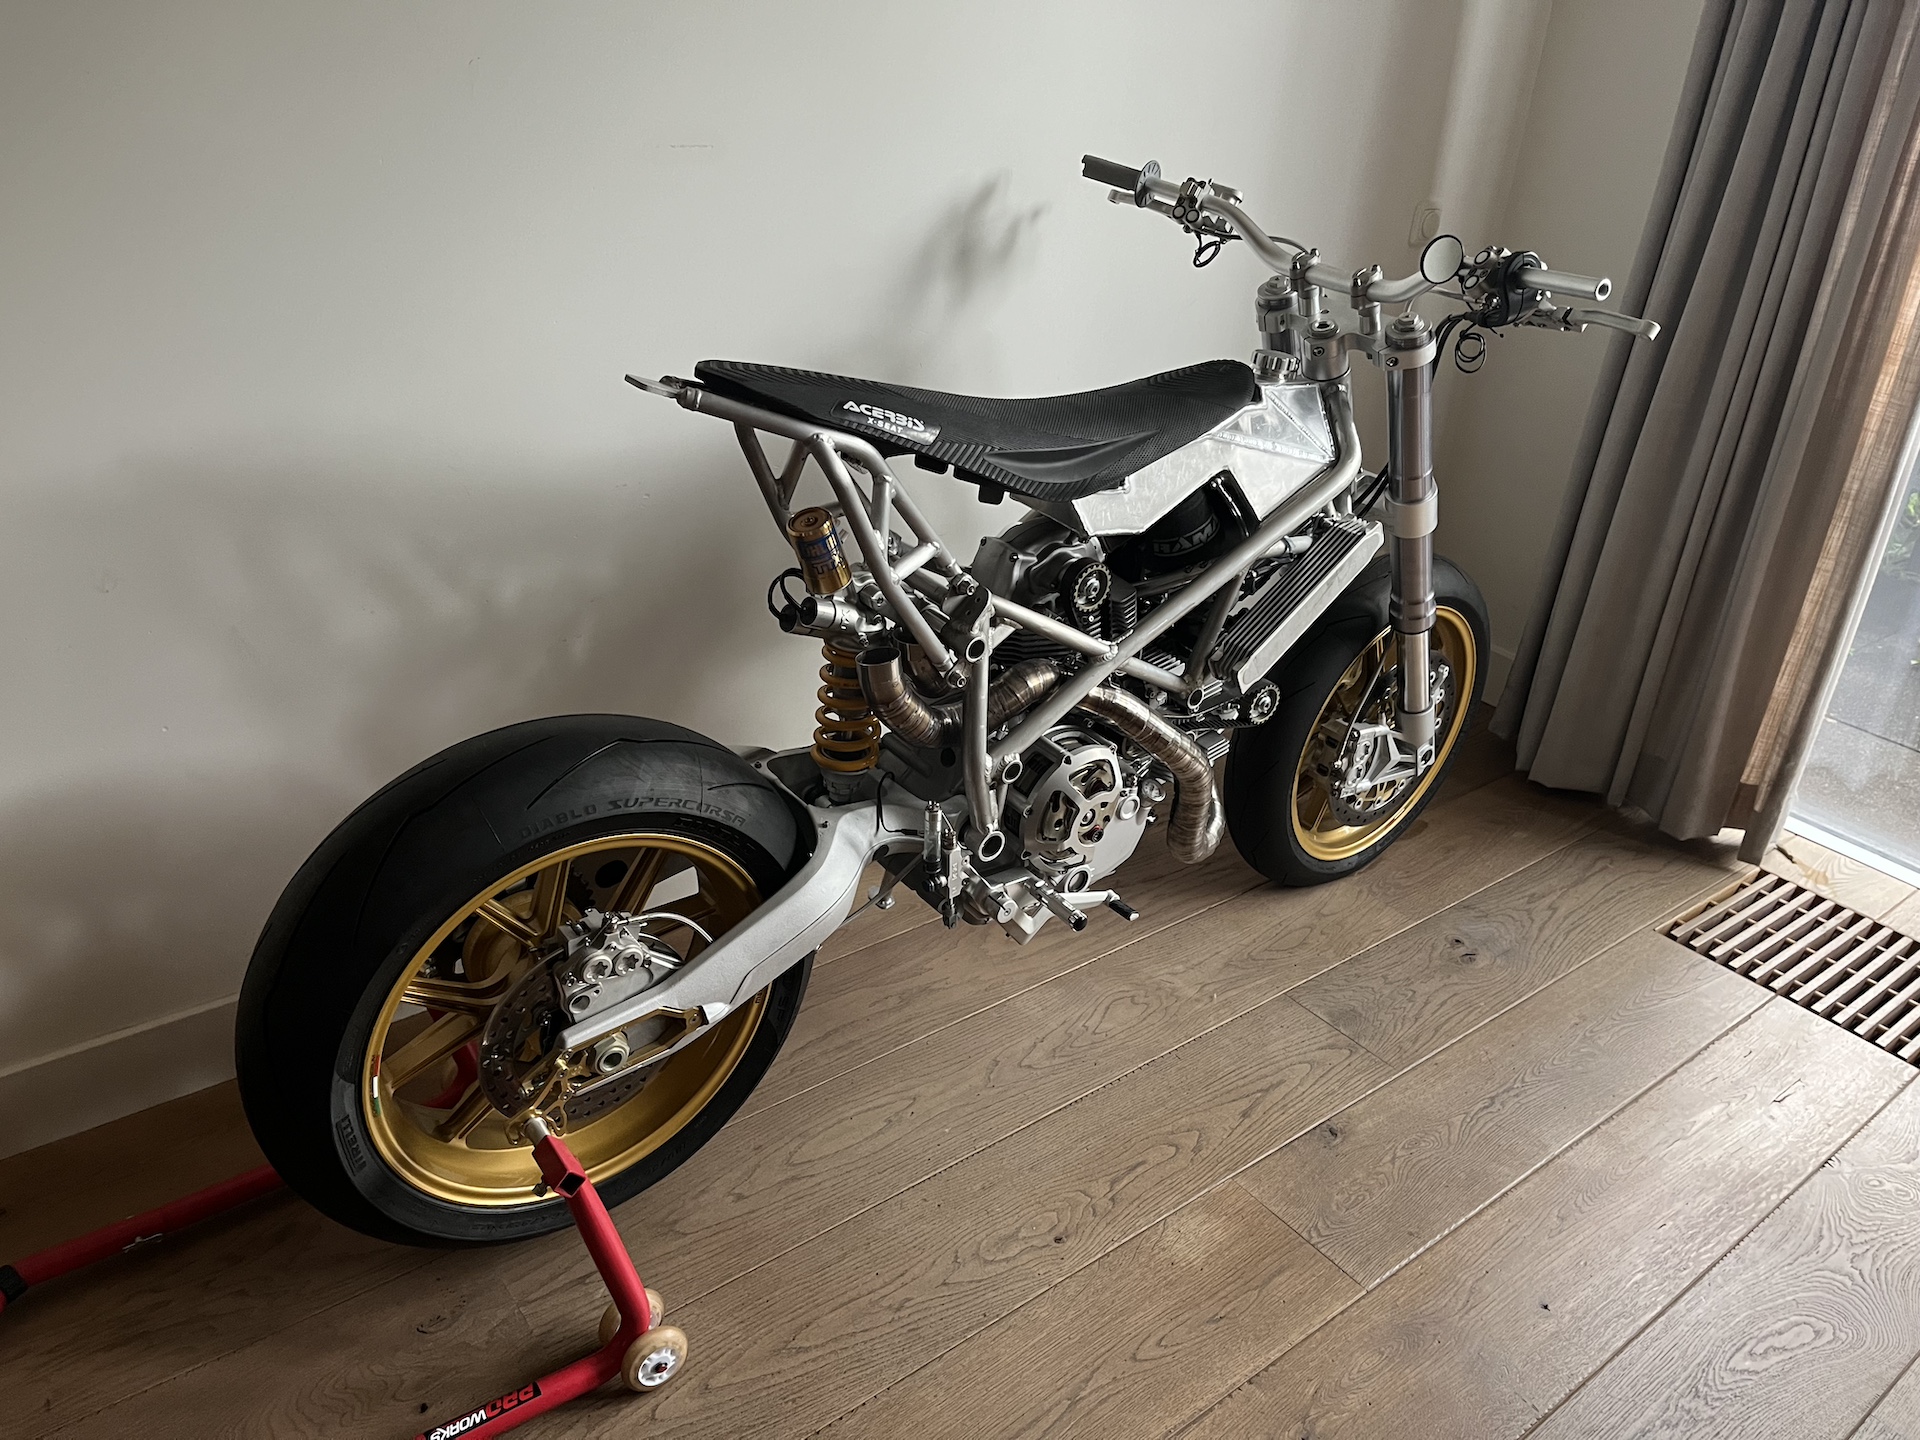
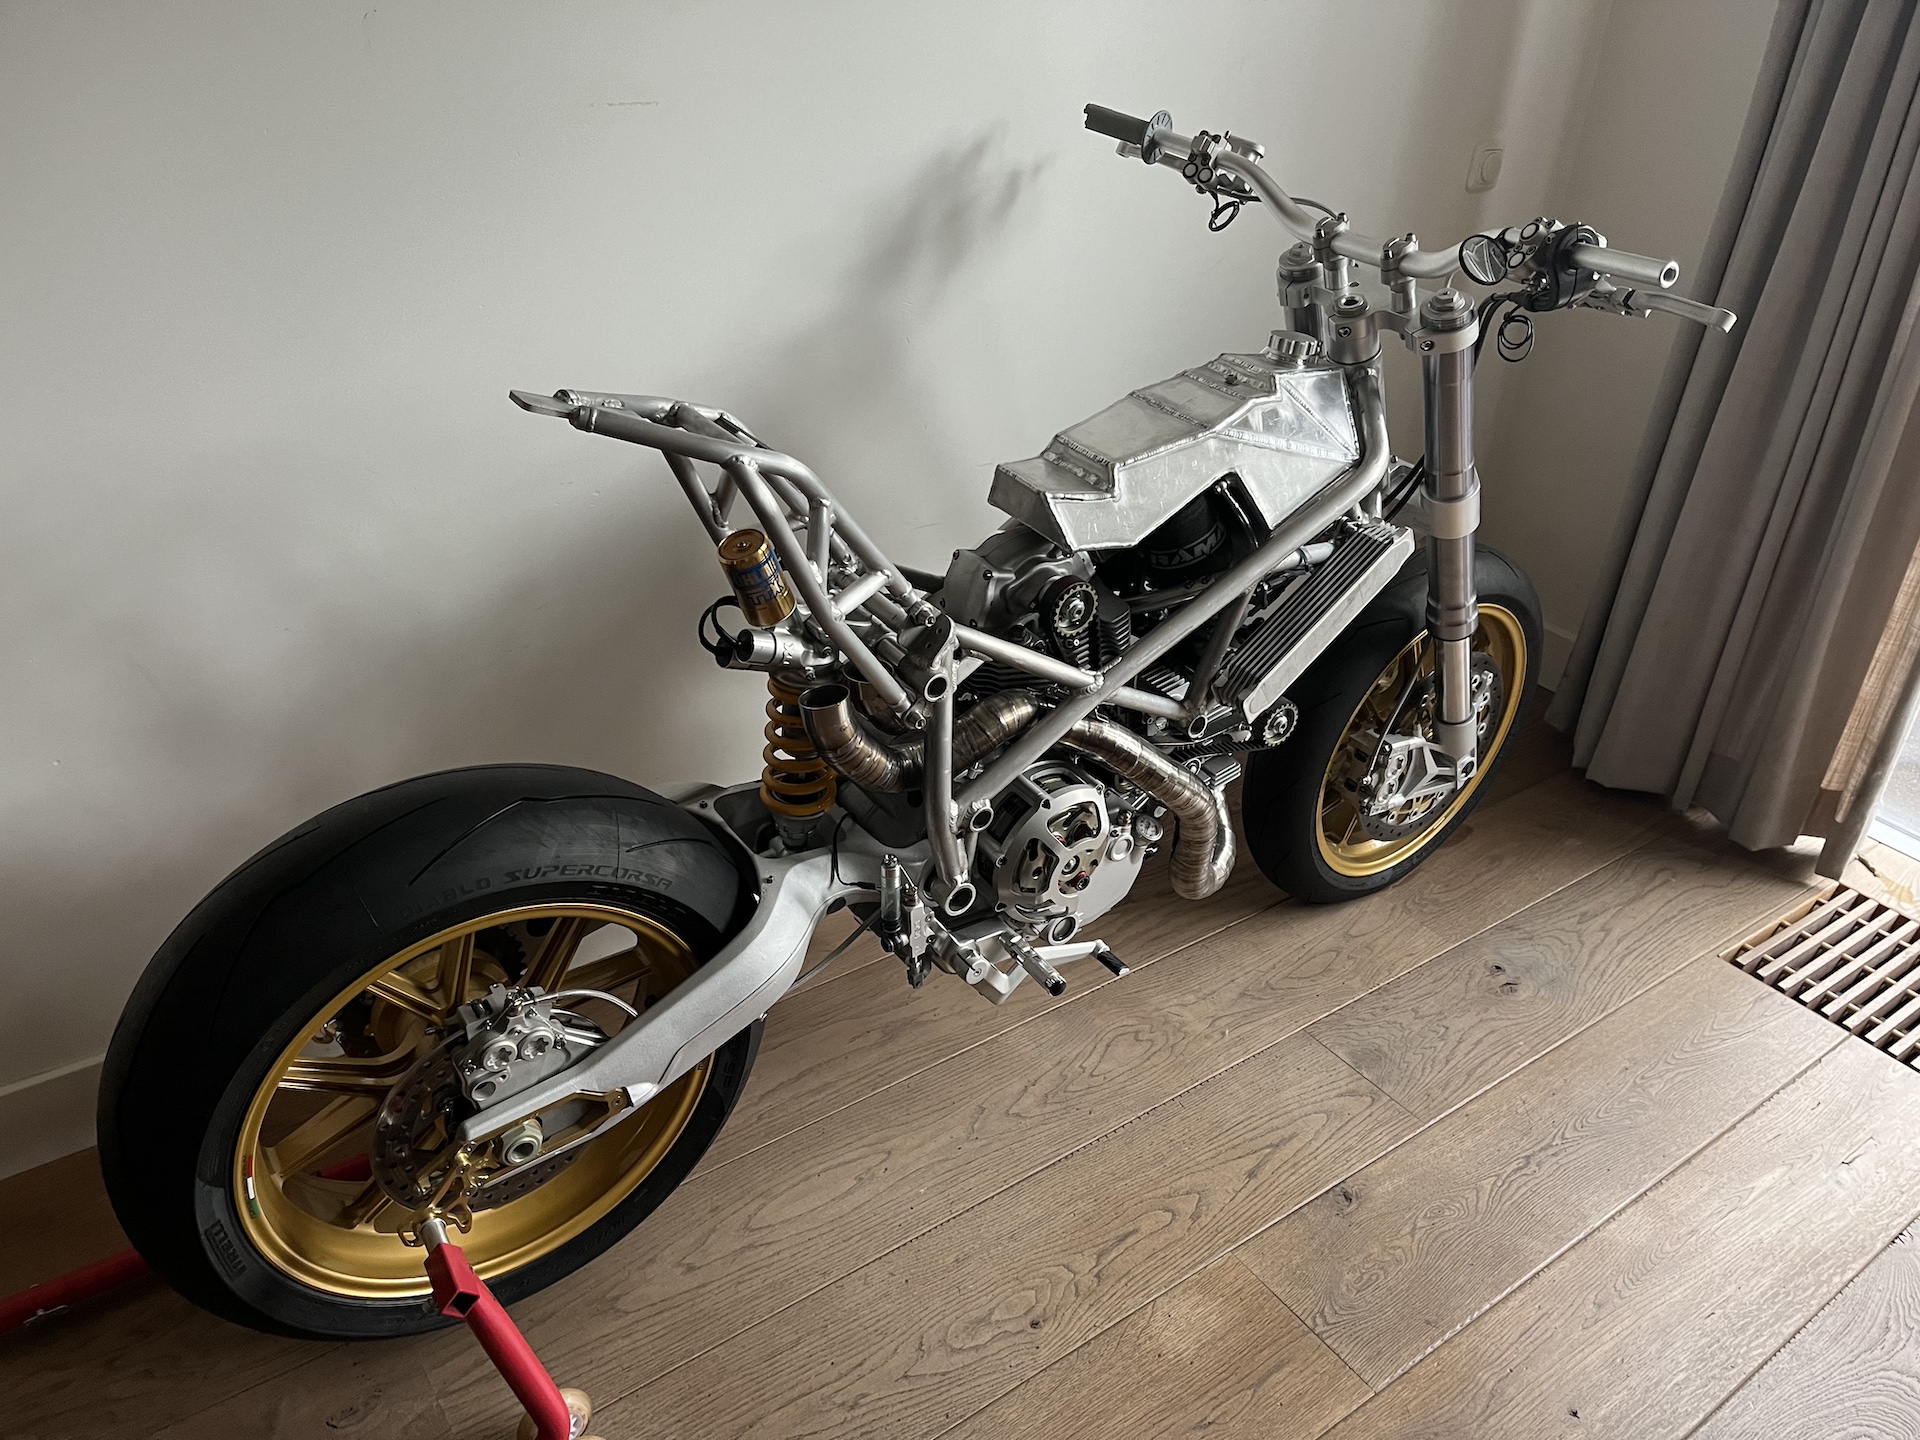
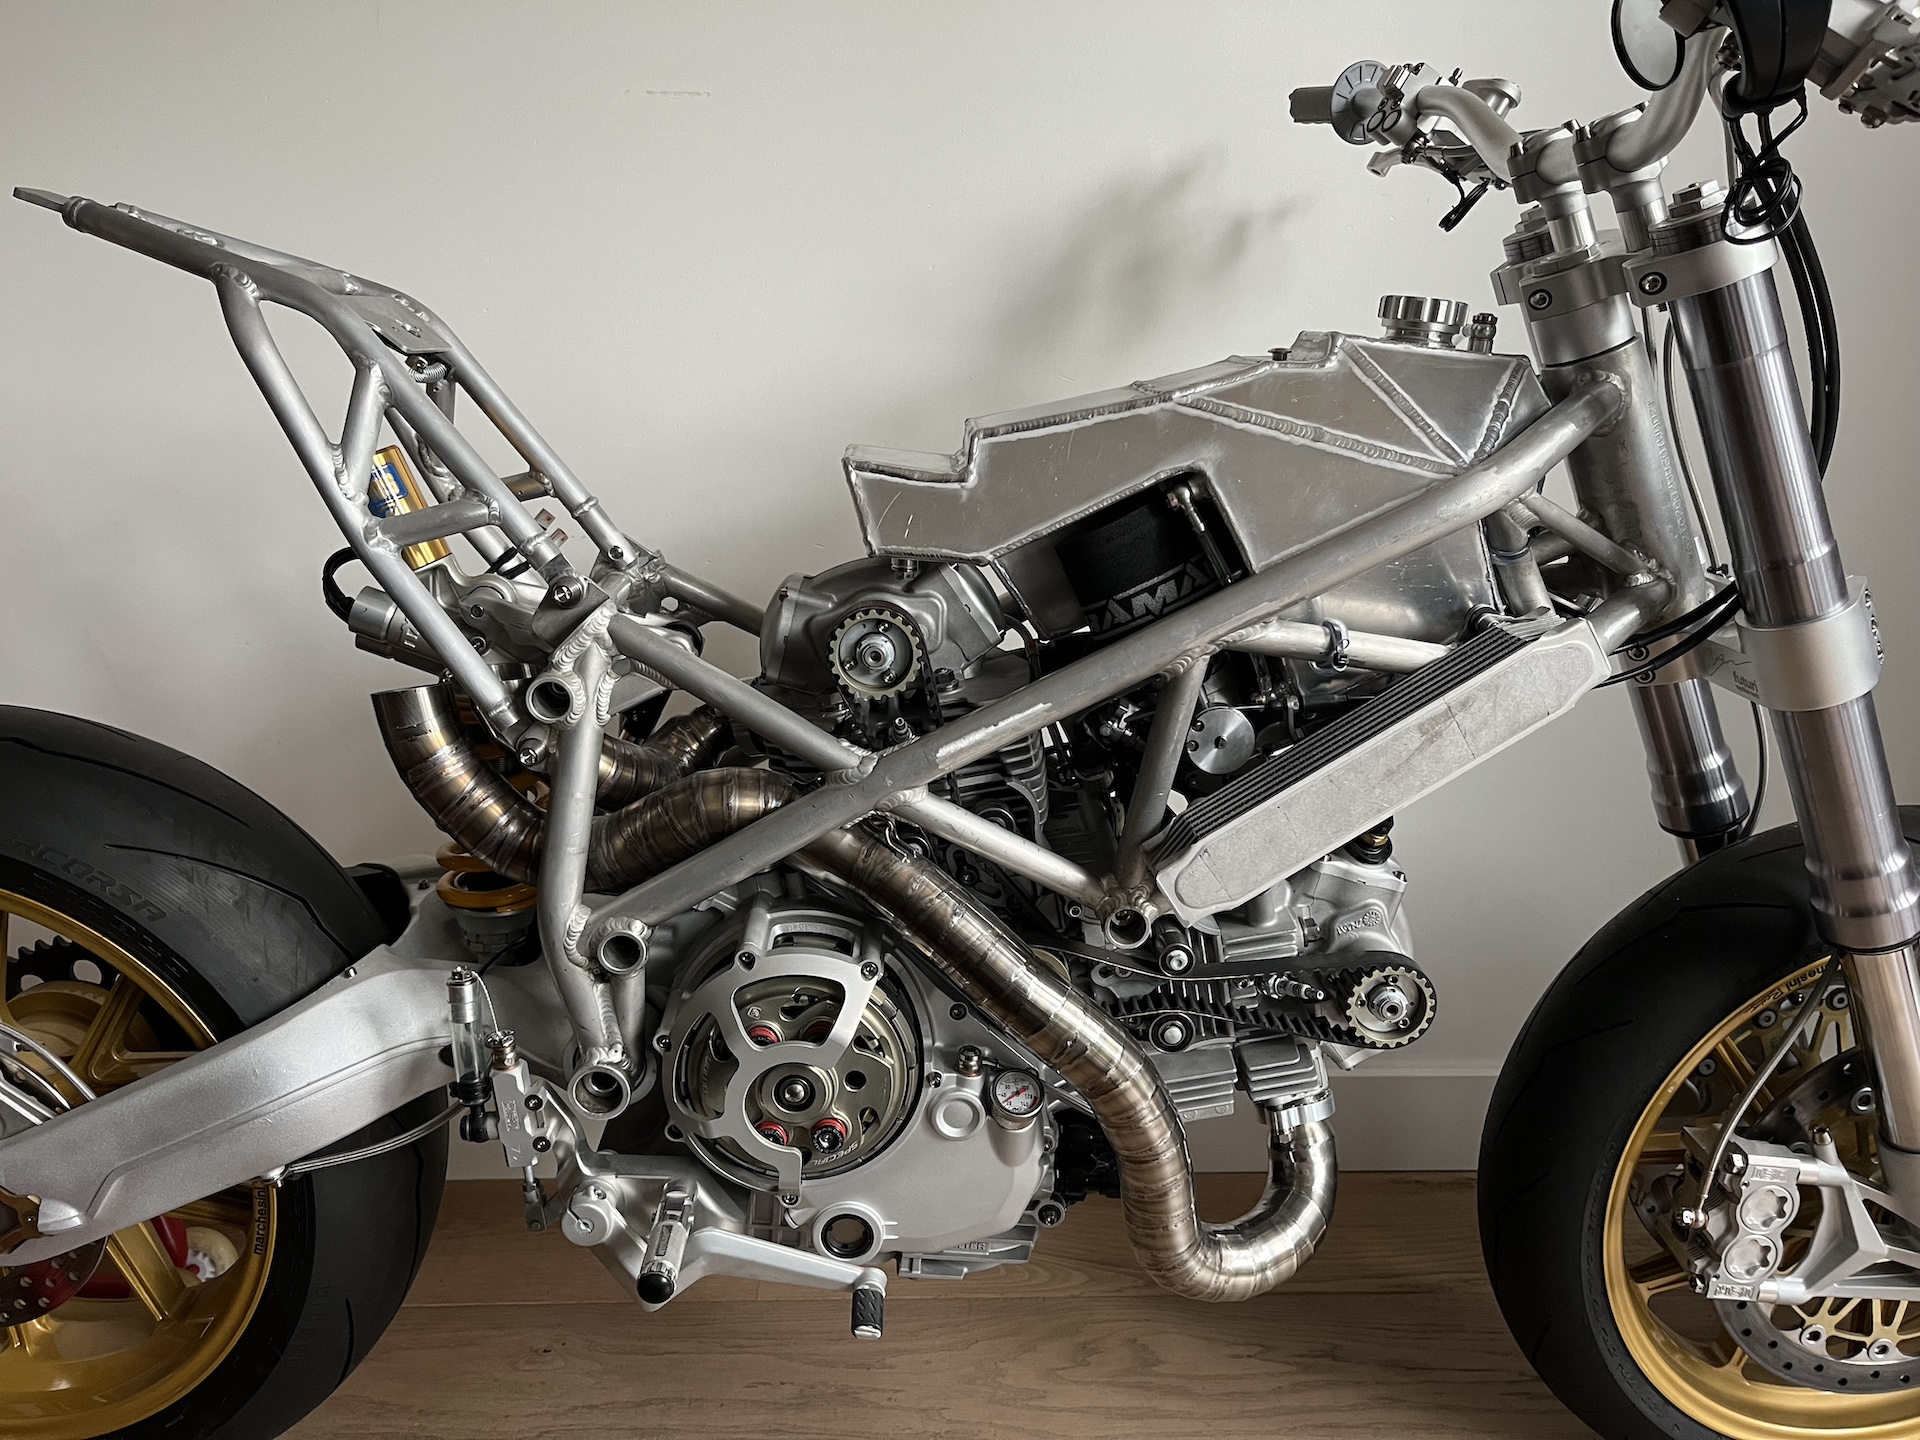
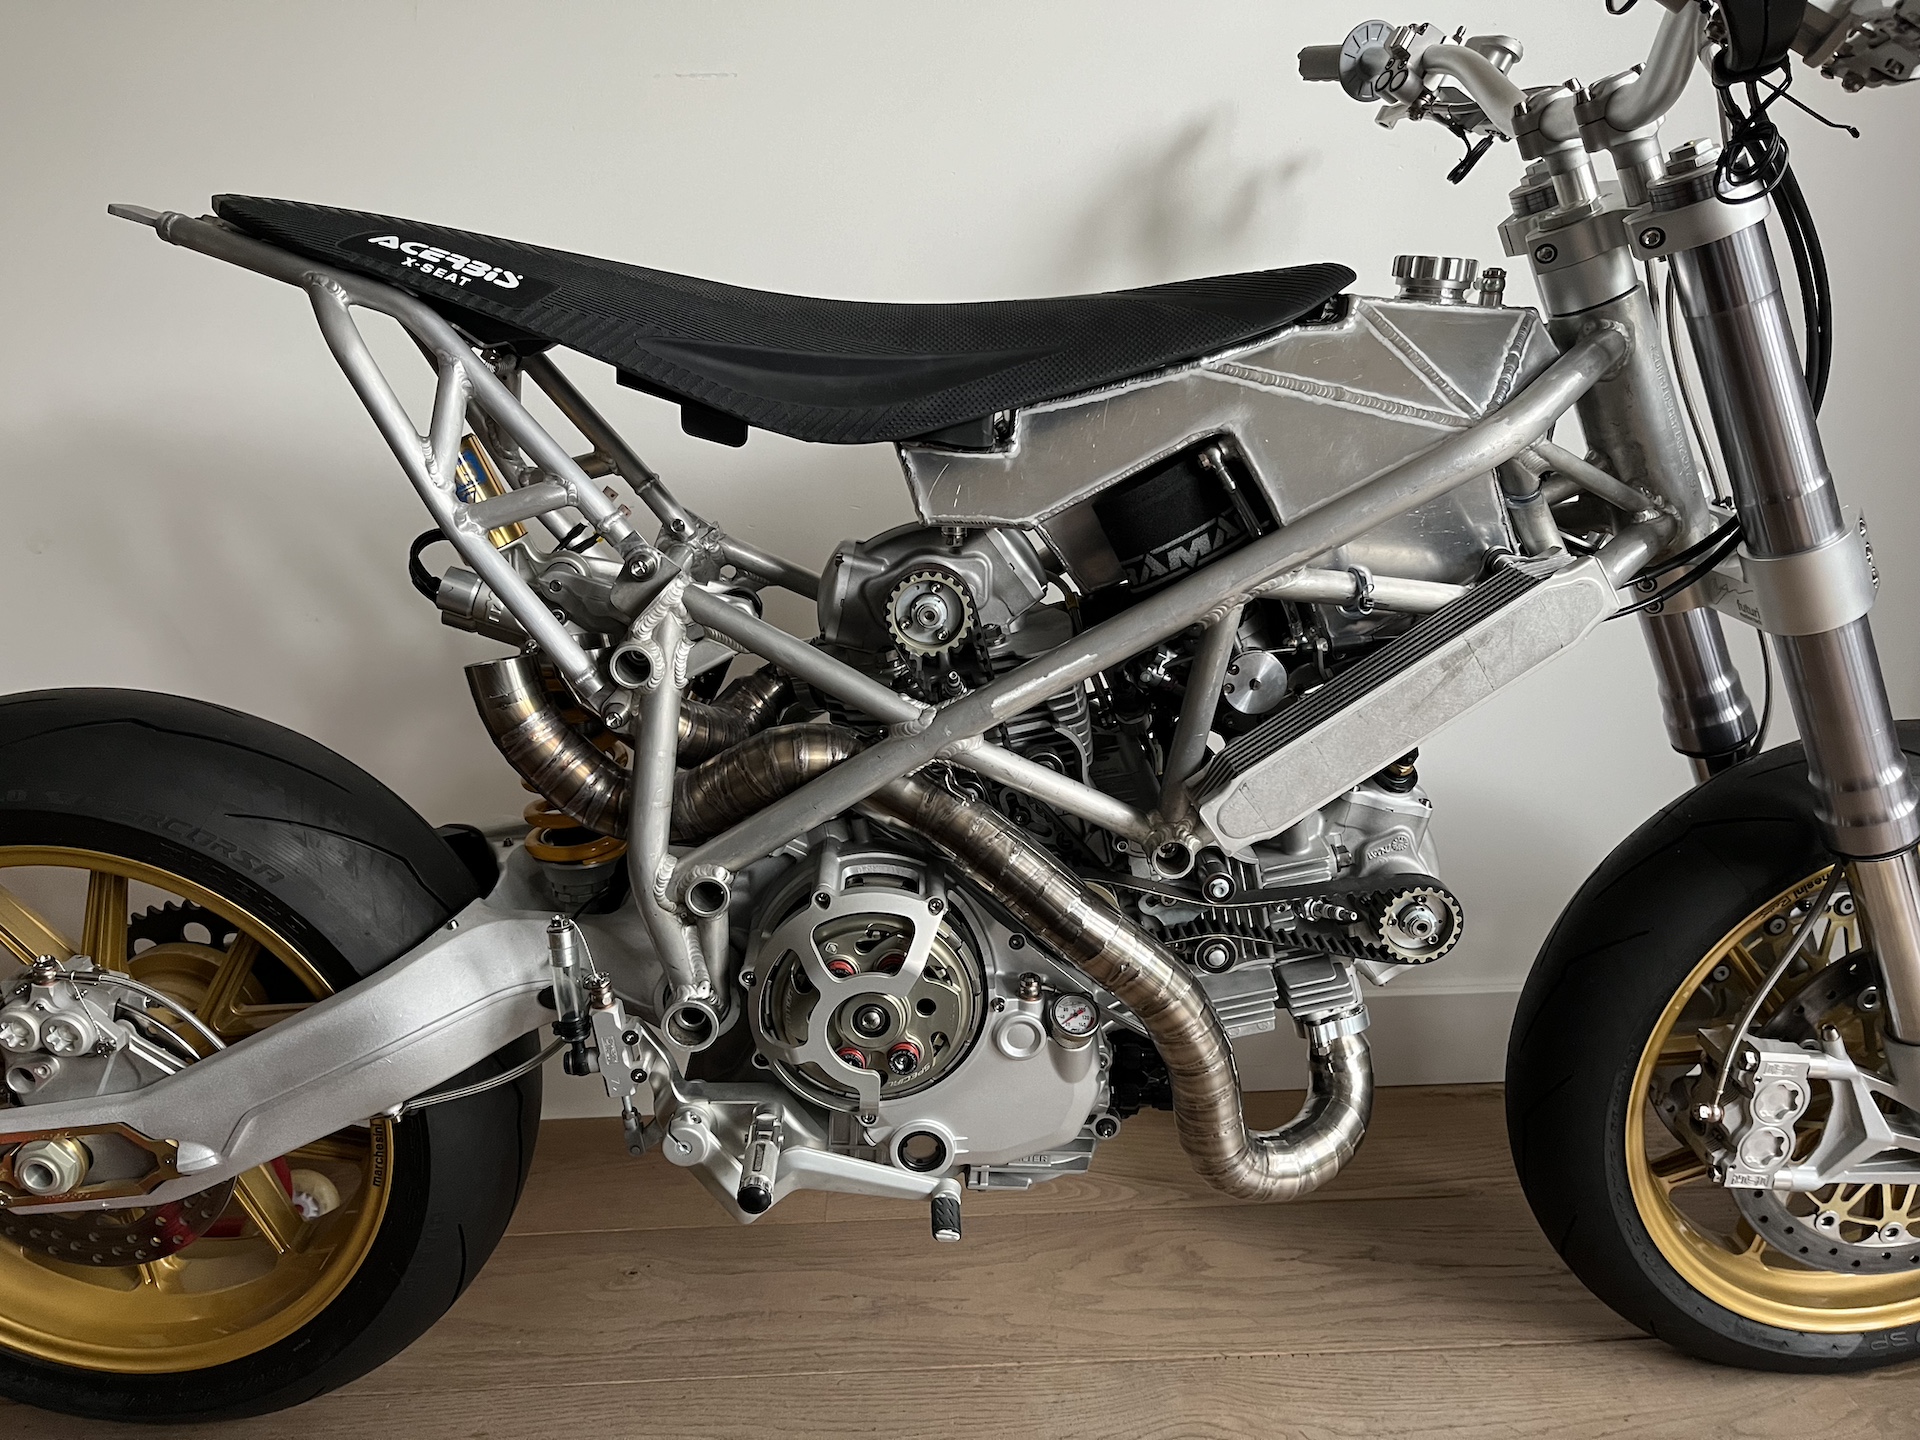
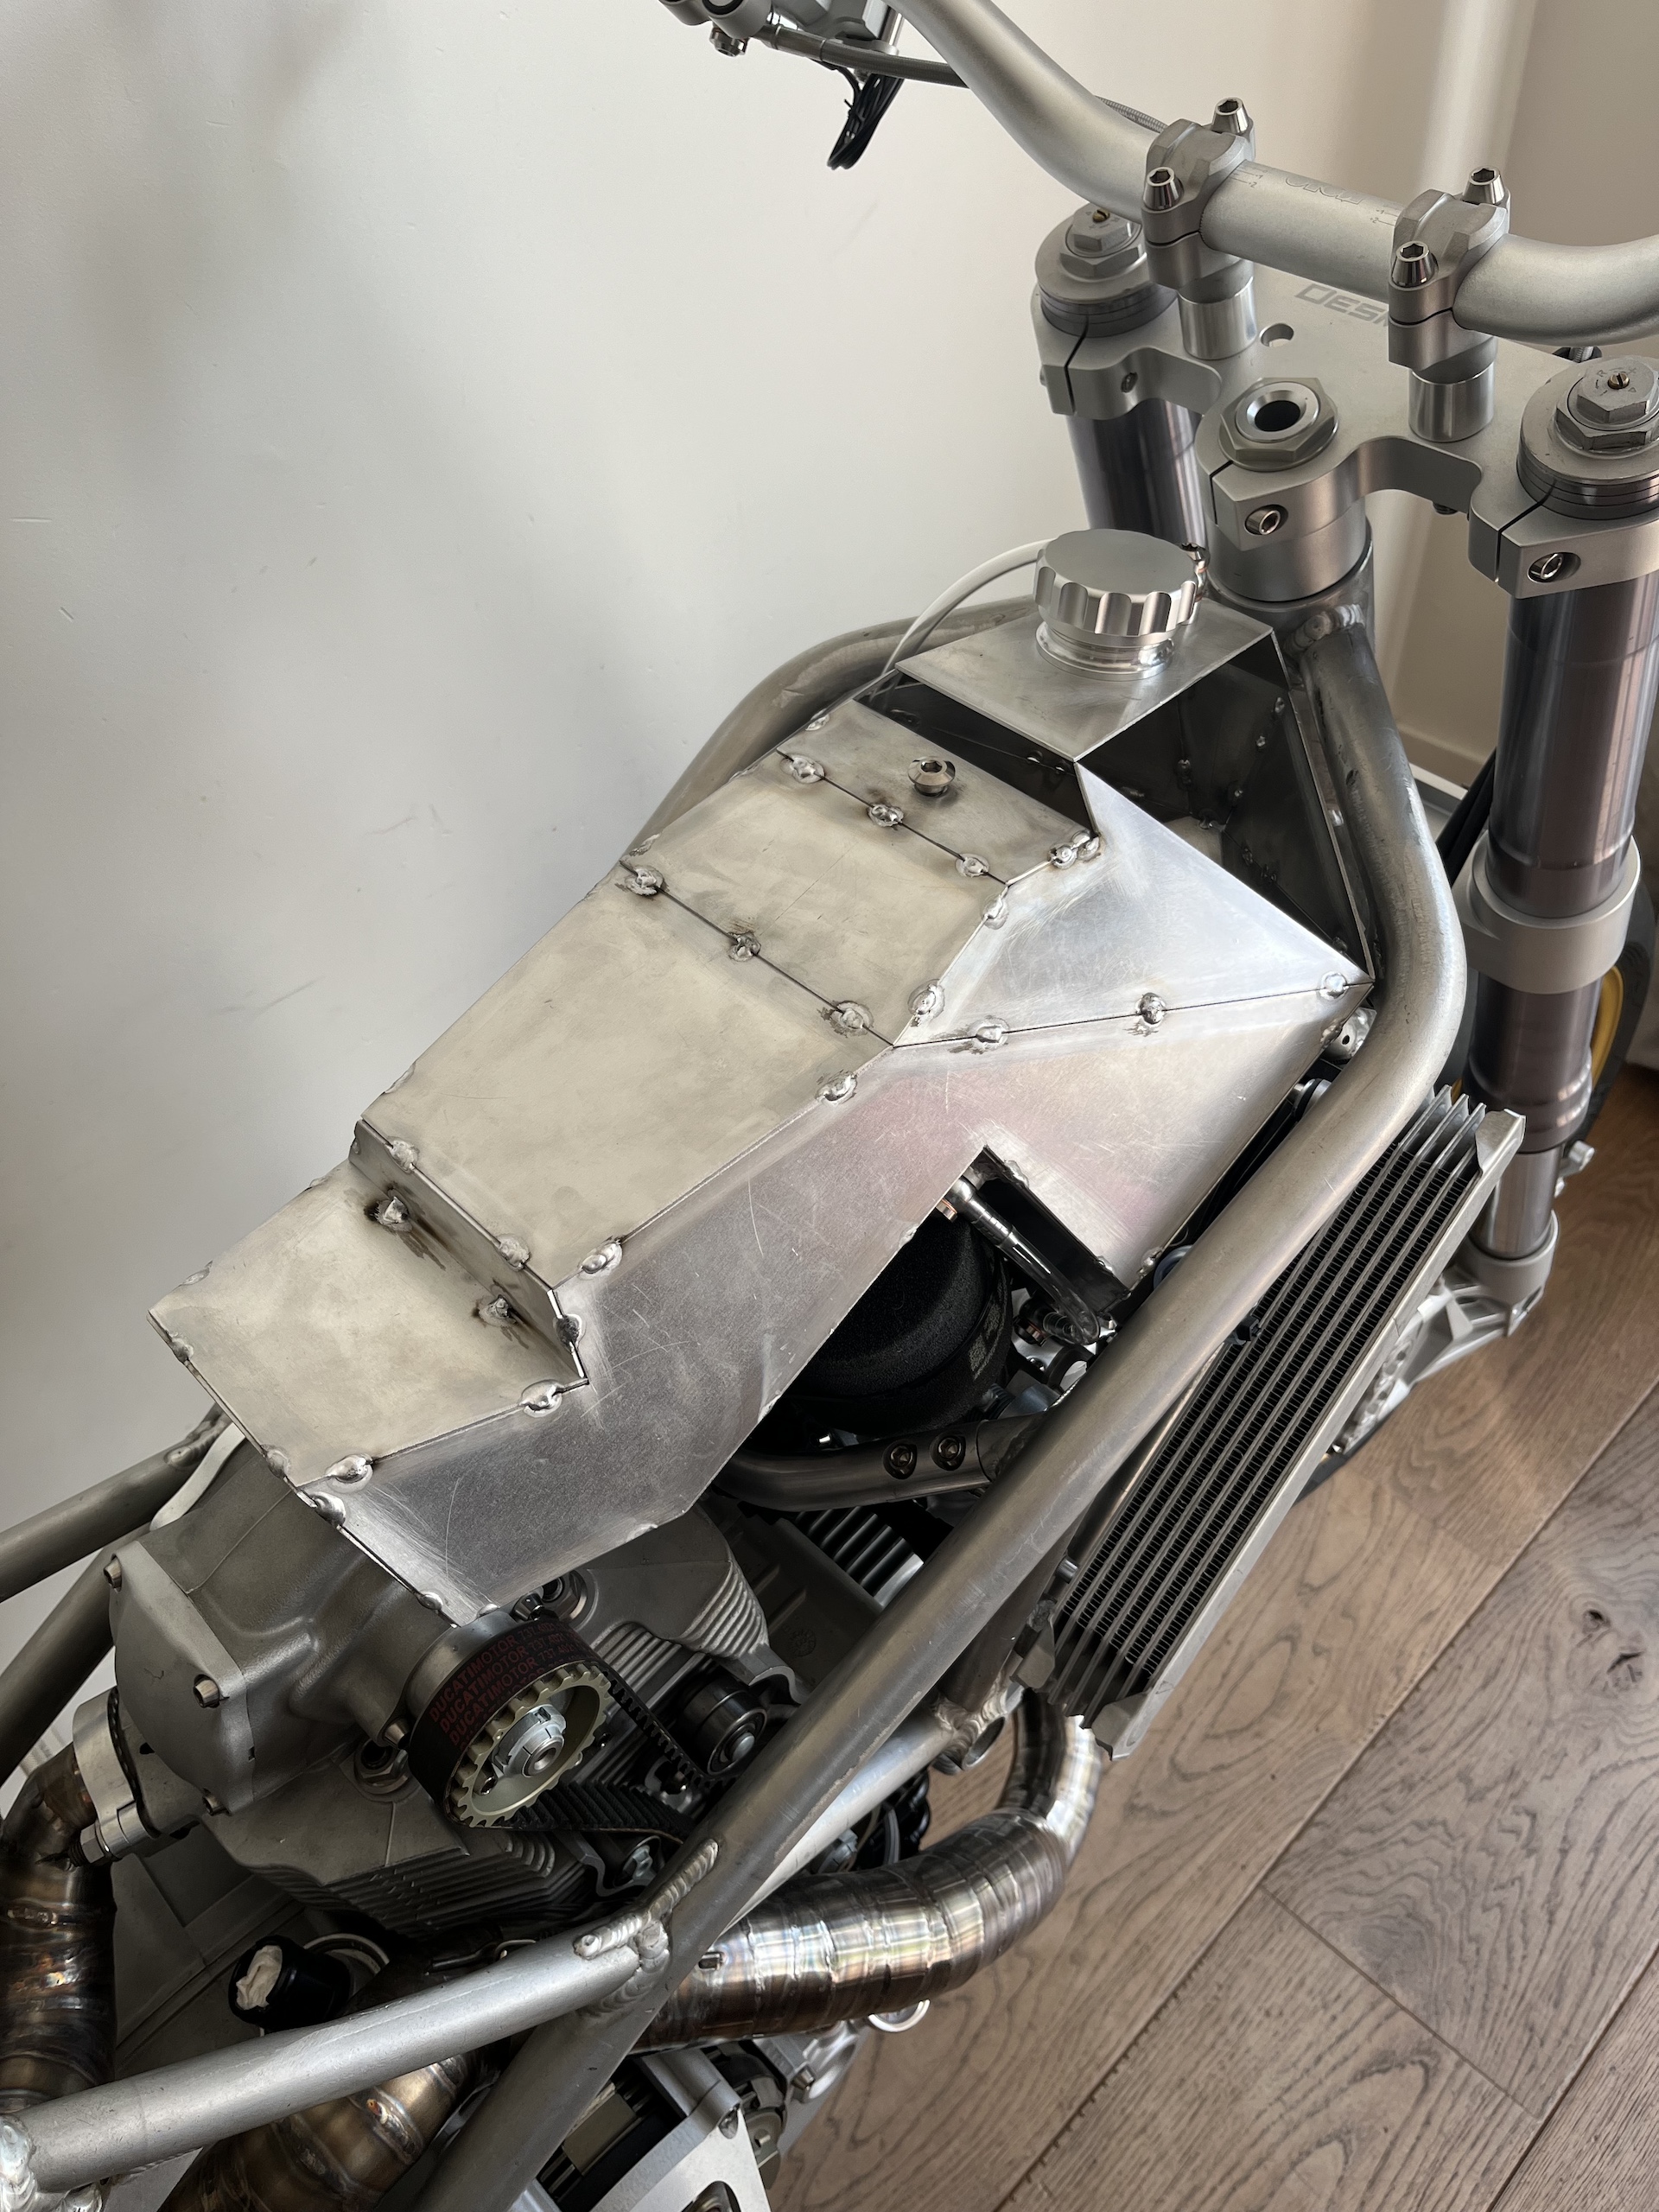
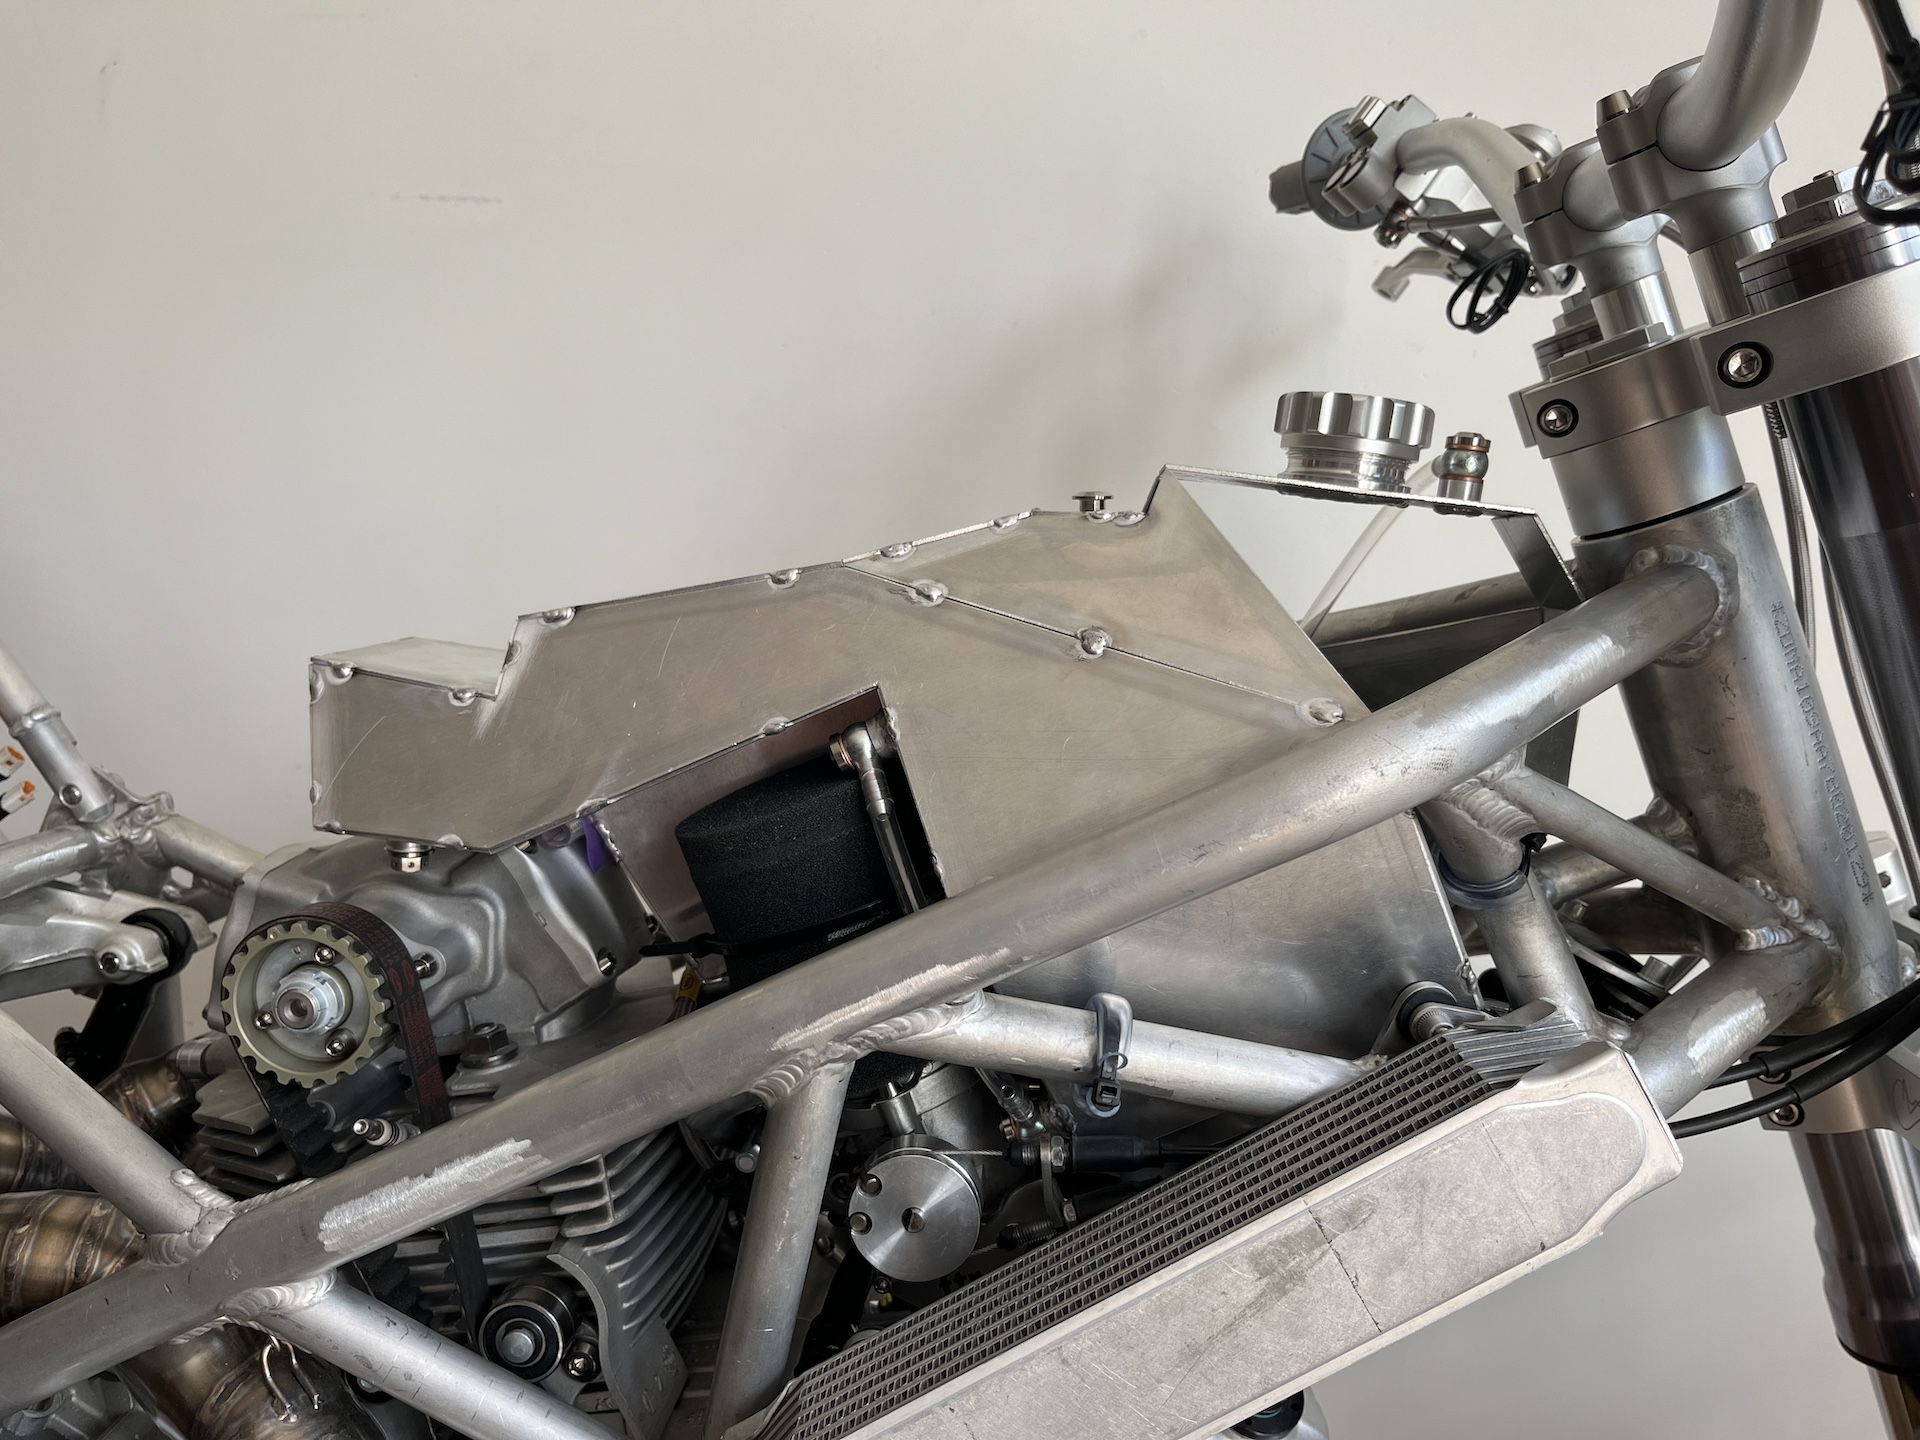
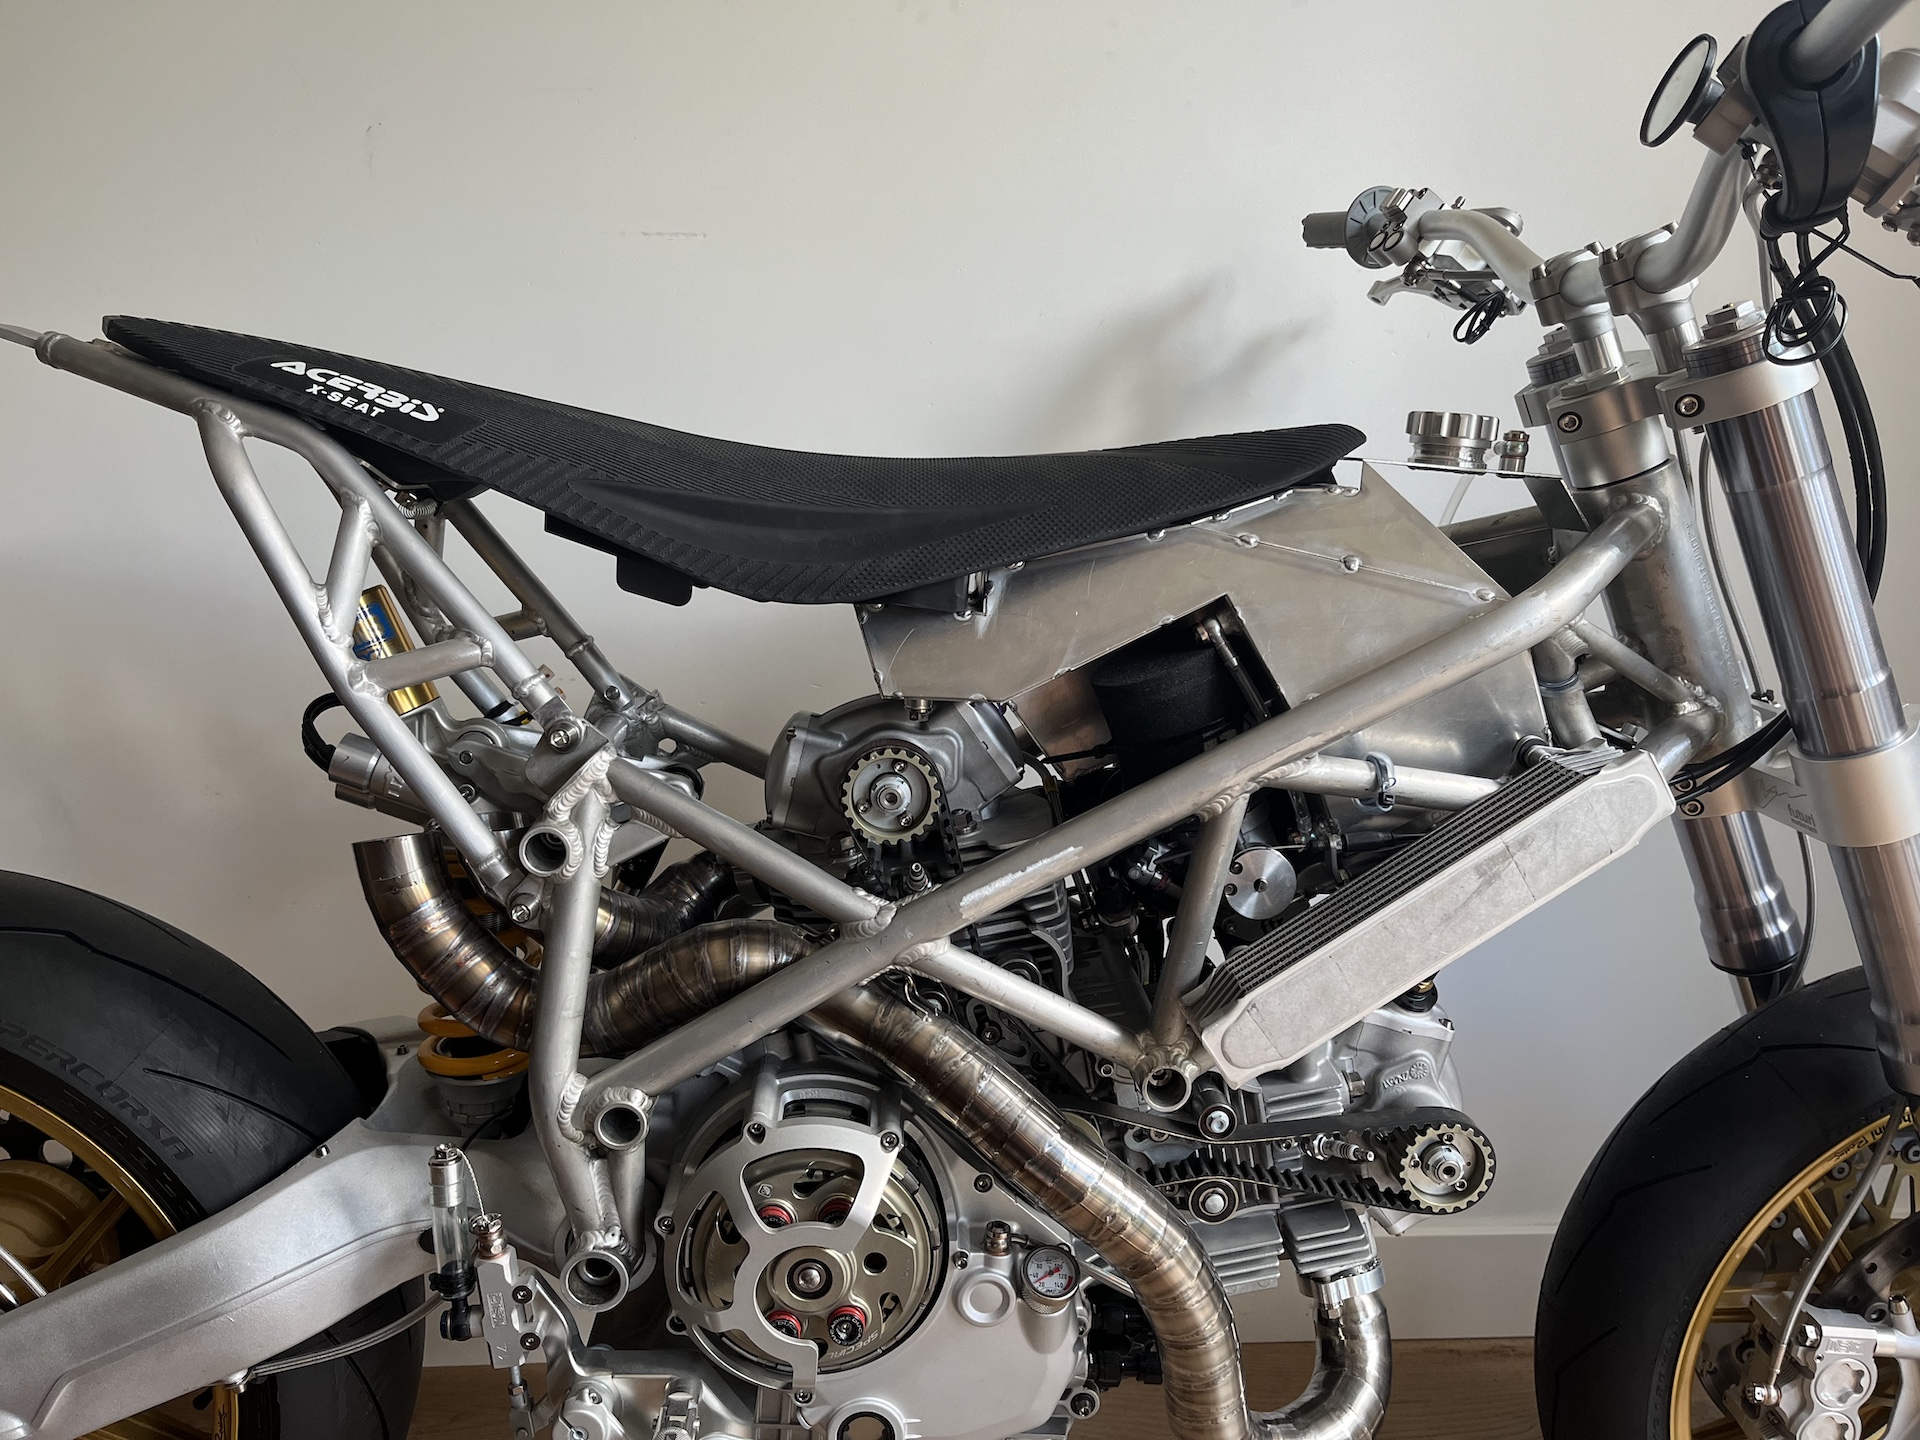
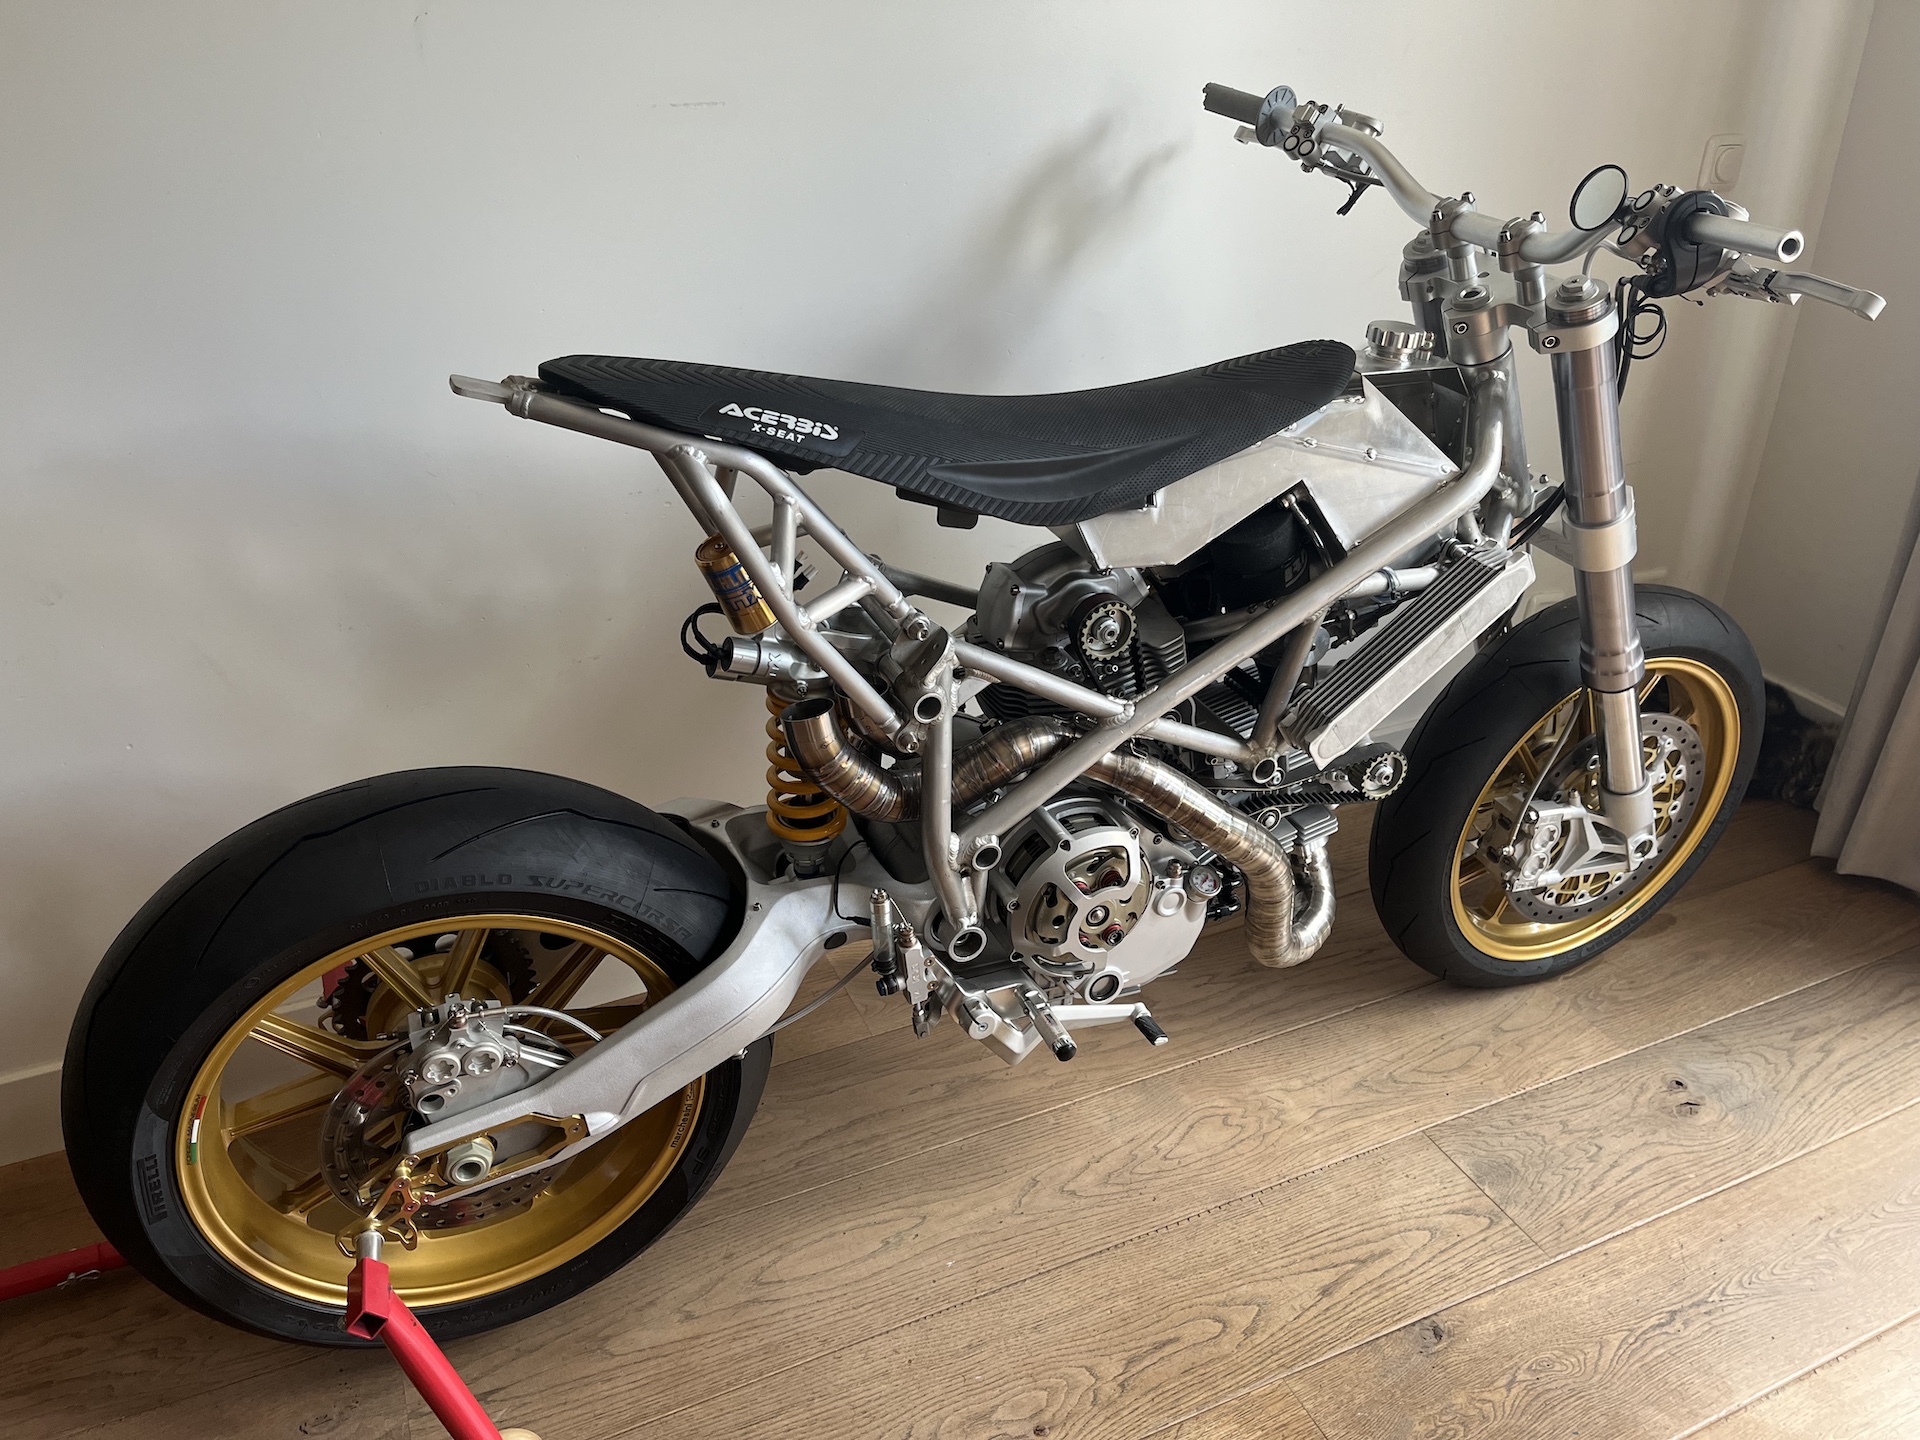
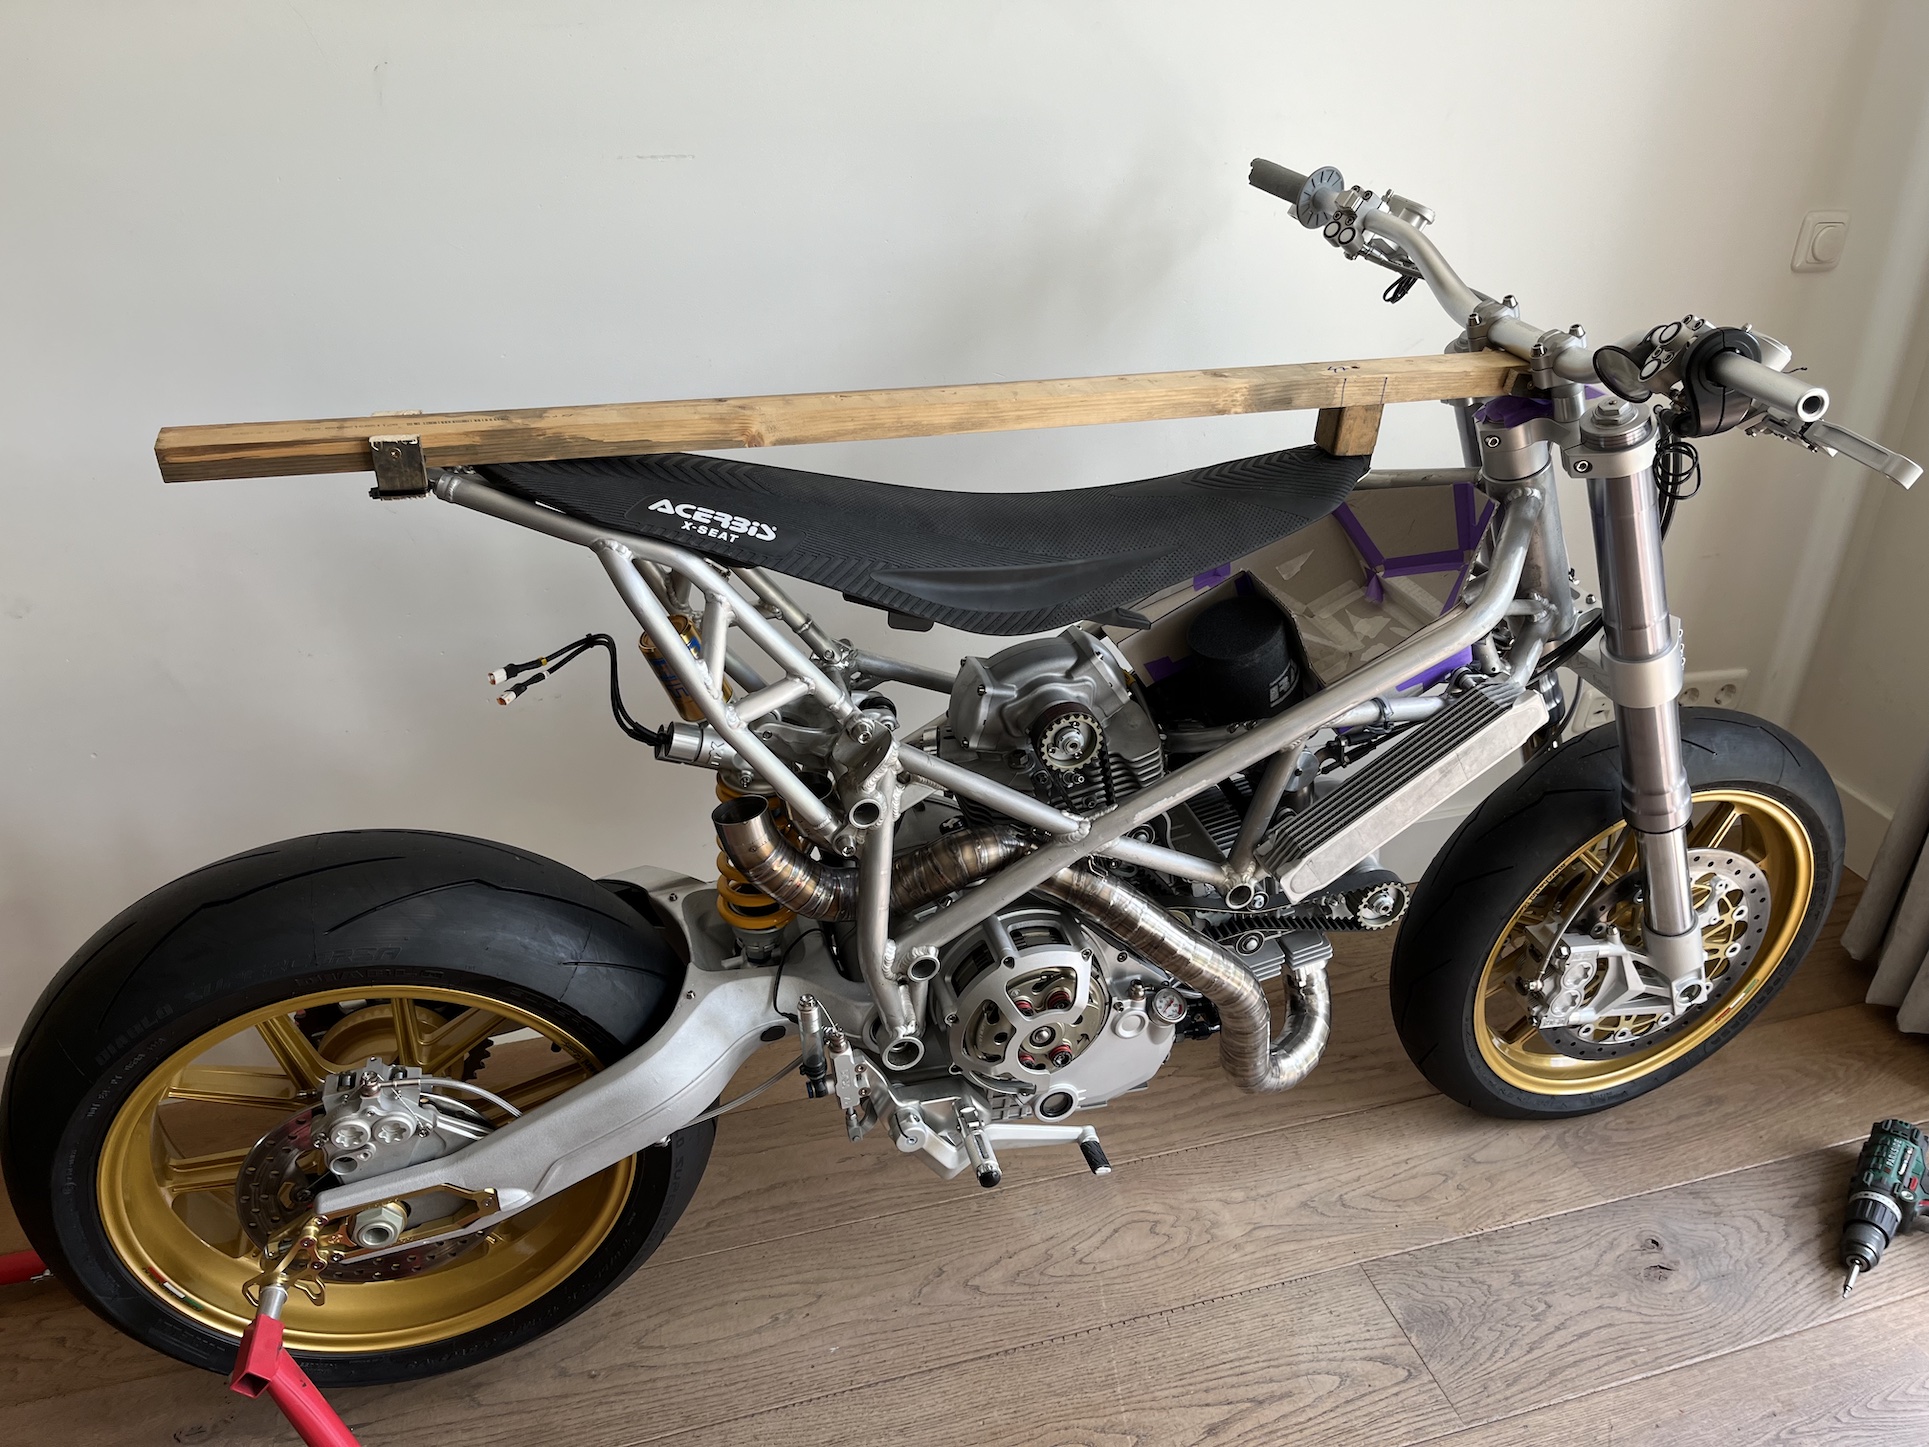
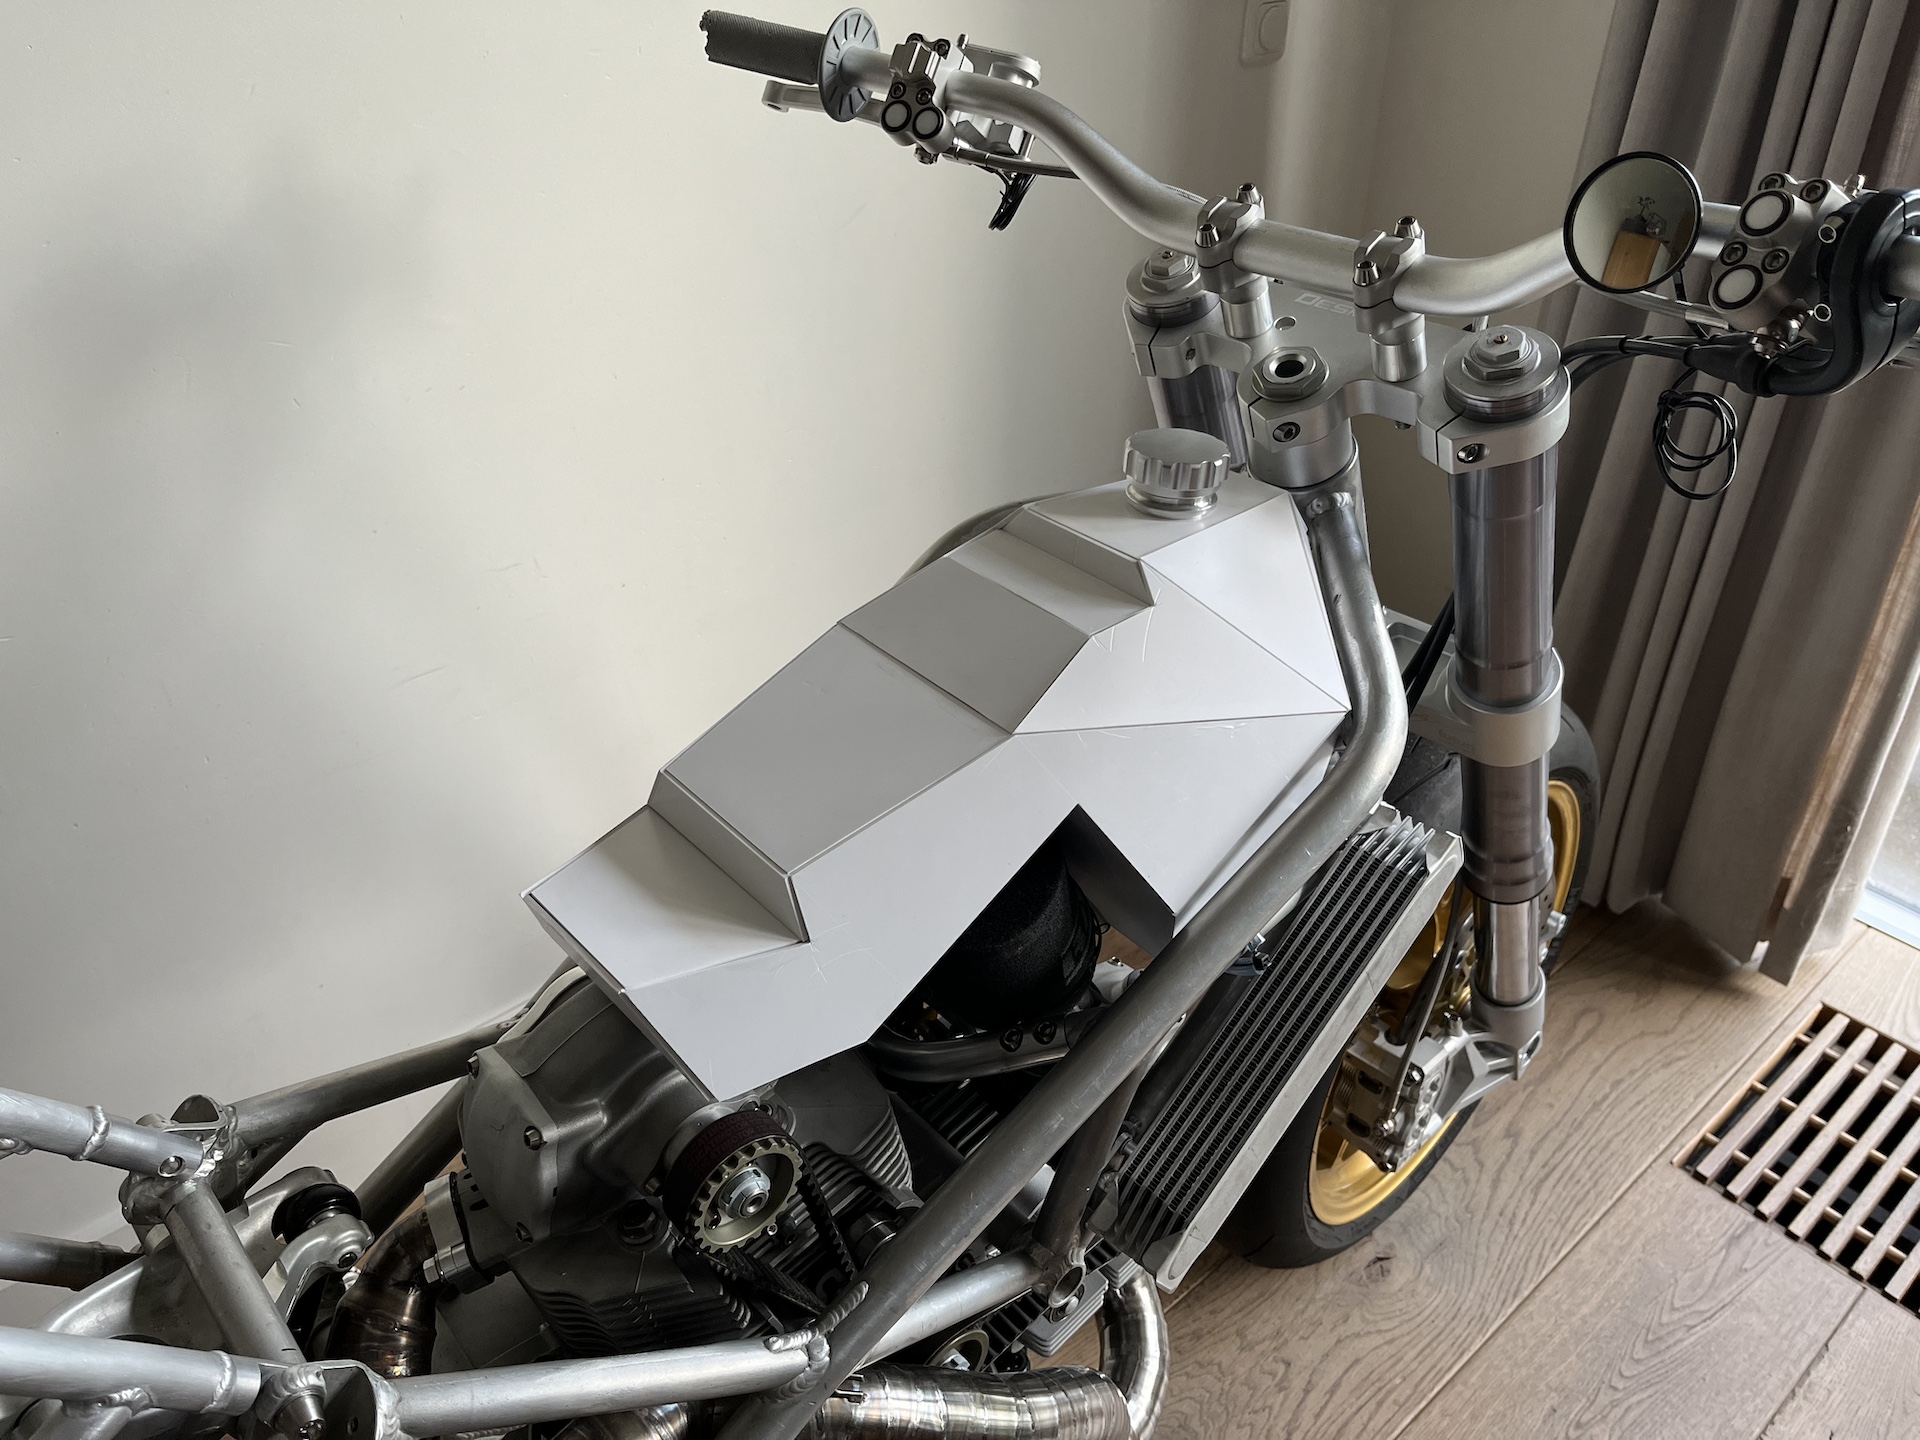
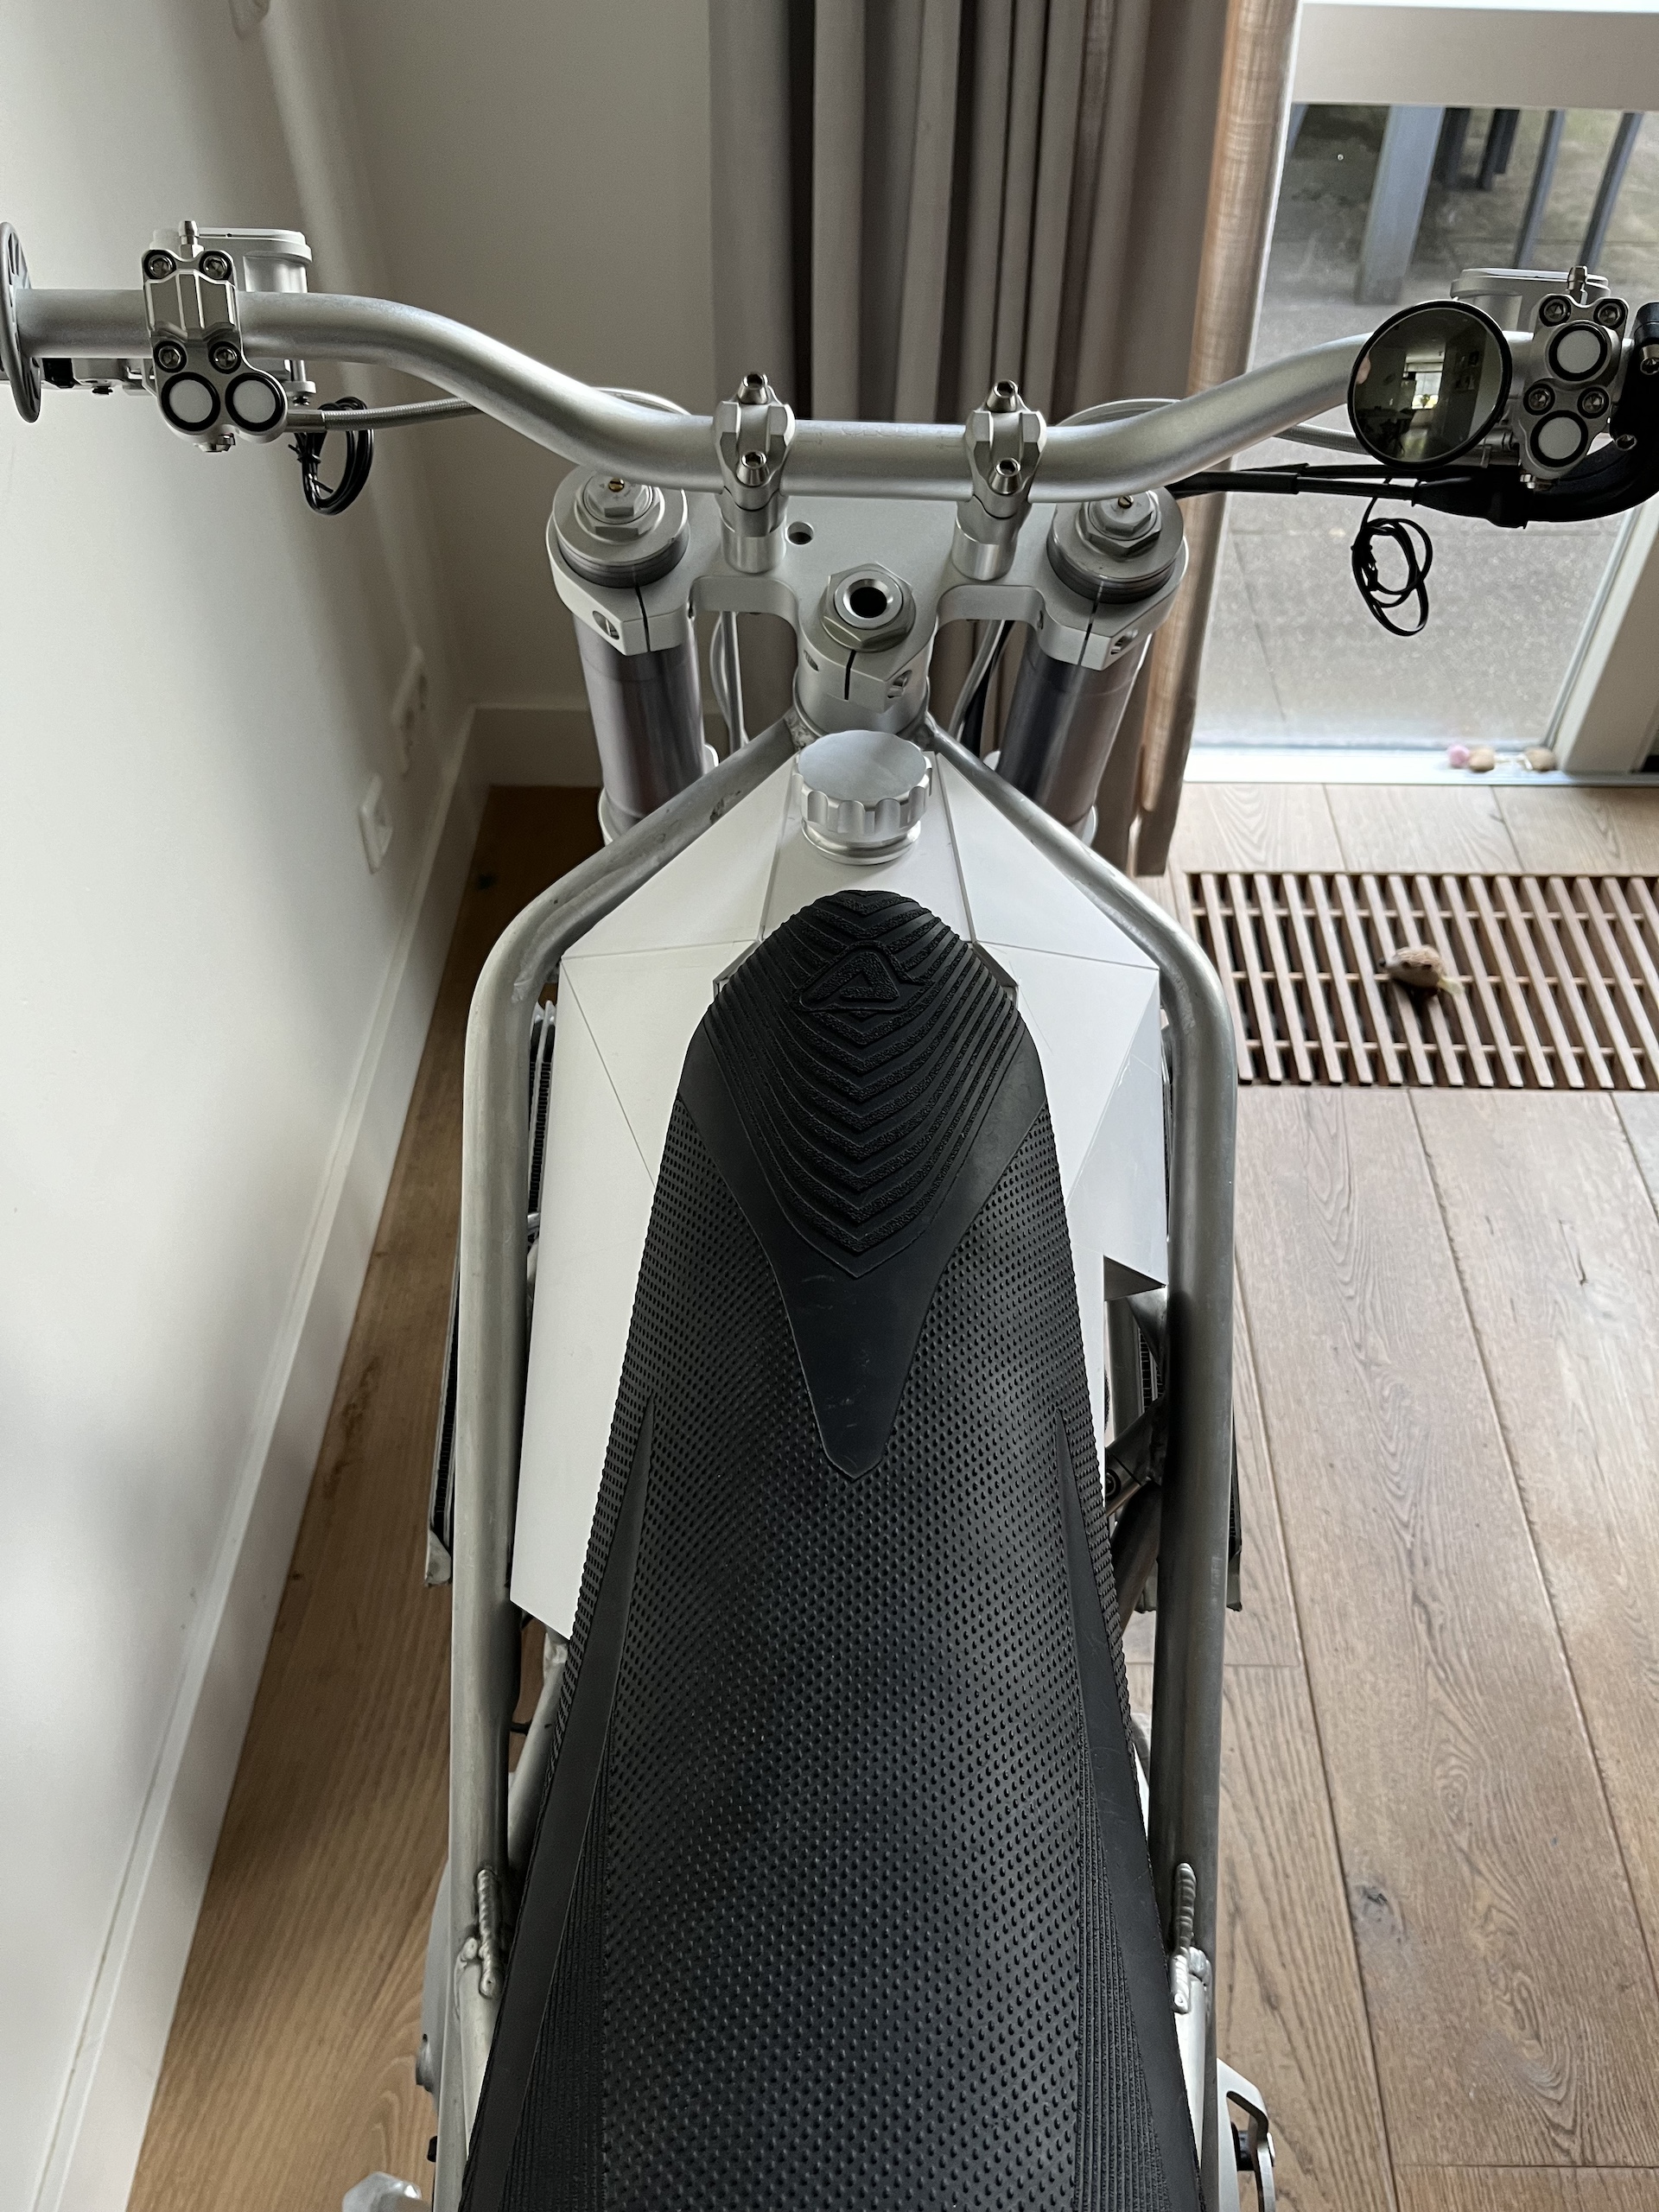
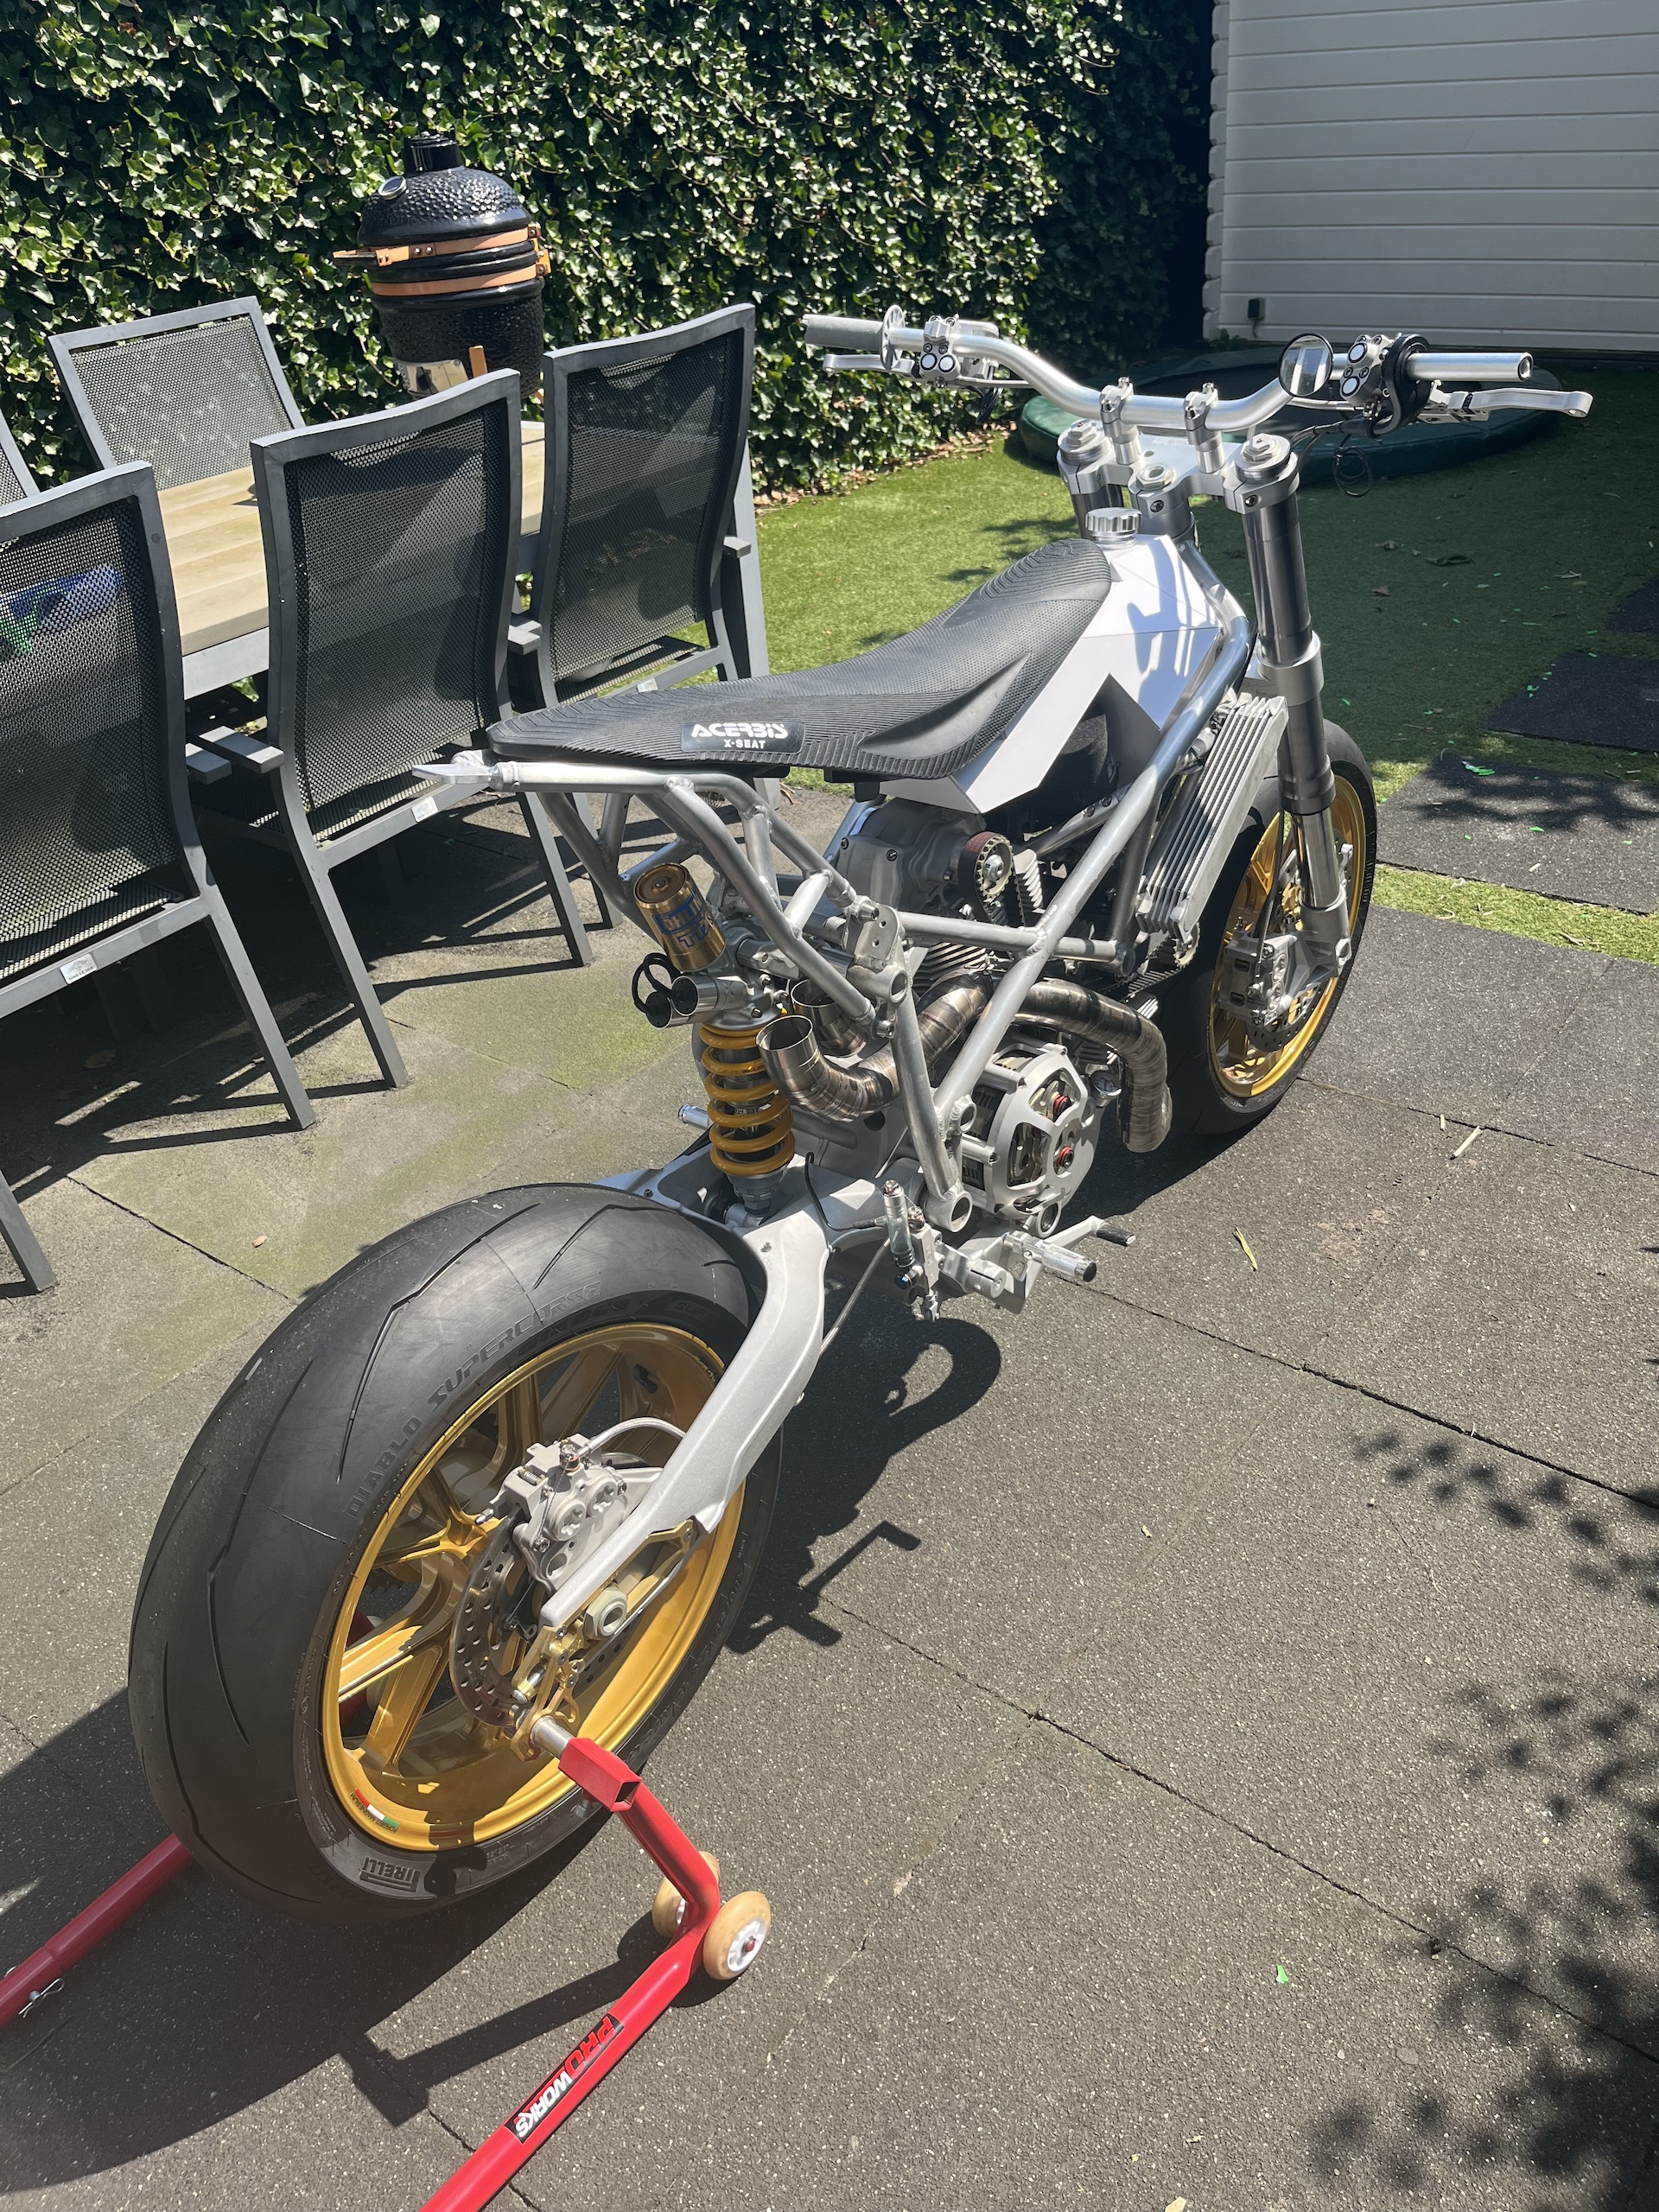
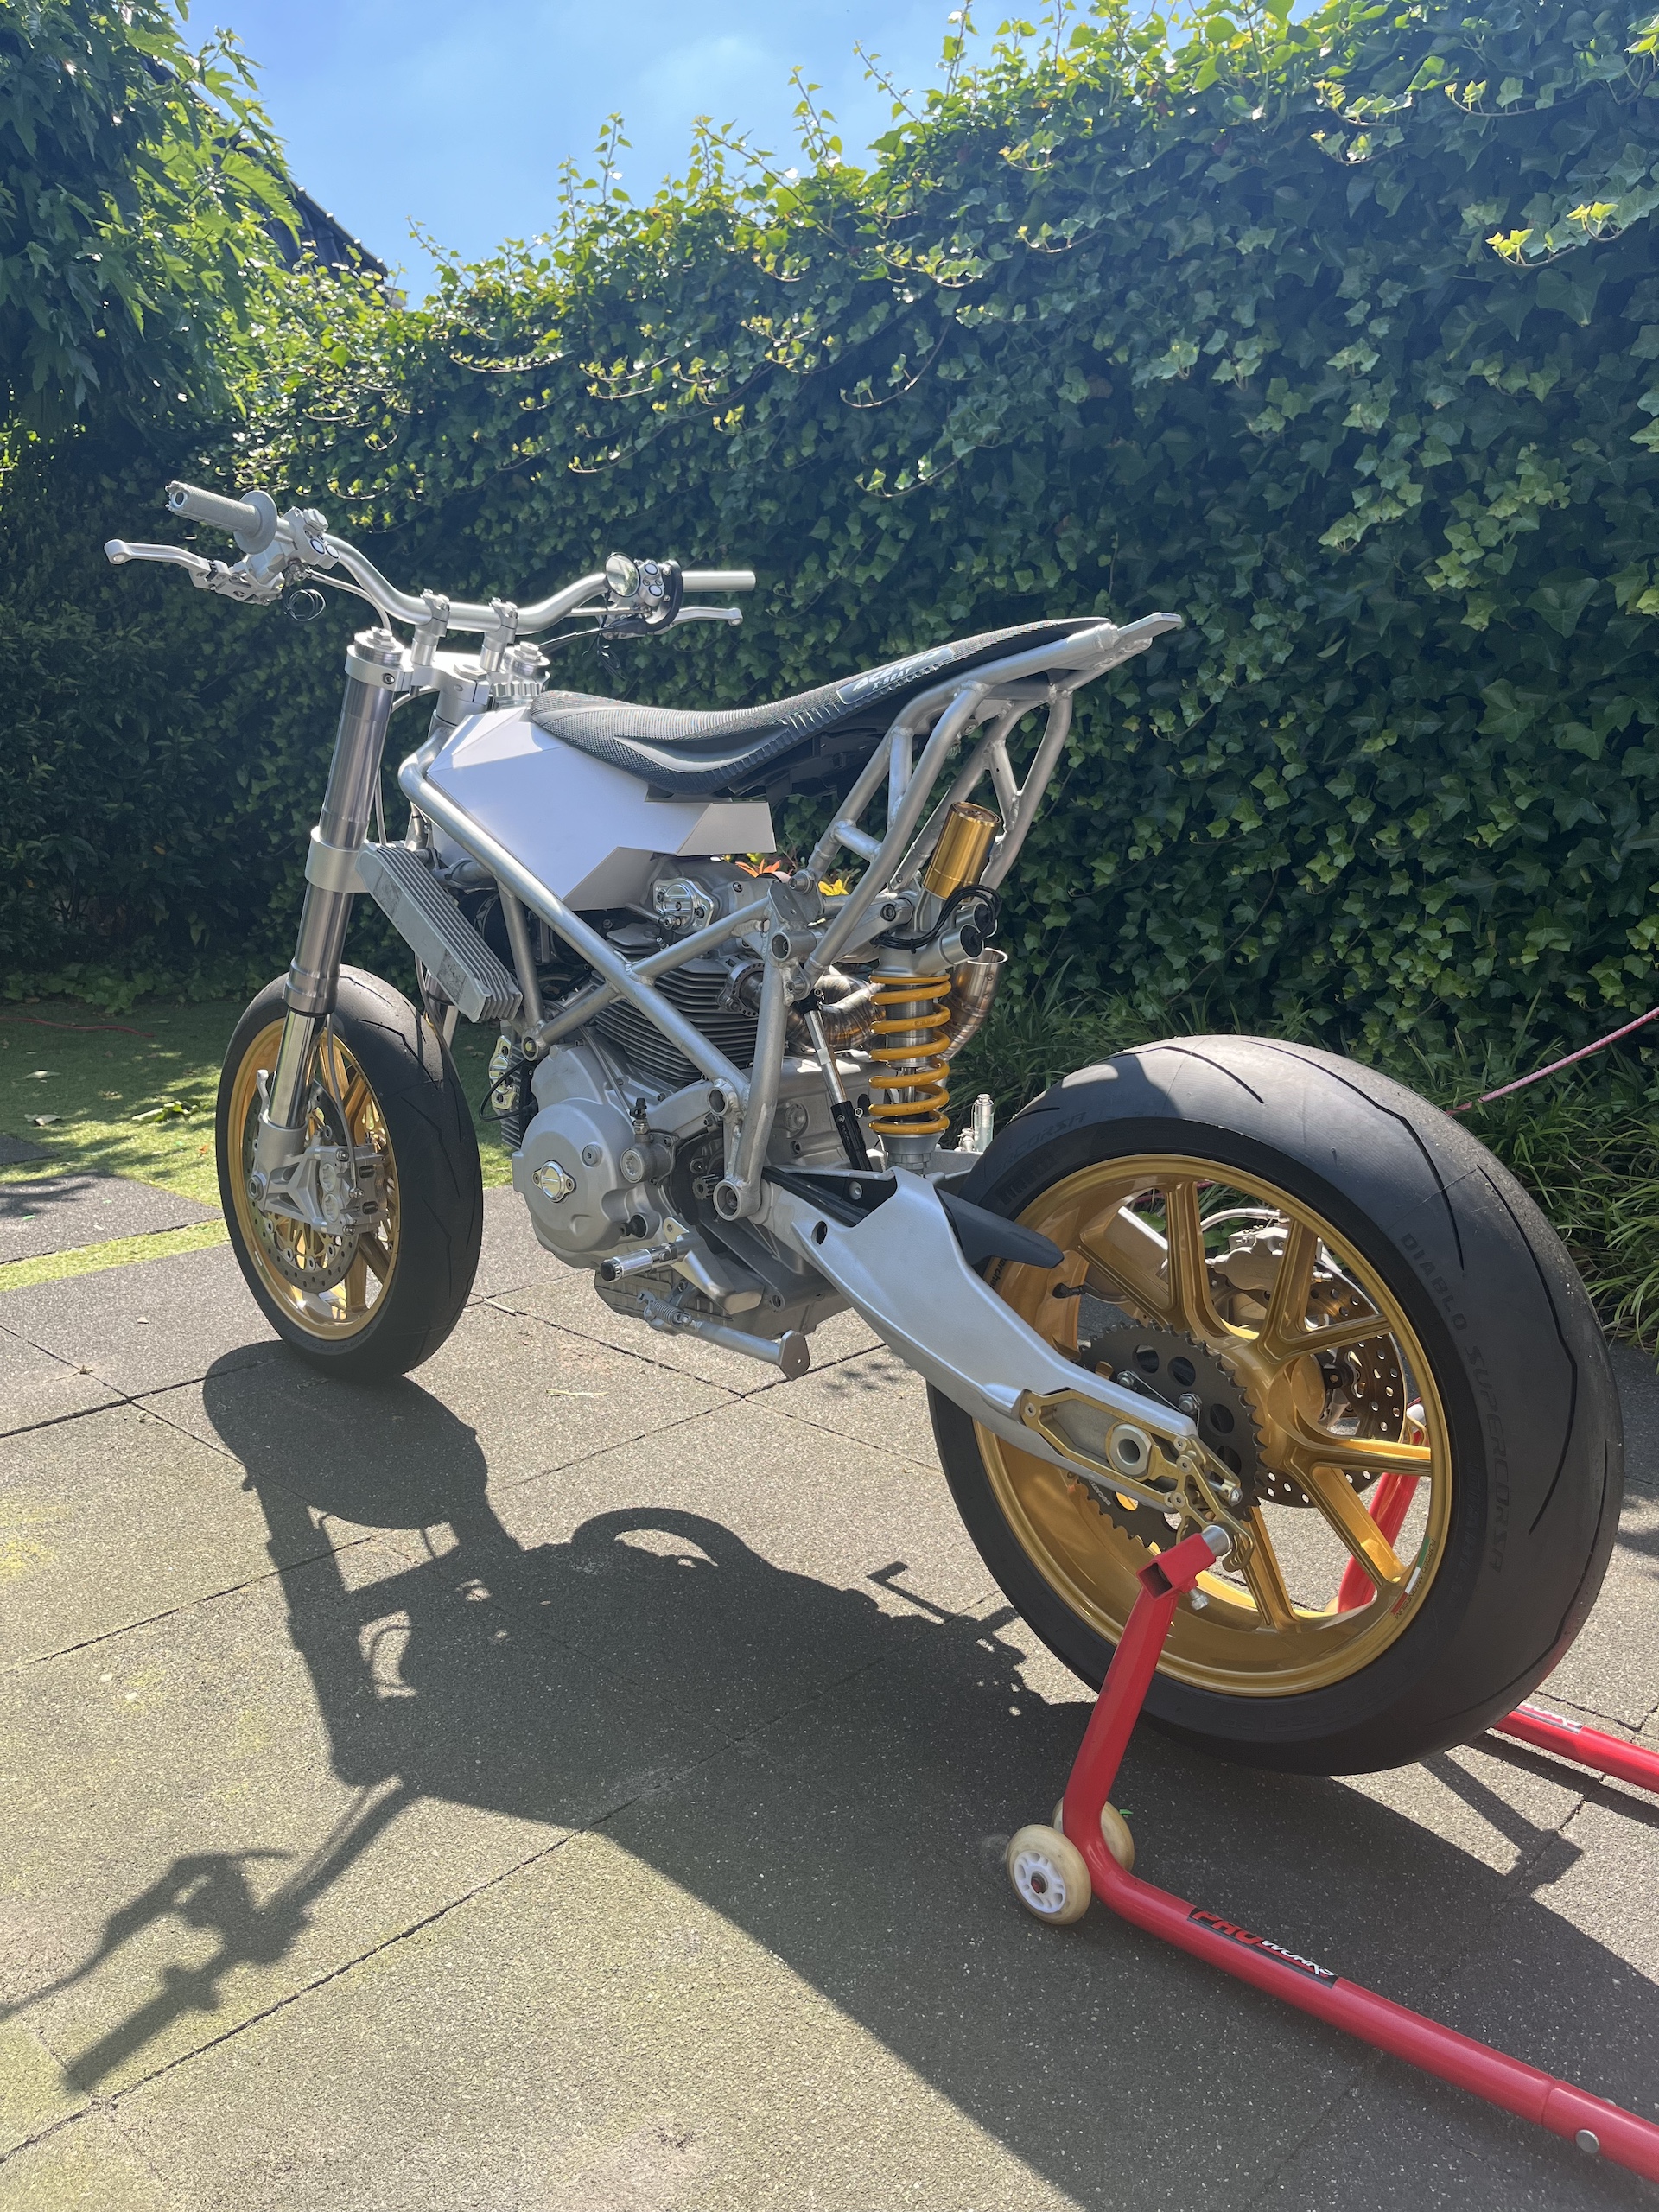
CURRENT STATE OF THE PROJECT
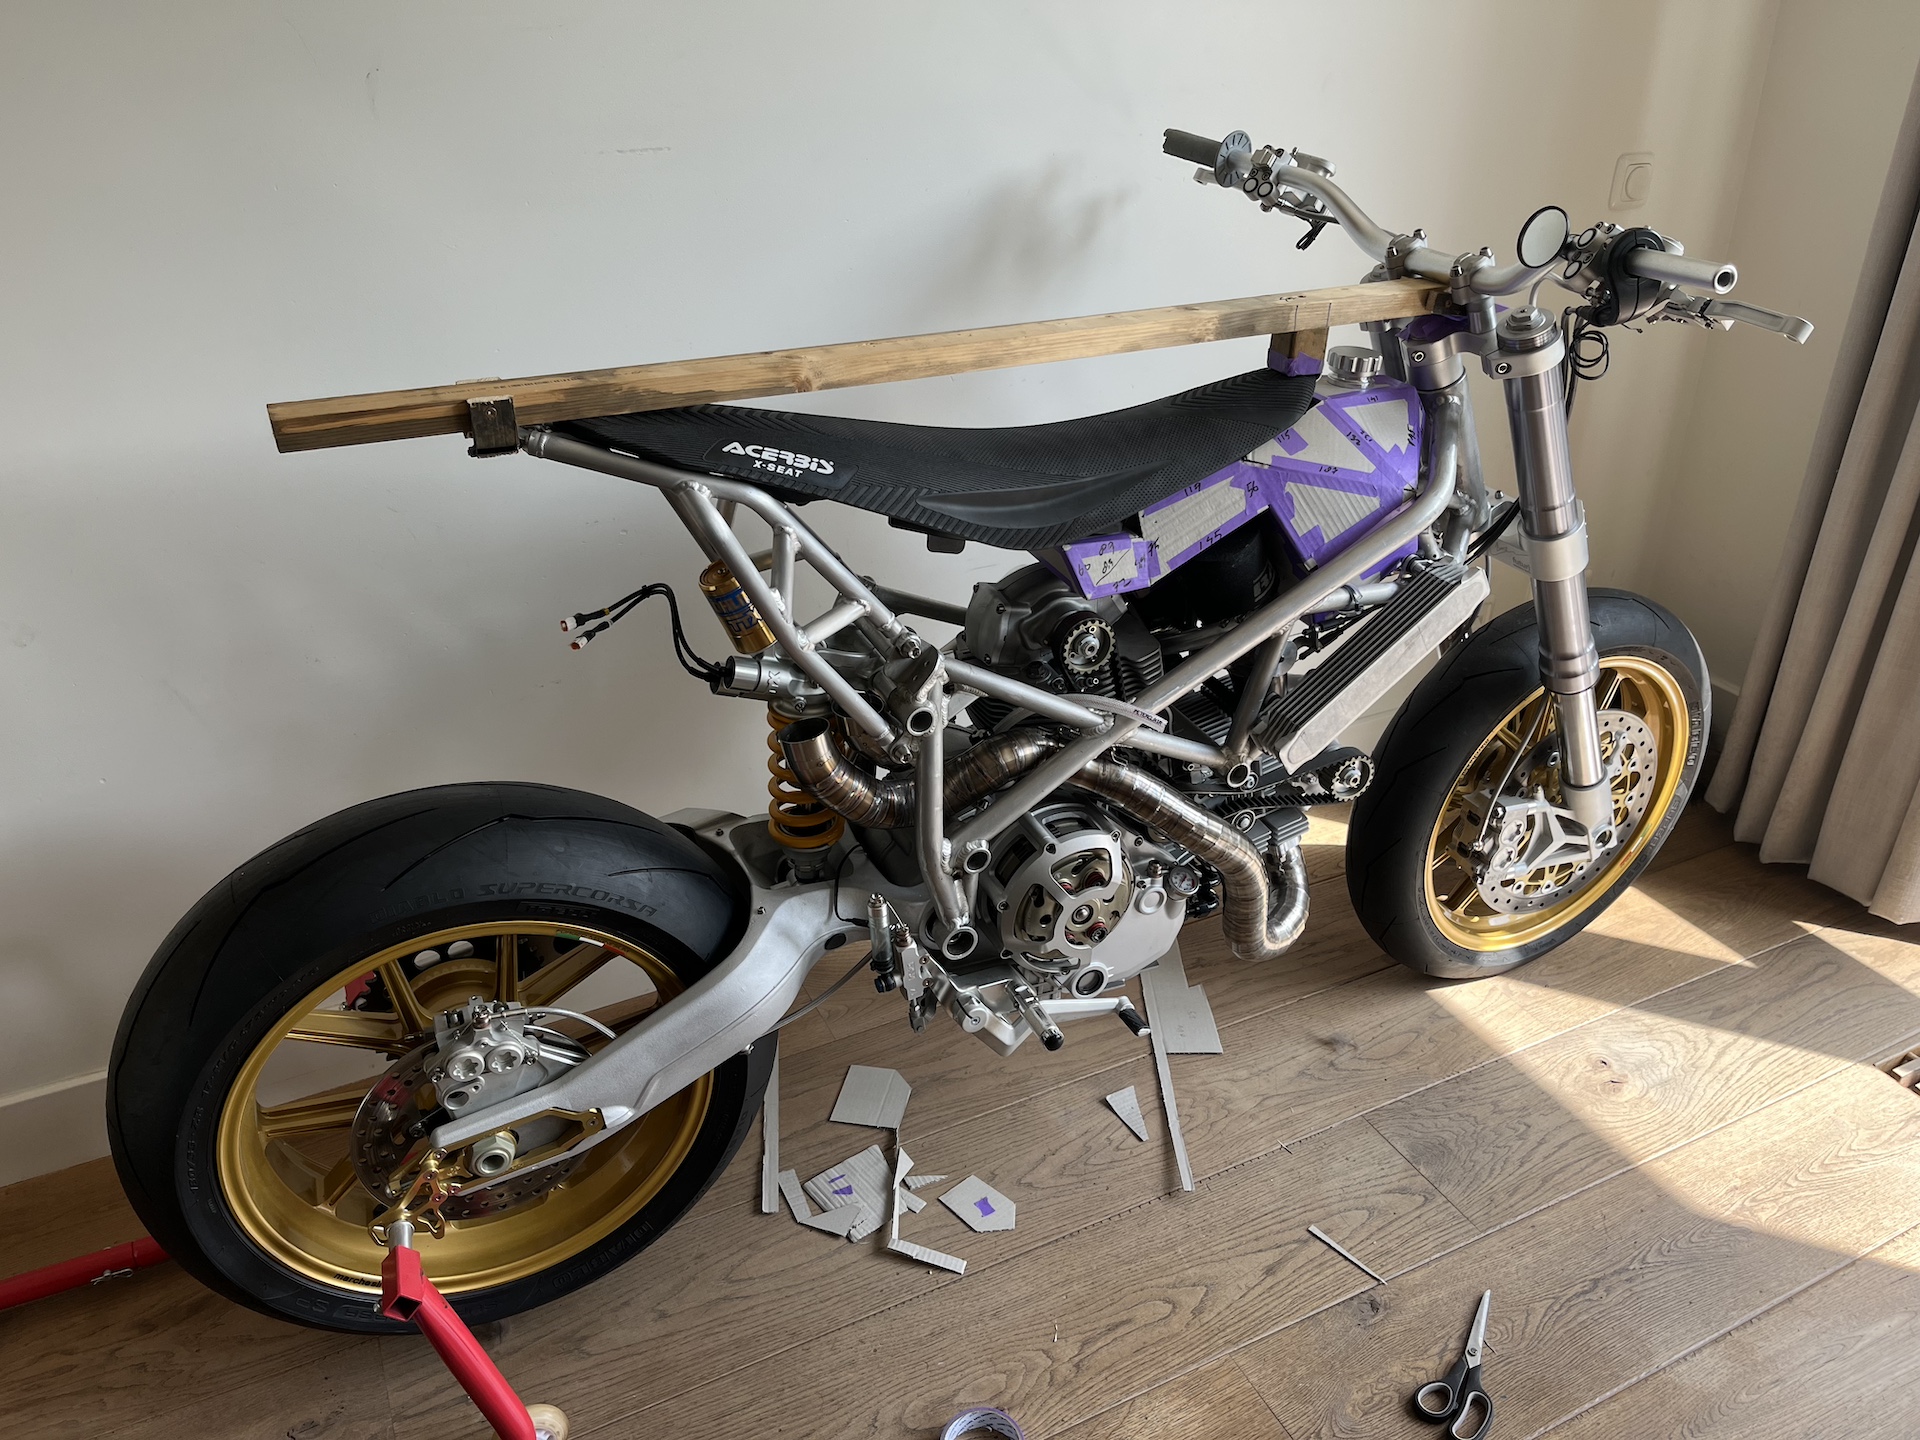
Current state of the Desmoto project on 19 Nov 2023… Finally its taking form!
A true treasure box of custom parts by myself and custom/performance parts by allot of different company’s…
It has taken a long time to get here, but I now have the feeling momentum is going and the end is in sight. Yes still allot of work to do, complex work also like carbon fairings and the custom exhaust for example. But its taking a form that I am already really proud of.
First reaction from people when they see it in this state = WOW & Damn how much does it weigh… Im hoping we will go way below 150KG wet, and if I now move the bike around it still feels like a moped. Its that light haha!
Up next!? Custom aluminium fuel tank!