DUCATI DESMOTO
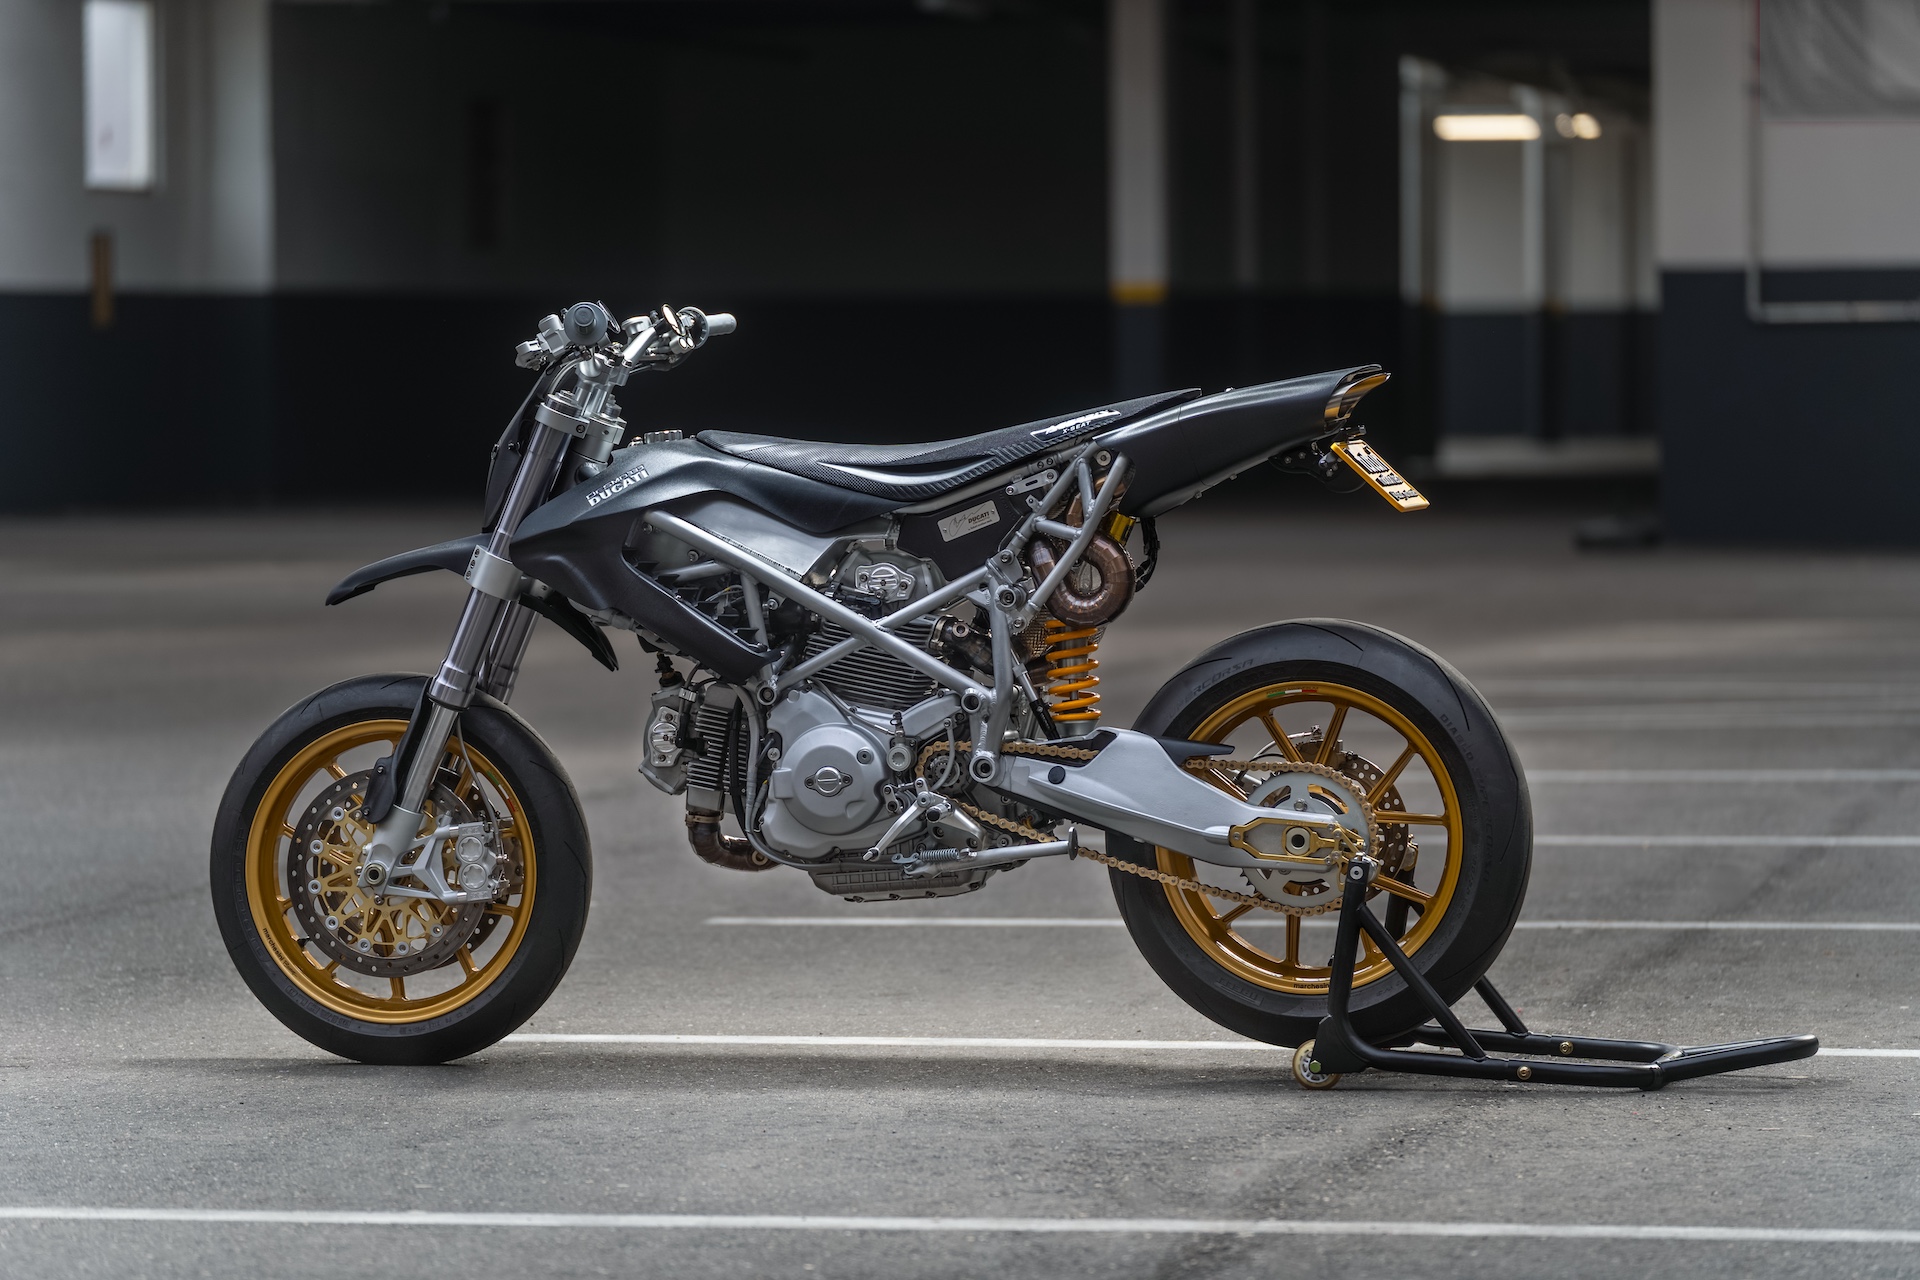
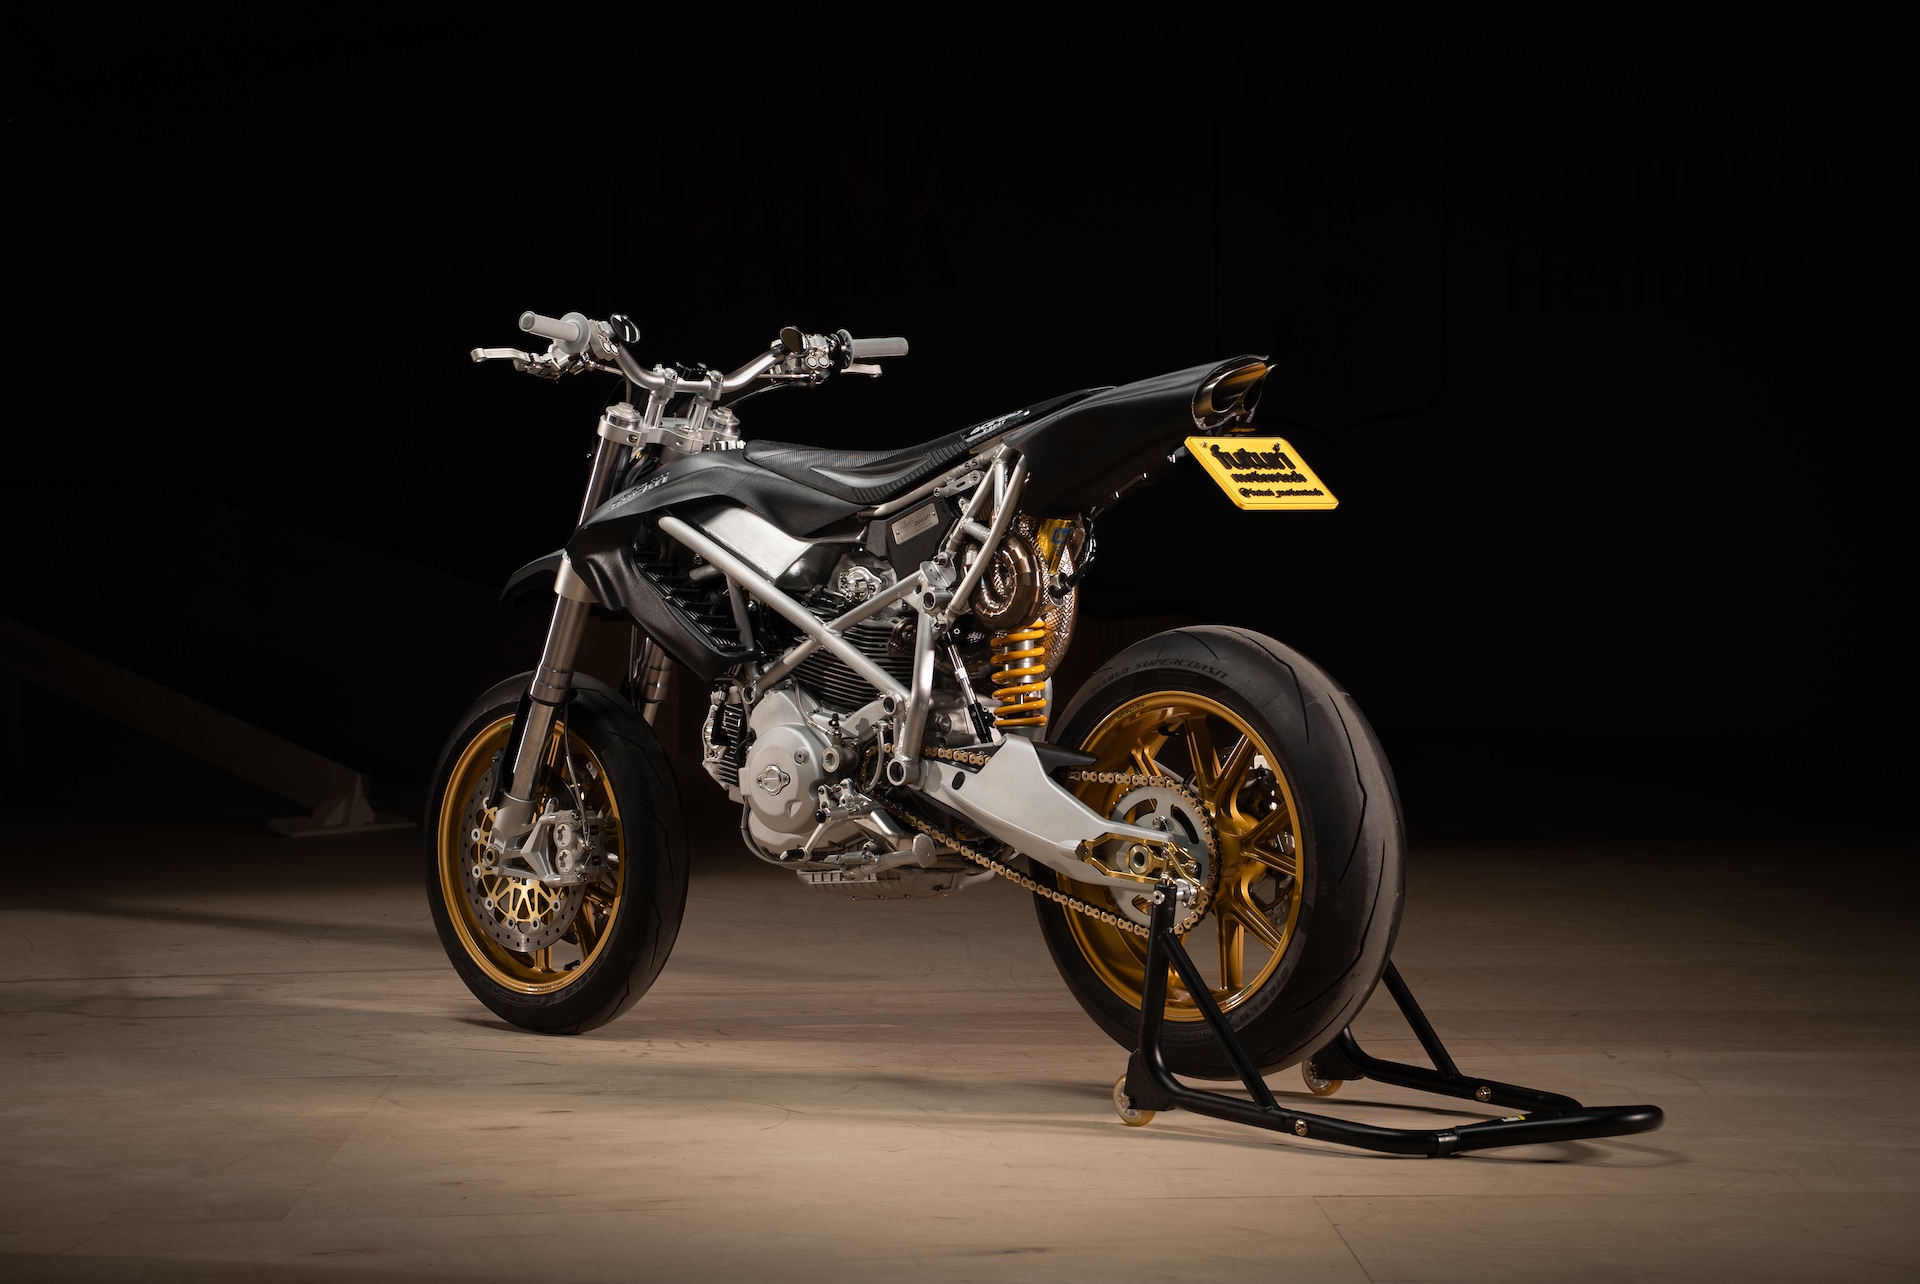
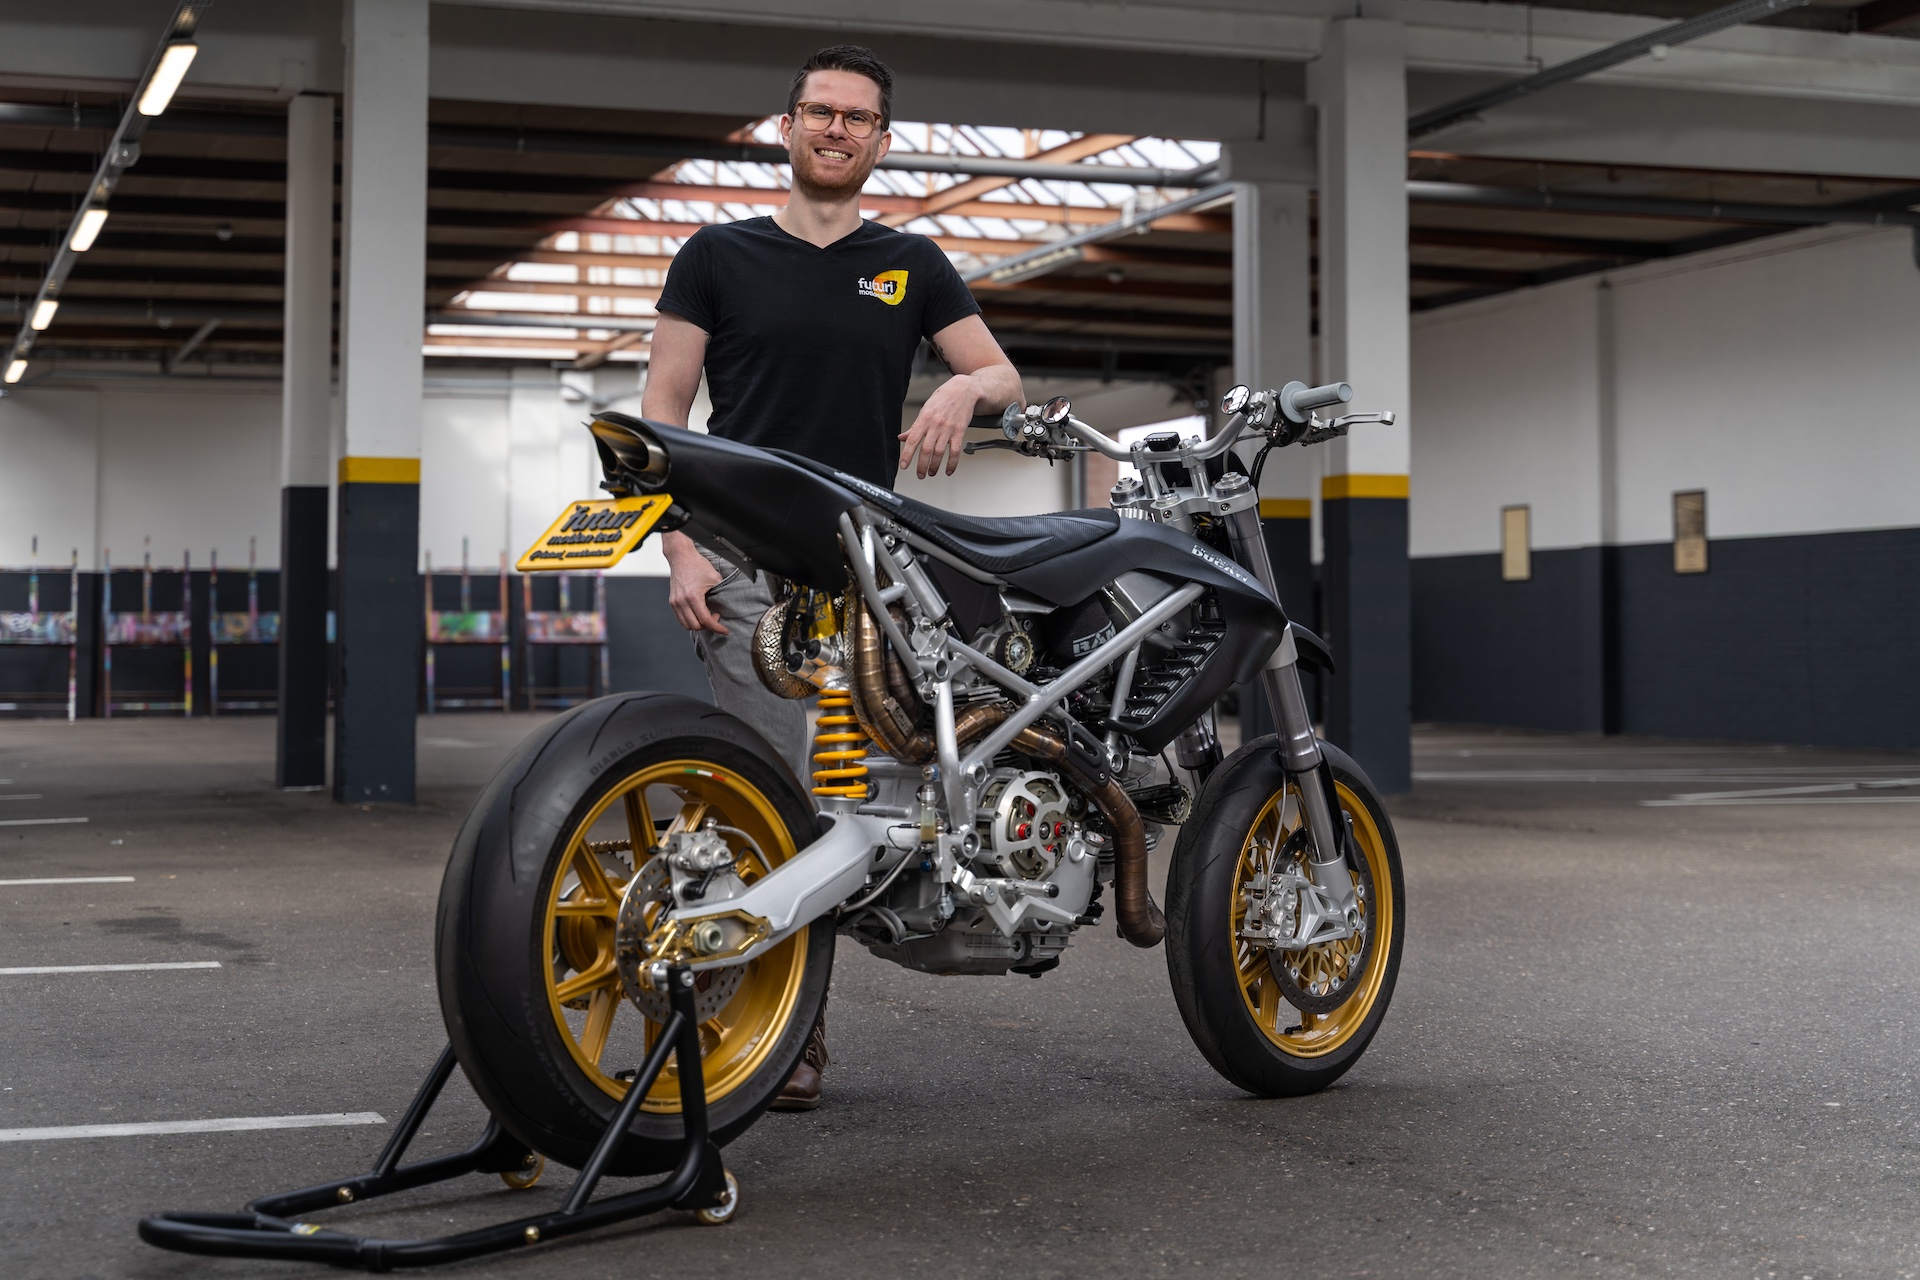
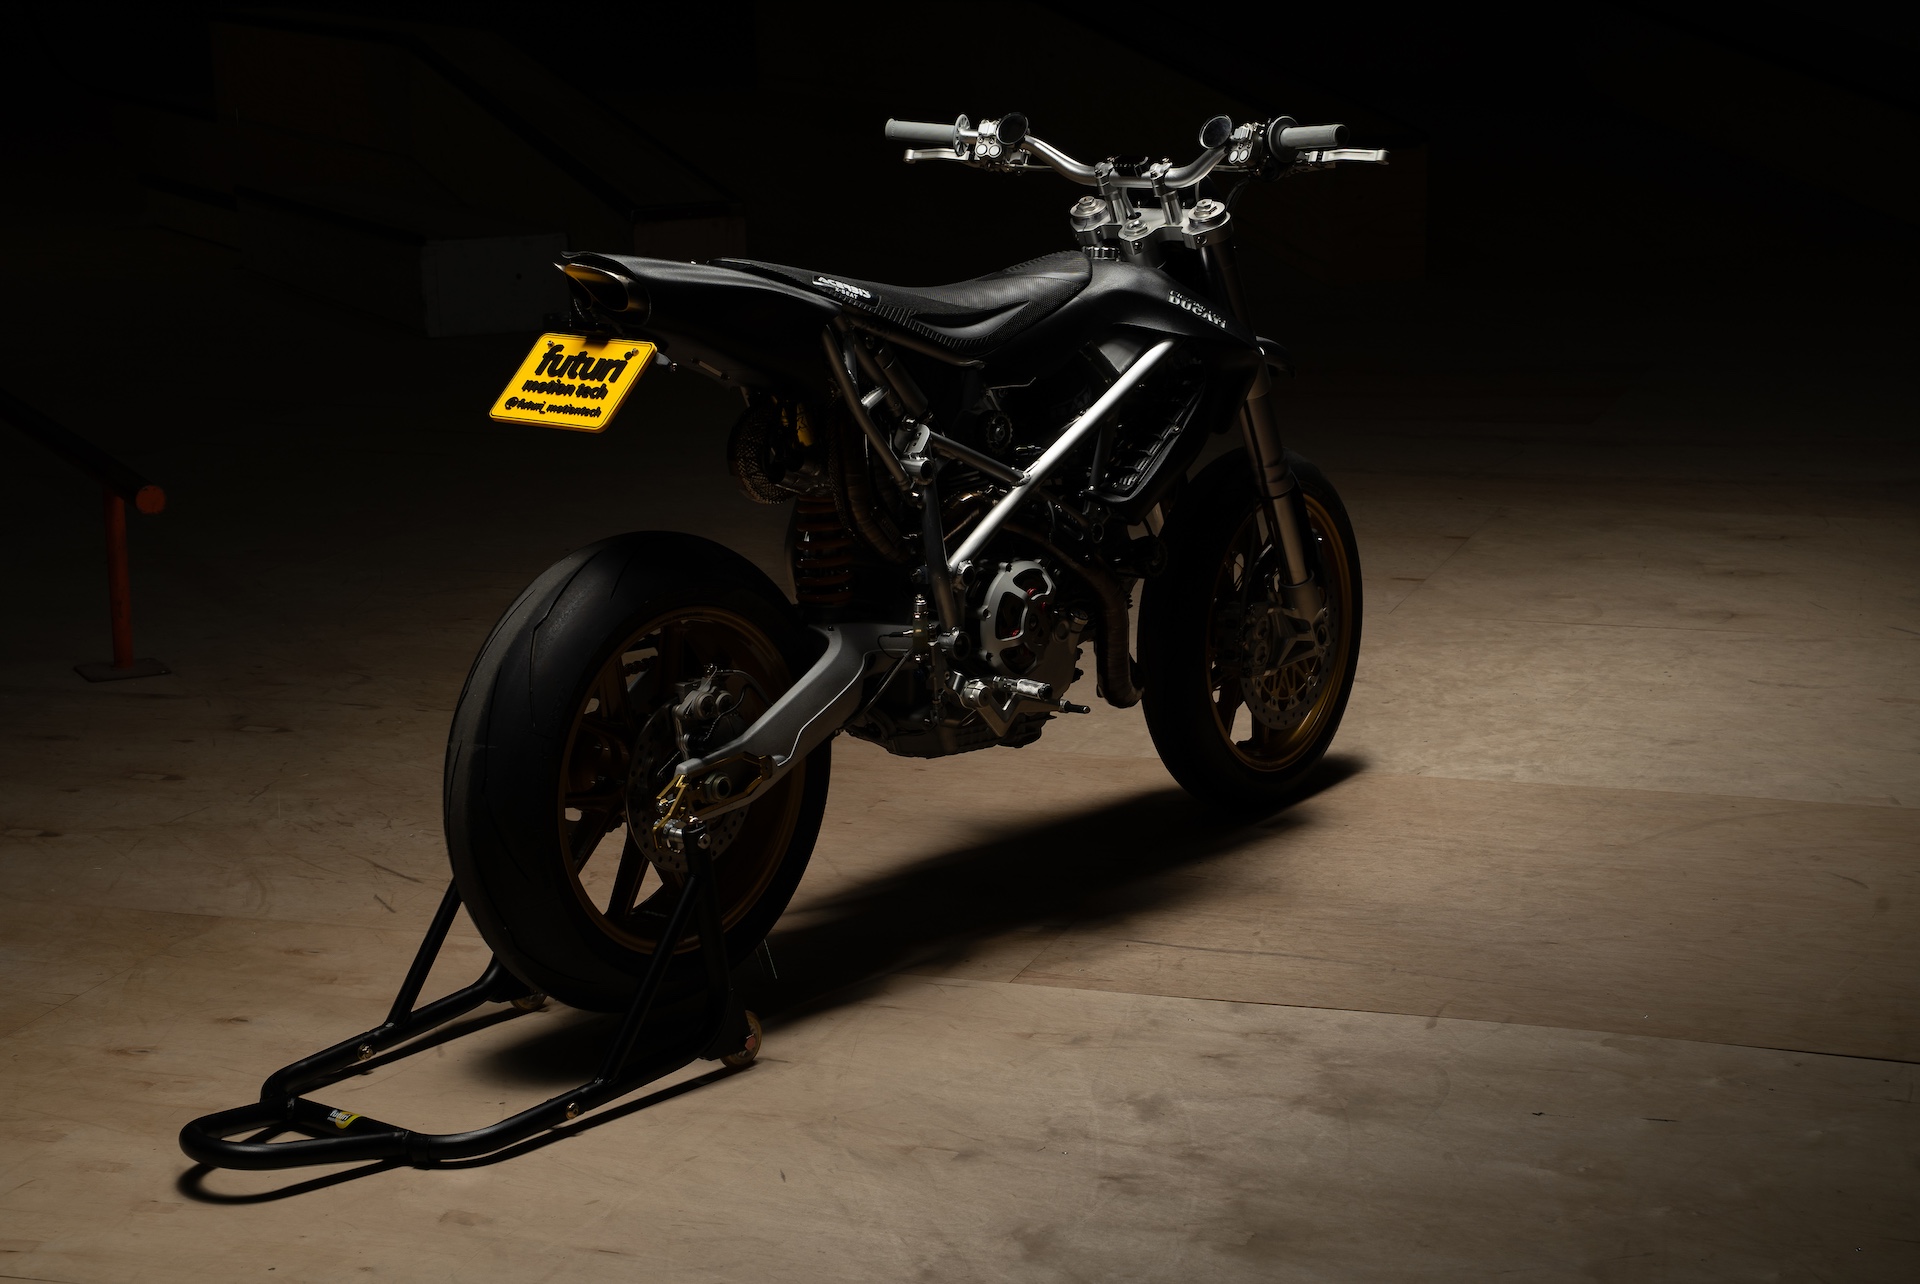
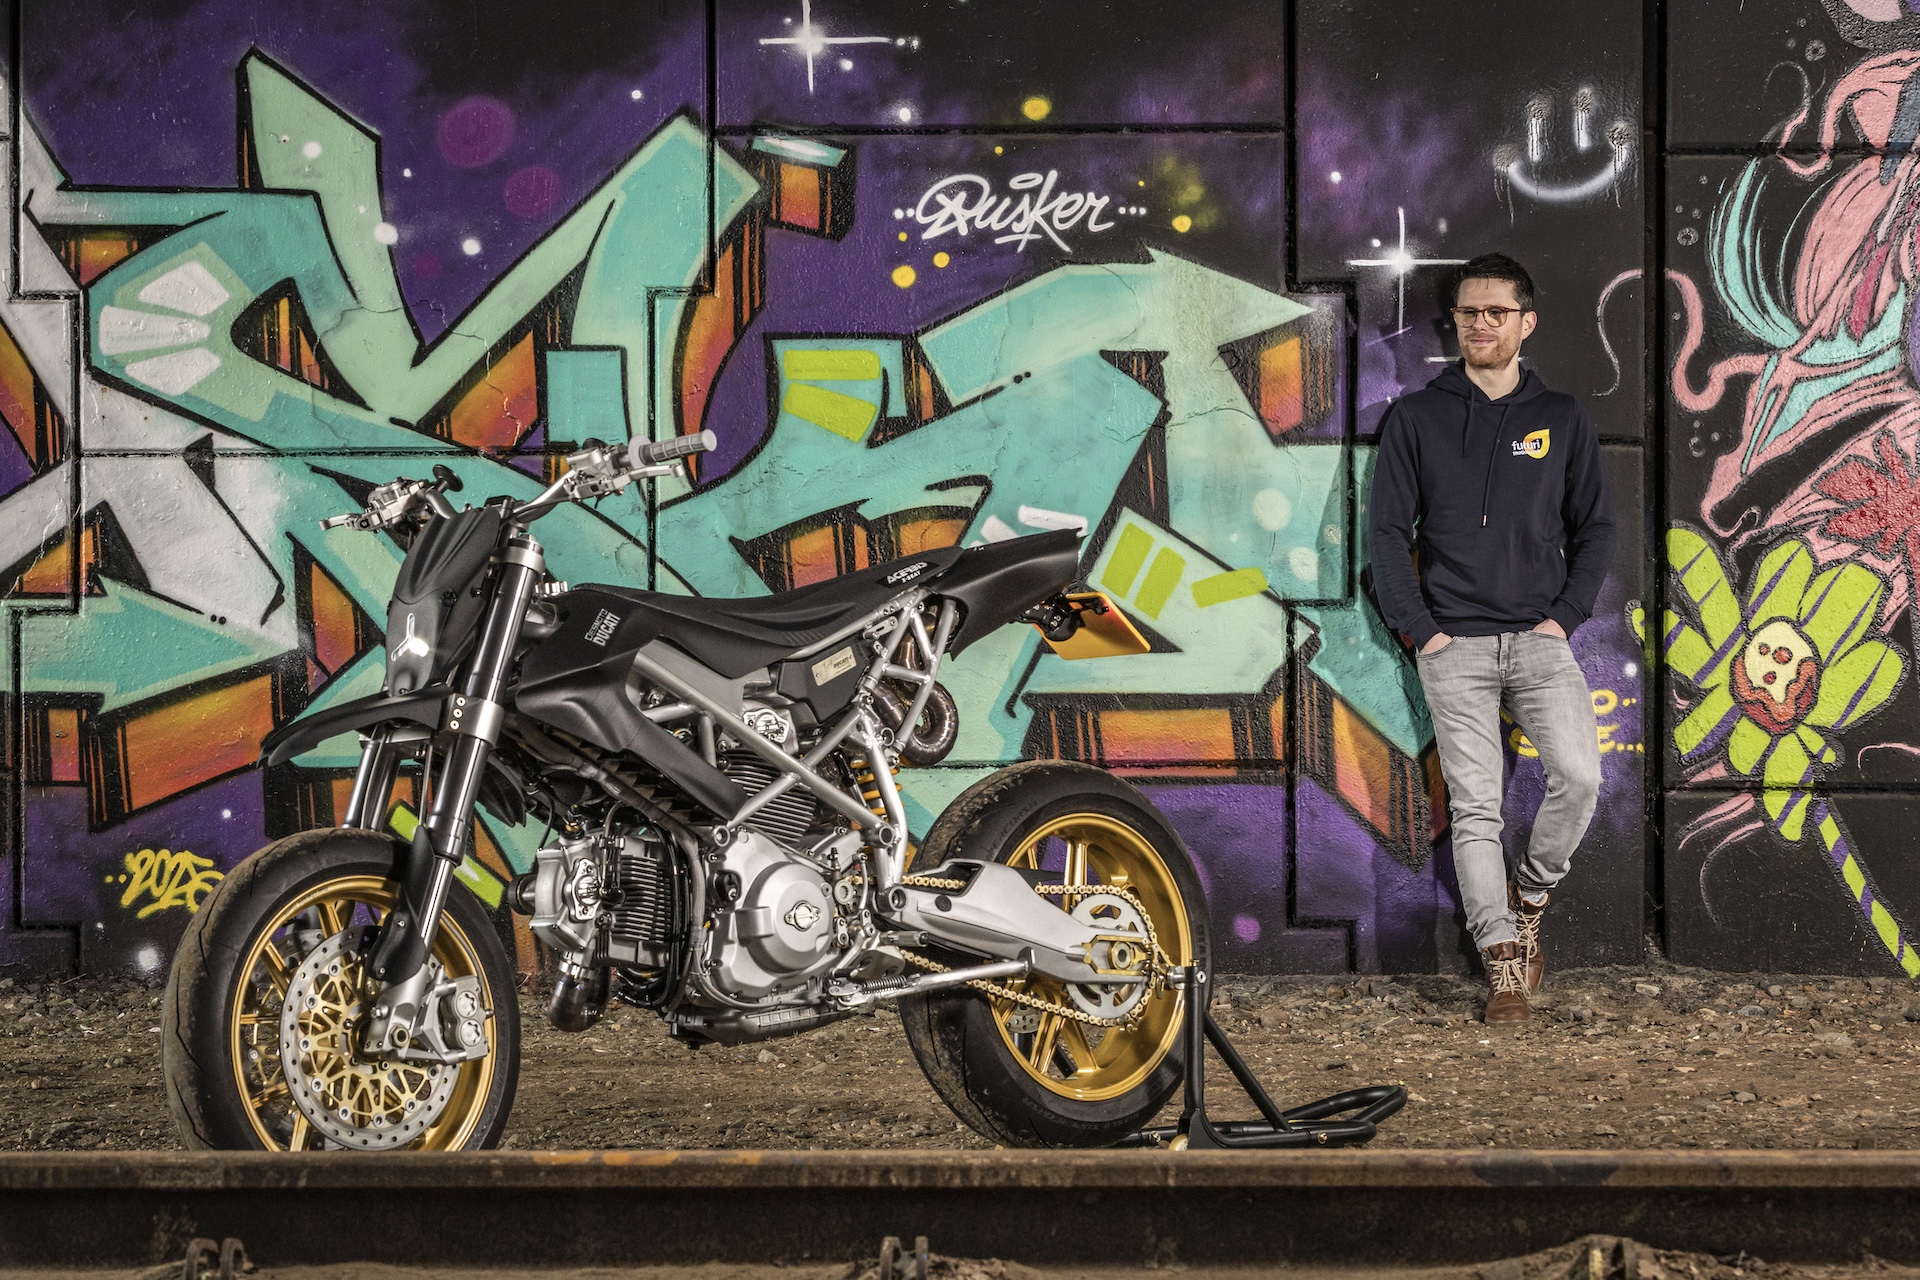
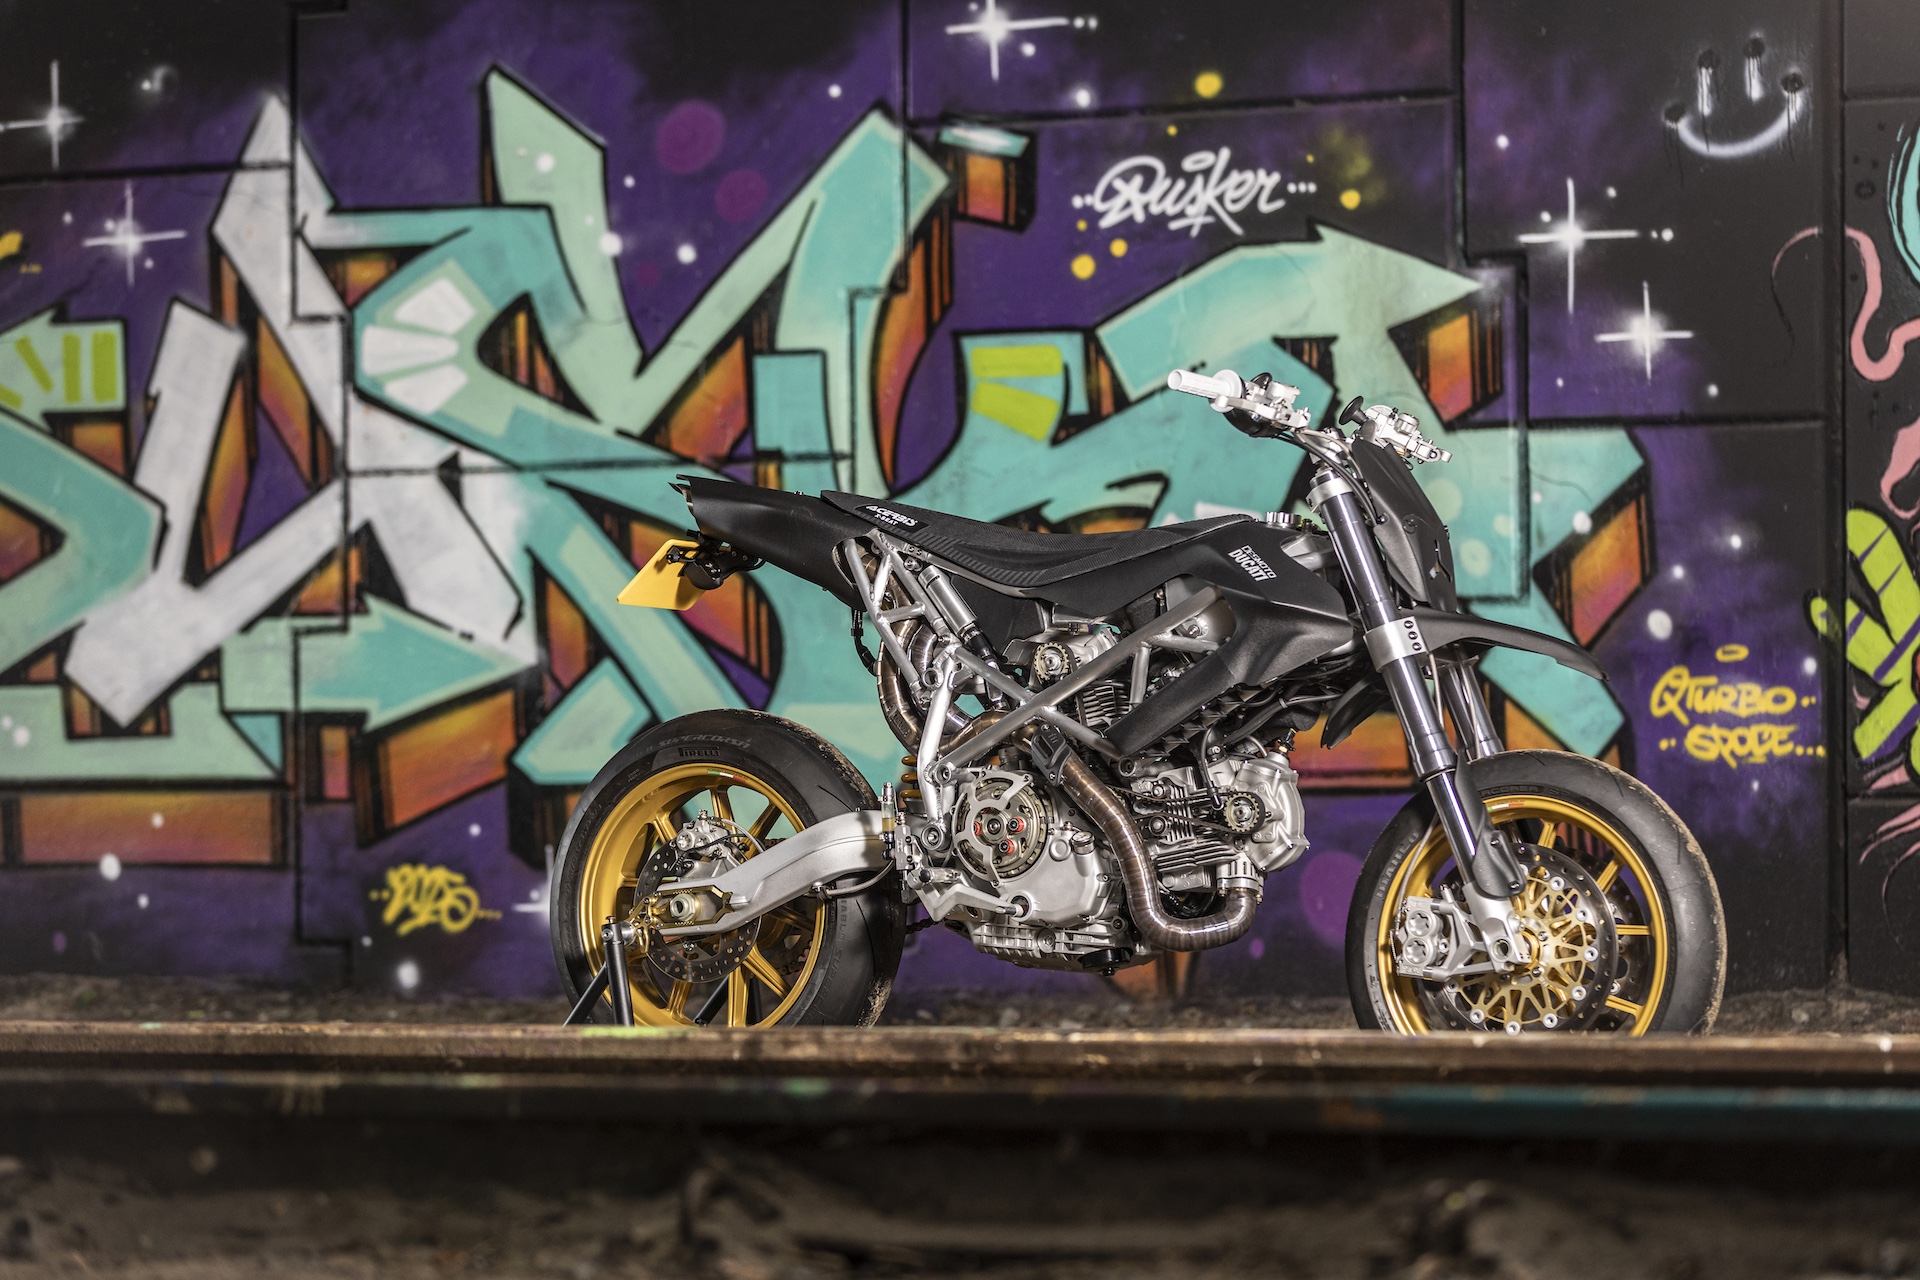
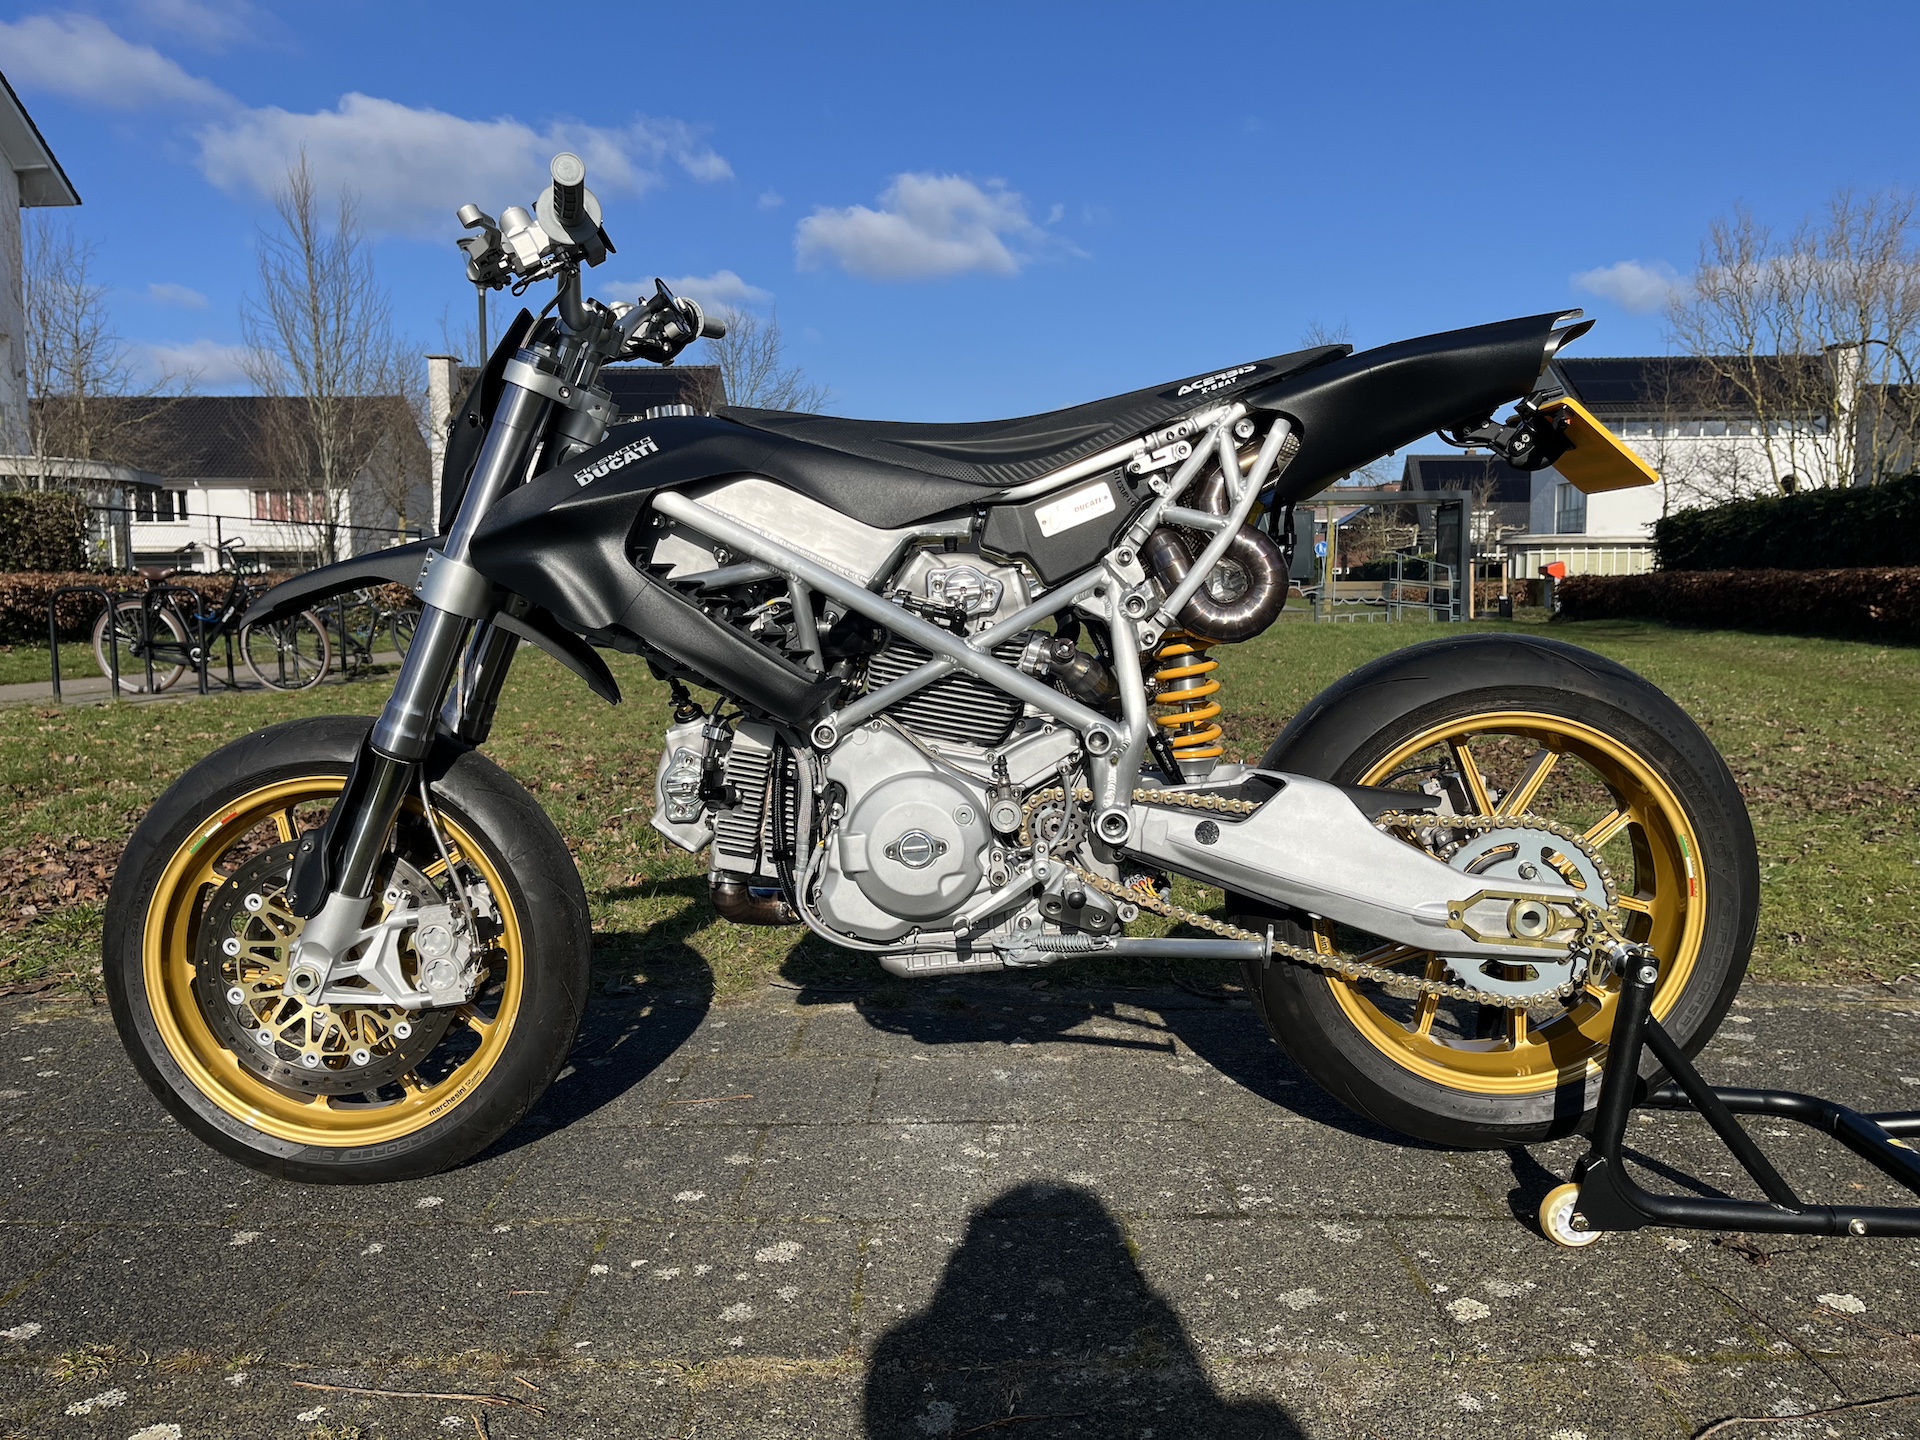
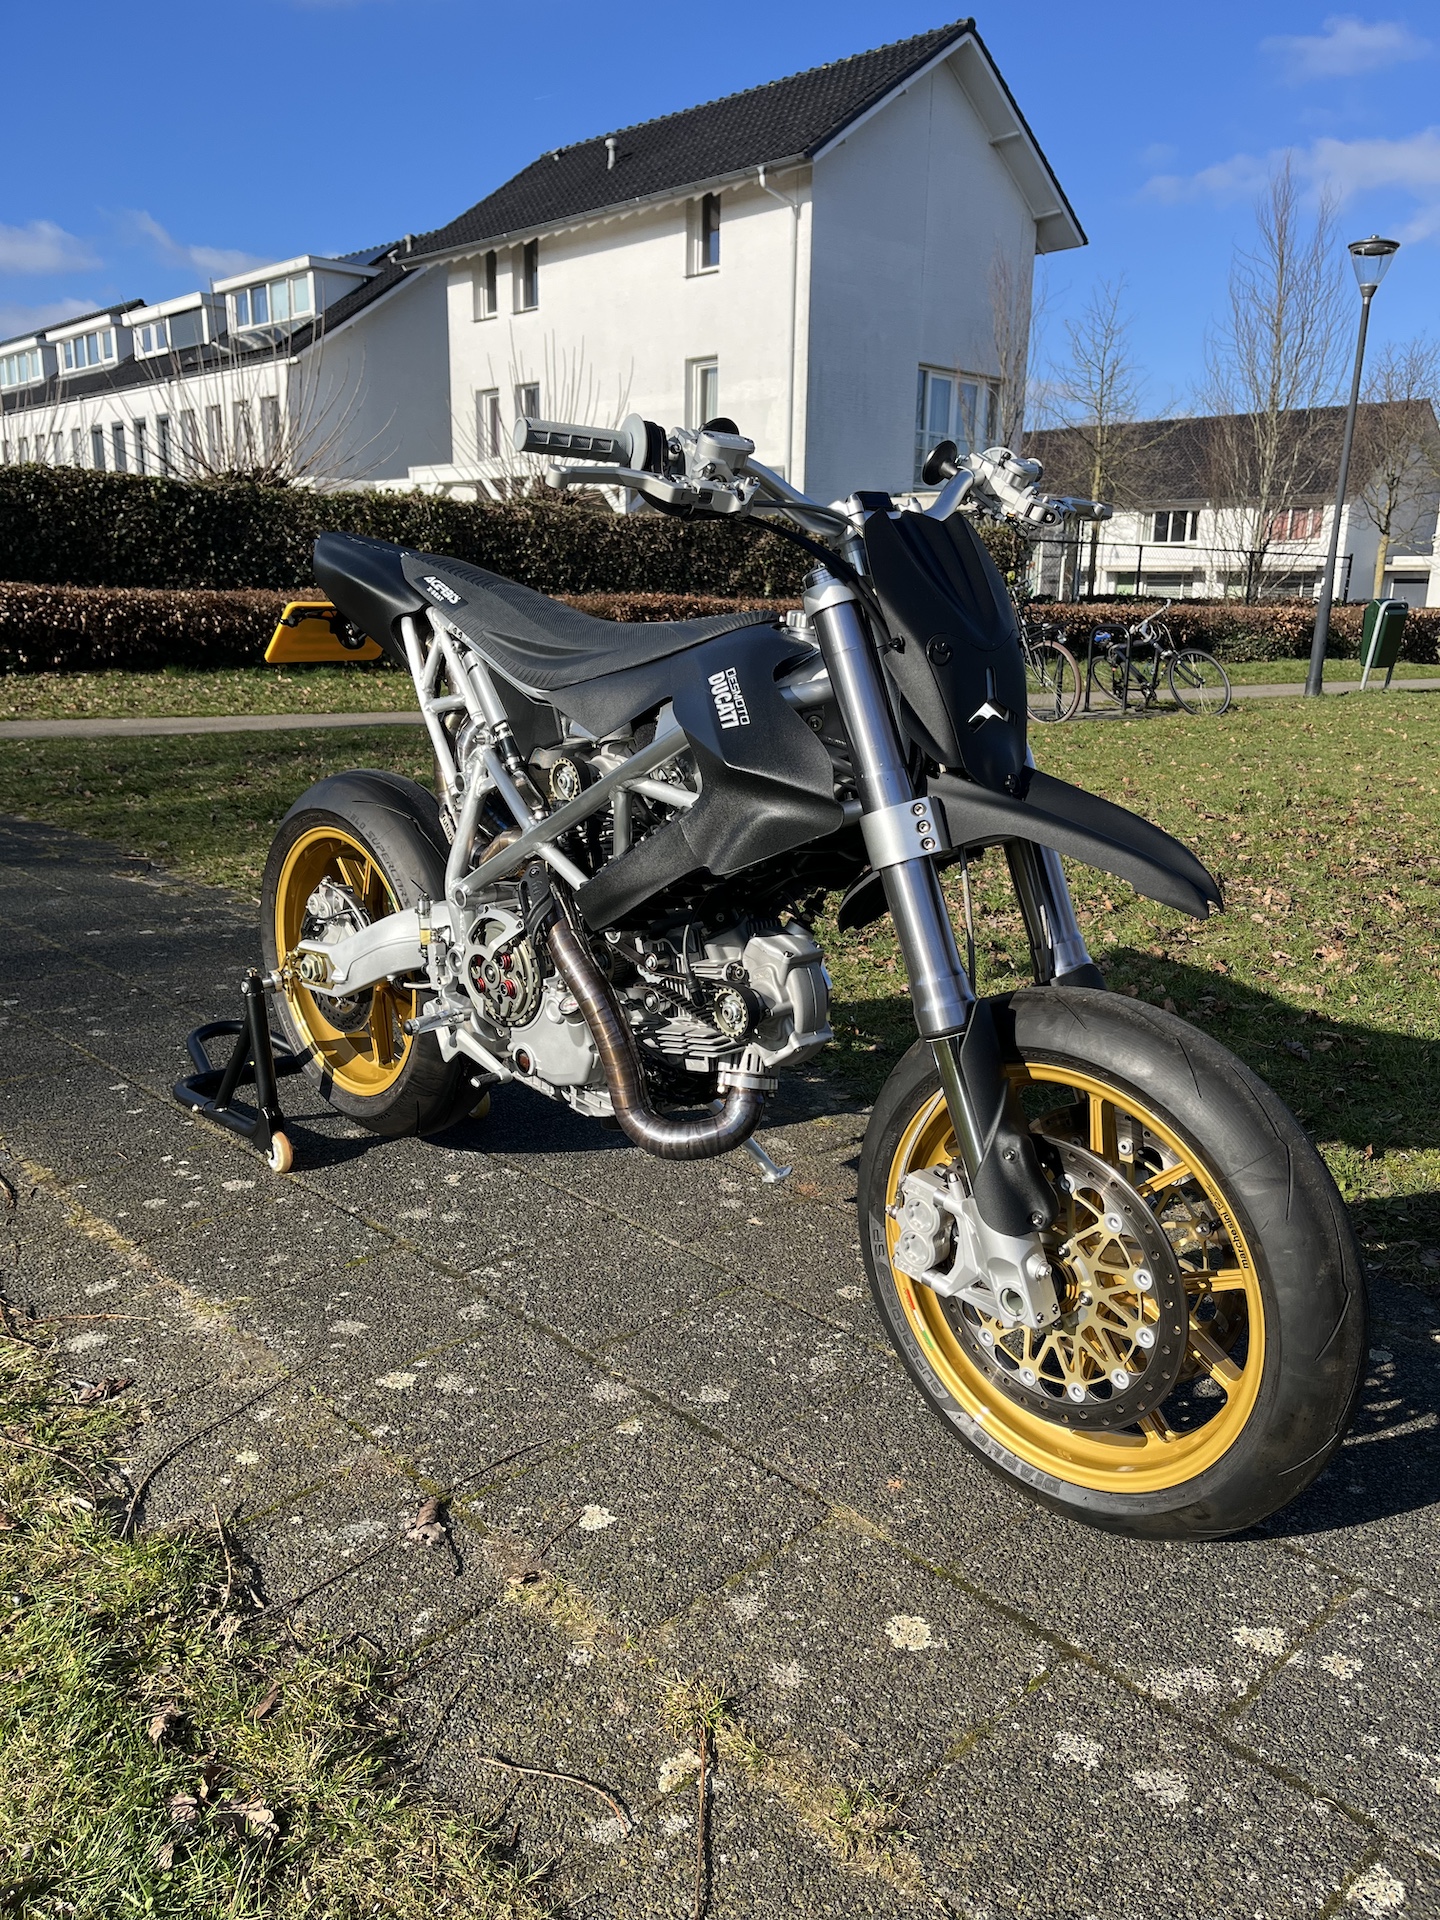
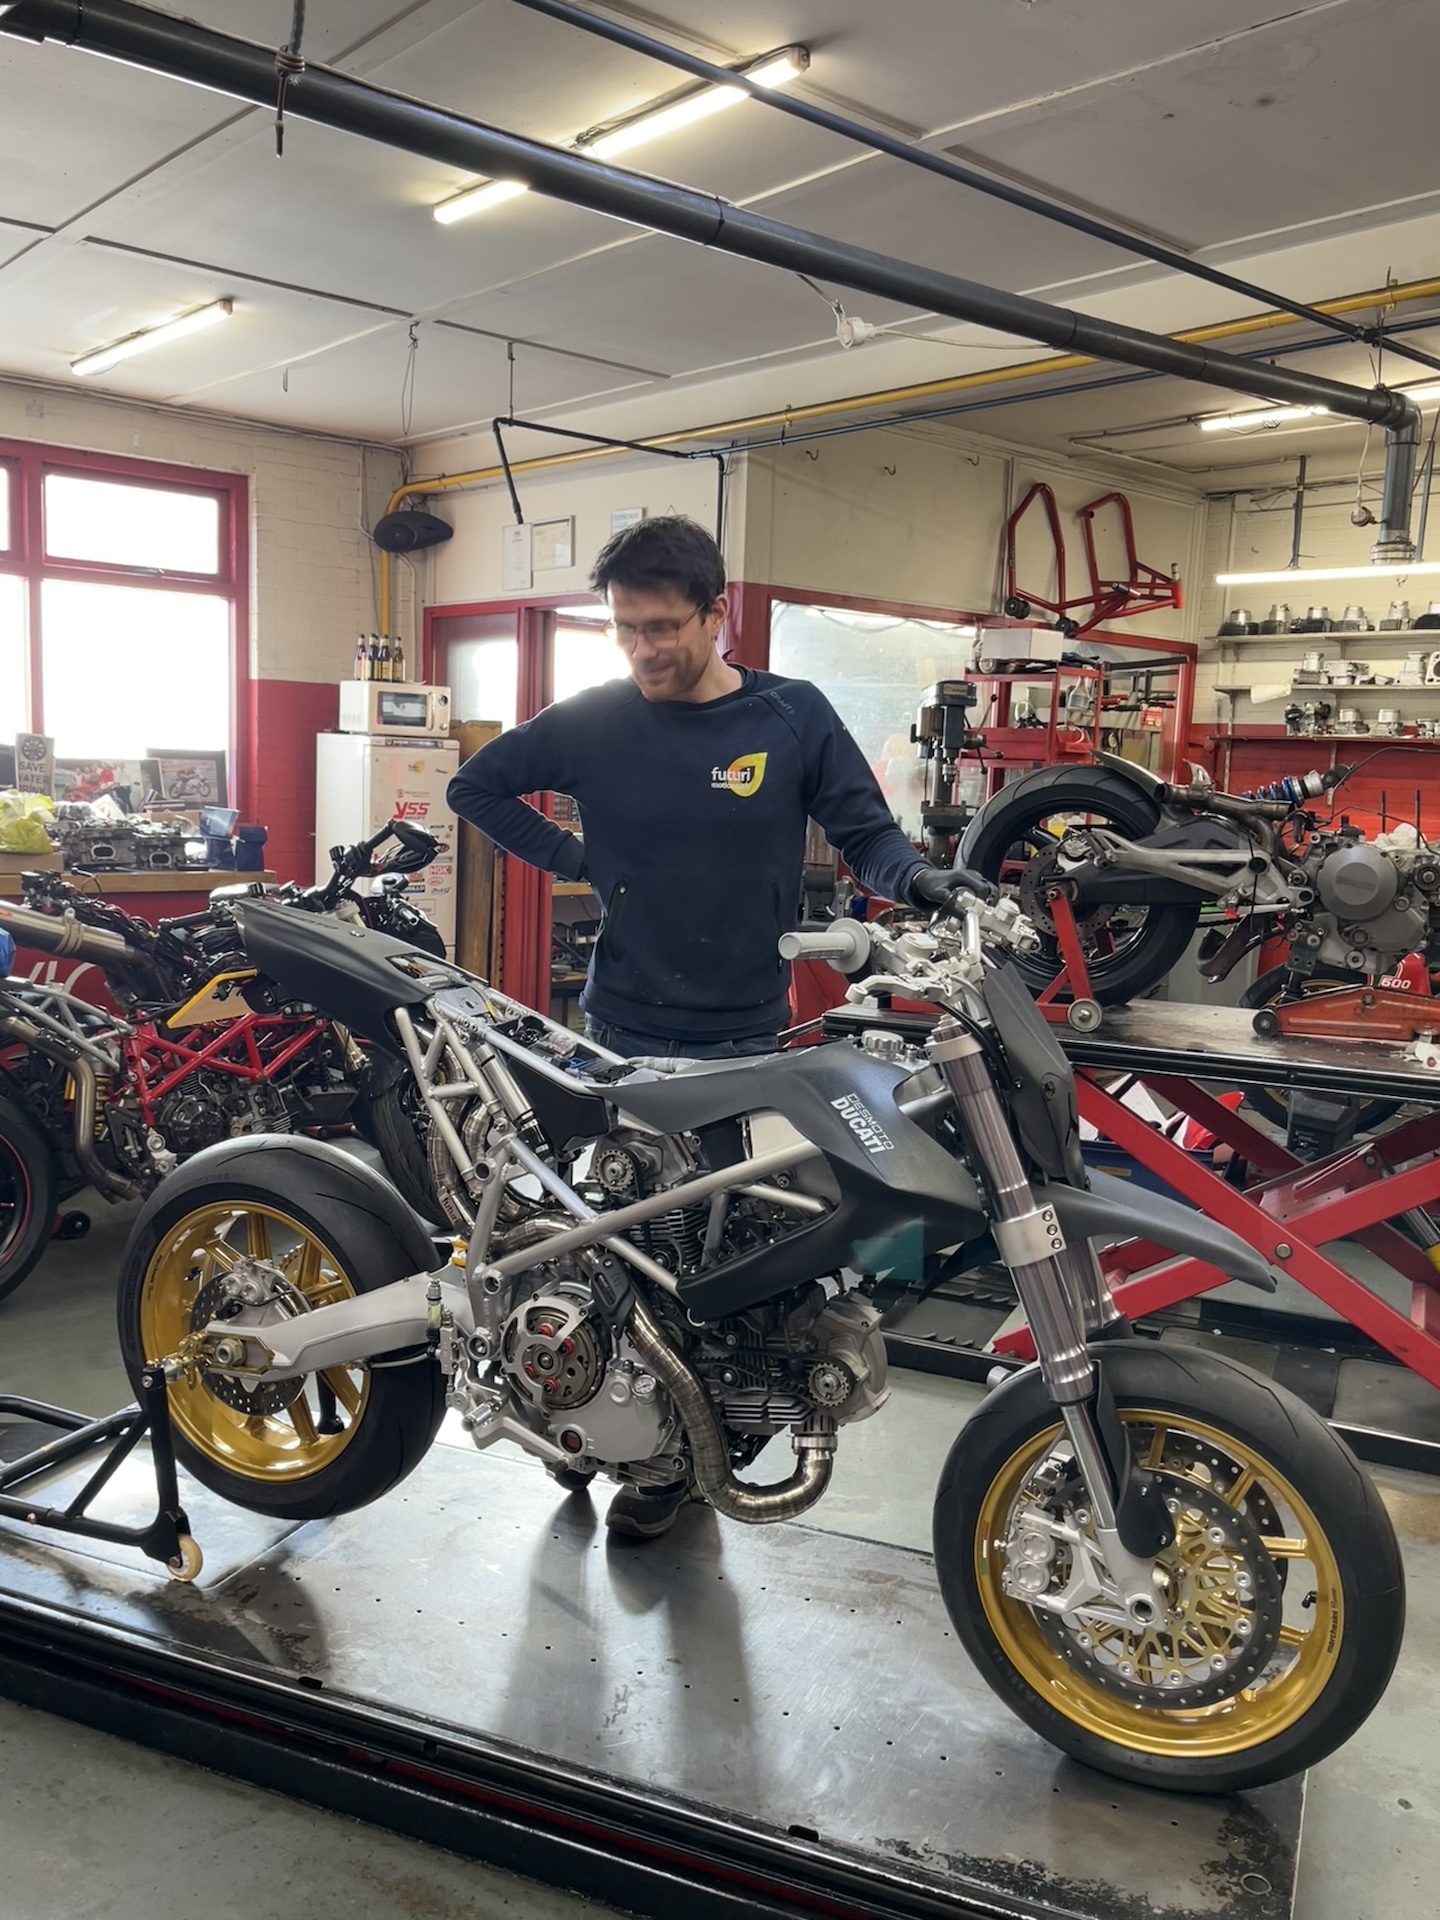
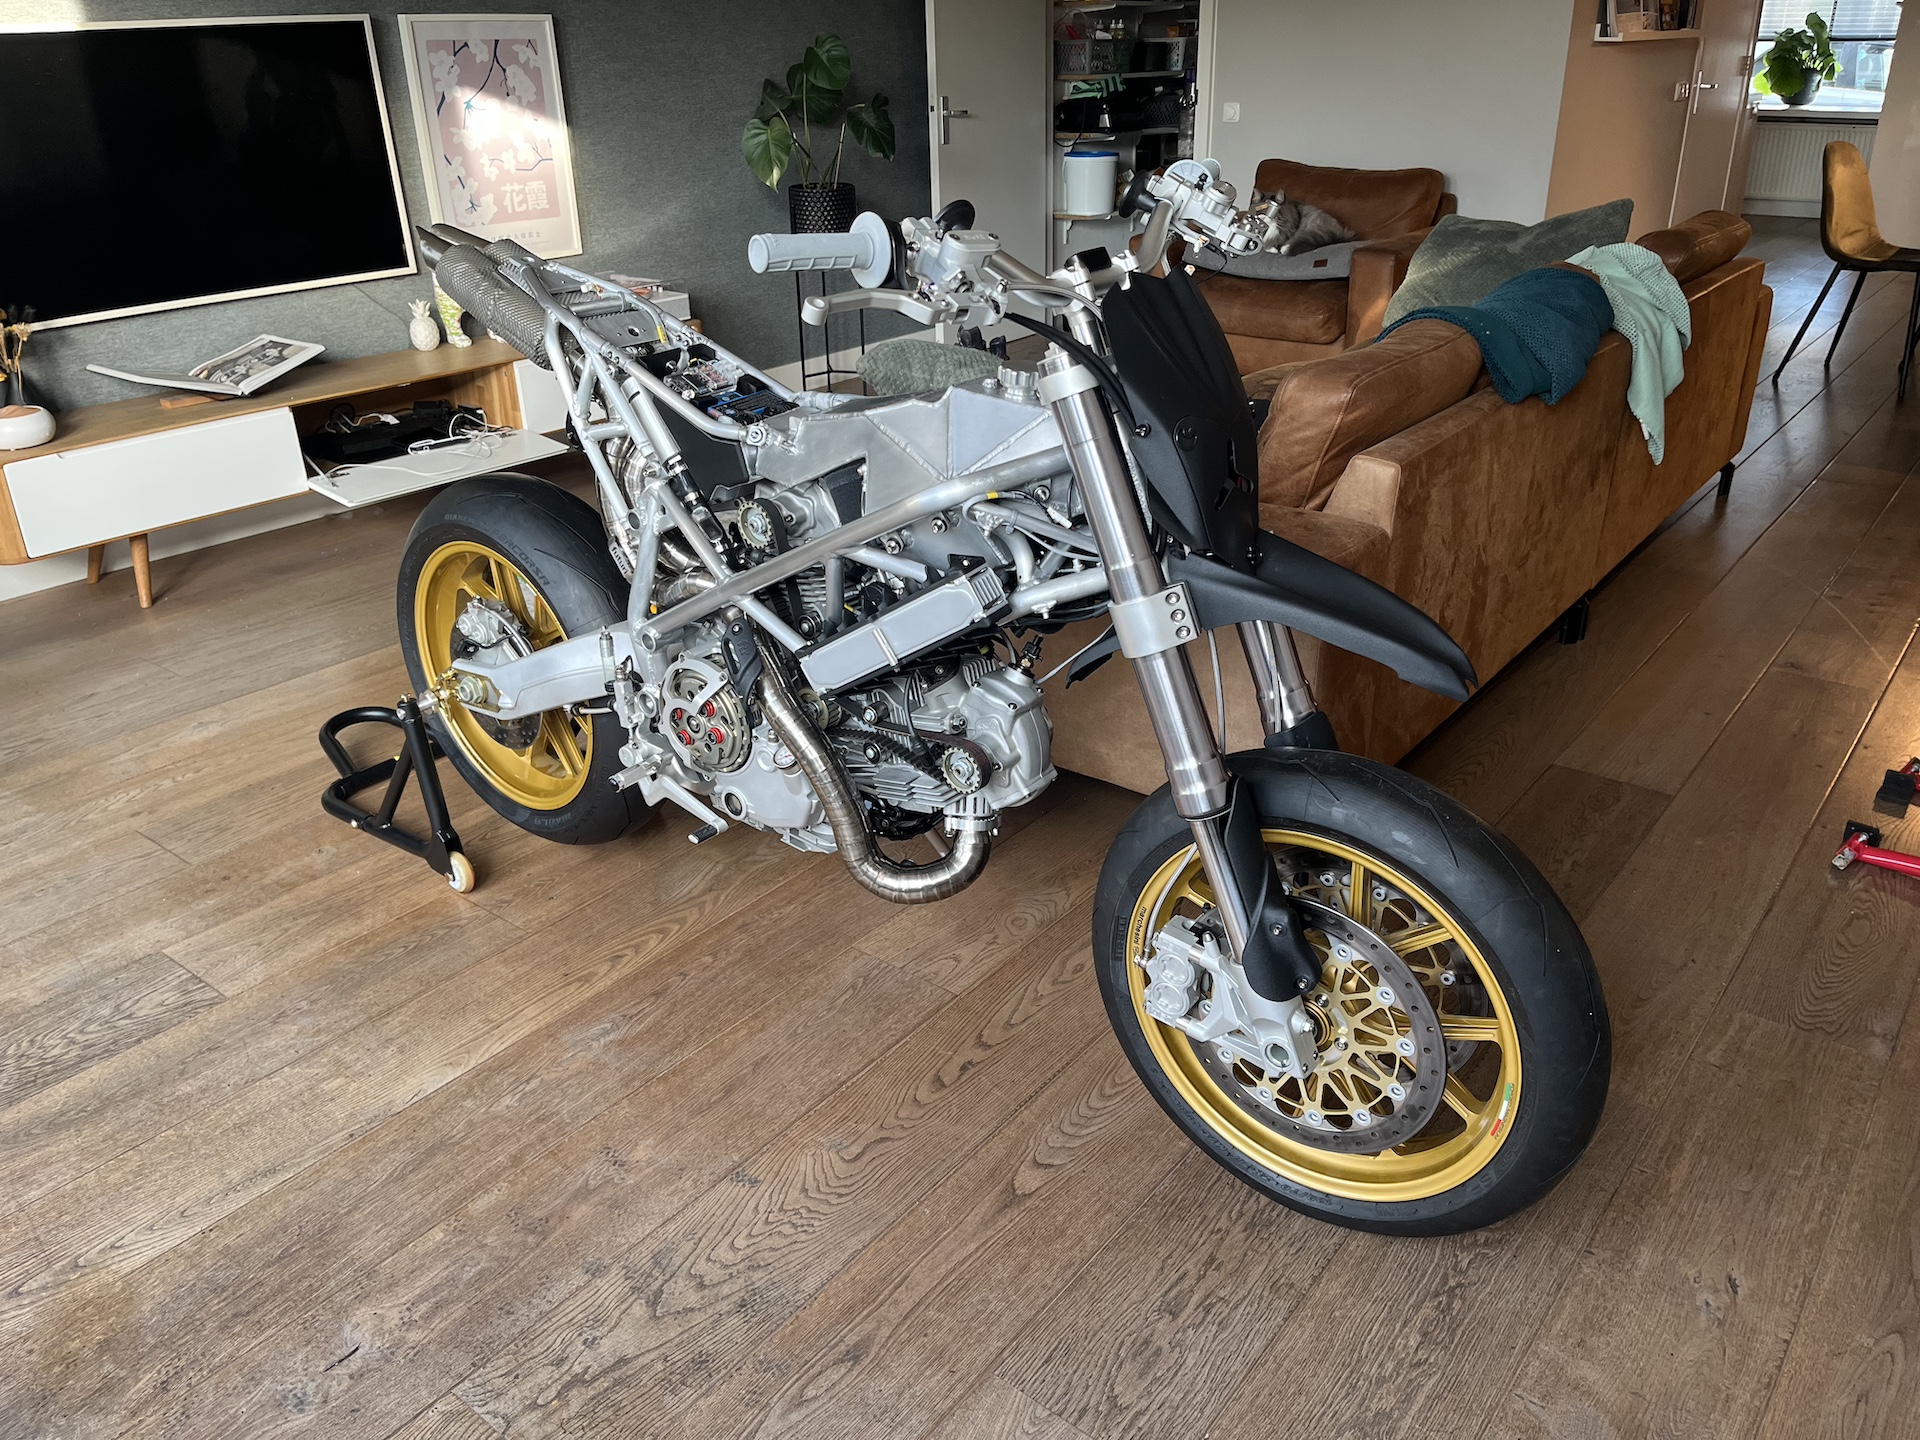
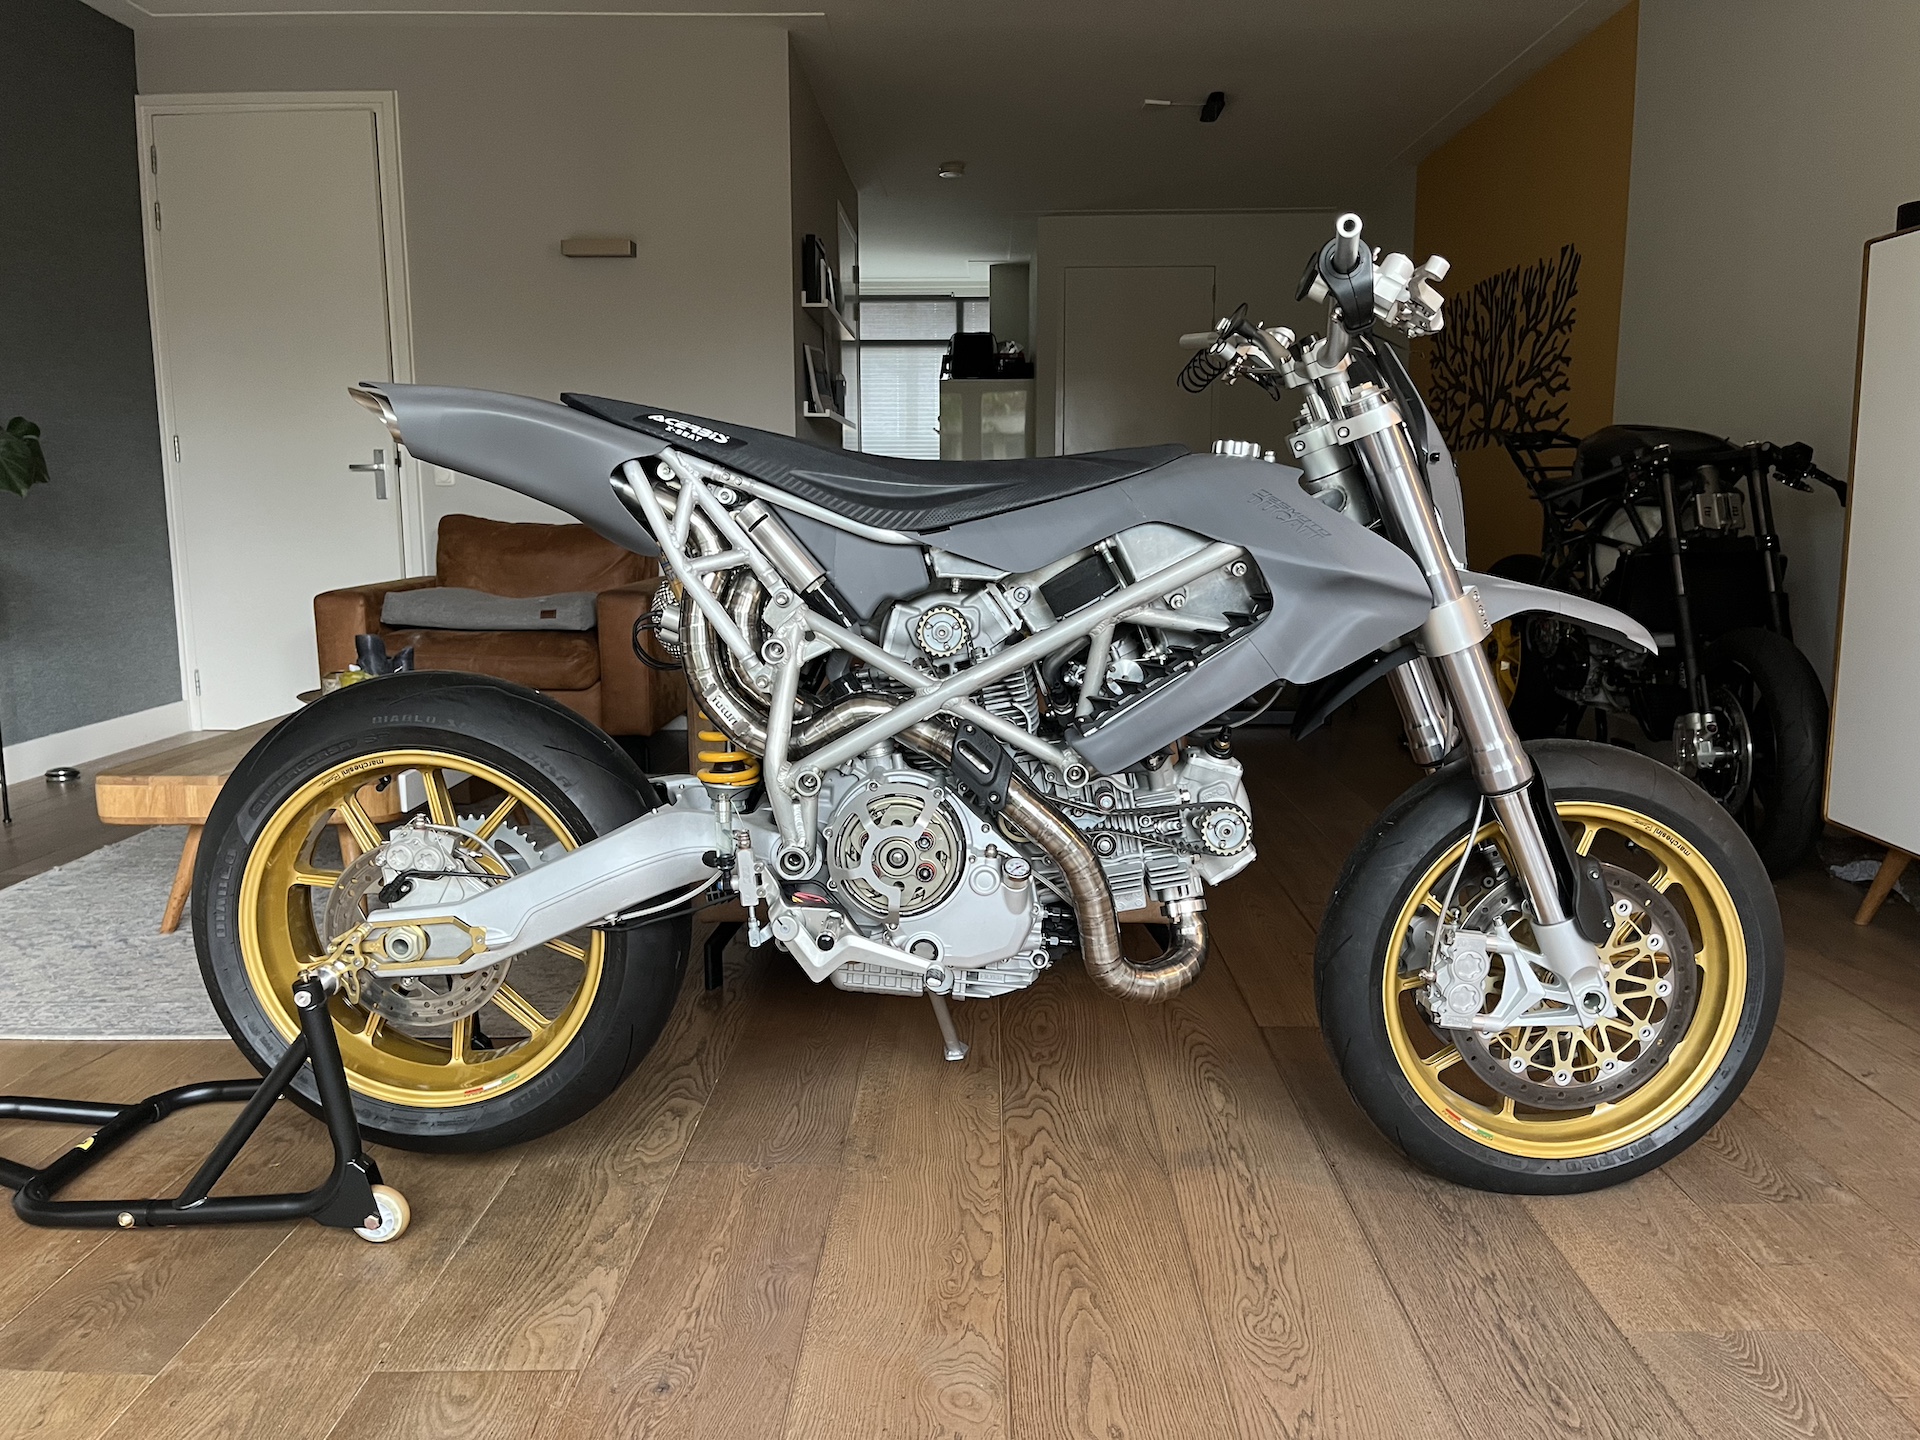
My personal vision of the ultimate Ducati Supermotard with the perfect balance between function and form. An extremely lightweight, high performance machine that wants to buck you off with every twist of the throttle…
Built from Titanium, Magnesium, Aluminium, and Nylon Carbon Fiber. Over 2000 hours of design and fabrication spread across 5.5 years.
End result?! 141KG WET, 112HP and 123NM torque on the rear wheel. Insanity!
My previous project allowed me to start a “internship” & amazing friendship at Biggelaar Special Performance. Over there I learned the more intricate stuff like engine revisions, tuning / flowing cylinder heads, ECU / Dyno remapping etc. This allowed me to elevate this build to a next level compared to the previous project!
Ducati Desmoto is featured on “BikeExif“, “RevZilla“, “MCN” and the magazines “KicXStart” and “Motorrijder”!
DUCATI DESMOTO
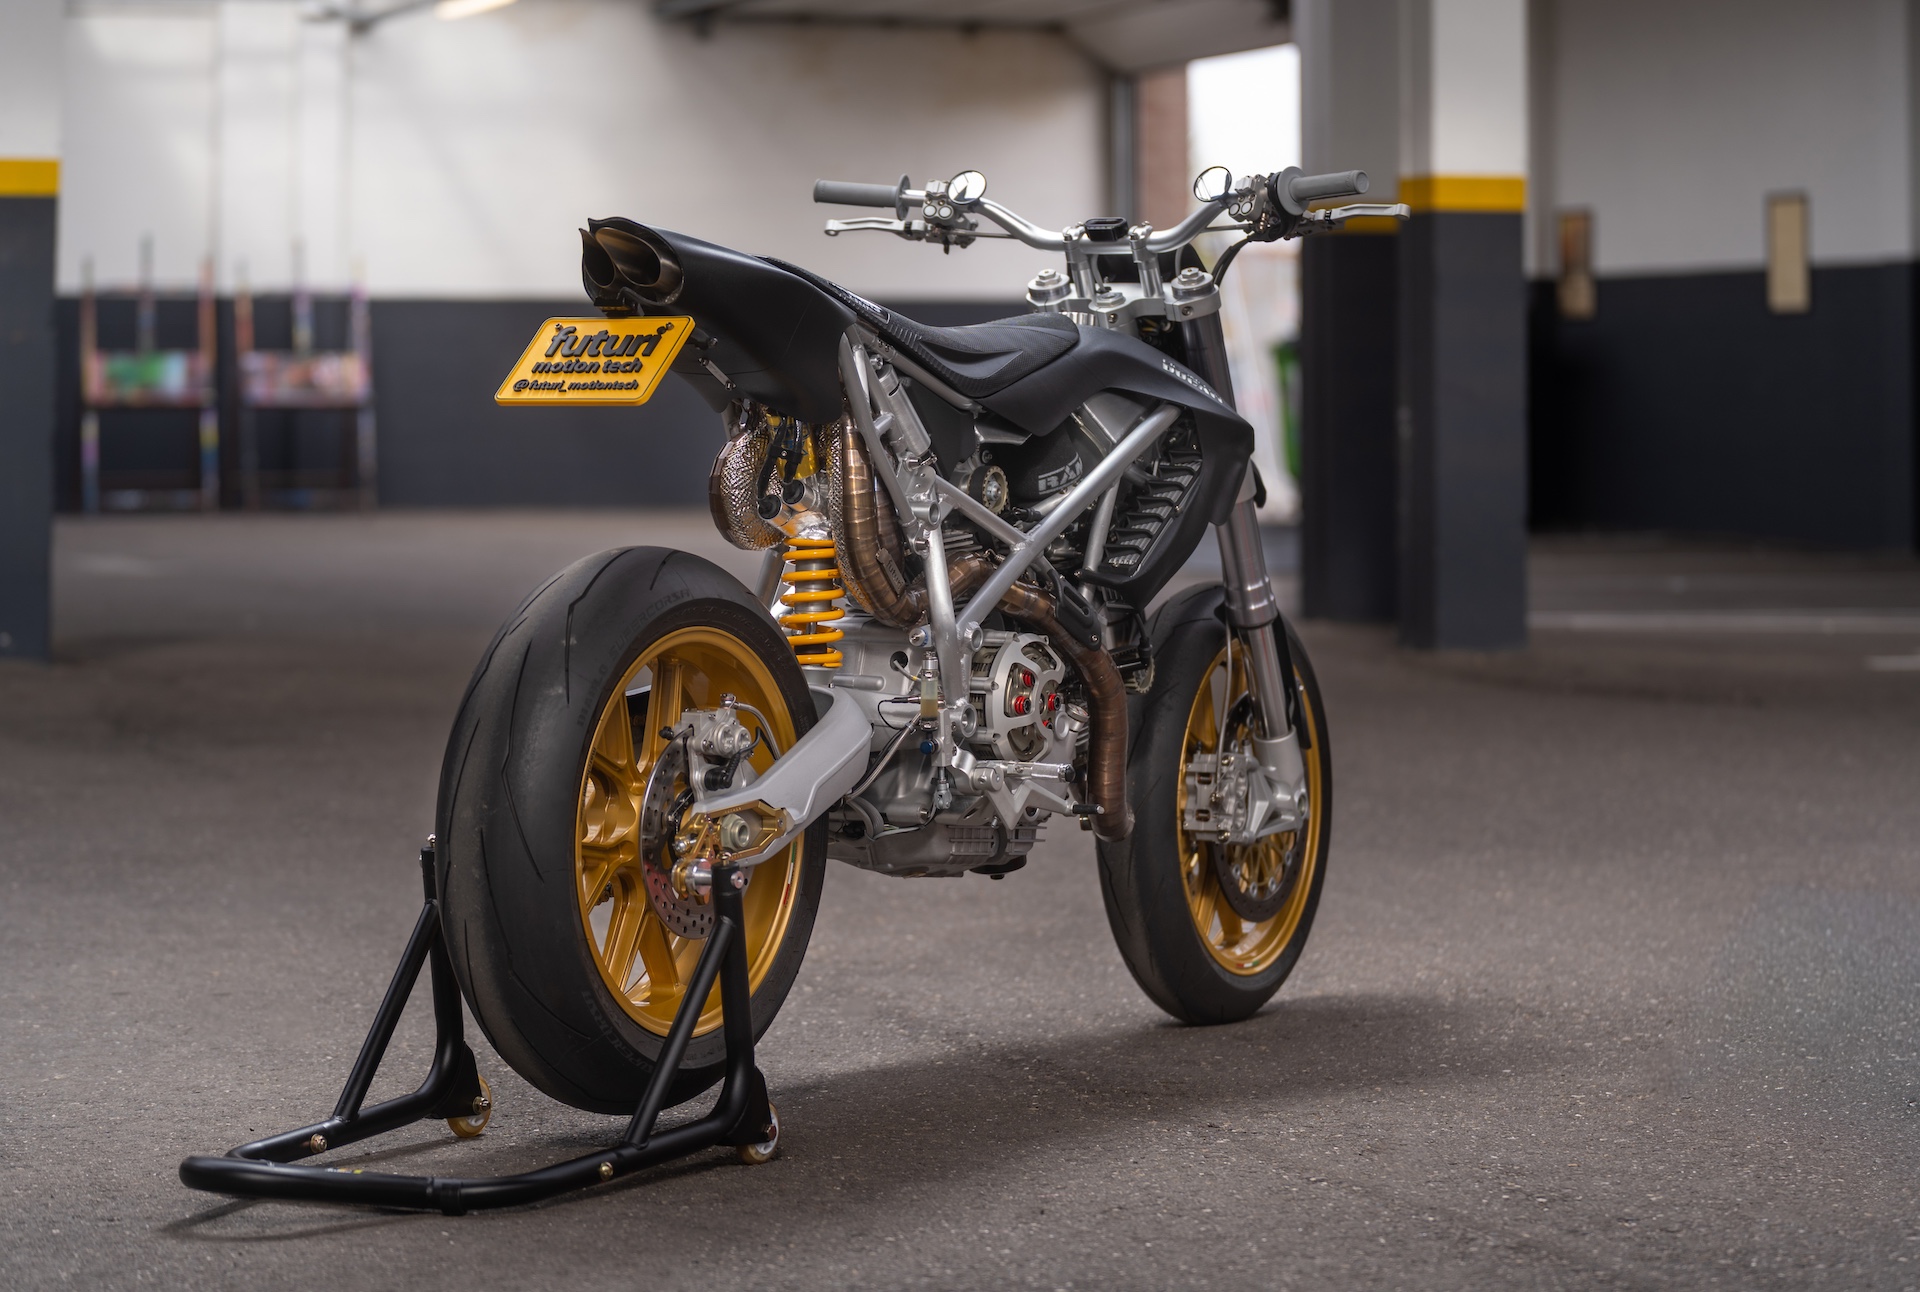
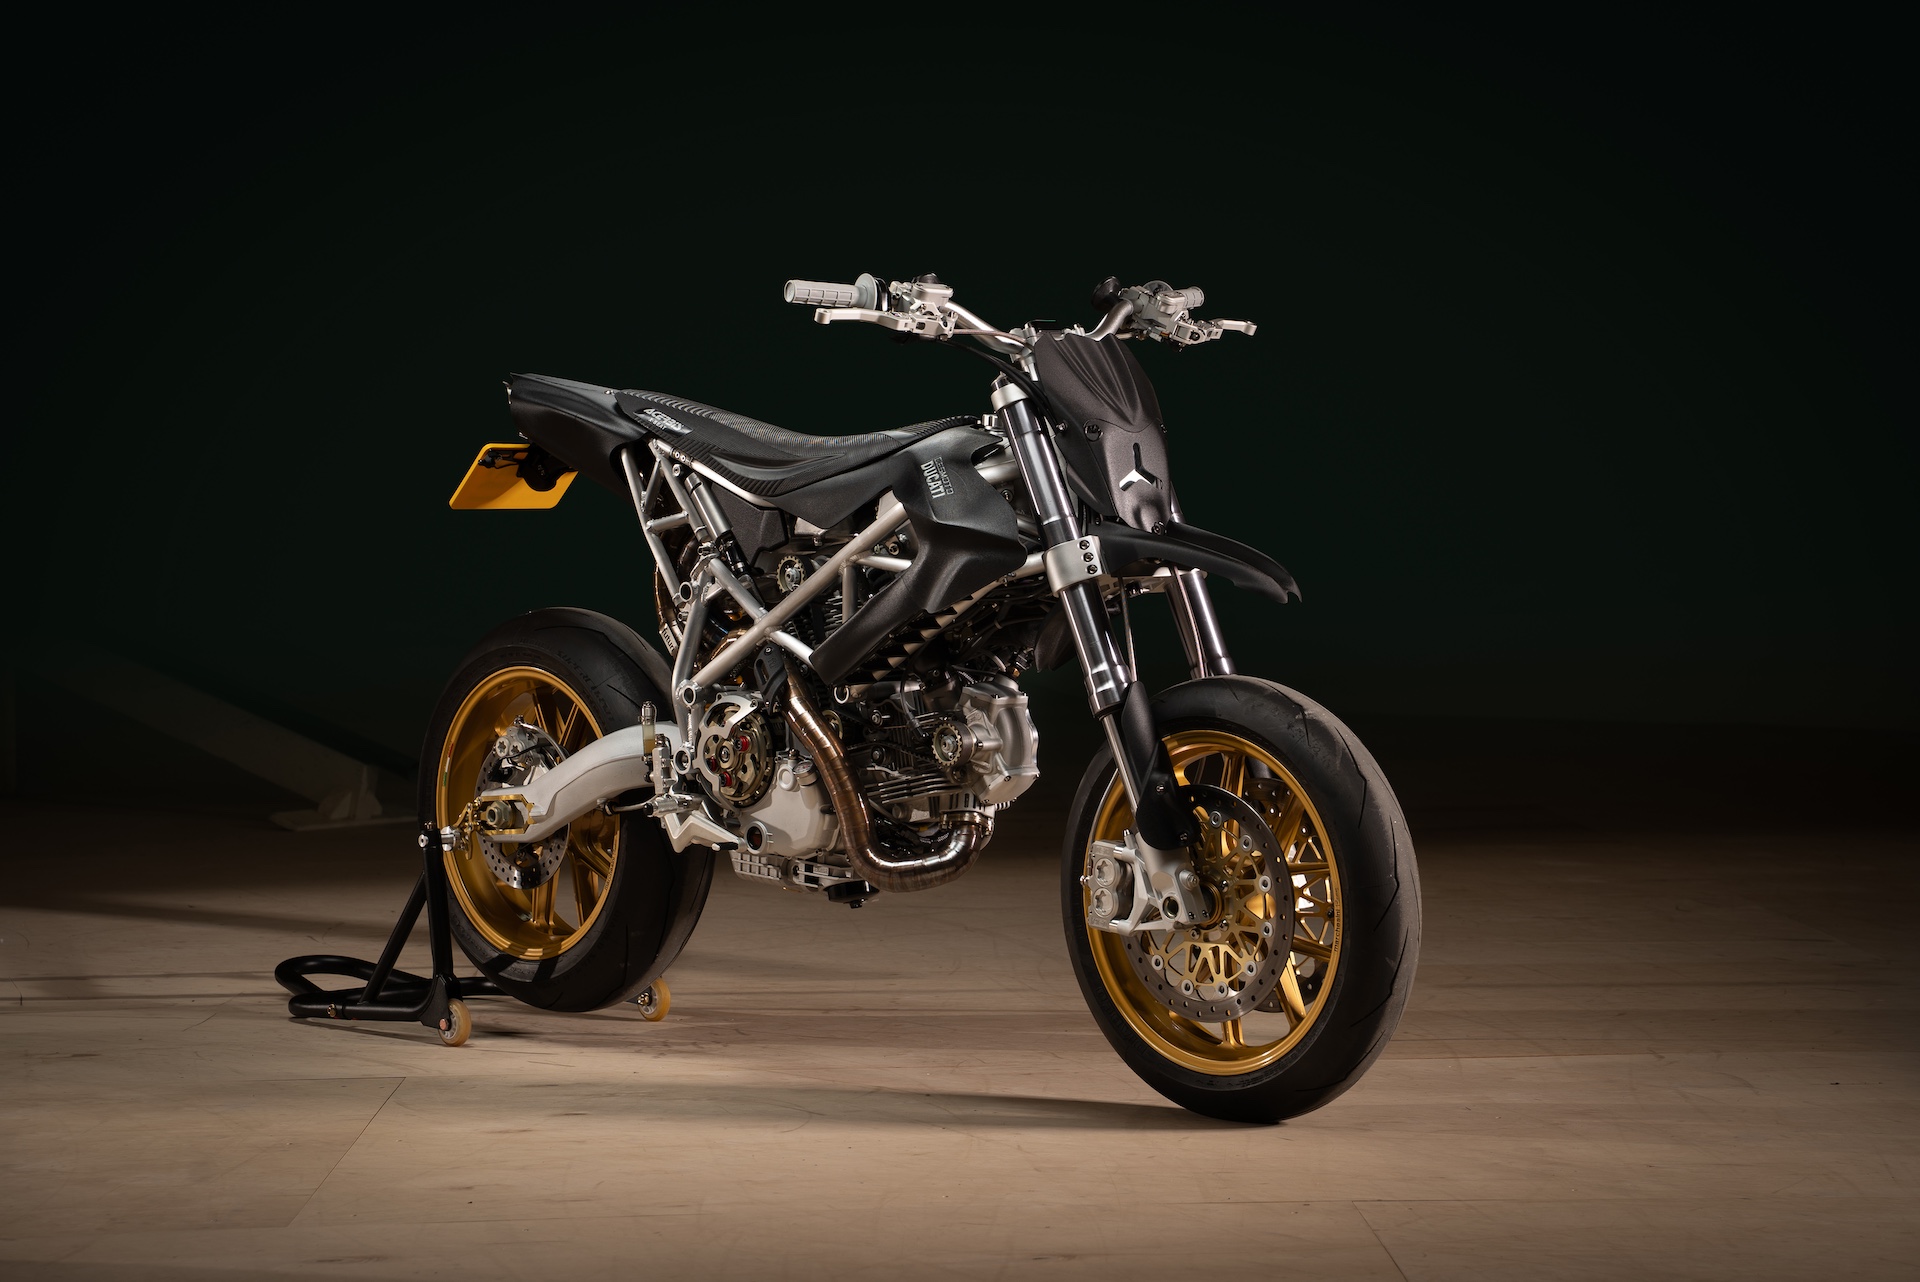
THE FINAL RESULT
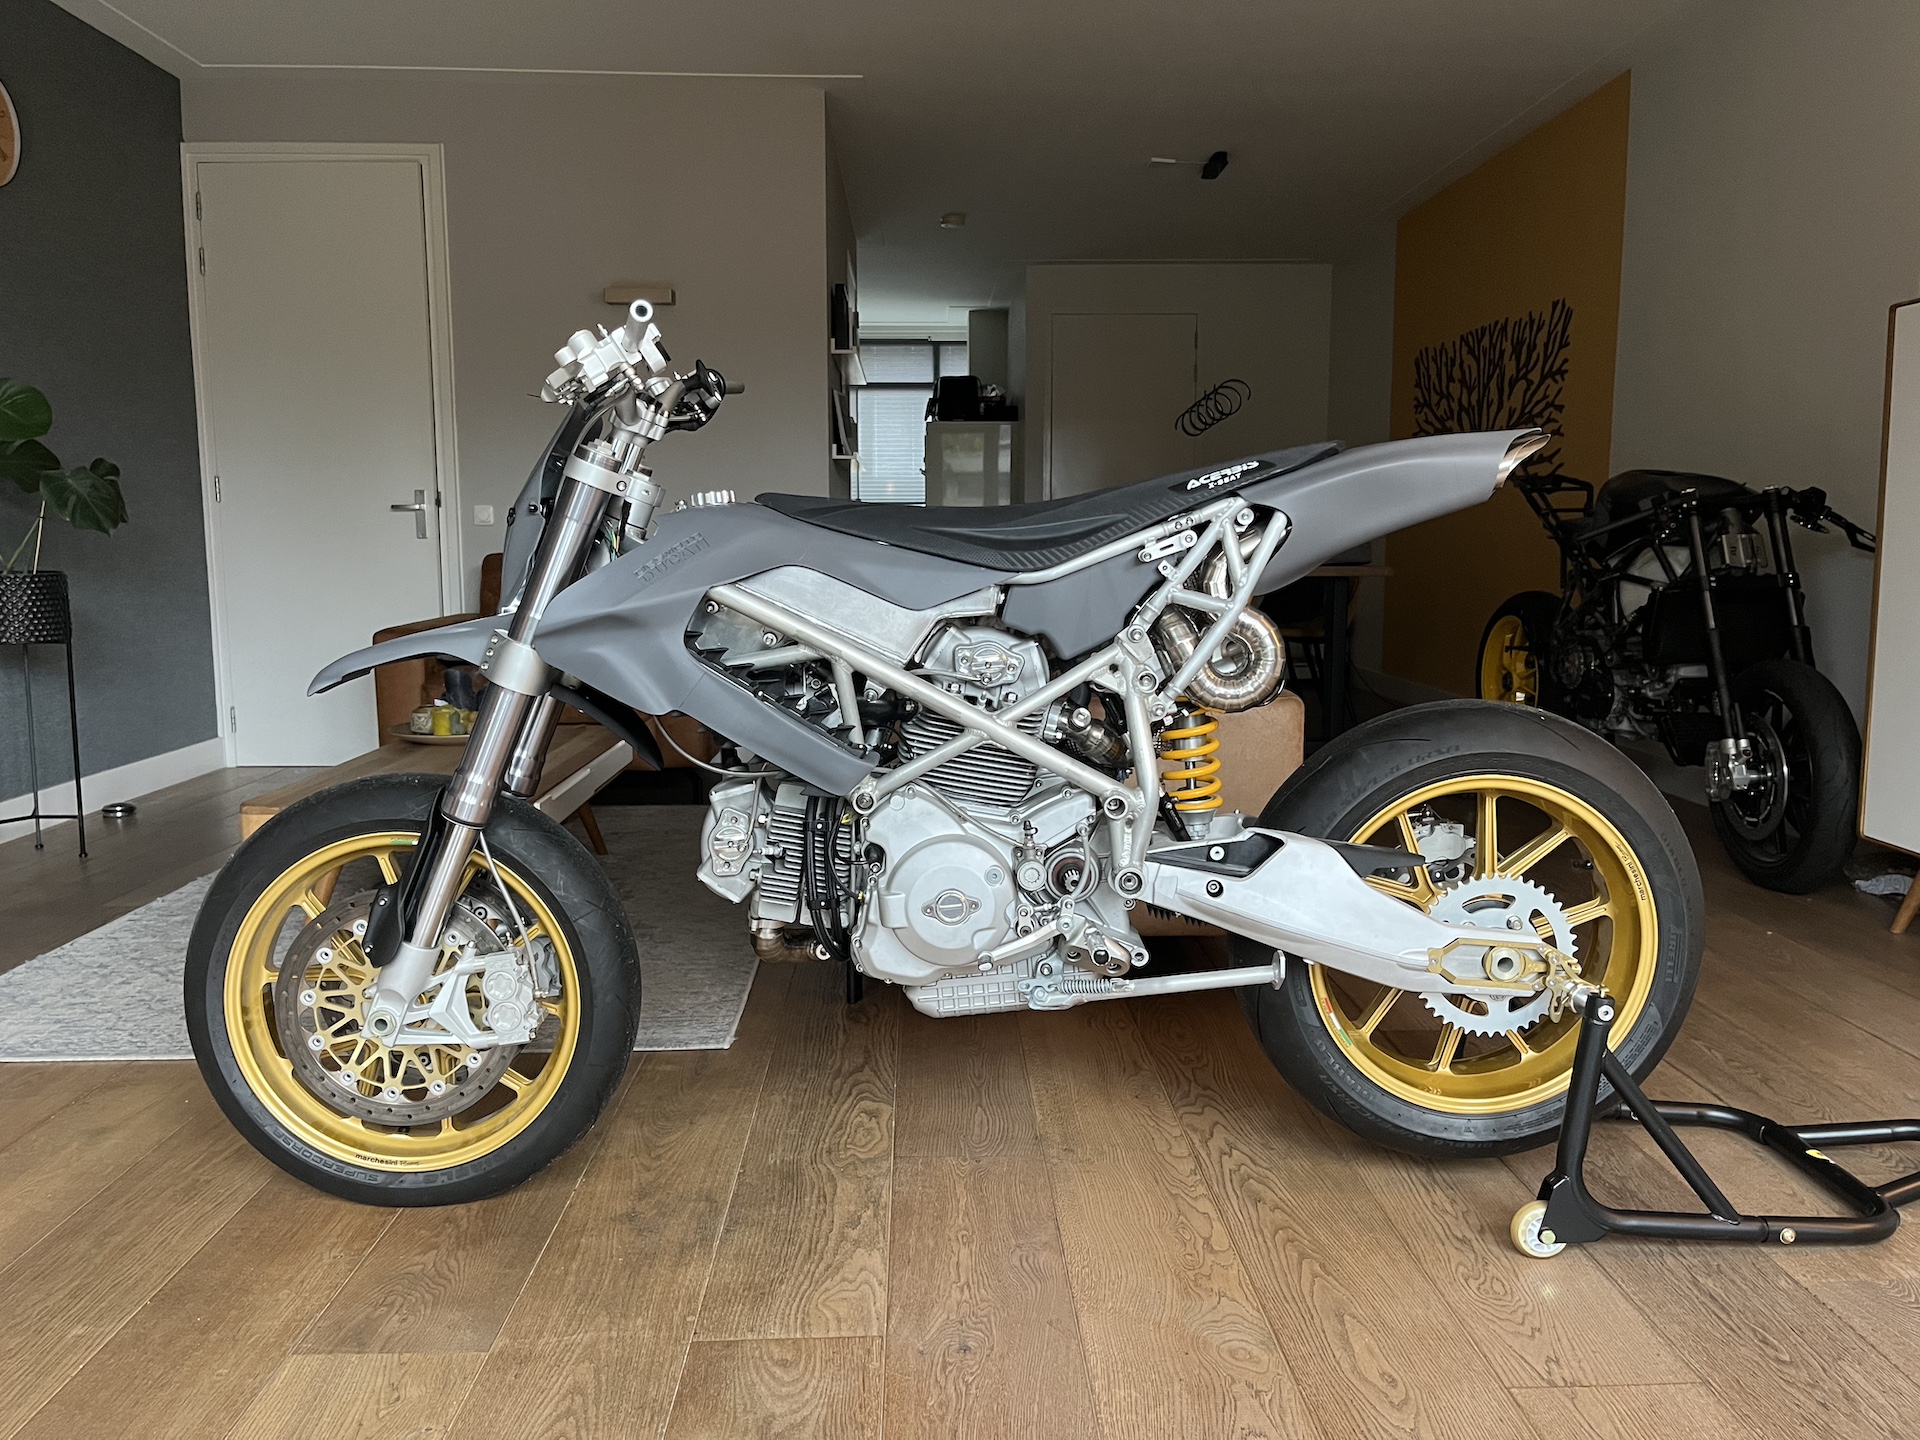
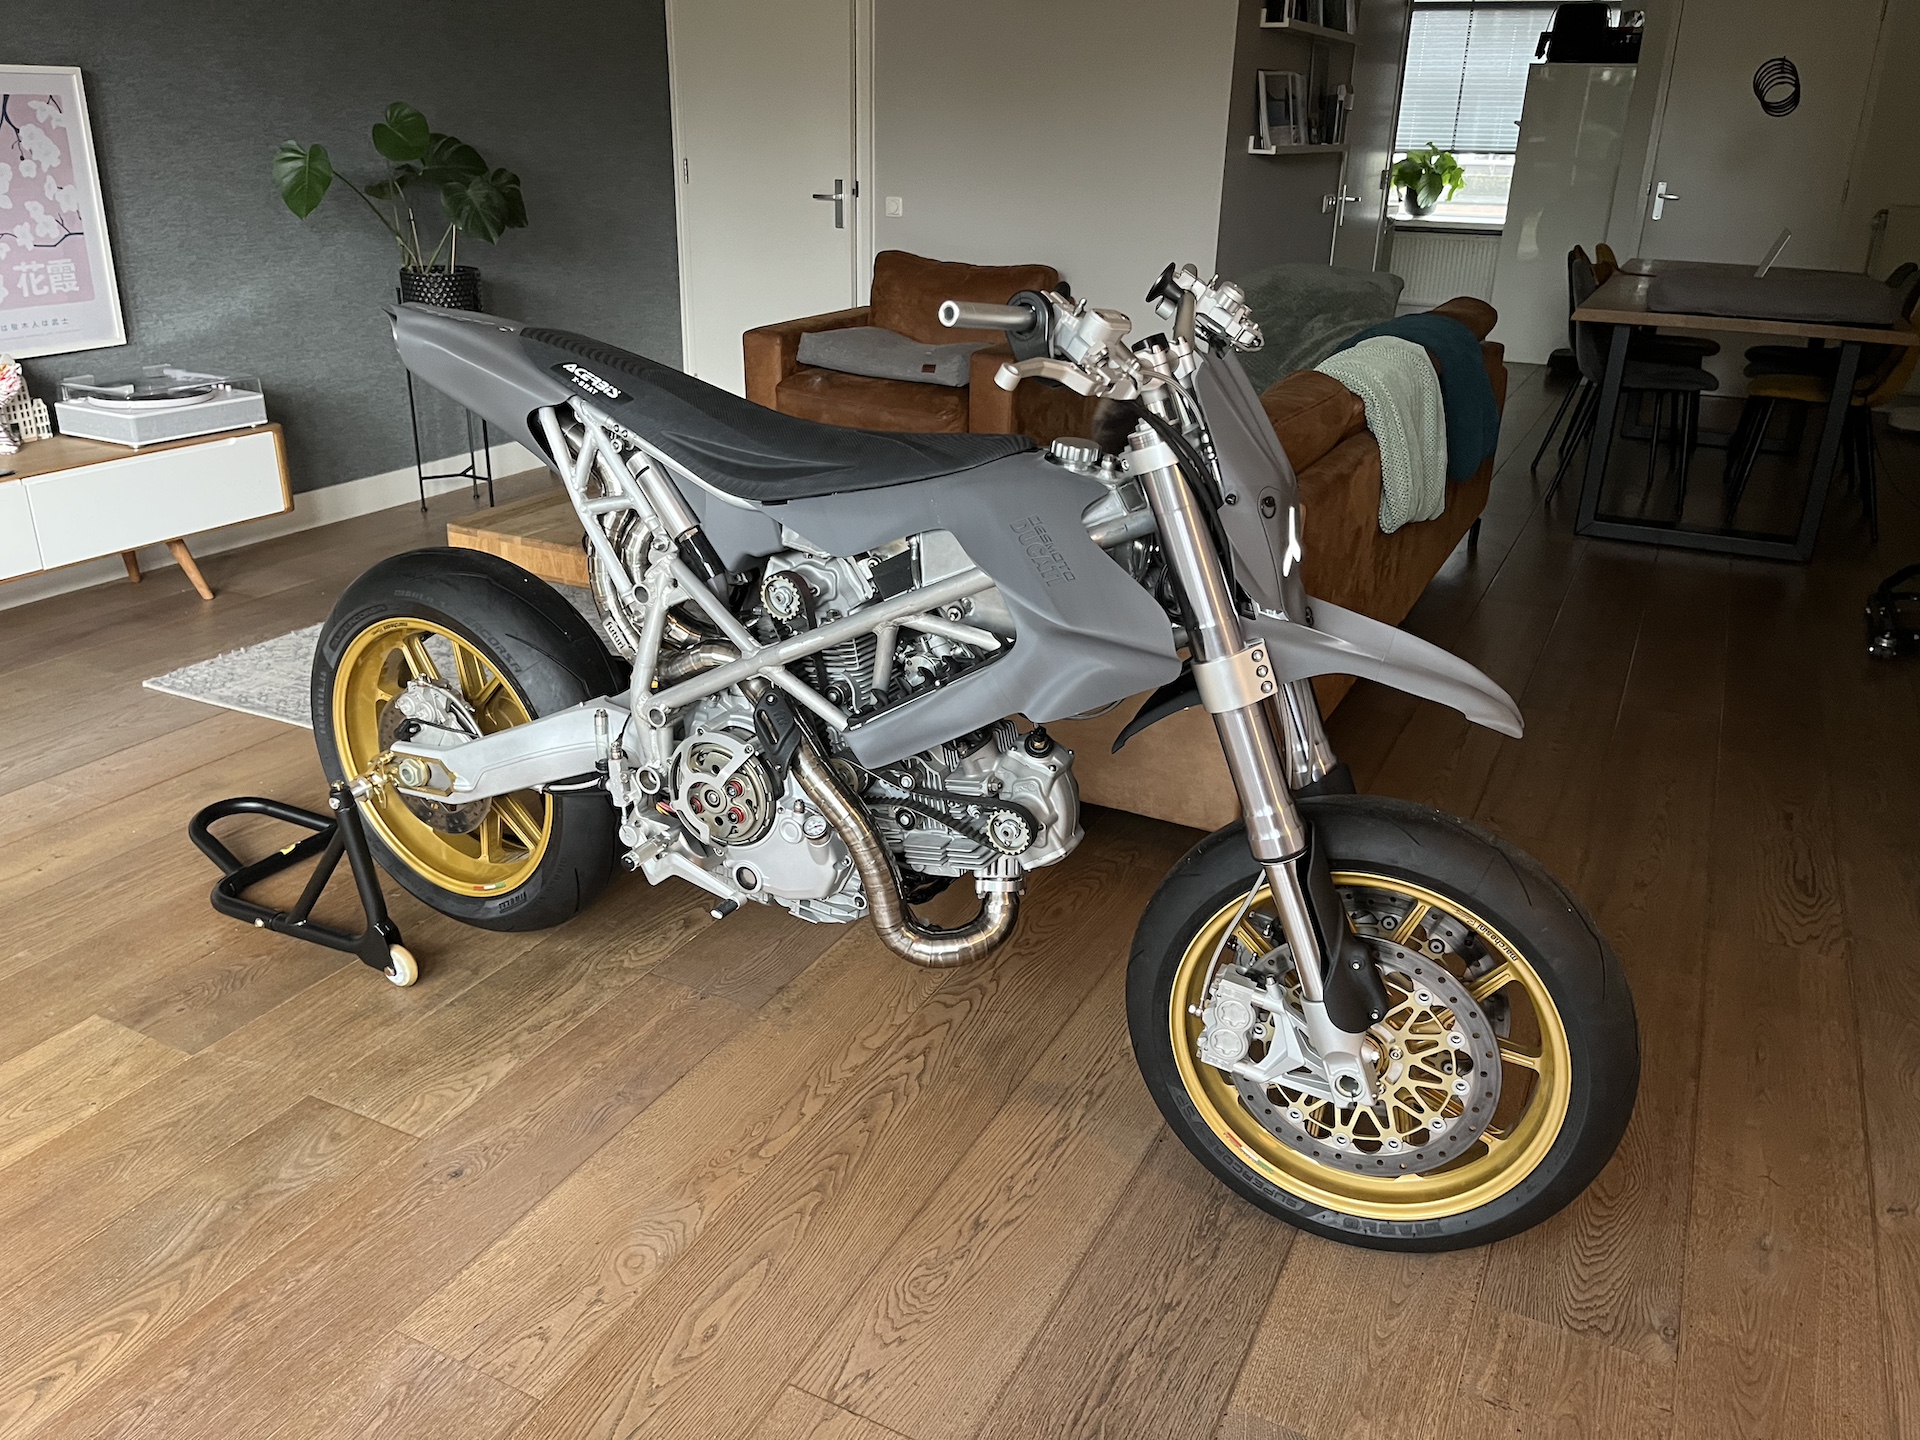
Ducati Desmoto, DONE ✅🔥! What an insane journey this has been. Learned so much, had massive hurdles to overtake and made new friendships. Damn, I am proud of this build! Seeing the bike in my living room every day brings a smile to my face!


PERFORMANCE RUNS, 112HP / 123NM
112HP & 126NM on the rear wheel!!
The bike has some challenges to push it further than this. Exhaust is somewhat restrictive on the vertical cylinder, horizontal intake gets less fresh air, 50mm throttle bodies are probably to big and I probably went to far flowing the intake channels of the cylinders resulting in not enough air velocity at high revs.
So this is it guys, for now this is as far as I am going to push it. Maybe in the summer I will make changes to see if I get more out of it.
After these performance runs I tuned it back slightly to keep the service intervals manageable and keep everything a bit more reliable. Currently it is running 104HP and 119NM on the rear wheel. More than enough!
FREQUENTLY ASKED QUESTIONS?
What has been done to the engine?
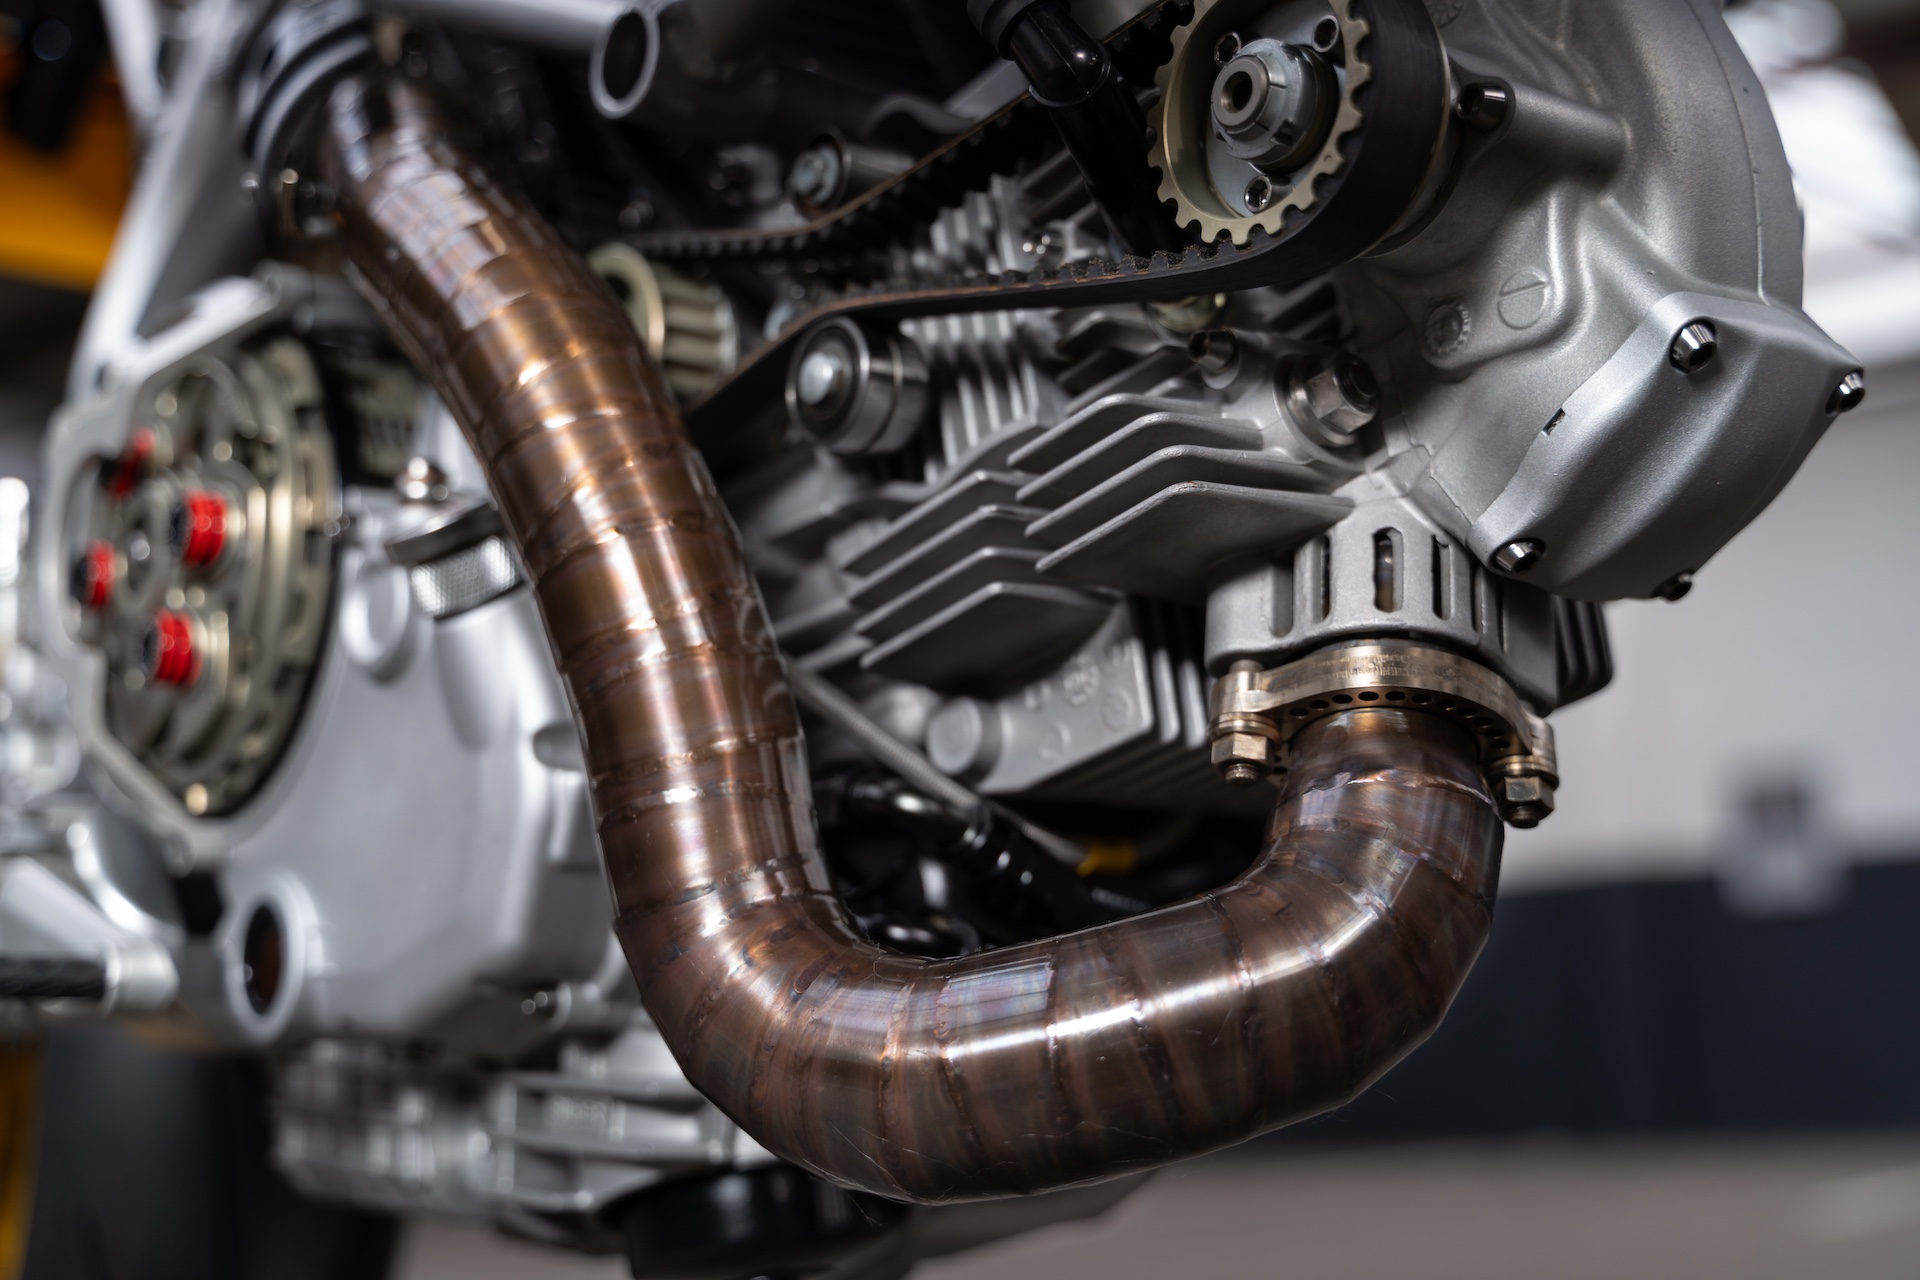
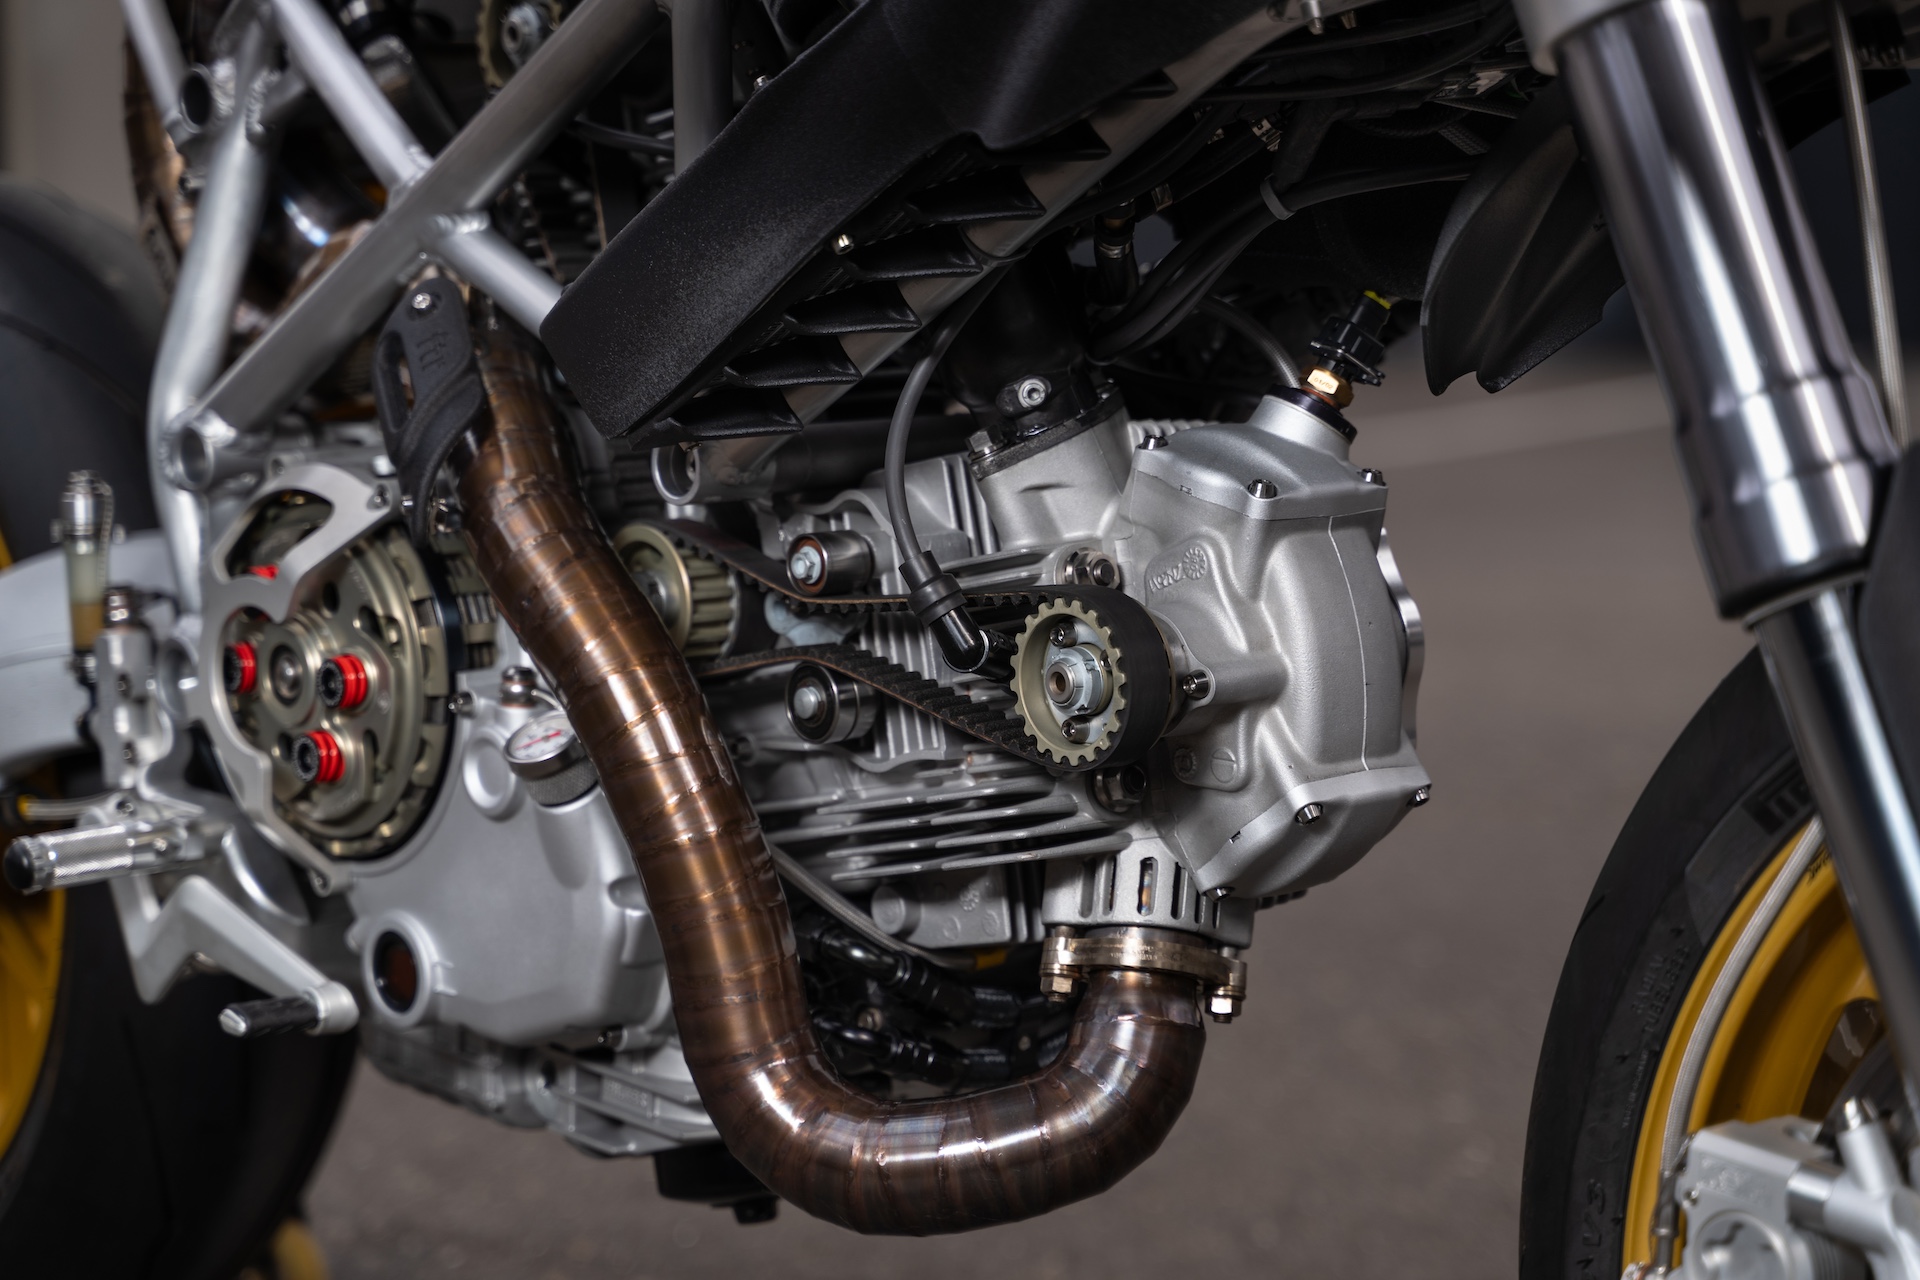
The engine originally is a Ducati 1100DS with a wet clutch from a Multistrada 1100. However in essence only the casting of the cases, cylinders and heads are original. All the rest has been modified.
- Pistal high compression pistons
- Carrillo lightweight conrods
- Lightened/balanced & knife edged crankshaft
- Ducati Corse alternator
- Custom 900gr lightweight flywheel
- Lightened 1098 gearbox
- Lightened 1098 primary drive
- 47mm intake valve (46mm OEM)
- Extremely flowed/tuned cylinder heads
- Converted crankcases from wet to dry clutch
- NCR Racing camshafts
- Lightweight Ducati Corse timing gears
- All titanium bolt/washer internals/externals
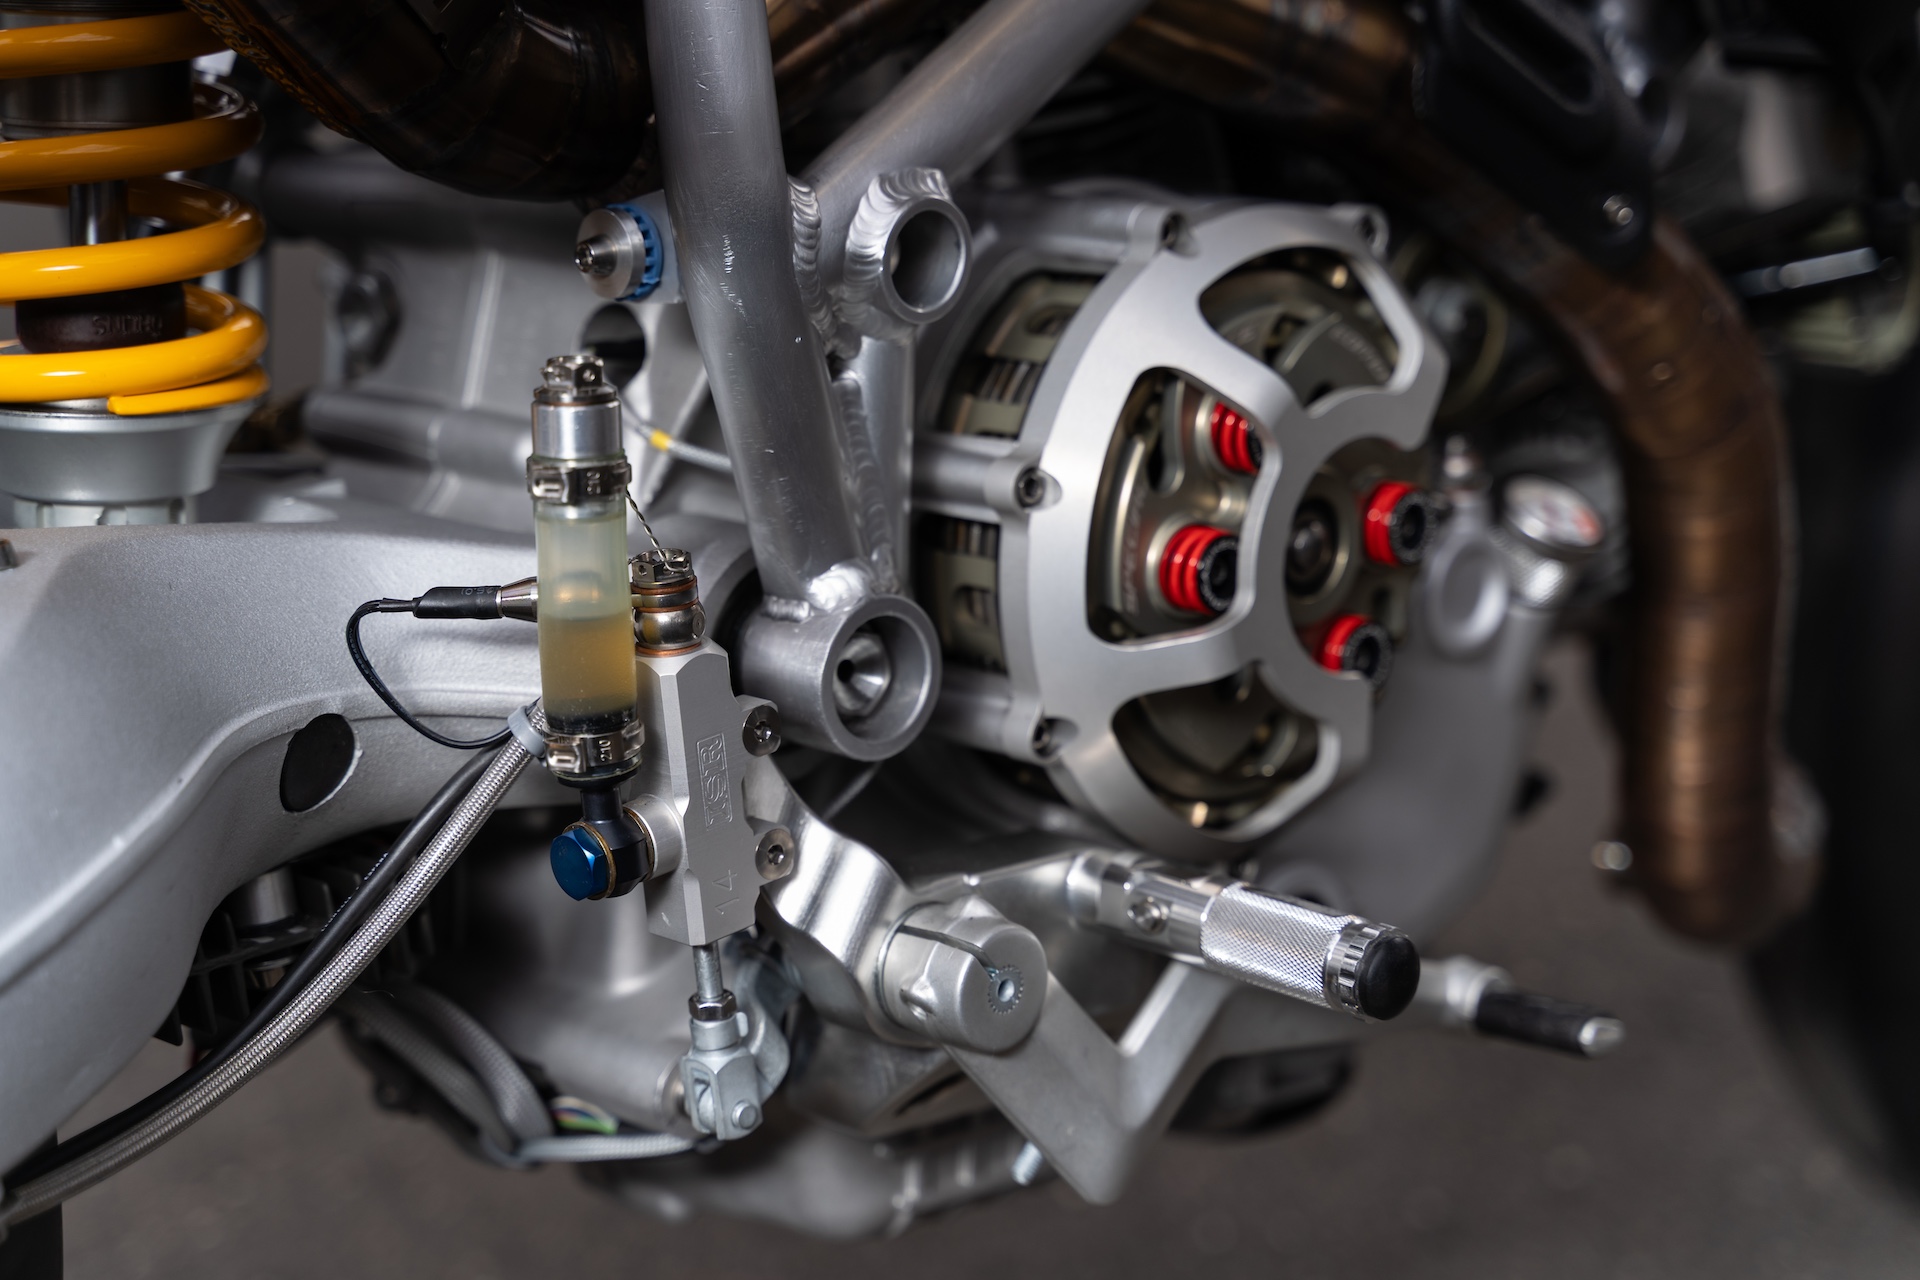
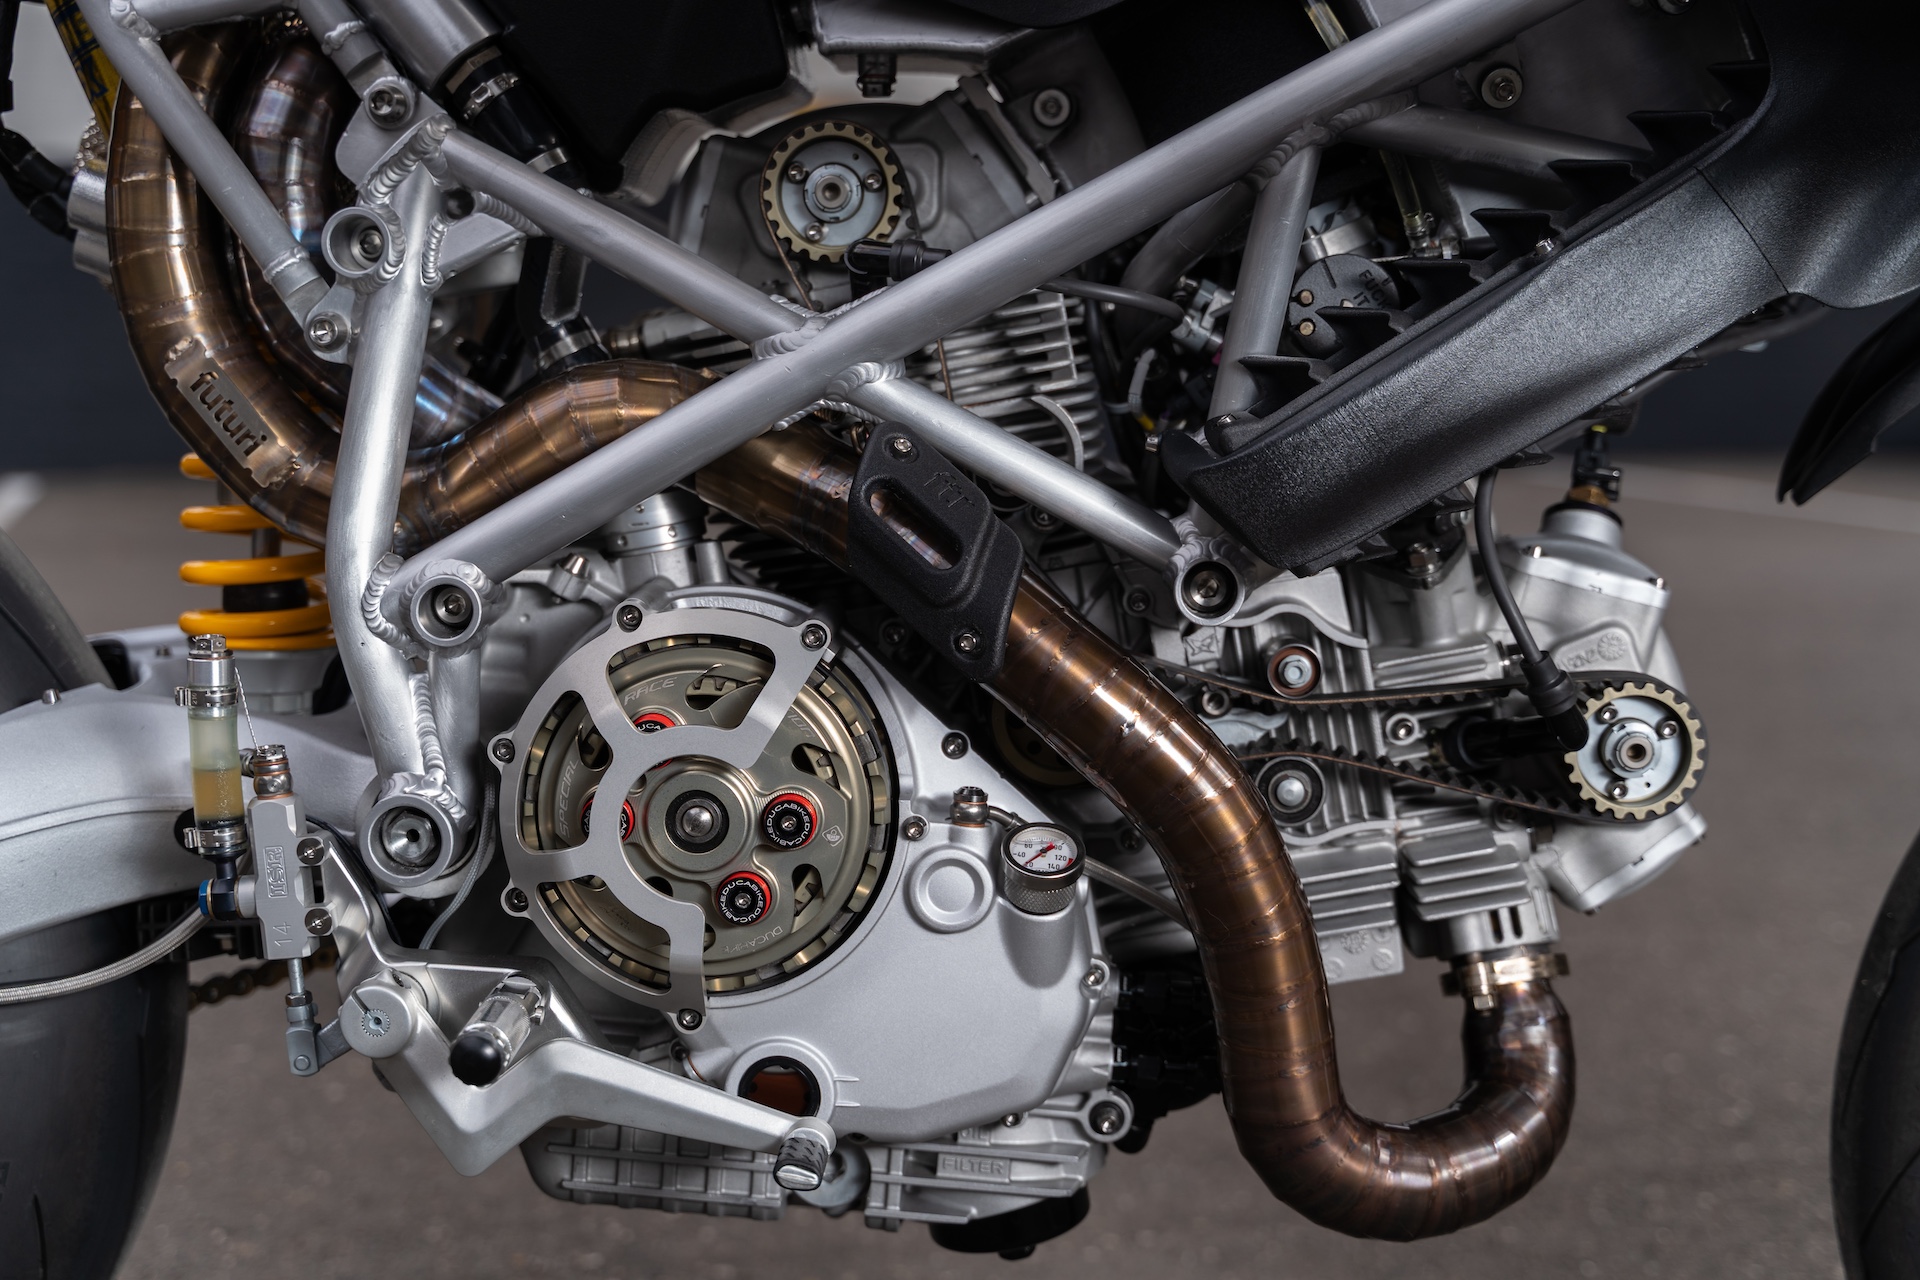
- CTMoto limited unobtanium clutch cover
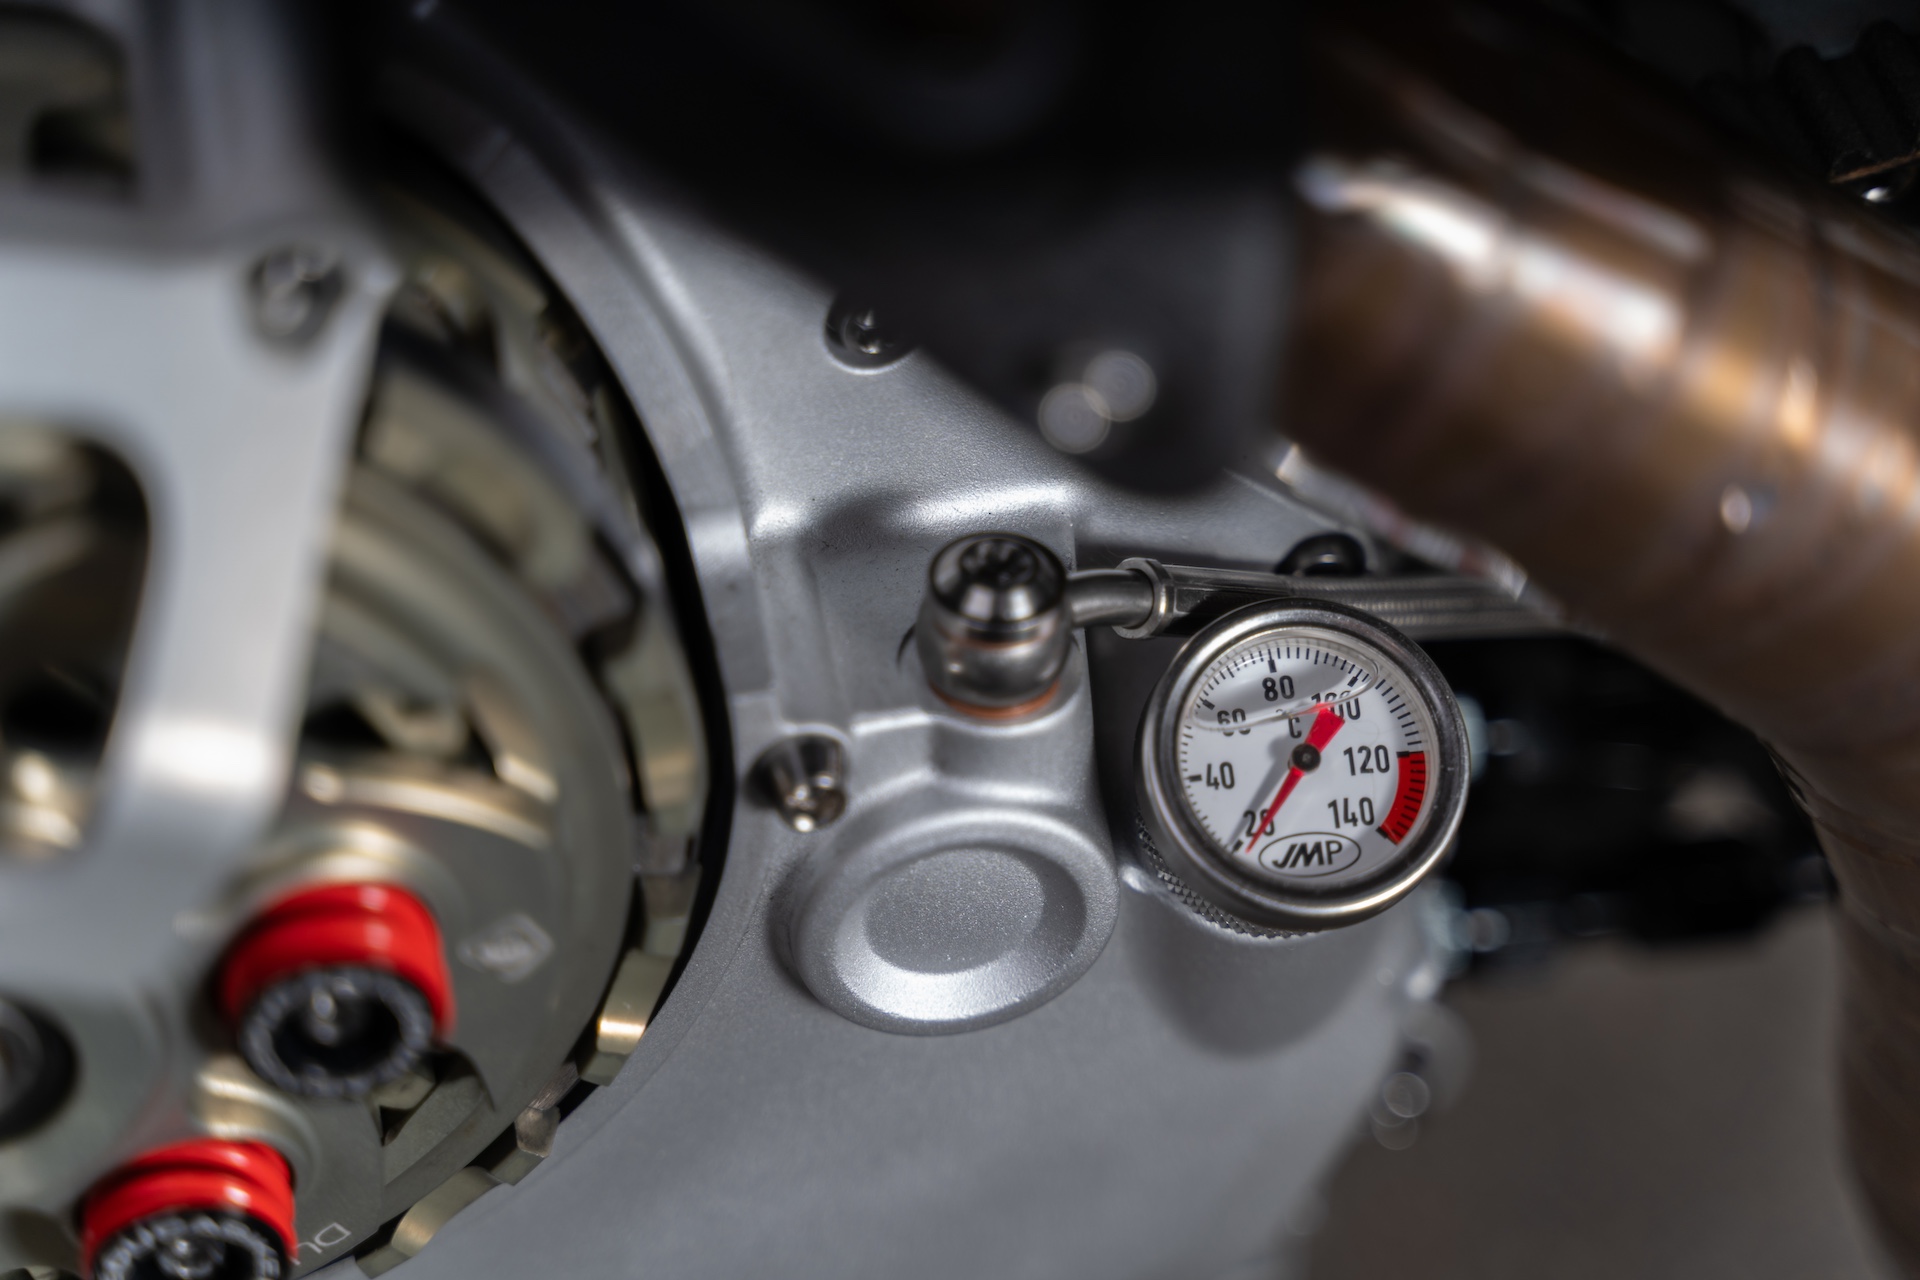
- Ducabike adjustable slipper clutch
- Lightweight Kbike timing pulleys
- Cerakoted engine/valve covers (Glacier silver)
- RS replica crankcase breather + chainguard
- Lightweight exhaust flanges
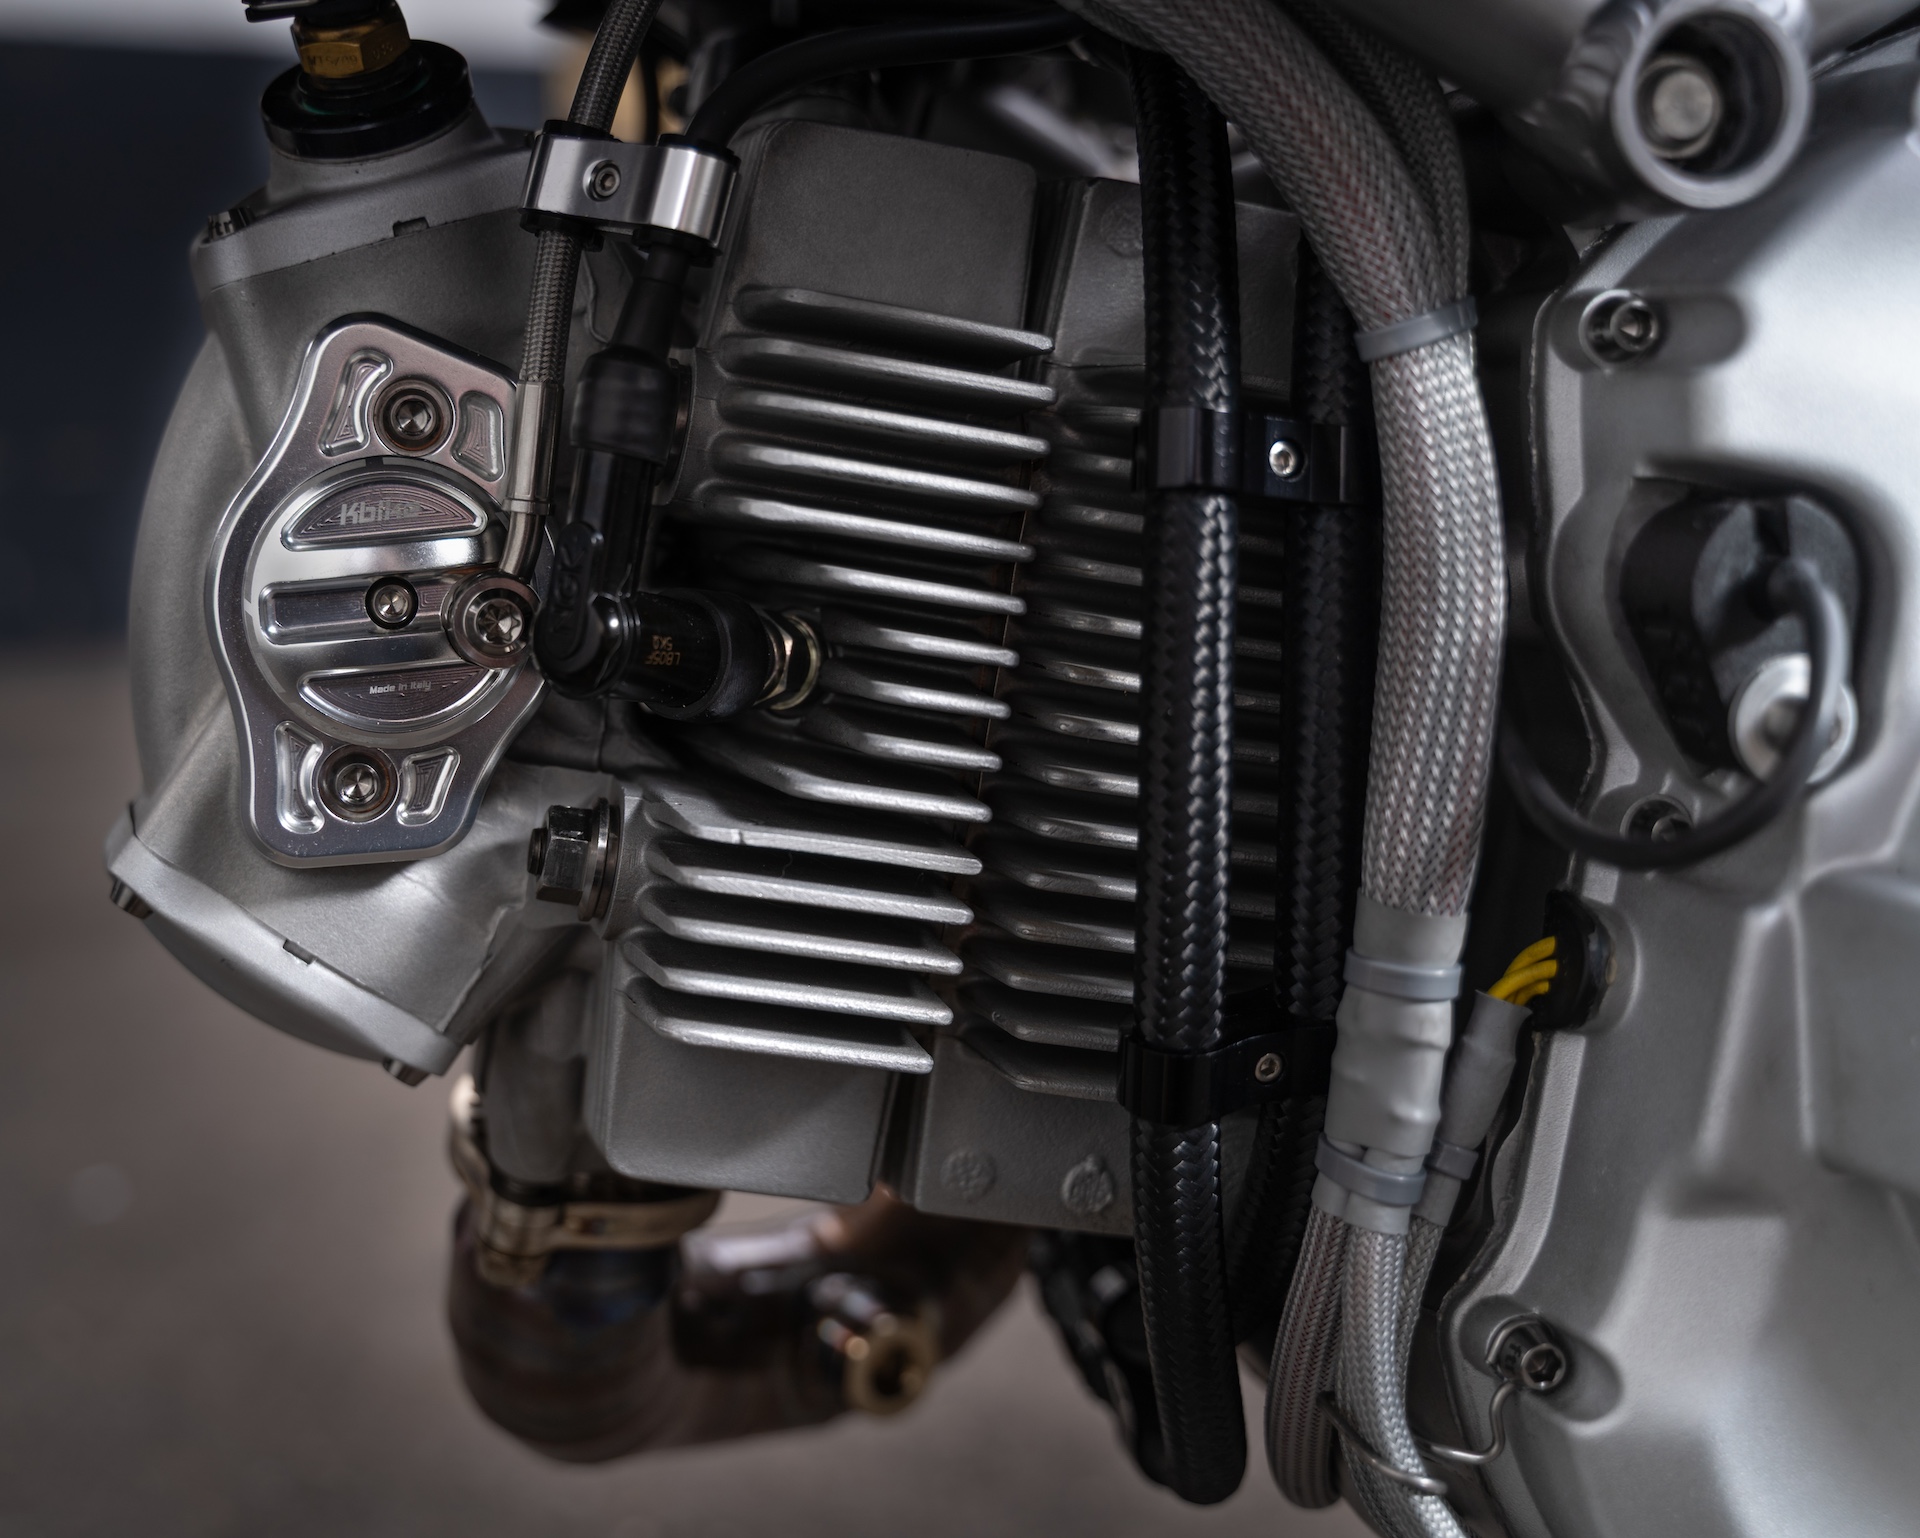
- Kbike alternator cover
- Custom Kbike camshaft covers to allow for external oil feed lines
- Custom Ducati S4RS throttle body conversion (50mm) with RamAir filters
- The engine is also completely glass bead blasted to look like new.
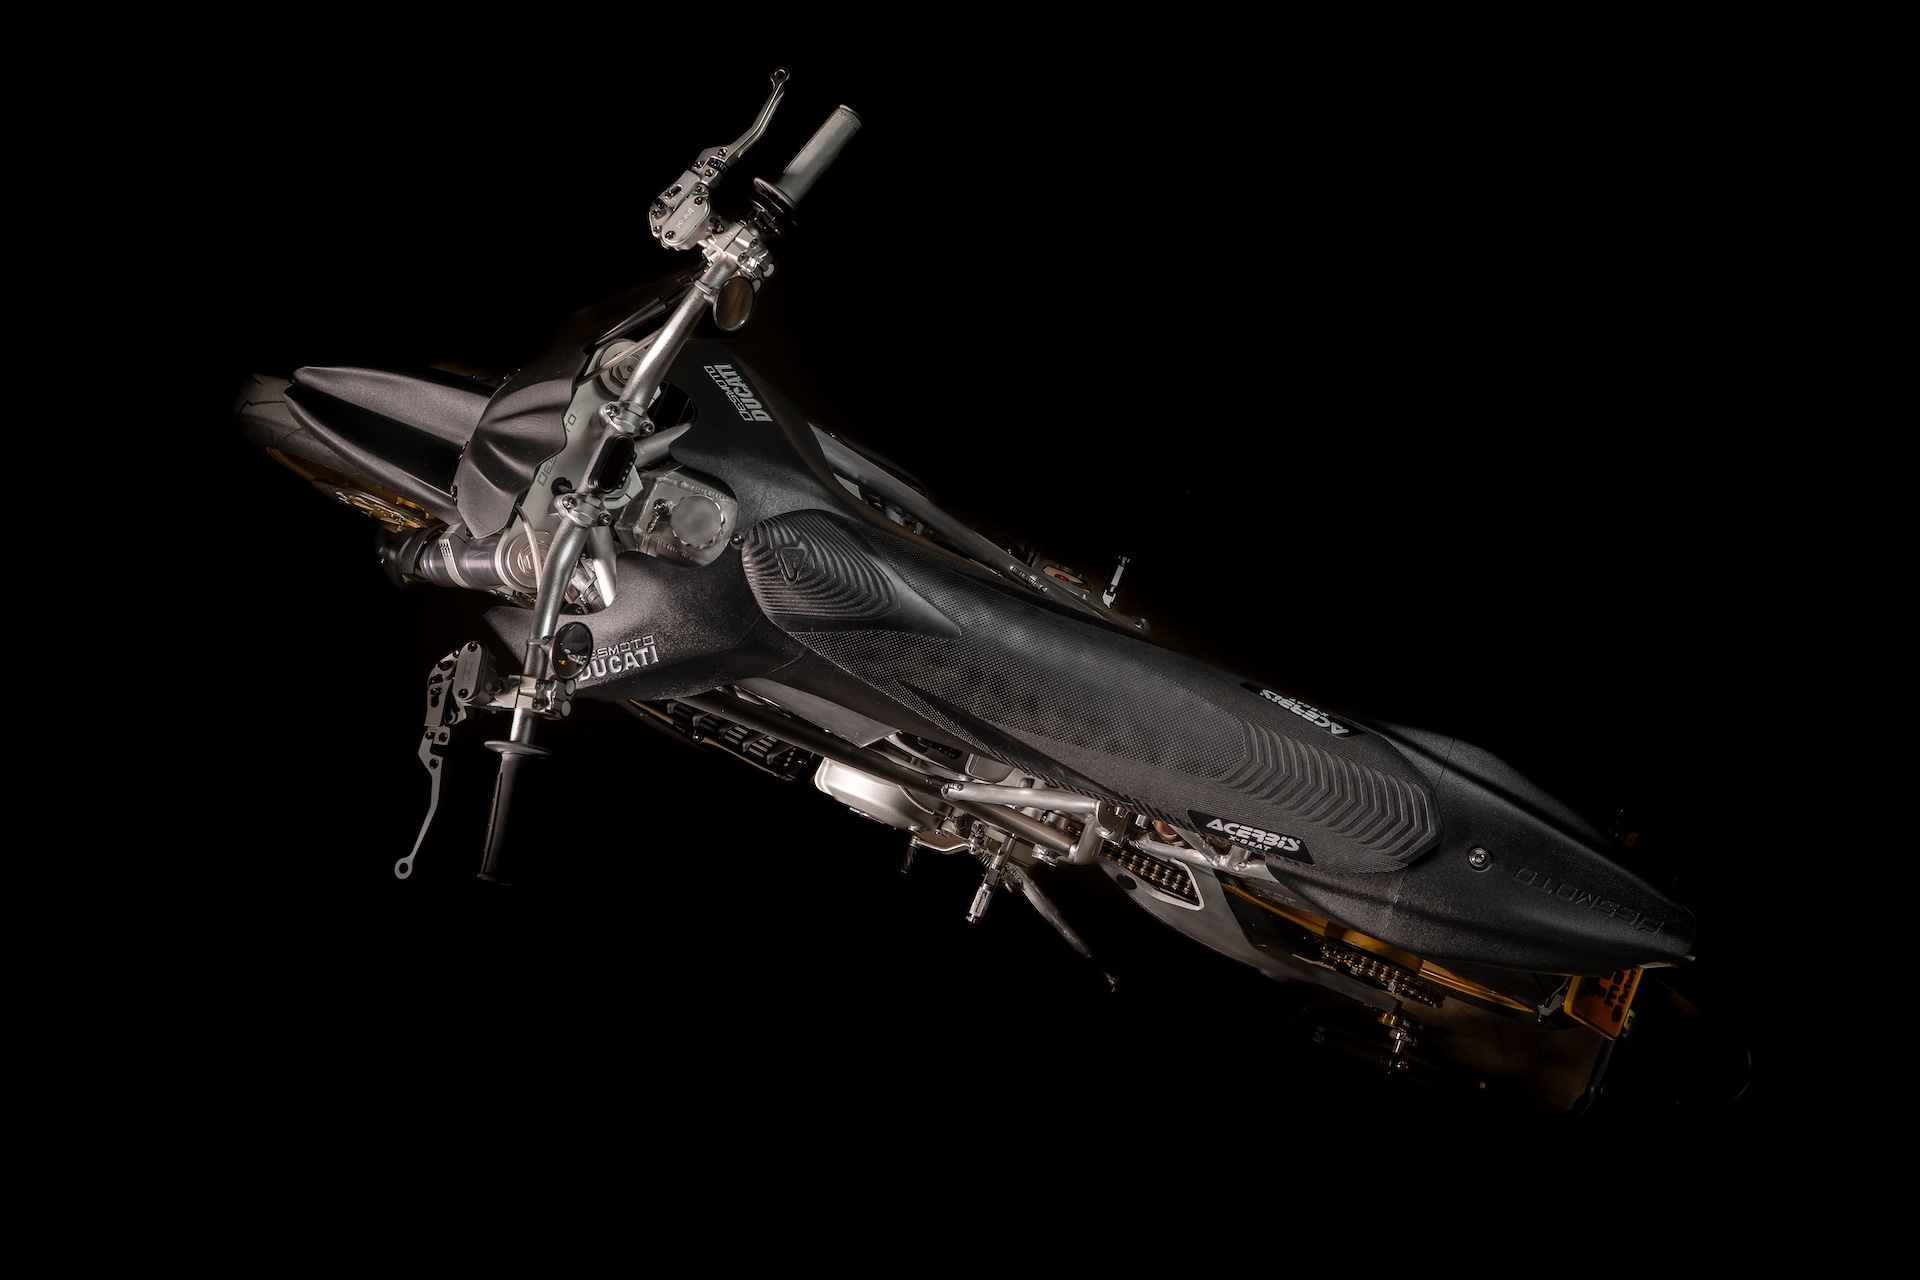
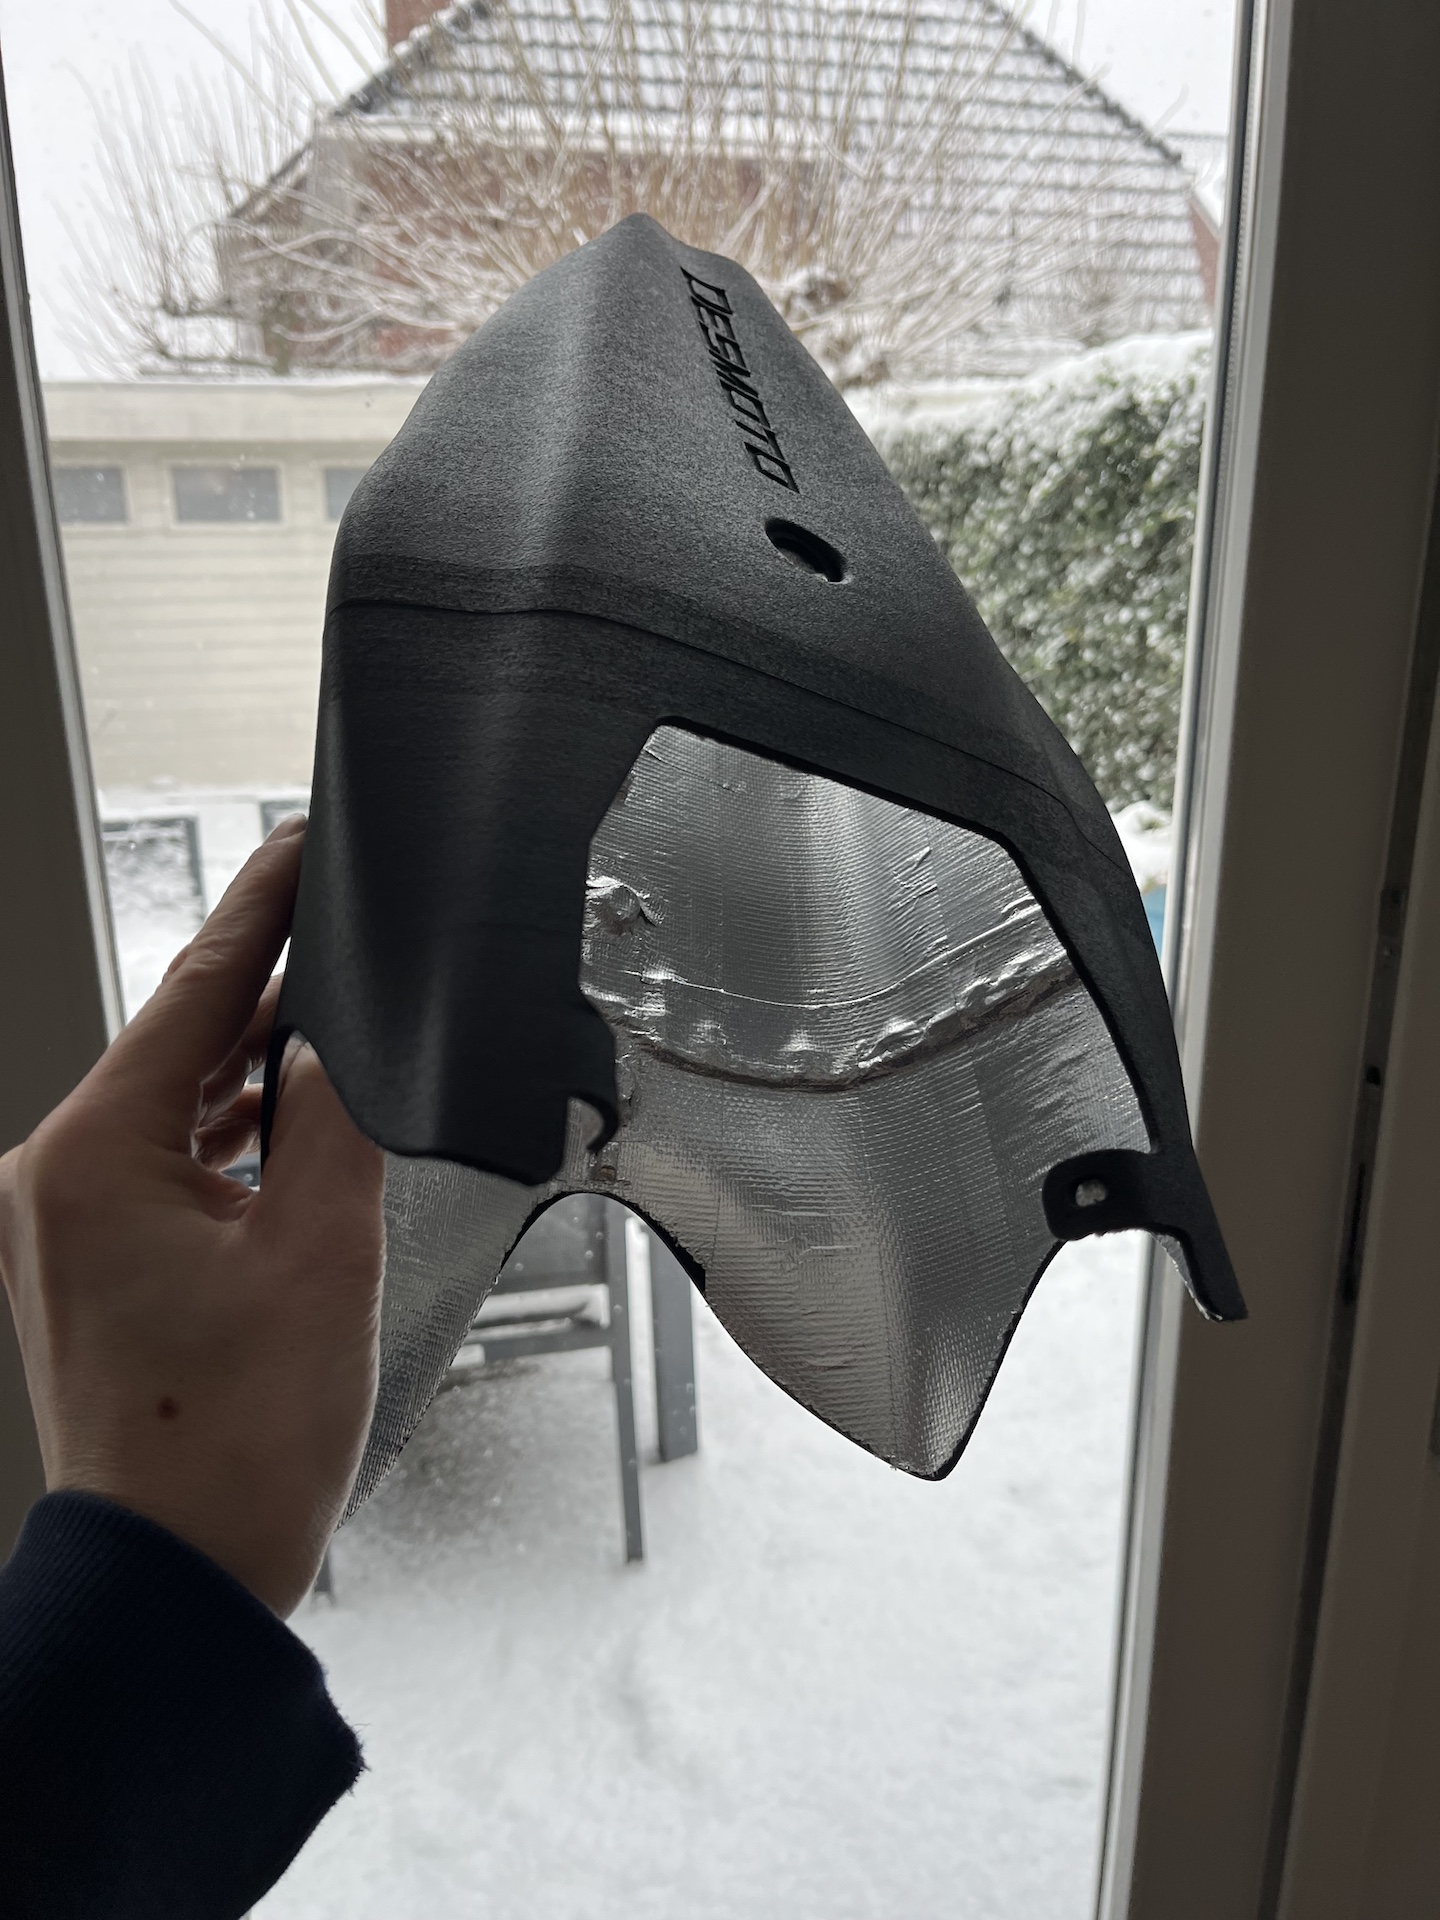
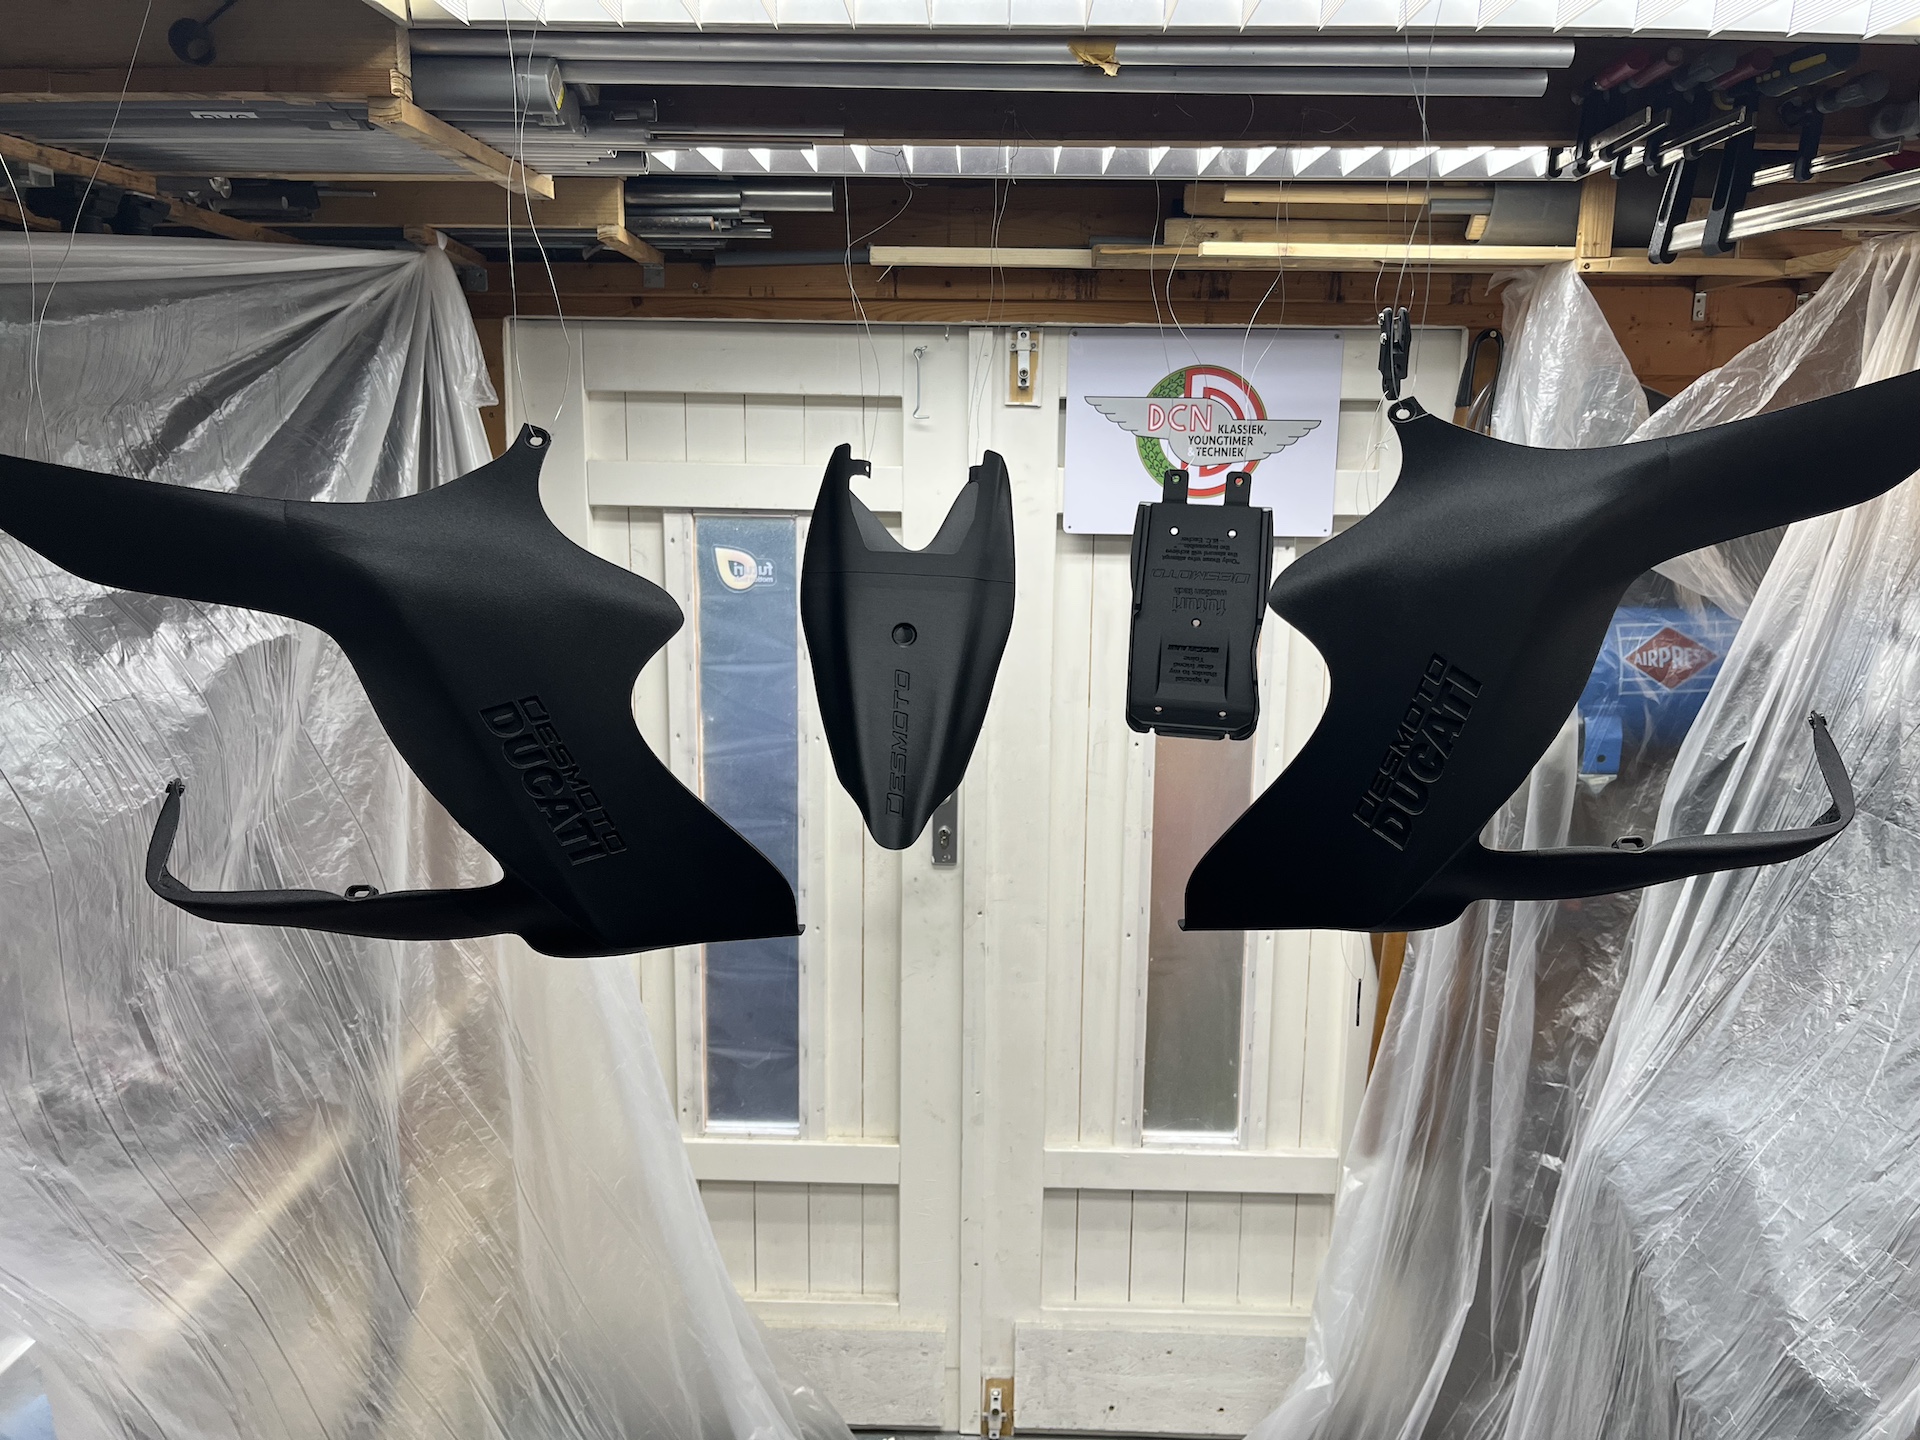
What are the fairings made out off?
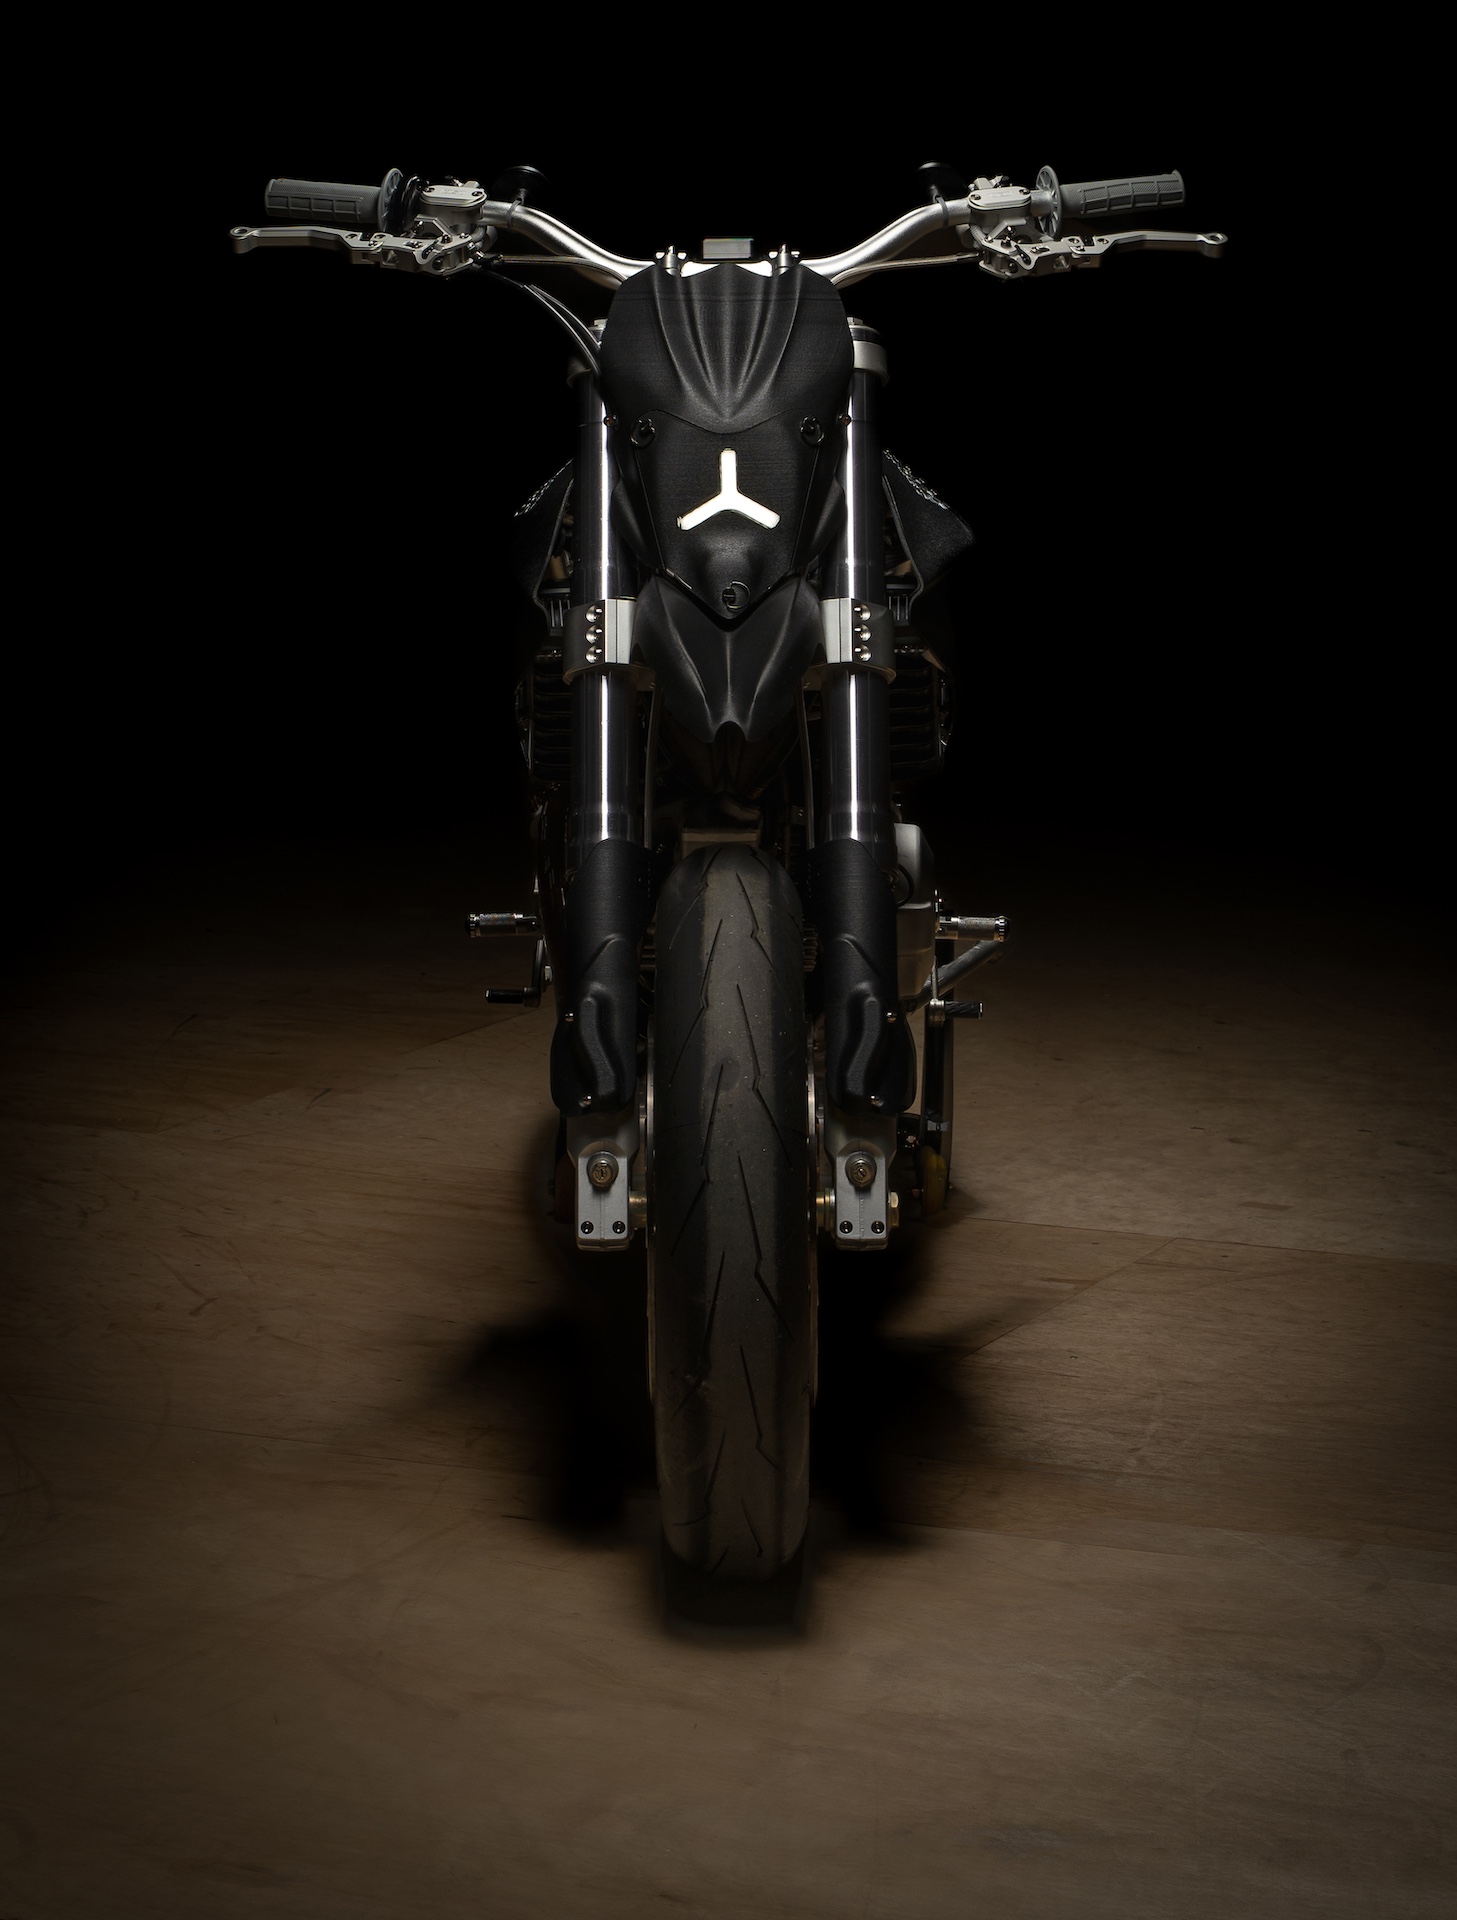
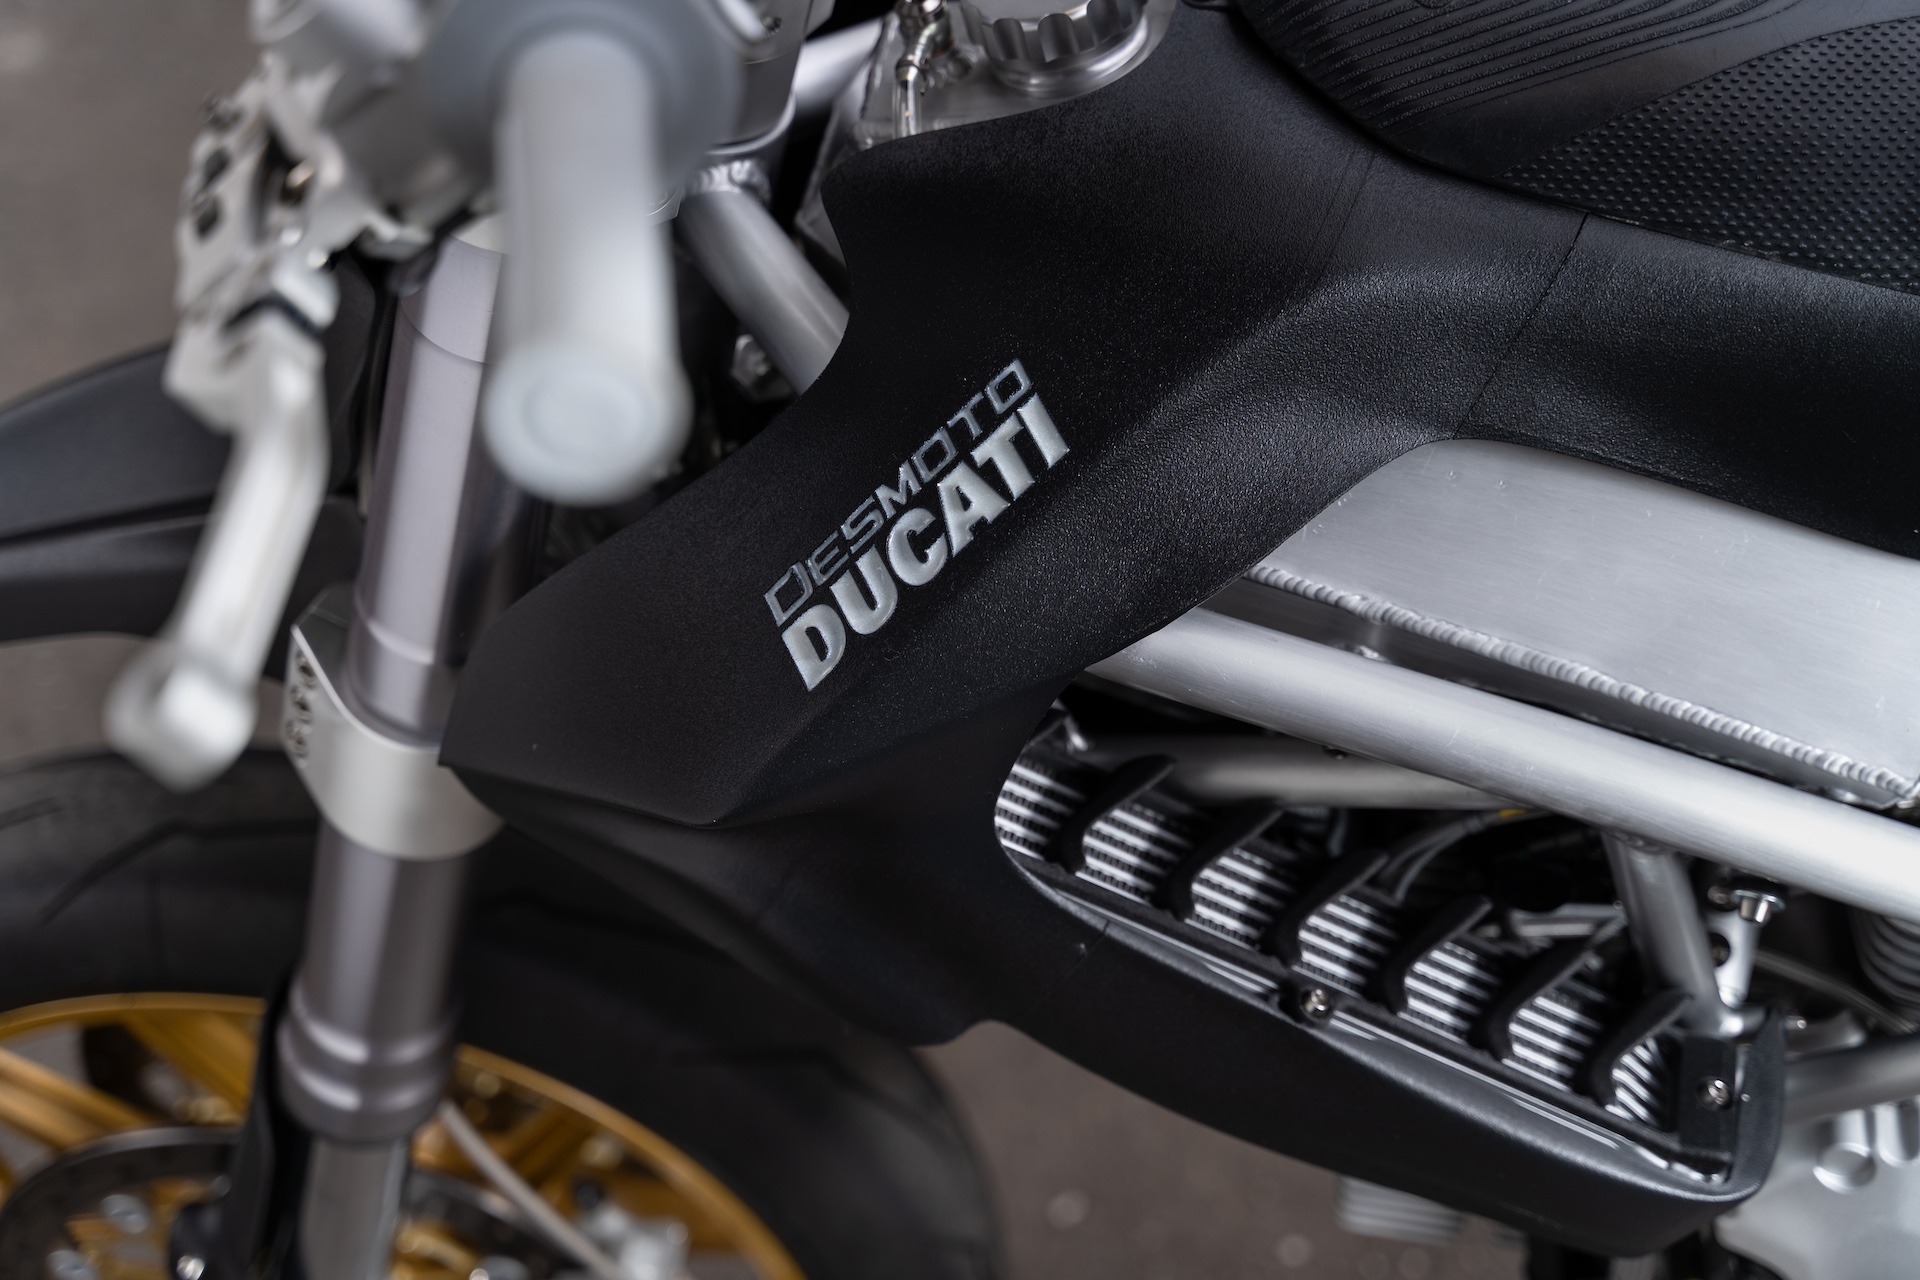
All the fairings you see on the Ducati Desmoto project are 3D printed out of Nylon Carbon Fiber (PA12/HT-CF). This material is extremely heat resistant (up to 195C) and can easily withstand the heat from the exhaust when combined with the right other materials.
All the fairings are coated in a matte clear coat to make sure this material is more easy to clean and the material does not absorb any moisture.
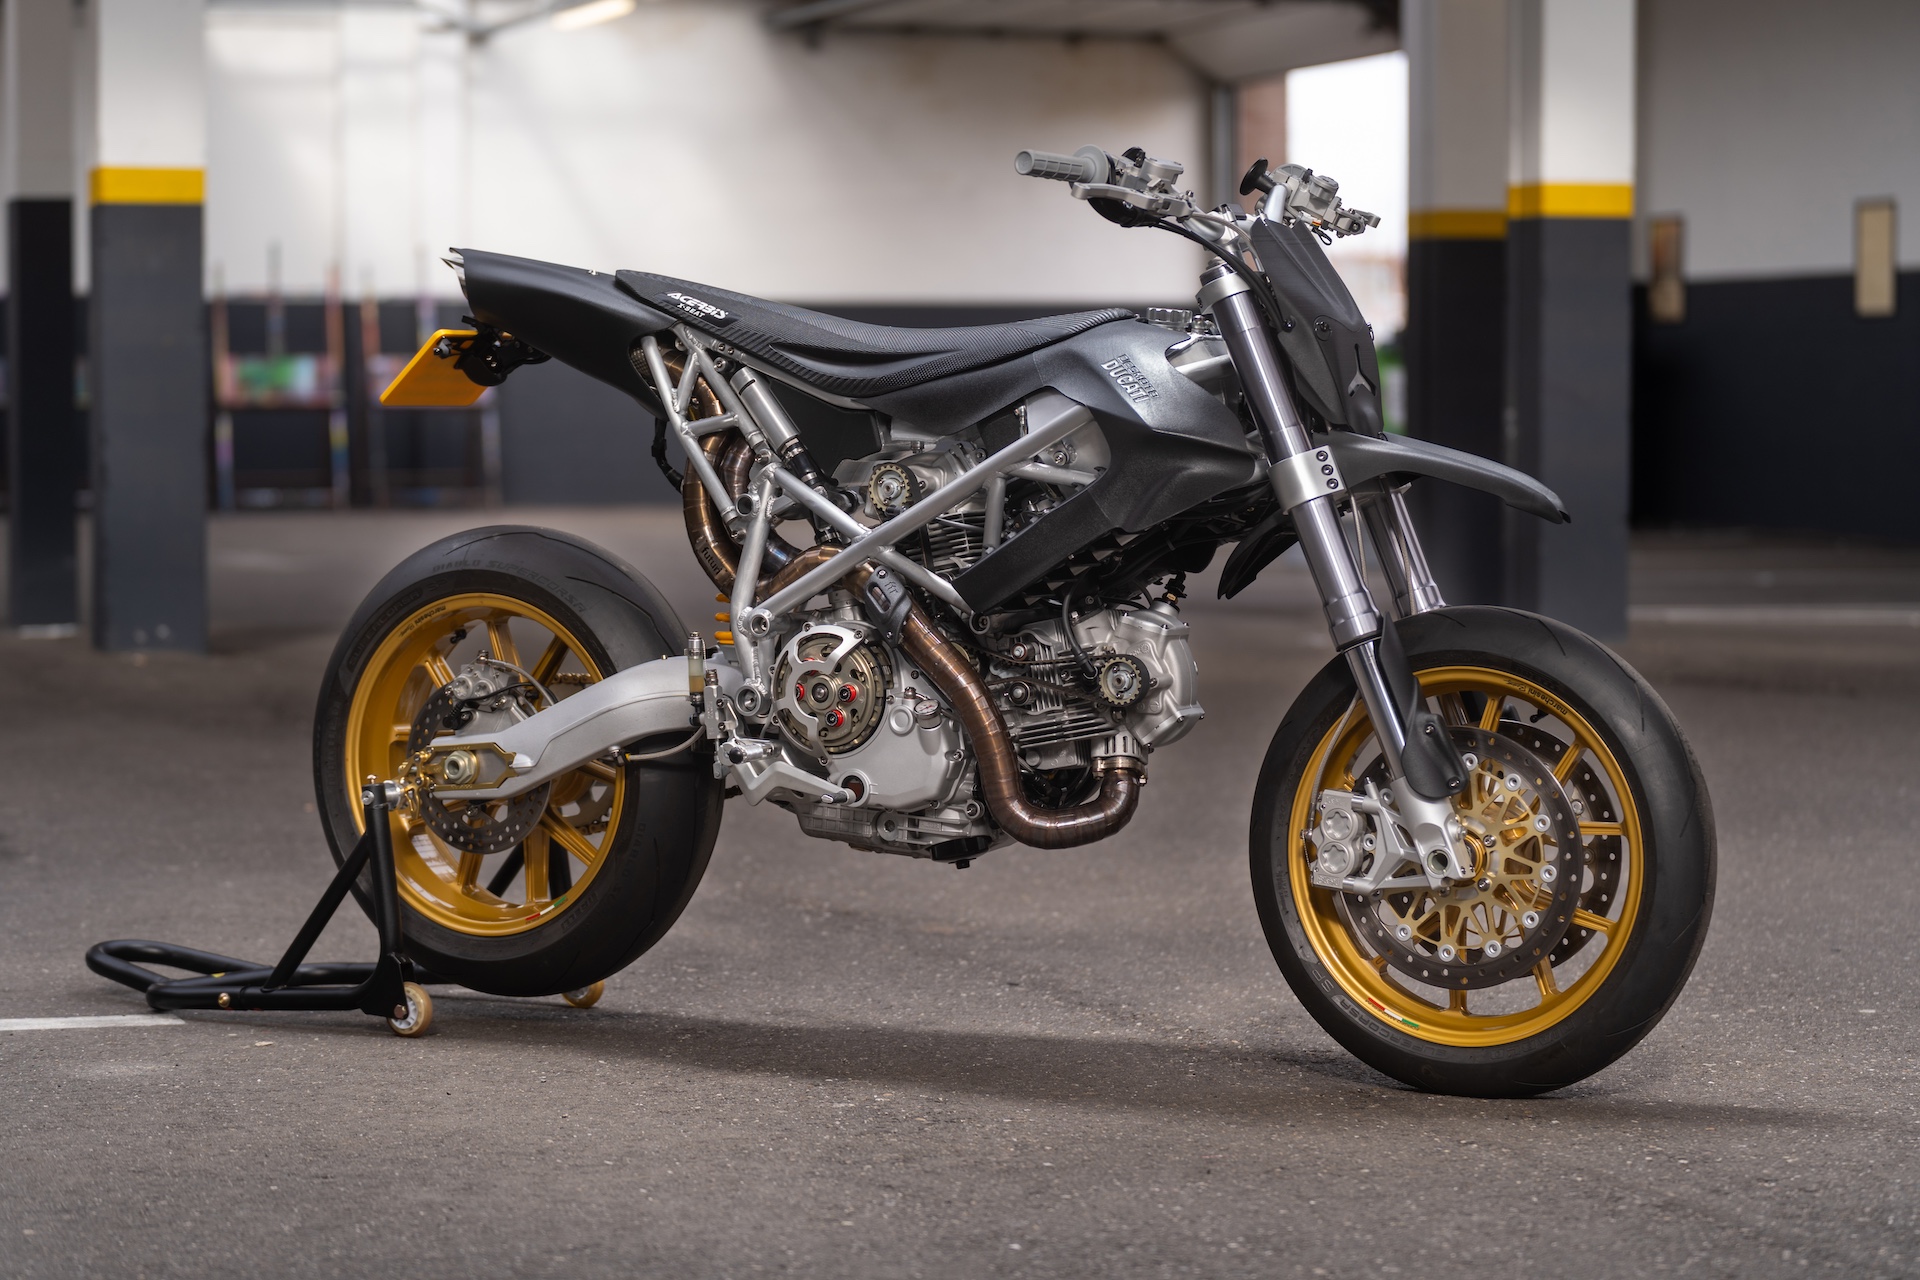
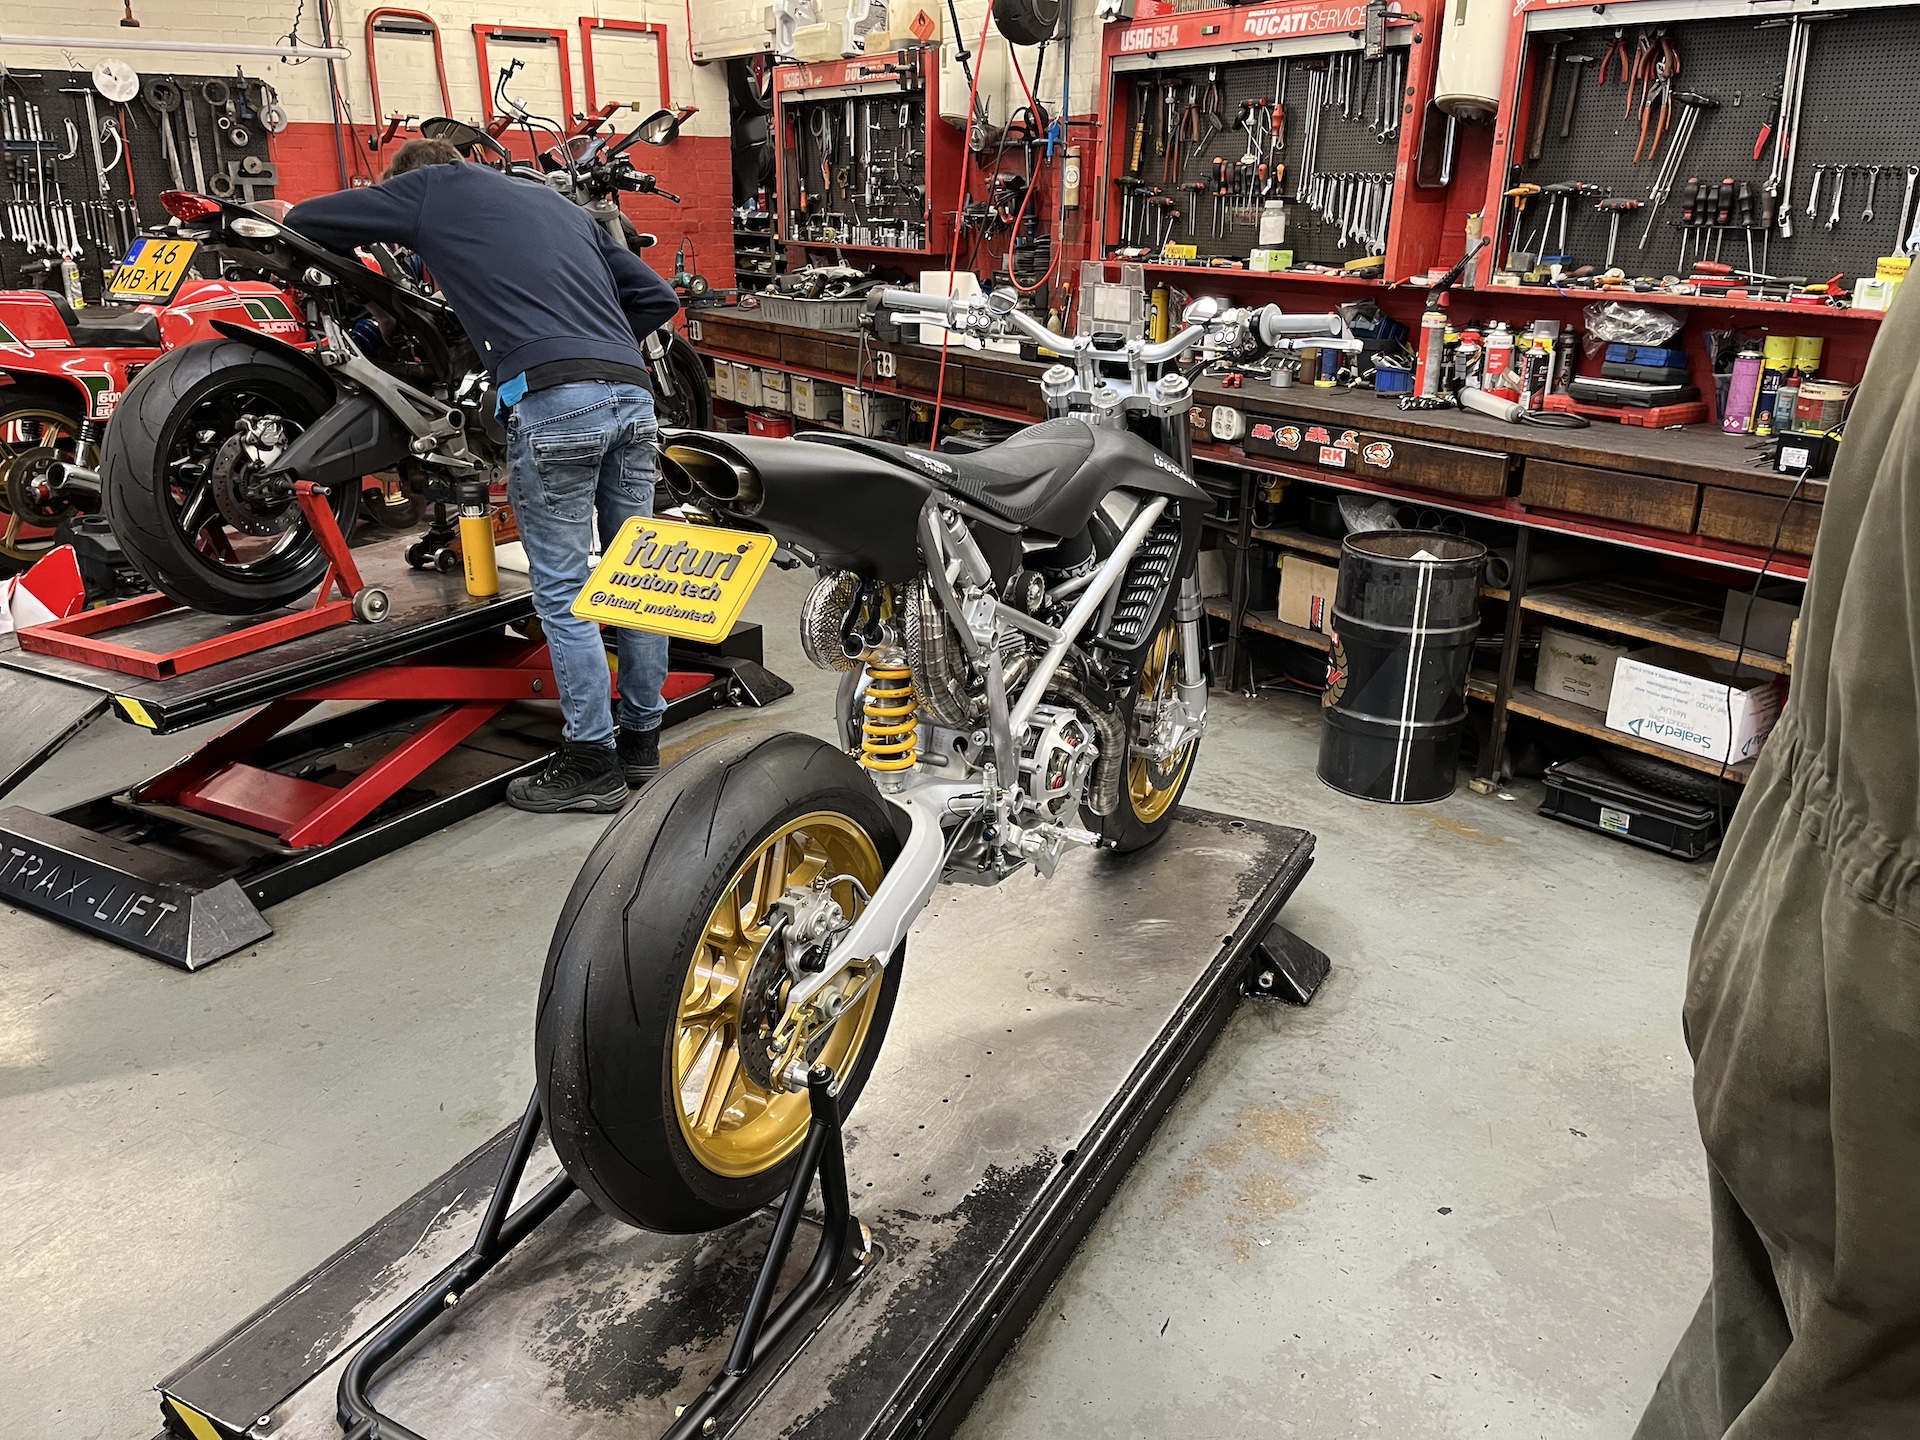
What is the weight of the bike?
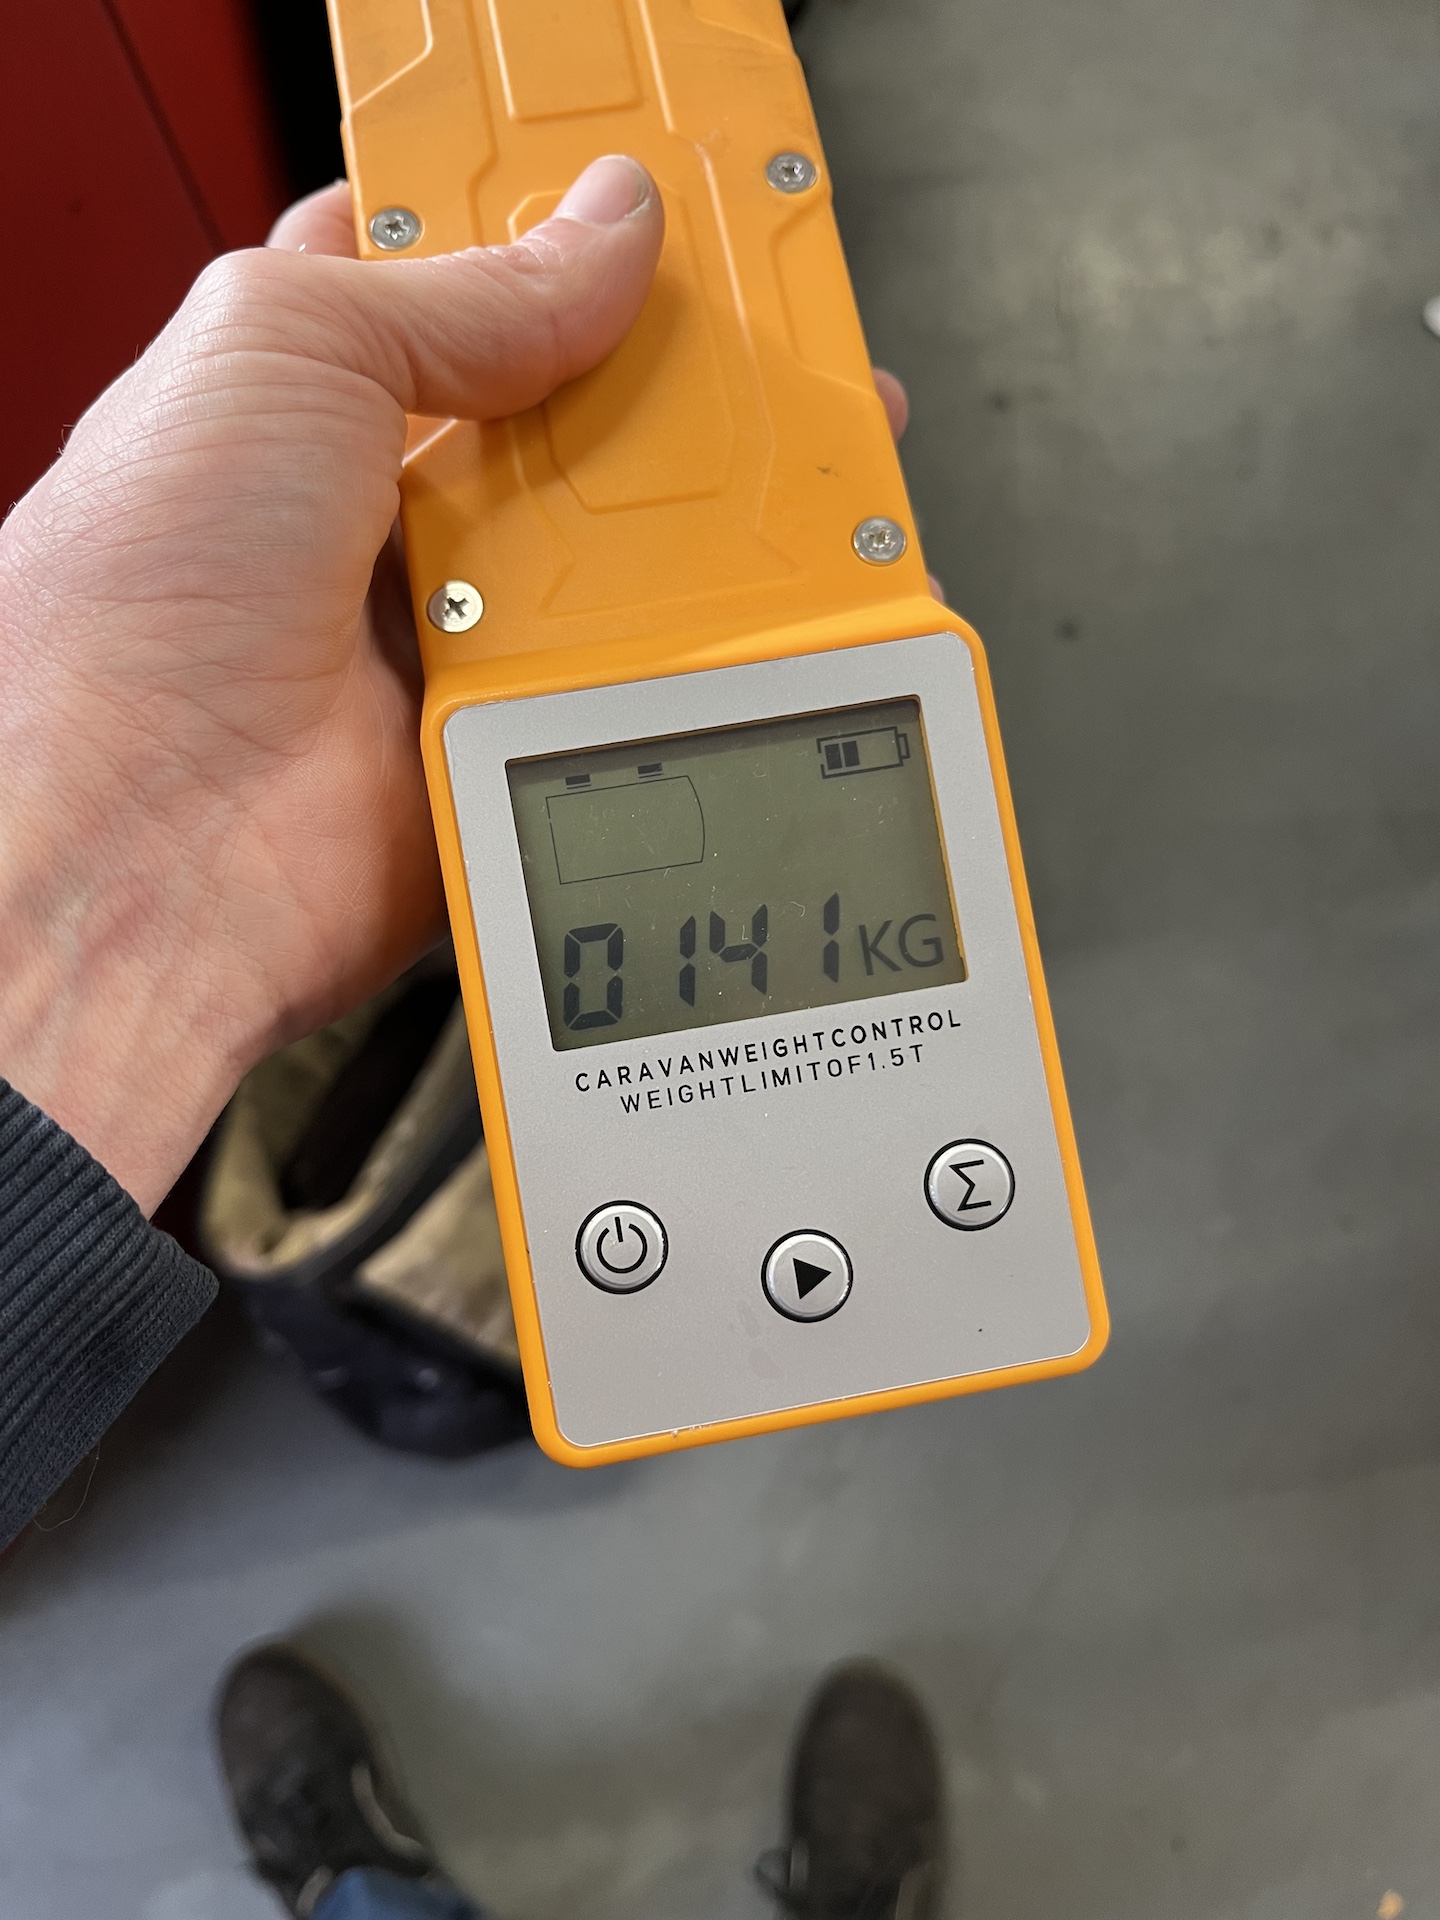
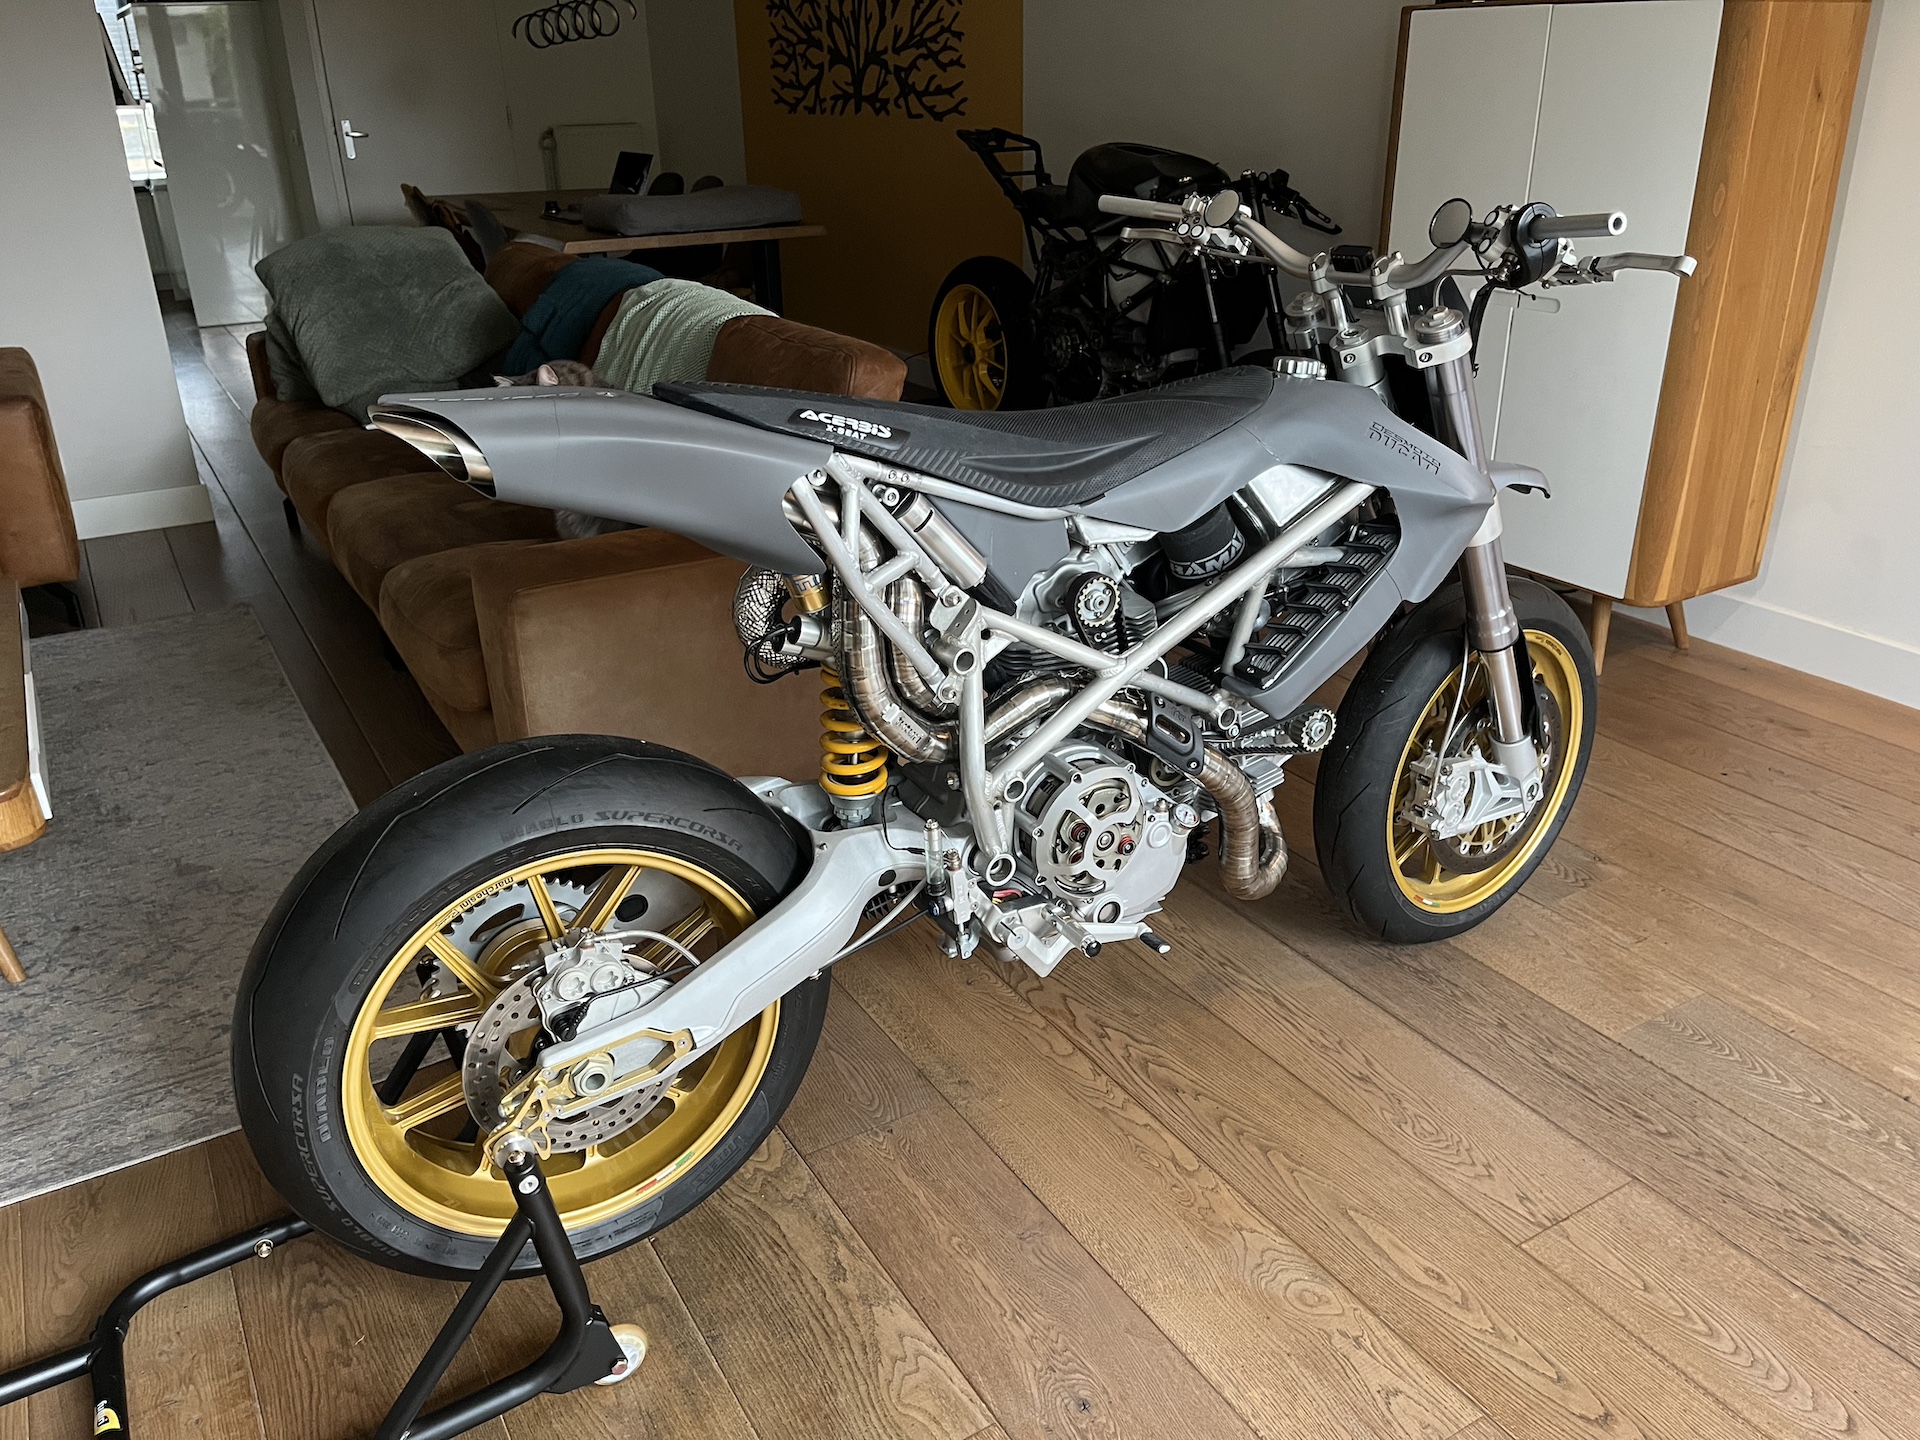
141KG +/- WET weight! This is achieved by mostly only using titanium, aluminium, nylon infused carbon and magnesium materials.
Chasing these kind of weight savings comes with a literal cost though. Costs simply explode…
The original goal of the project was to get the bike below 150KG dry weight. I would say we have been more than succesful!
Is it street legal?
Yes it is! It falls into a grey area though and it really depends on per country regulations.
How long did it take to build?
The project was first started in September of 2020. From that moment it took me 5.5 years and 2000+ hours to complete. The main concept however was already visualised in my head early 2019.
The long time frame has multiple reasons but lets just say life happens sometimes and some other things needed my attention.
I was able to really get the project moving by setting weekly small goals for the last 2 years of development. Adding up all those small weekly goals and all of a sudden you have a finished bike!
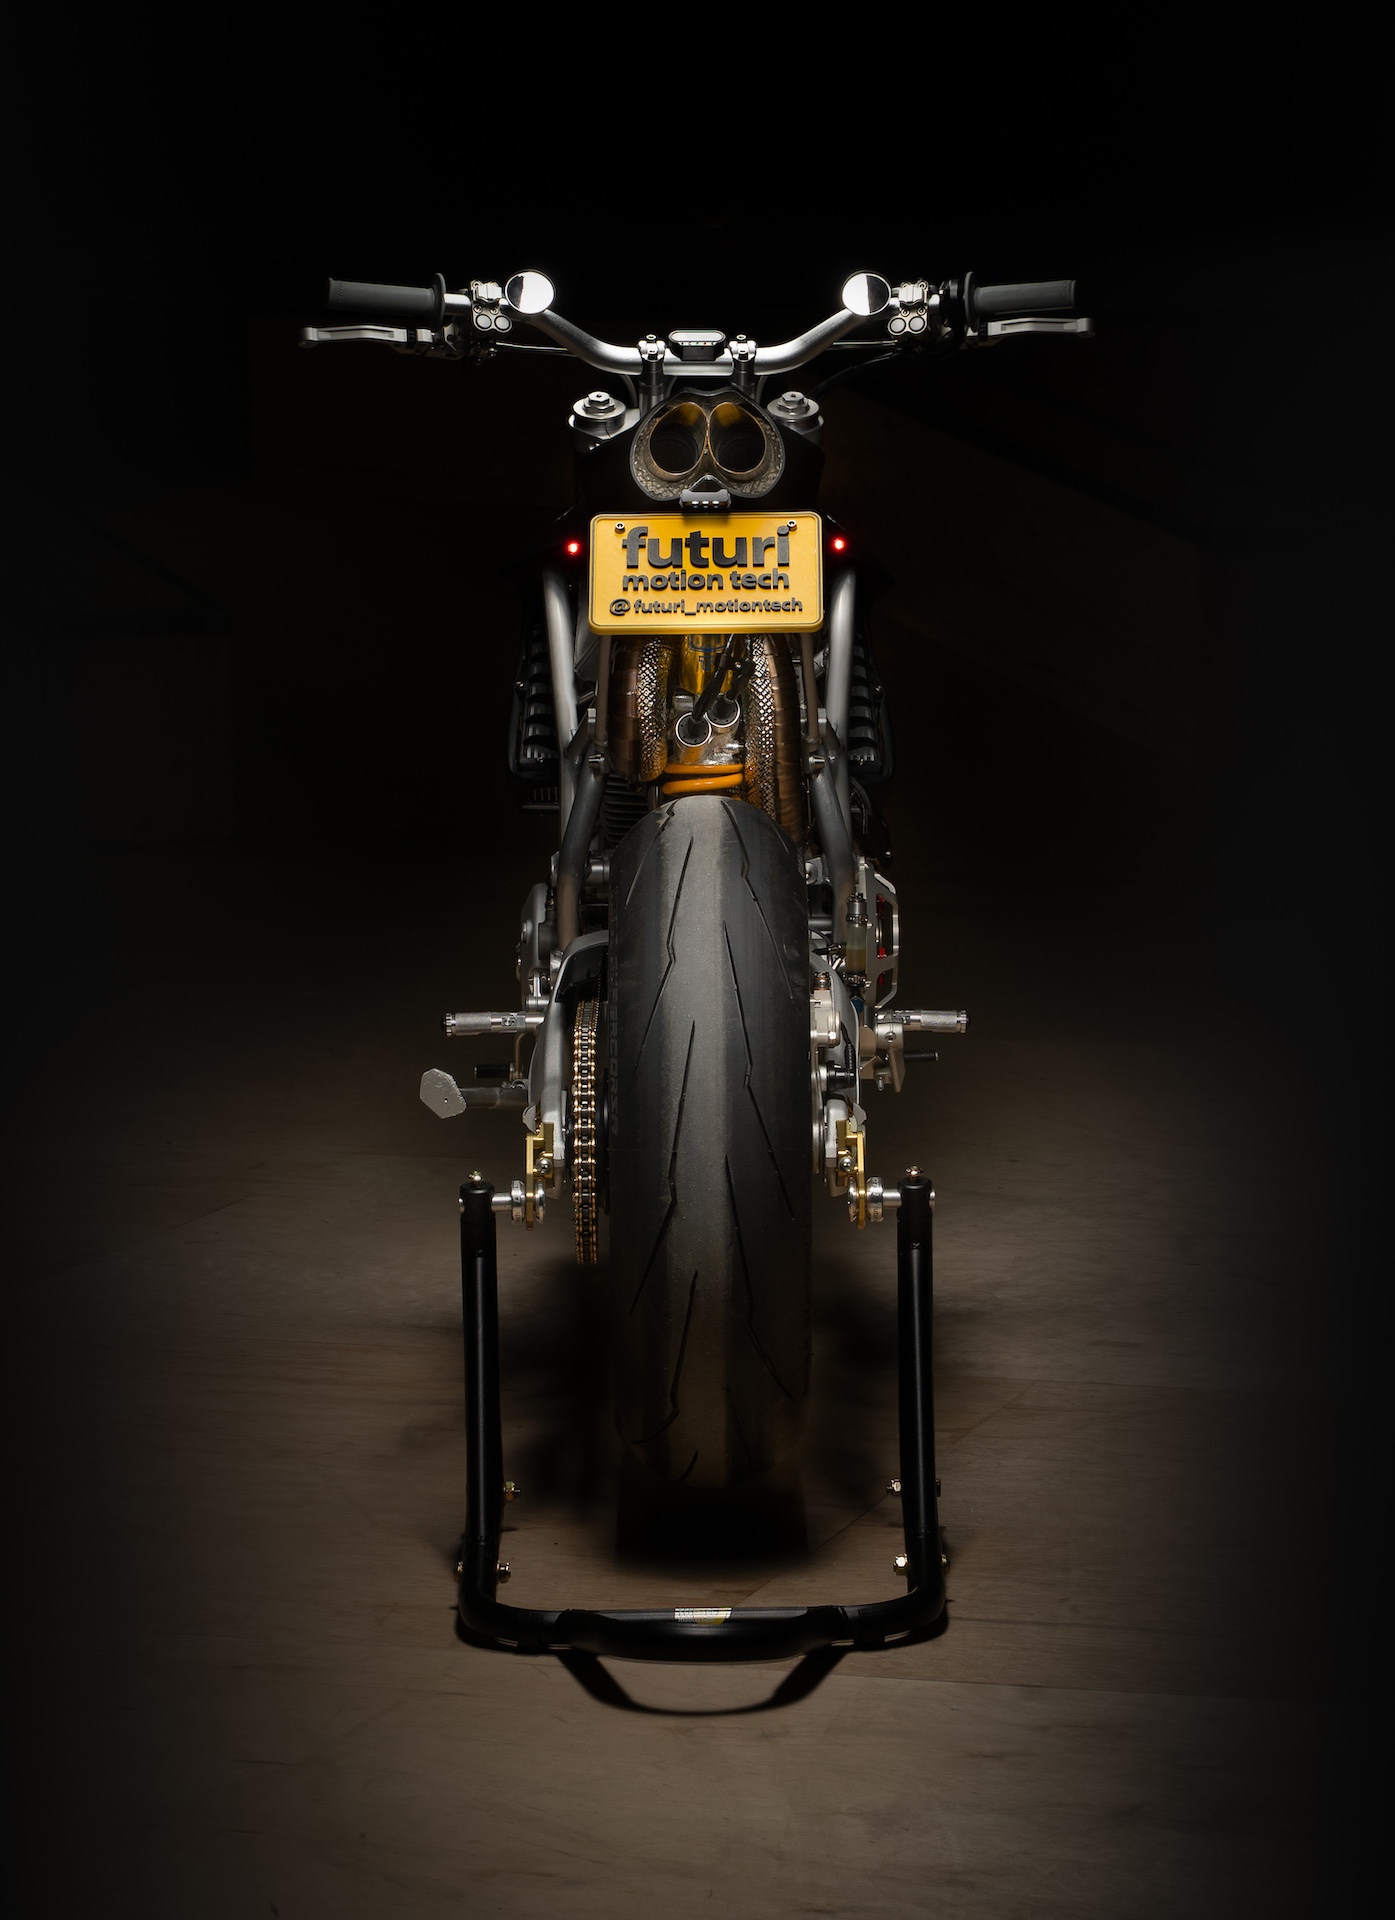
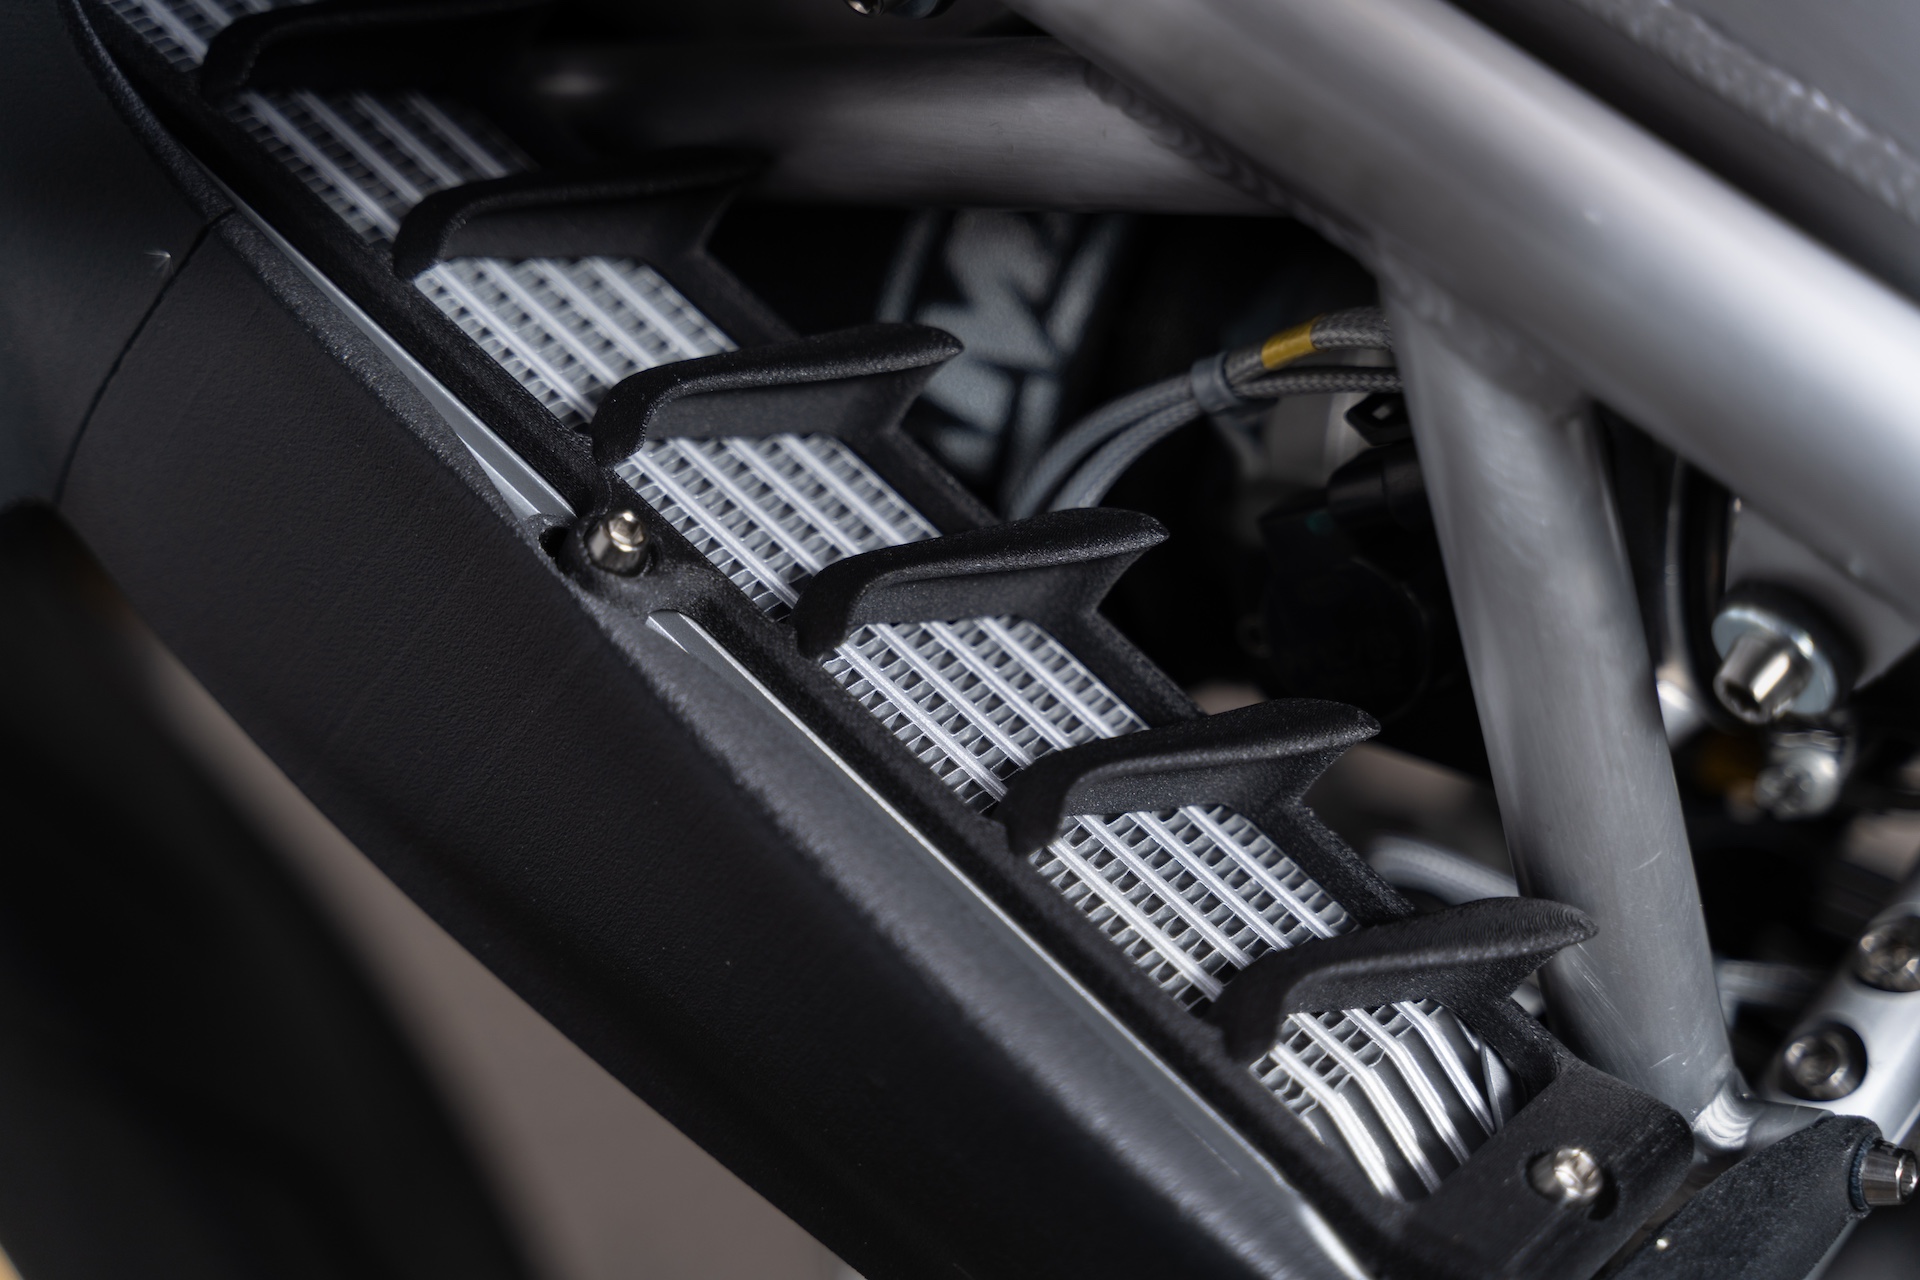
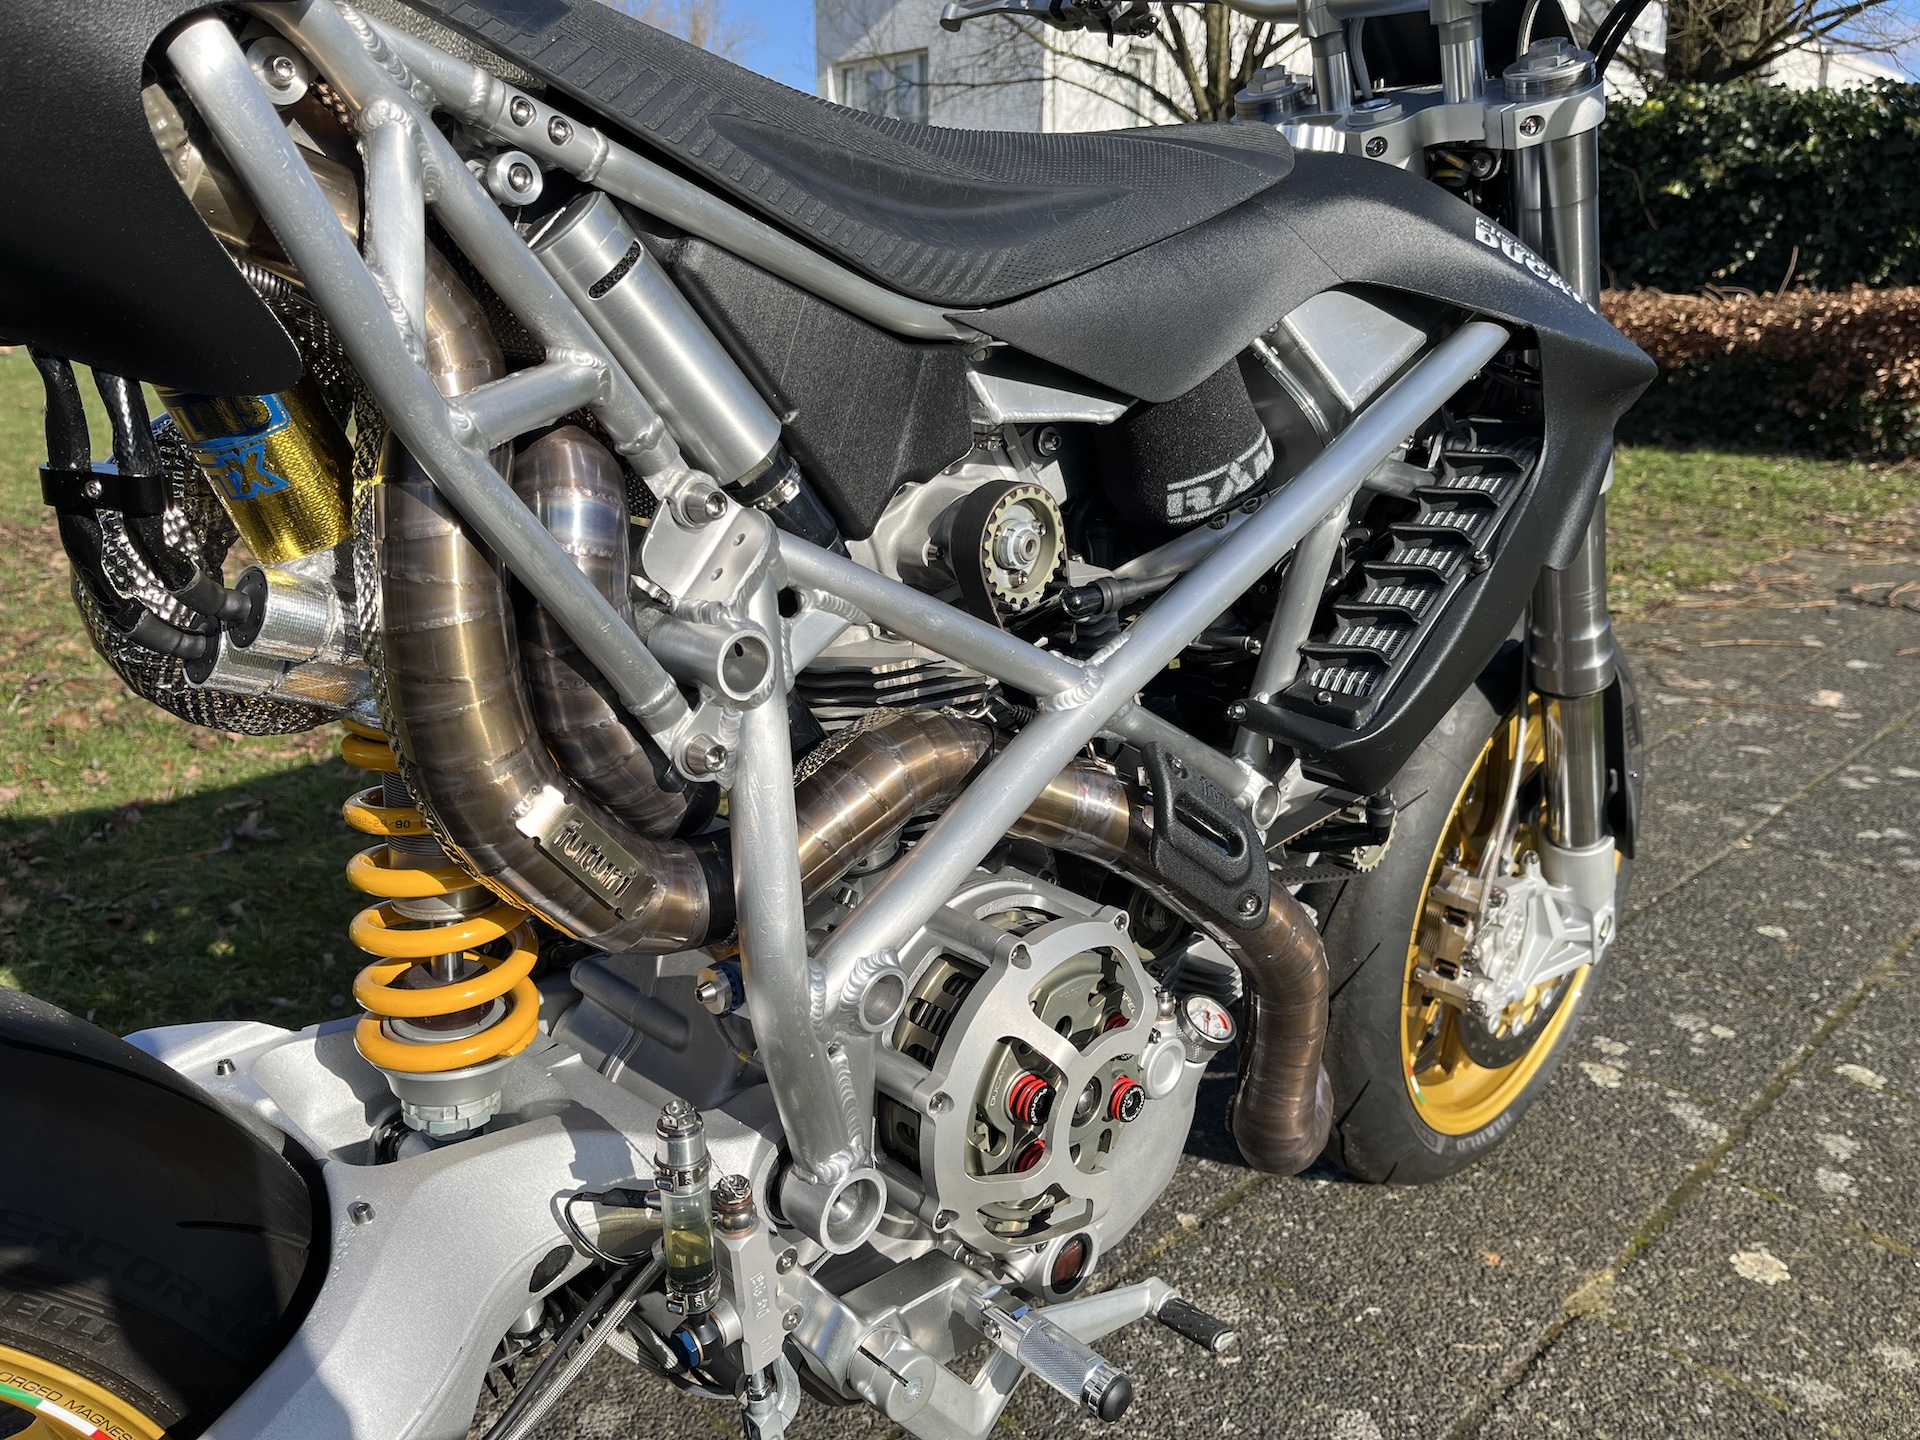
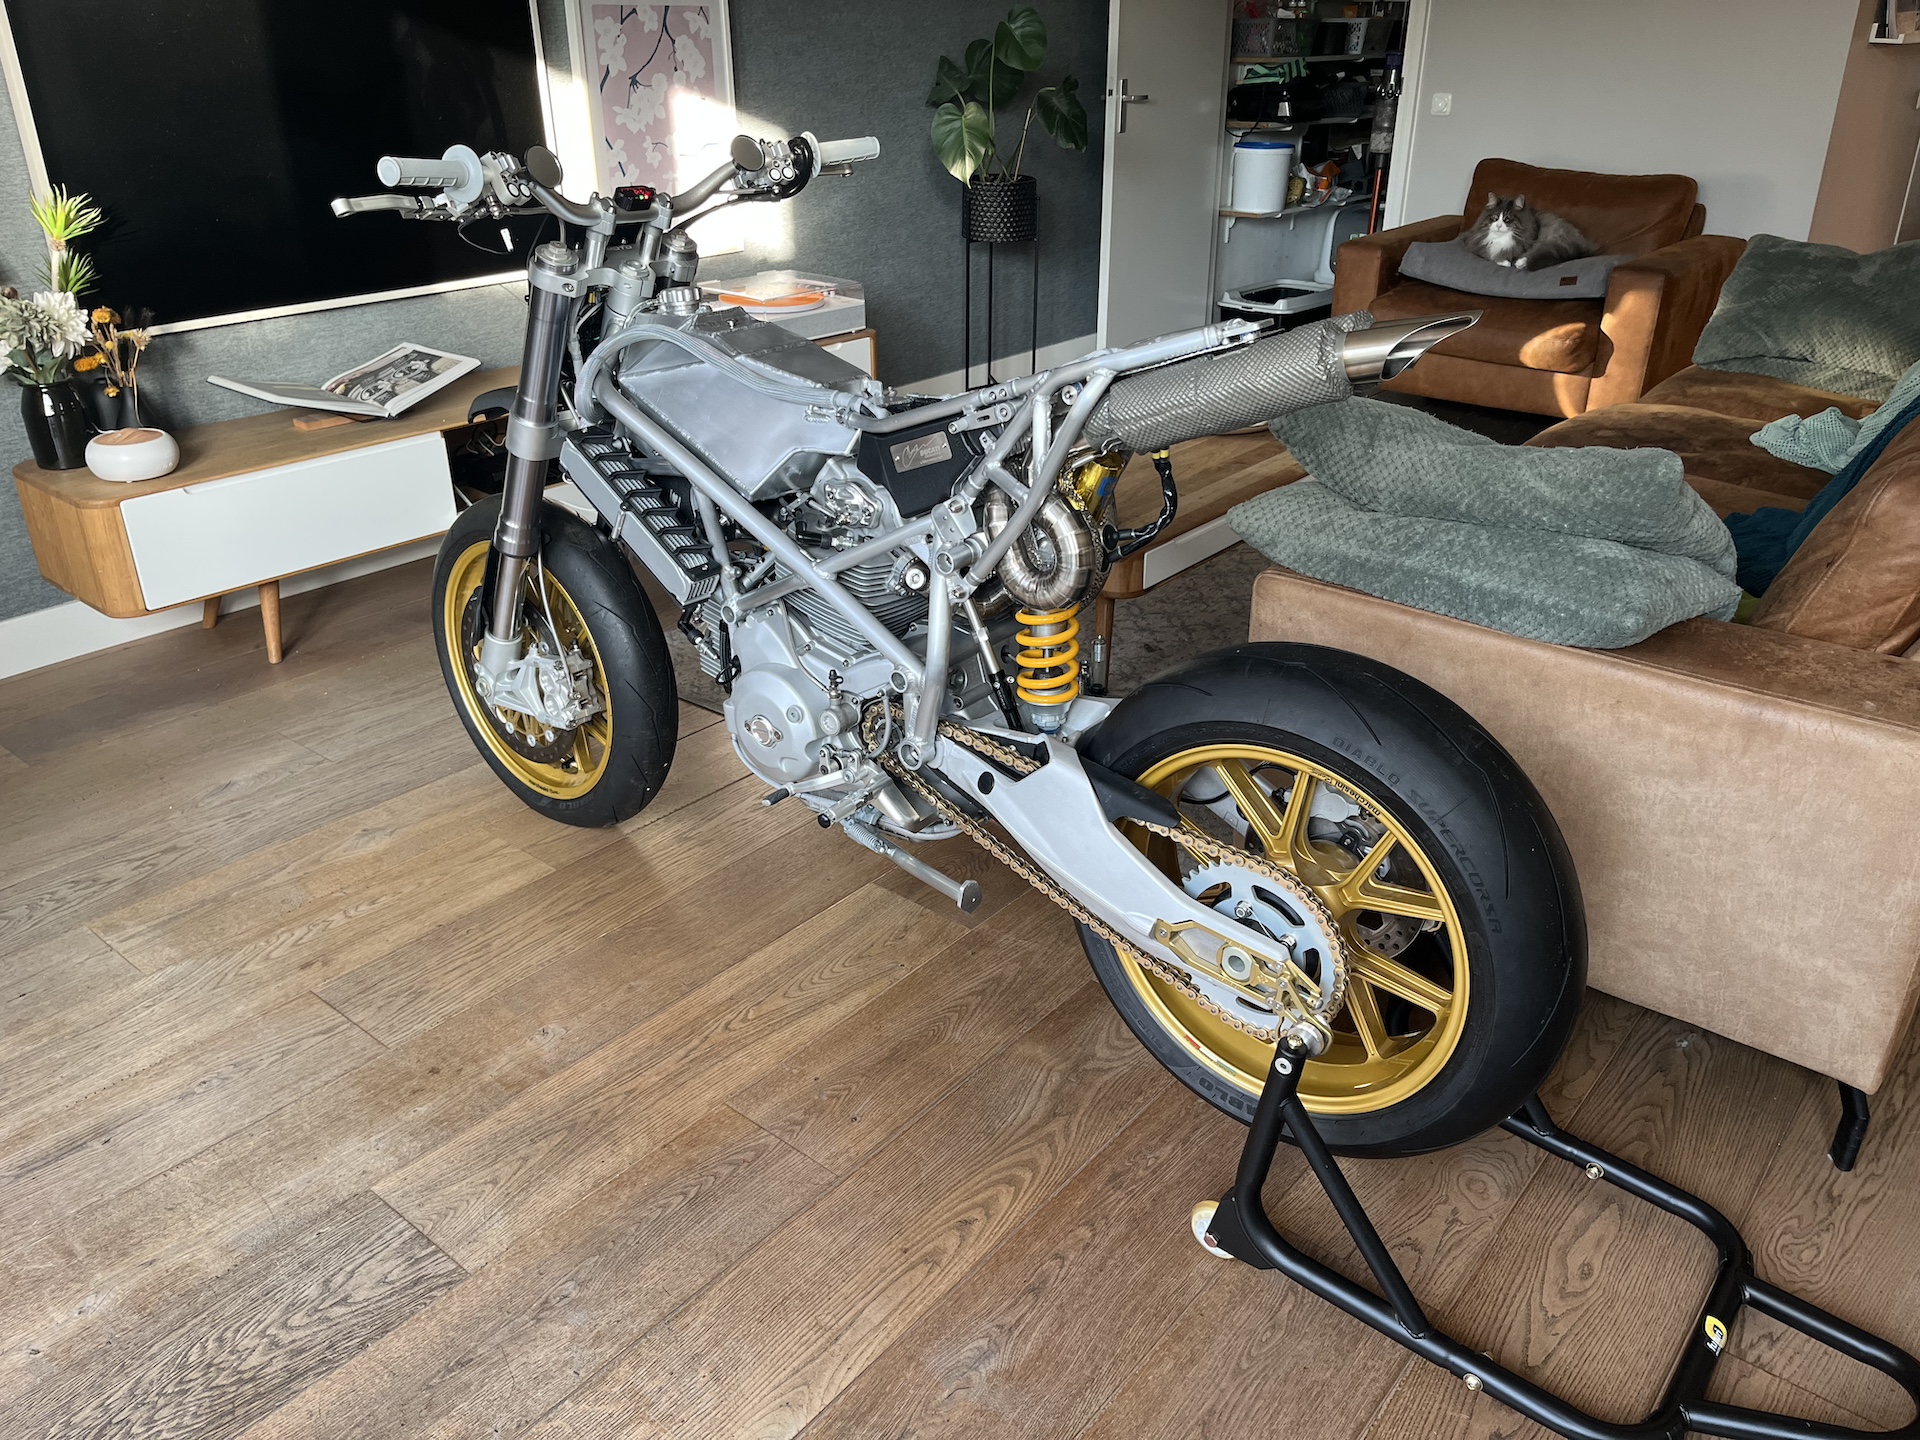
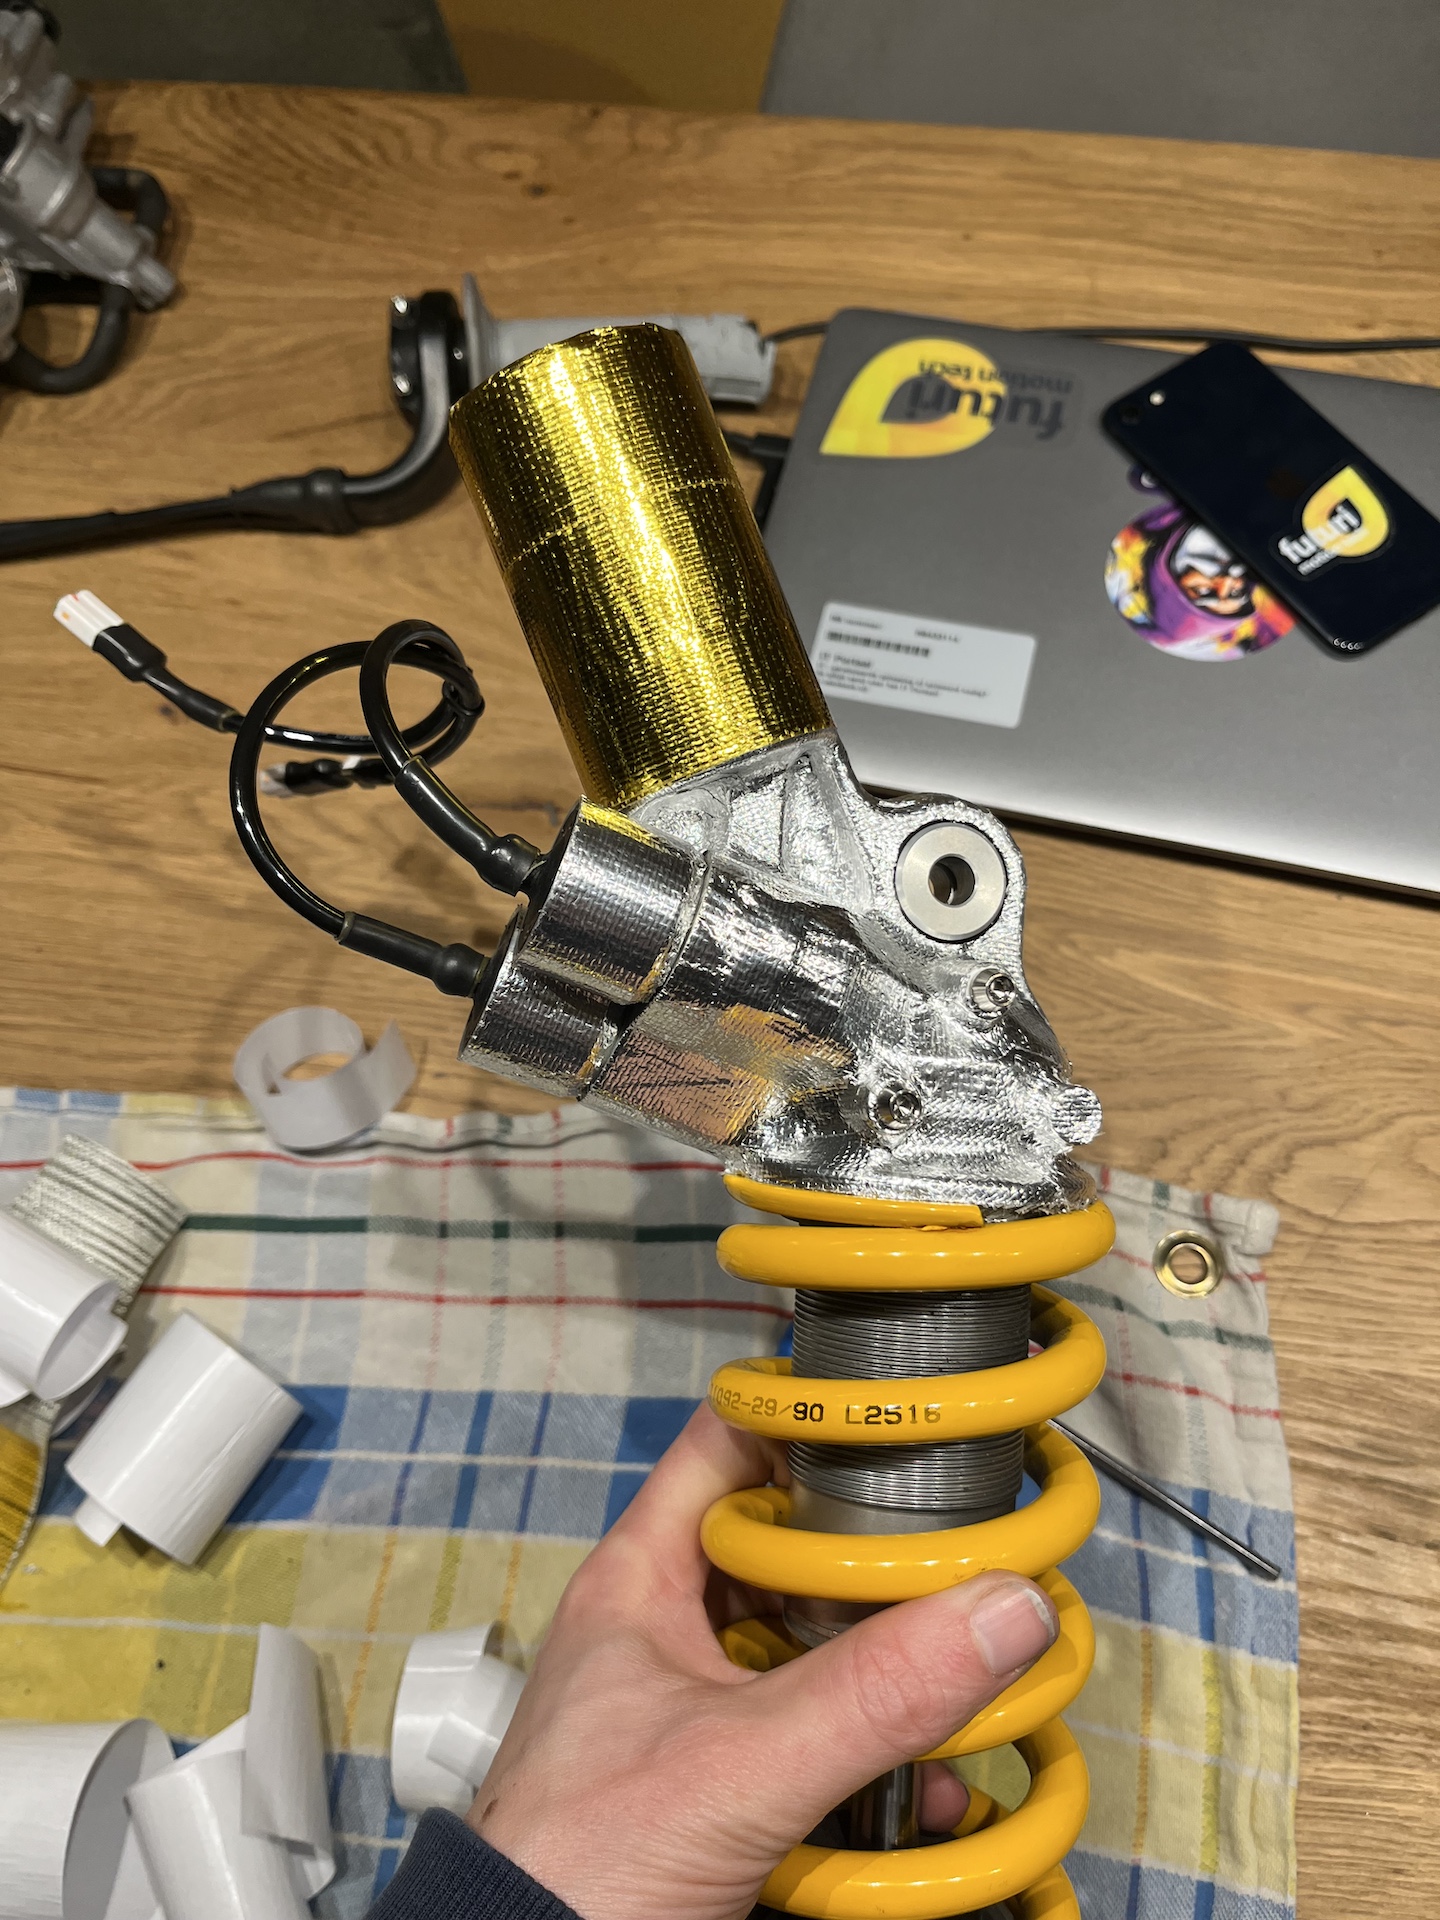
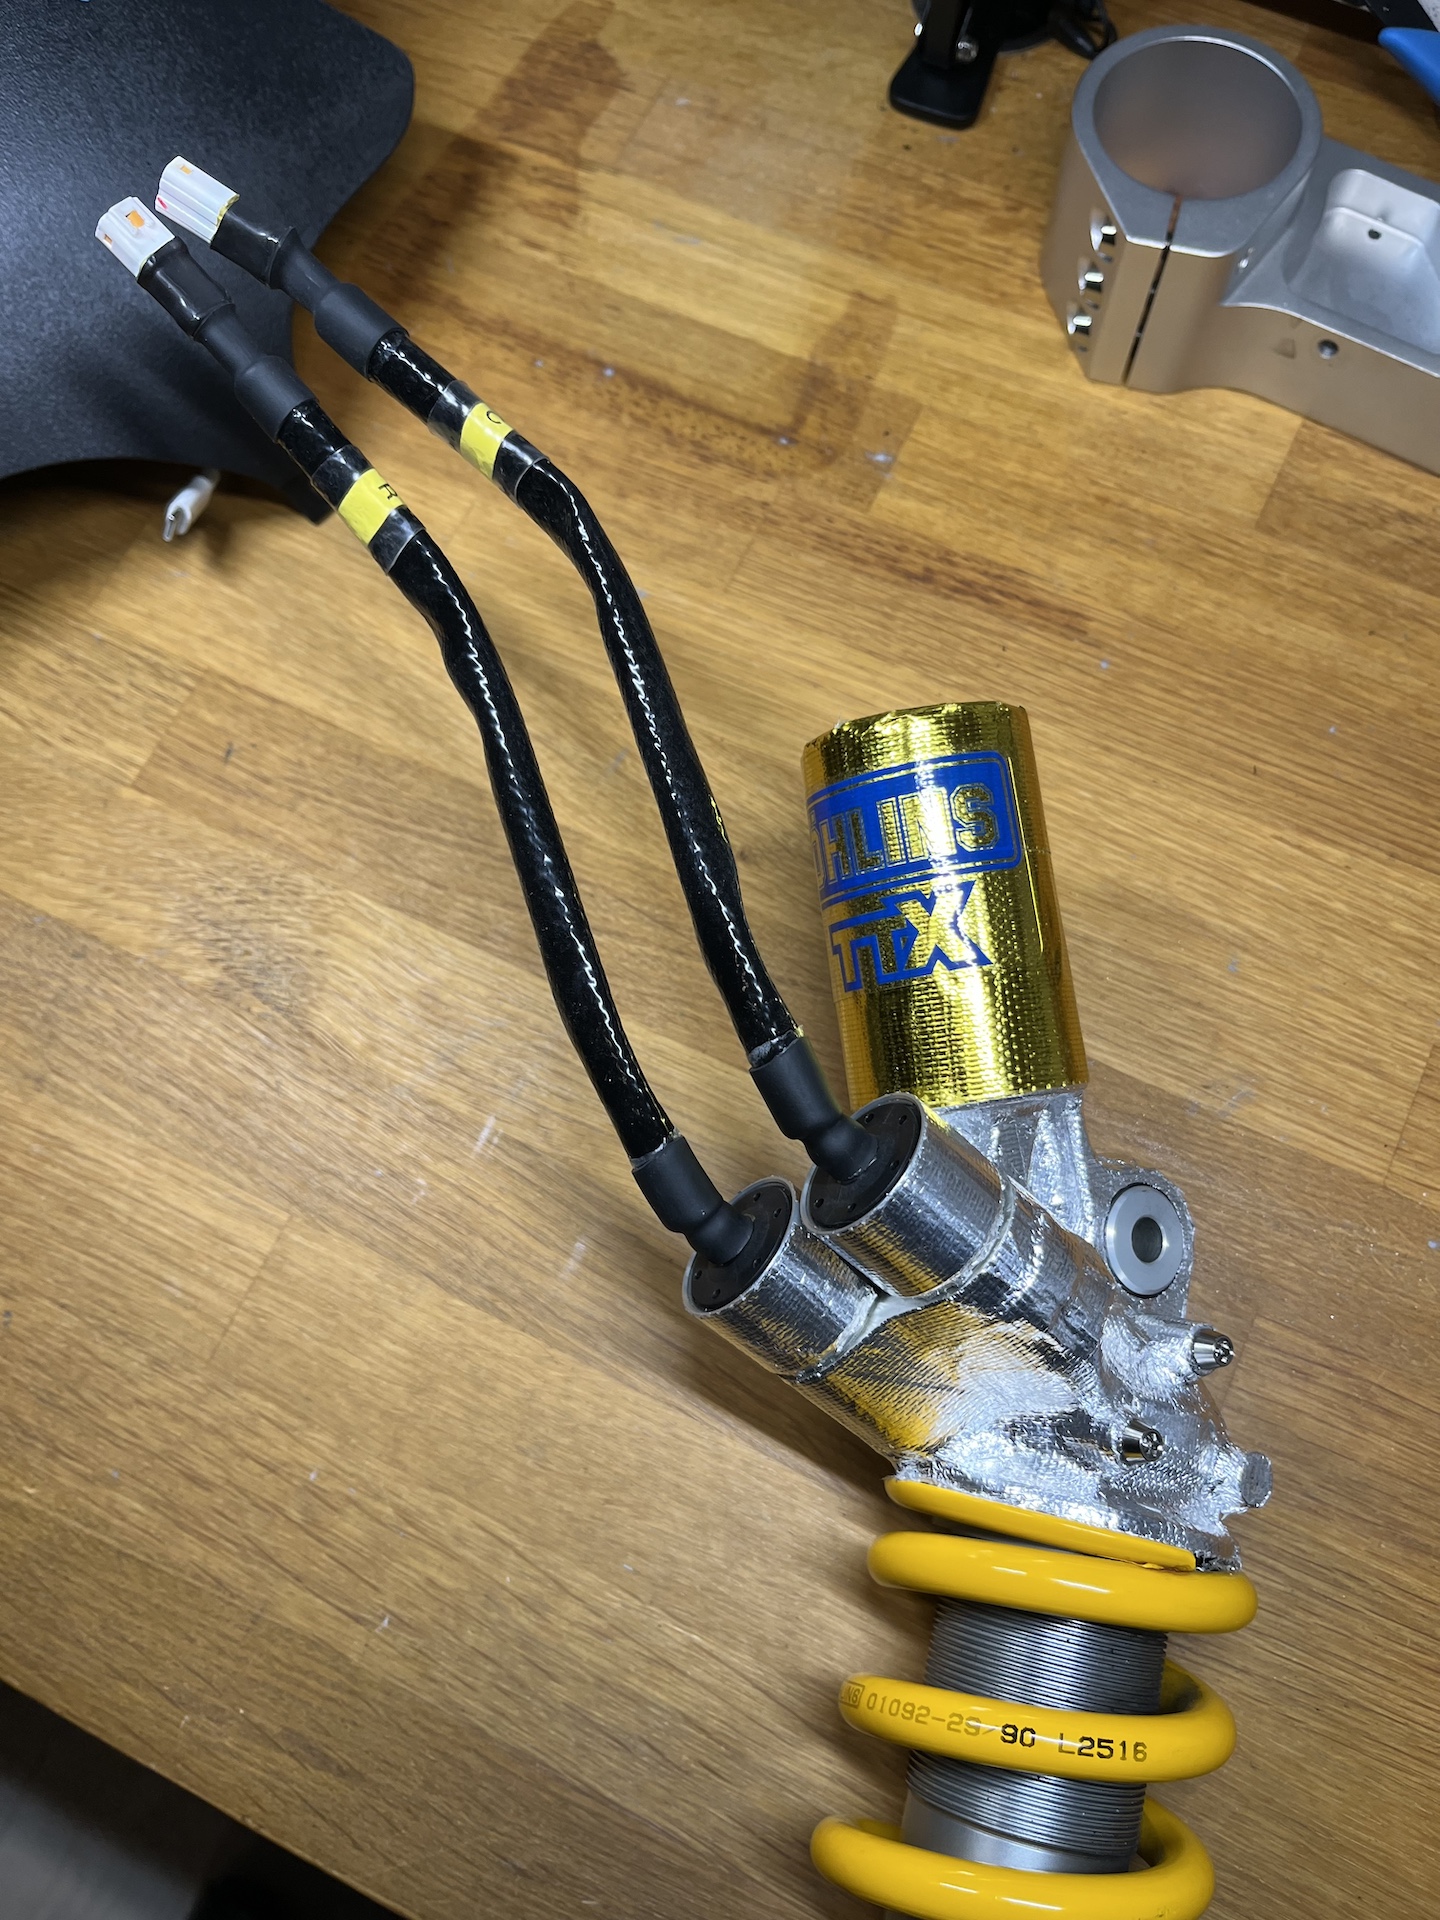
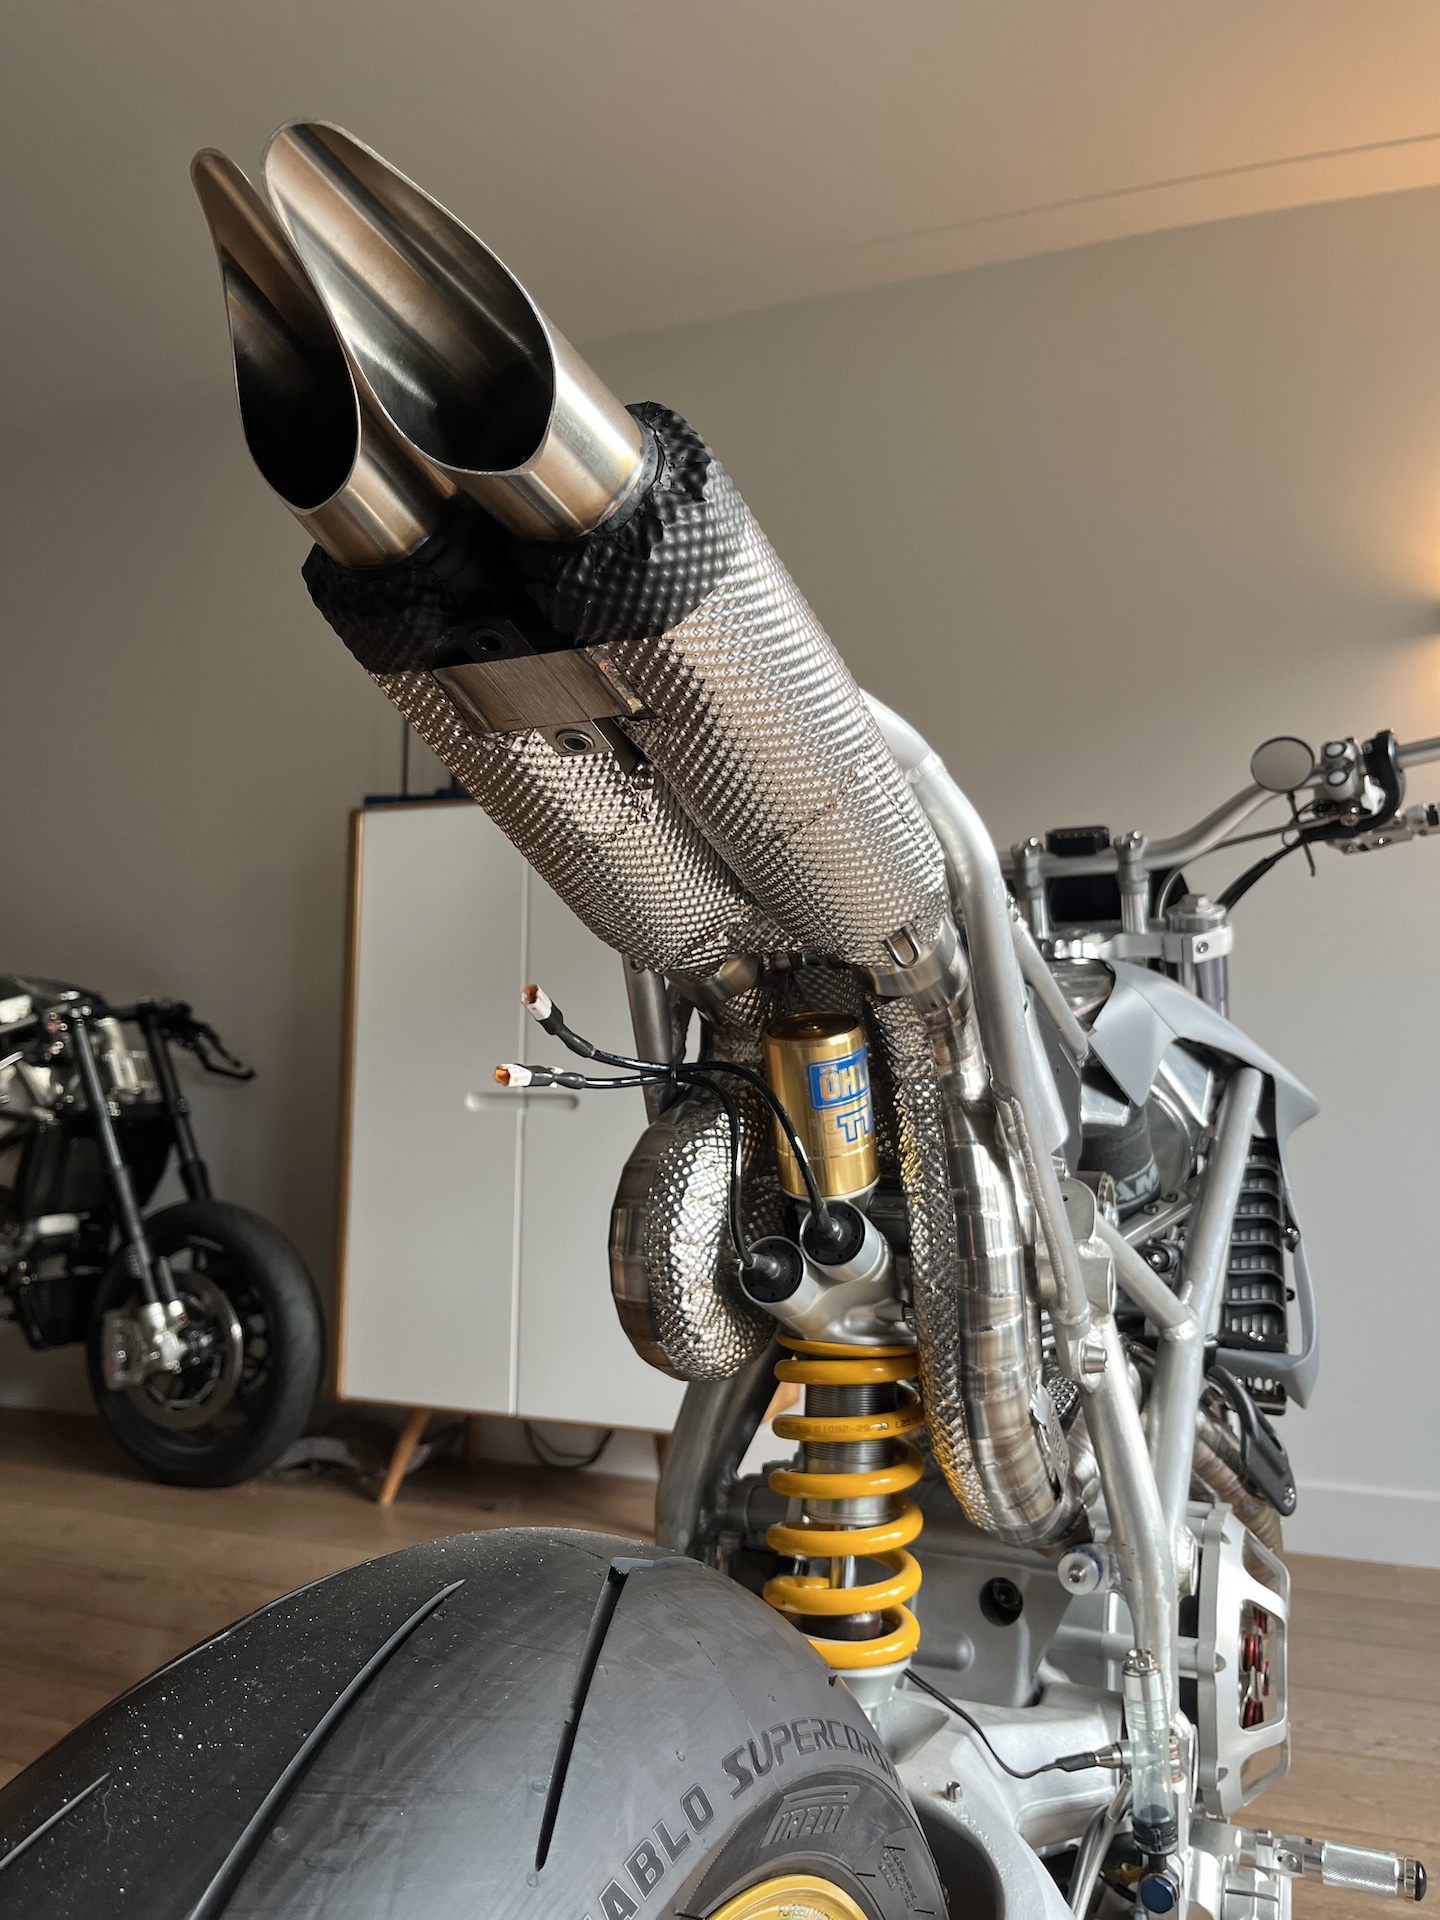
Will the Öhlins TTX rear shock survive the heat?
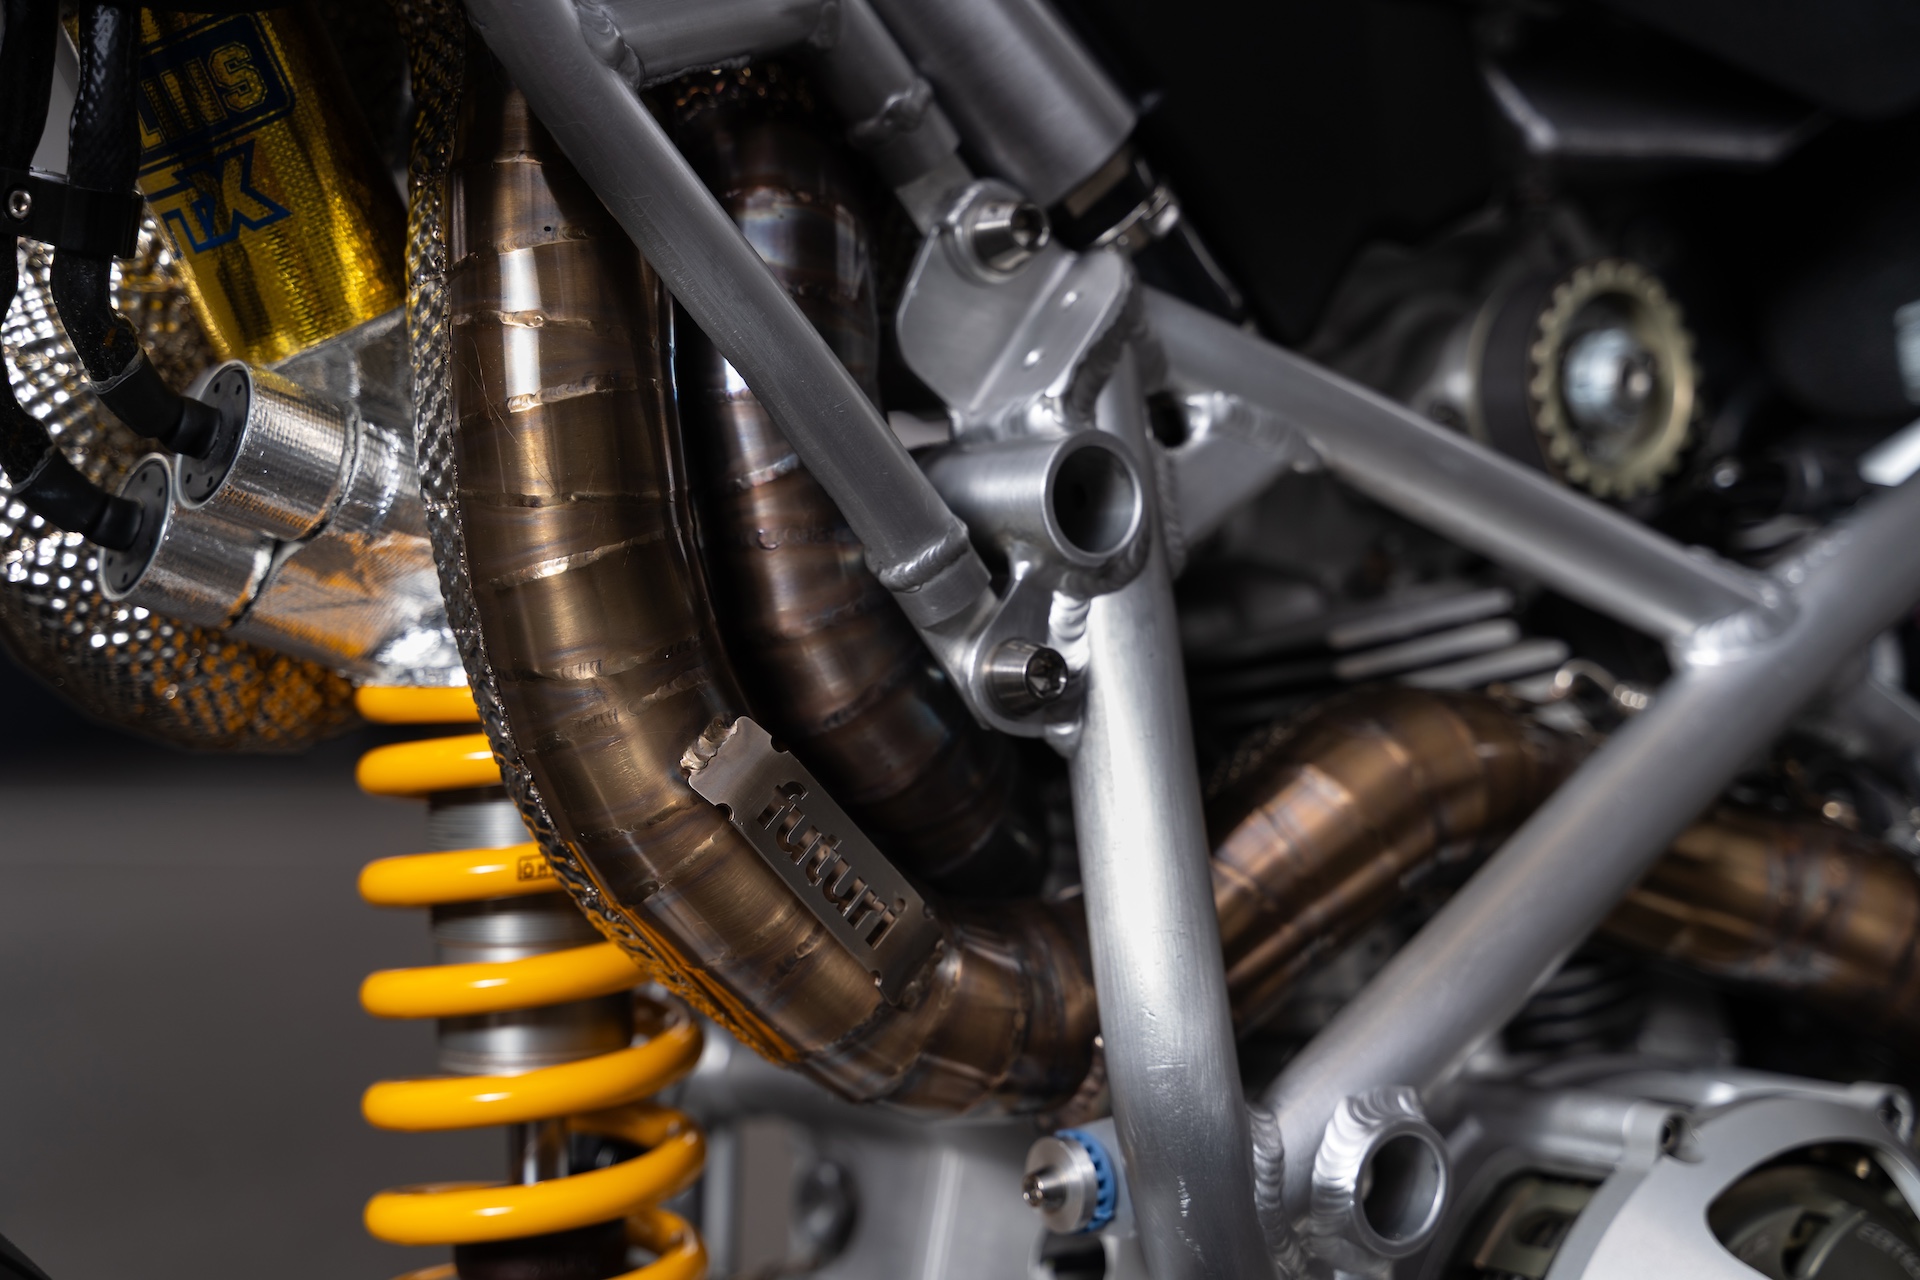
Without any problems!!! Allot of precautions had to be taken for the rear shock to not fail because of its proximity to the exhaust. A combination of ceramic wool (heat resistant up to 1000C) and 0.1mm stainless steel heat shielding covering this wool on the exhaust reduces radiation heat by 90% (also used in MotoGP)! Some parts of the exhaust have also been coated in Cerakote Piston coat to even further reduce radiation heat.
Together with fiberglass heat reflective tape on the rear shock this makes sure the shock does not reach temperatures above 60C when riding with wide open throttle. Meaning no issues at all!
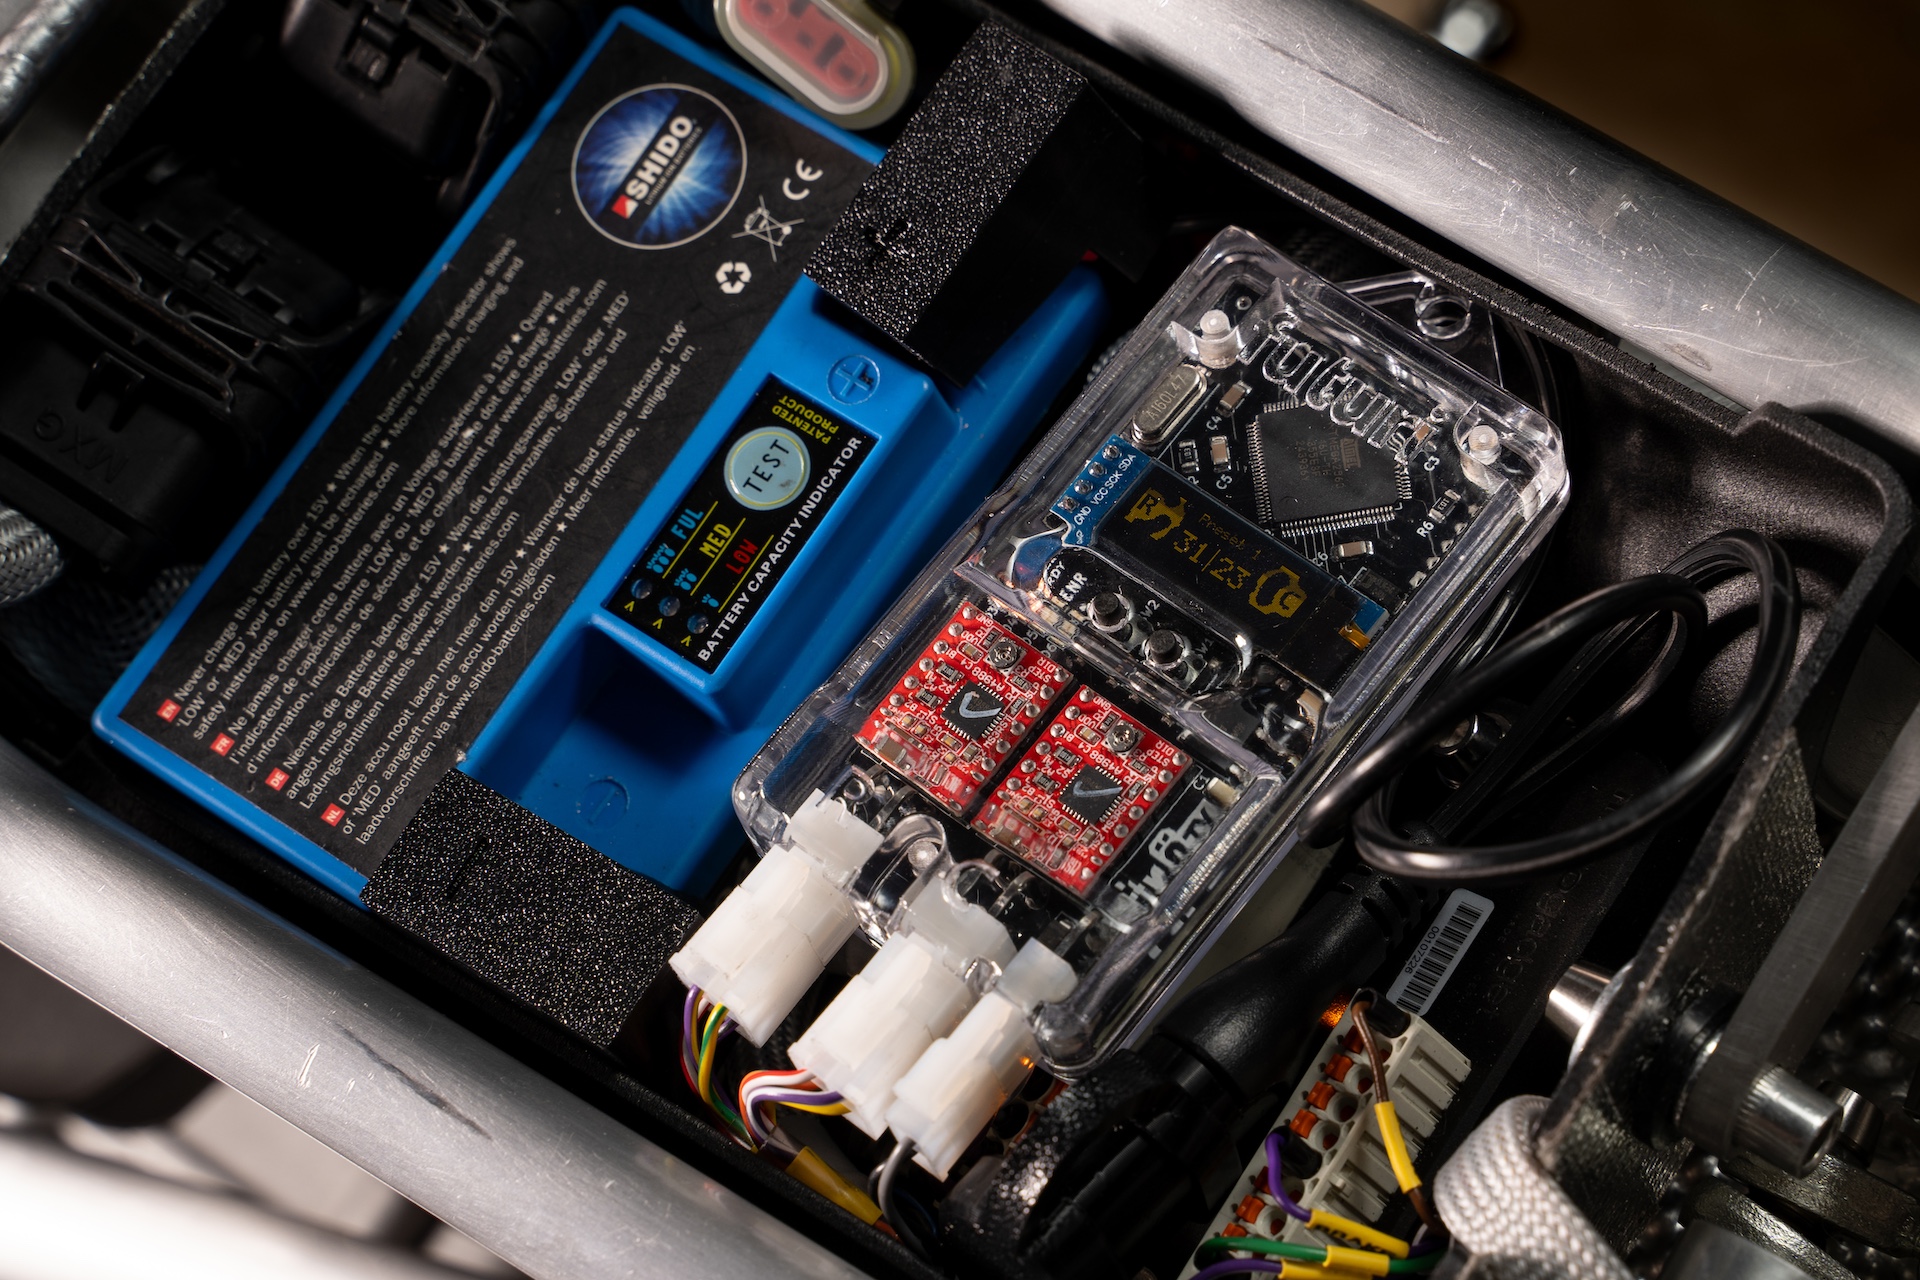
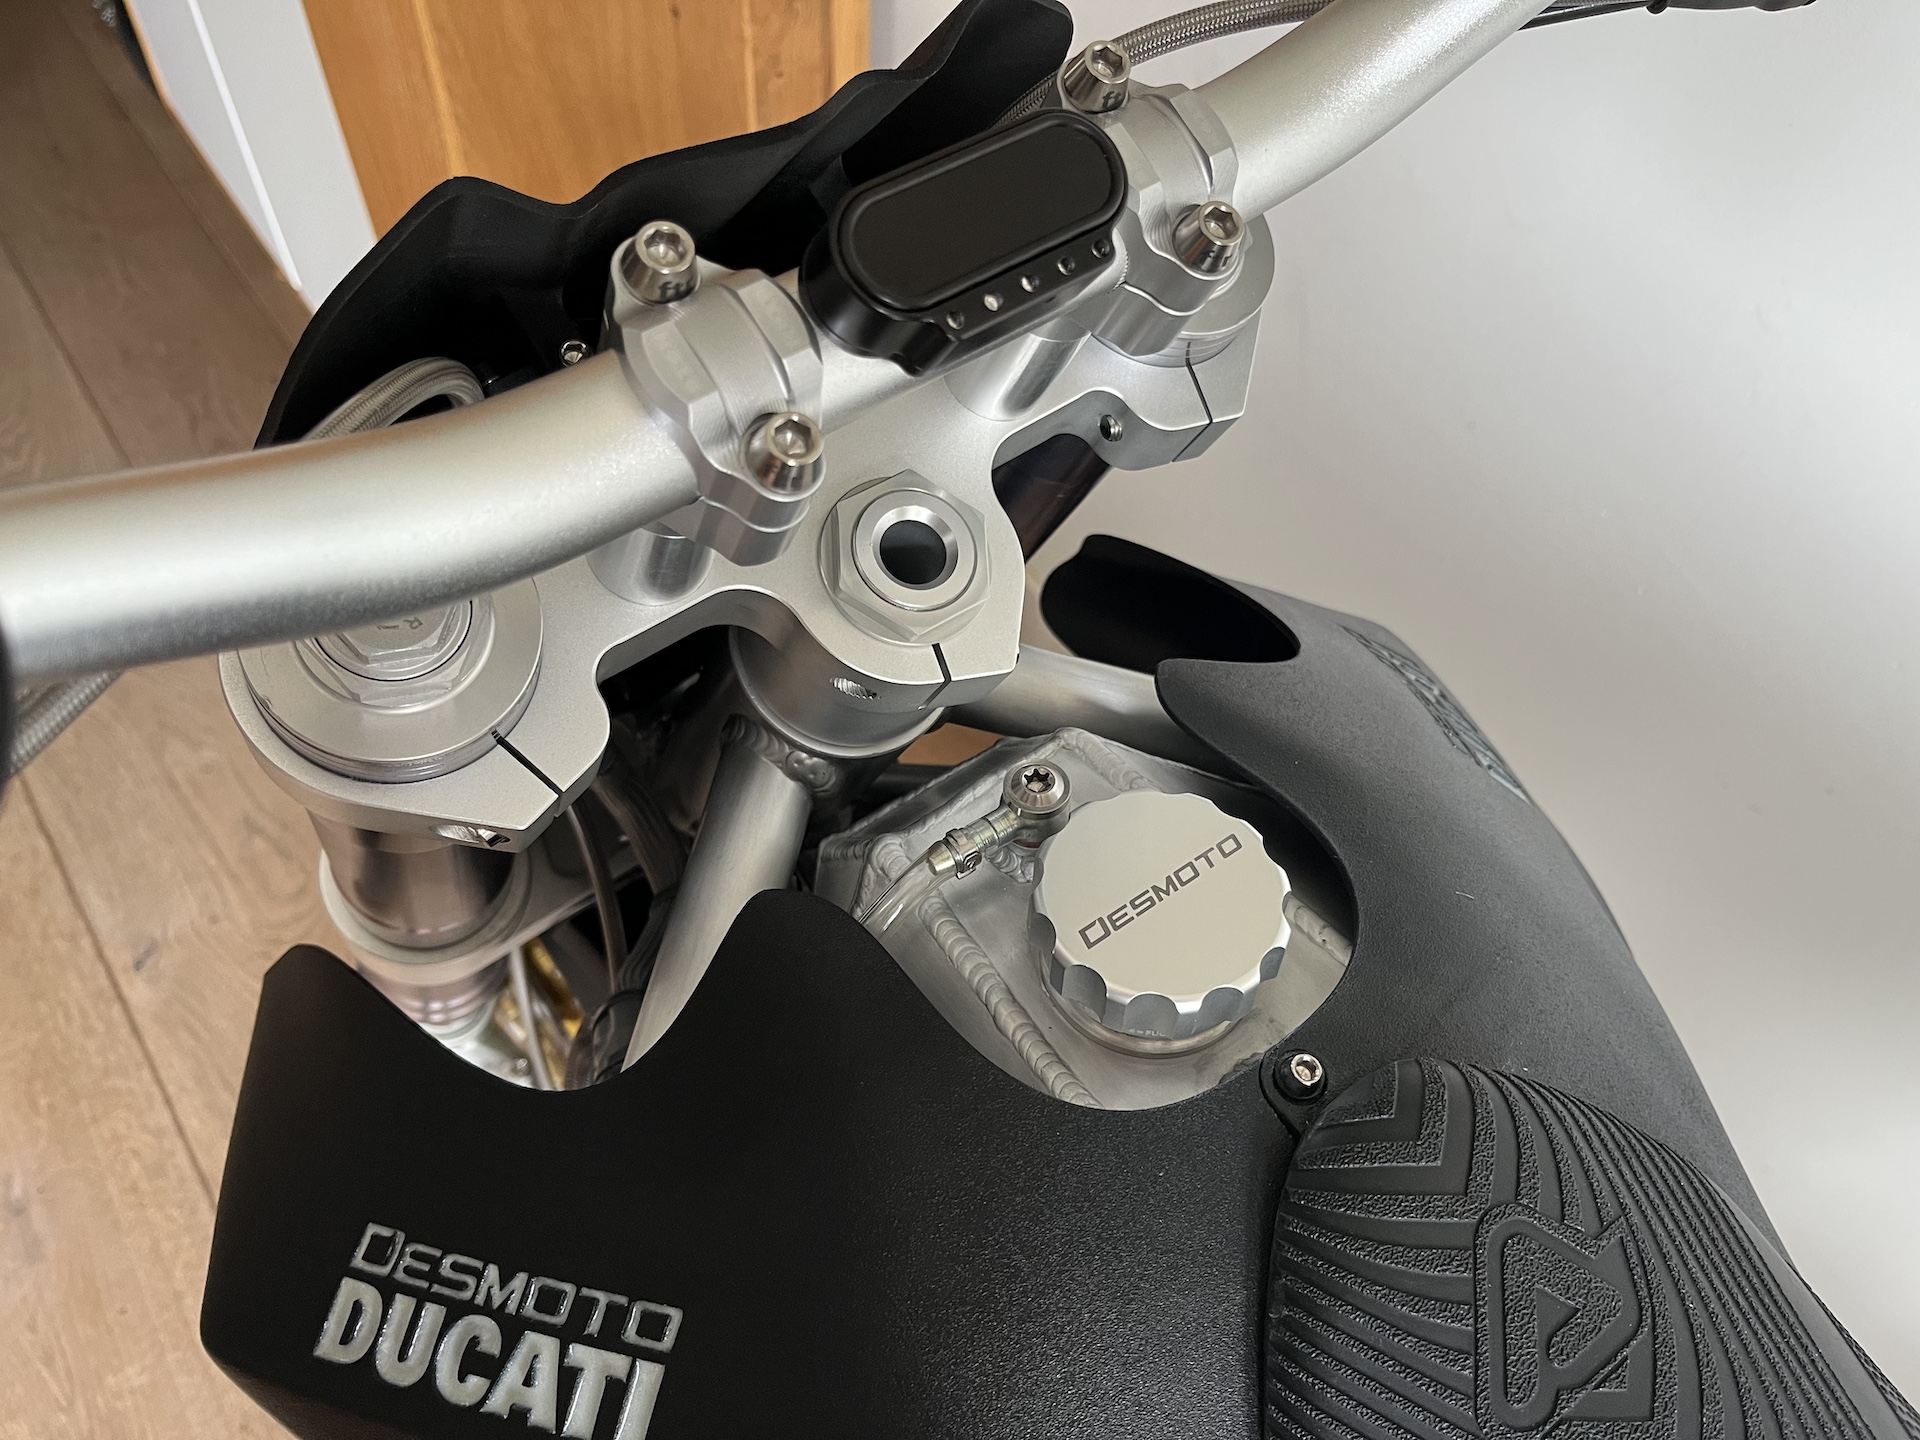
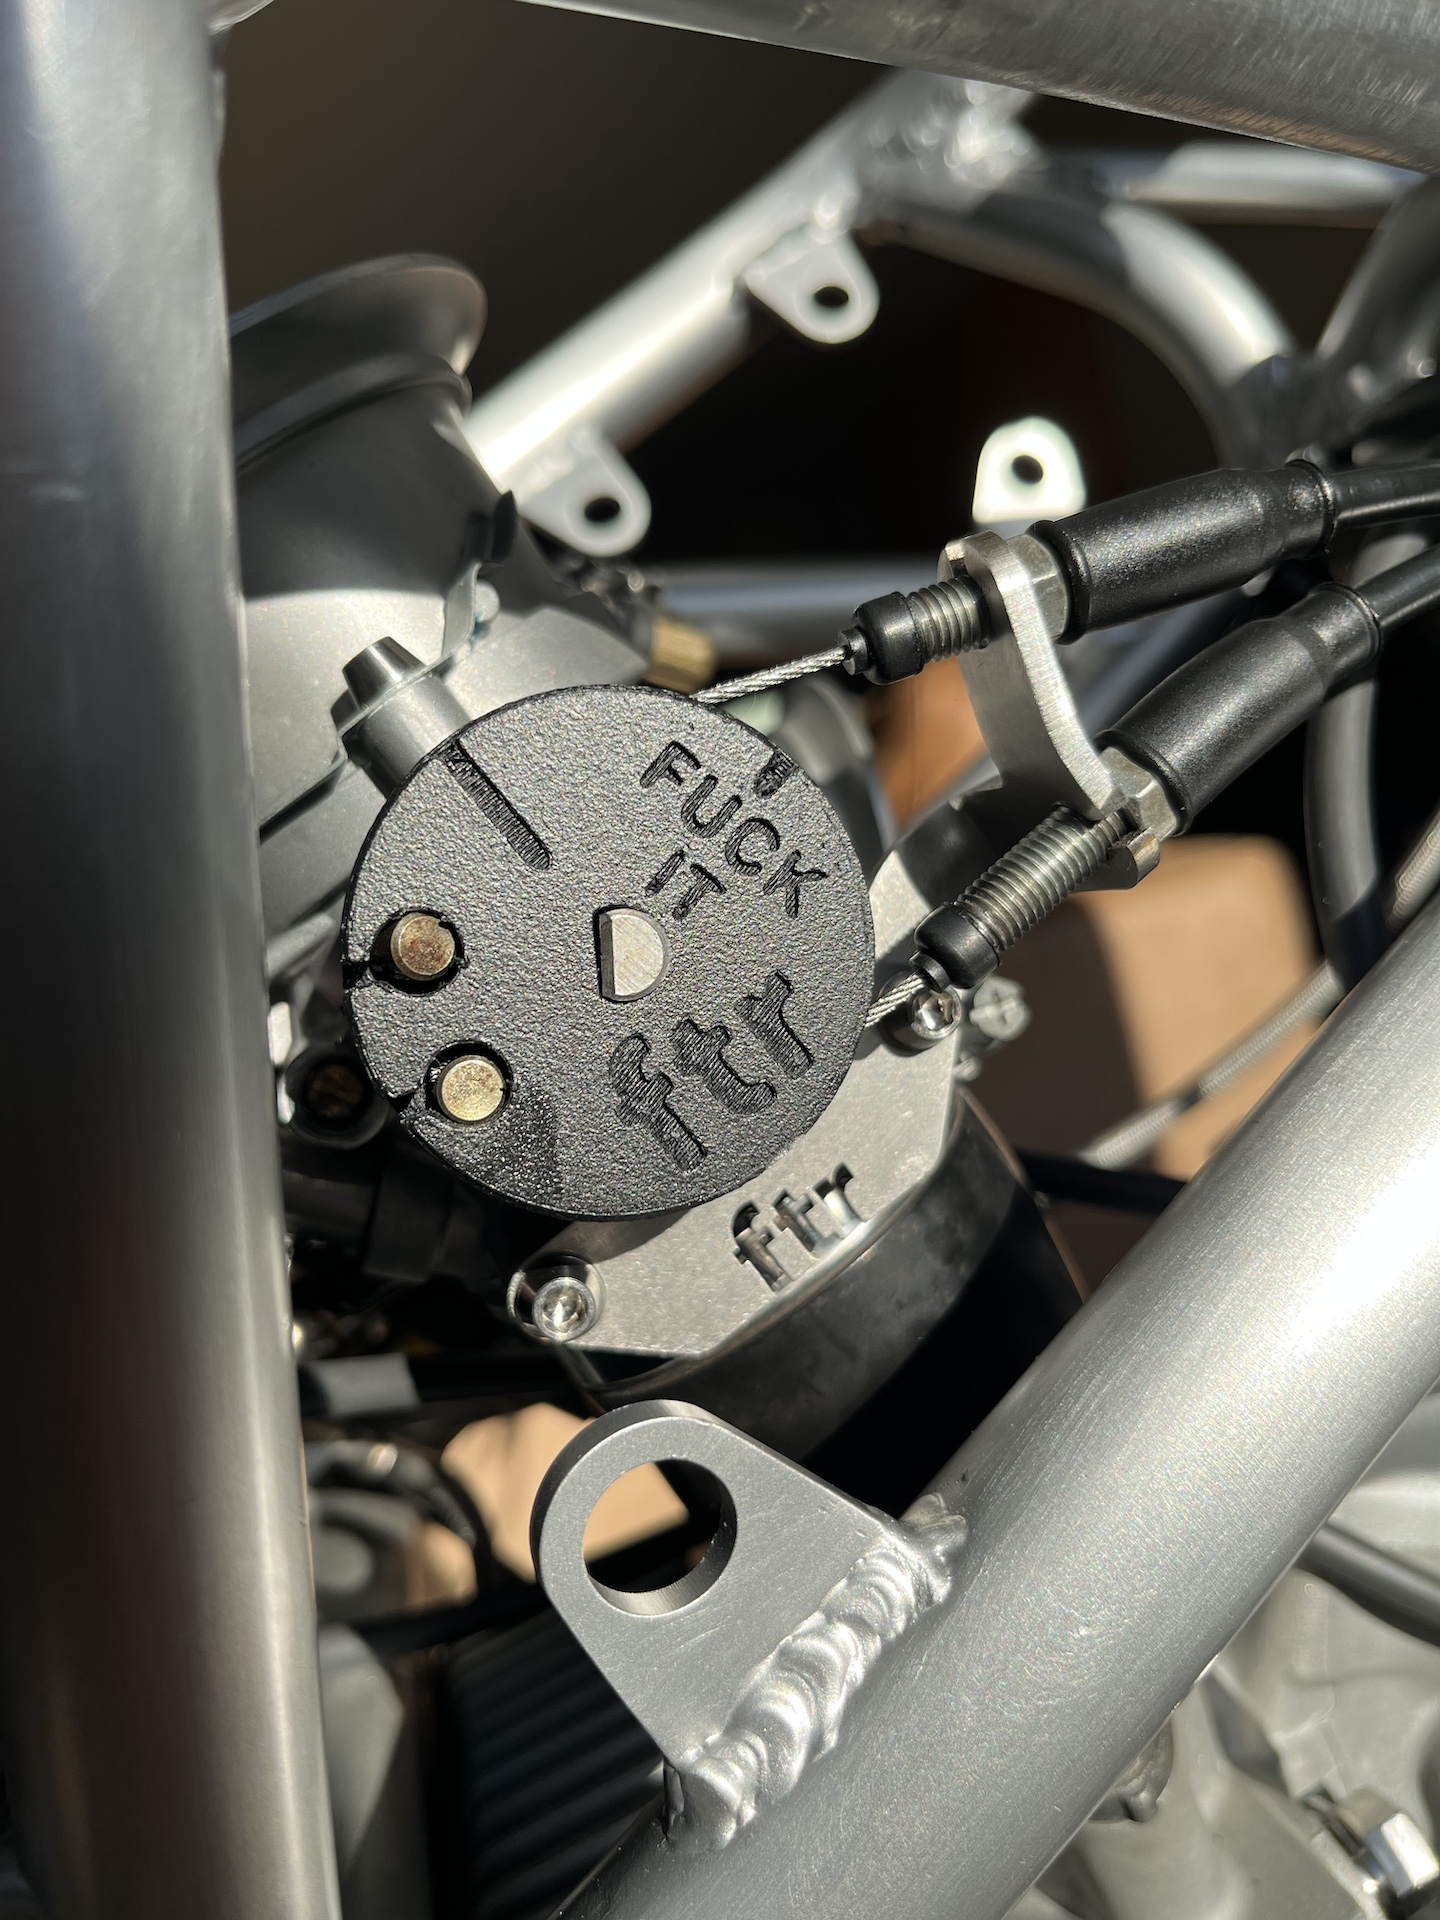
How do you control the Öhlins TTX rear shock?
Specifically for the Ducati Desmoto project I developed the ÖTX Controller.
The ÖTX controller allows you to configure your rebound and compression settings on ANY electronically controlled Öhlins TTX rear shock, front fork or steering damper (with a white JWPF connector). All packaged within this very small amazing clear case that fits in the palm of your hand. Giving off a 90s GameBoy vibe.
A full fledged plug and play/easy to use product for any other custom bike builder or suspension service specialist 🔥!
What is the base bike?
No real base bike to be honest since 95% of the Ducati Desmoto is custom designed and handmade. The engine is out of a Ducati Multistrada 1100 and the registration says it is a Multistrada so if you really want me to pick a base bike for this project then that is the one.
How much power does the bike make?
112HP & 126NM on the rear wheel!!
The bike has some challenges to push it further than this. Exhaust is somewhat restrictive on the vertical cylinder, horizontal intake gets less fresh air, 50mm throttle bodies are probably to big and I probably went to far flowing the intake channels of the cylinders resulting in not enough air velocity at high revs.
After achieving these performance numbers I tuned the bike back slightly to keep the service intervals manageable, keep everything a bit more reliable and be able to use regular 98 pump gas. Currently it is running 104HP and 119NM on the rear wheel. More than enough!
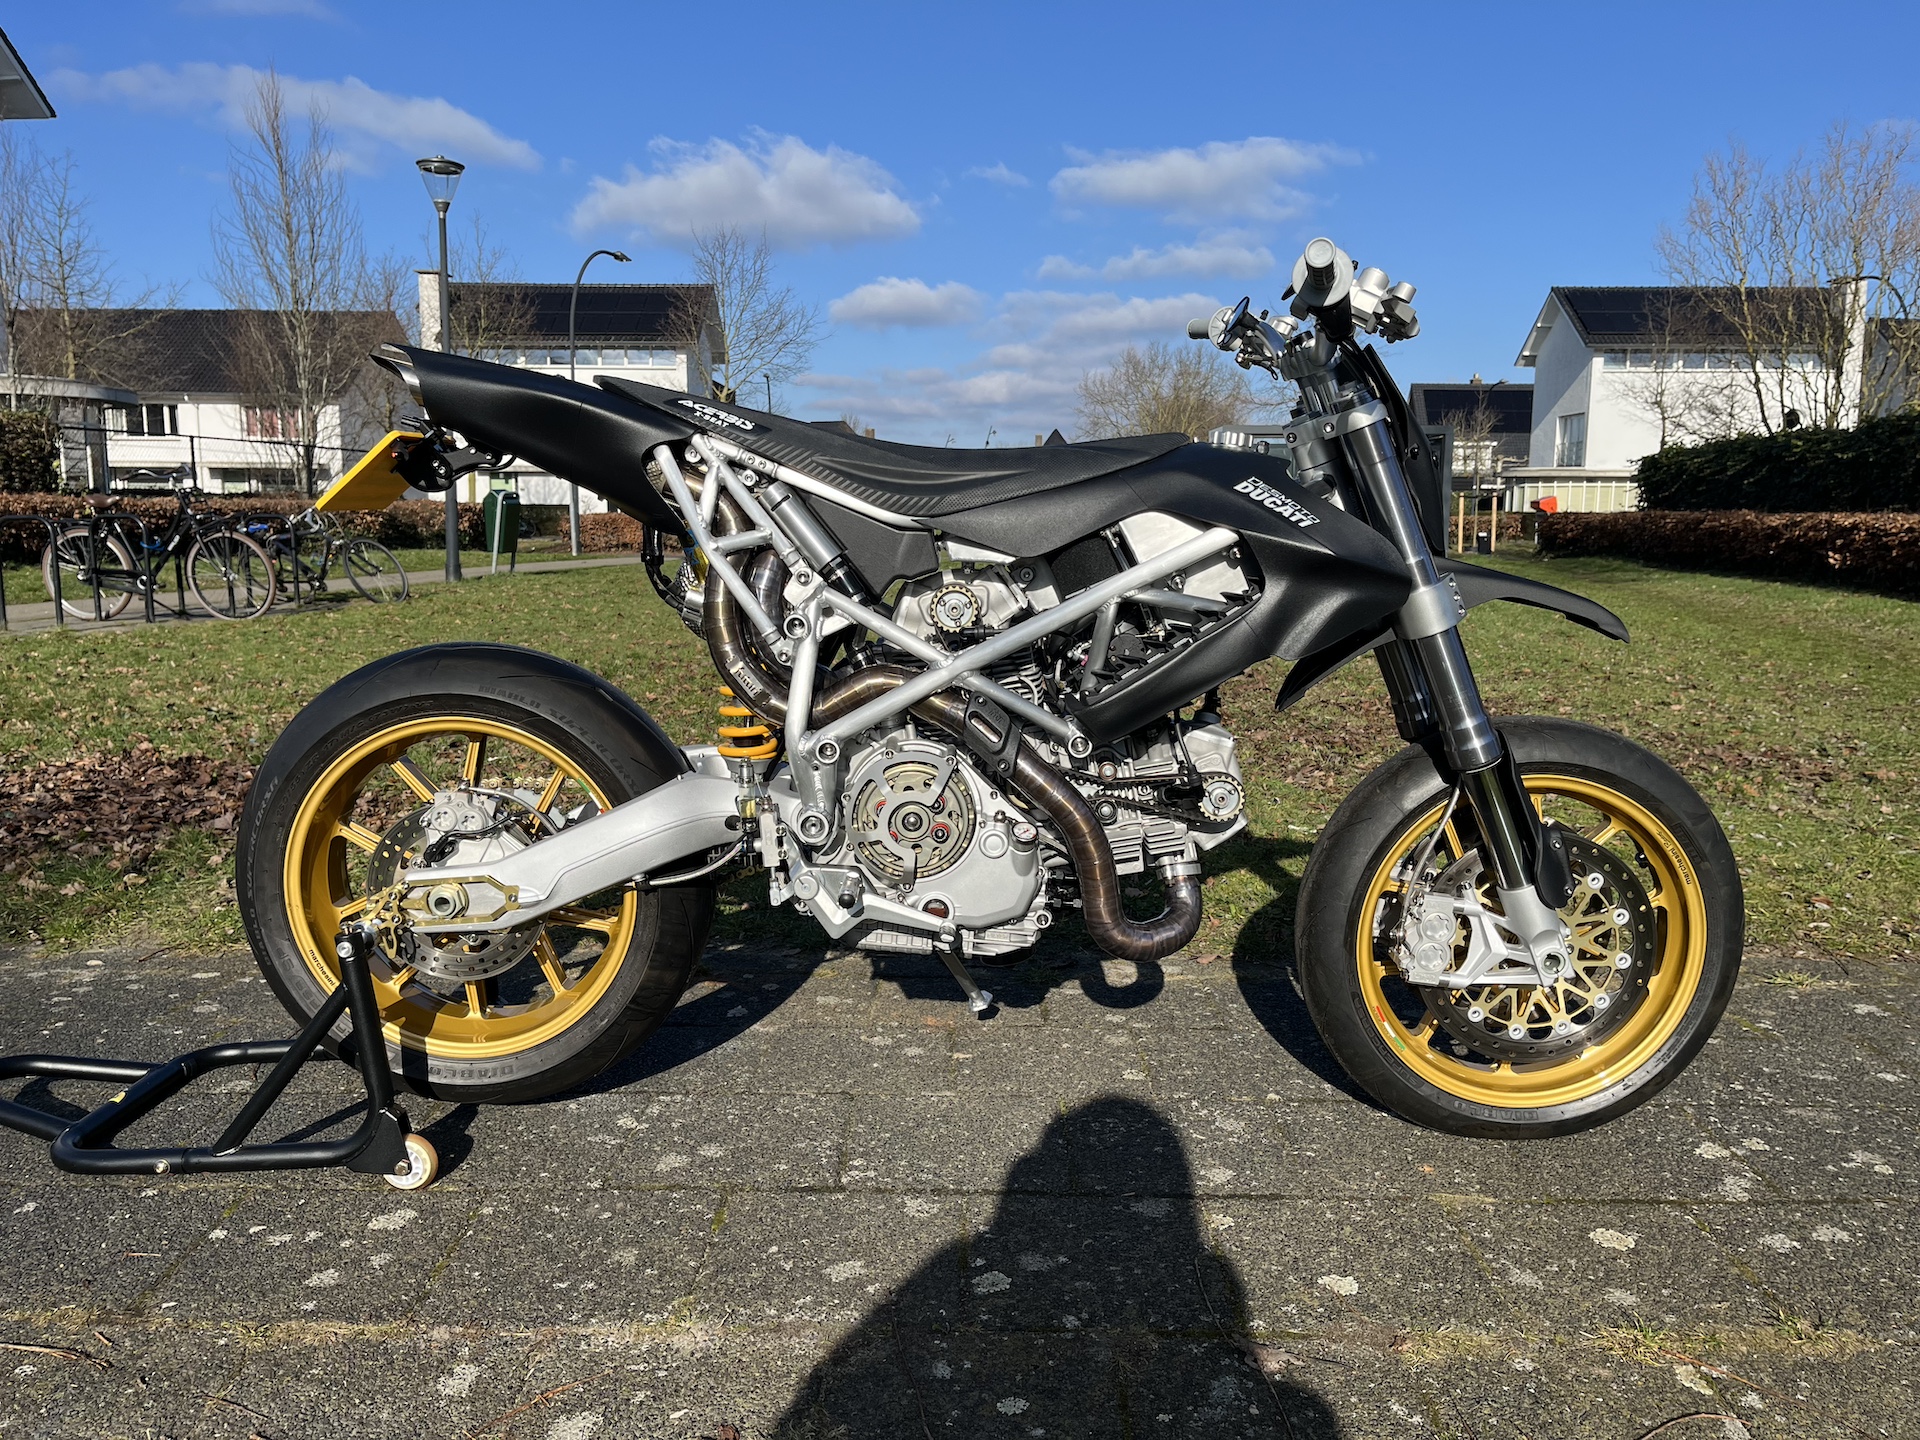
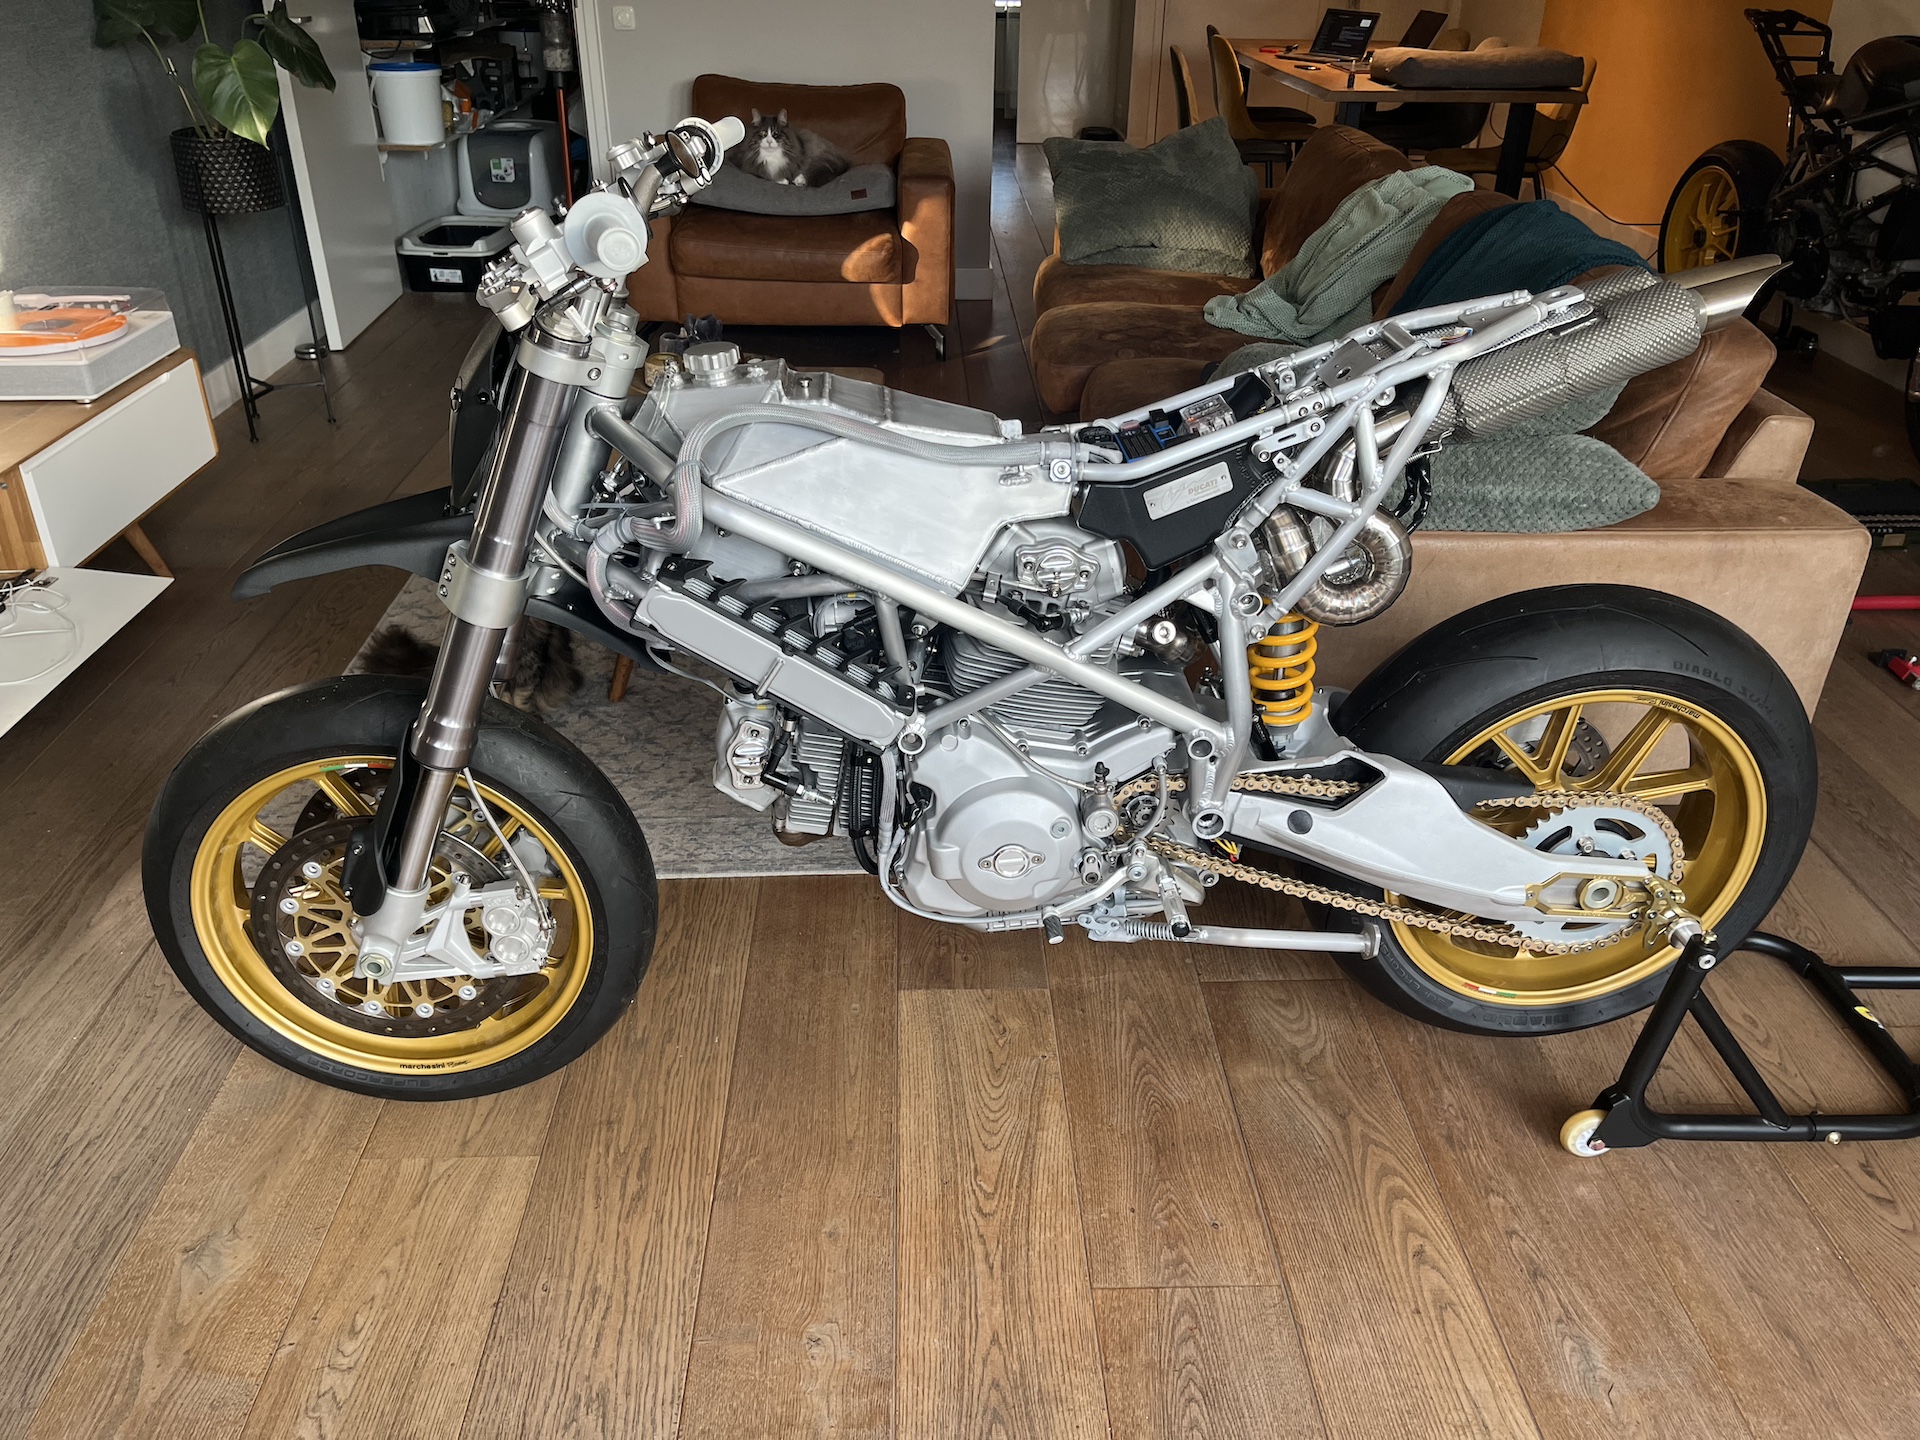
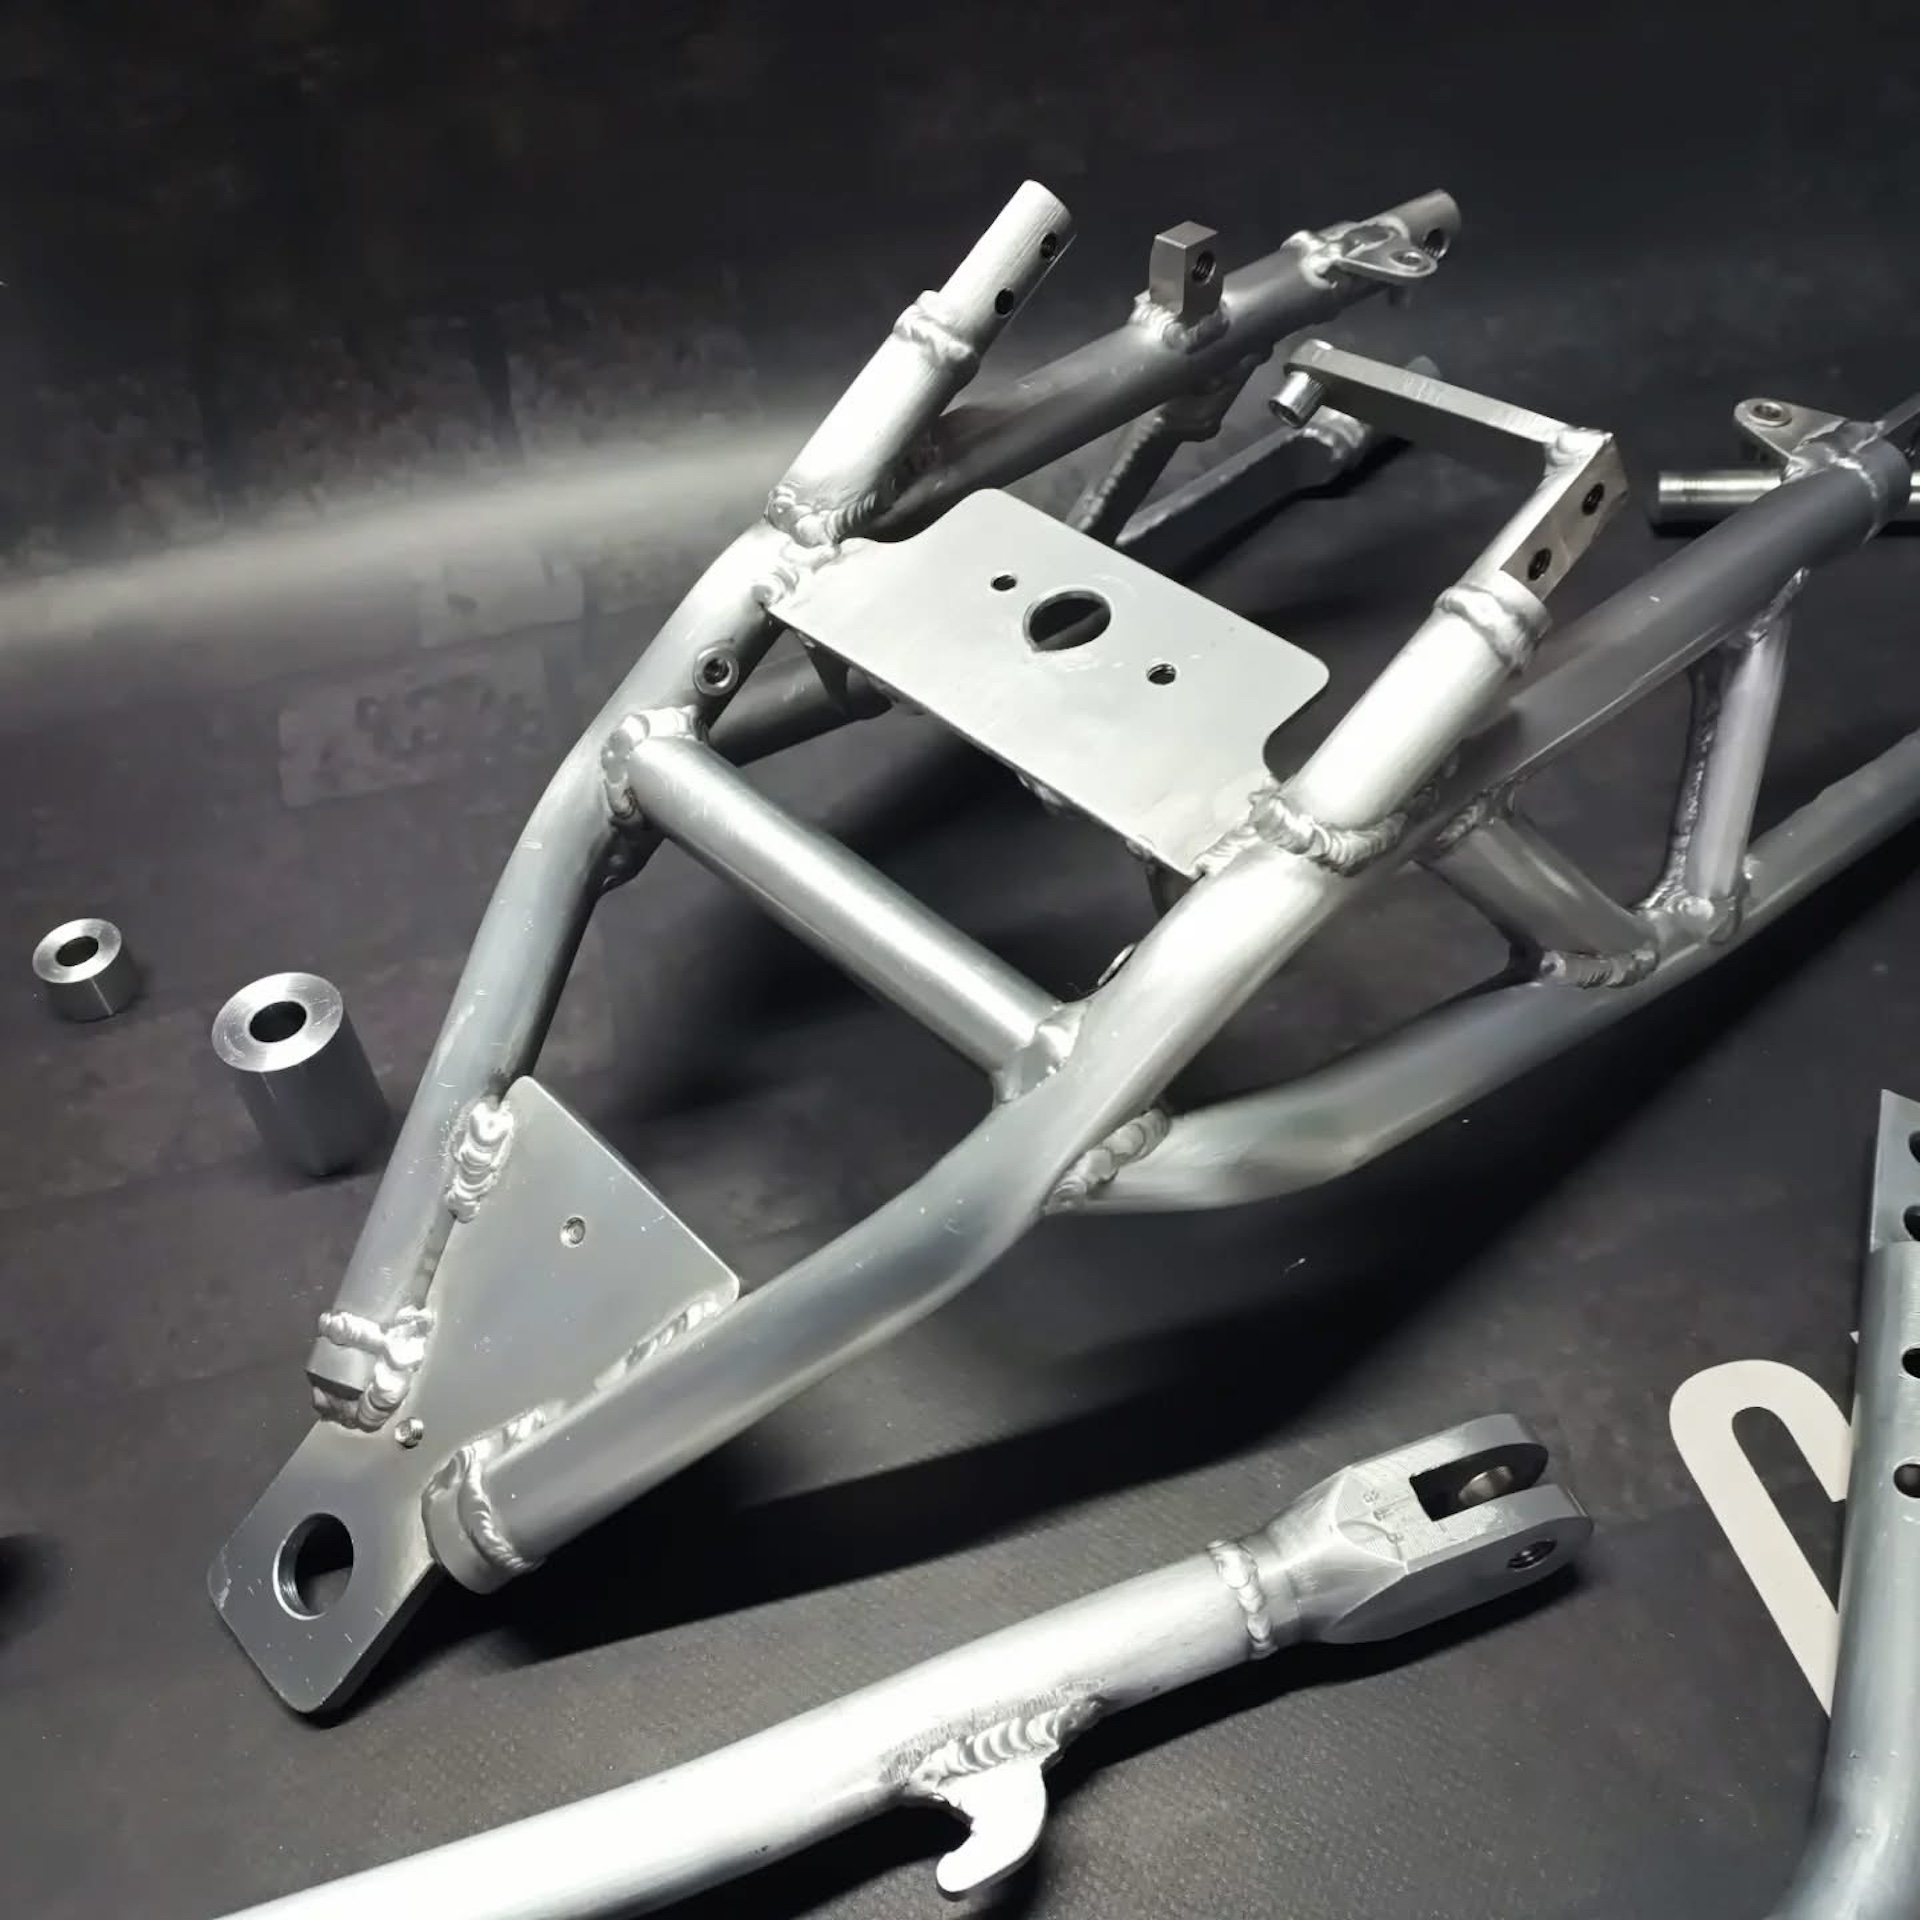
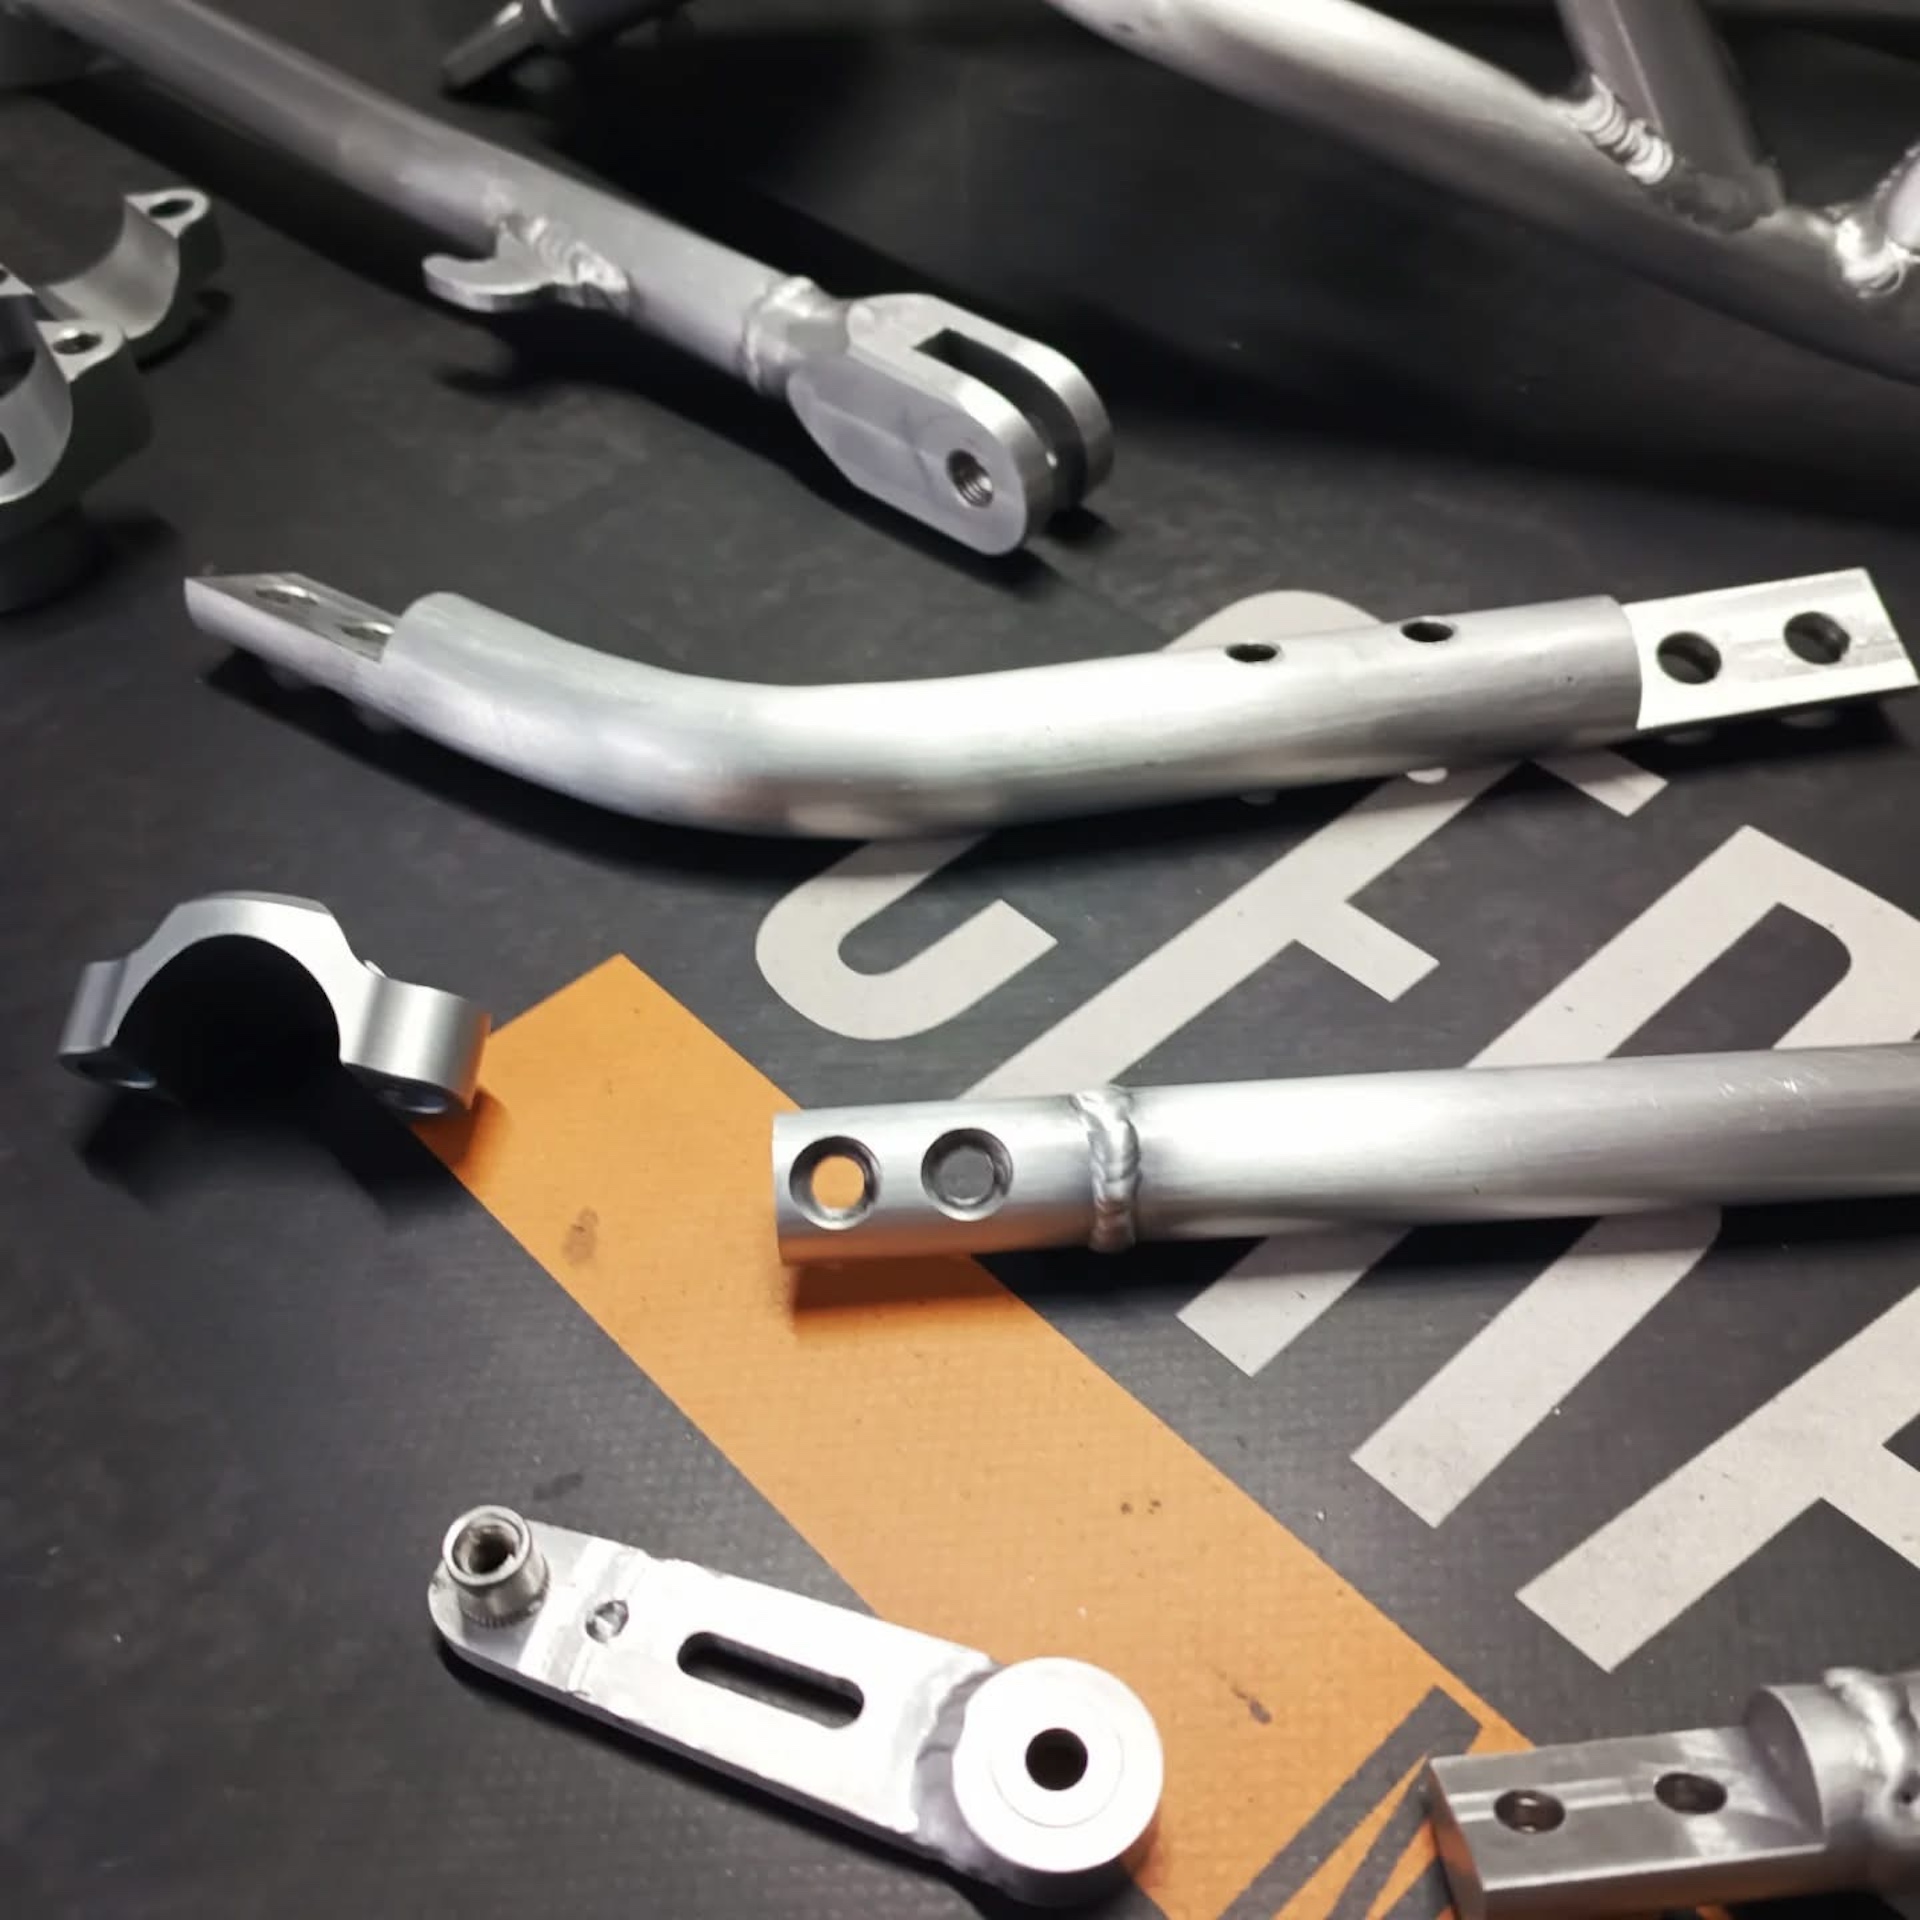
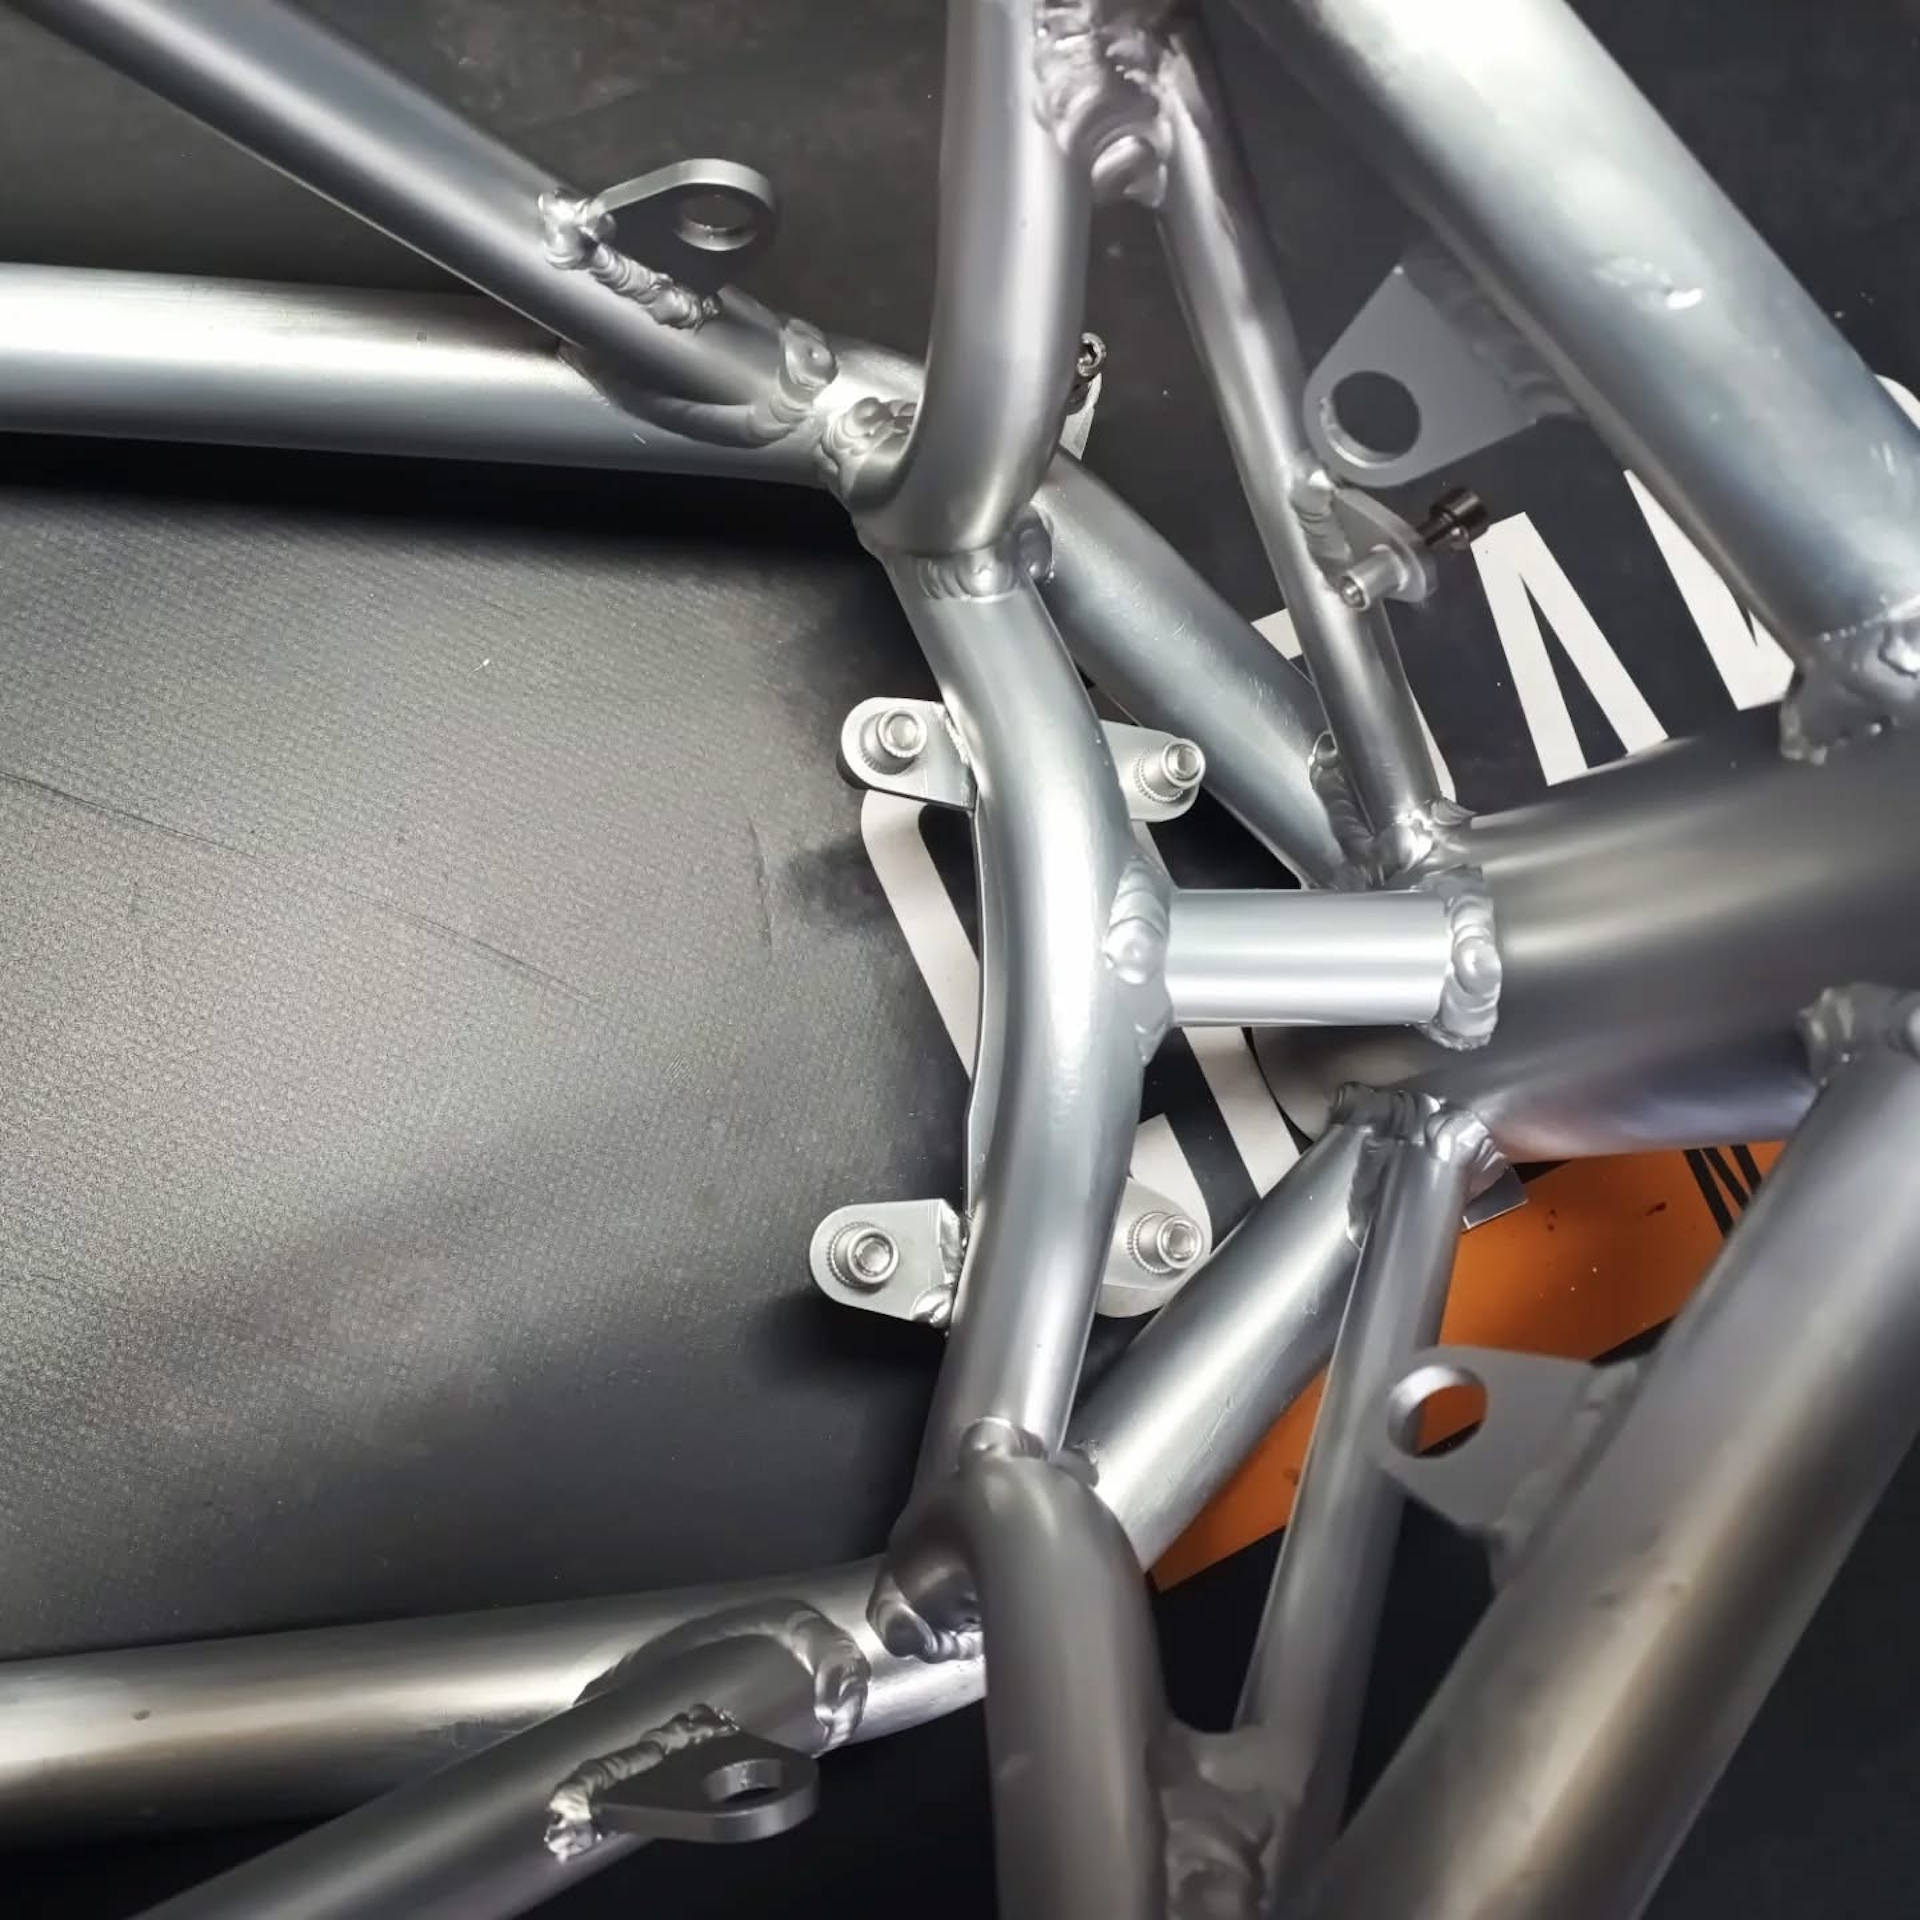
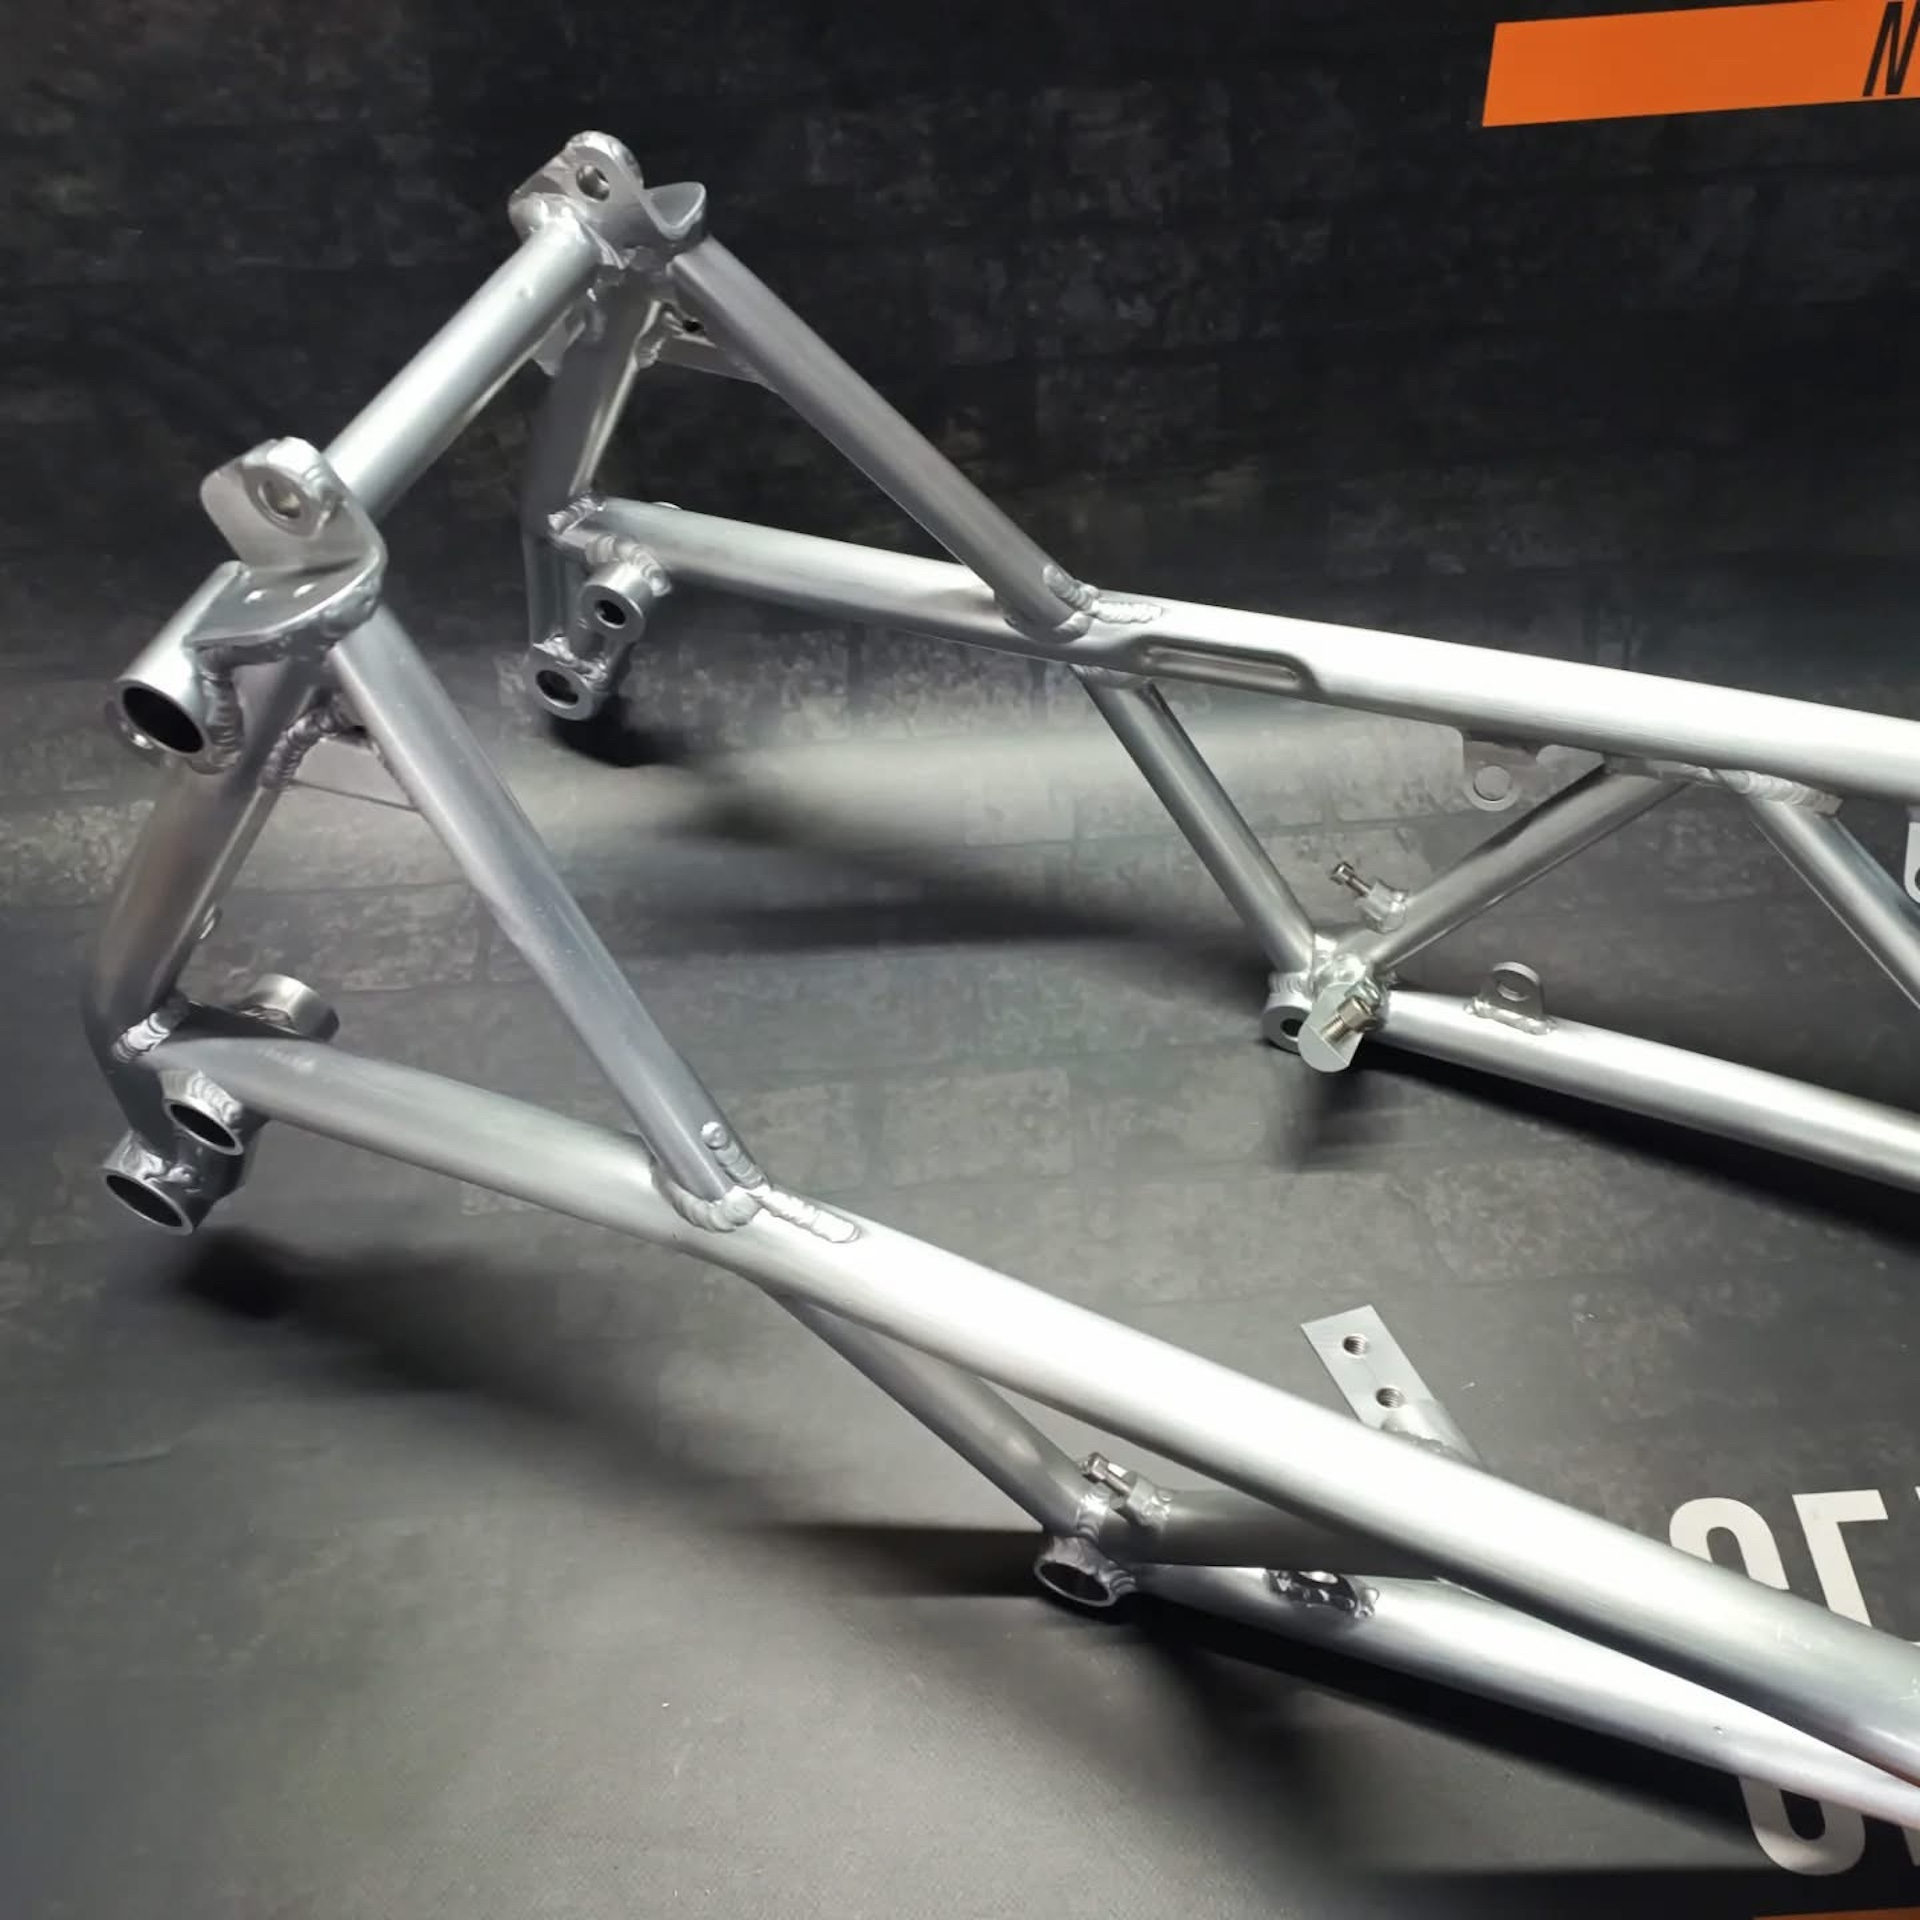
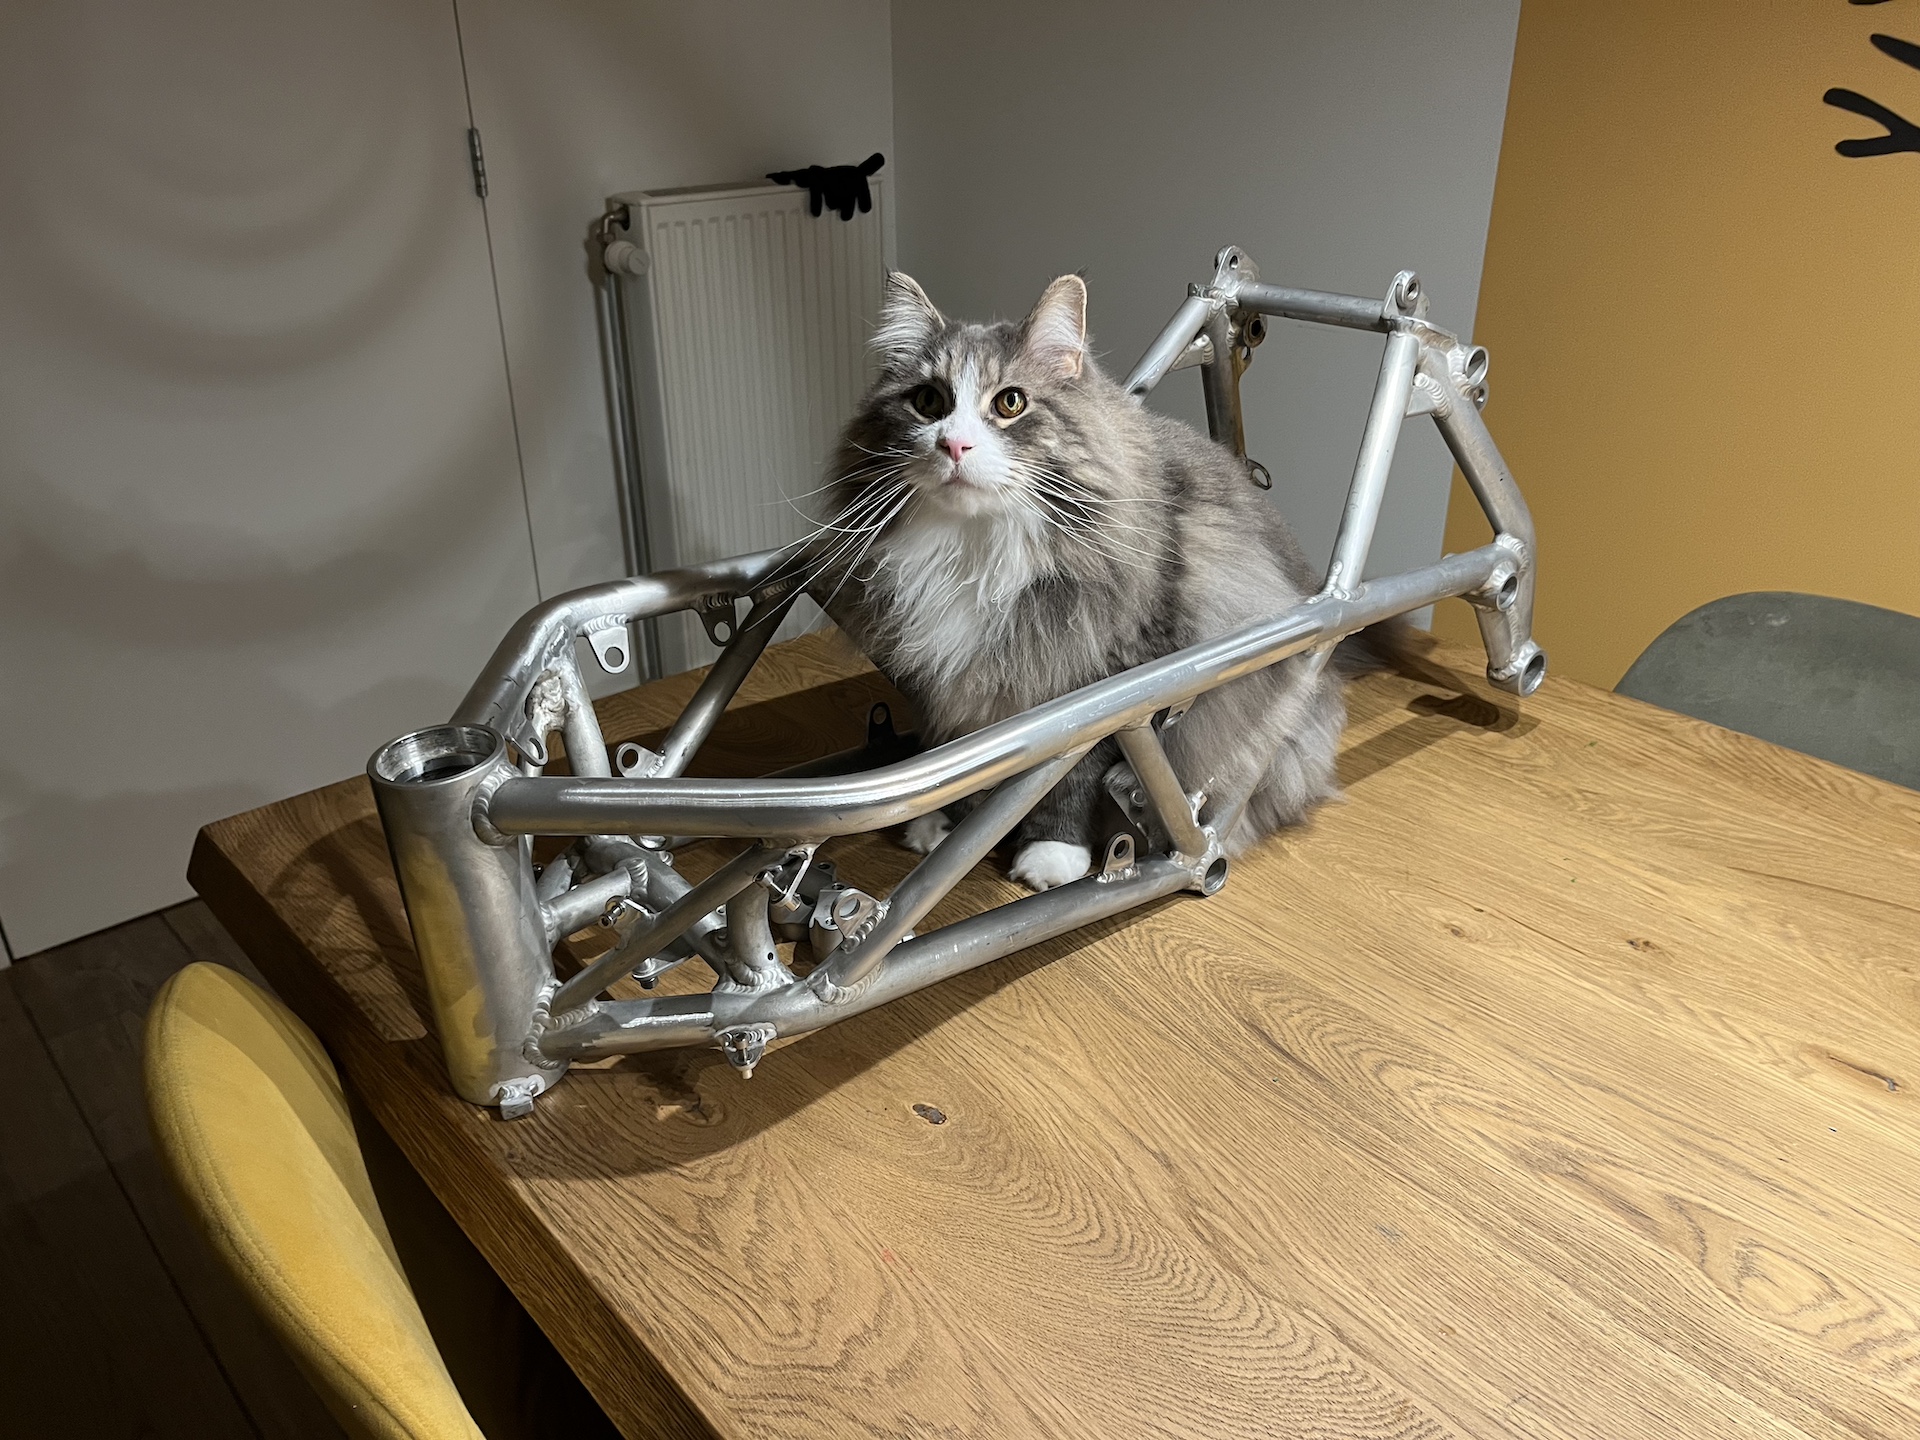
What kind of frame is used?
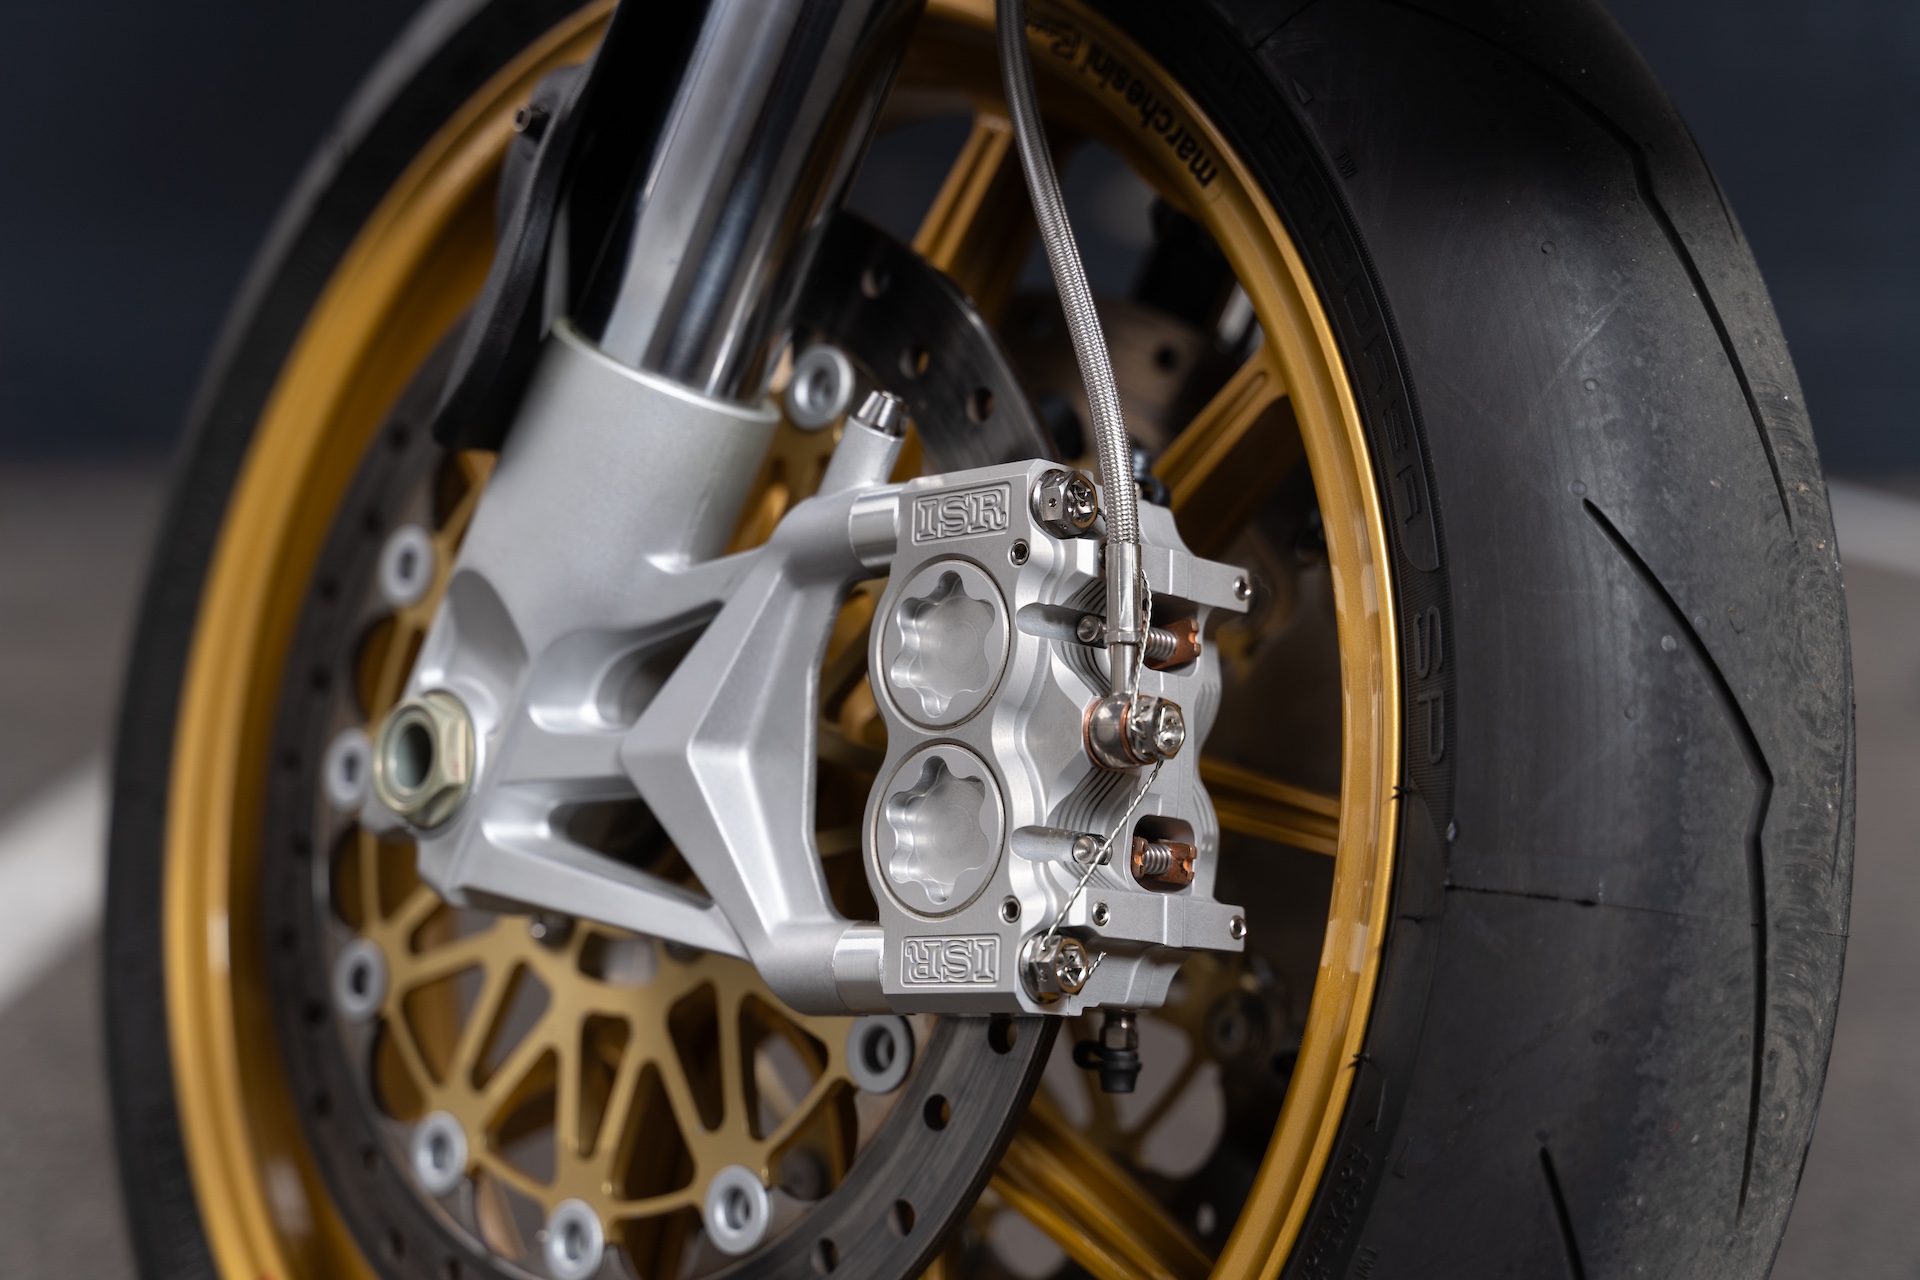
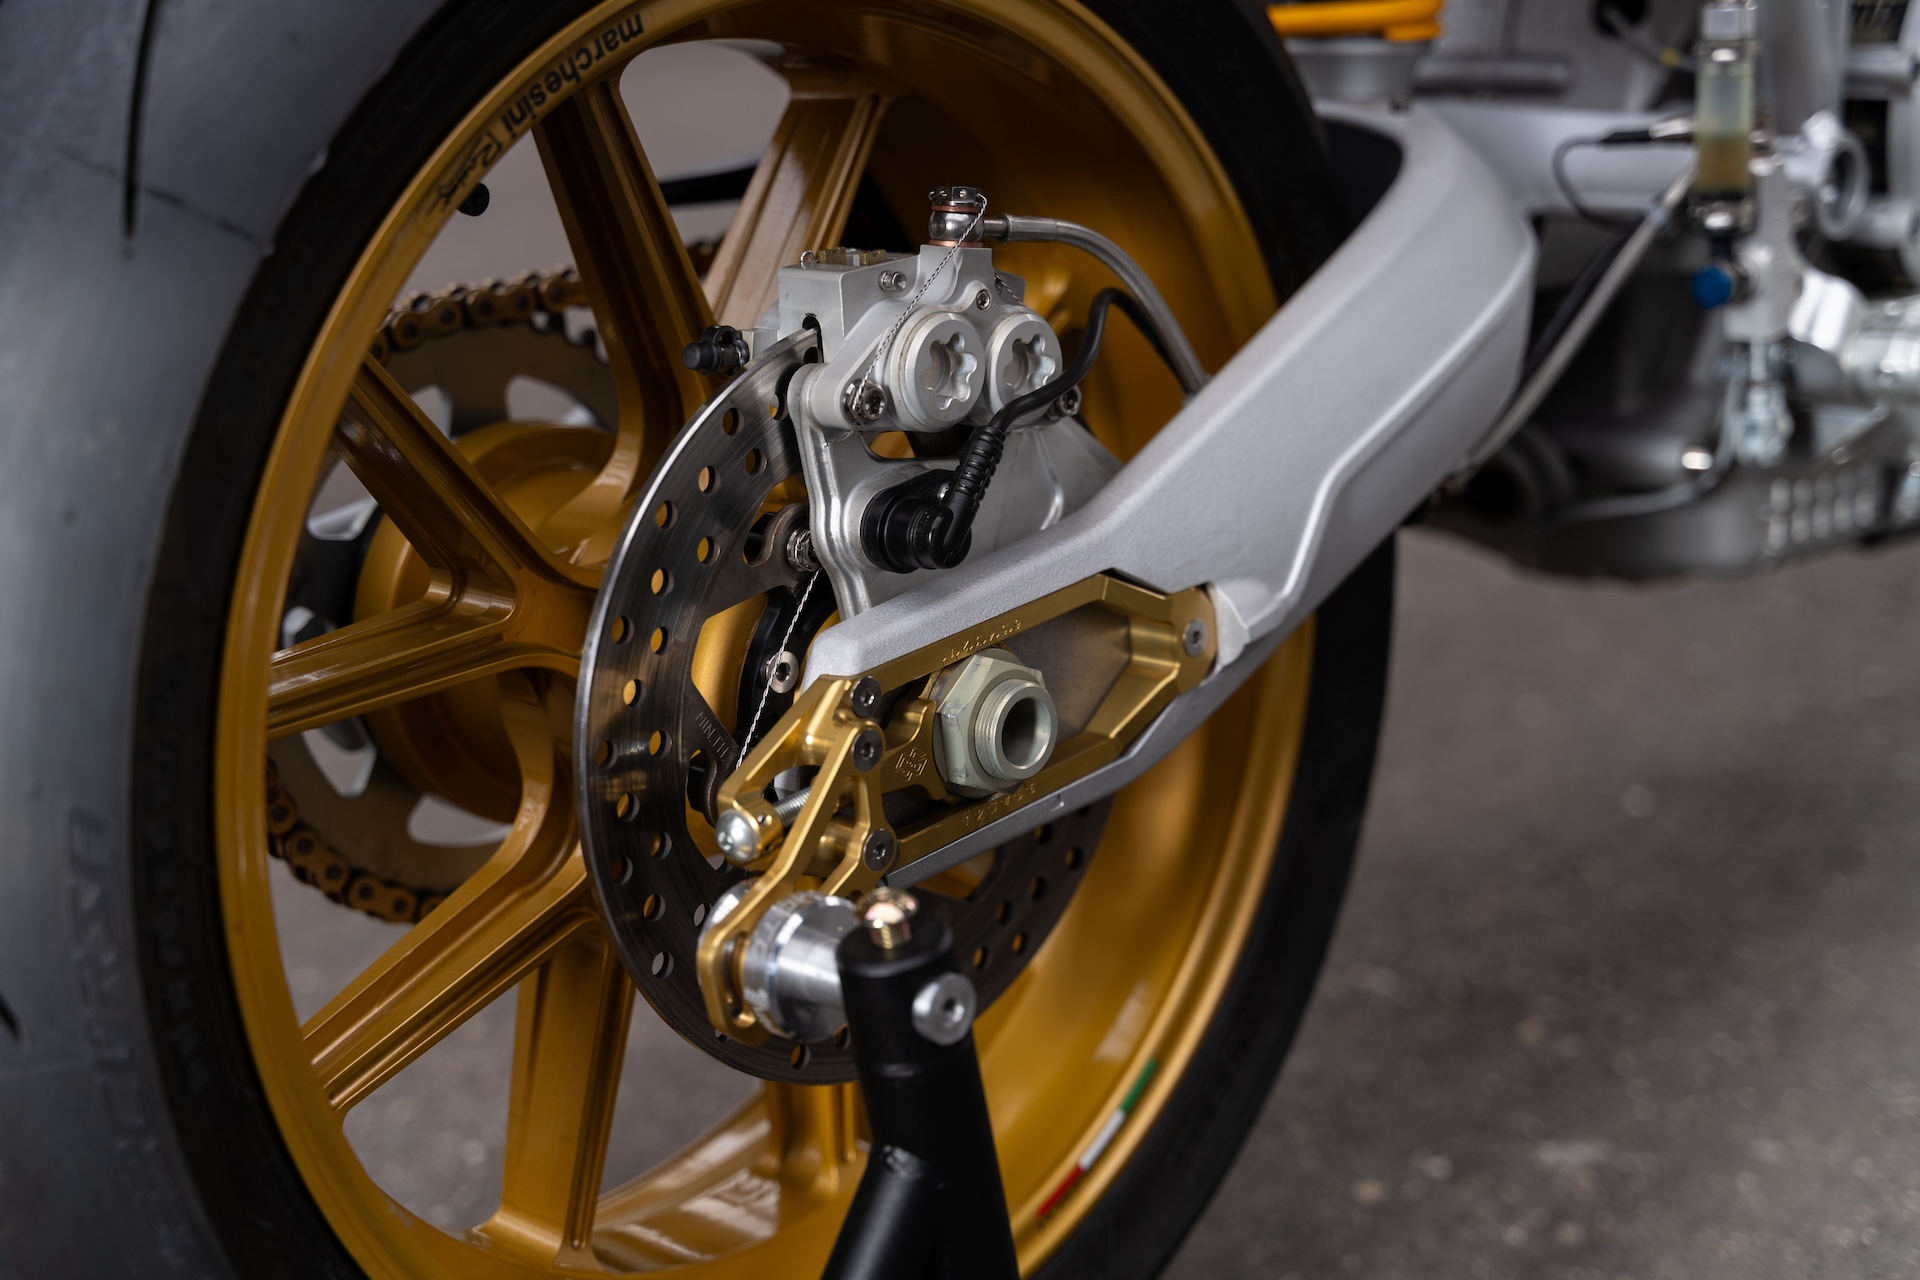
It is a custom made aluminium chassis weighing just 4.2kG, 1 of 15 ever made by the no longer operating company Ducati Radical France. Loosely based on a Ducati 999 originally but heavily modified by myself.
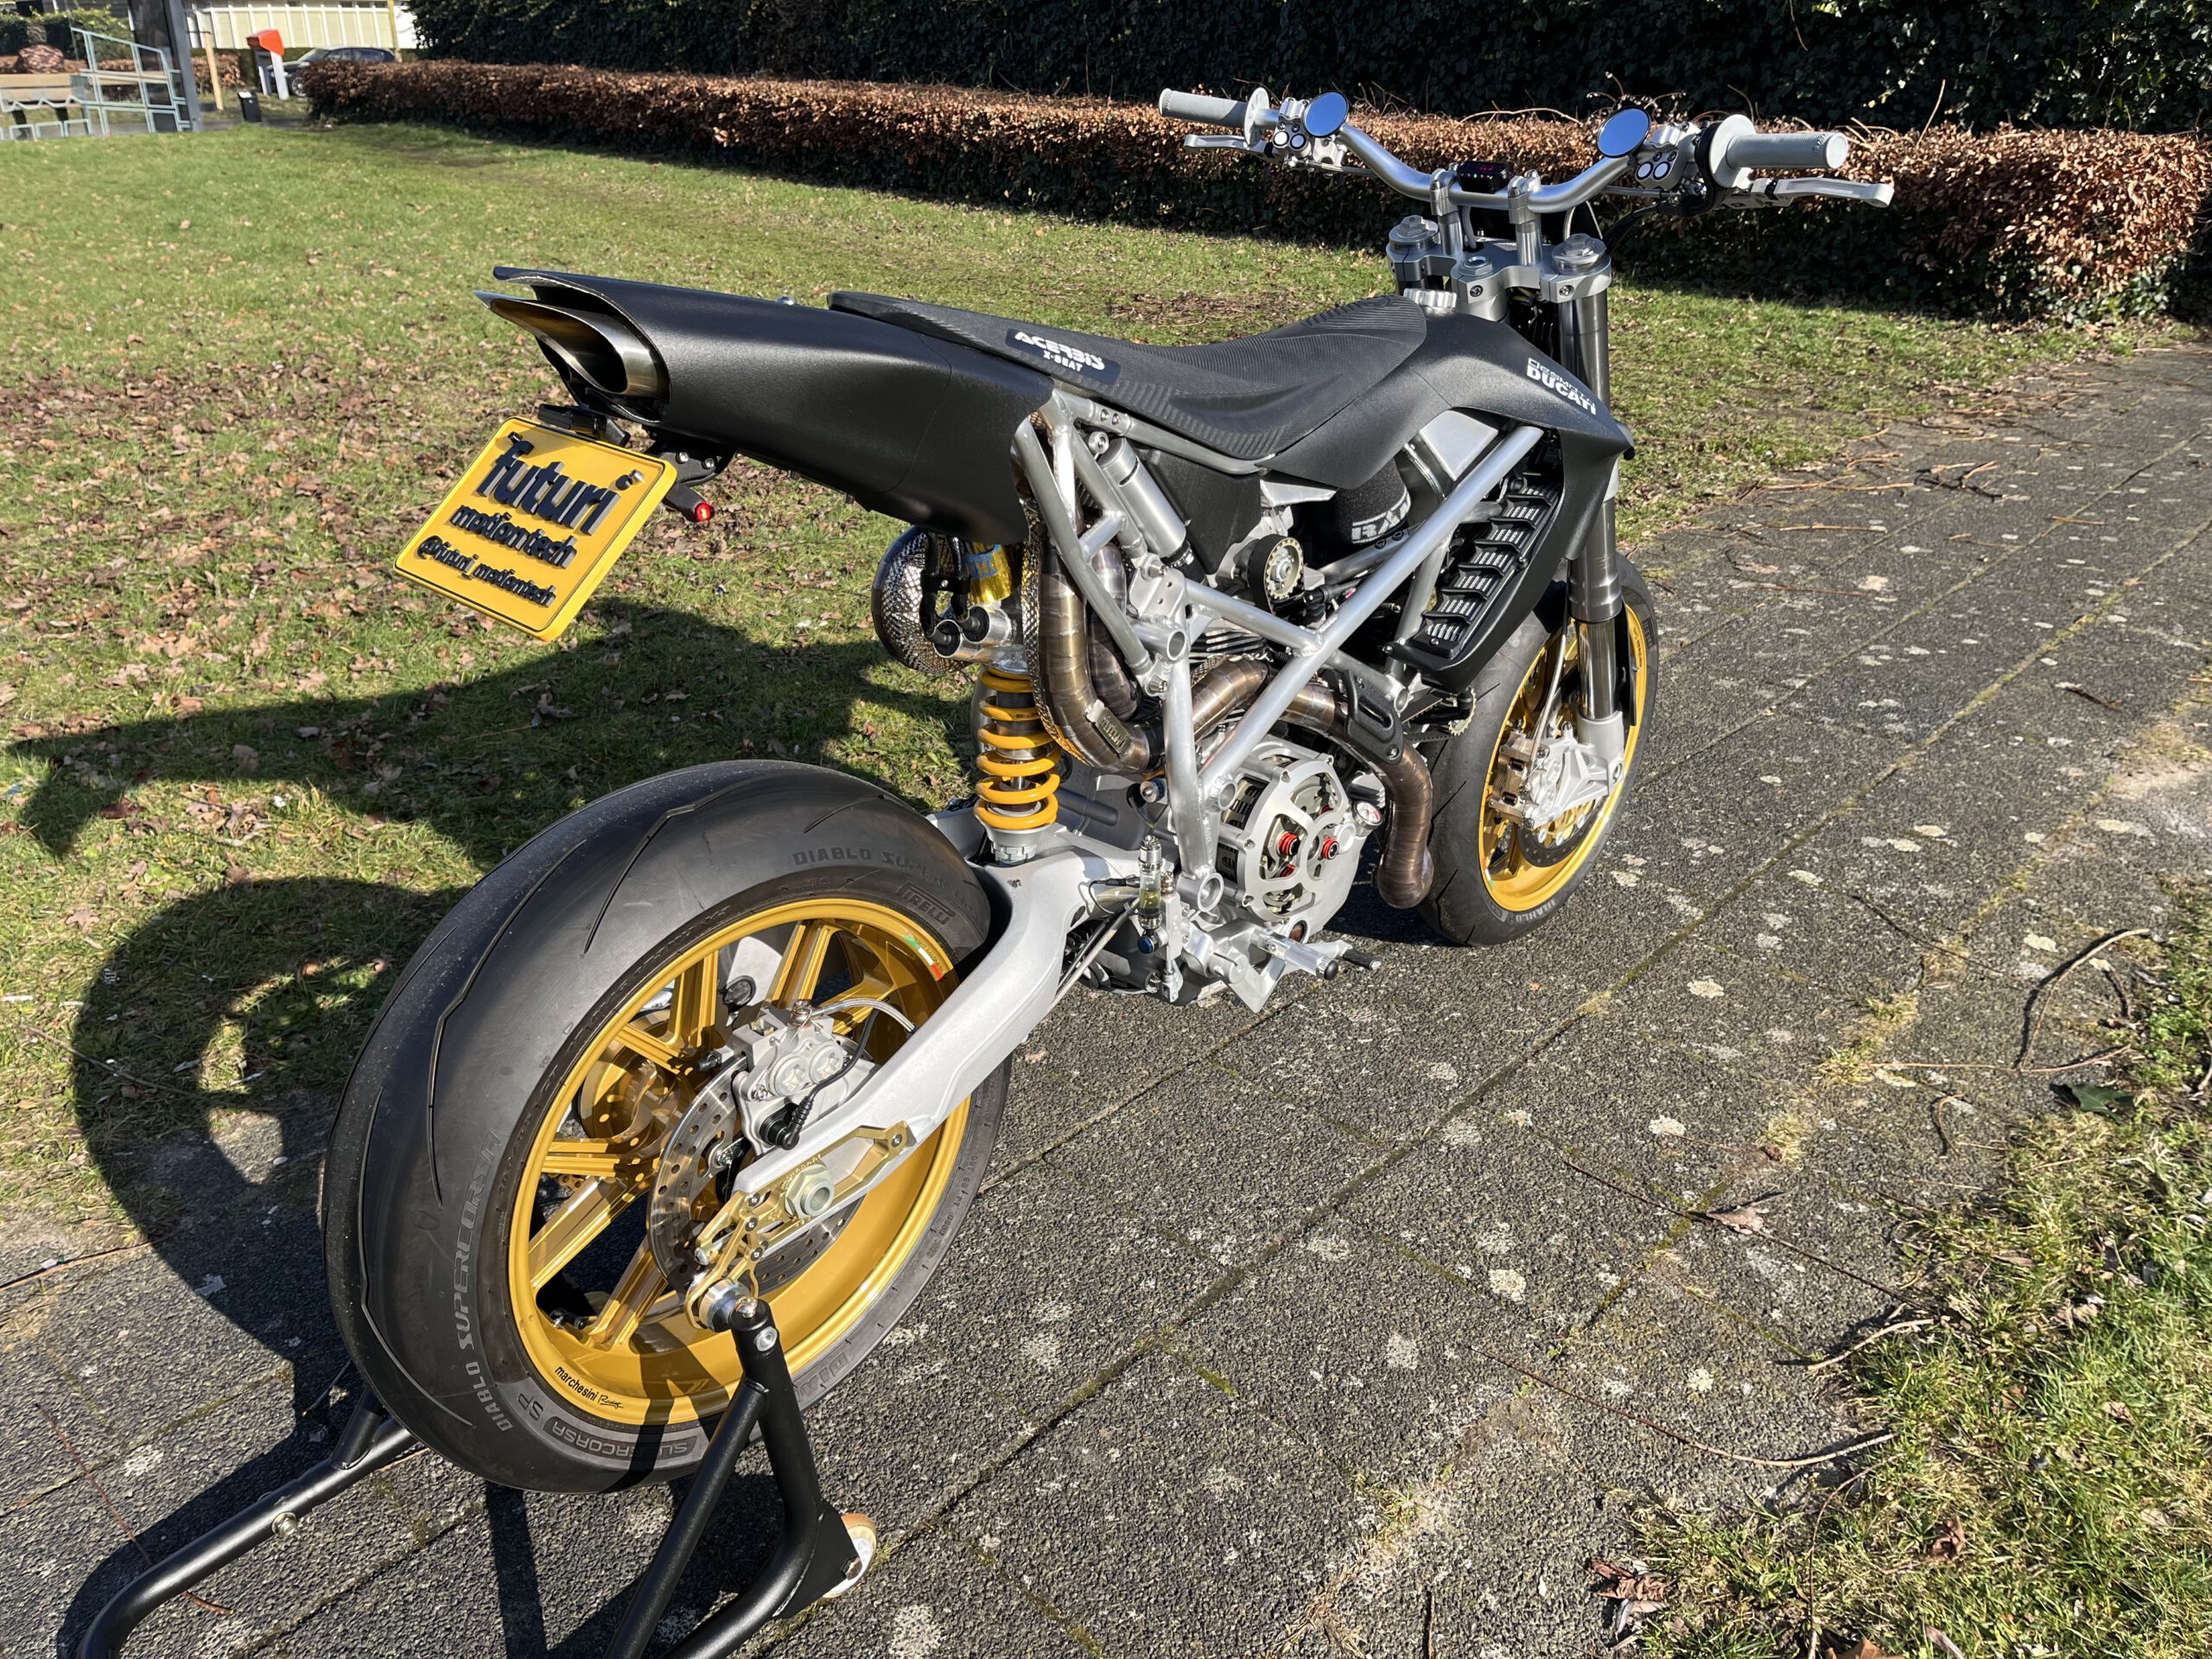
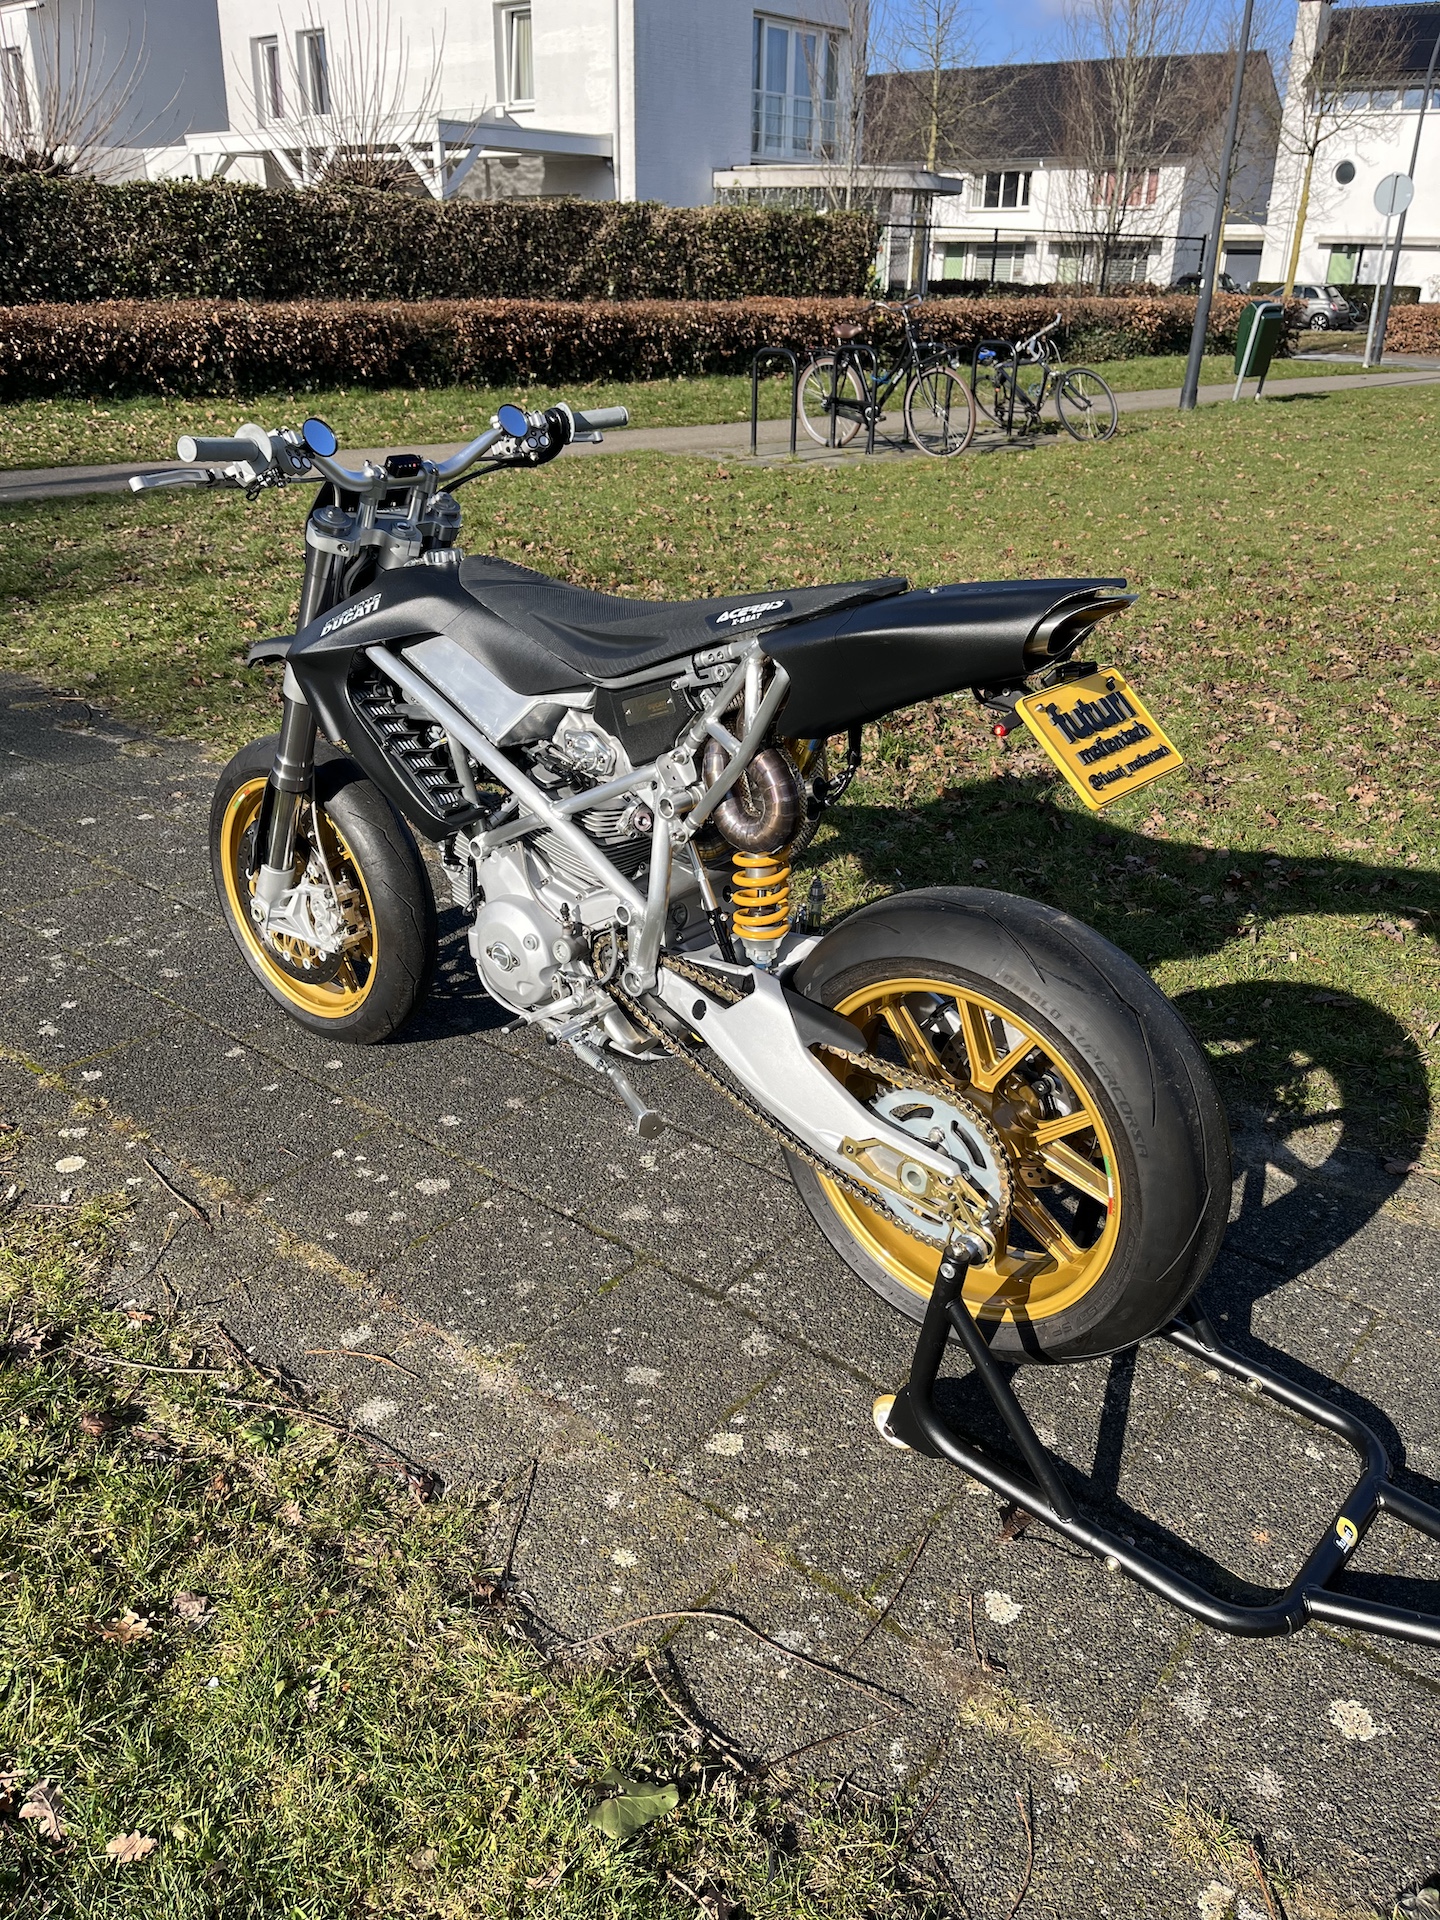
DUCATI DESMOTO DONE ✅!!
This is it. The end of the build log with a finished Ducati Desmoto! Enjoy these amateur shots of the project while at the top of this build log you can find the most sexy professional shots of the project.
It truly has been a pleasure sharing this amazing journey with you.. Thanks for your commitment, kind words and feedback. See see you on the next one!

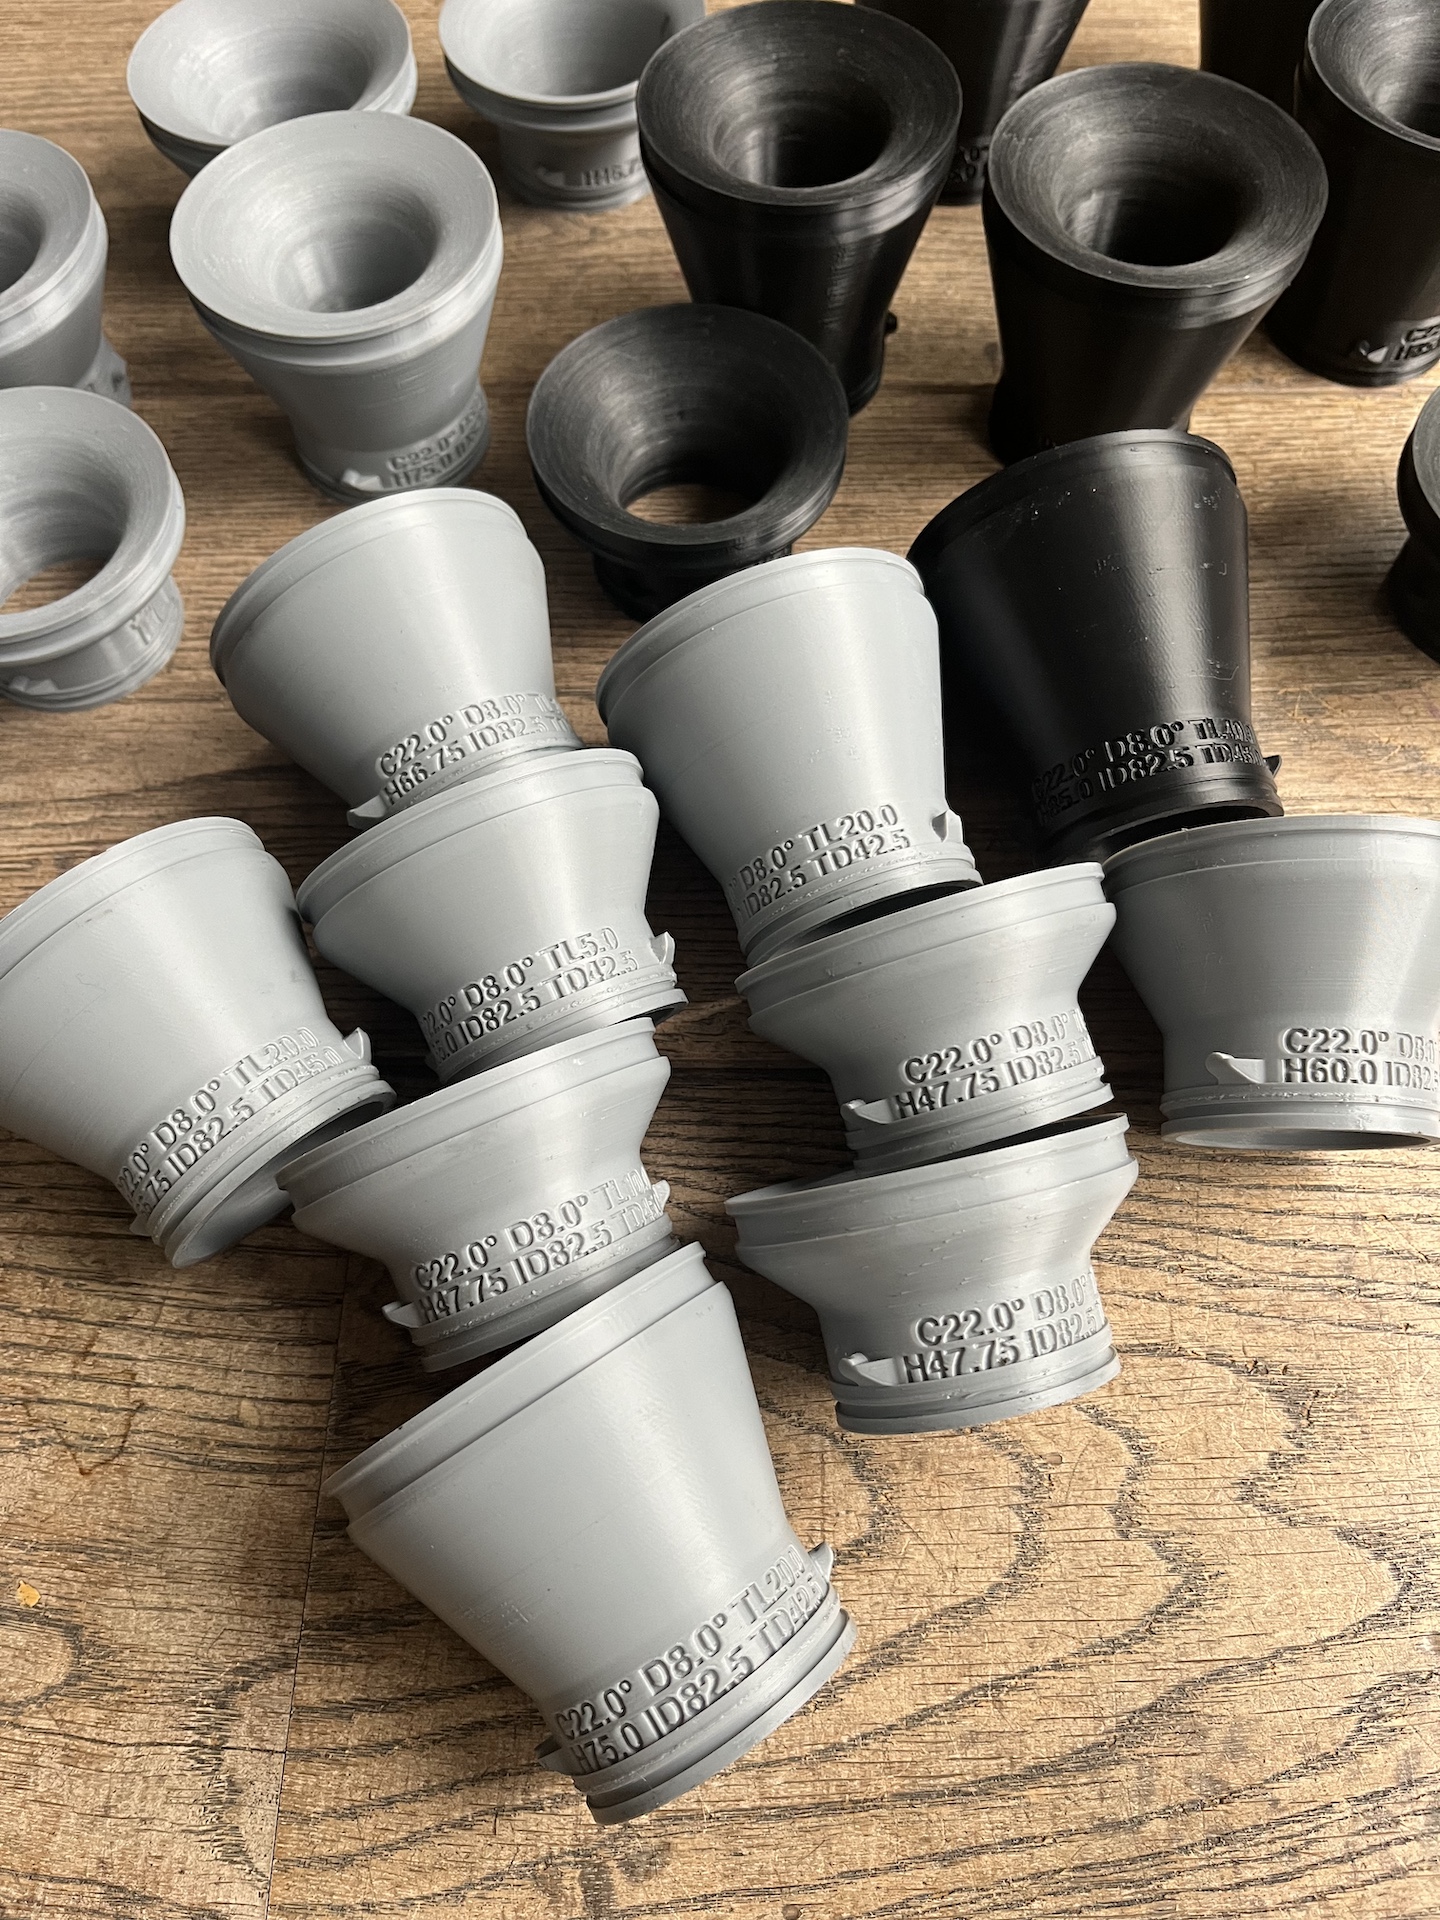
TESTING OUT CUSTOM VELOCITY STACKS
While tuning and mapping on the dyno I wanted to try to extract as much power and torque as possible. Your intake channel is crucial in achieving this. Because of this I deep dived into the Rabbit hole of velocity stack theory. I designed multiple velocity stacks with different diameters, lengths, sizes, angles etc etc. All to try out on the Dyno and validate with performance numbers to see what works best!
Printed out of ASA.

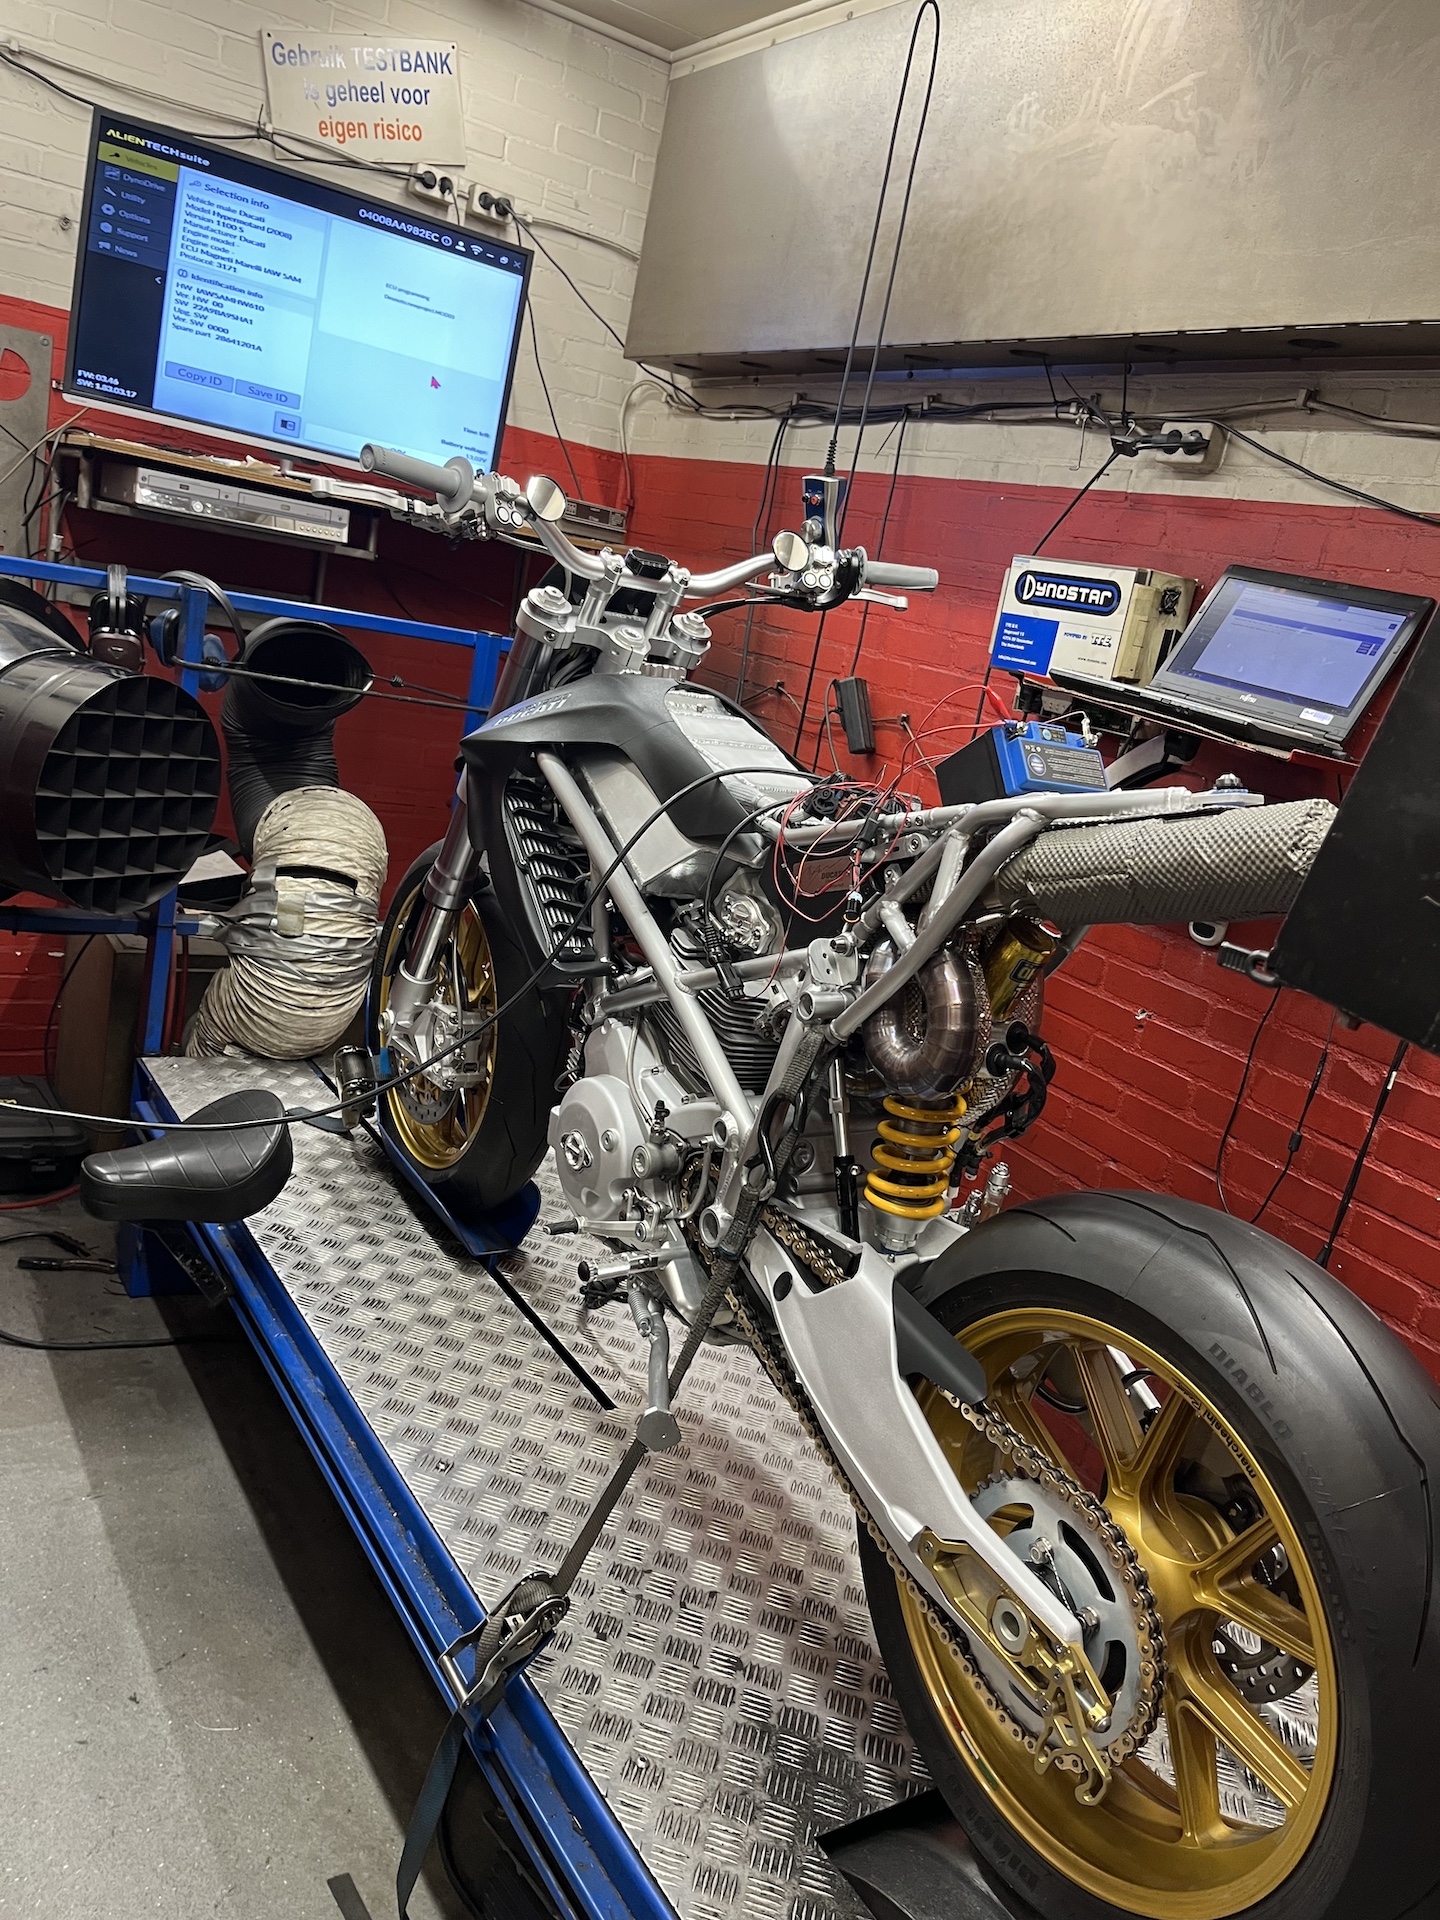
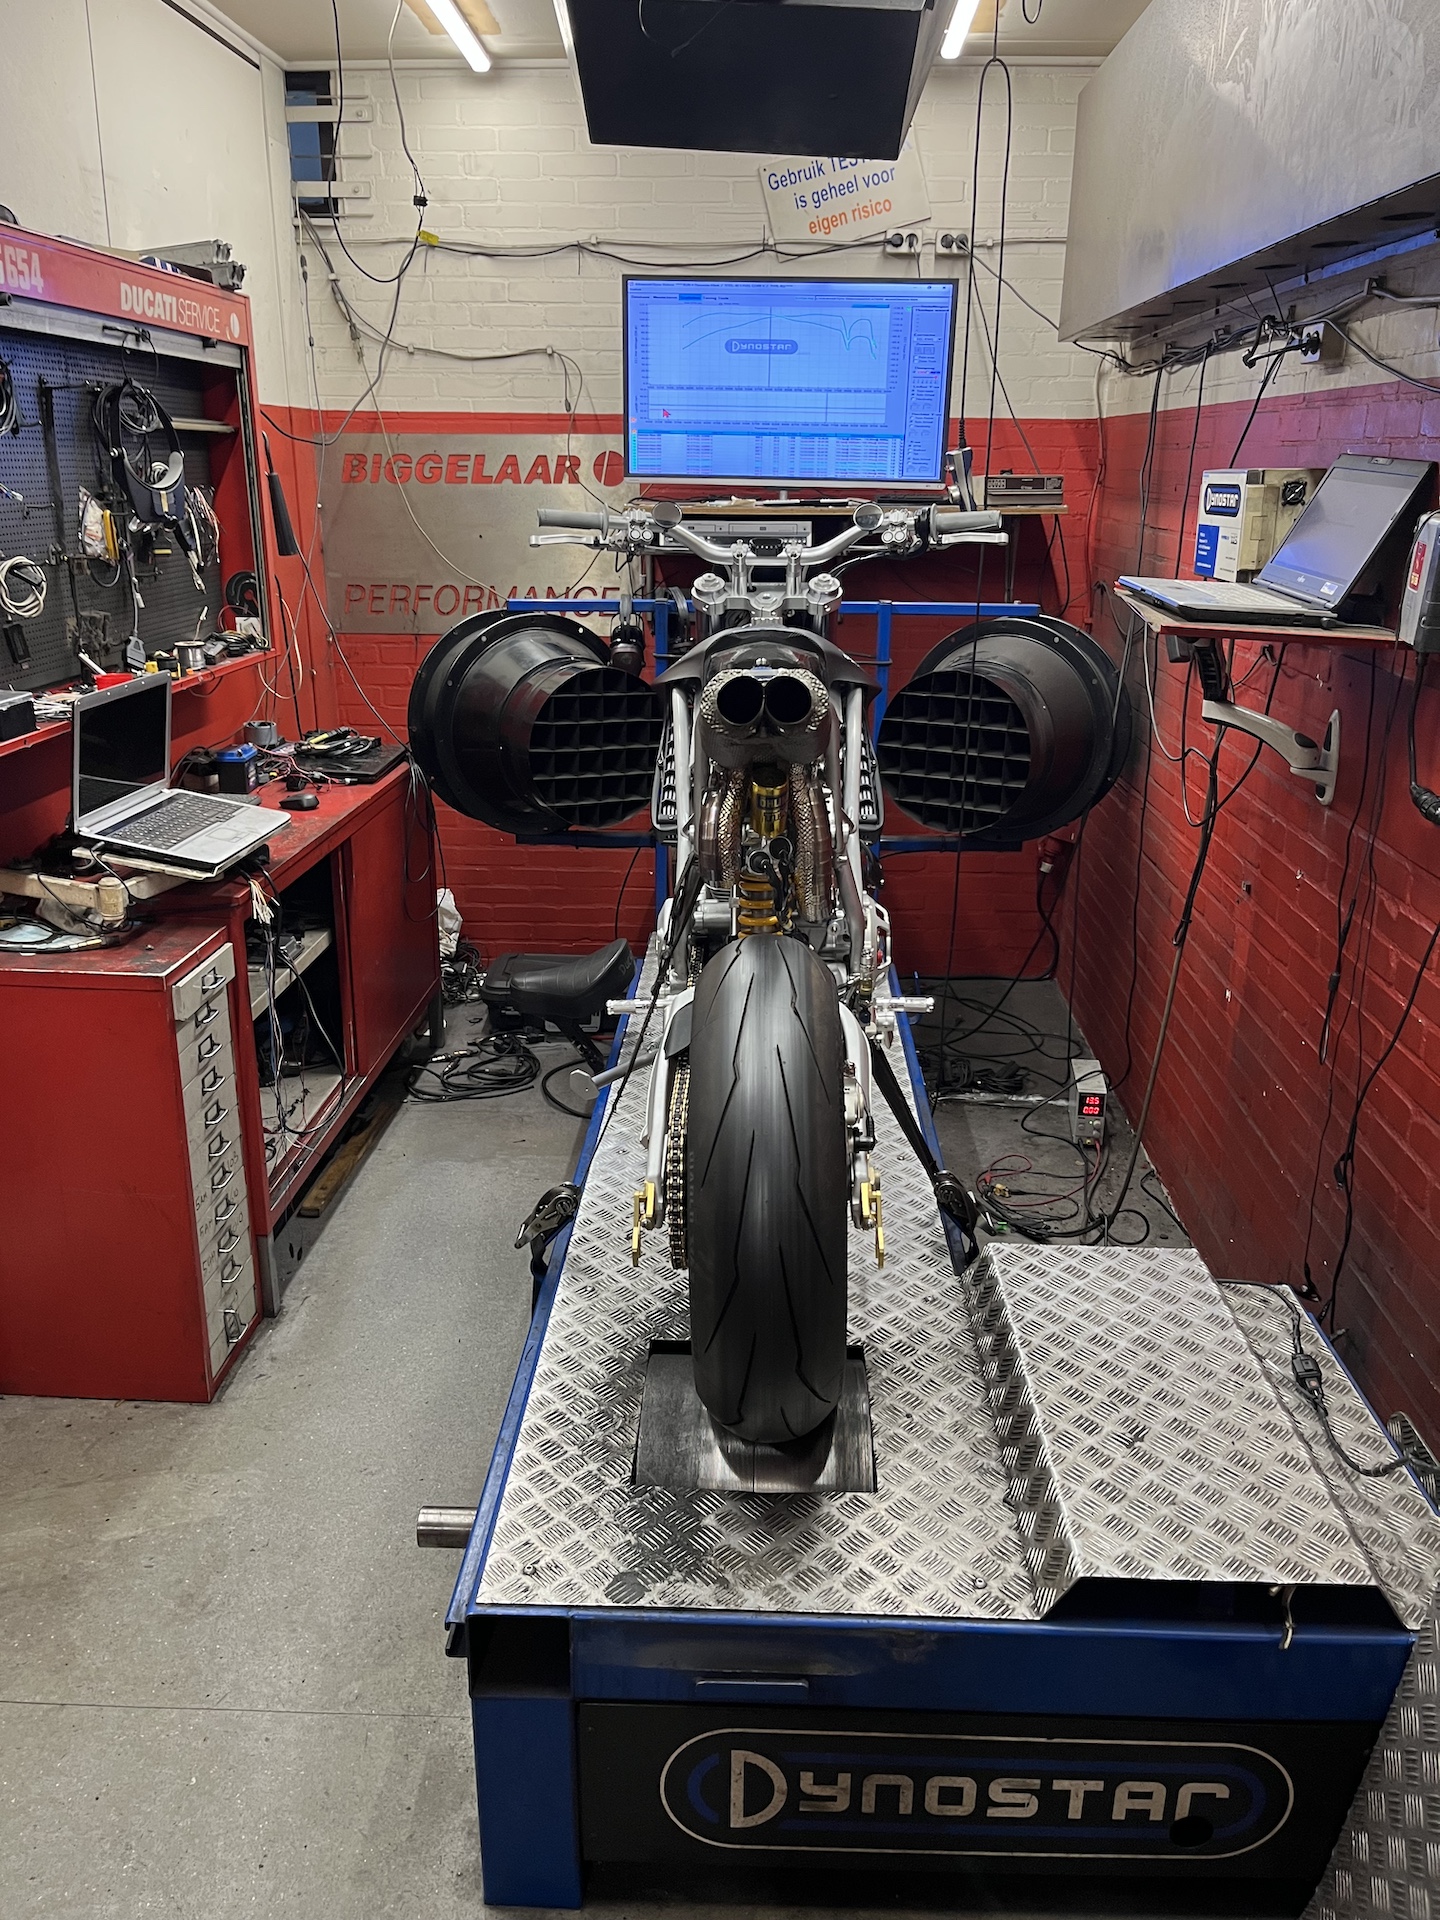
RUNNING IT IN..
Running in the Ducati Desmoto on the dyno for the first 100km. Max 30% throttle… Checking surface temperatures etc. Yes it gets hot, but all good and manageable so far!!
However not all is perfect and that is also is something that needs to be shared! I was hoping to get this all done within 2 days (I was dreaming I know…), however on a prototype bike like this you are going to have issues.
Some small oil and fuel leaks, electrical issues with the ignition timing sensor. All my own fault but all minor things so far. They do take some time to solve however.
Was only able to do 1 power run and performance wise we simply aren’t there yet. Need to check multiple things to see what is going on.
But on a positive note! It didn’t break!!! So I am telling myself I made progress and in a few days/weeks hopefully I can say it is all completely done with the performance numbers that speak for themselves!

141KG FINAL WET WEIGHT!!!
Holy shit!!! I was targeting a wet weight of below 150KG for this project. The final WET weight is 141KG…. This is going to be fun haha!
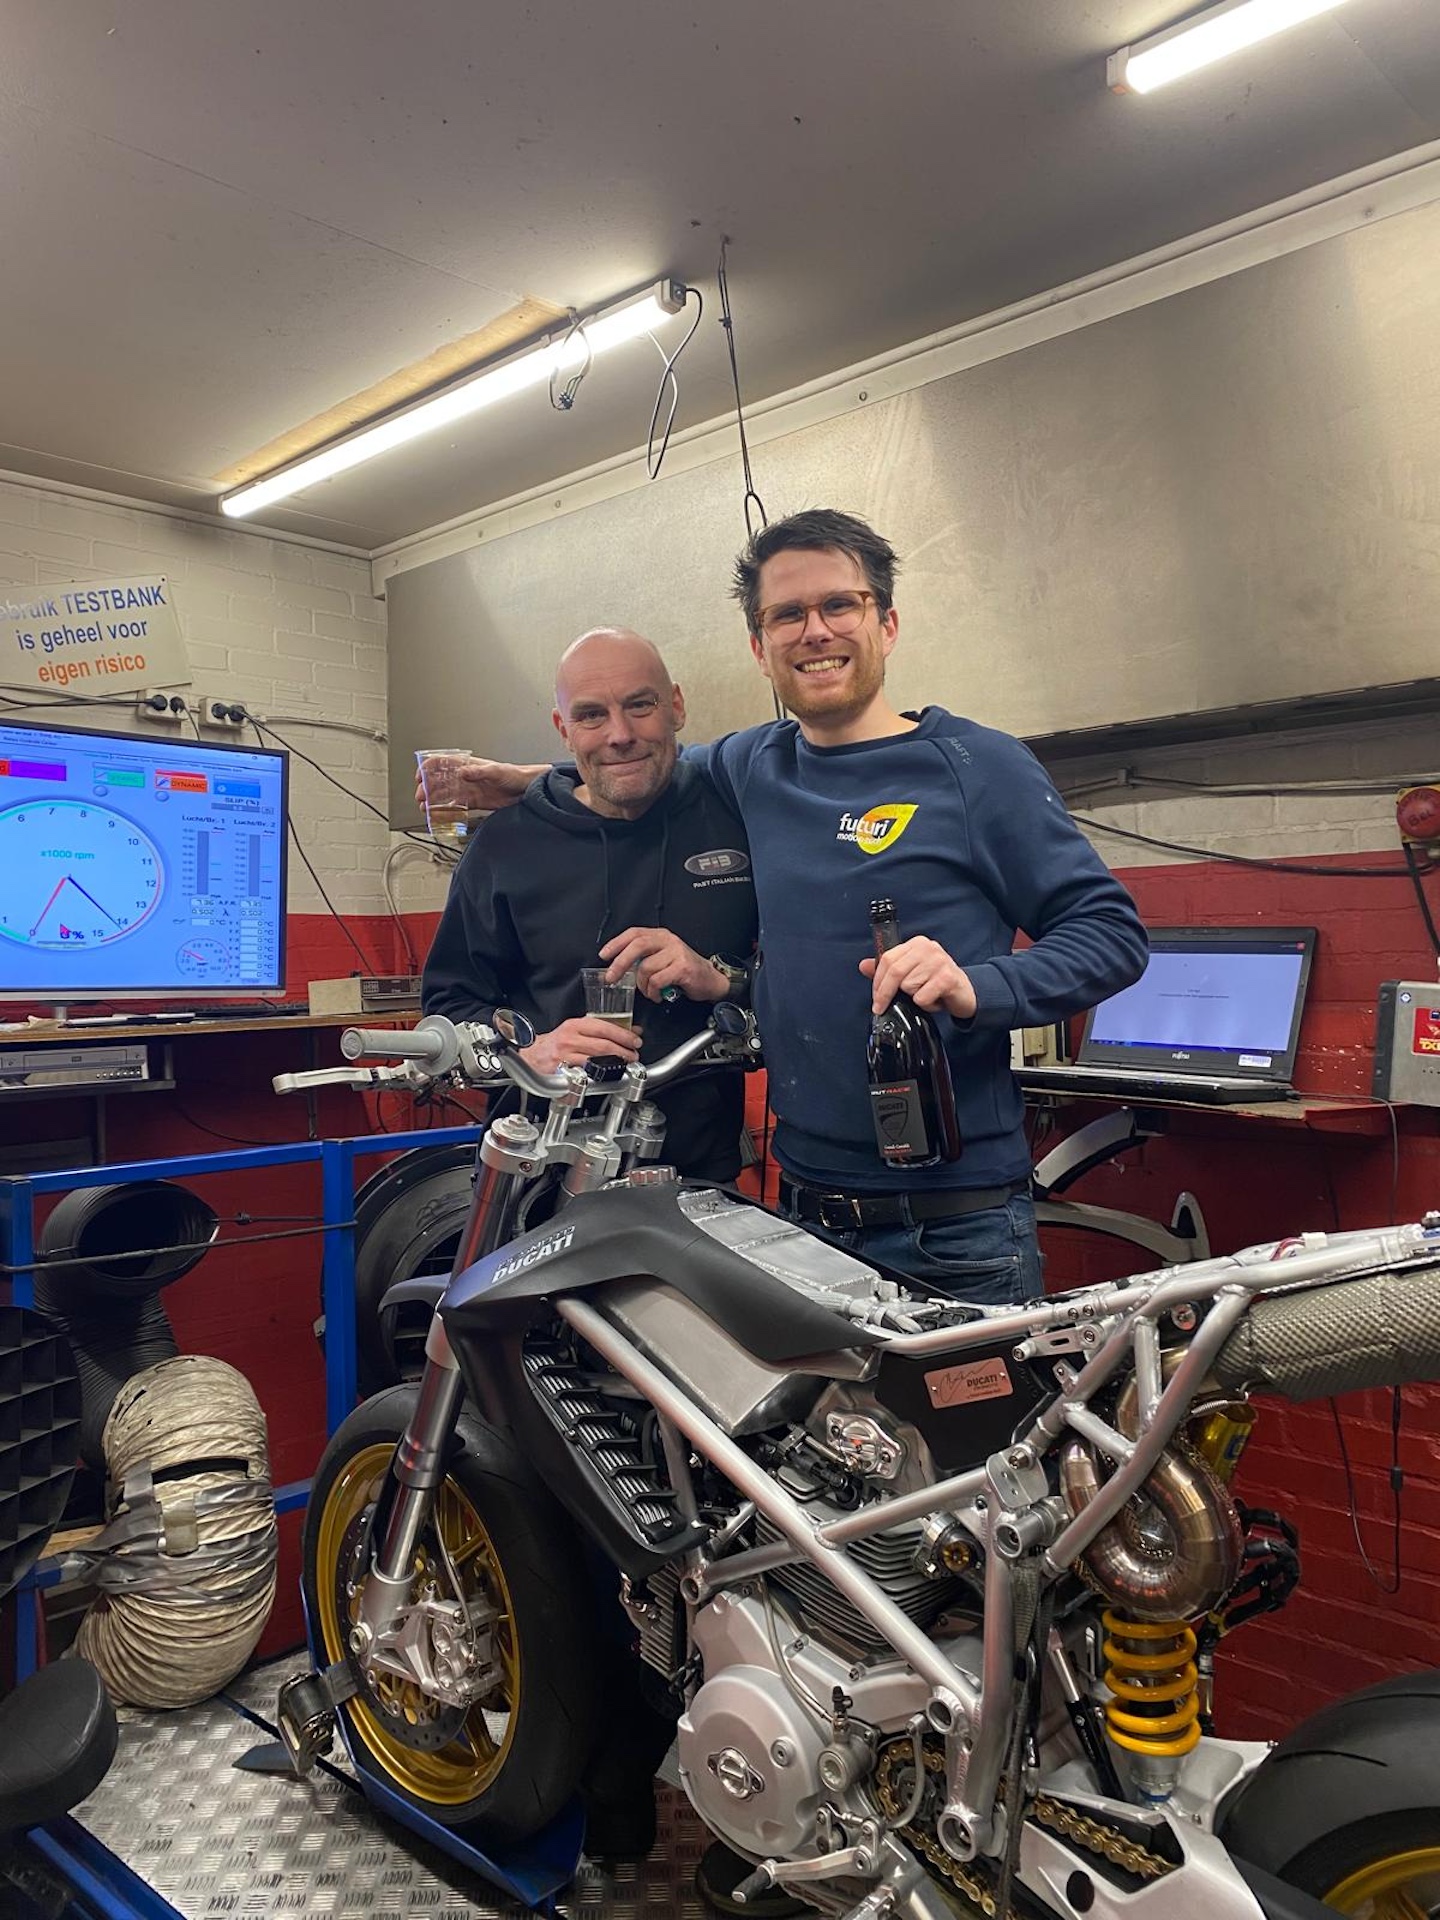
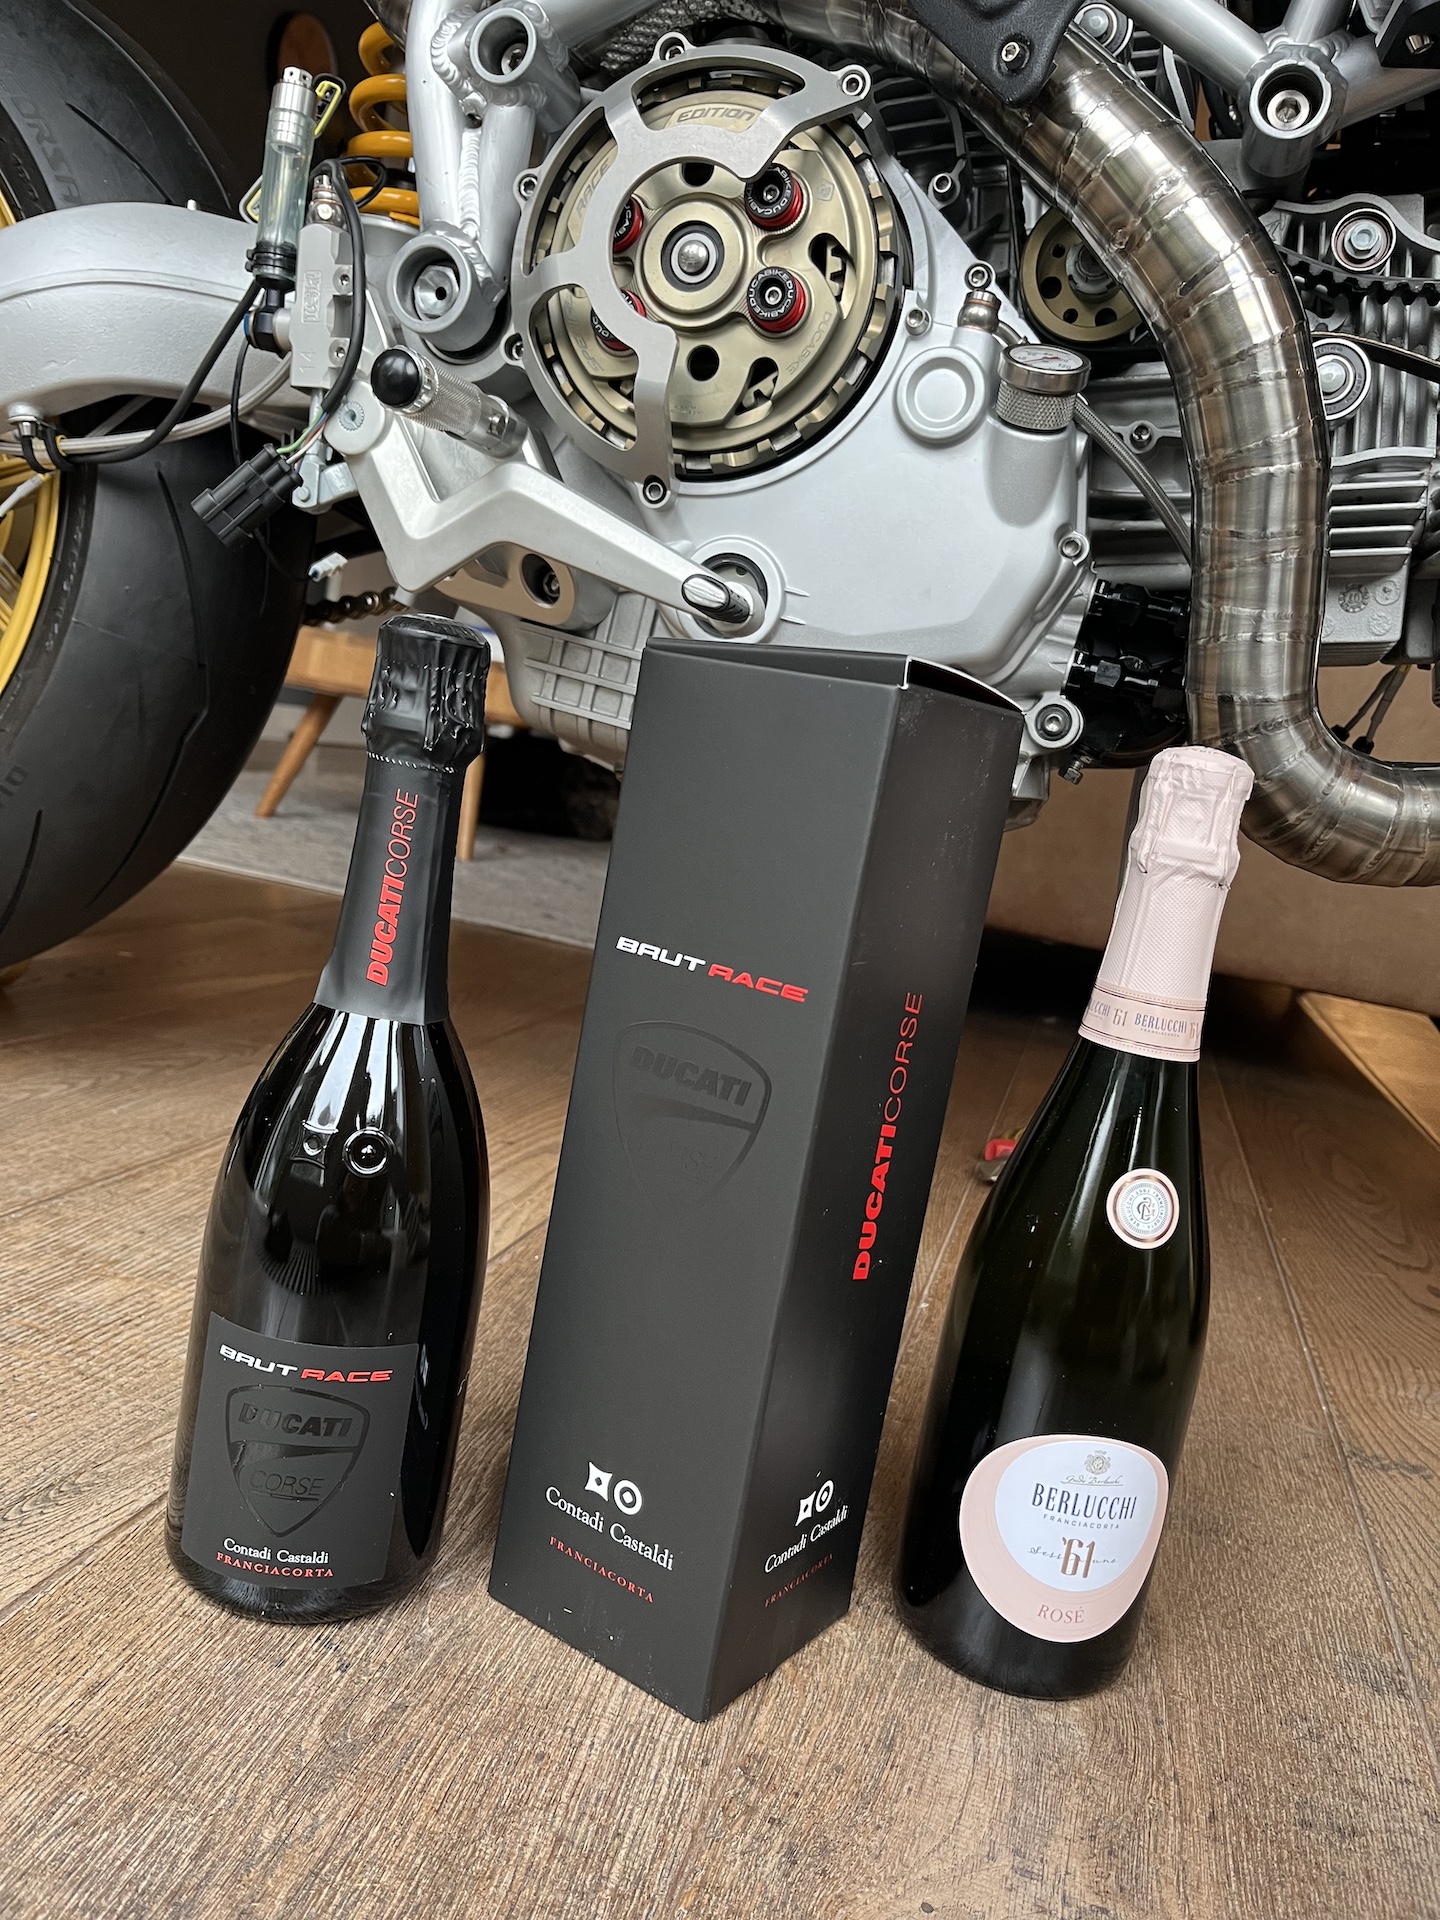
ITS ALIVE!!!
ITS ALIVE!!! First start, damn what an amazing moment after working so long on this project! This needed to be celebrated with some Ducati champagne (Thanks Paolo!!) and one of my best friends Toine vd Biggelaar who has been the biggest supporter of this project.
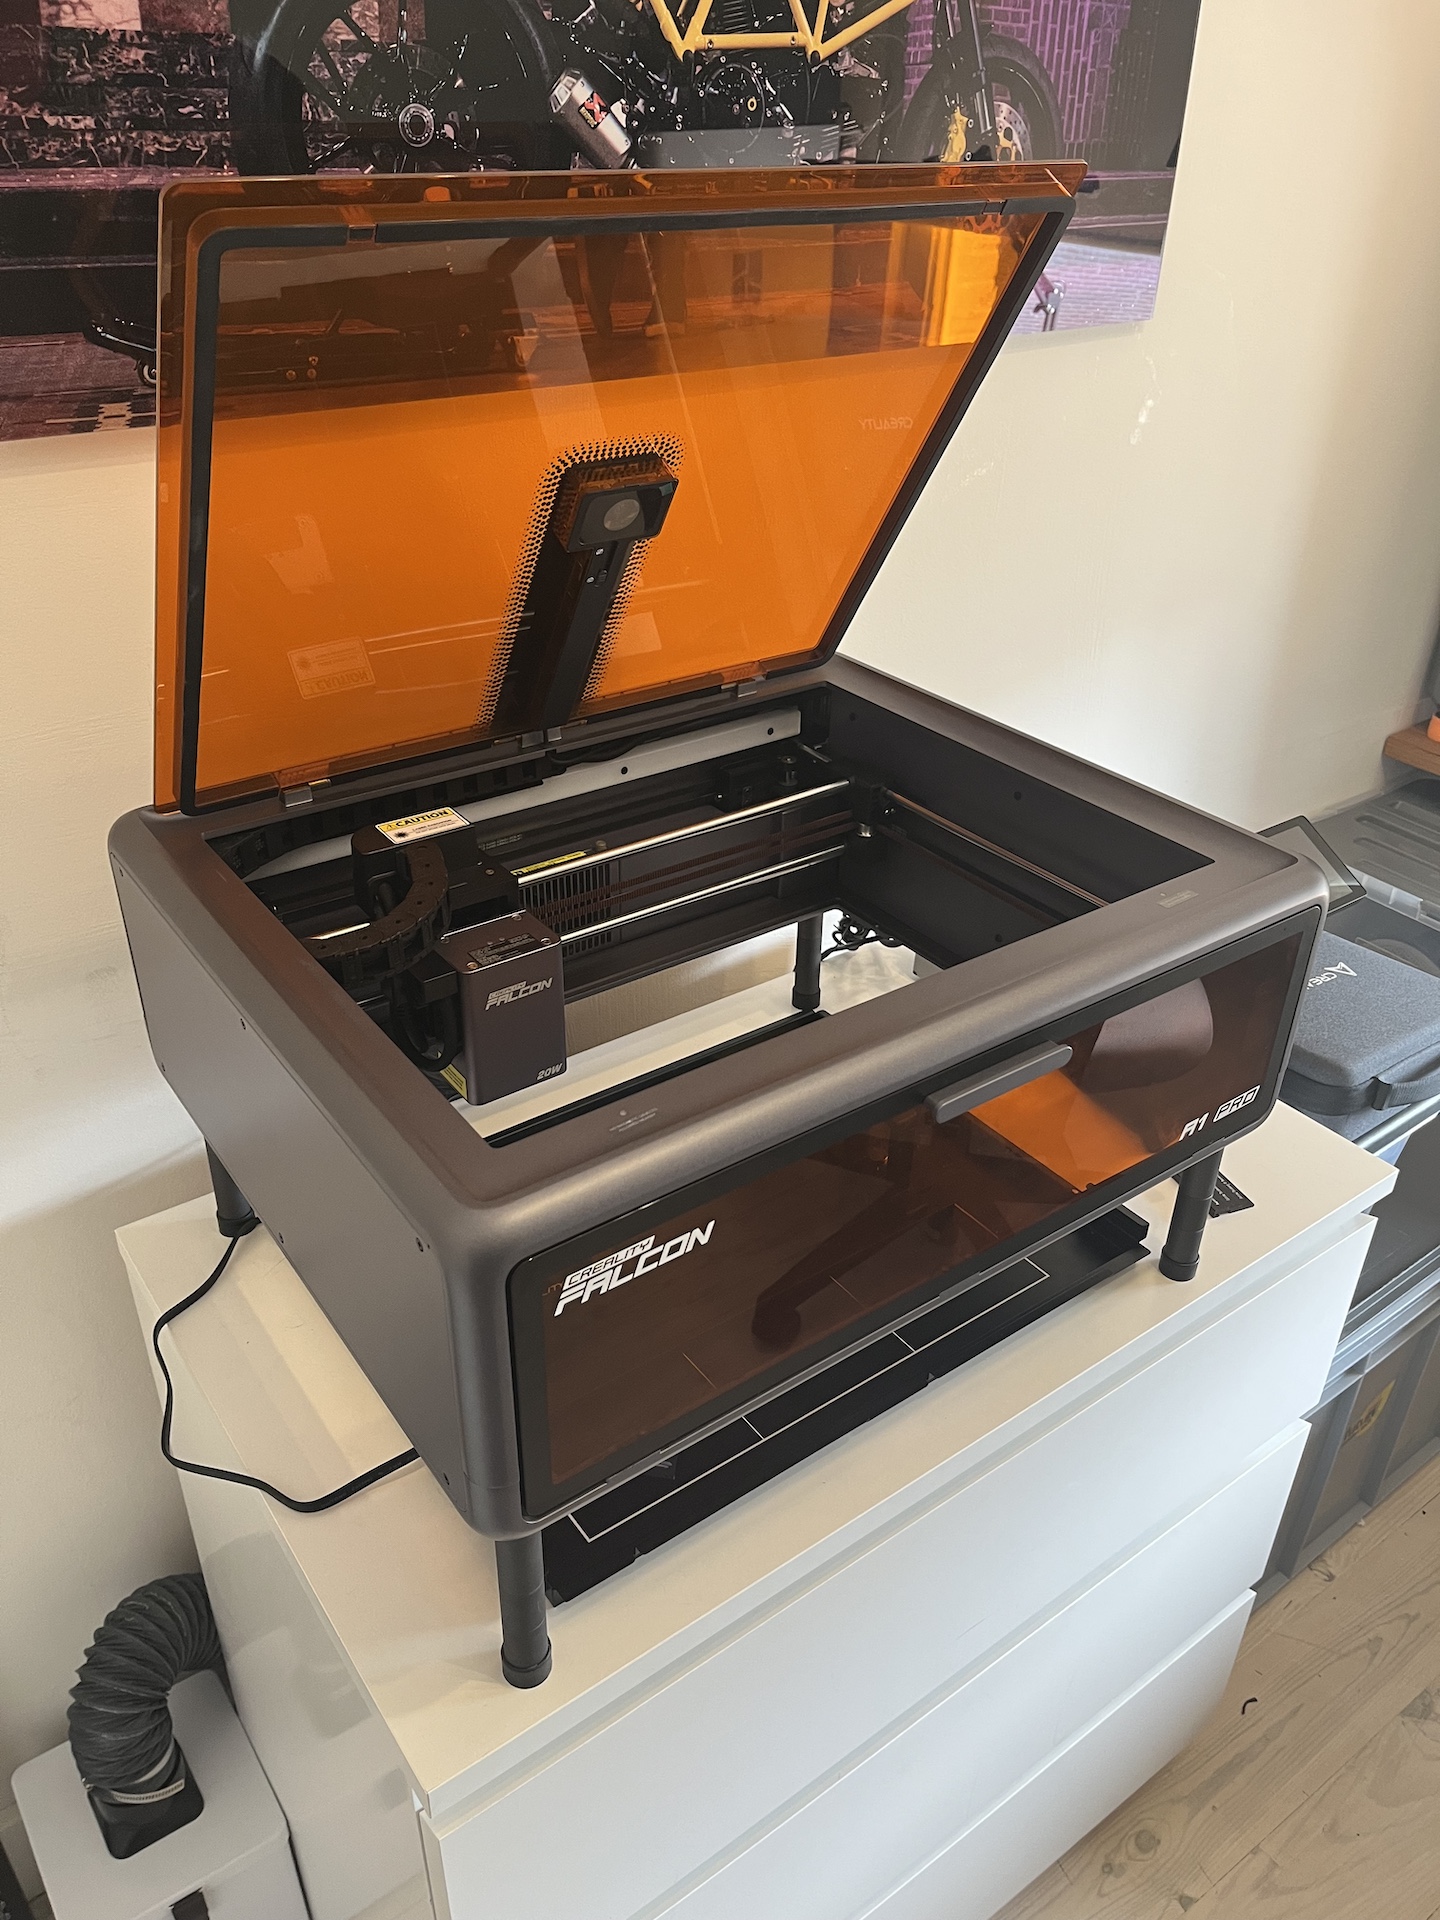
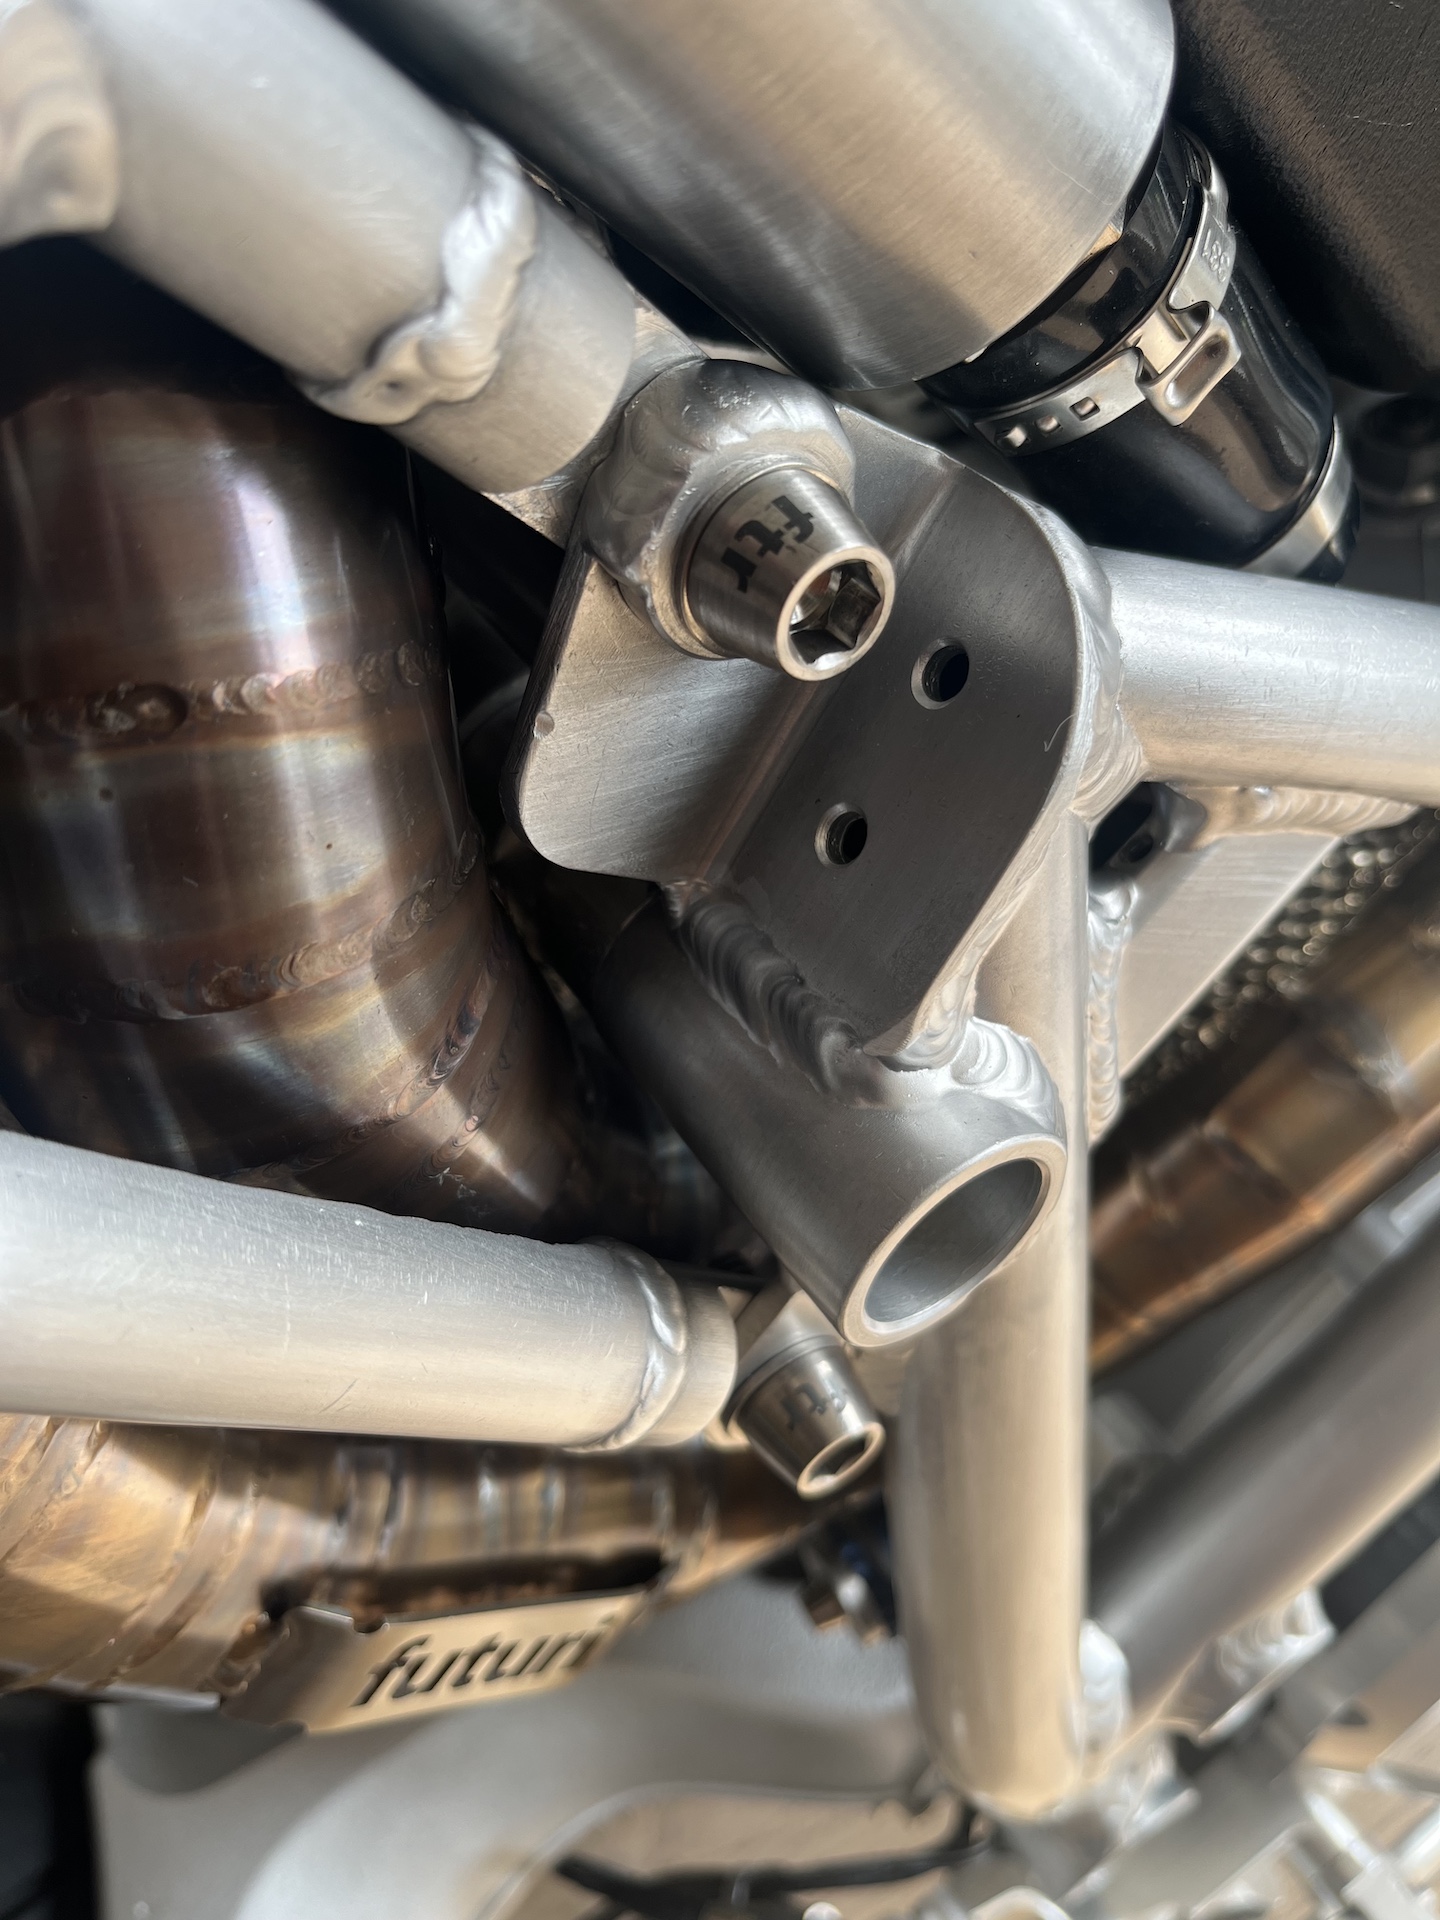
LASER ENGRAVING TITANIUM & ALUMINIUM
Laser engraving ALL the titanium bolts with FTR branding. Amazing new toolkit in the workshop, the Creality Falcon A1 Pro laser cutter & engraver. Combined with the 2W IR laser, rotary kit and smoke purifier.
This was a hell of a job to engrave this many bolts. But for the people really taking a close look at the bike things like this are the things that make a difference!
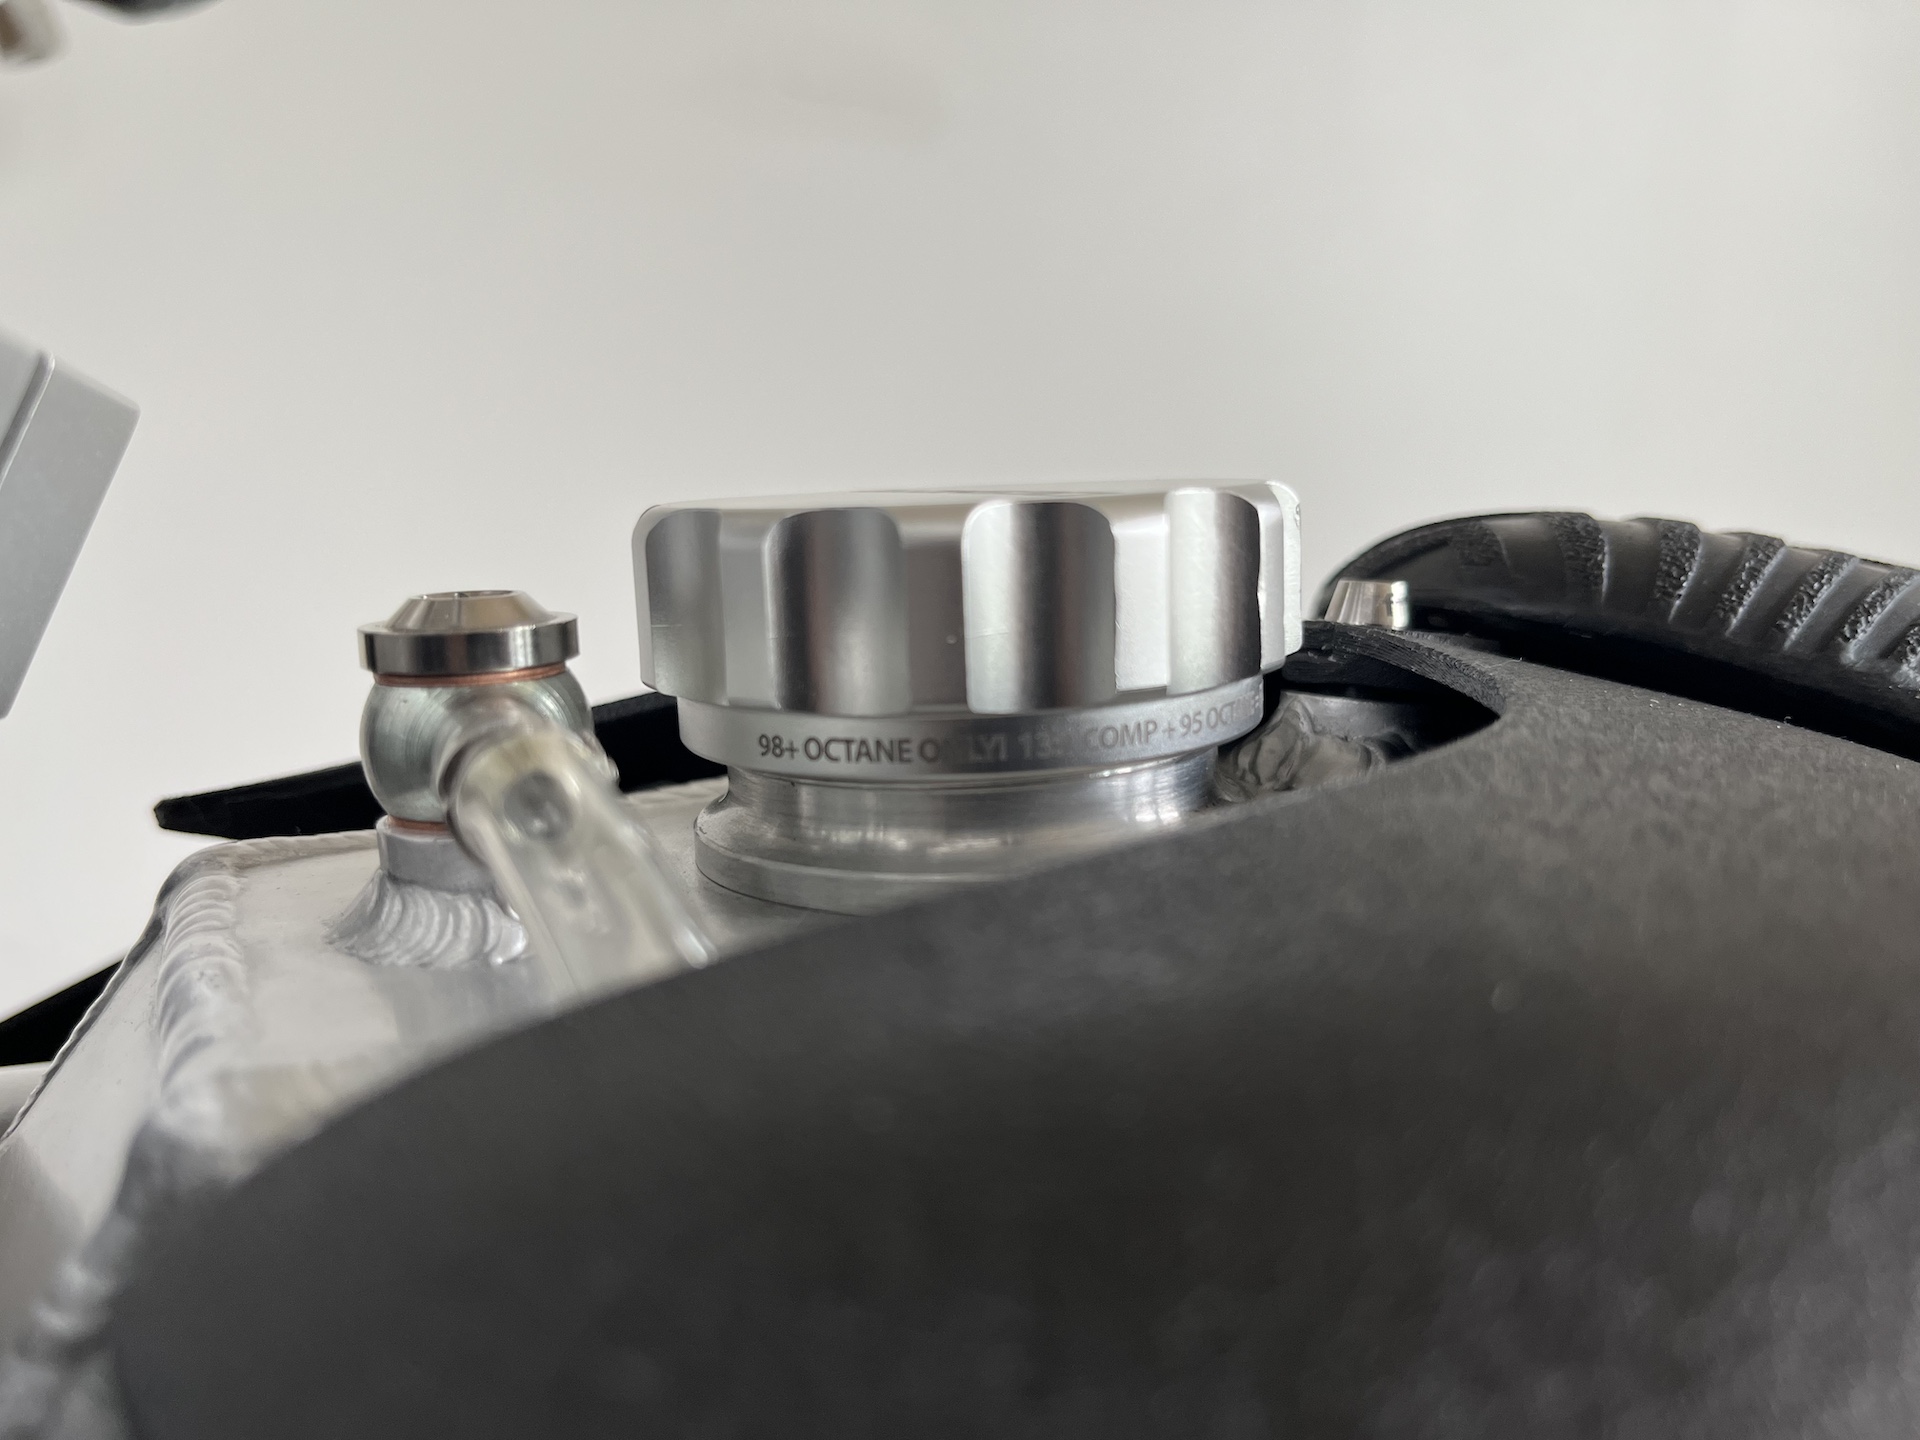
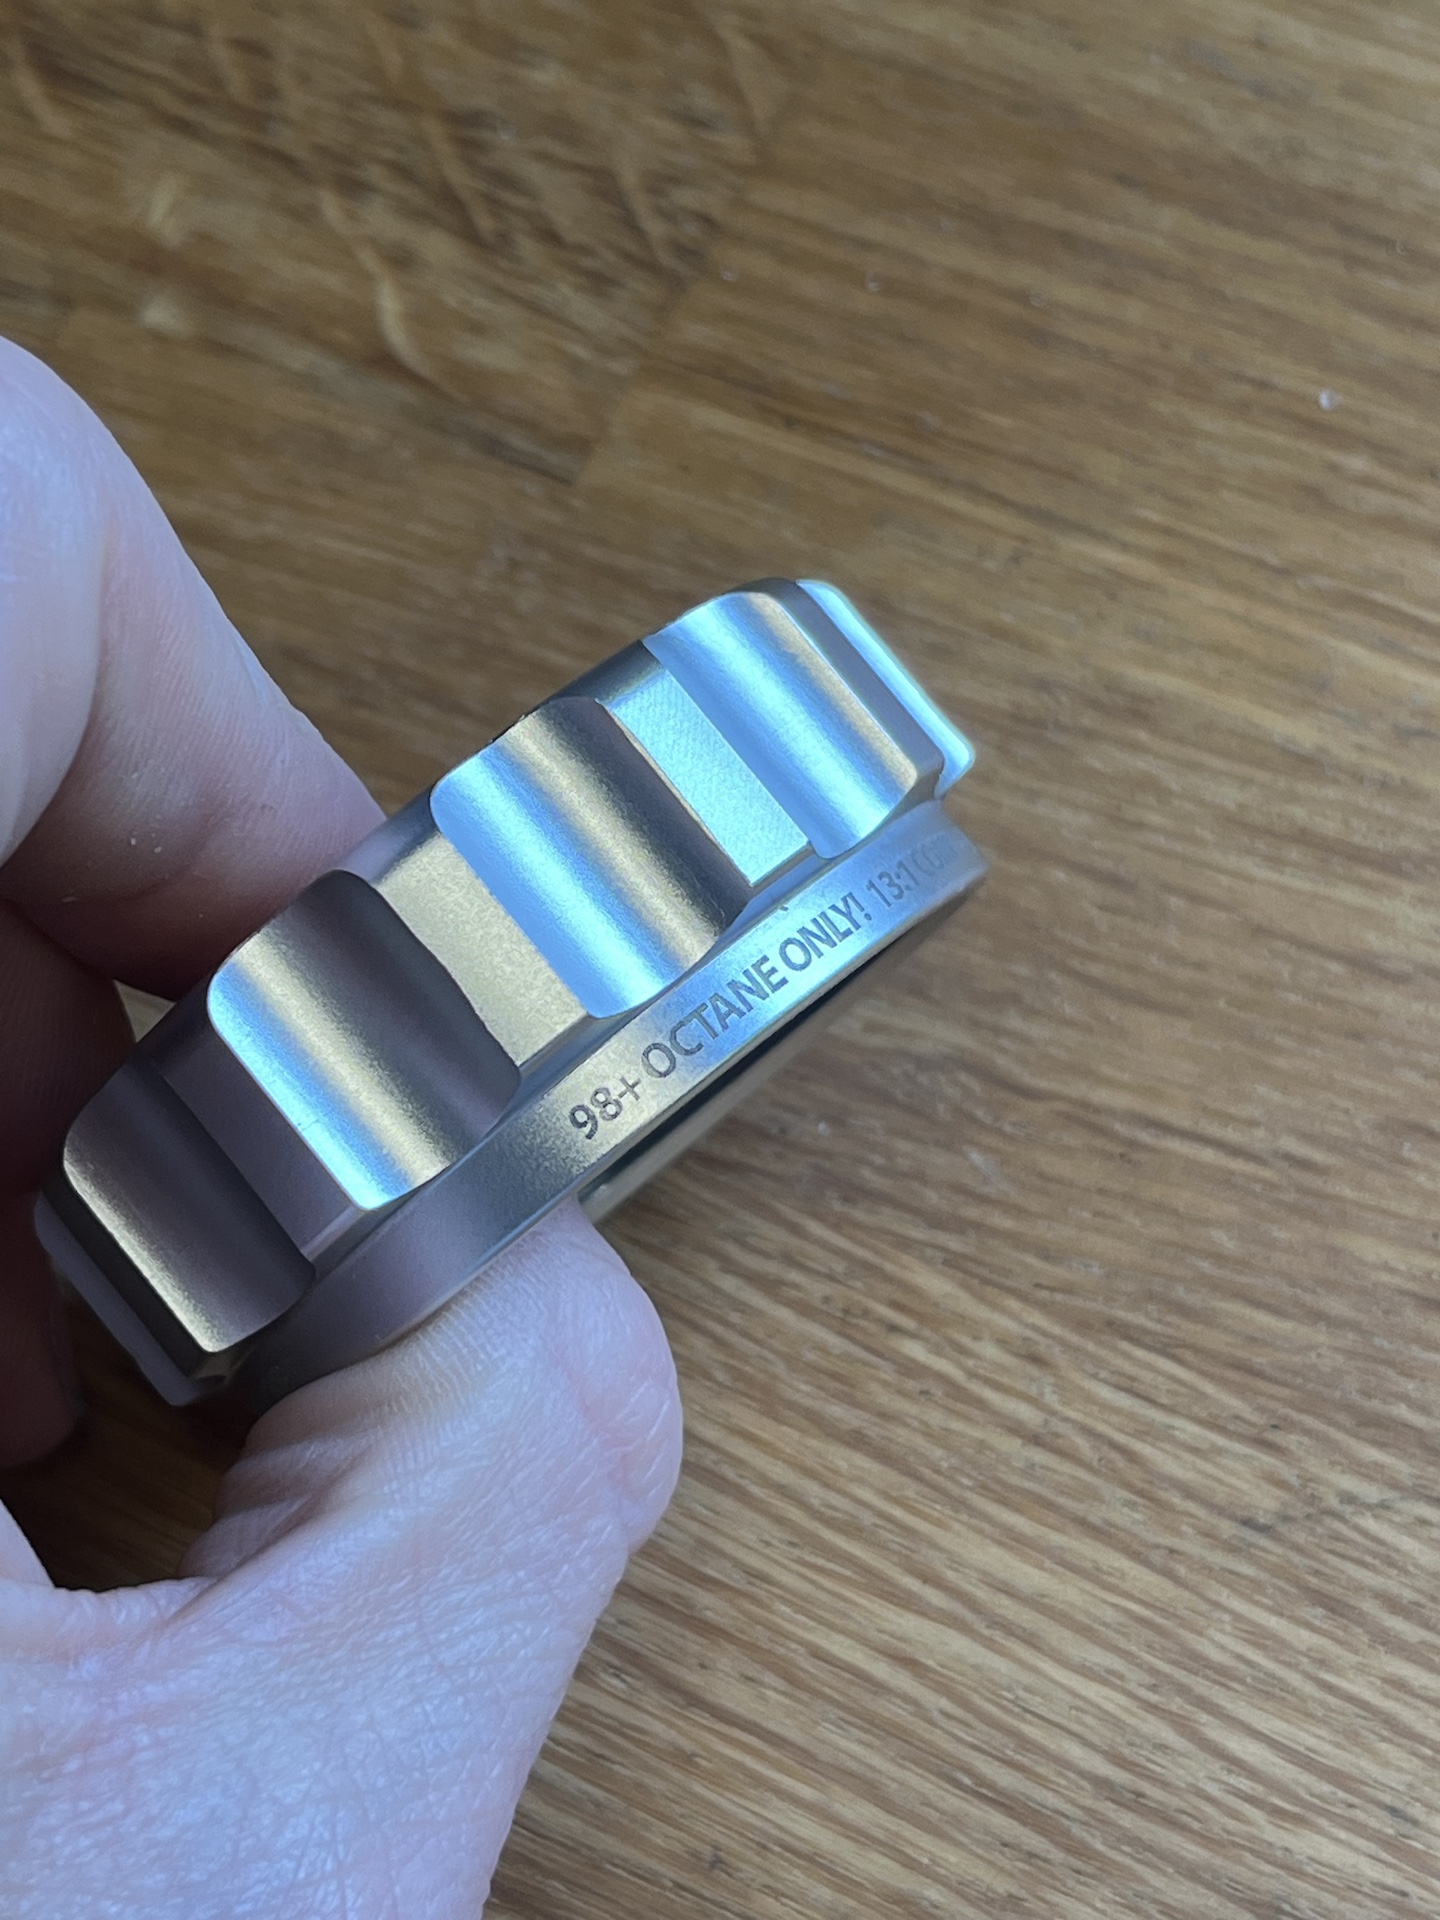
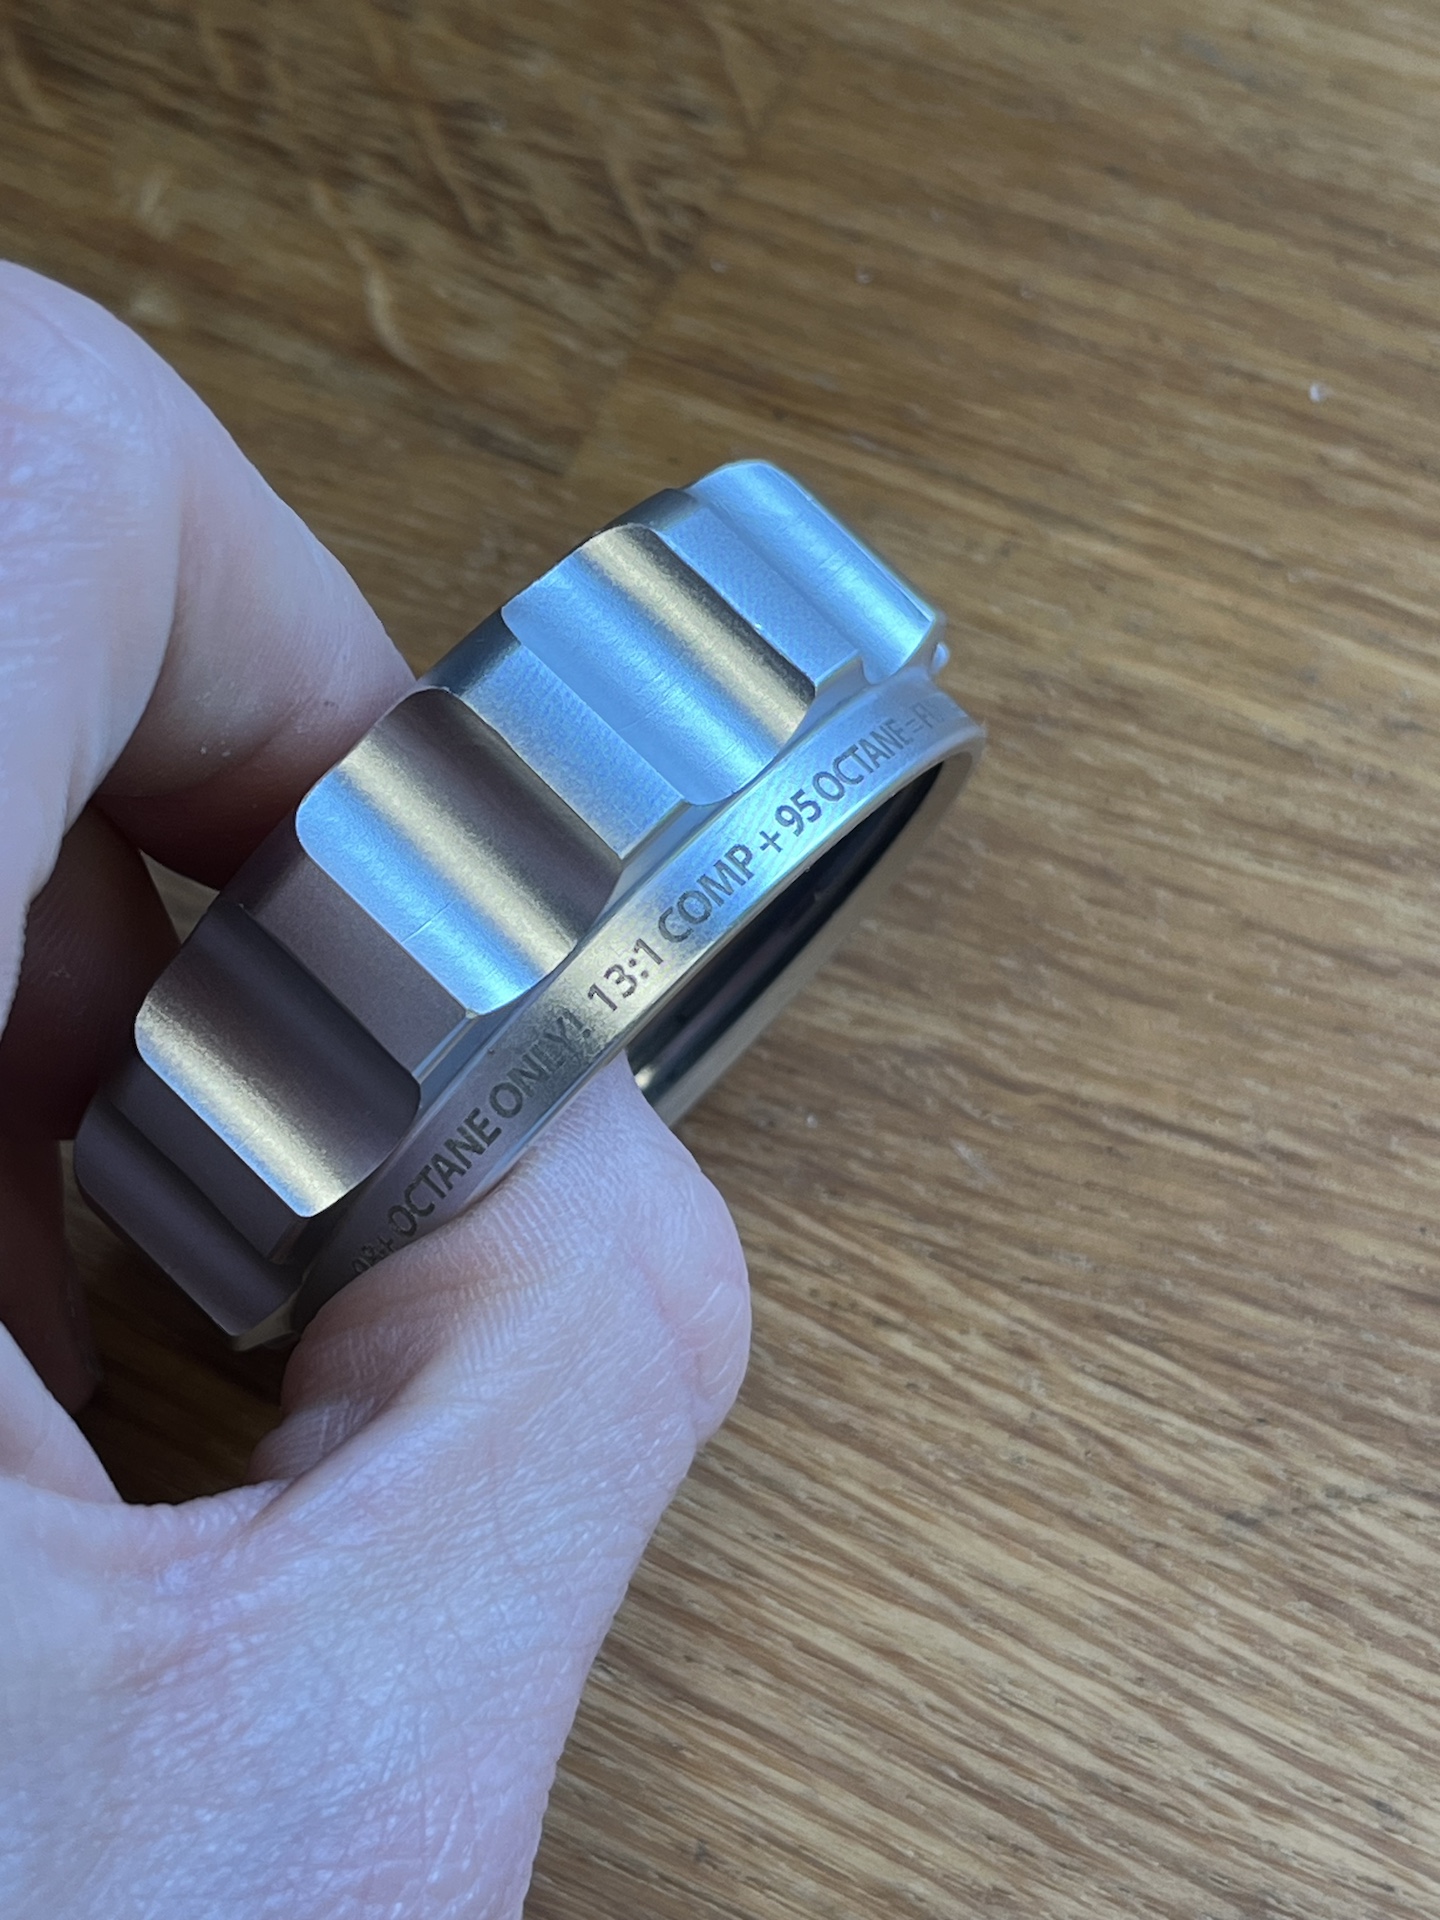
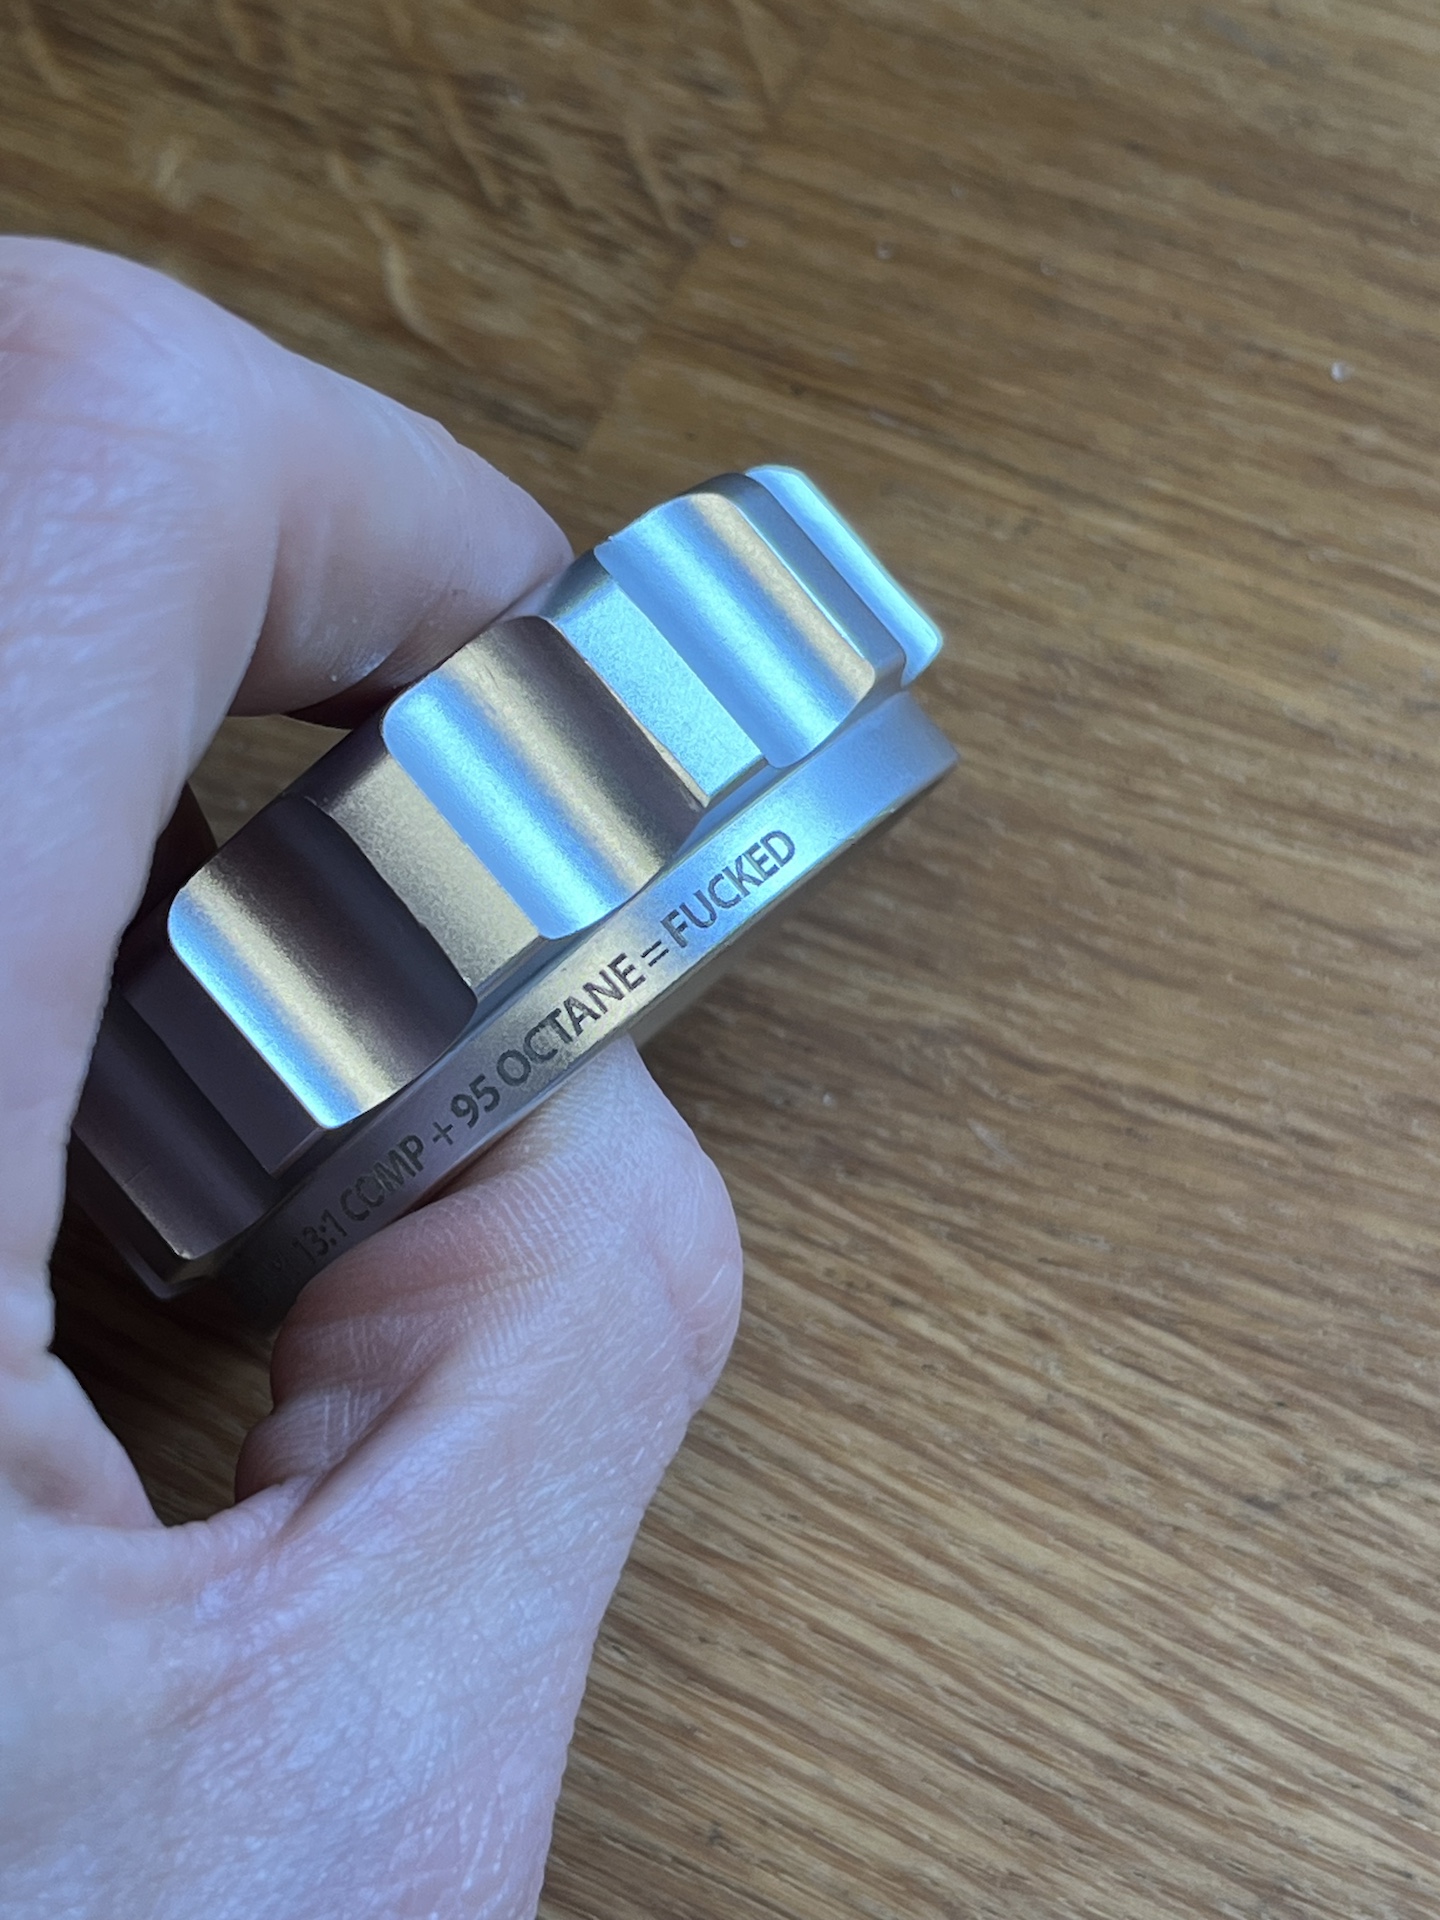
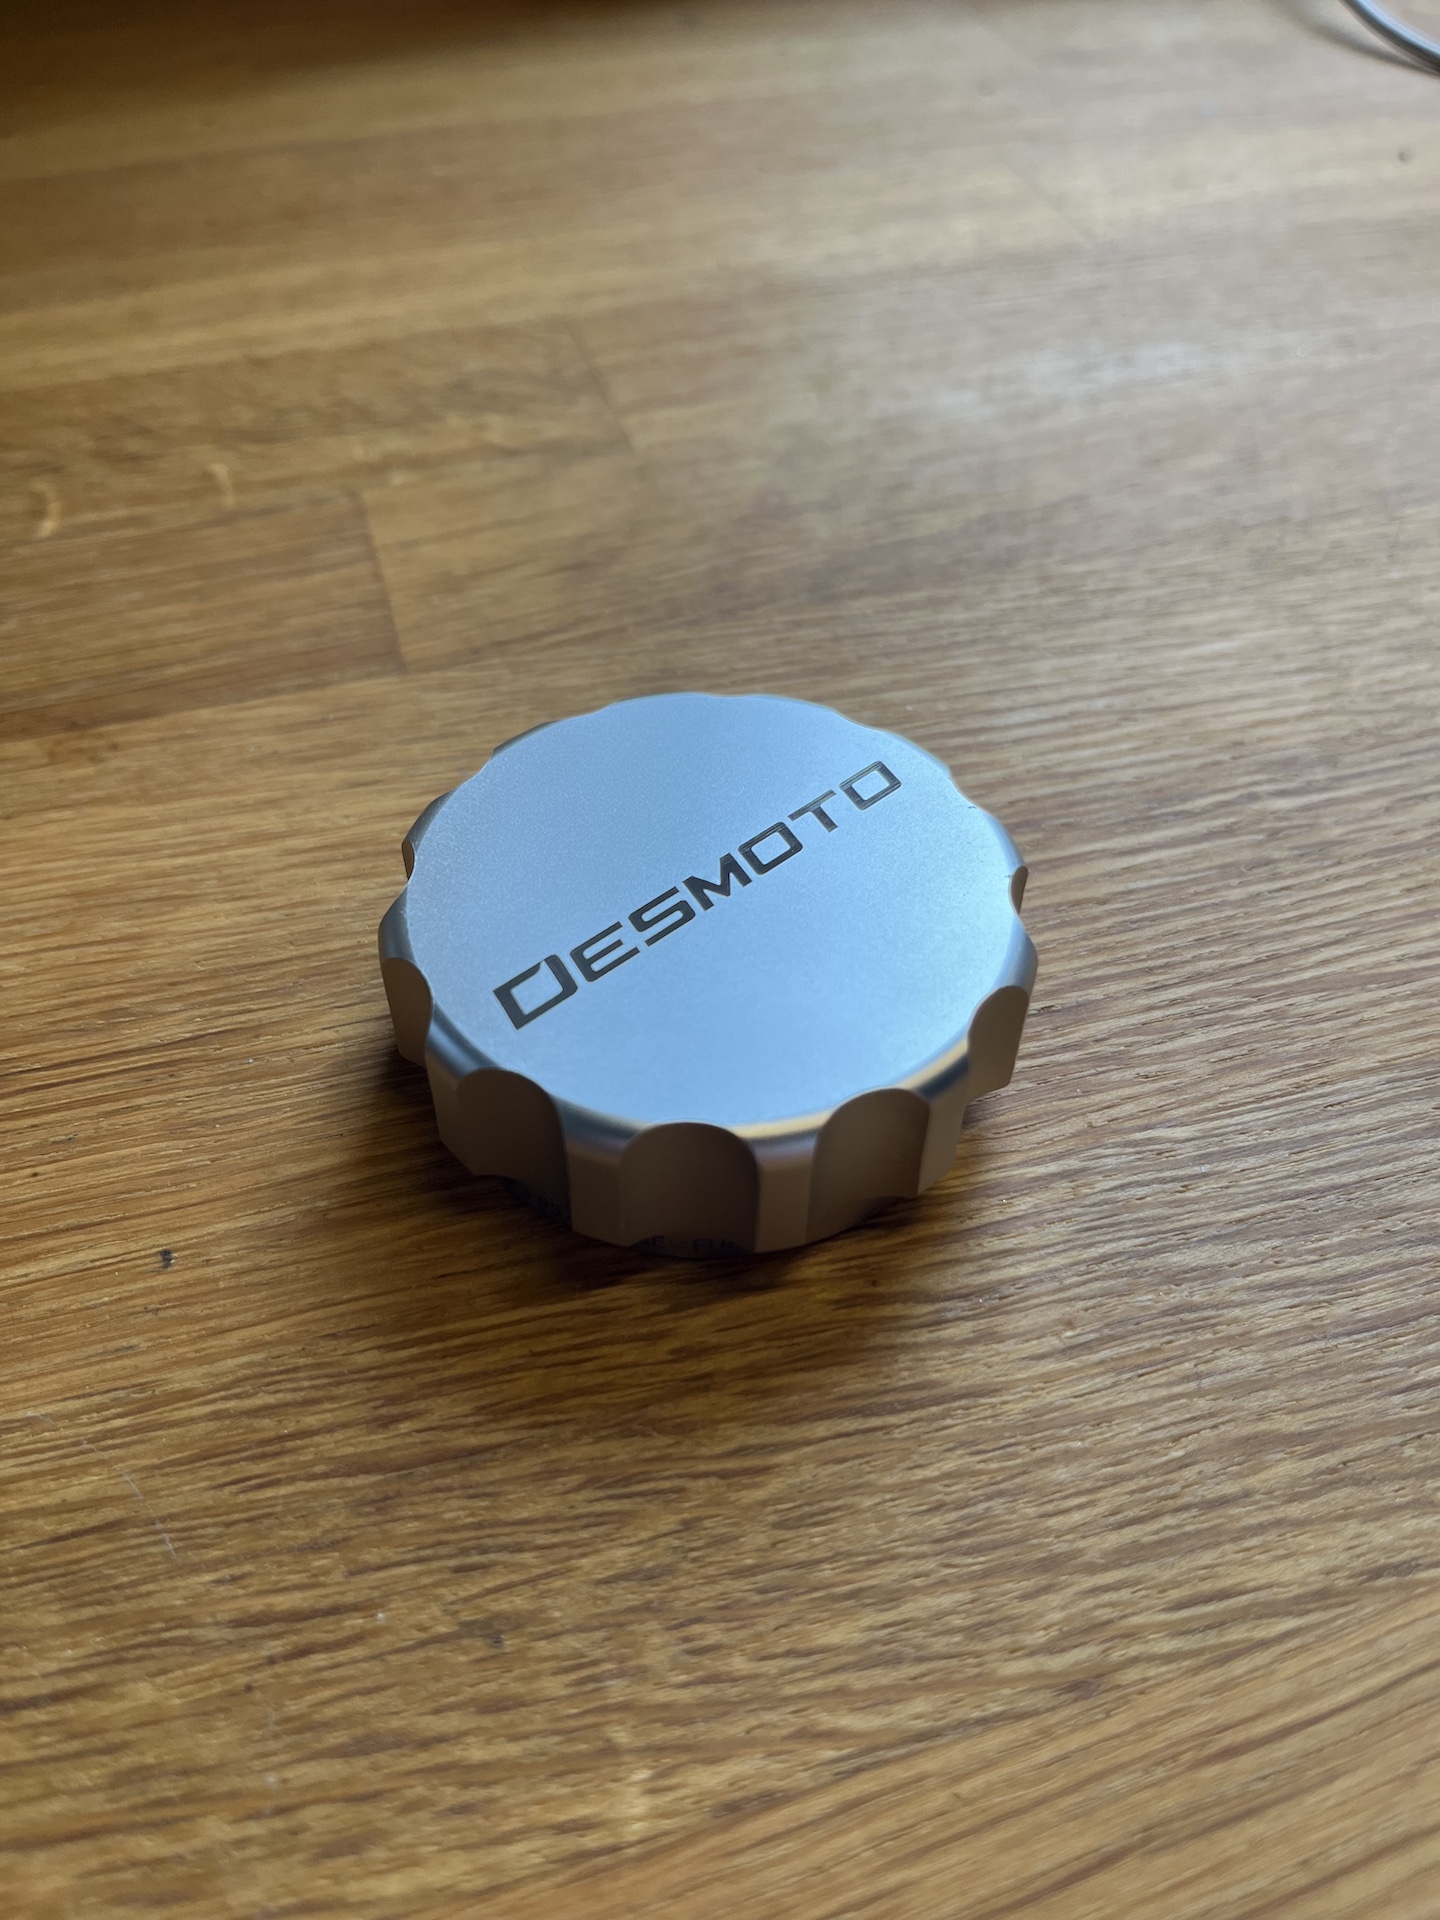
Also engraved the aluminium fuel cap with a final touch on the side, 1.5mm fine lettering

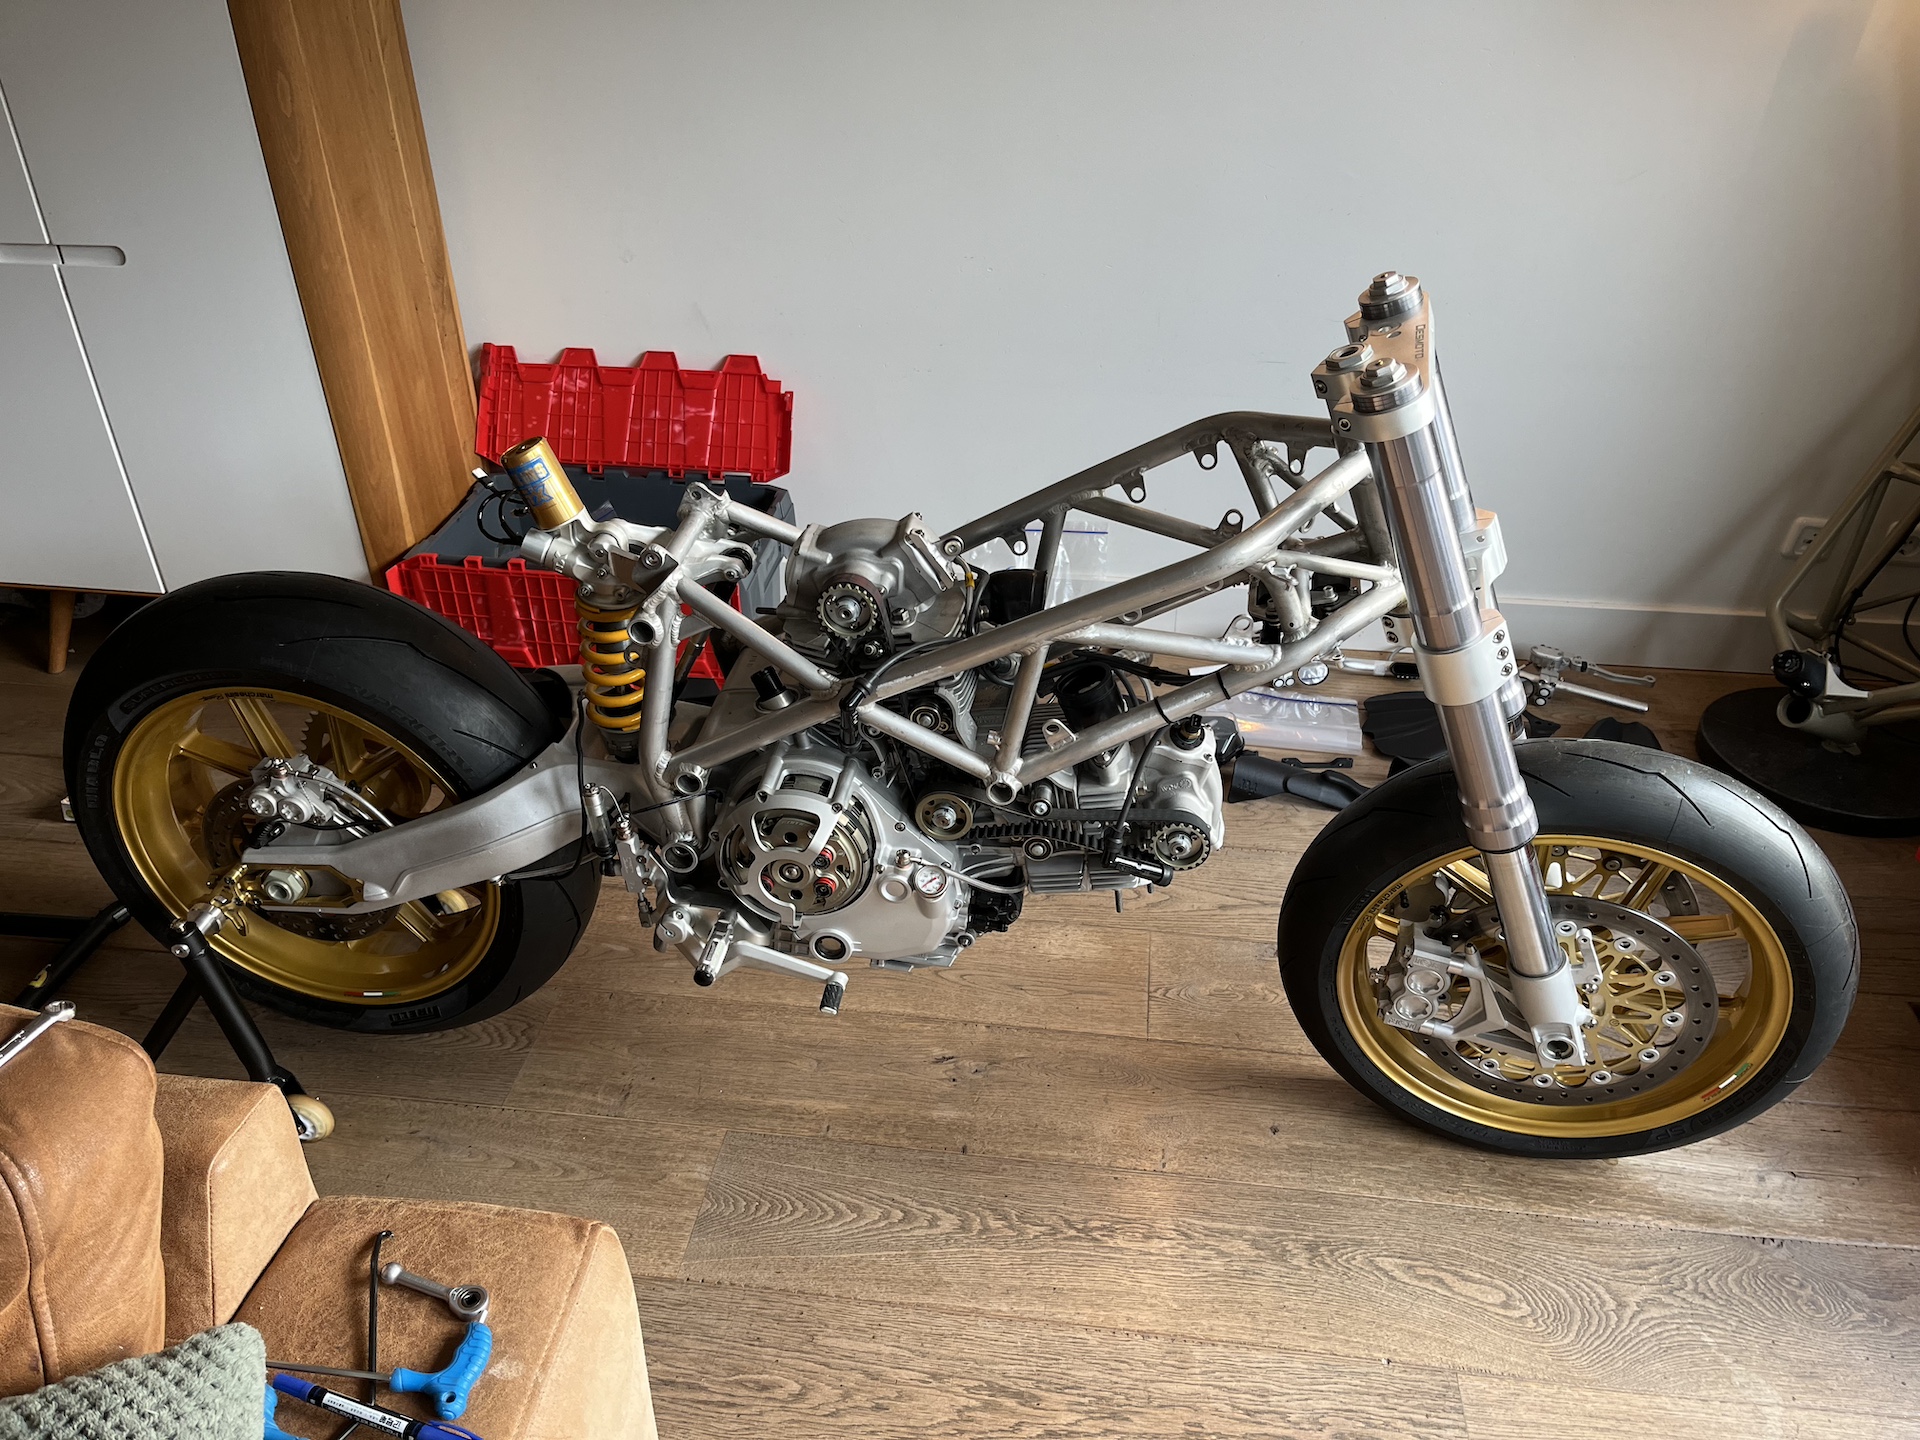
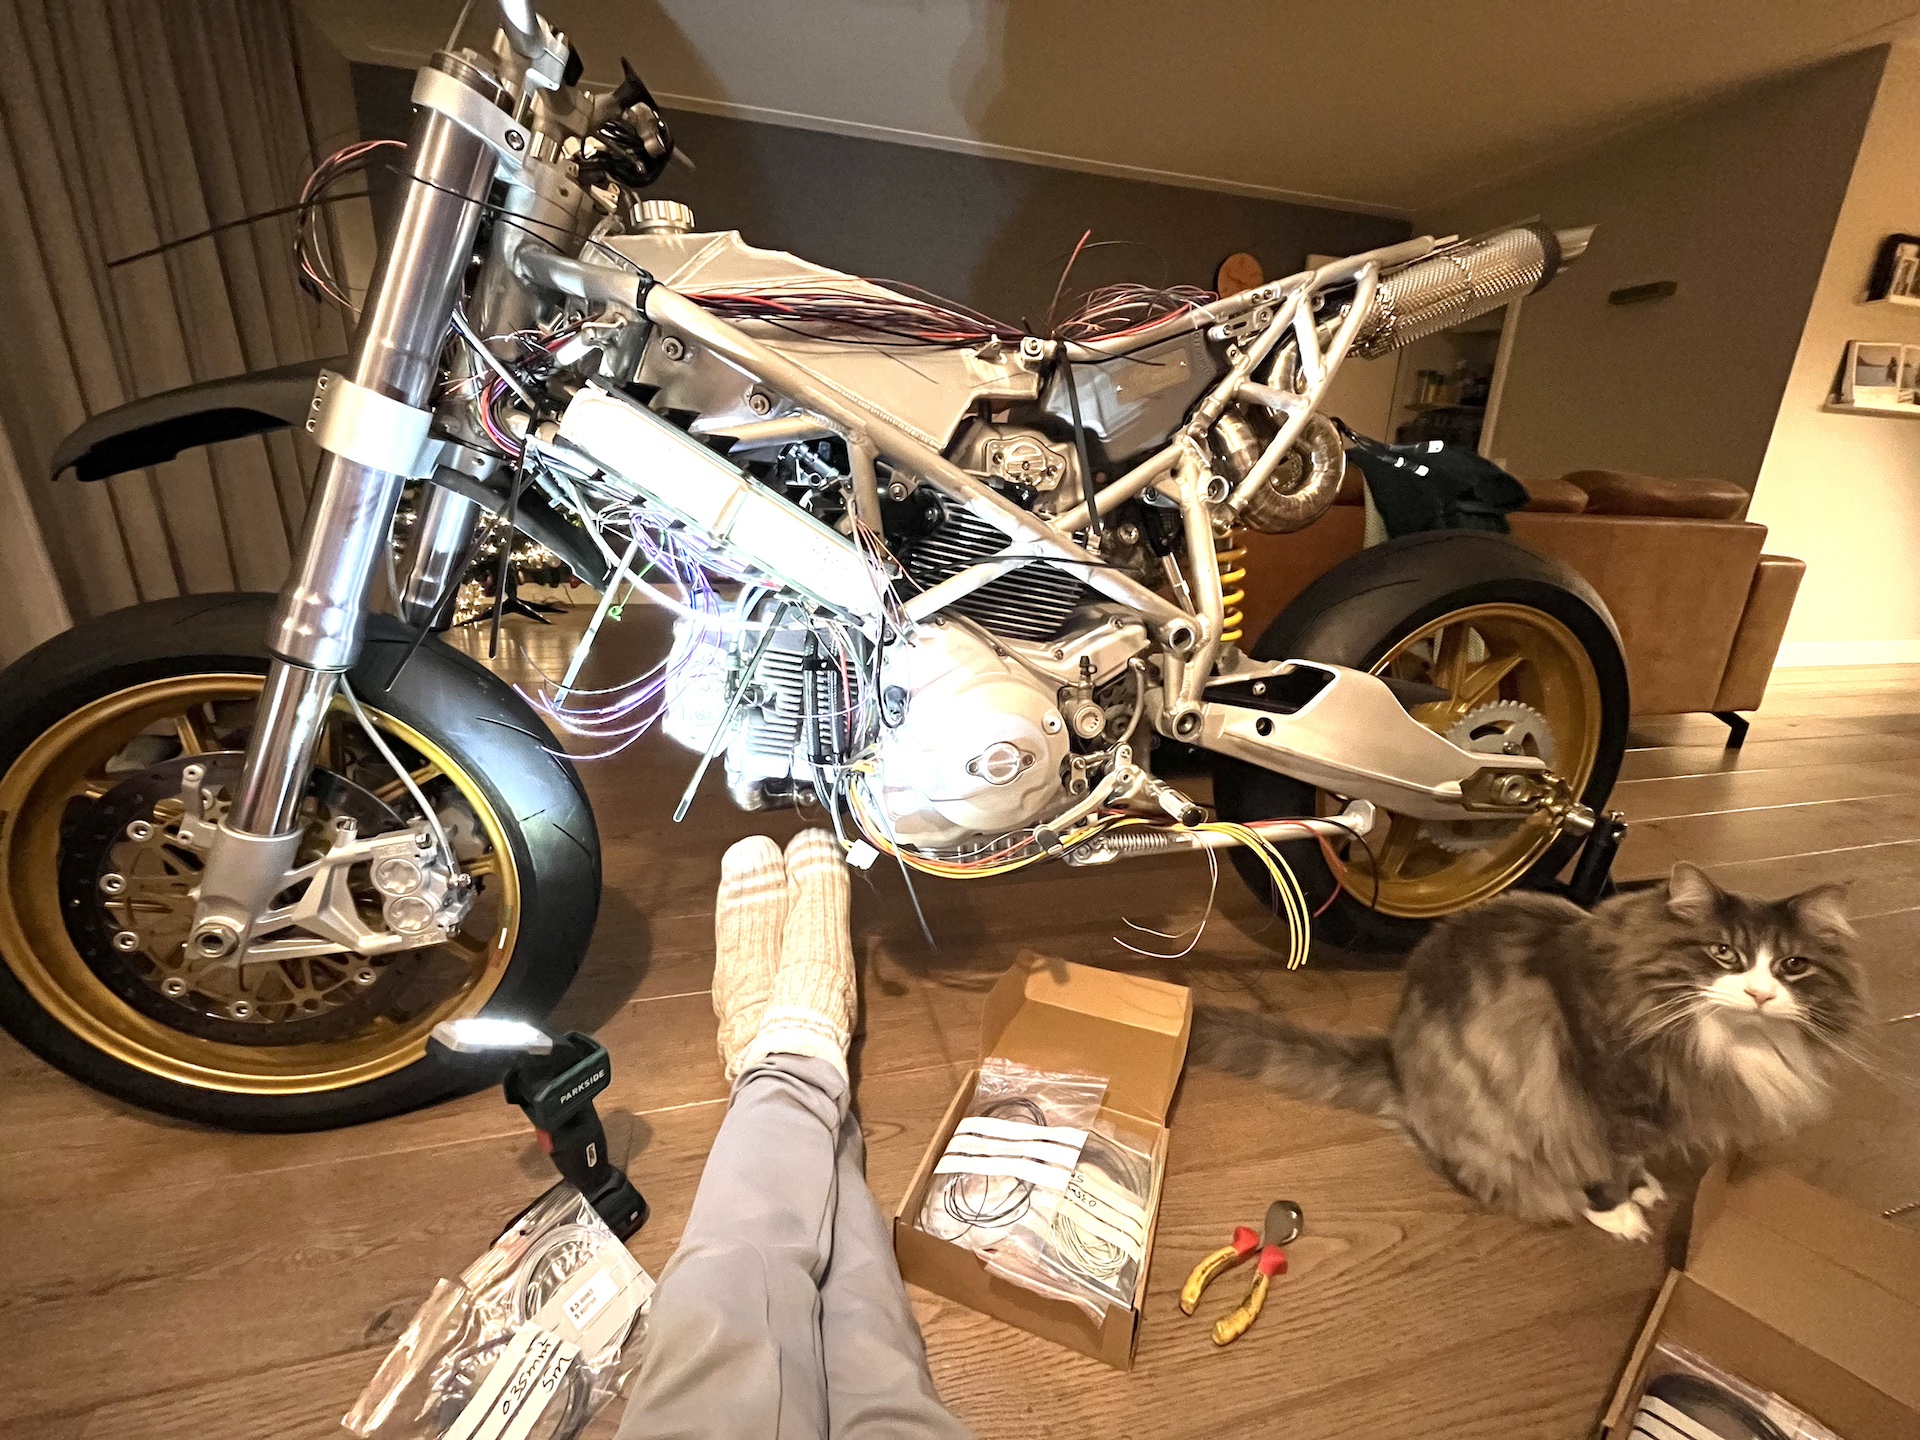
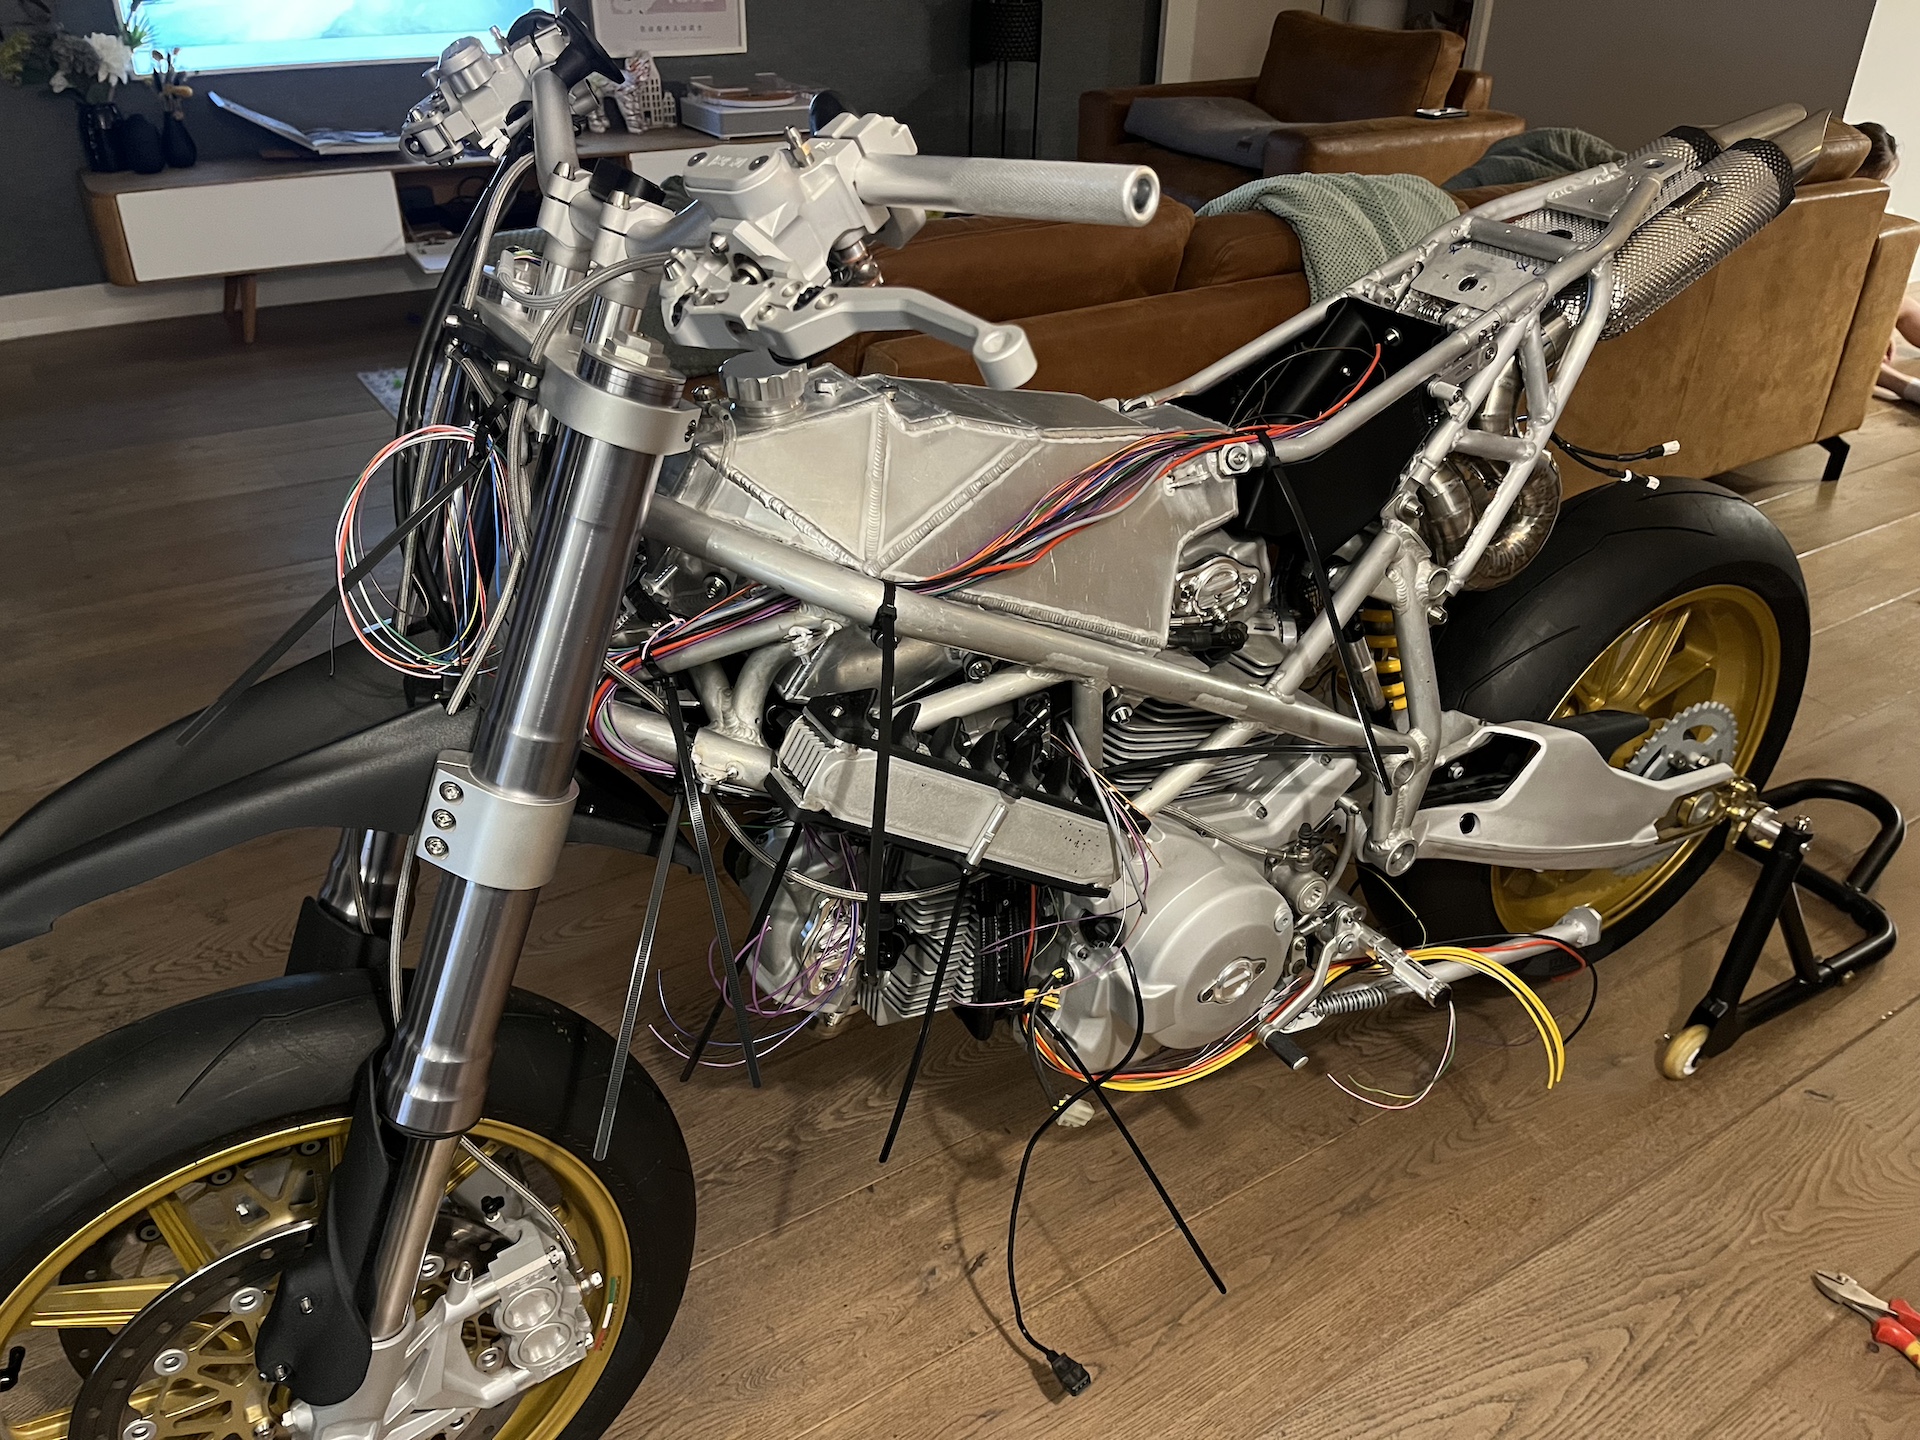
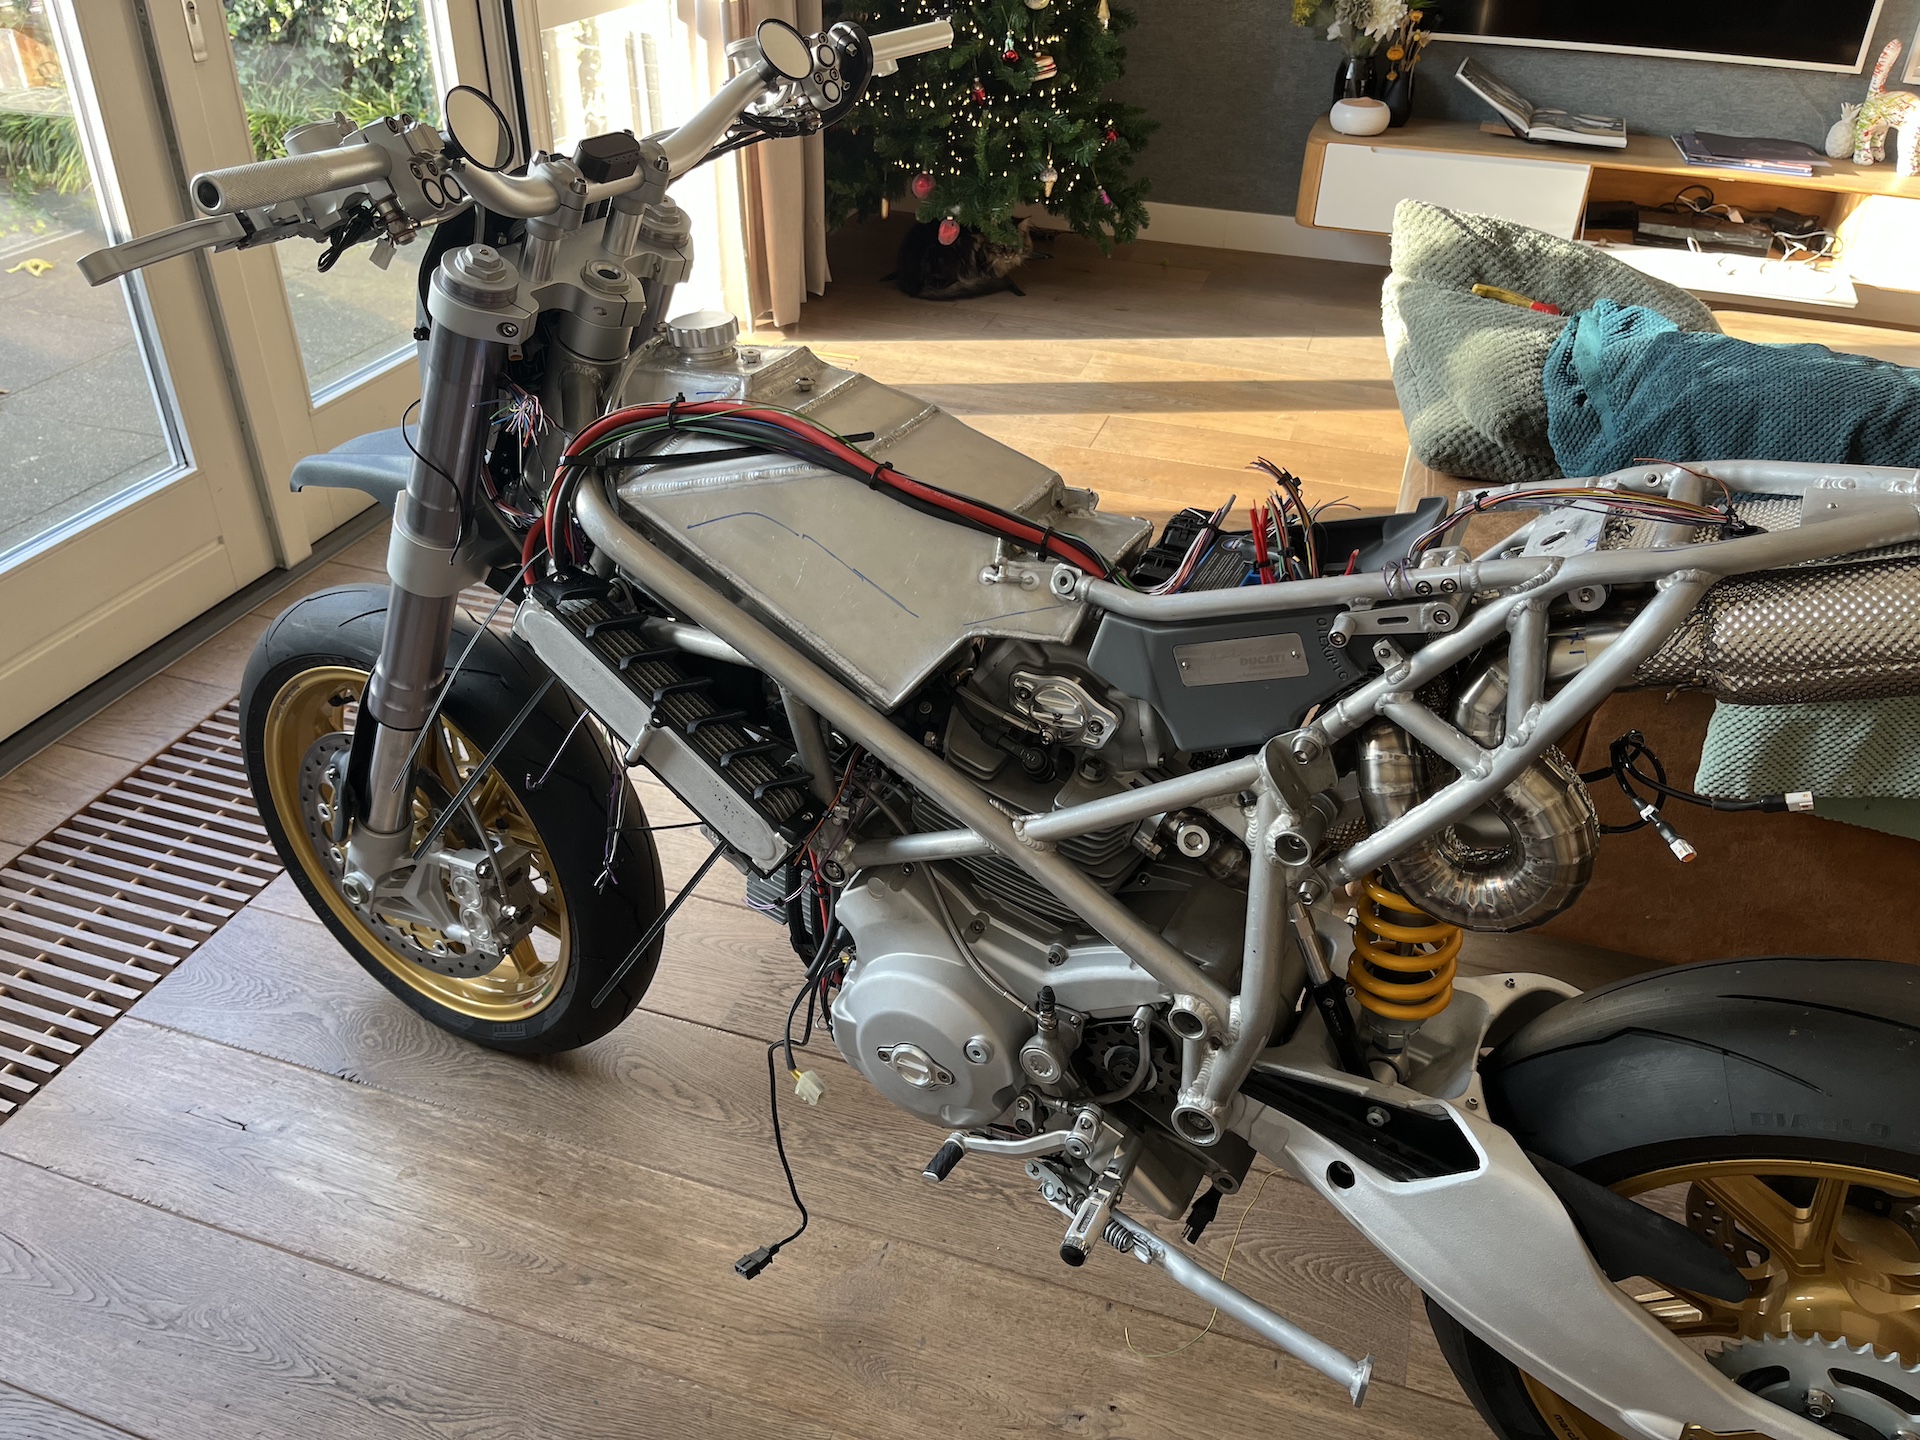
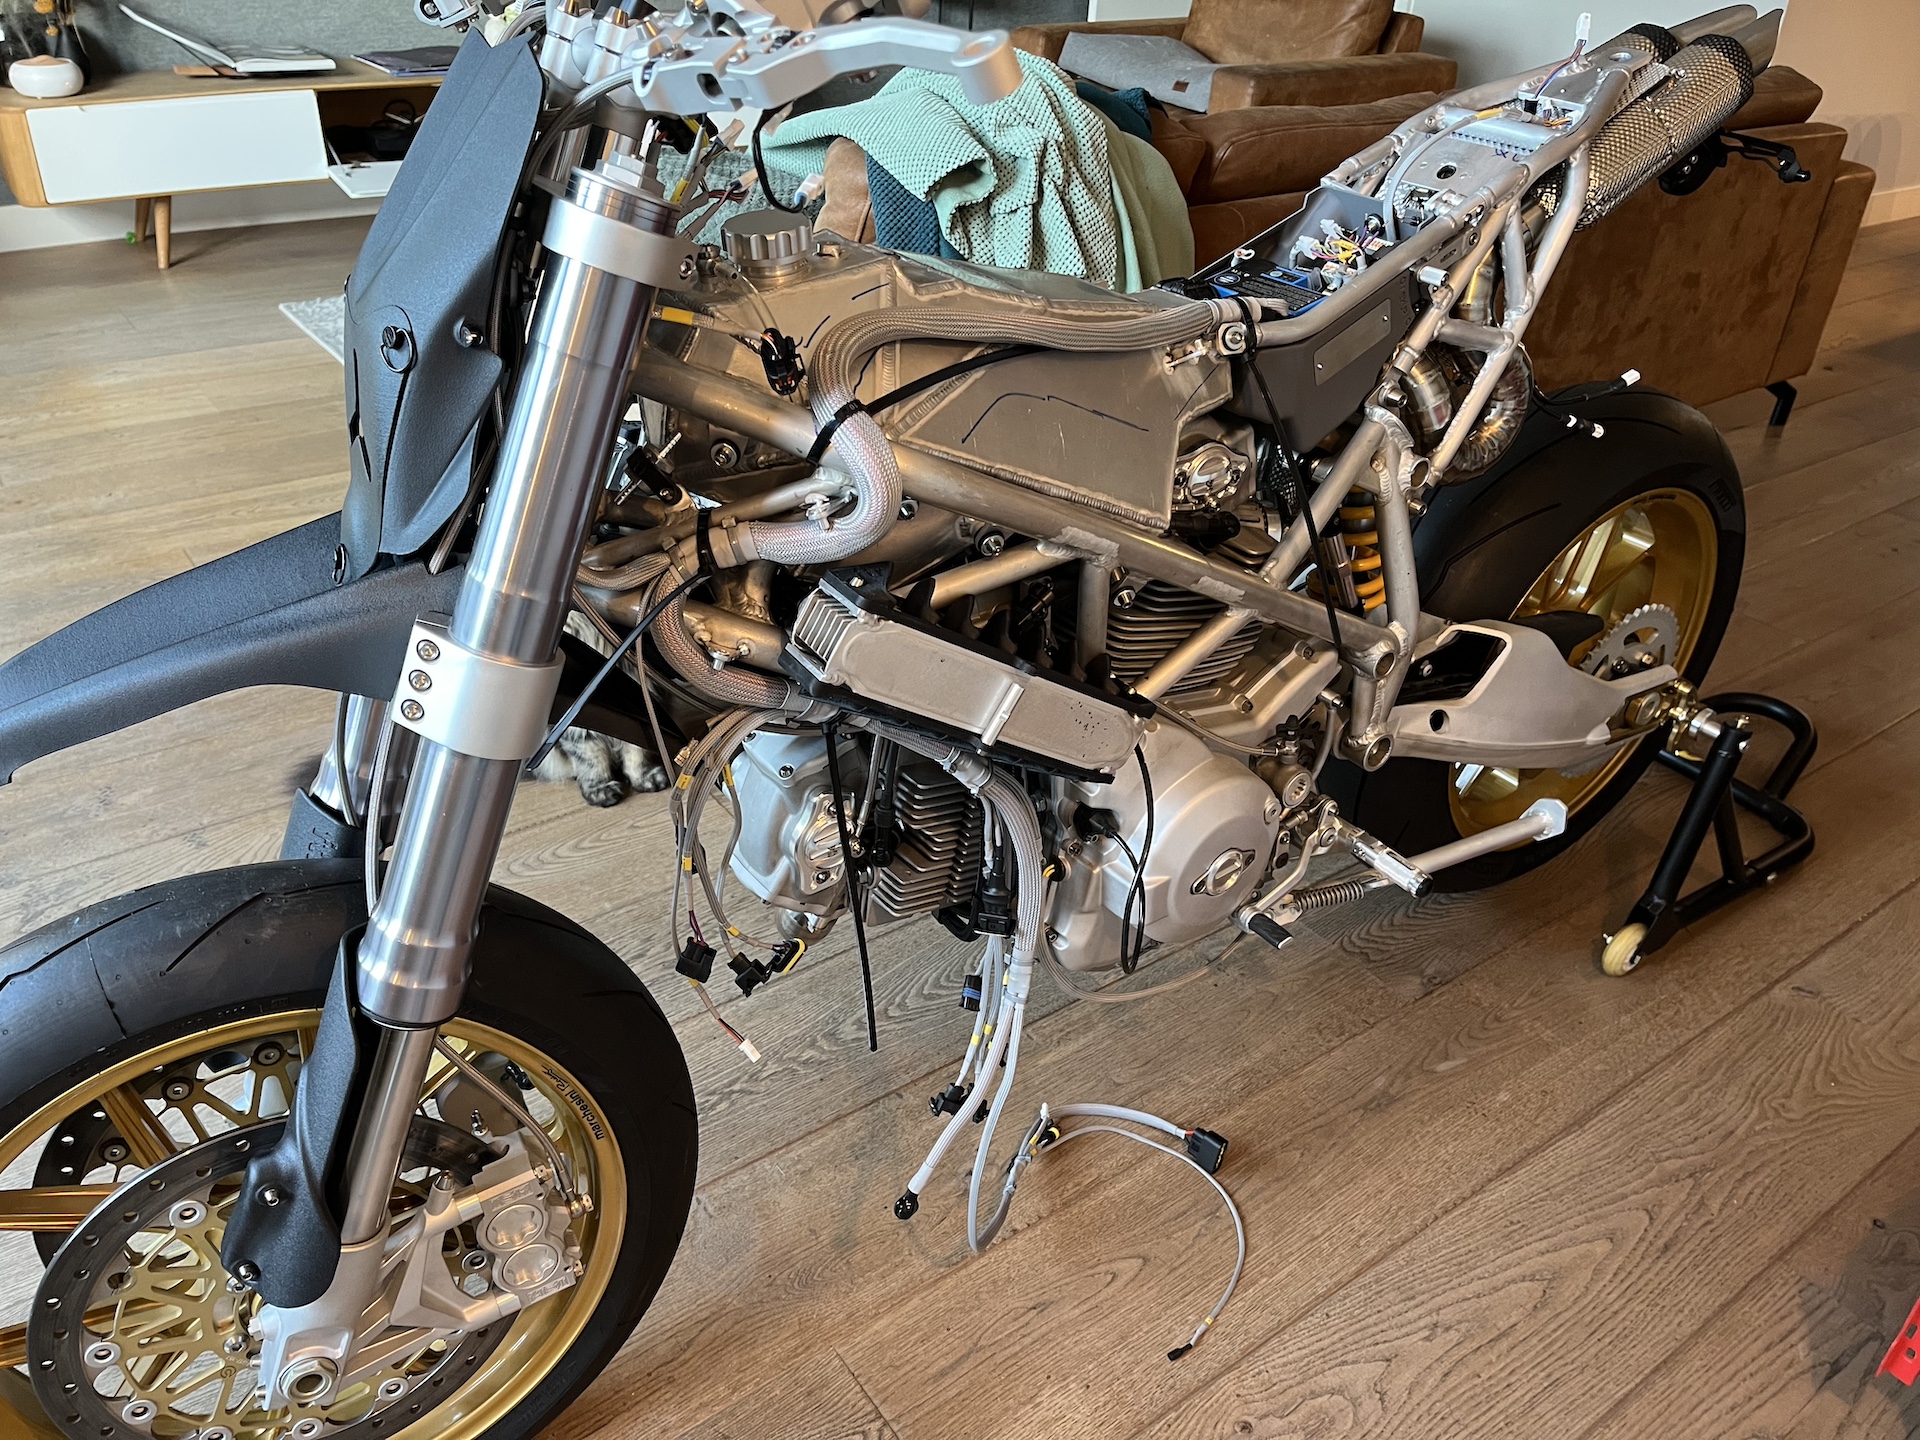
FINAL REBUILD
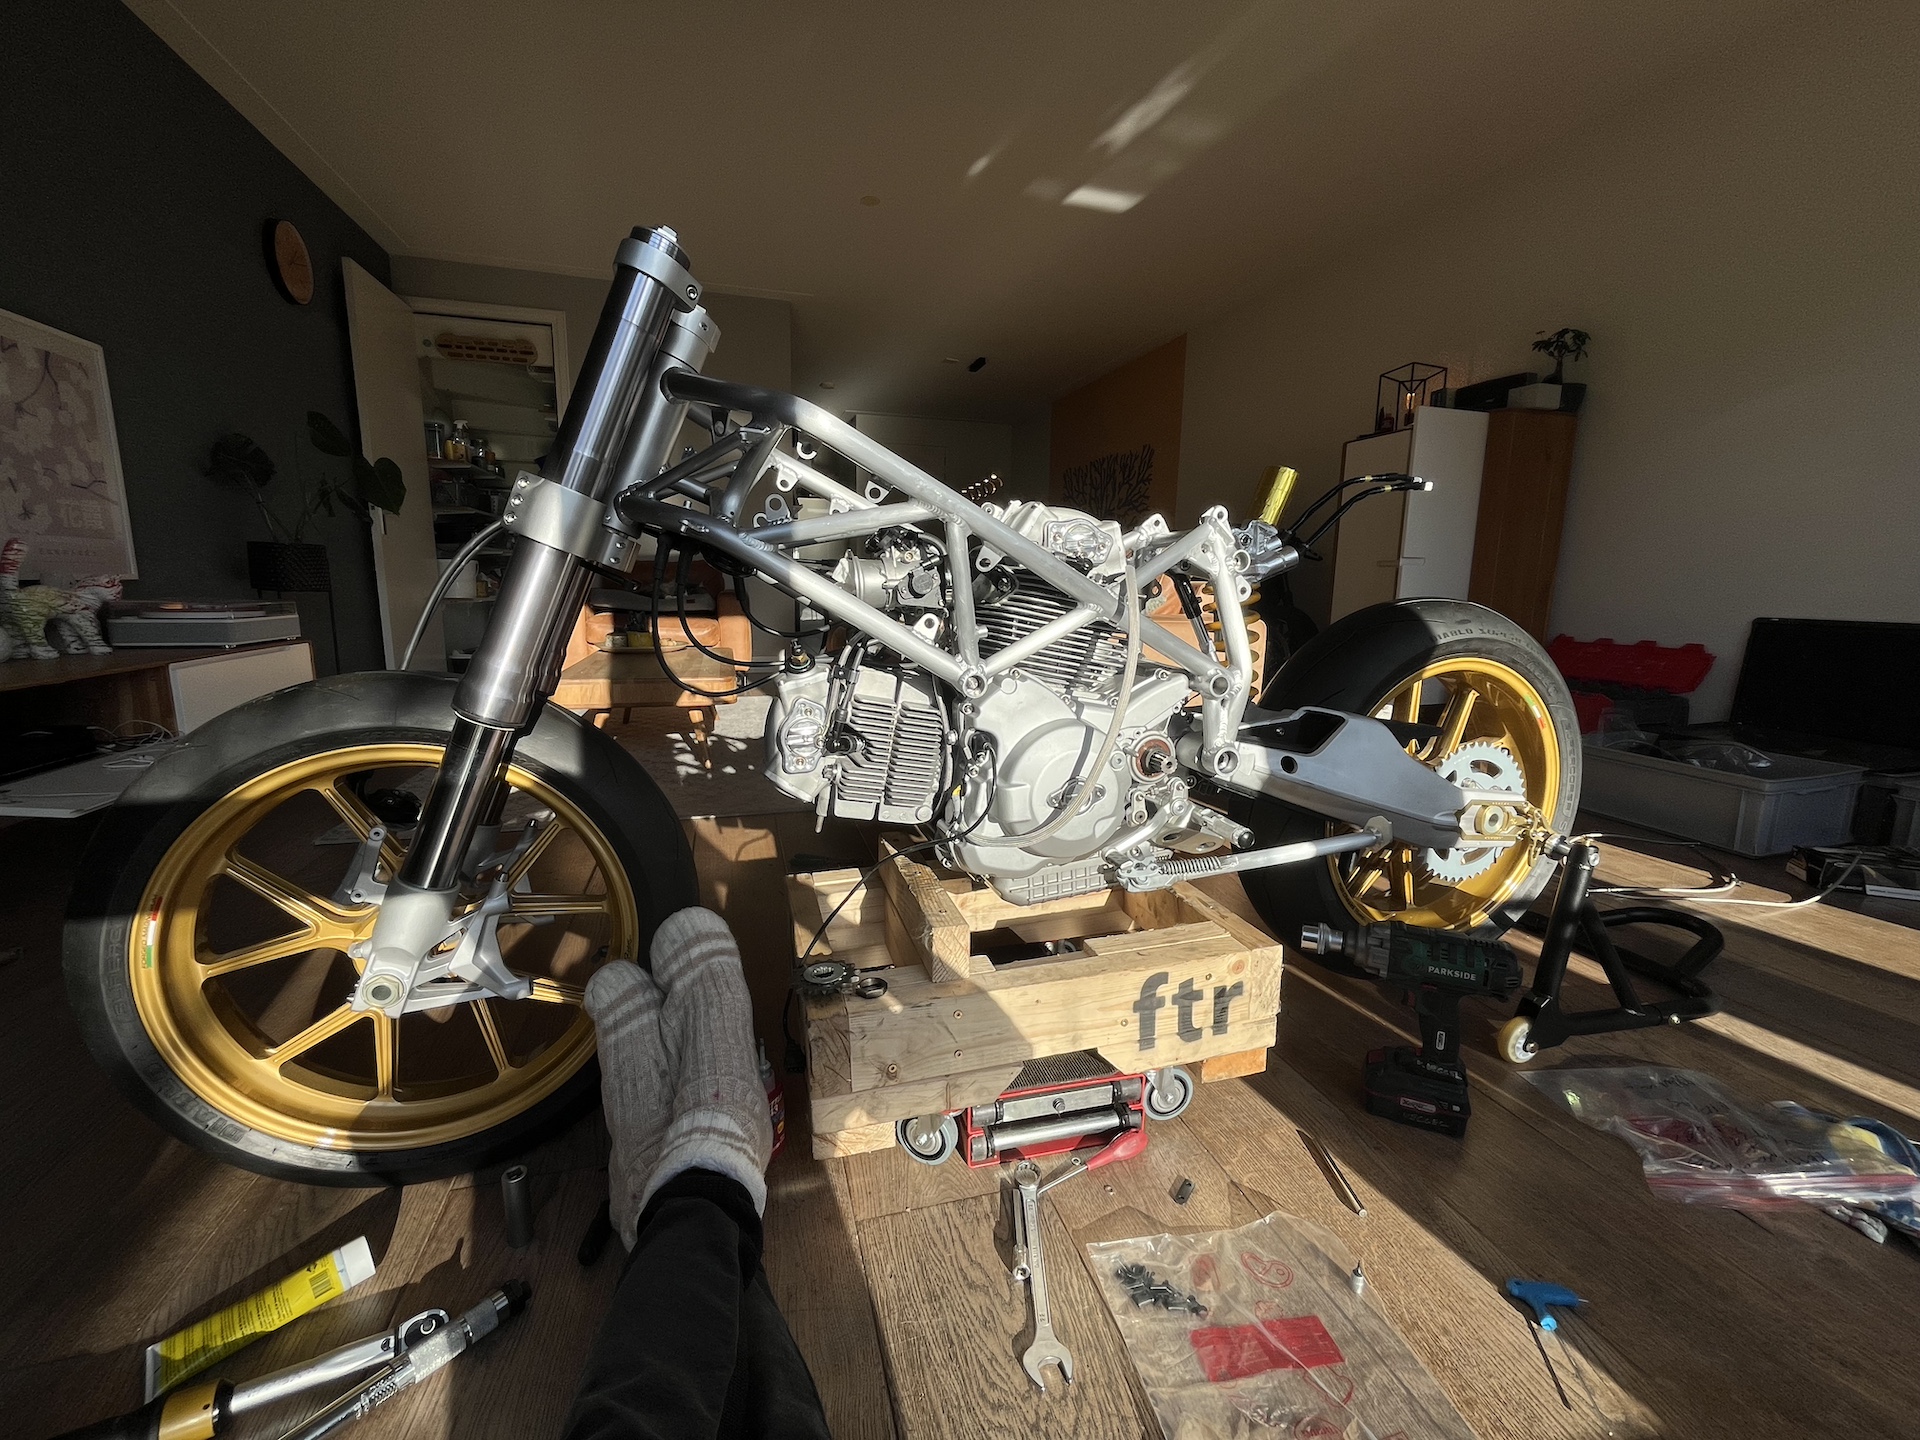
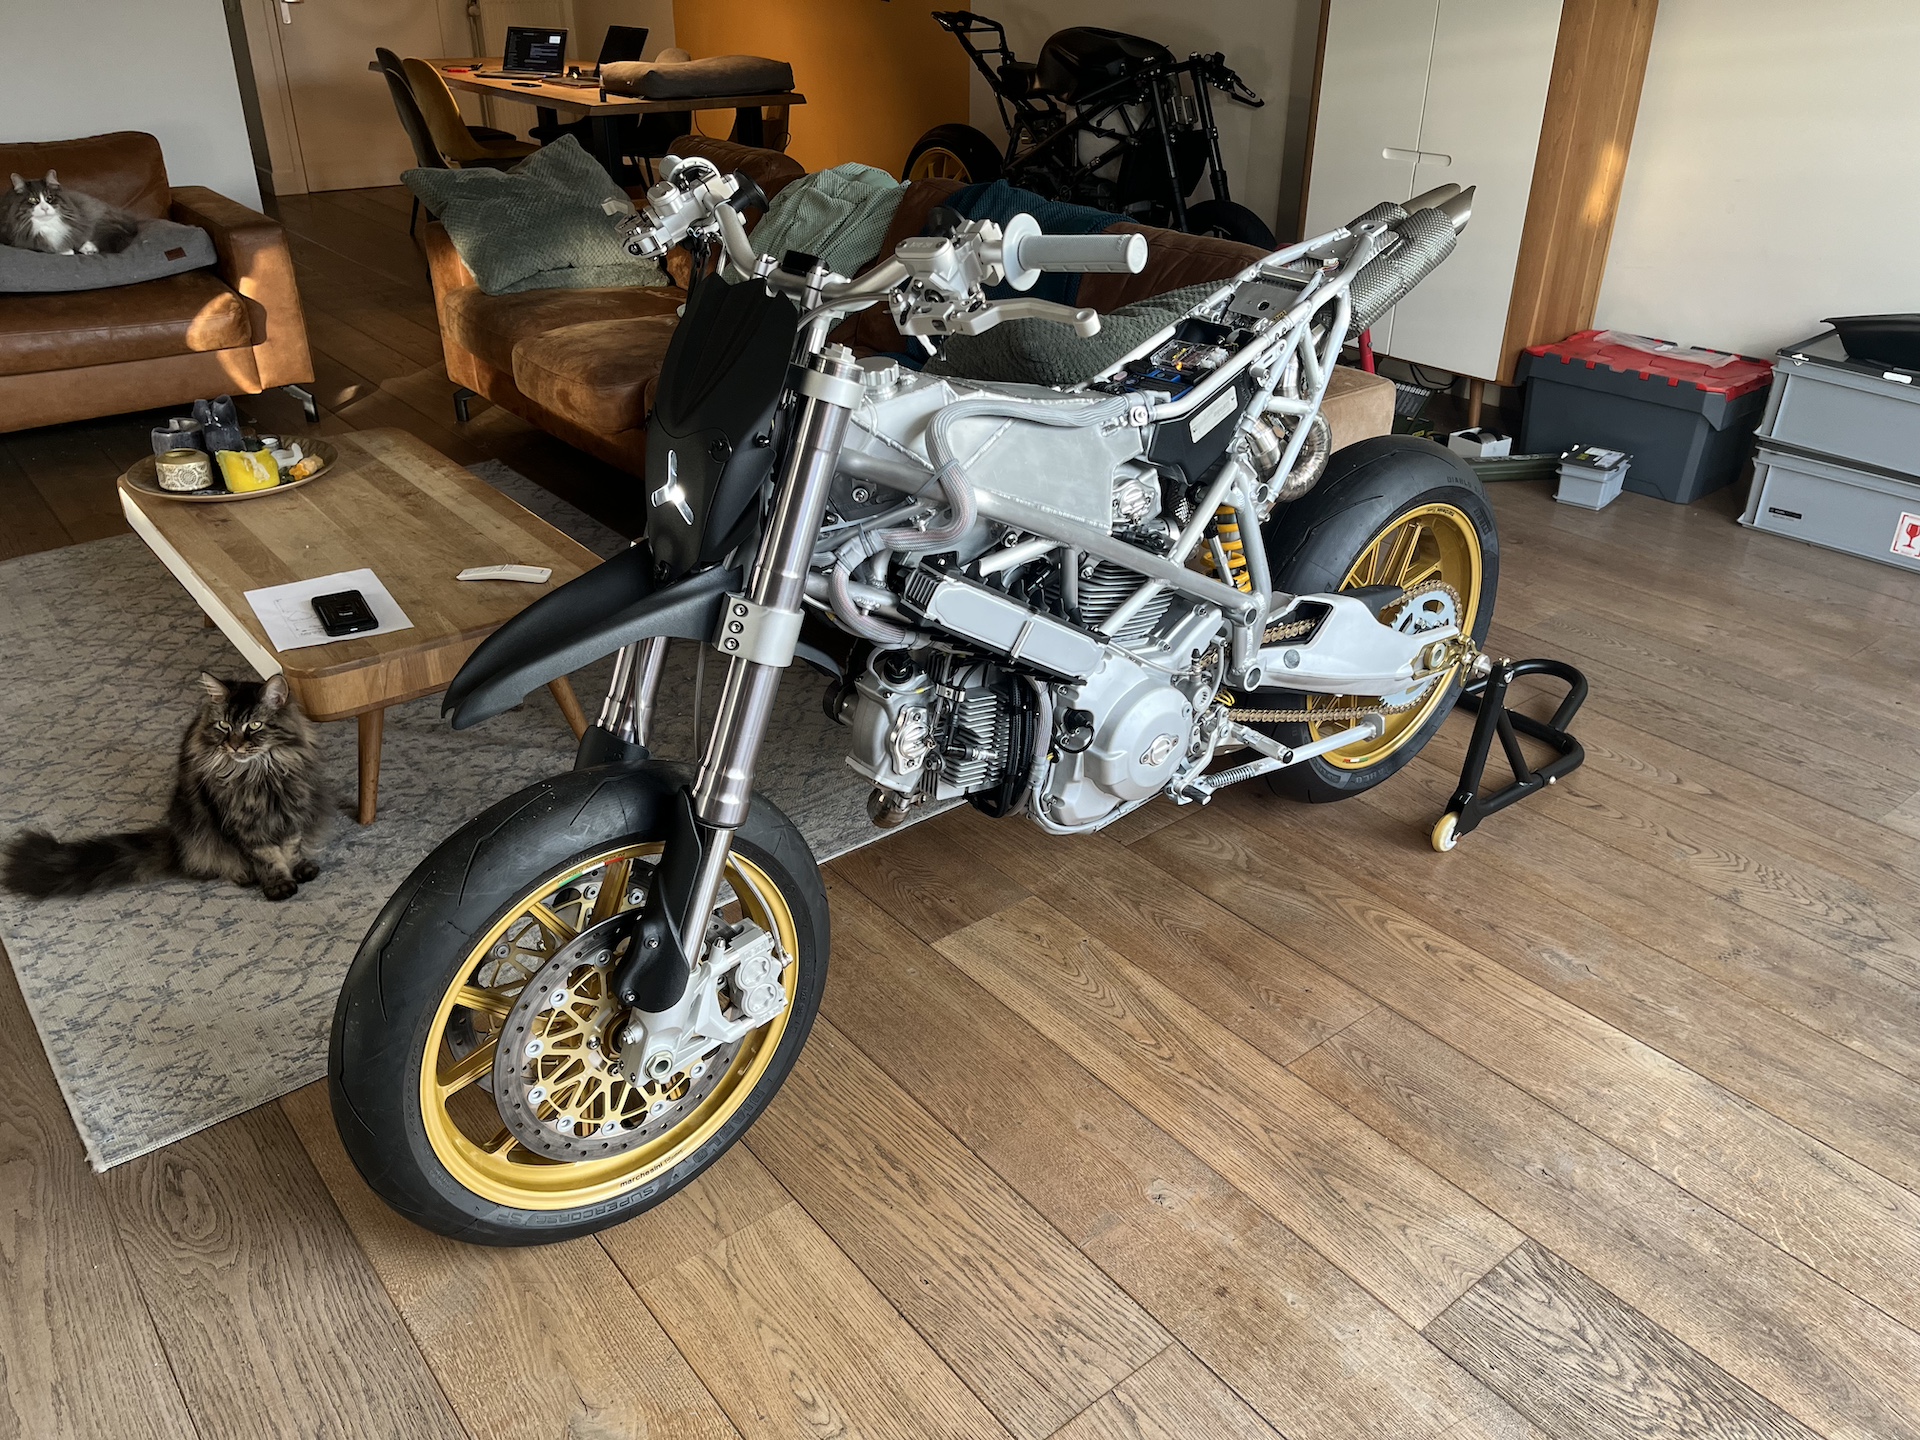
The final rebuild of the Ducati Desmoto has begun 🔥!! Calm and easy does it, rebuilding in my living room… 13 days until firing it up for the first time… Full throttle is “F*ck it” I am losing my license…
I did an engine rebuild last week to make sure I am happy with everything! Made a few minor changes tolerance wise on the gearbox and camshaft/valves.
Almost ready for the Bike Shed Show 2026 in May!

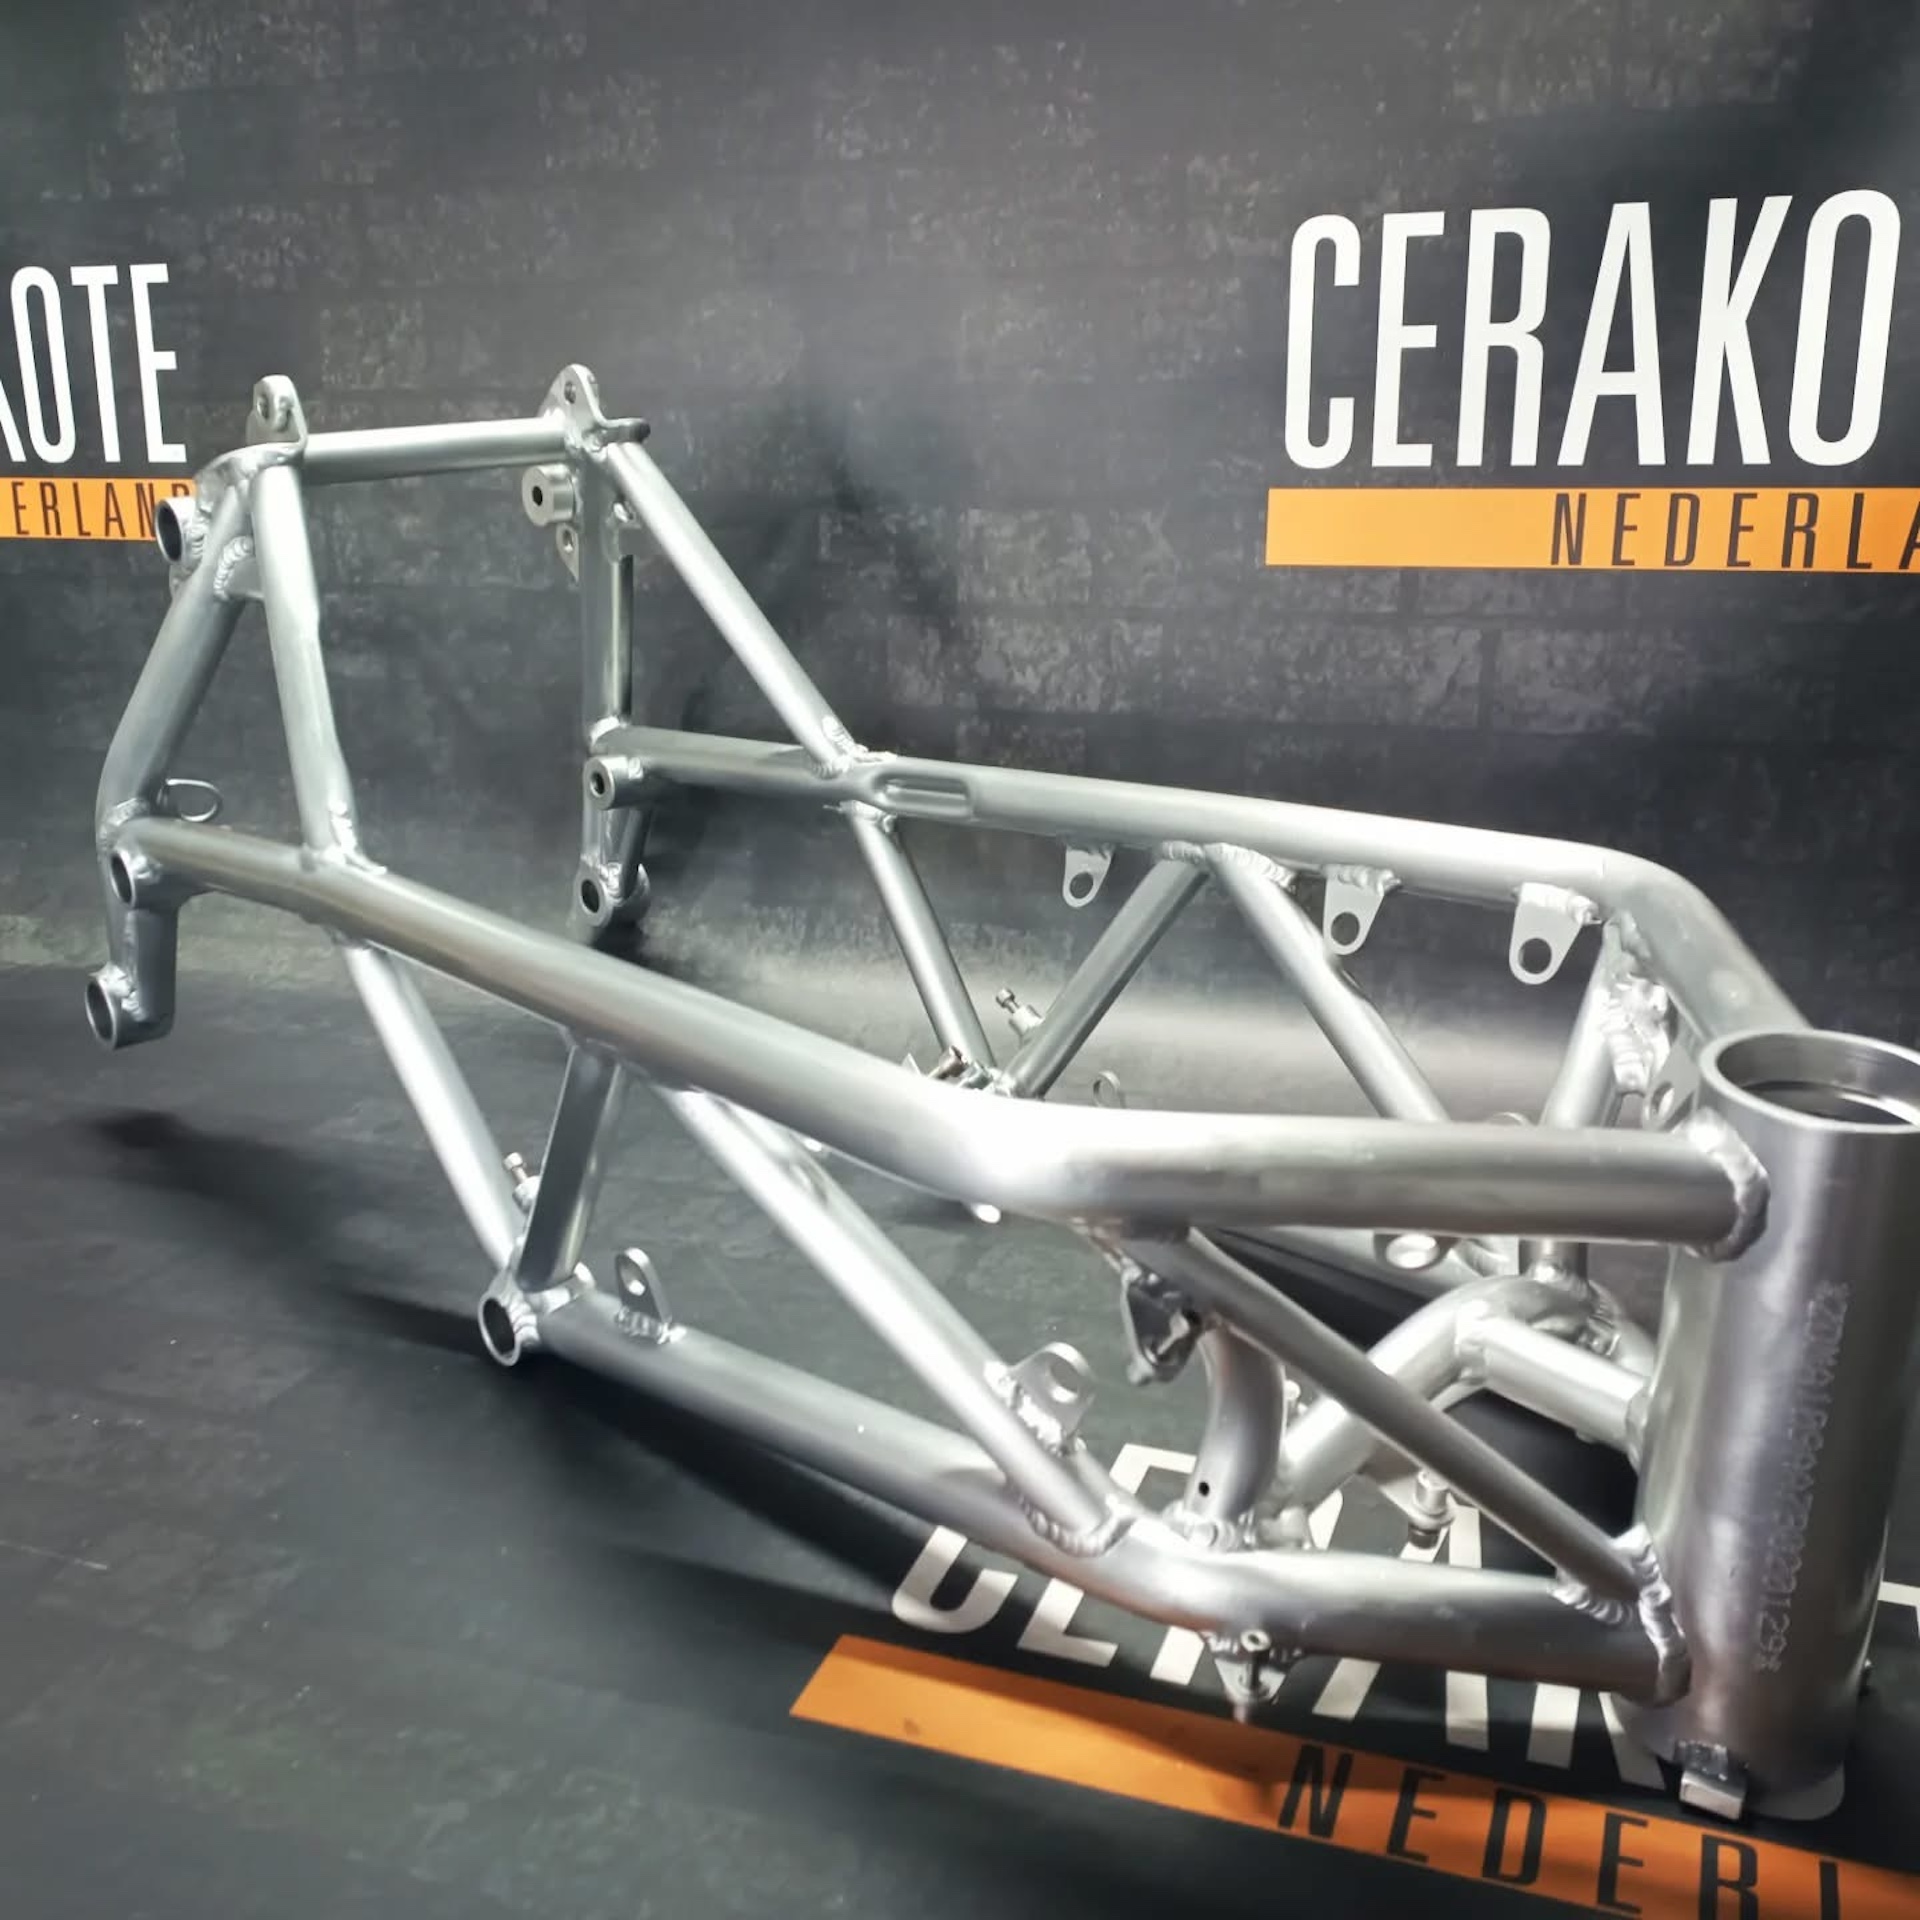
OH MY CERAKOTE!!
WOW!!
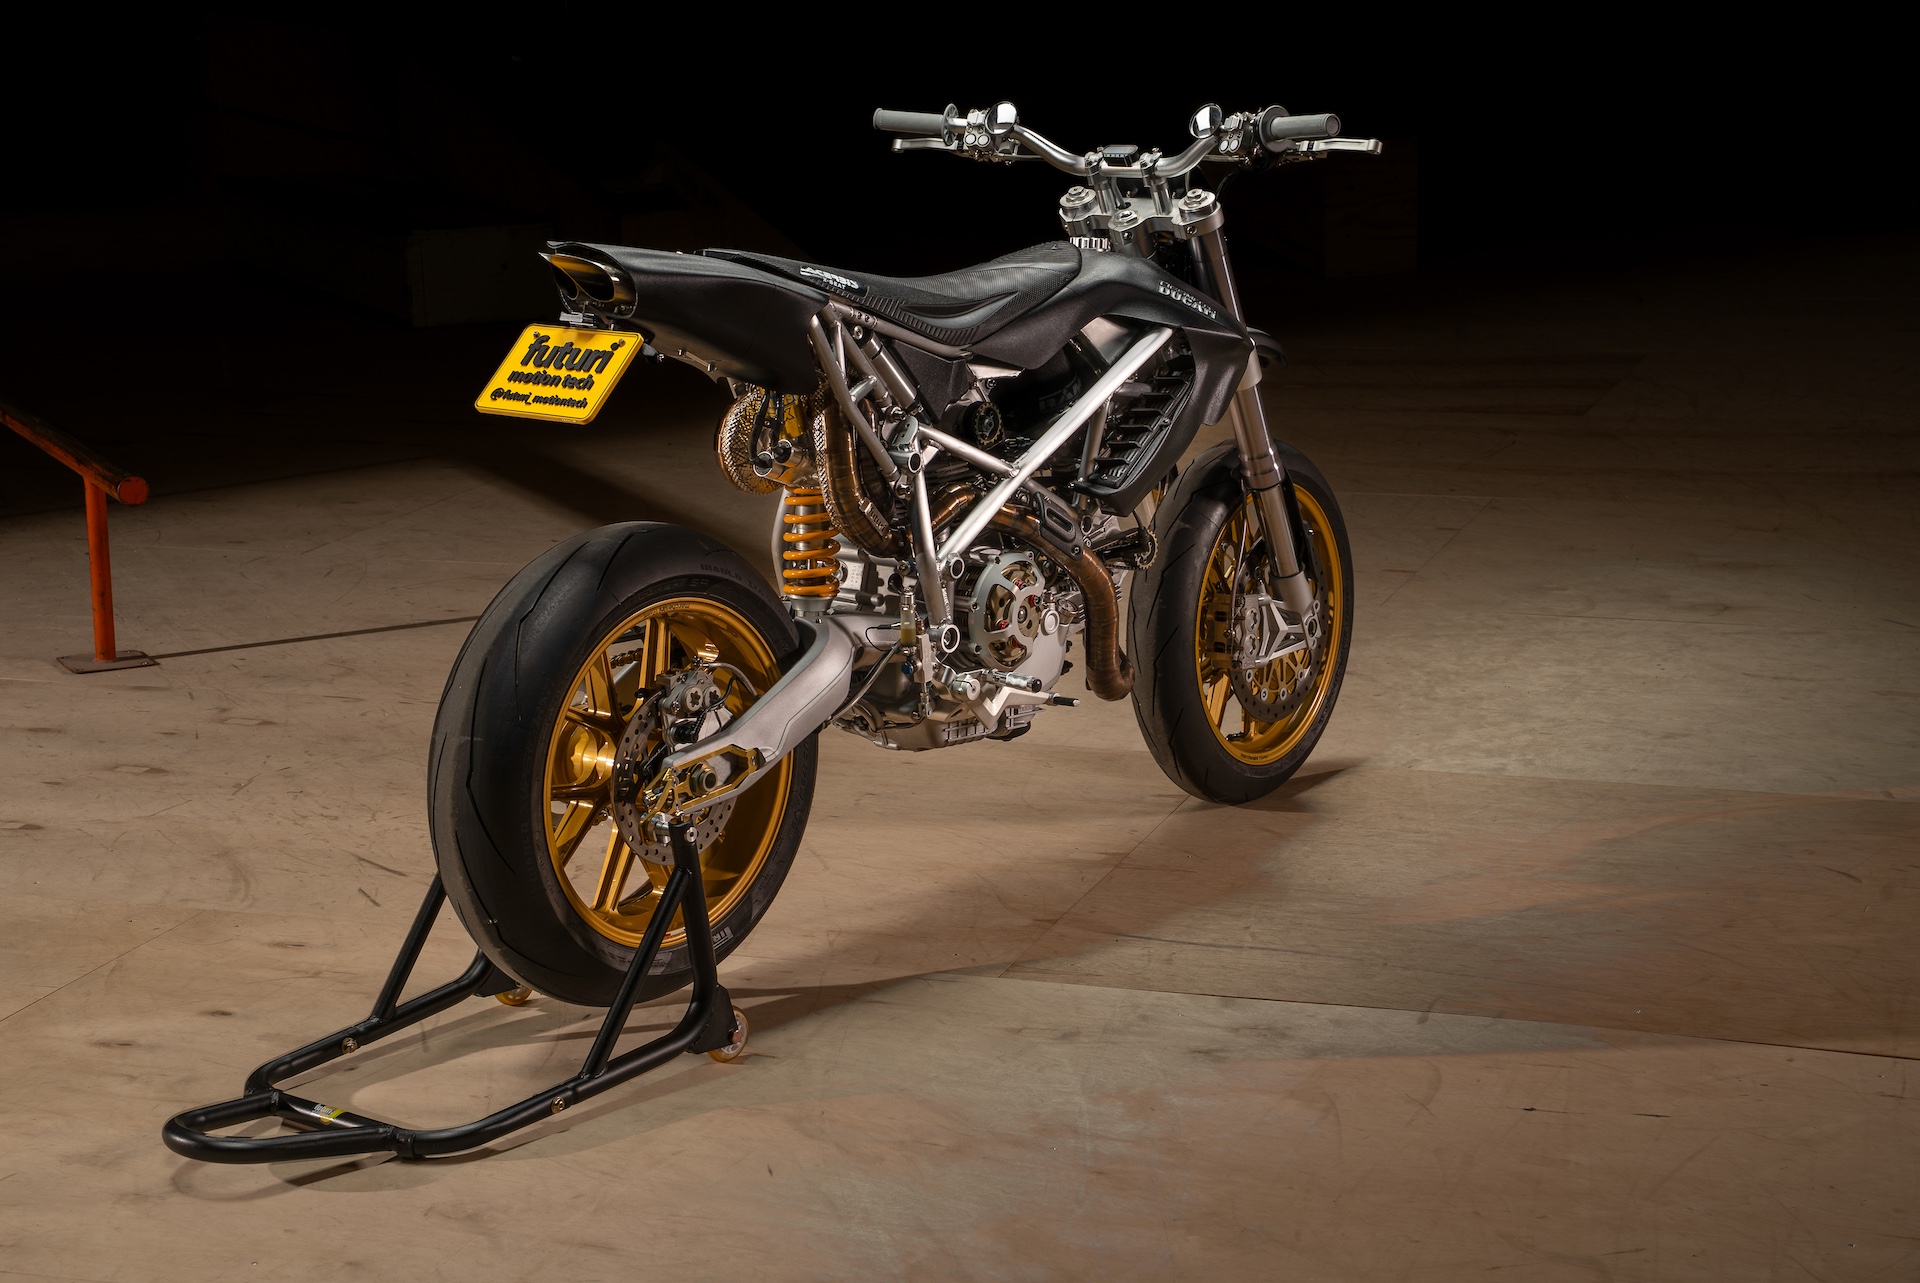
All the bare aluminium is brushed and coated in Clear Aluminium (MC-5100). Looks super slick in real life, with a very unique glow/shadow to it.
The exhaust is coated in Piston Coat (C-186) to reduce the radiation heat as much as possible, while the radiators and brake disc bobbins are coated in Glacier Silver (C-7700).
A special thanks and mention to Cerakote Nederland for supporting this project and really delivering top quality work ❤️!
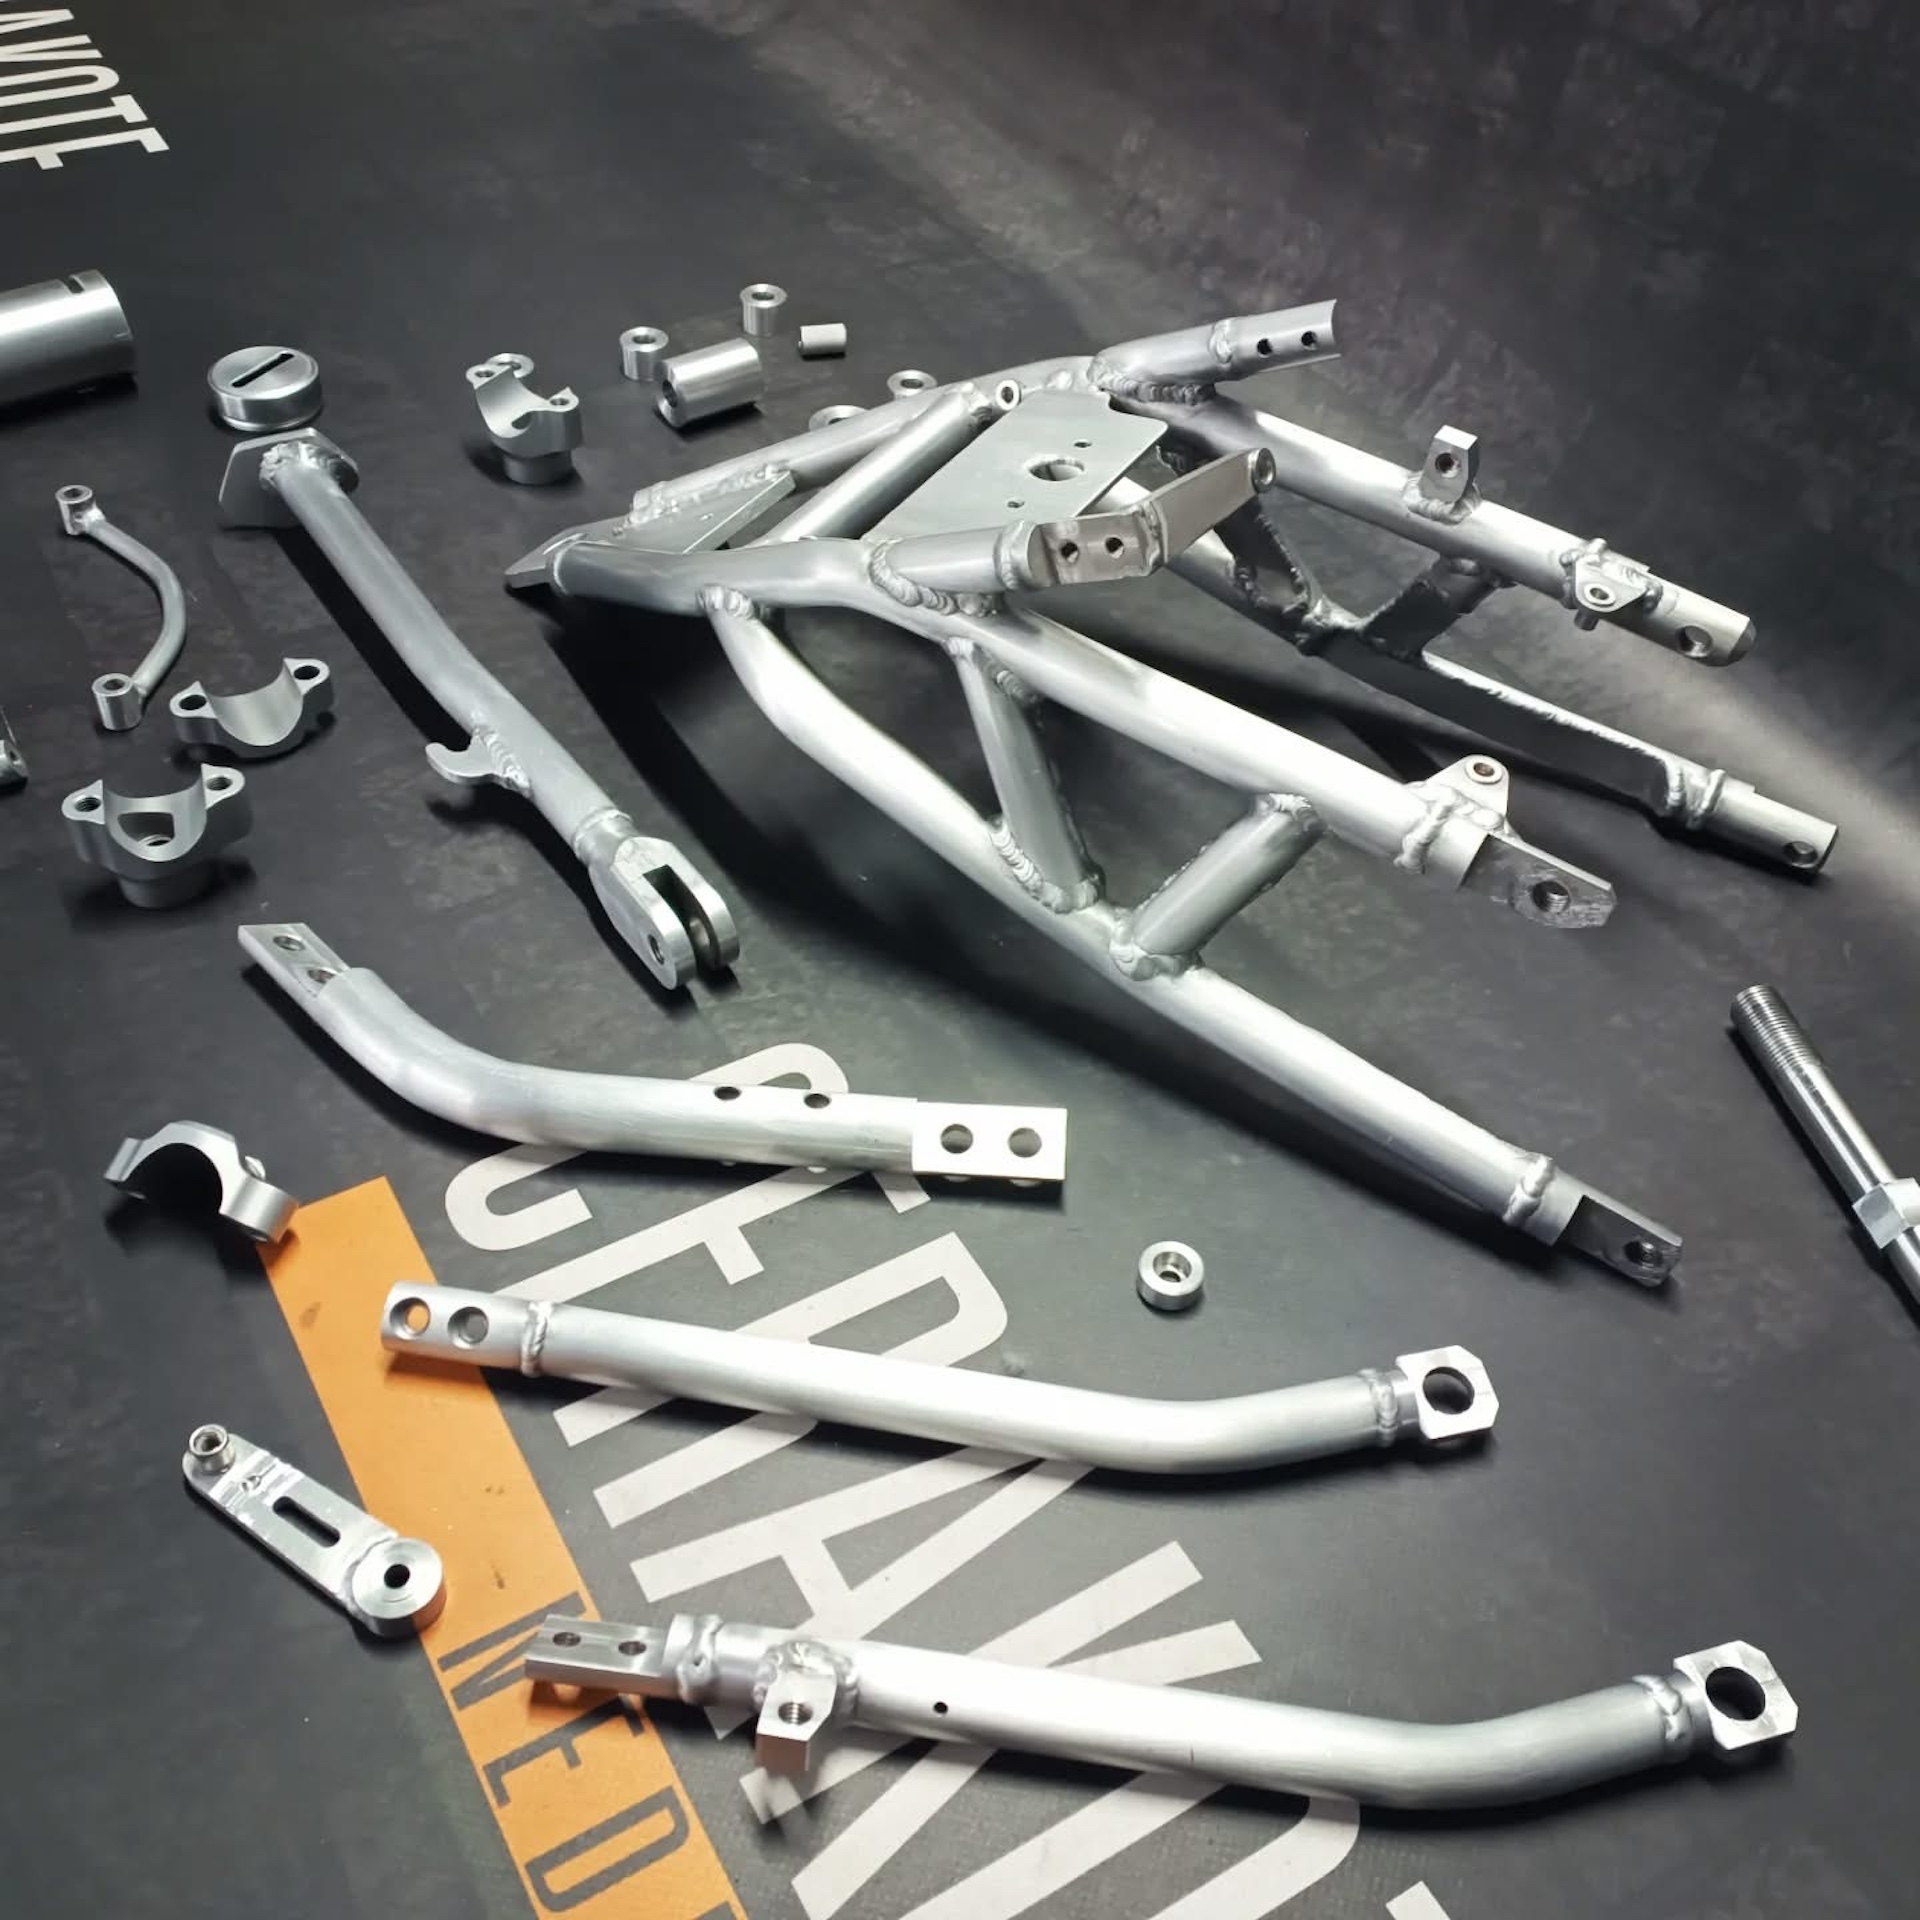
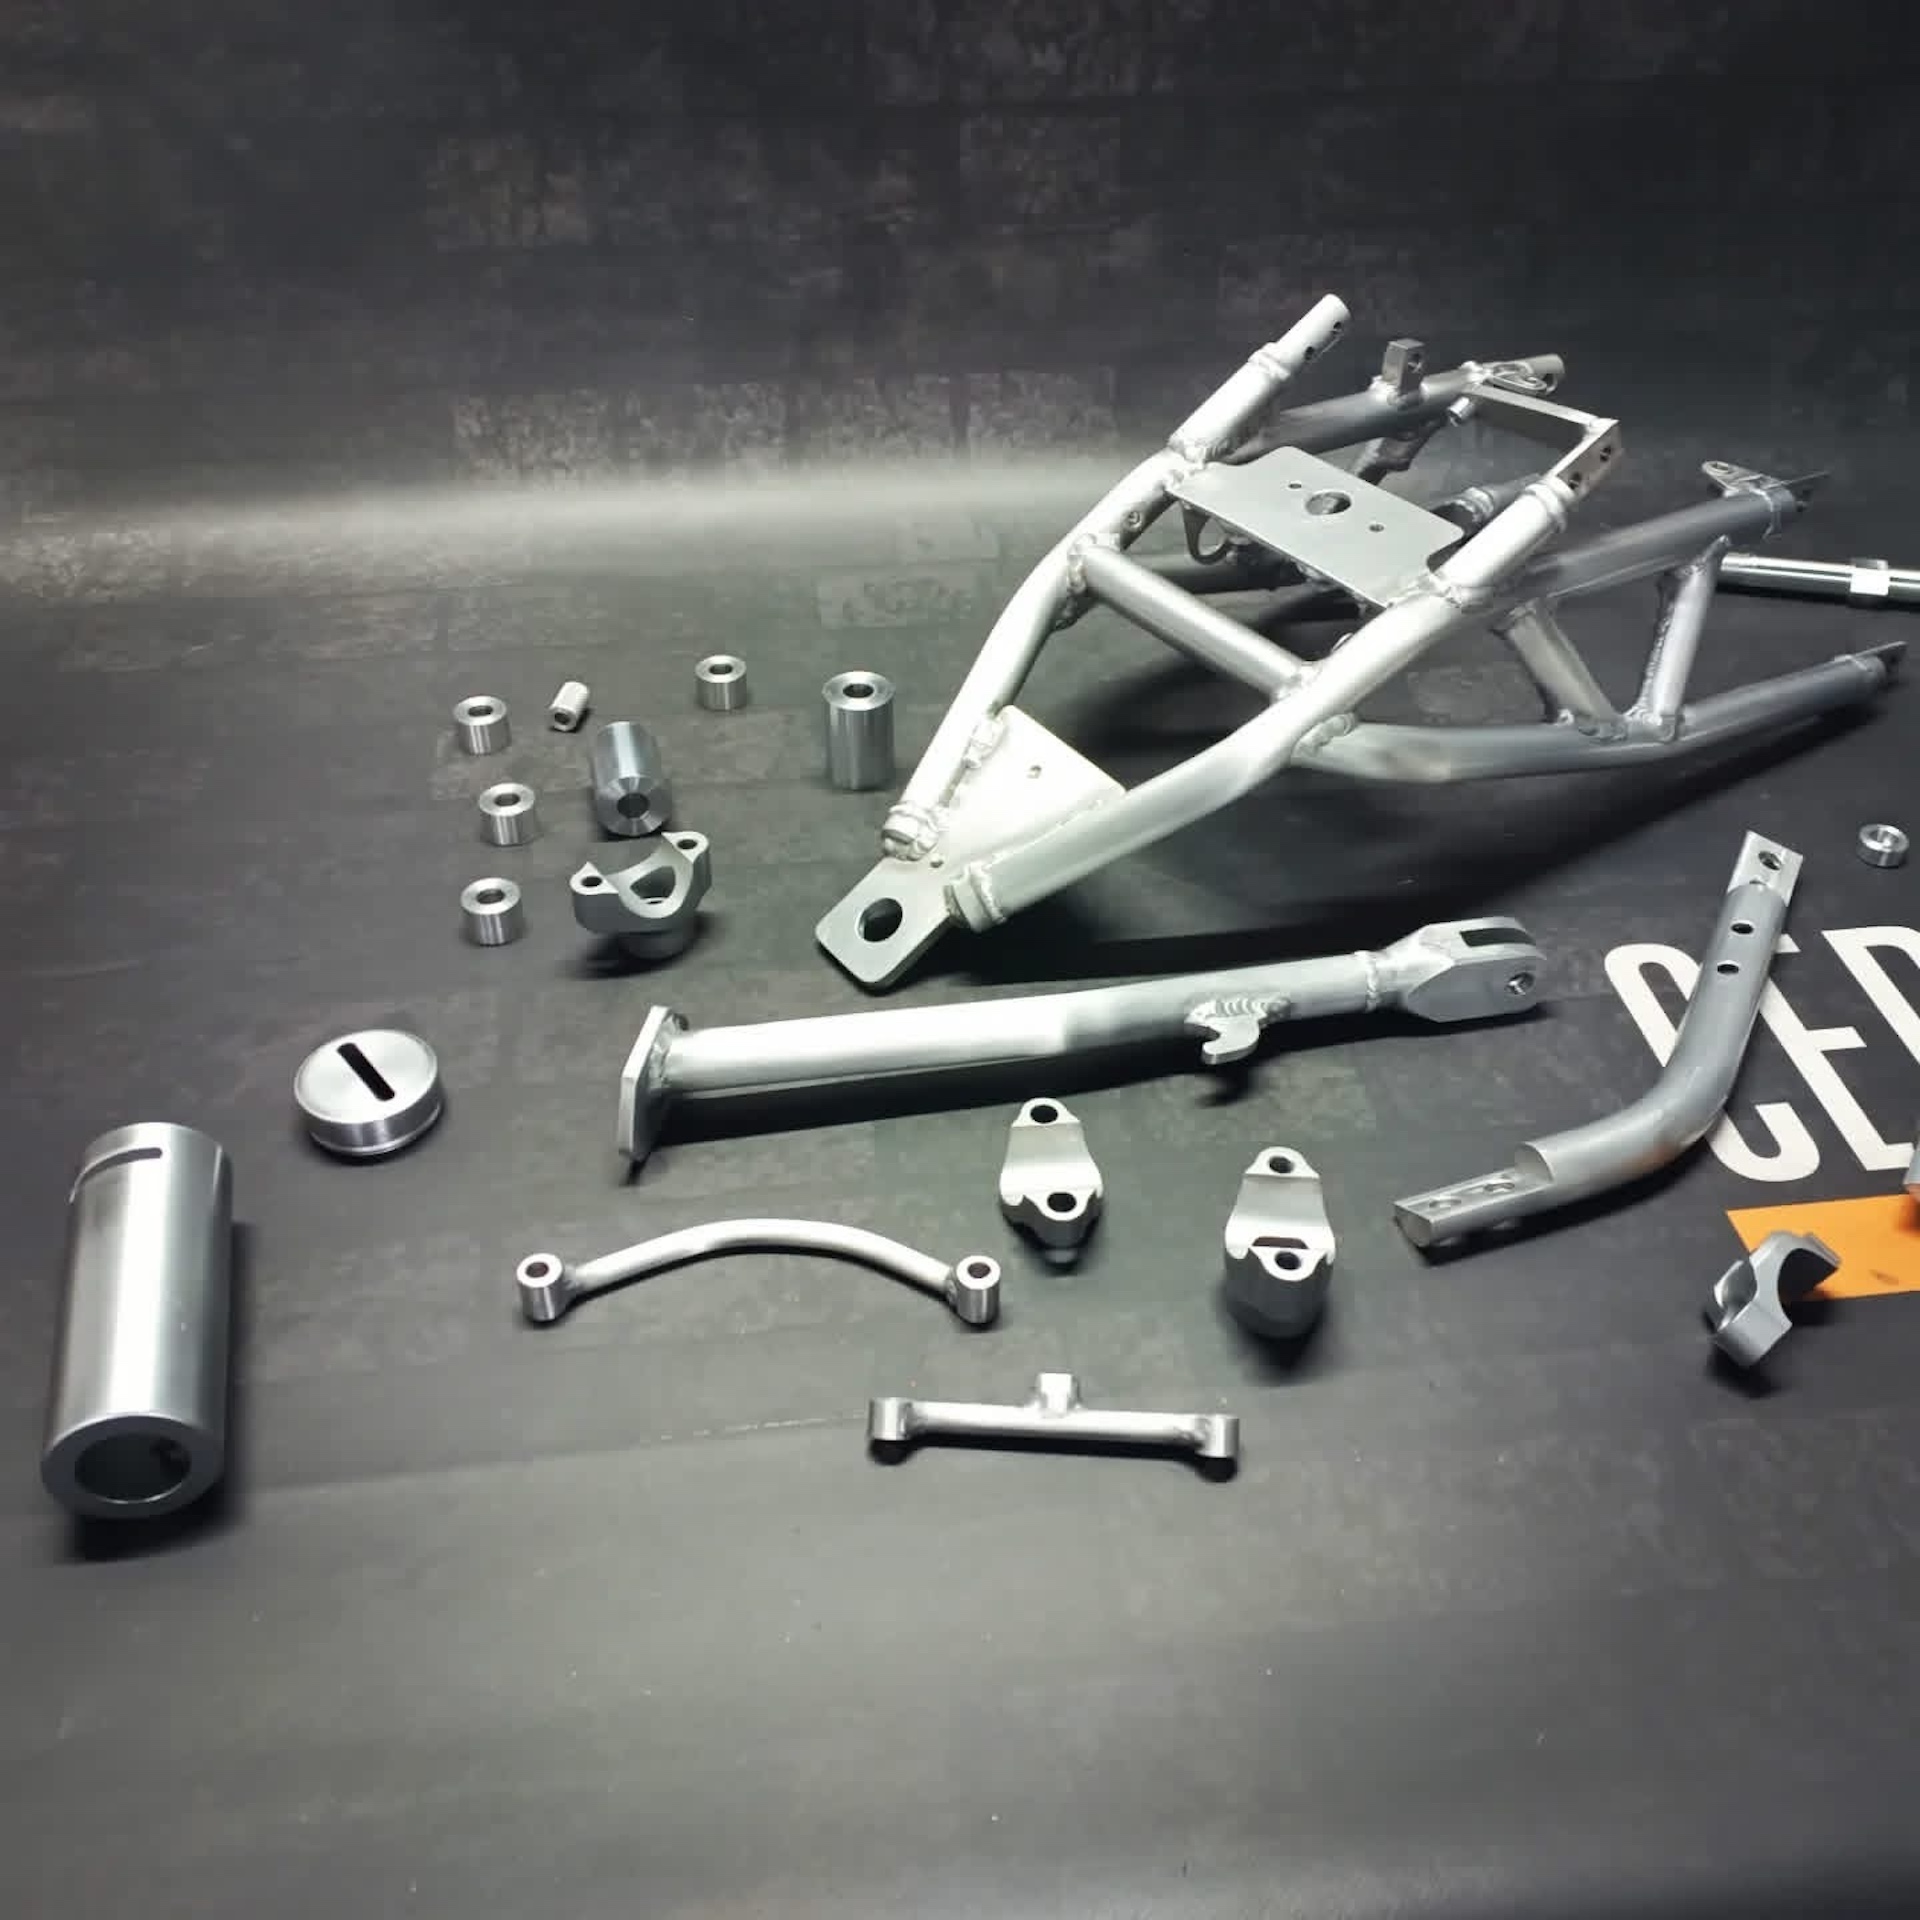
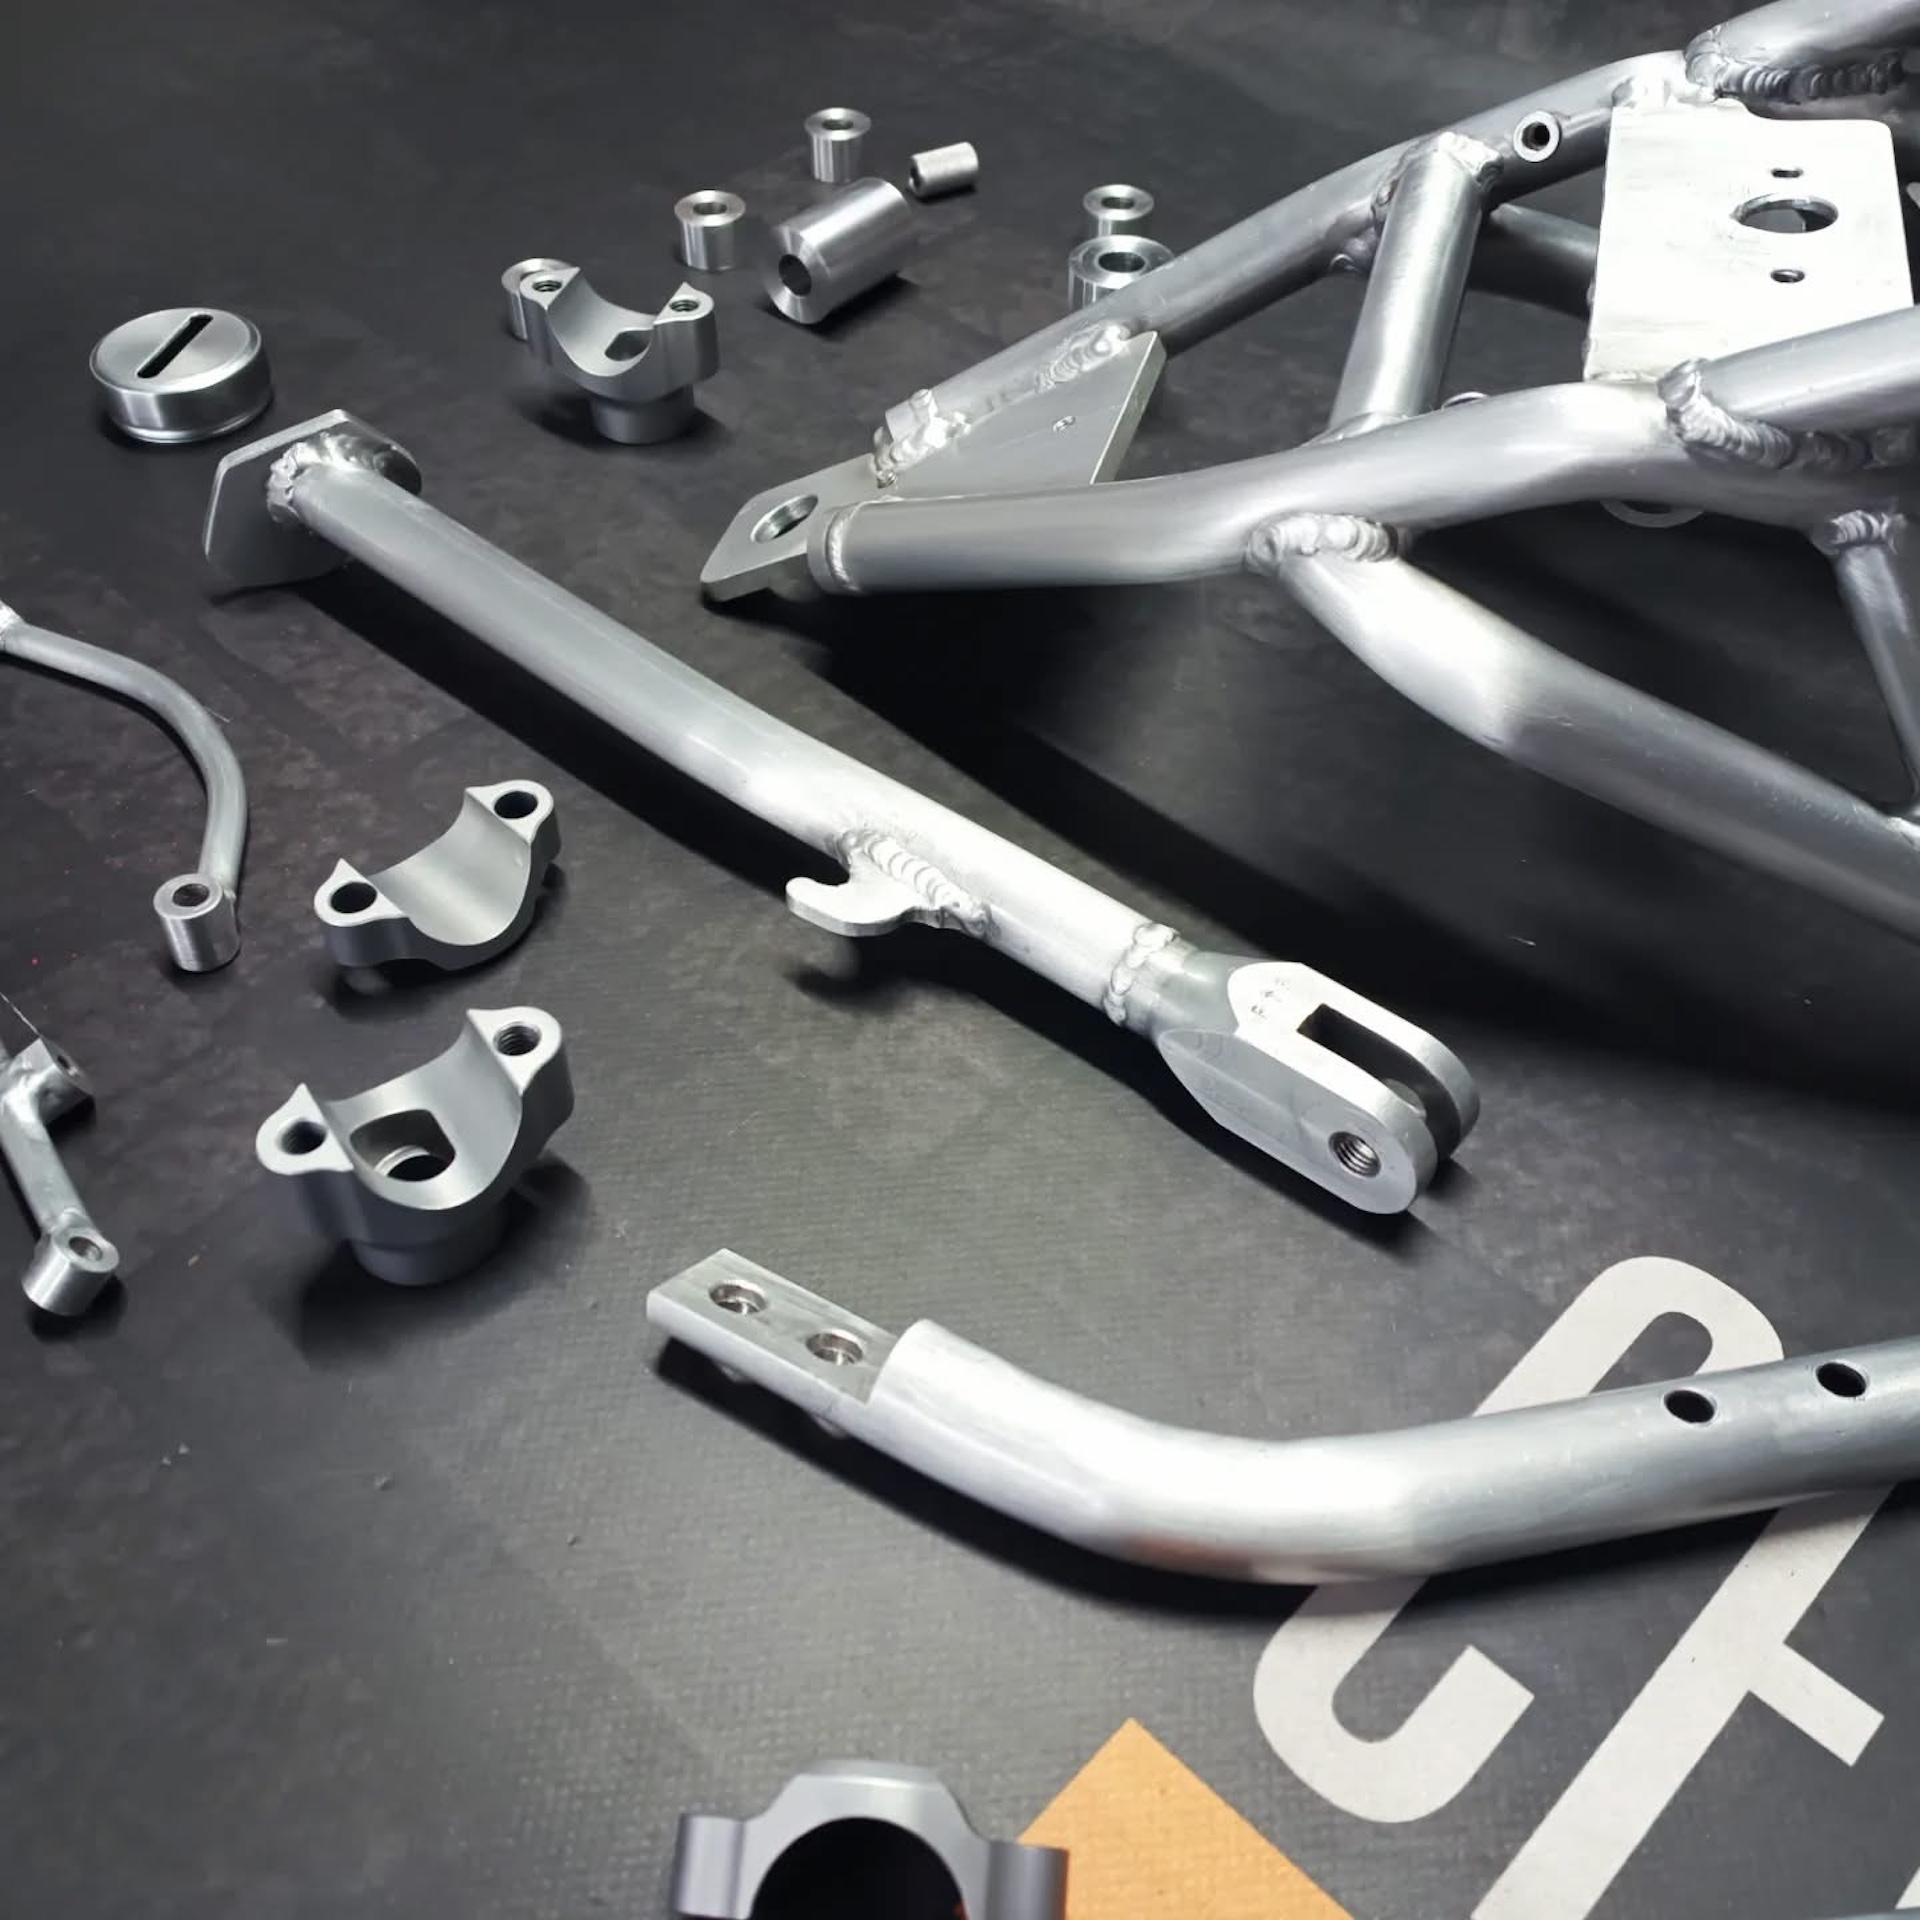
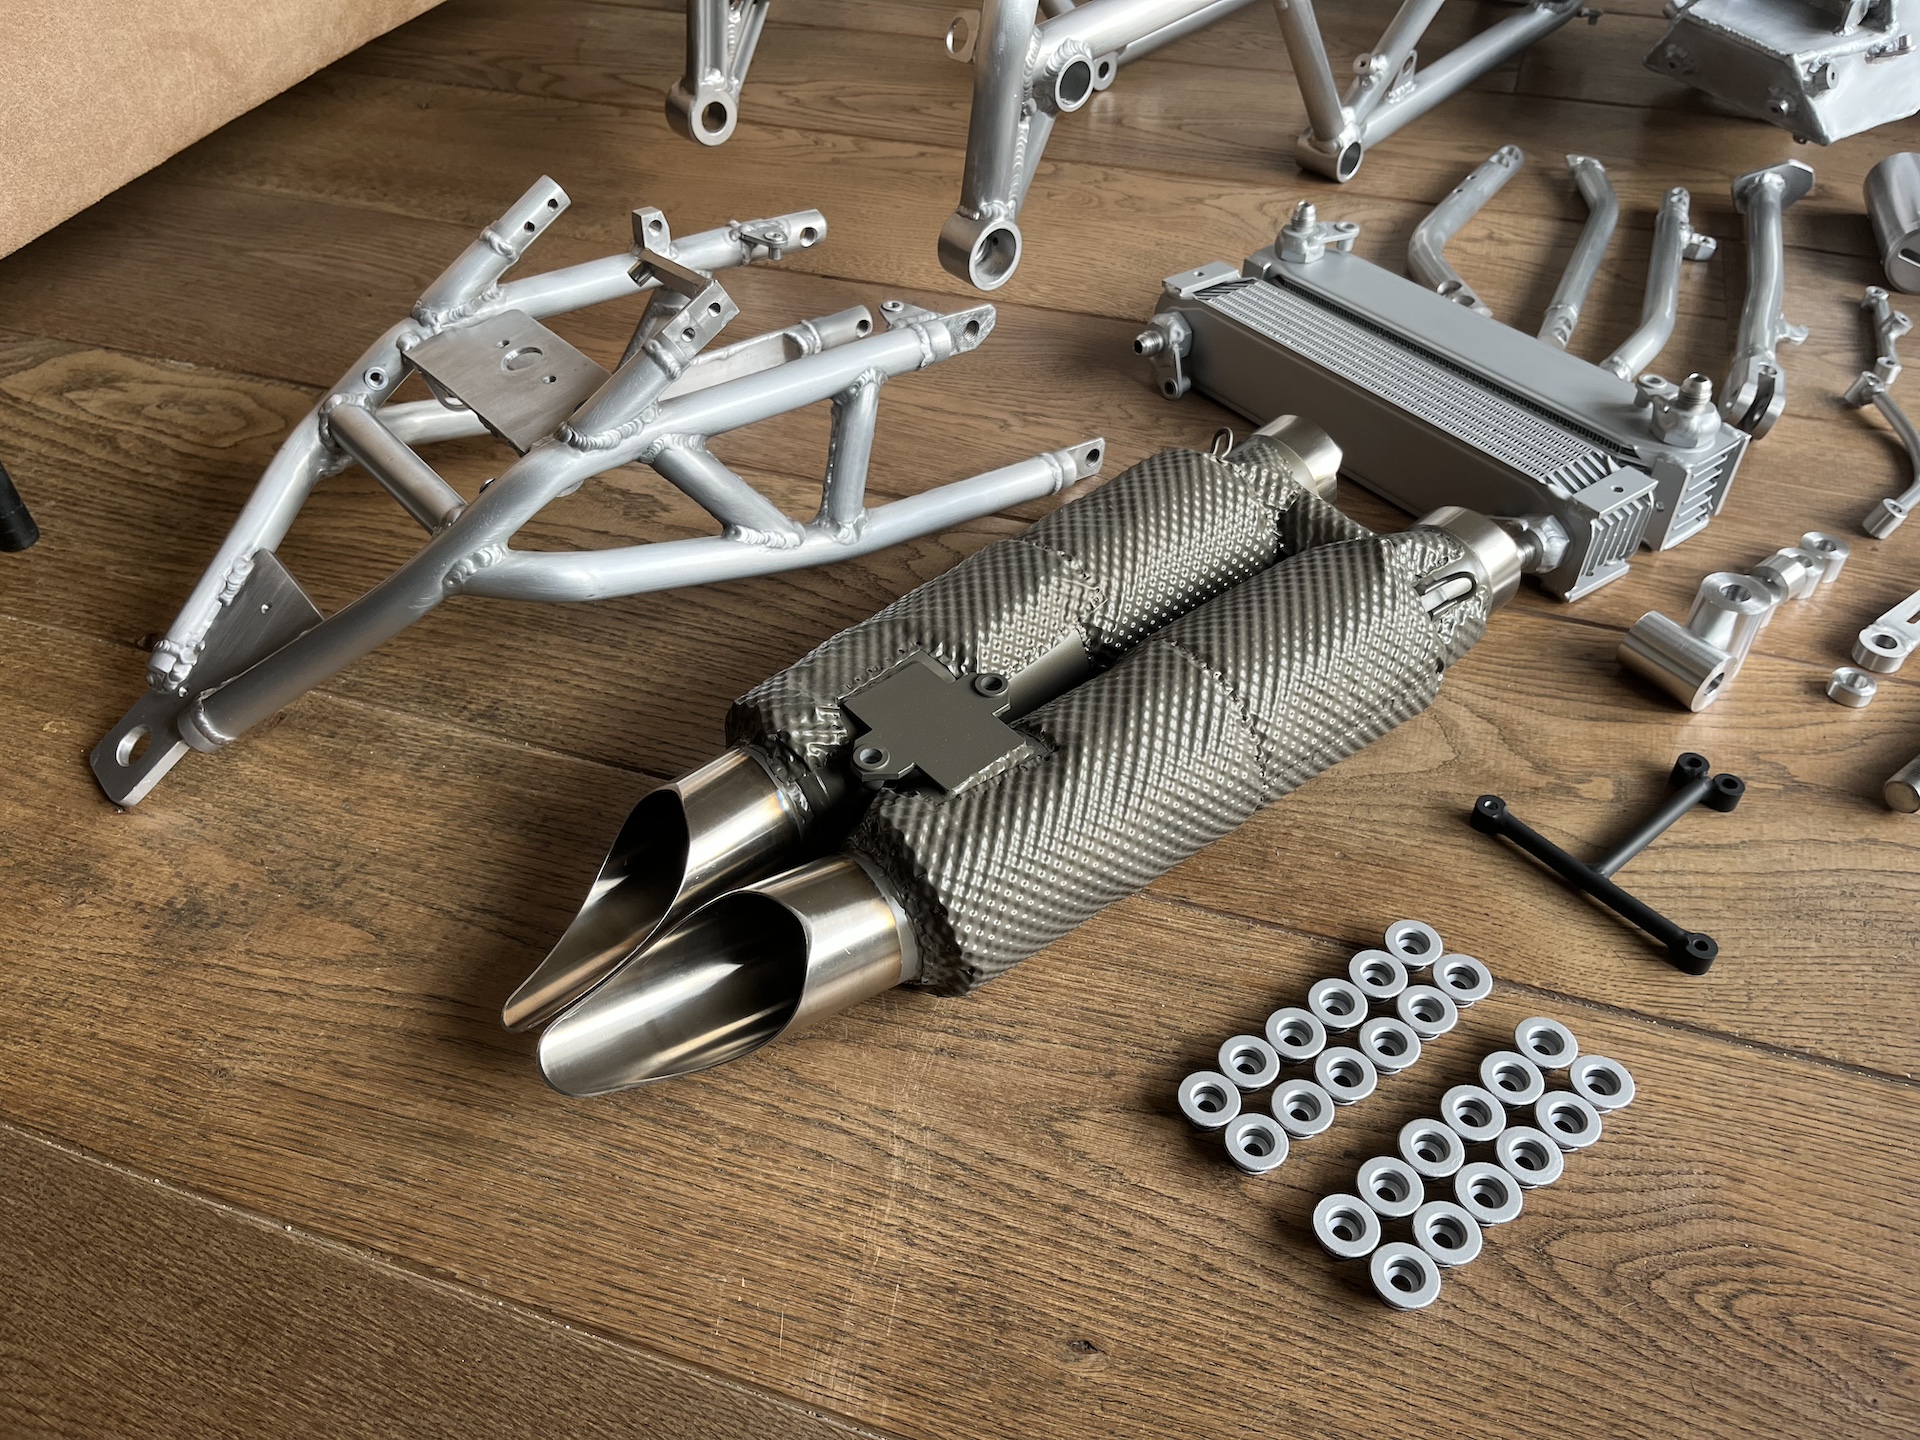

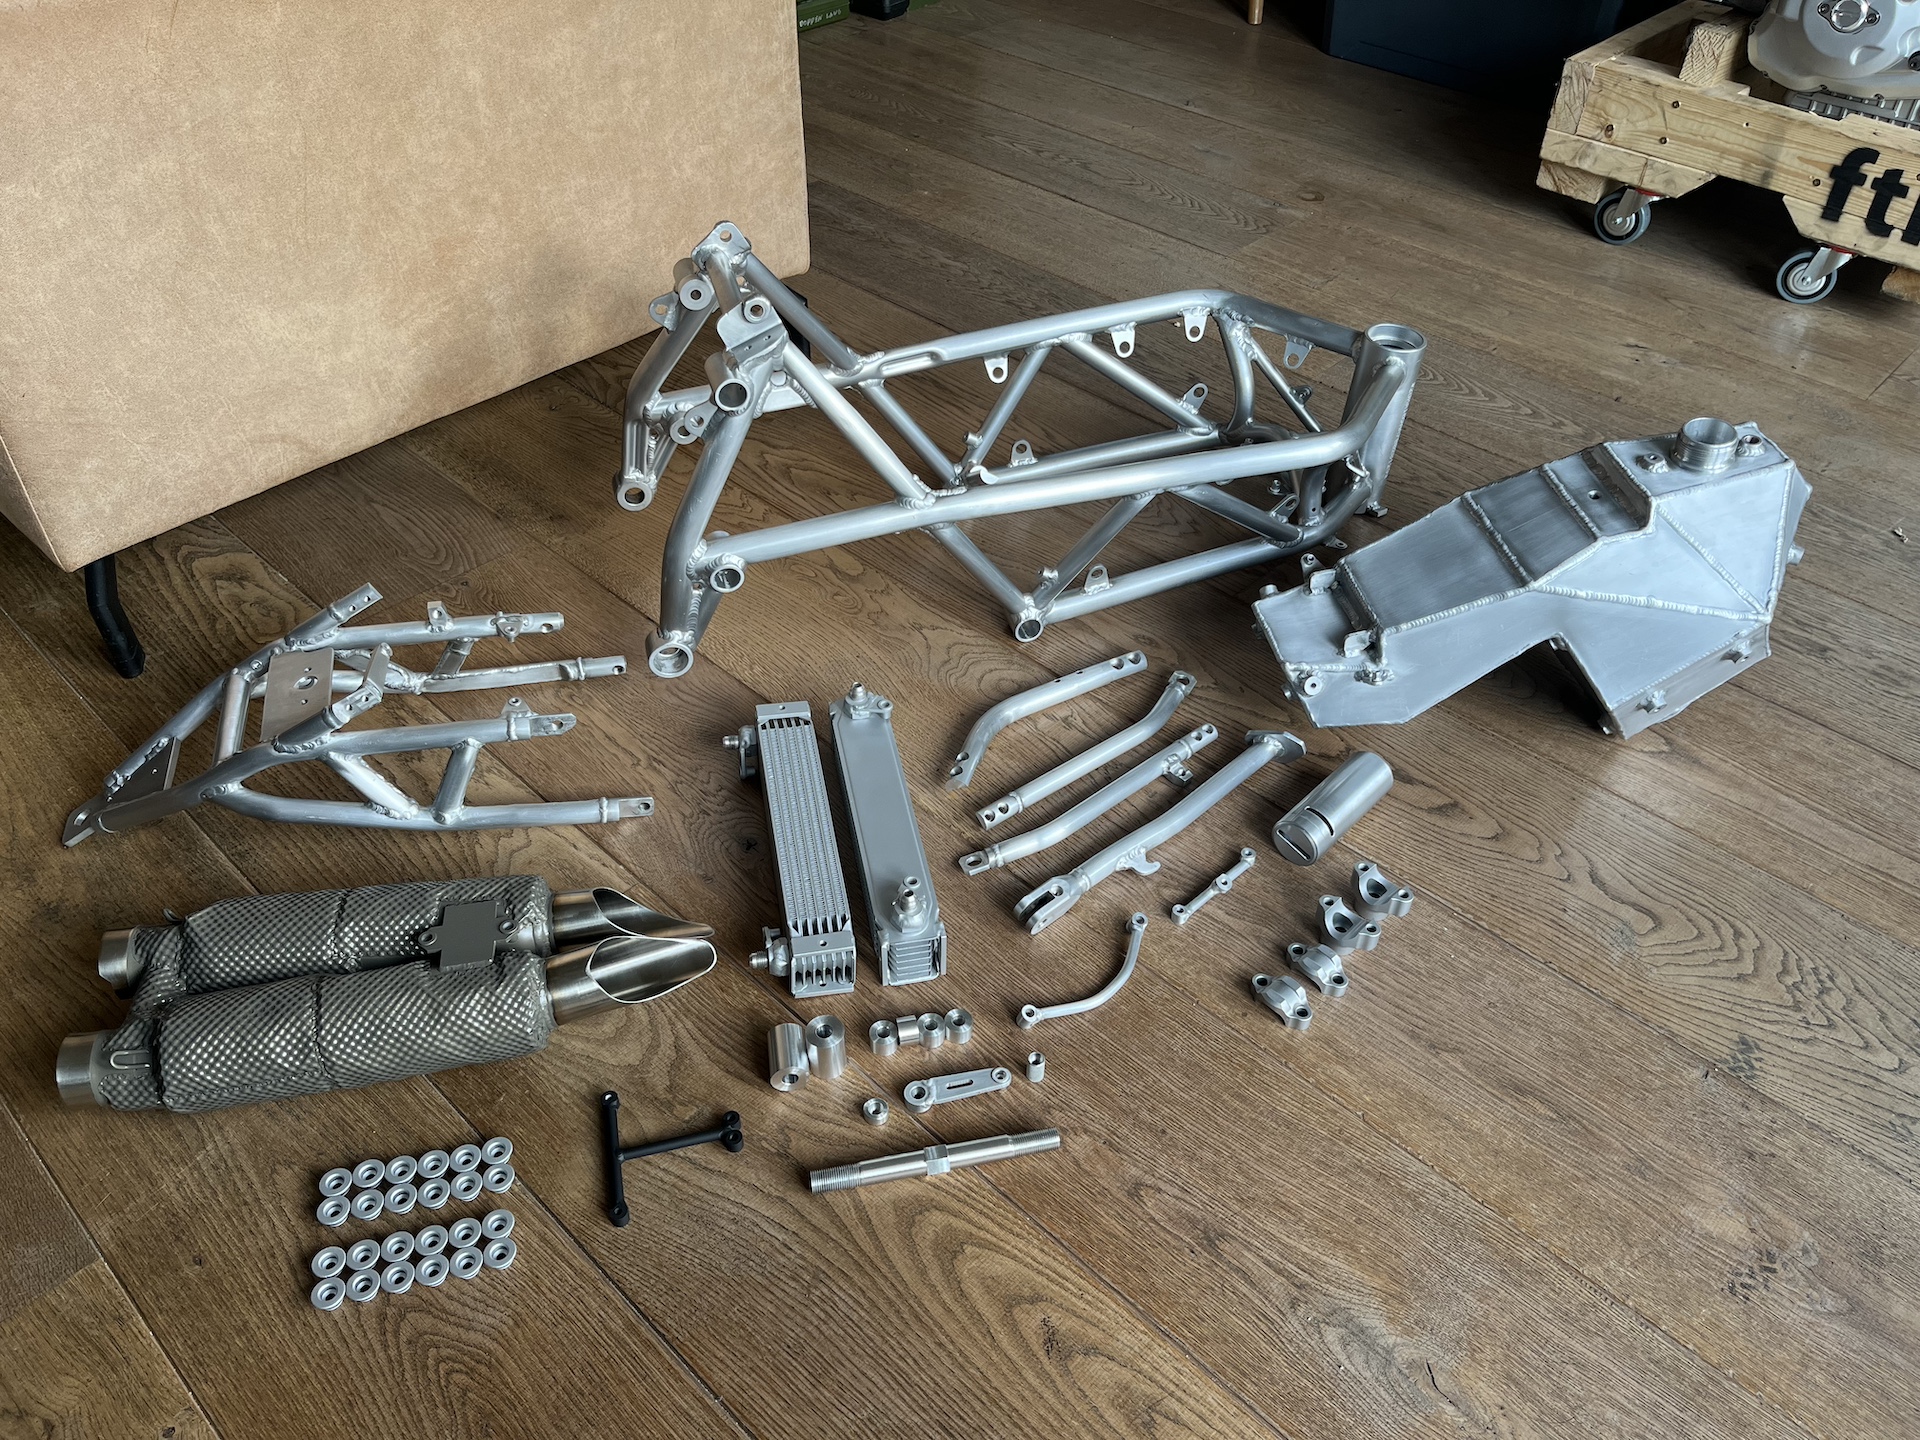
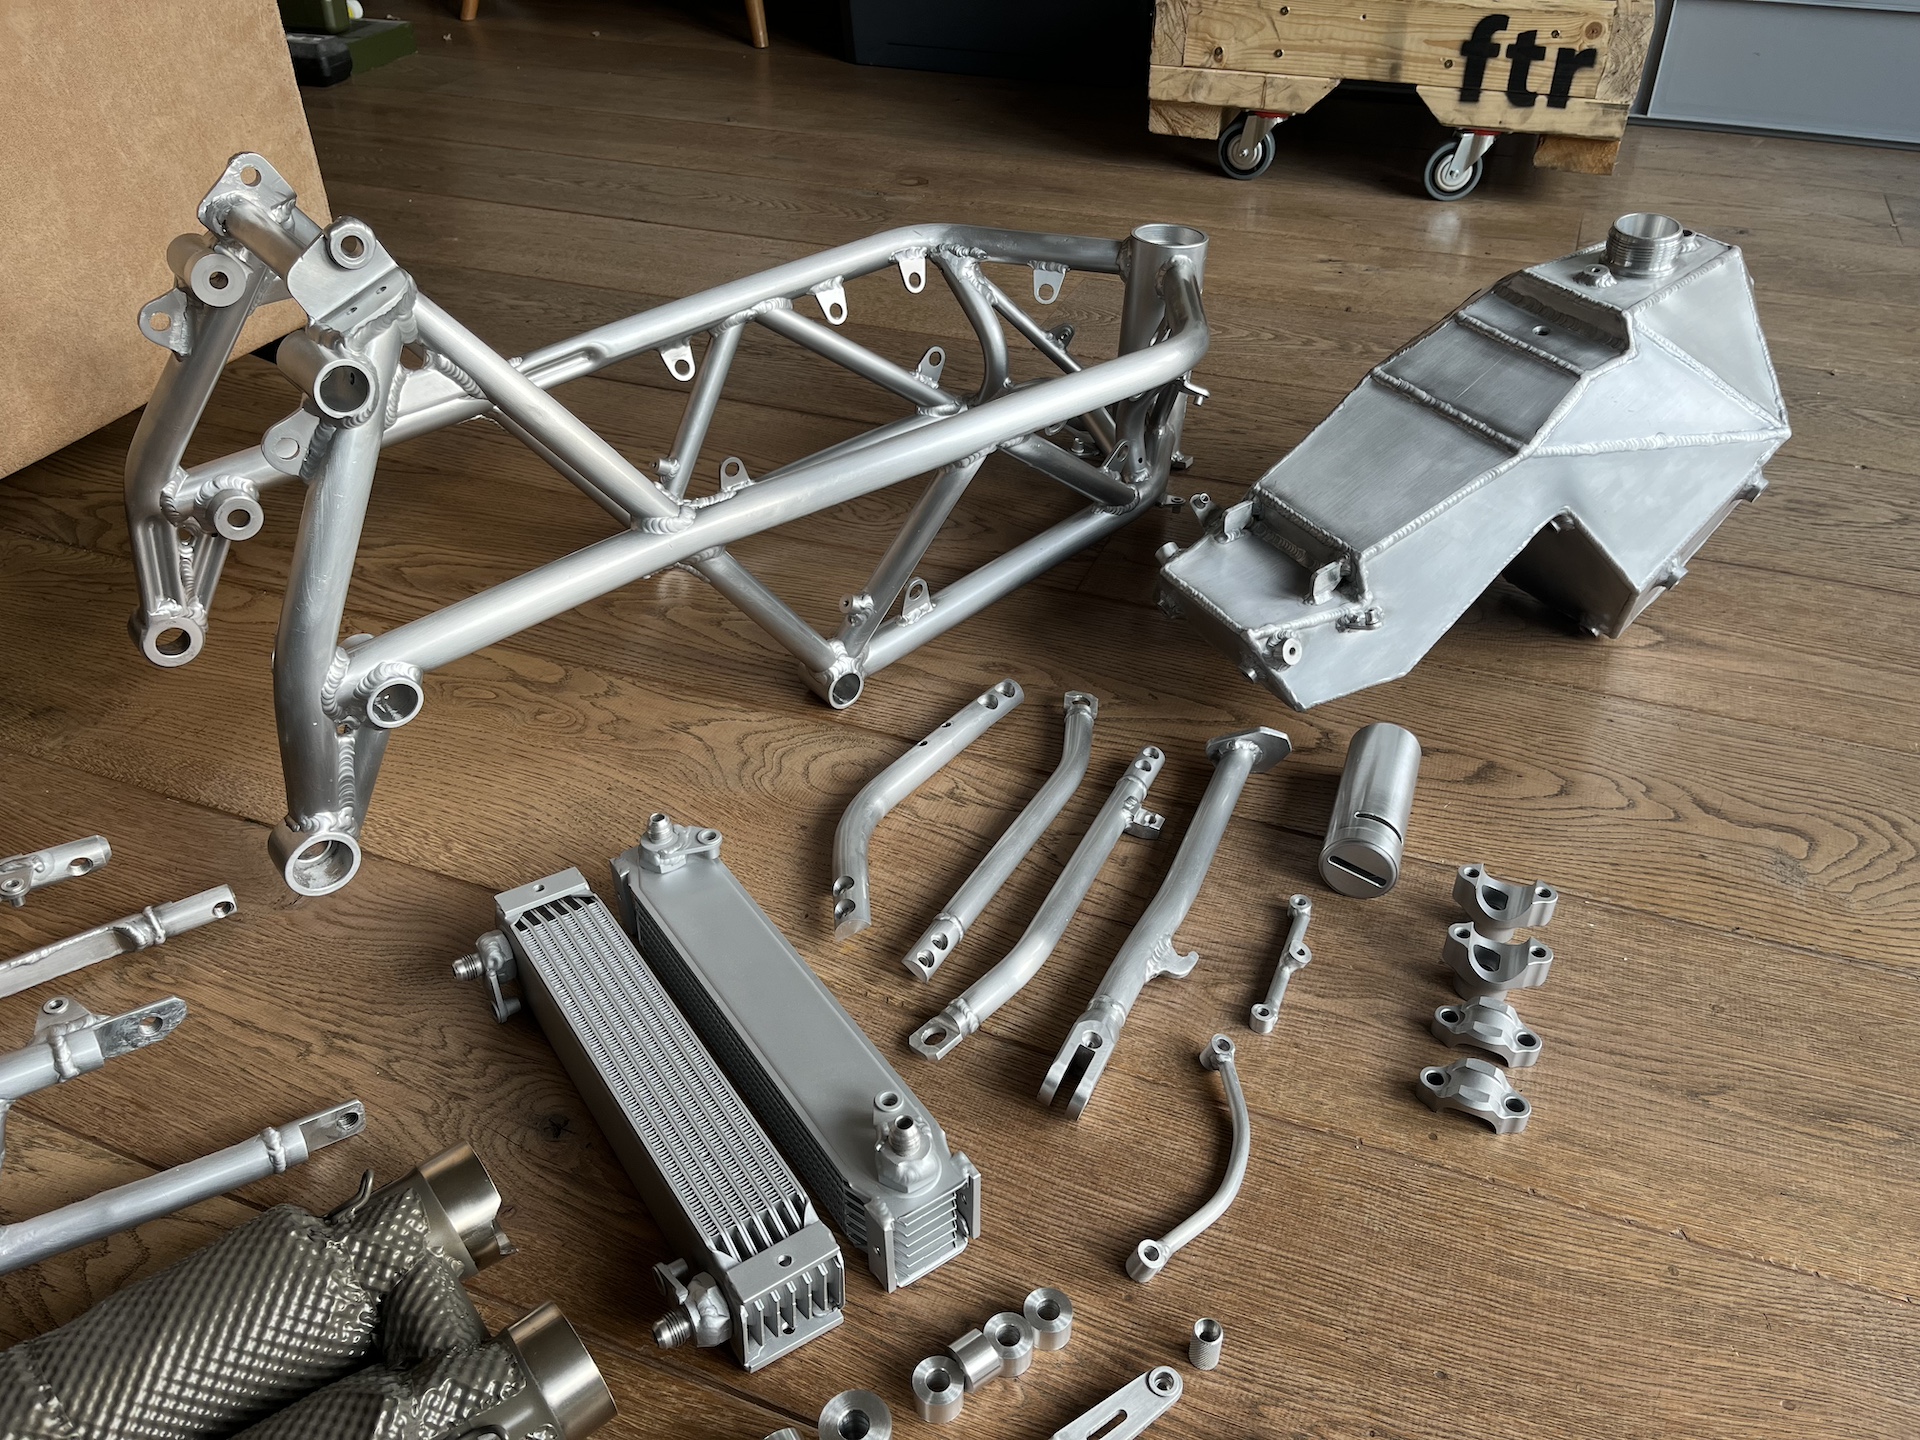
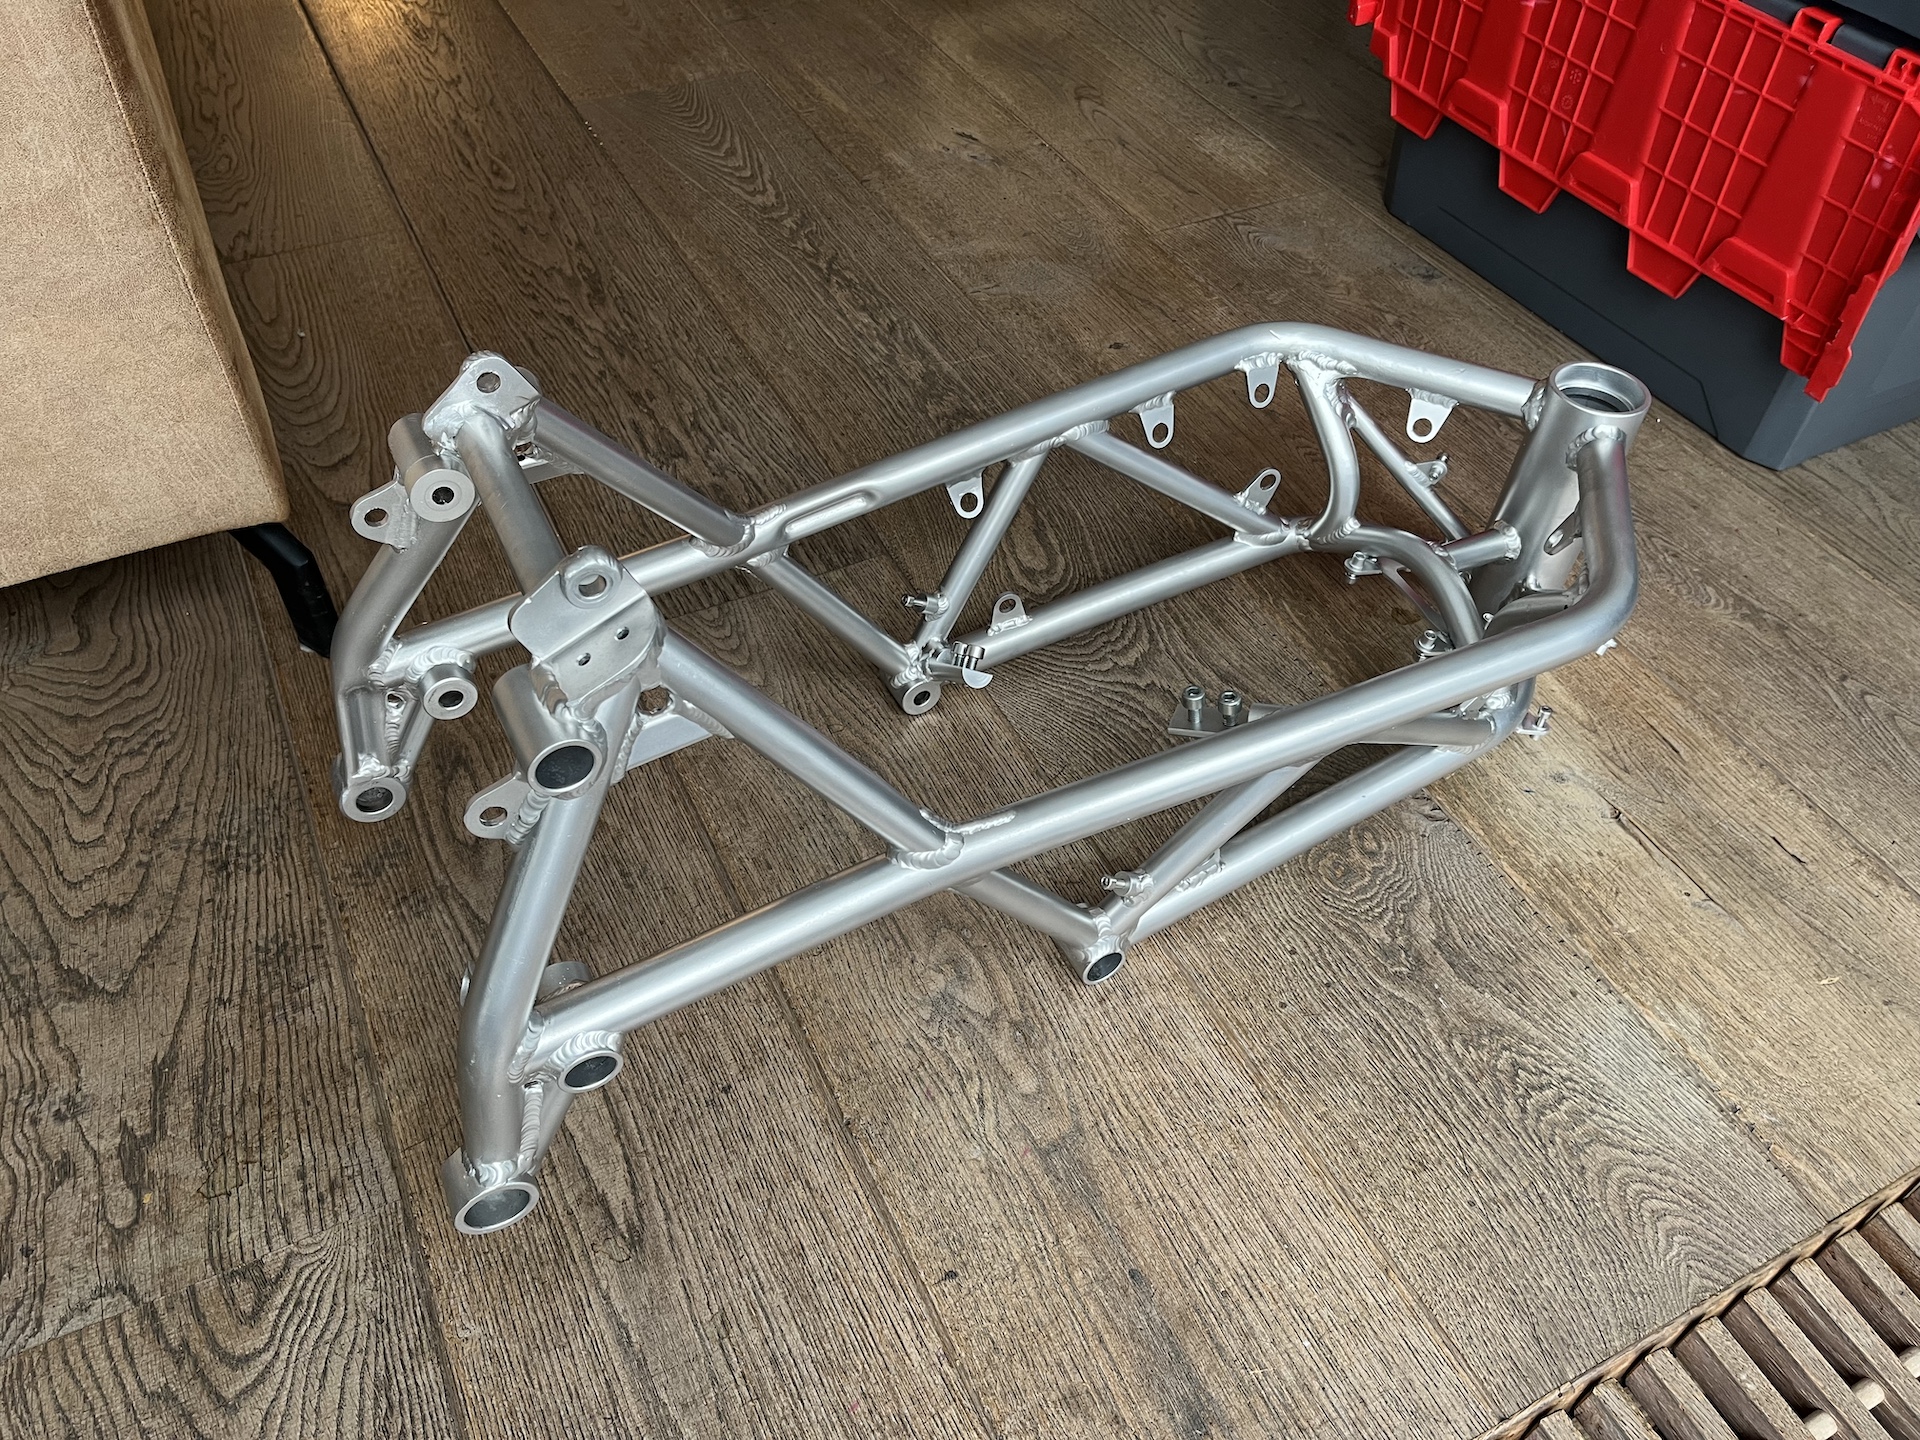
BREAKING IT DOWN
This is it, this is the moment! Breaking it all down to be build up as new. The frame got send off to be wet blasted. It was dirty and I wanted it super clean. Came out amazing (thanks Potenza Motorsport!).
Literally every aluminium part is brushed and will be coated with clear Cerakote. To keep the bare raw aluminium look of the bike.
Up next?! Will be rechecking the engine 1 final time, and after that the bike is ready to be build back up. However it will take some time before I post the final result, since I have a professional photoshoot planned to show all of you the end result!

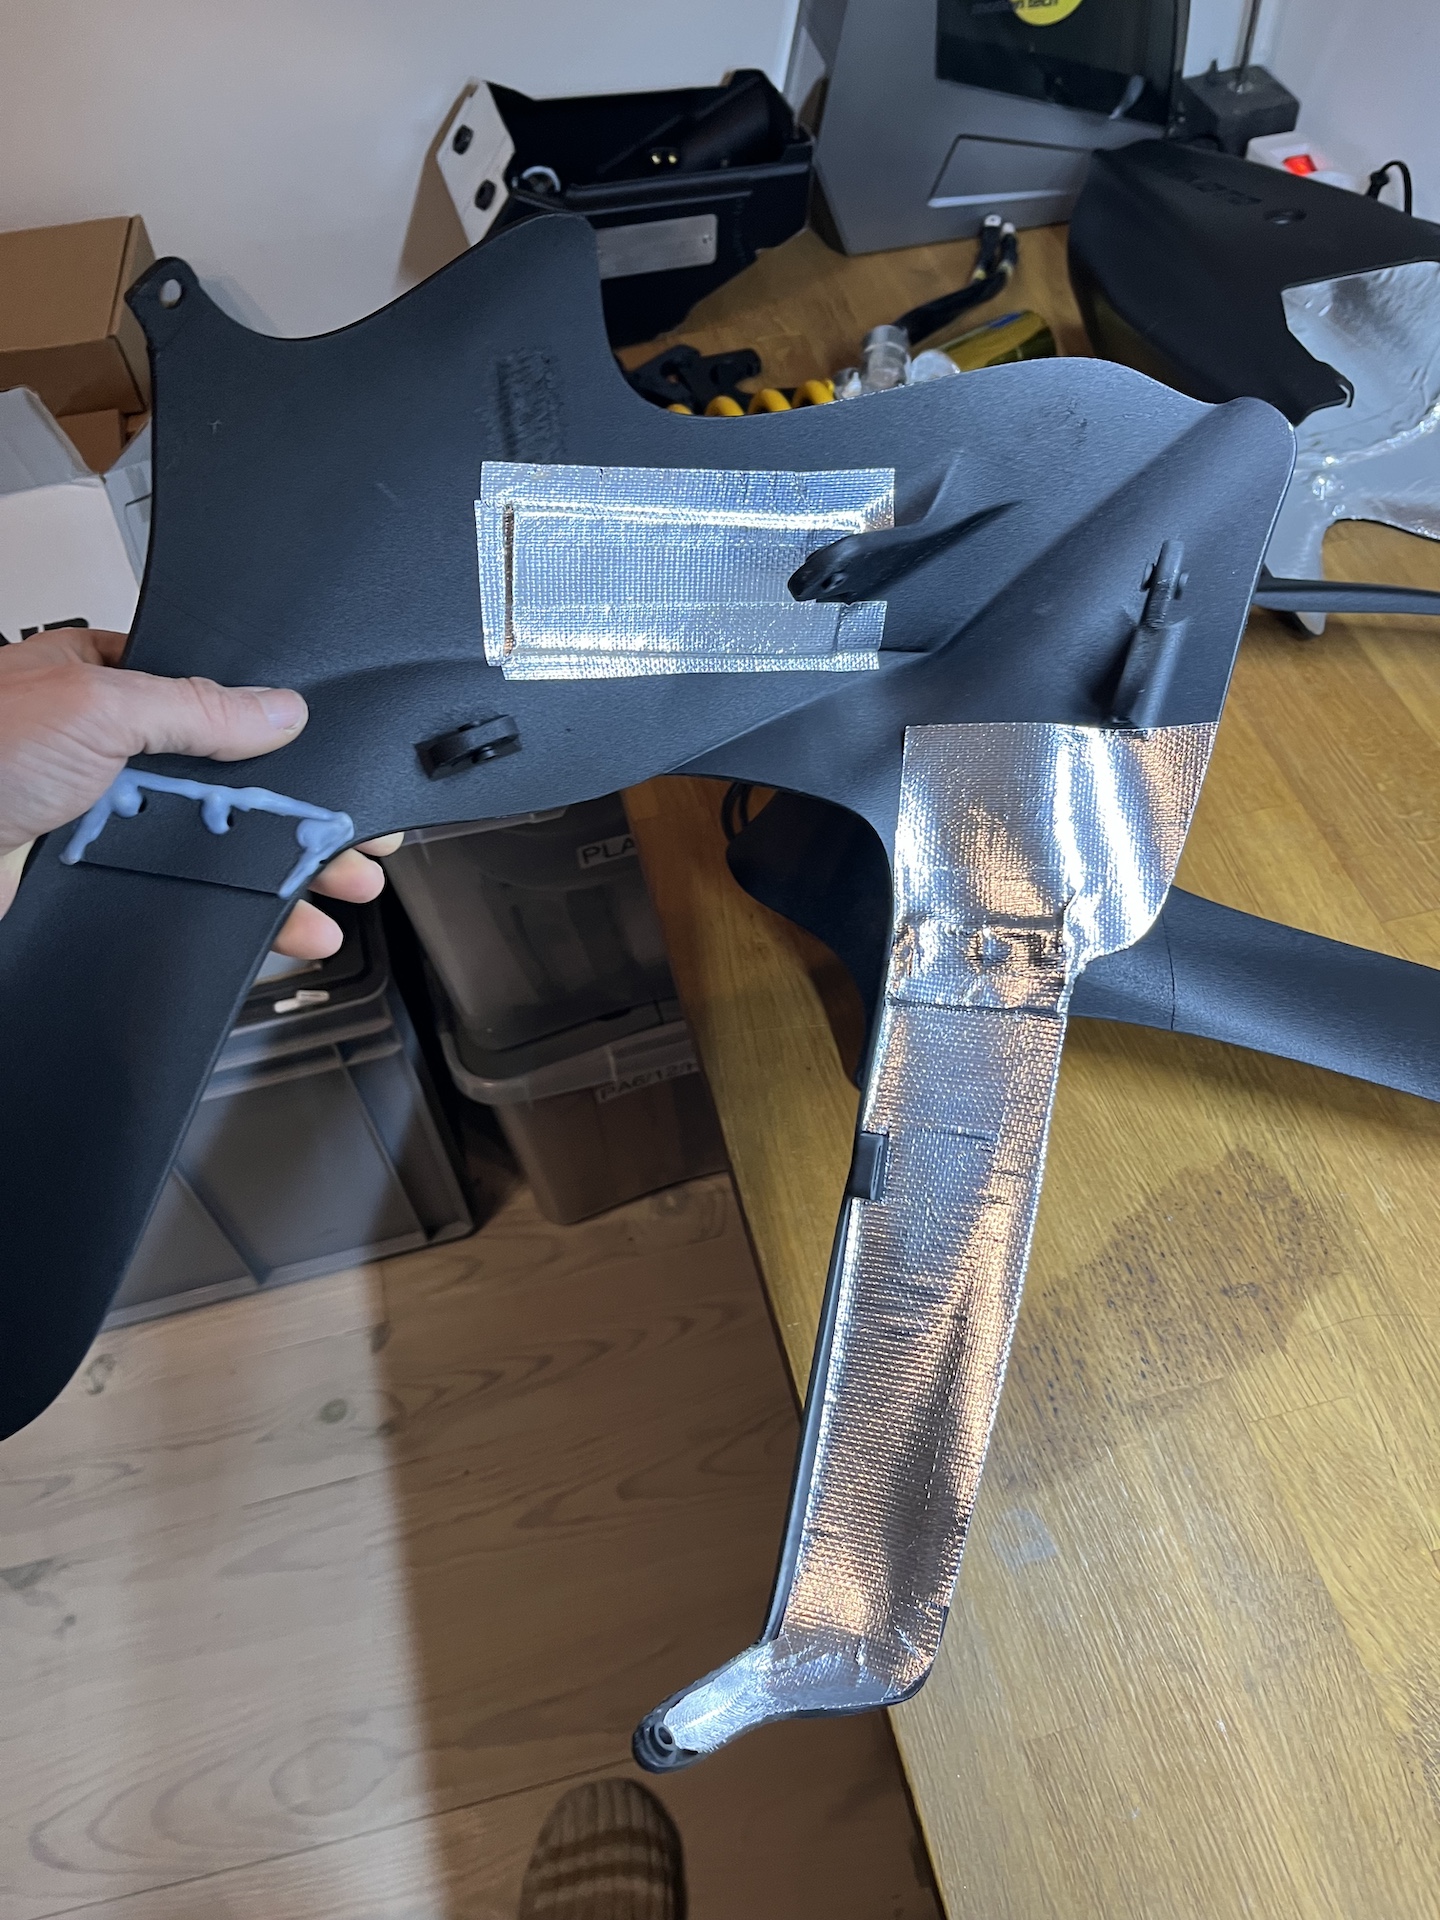
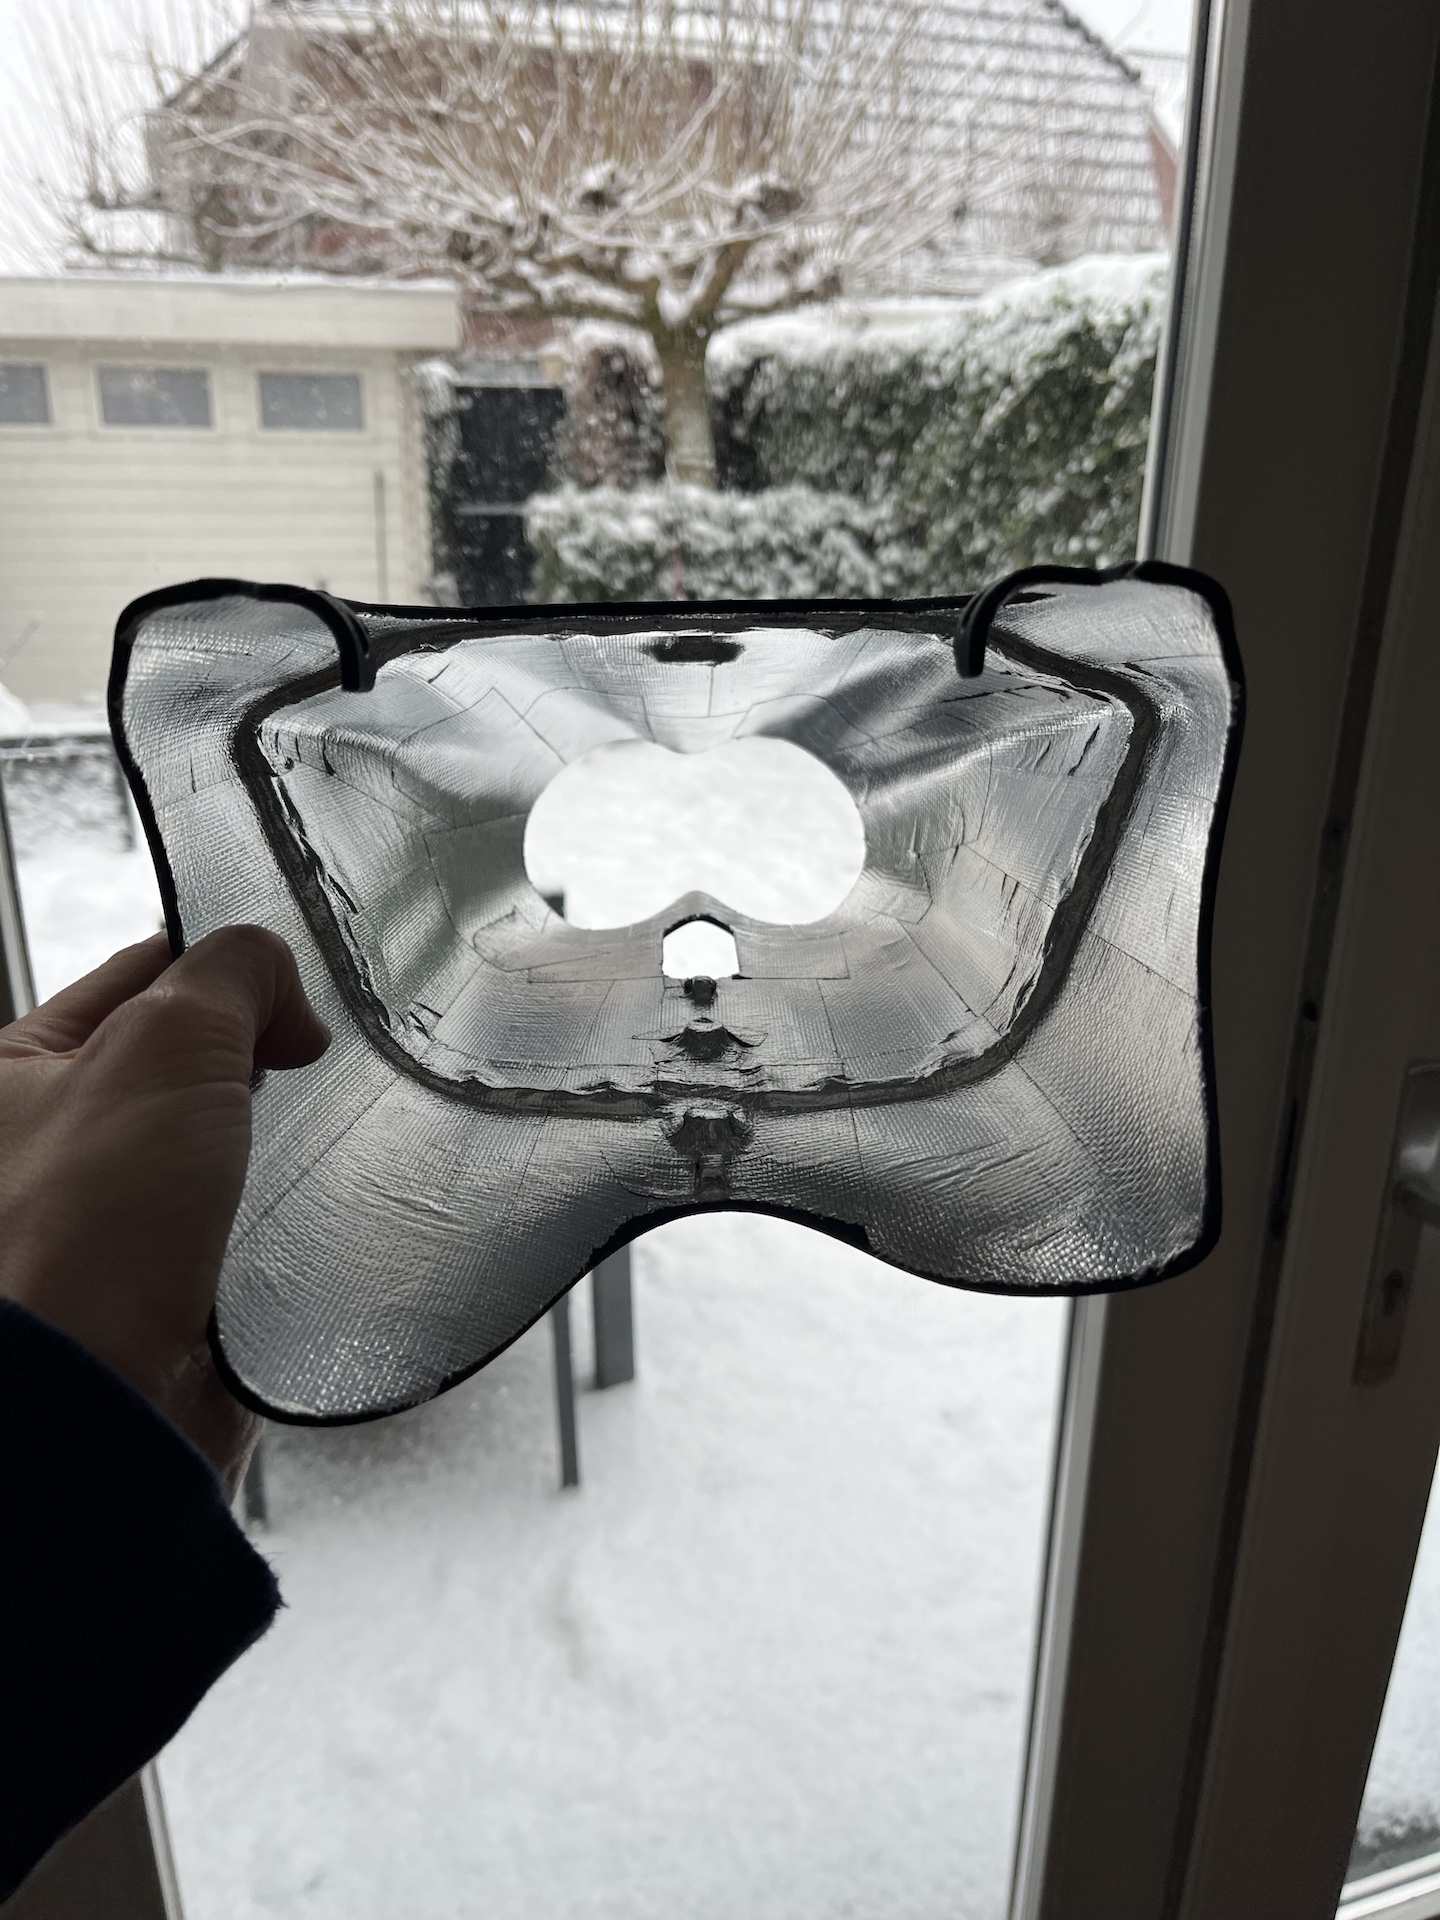
HEAT MANAGEMENT
I have received so many comments from people that I would get heat issues with the shock and or exhaust. However that will not be the case since everything is now also heat shielded. The bottom of the seat, rear shock, battery box, side fairings, crankcase breather and exhaust fairing have all be lined with heat reflective fiberglass tape. The Öhlins TTX rear shock also received silicone/fiberglass cable sleeving to also protect the cables.
The exhaust silencers will also be treated with heat containing Cerakote to even reduce the heat radiation more!
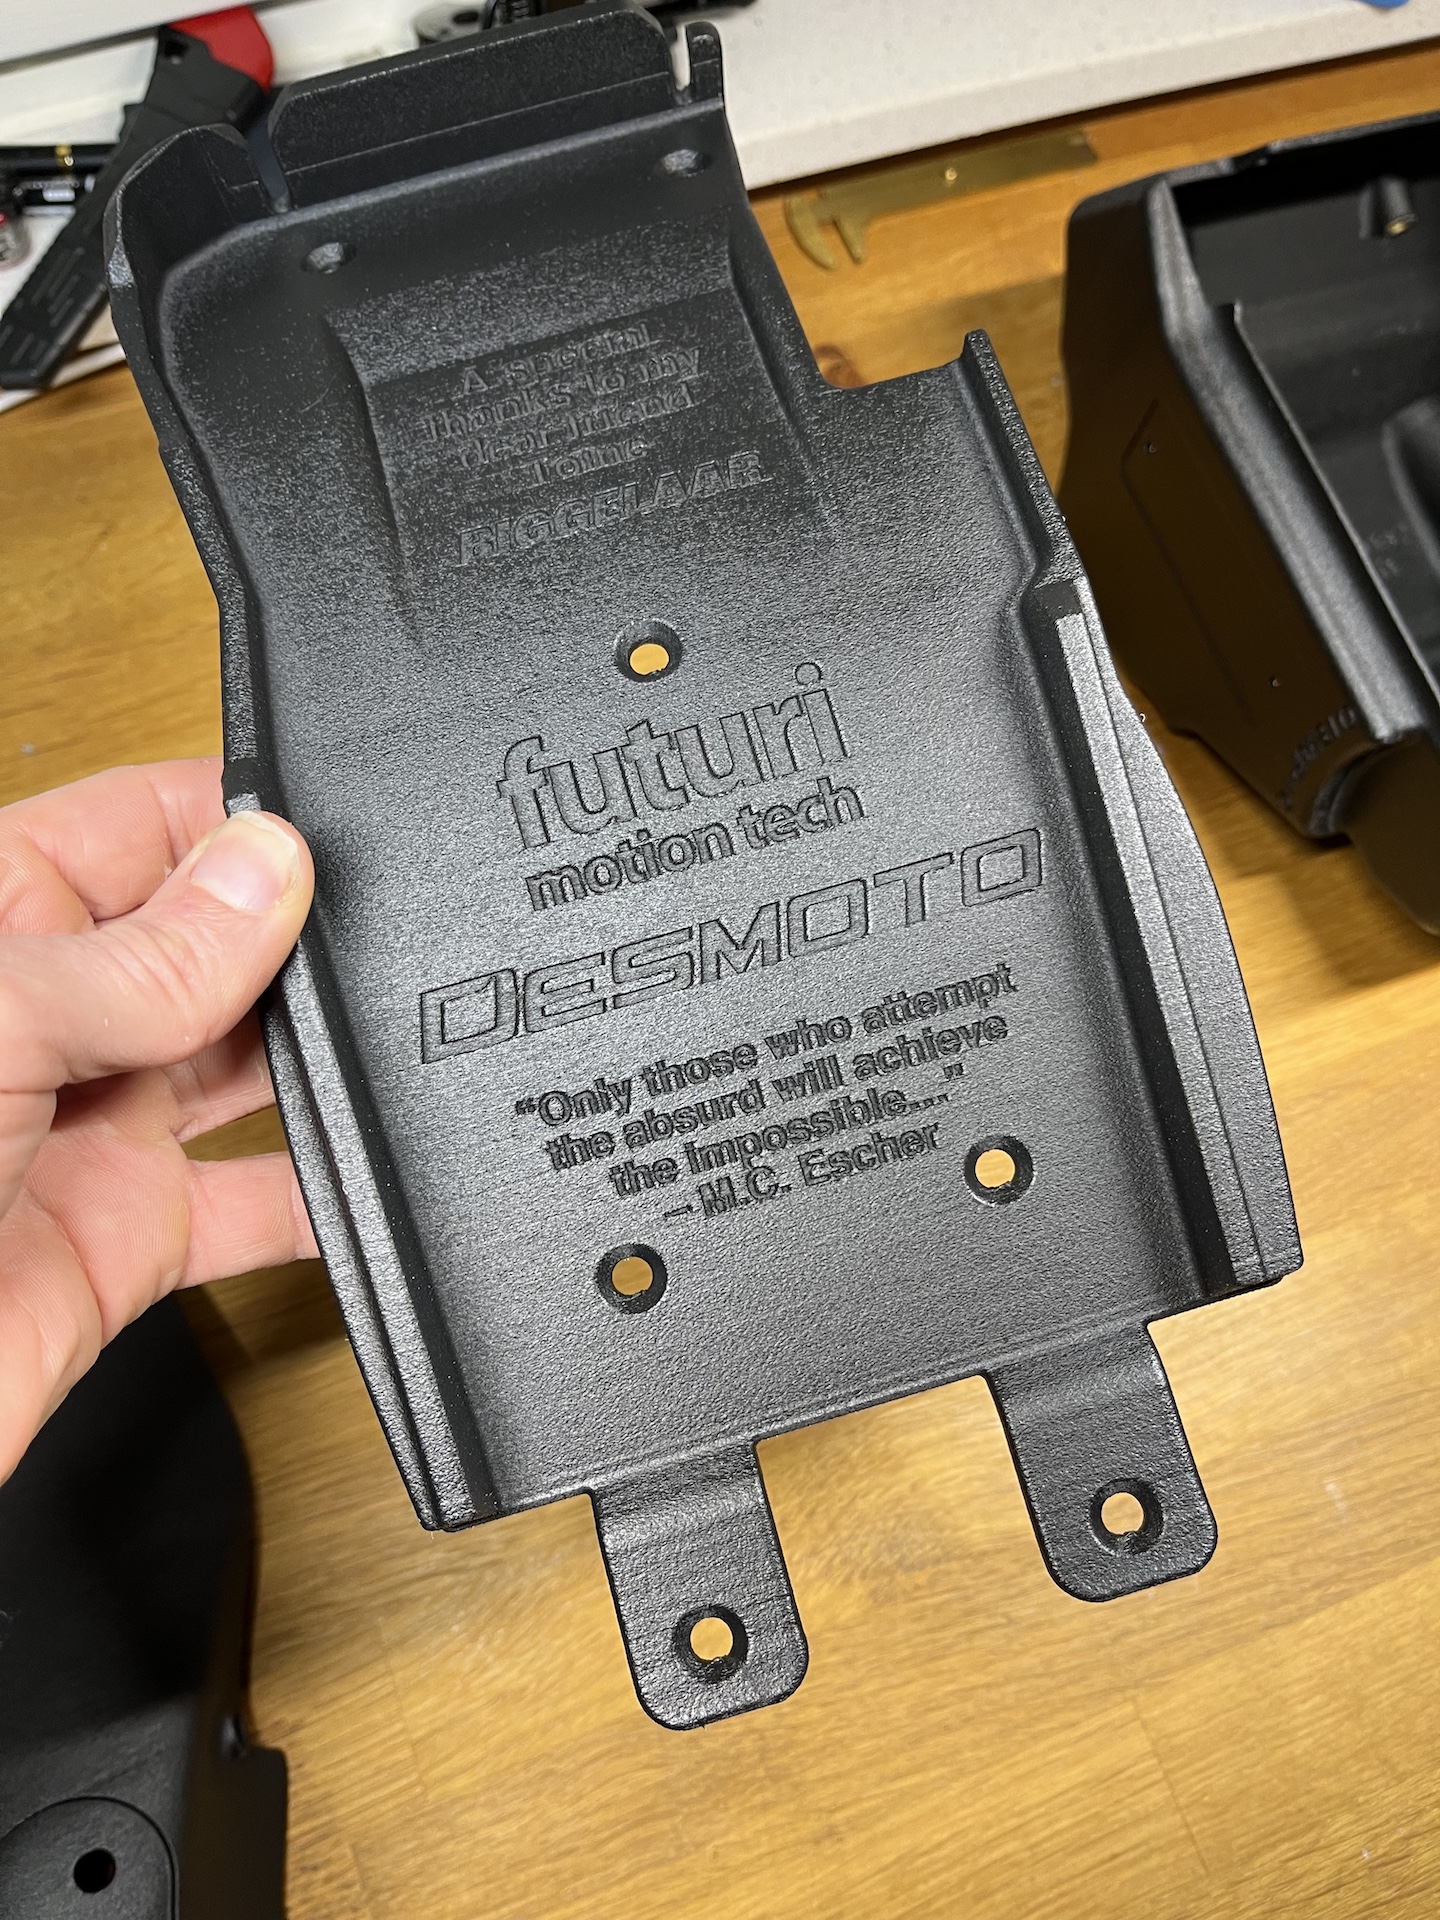
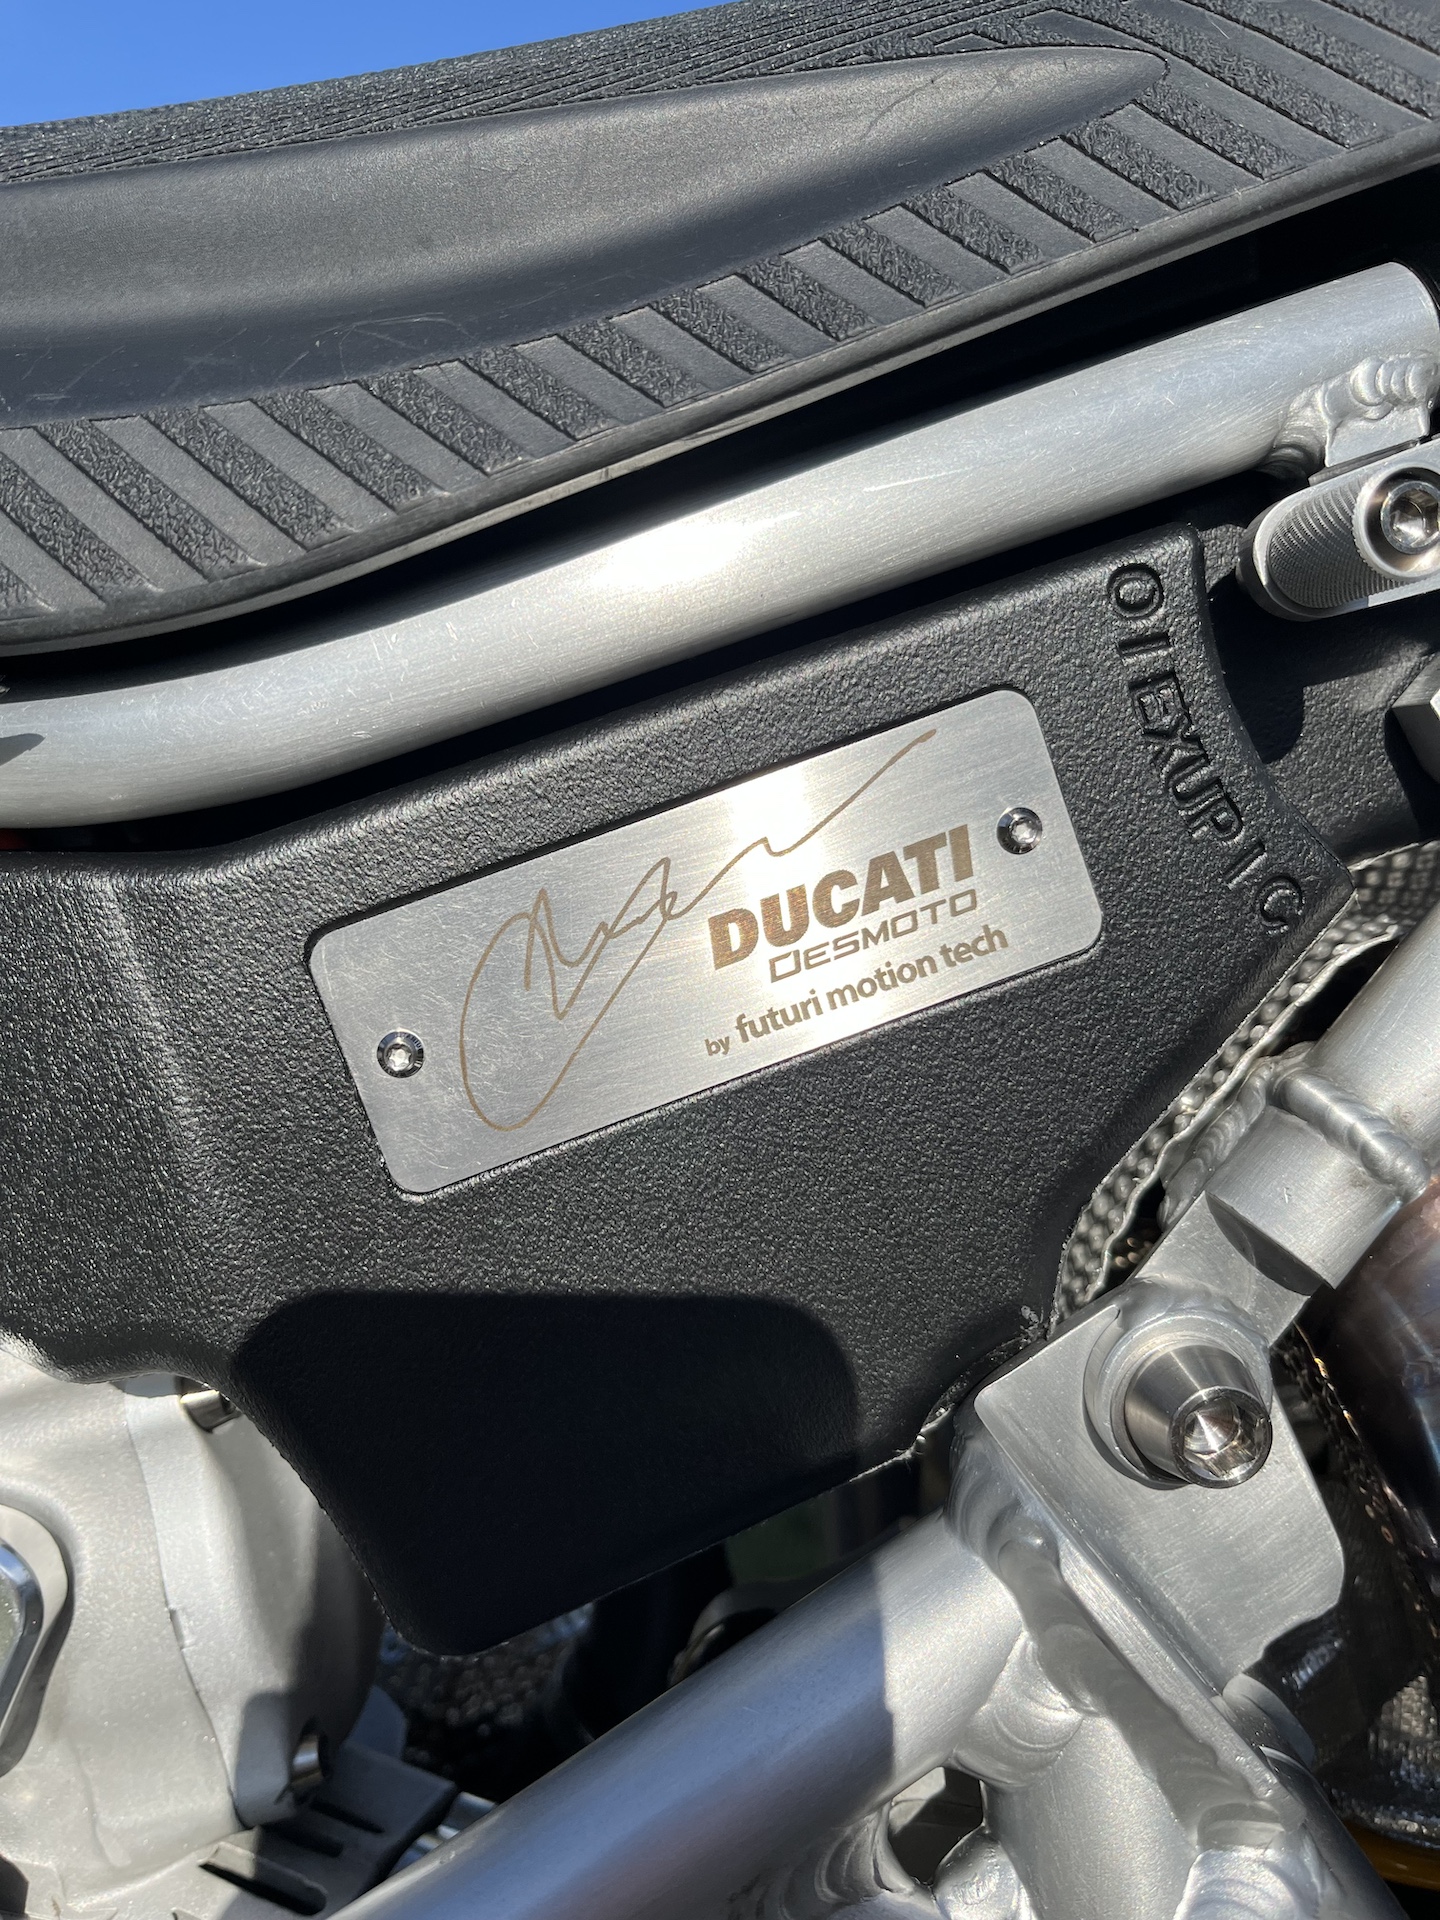
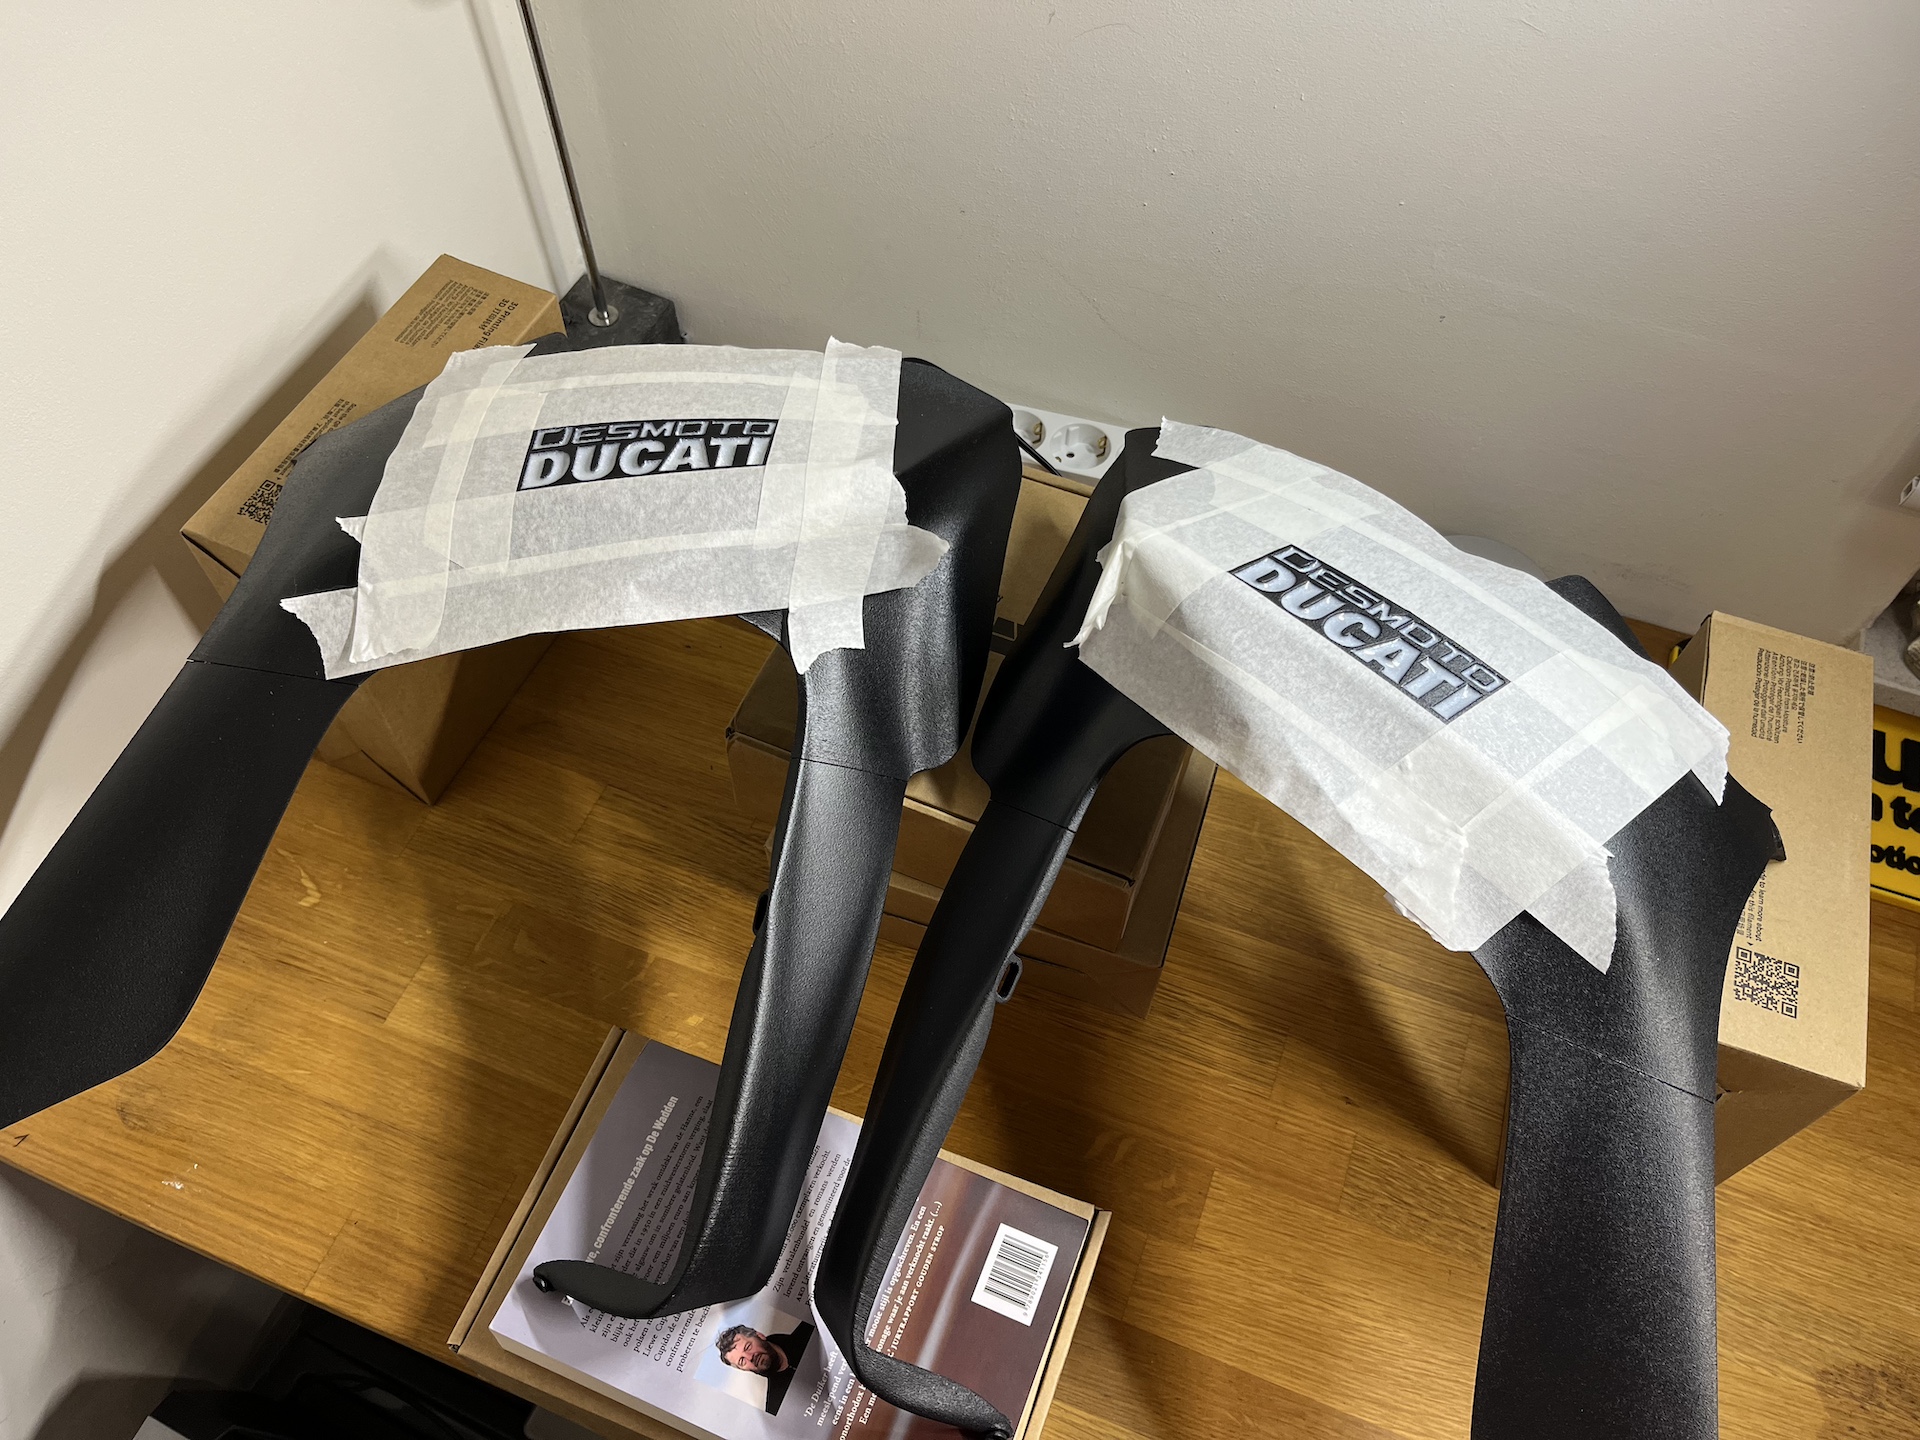
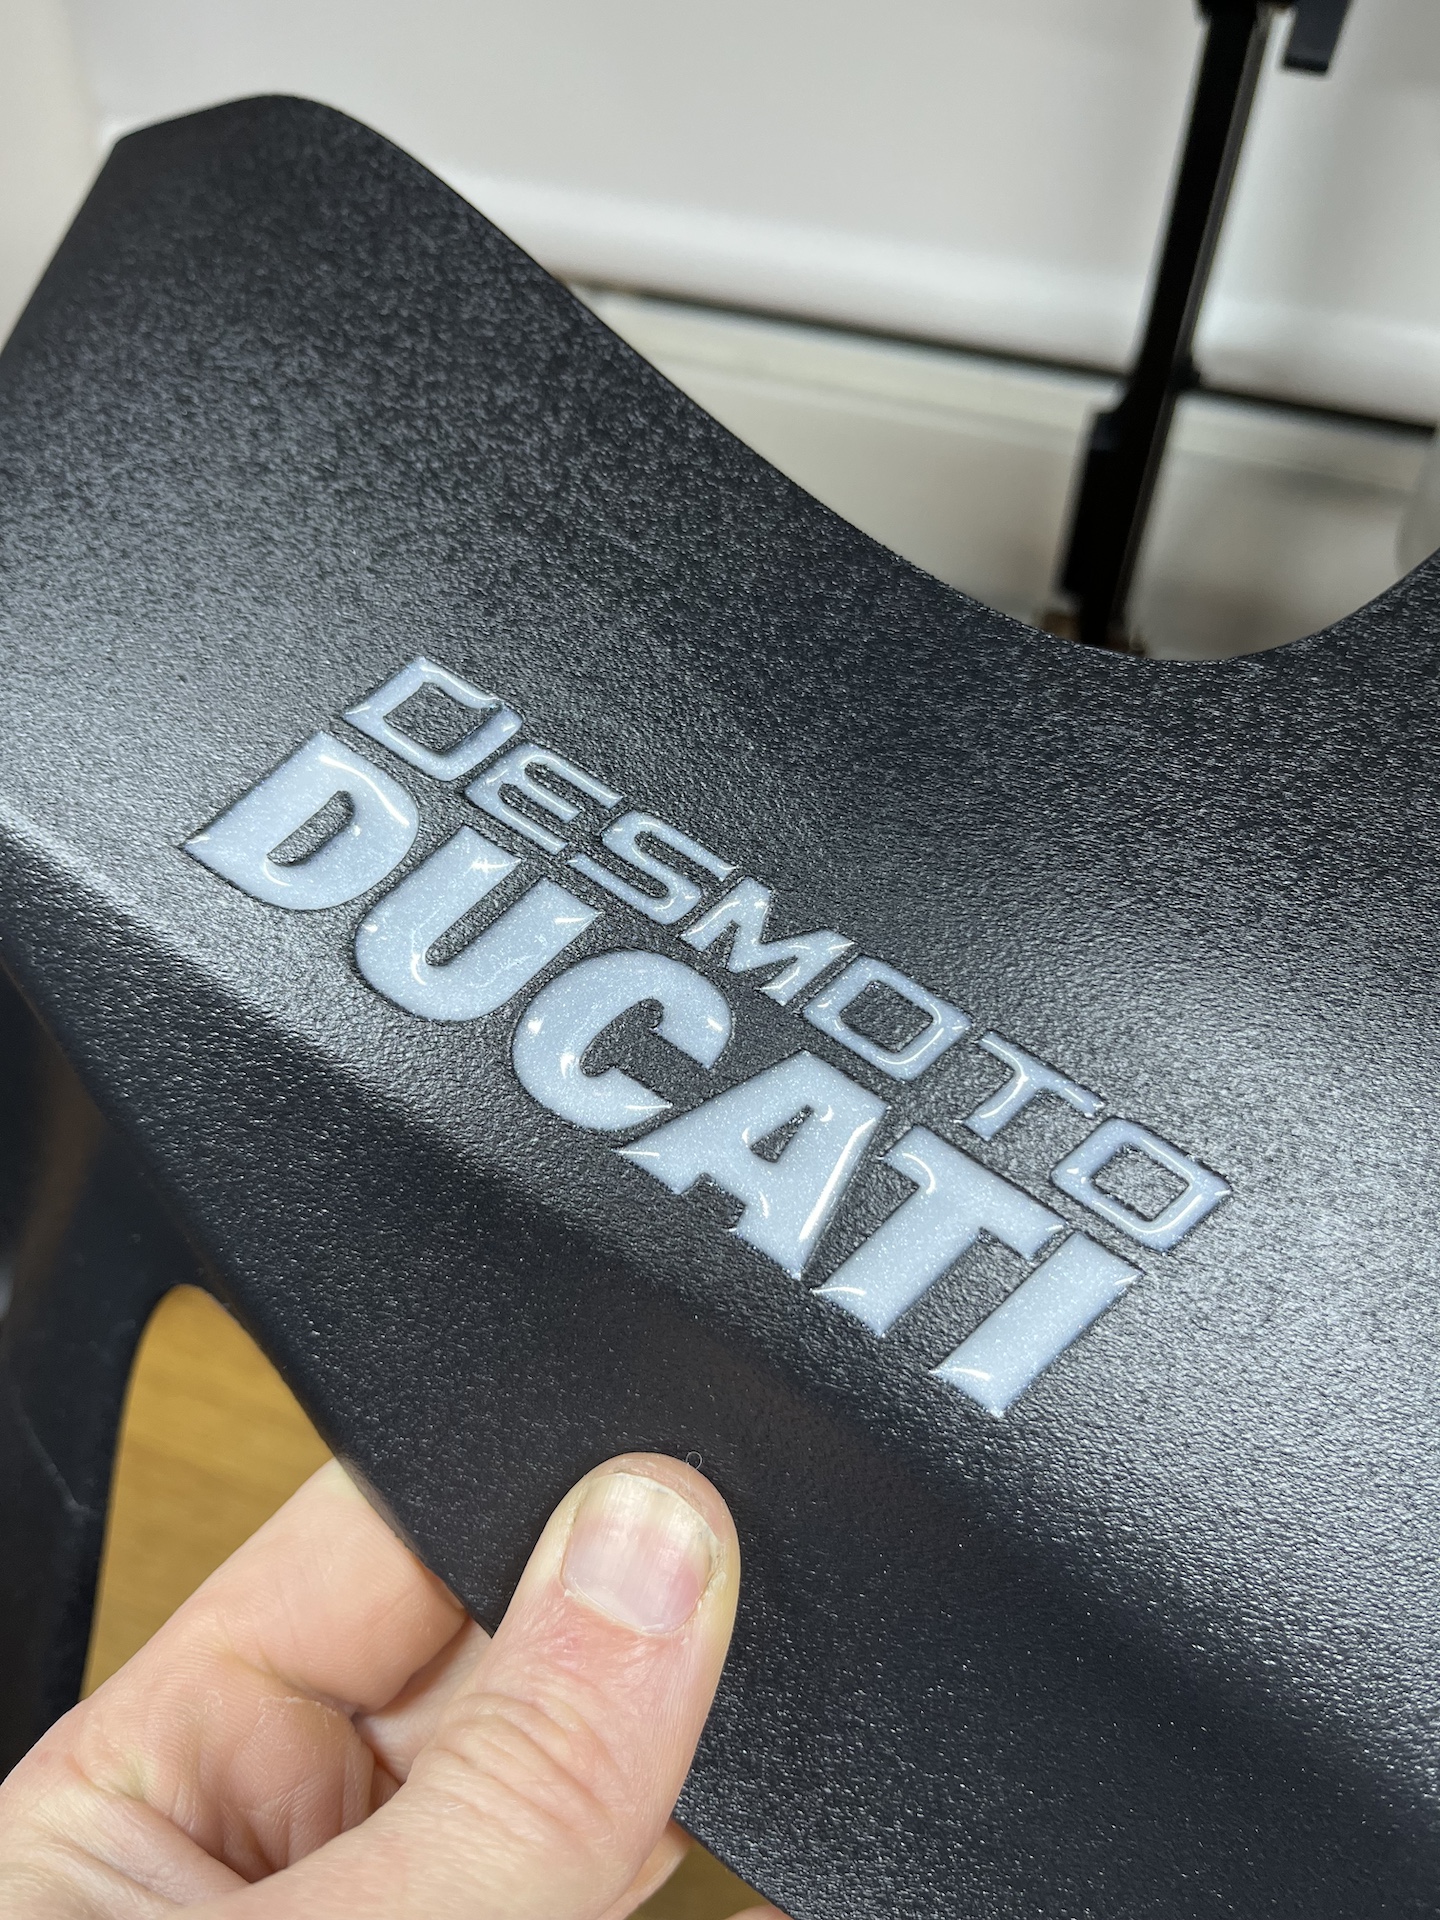
EMBOSSED EPOXY LETTERING
The embossed logo letting on the side fairing has now been filled in with white pigmented epoxy. Sexy!
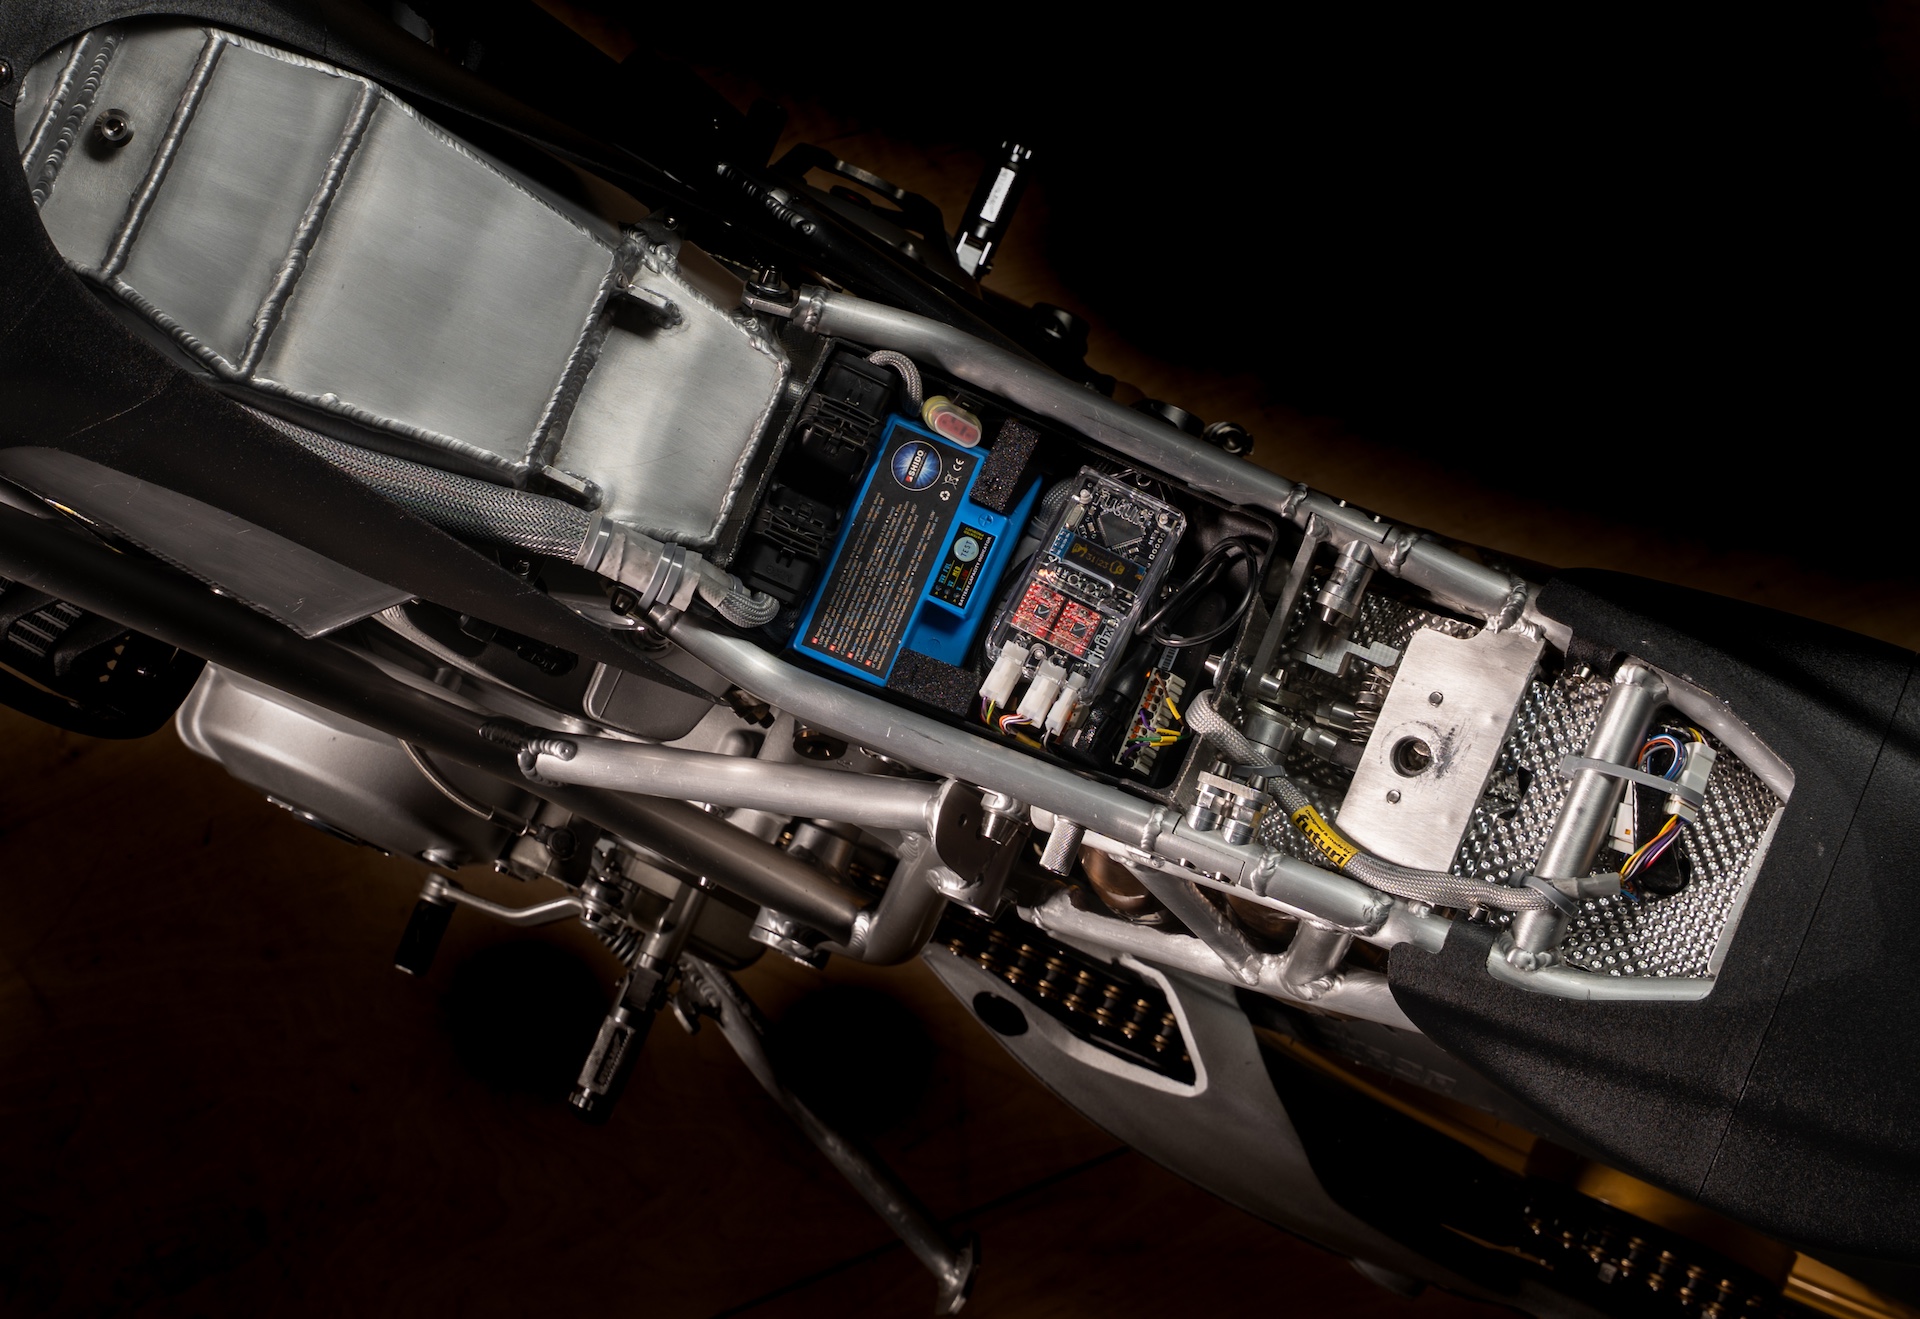
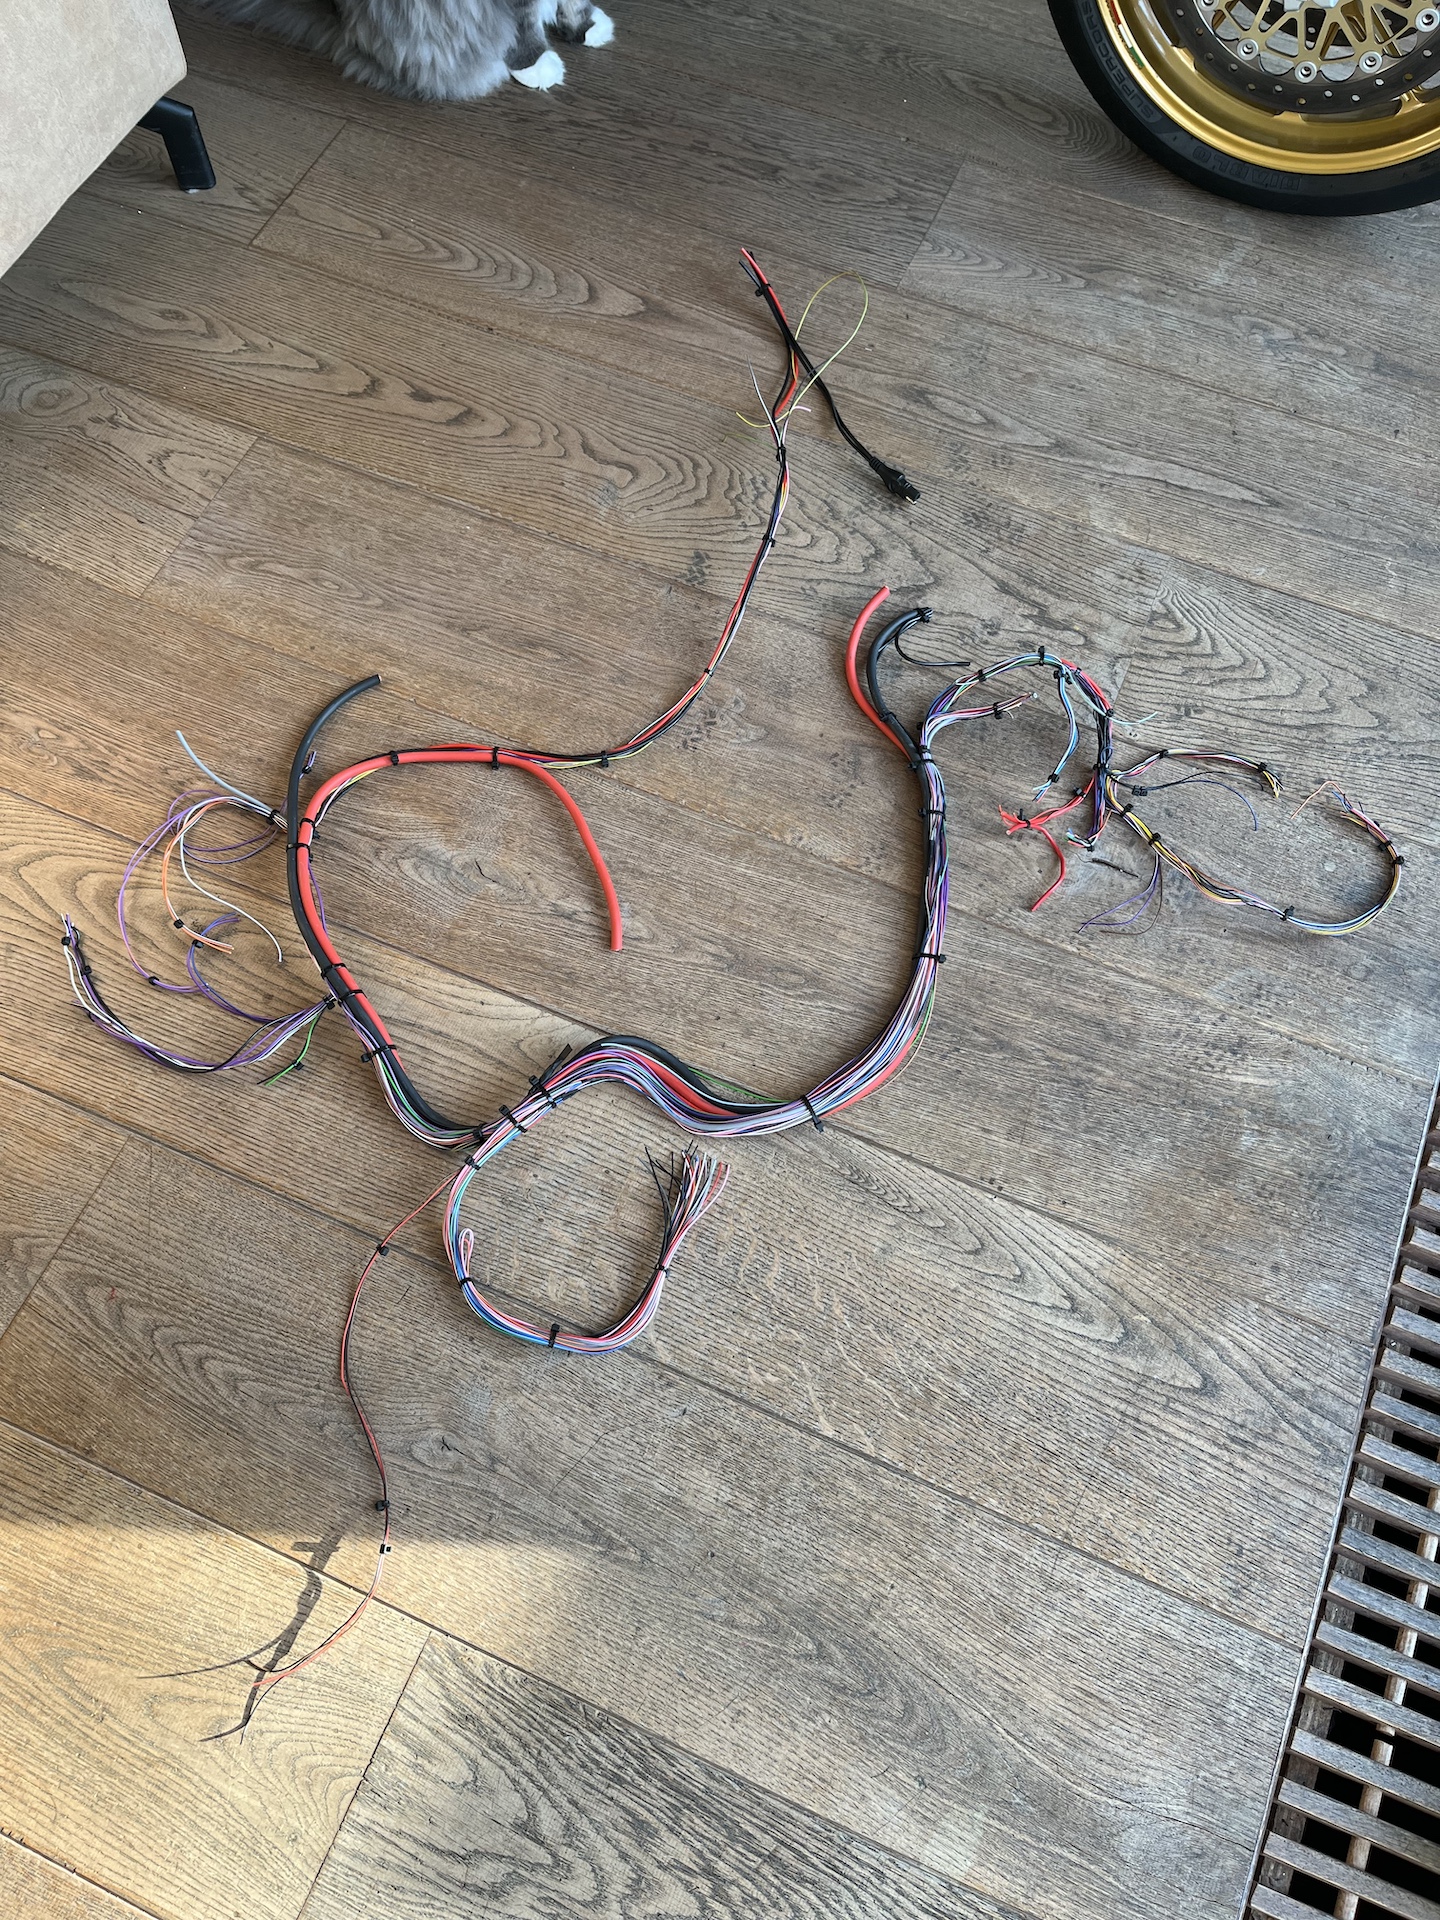
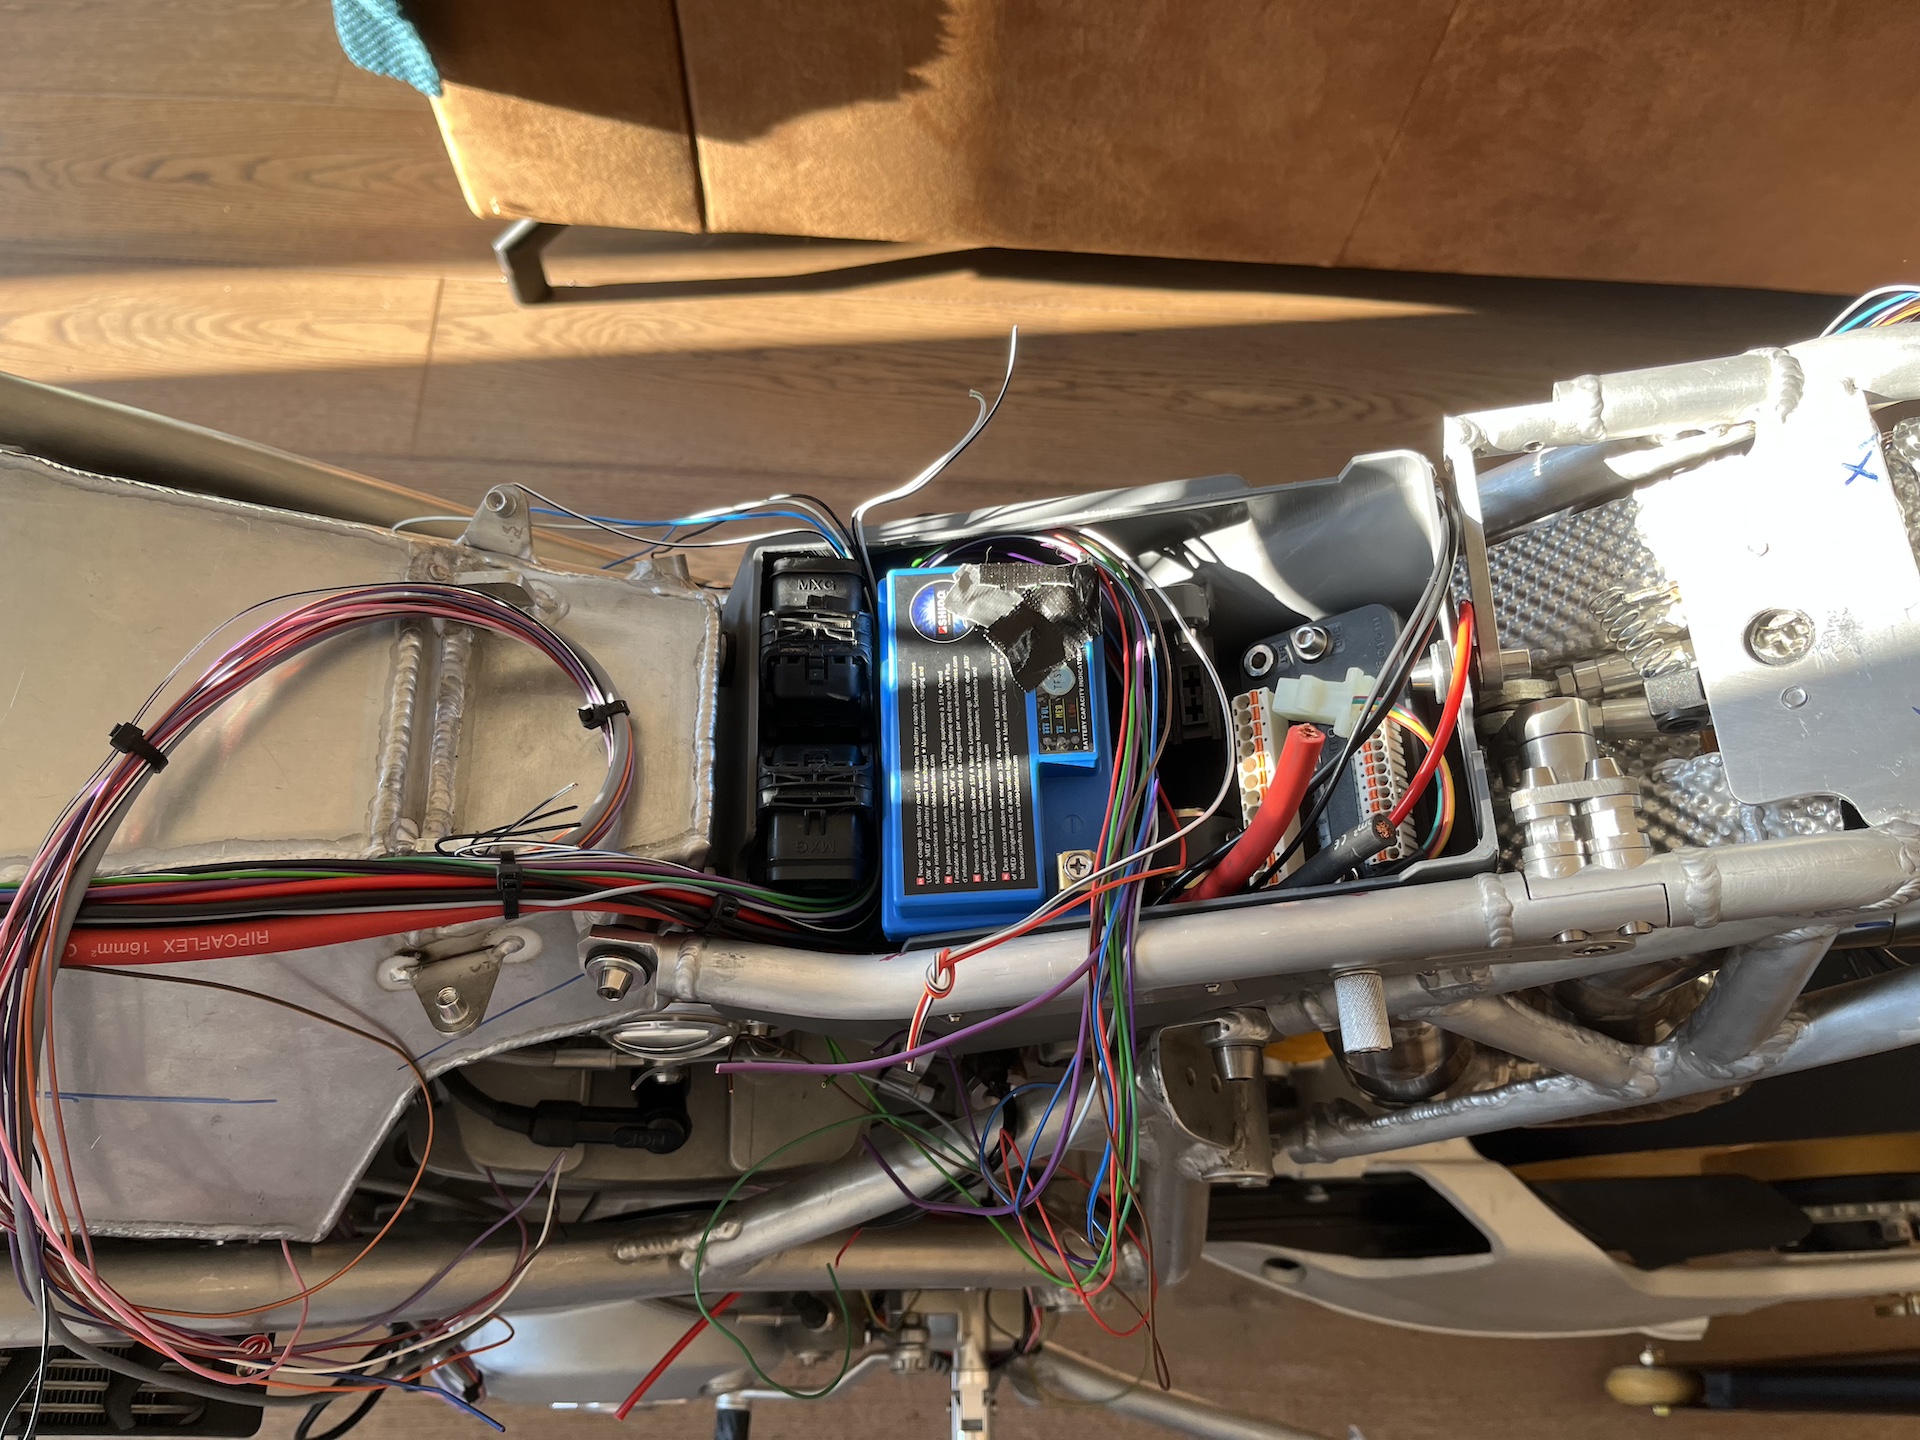
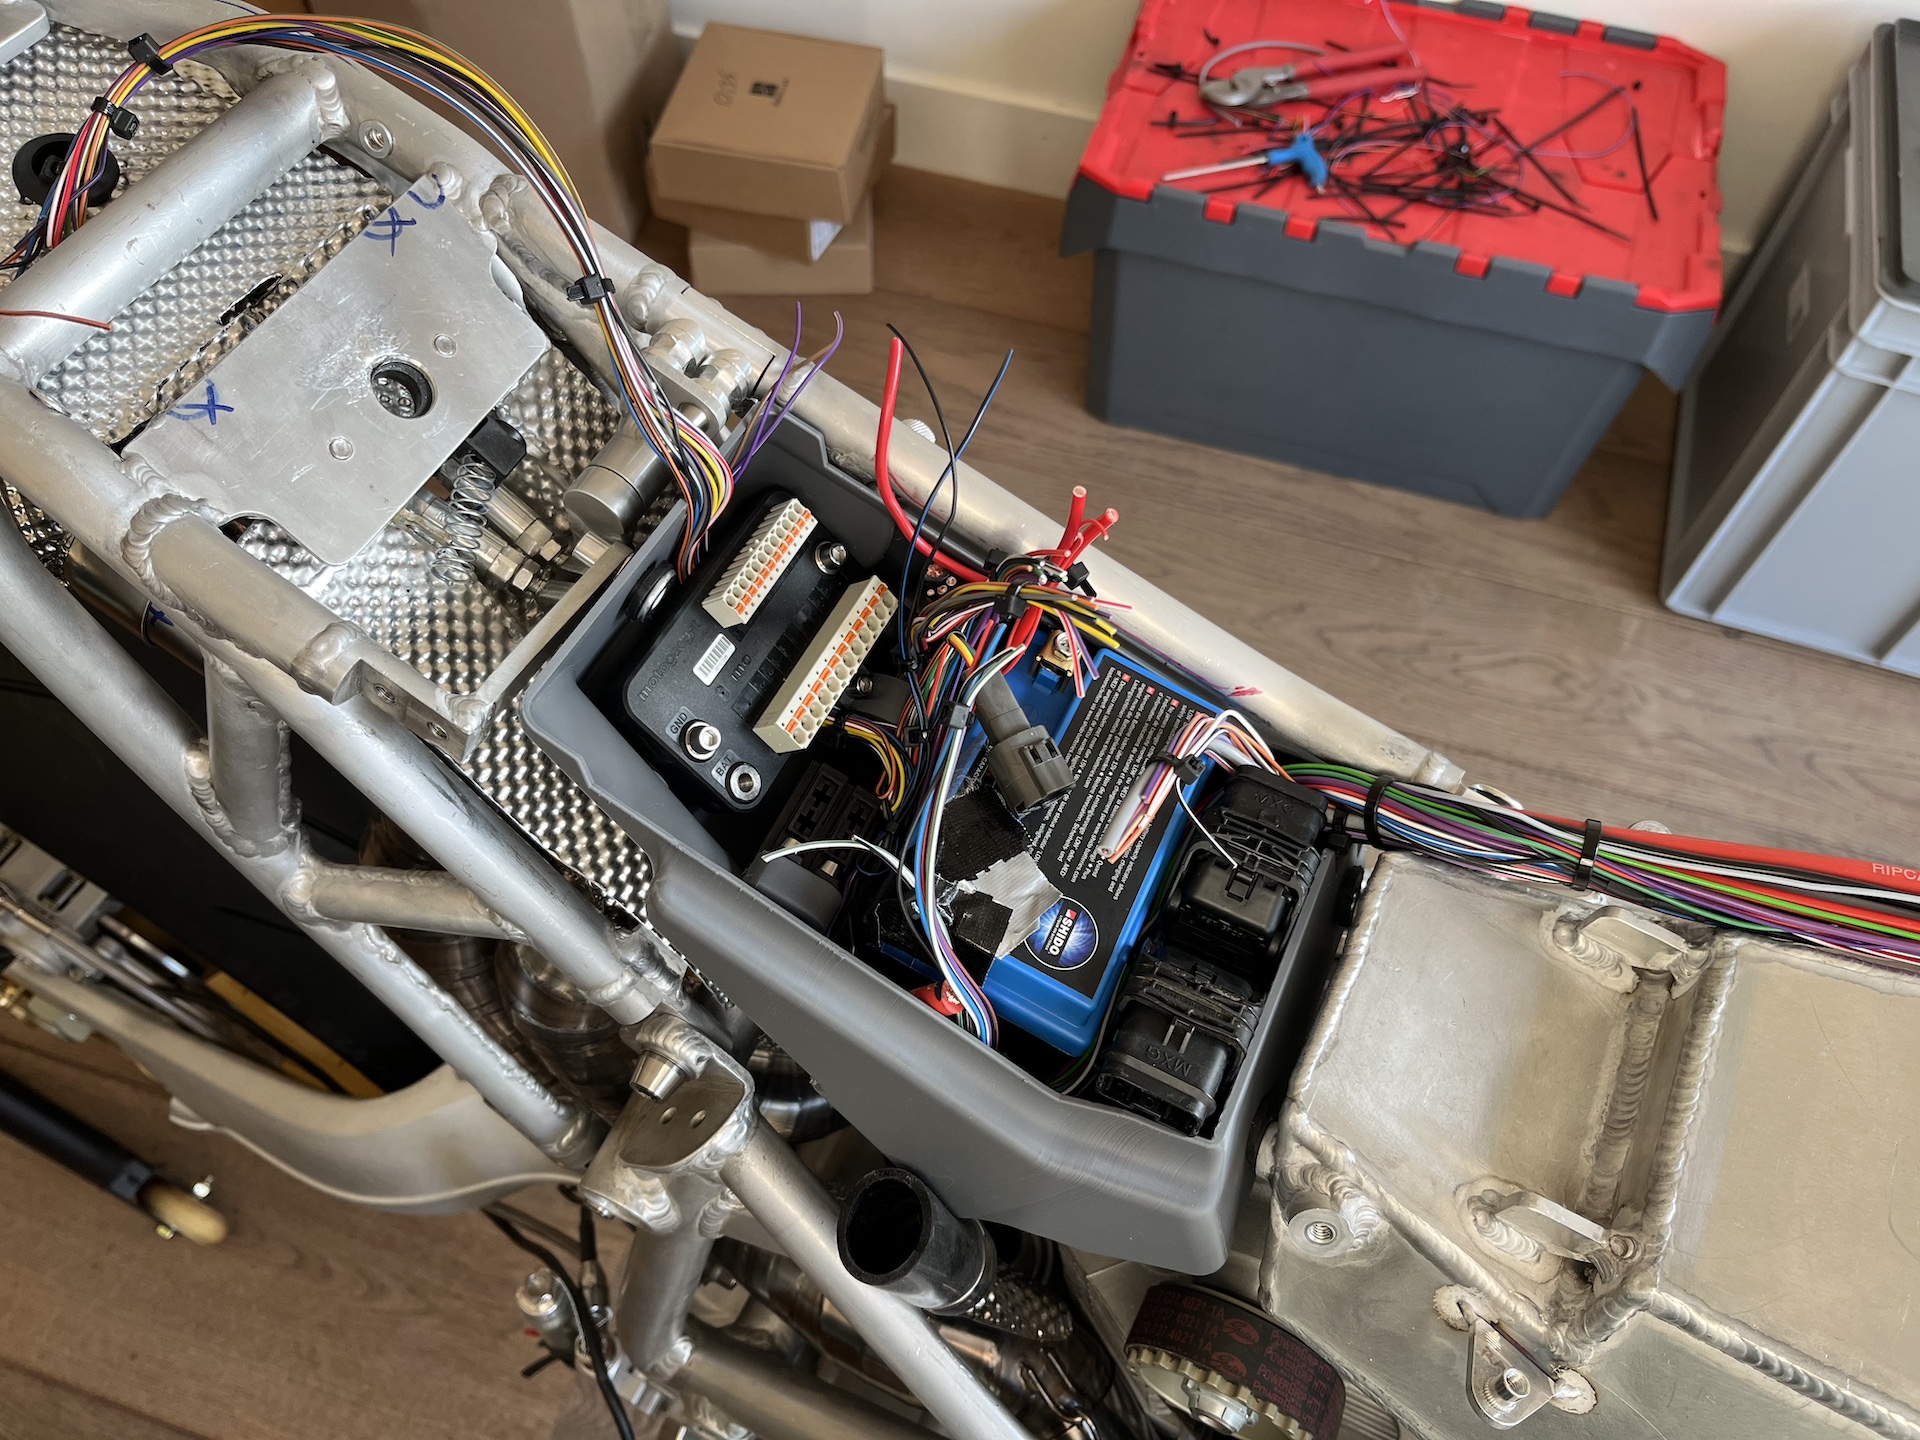
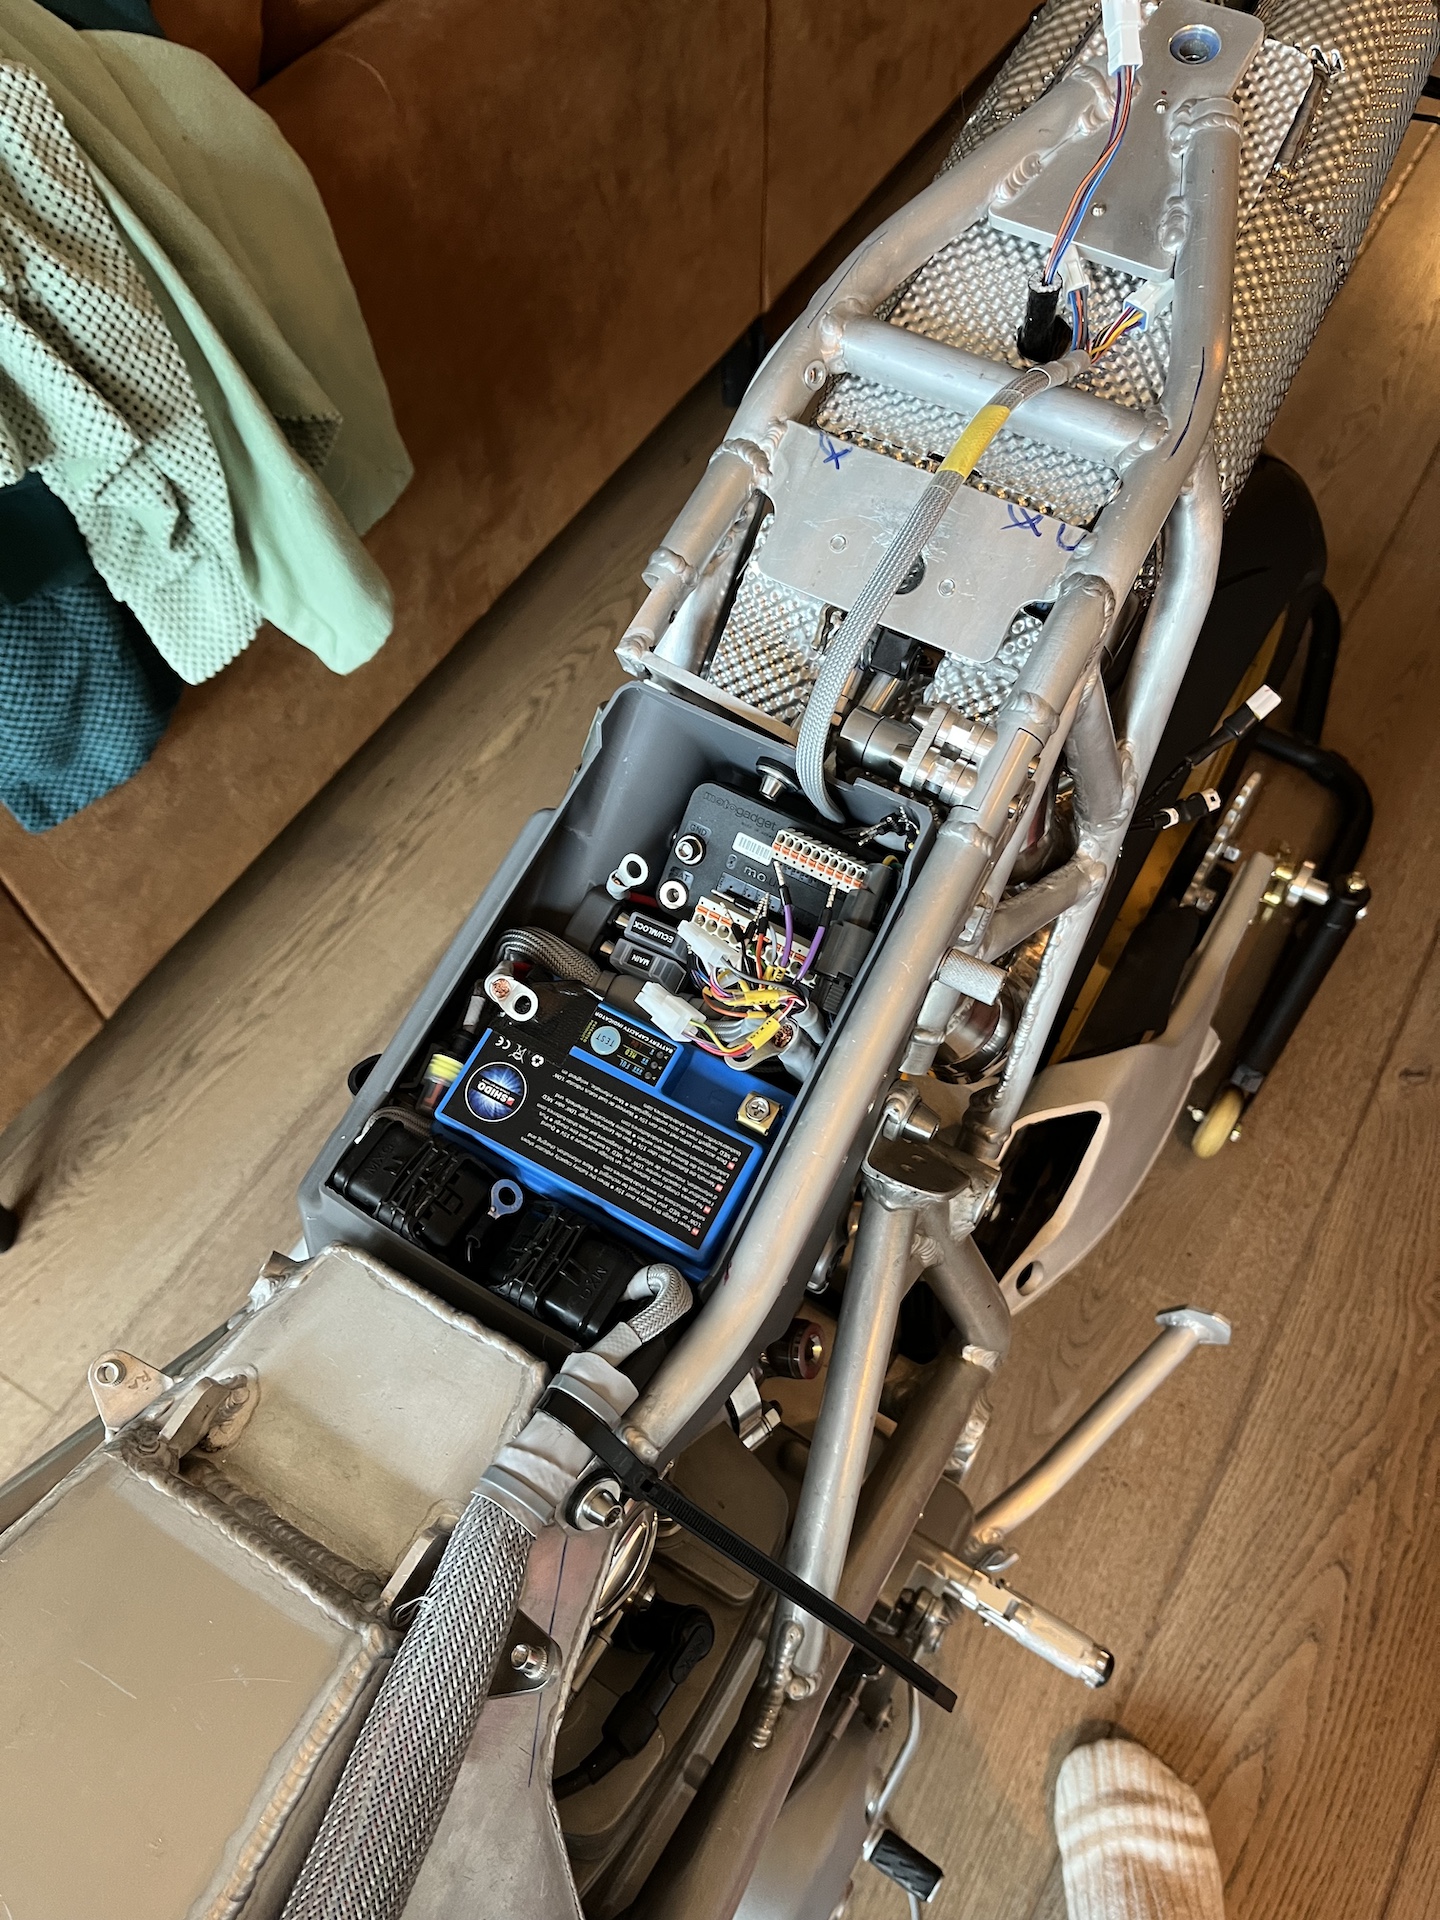
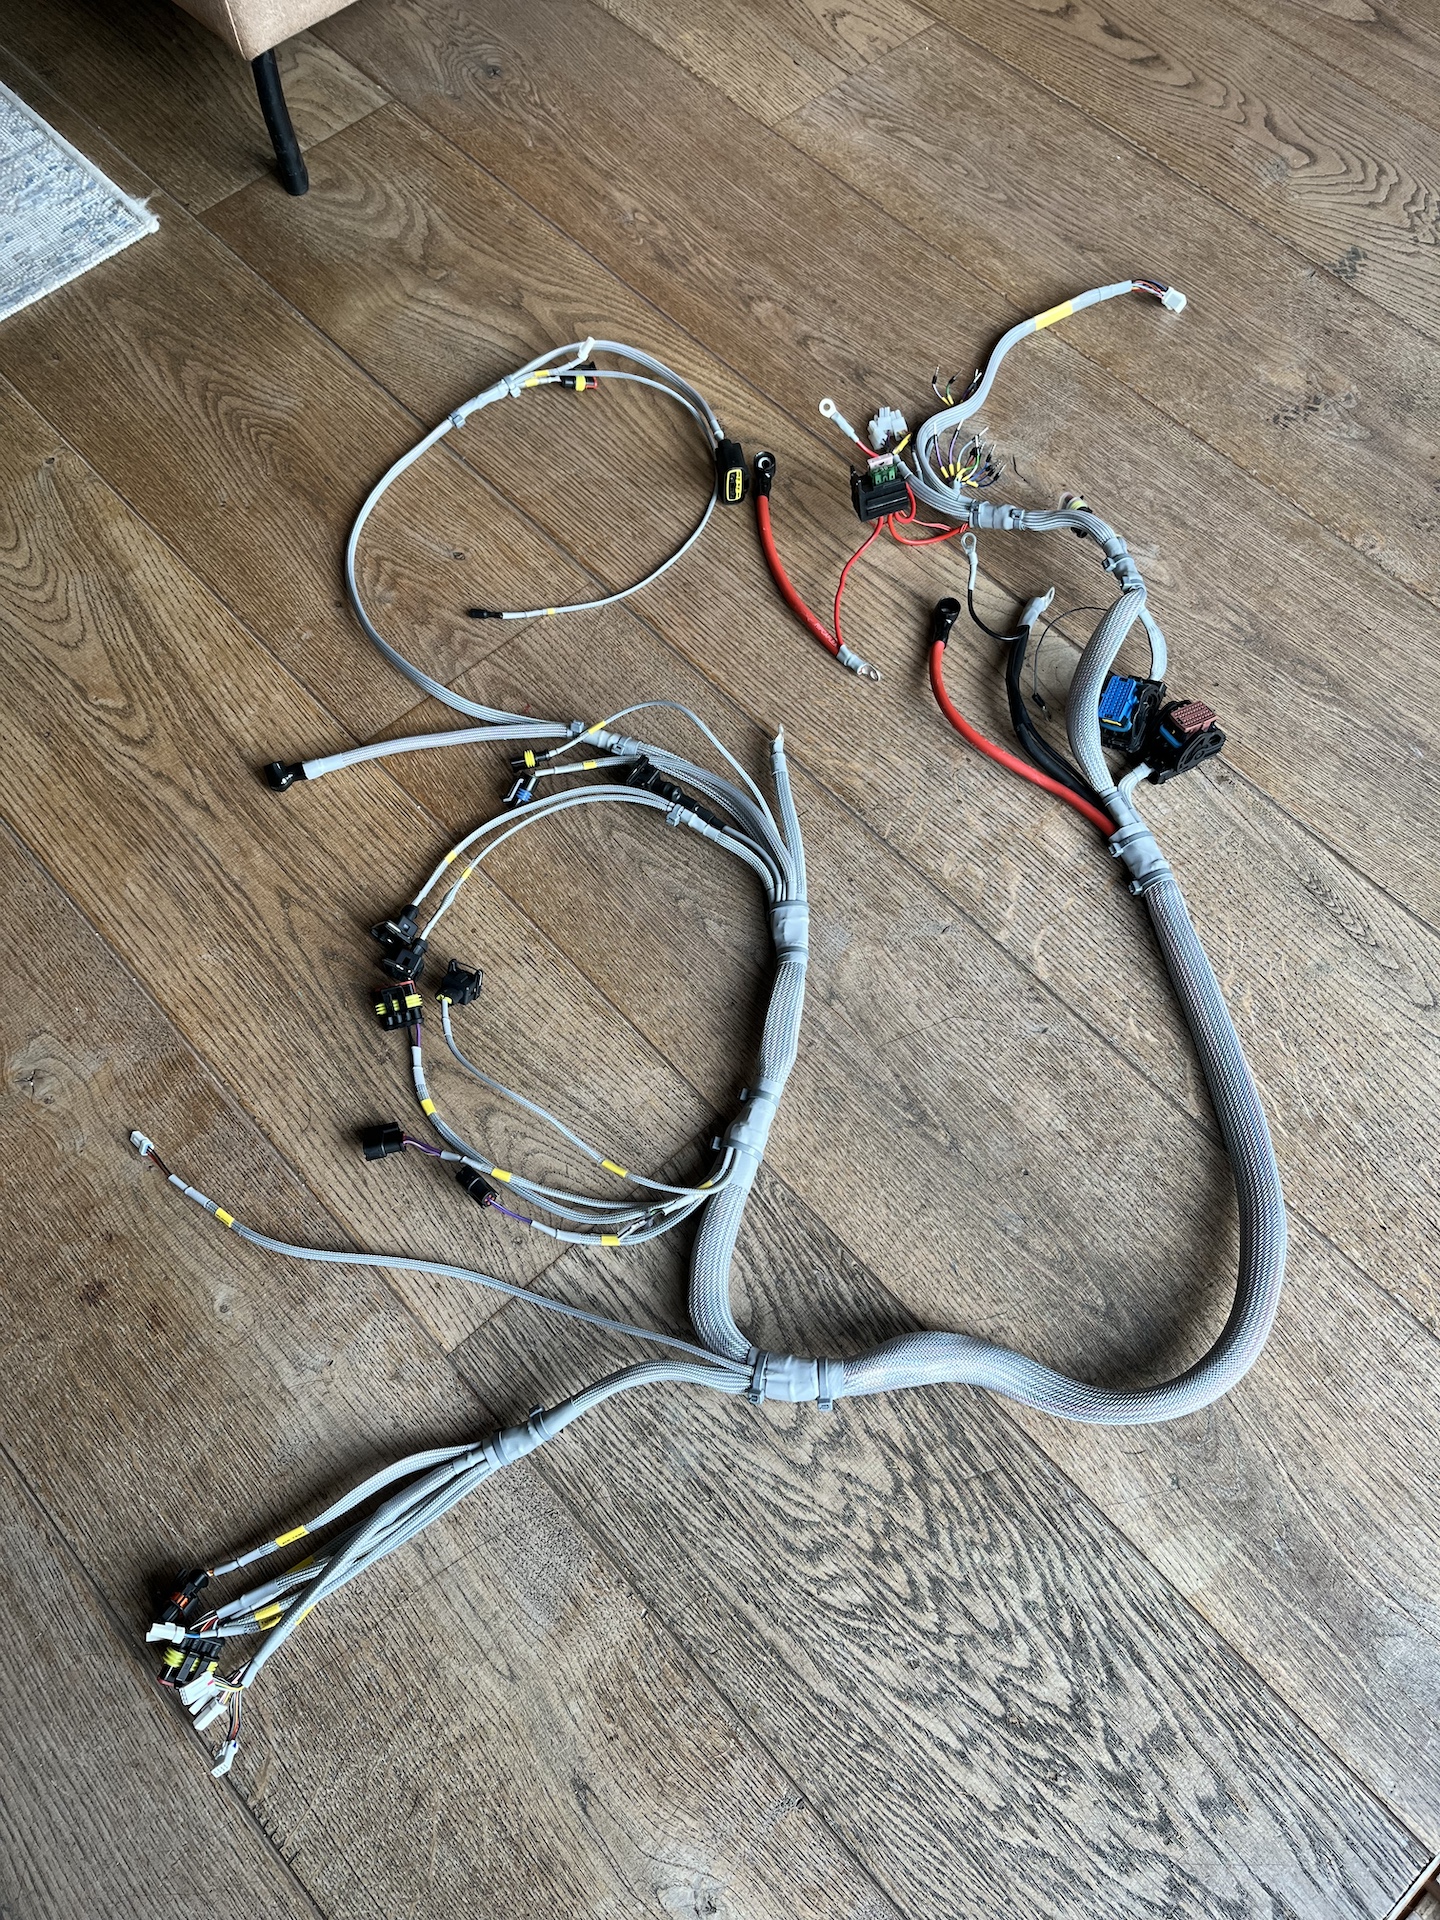
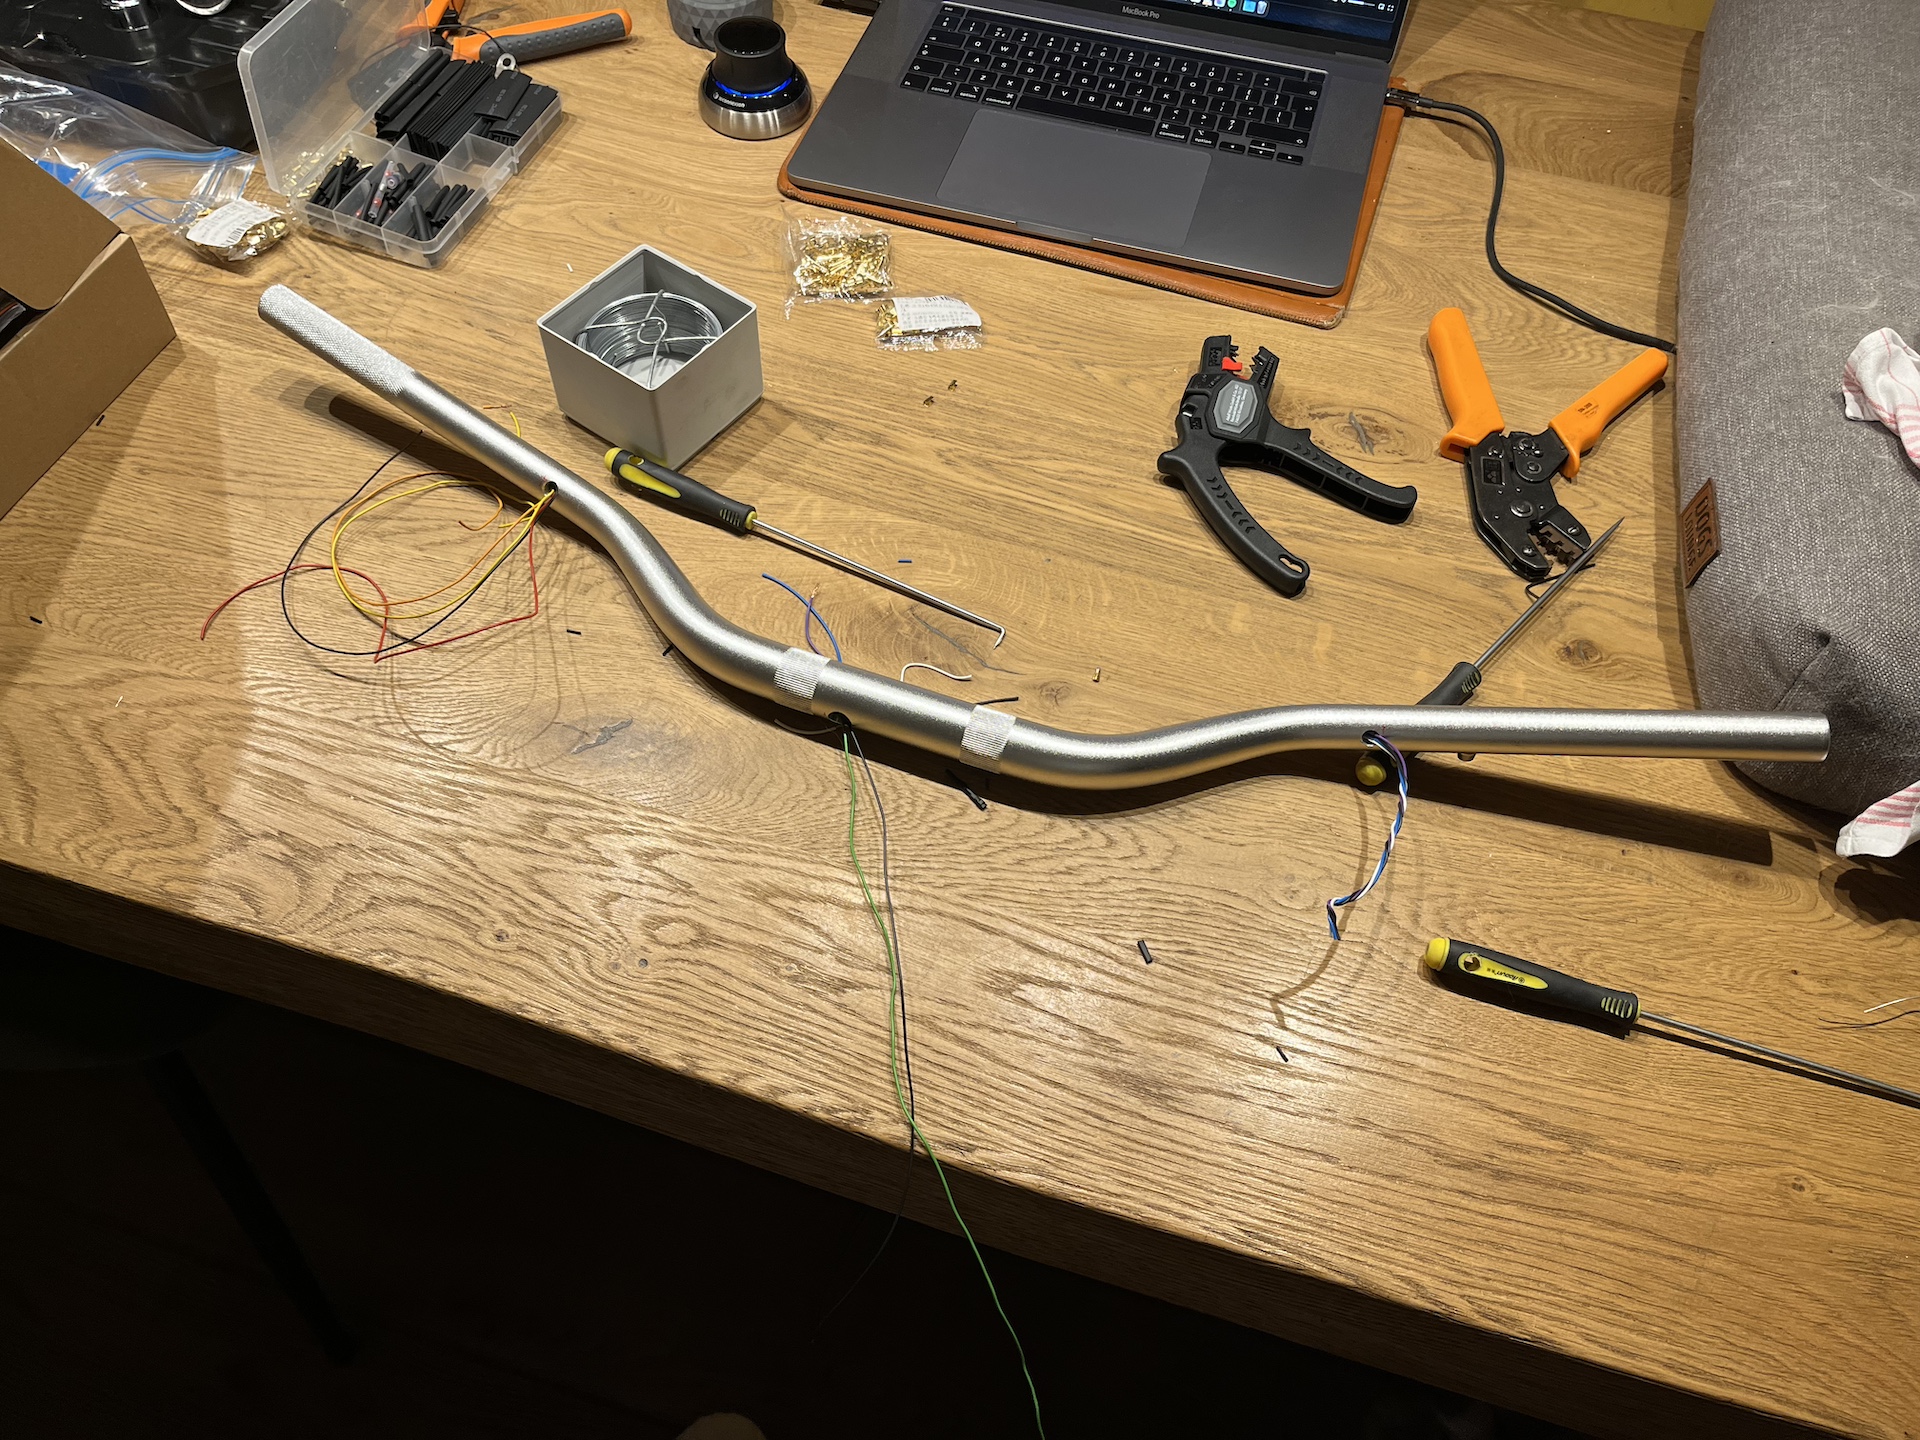
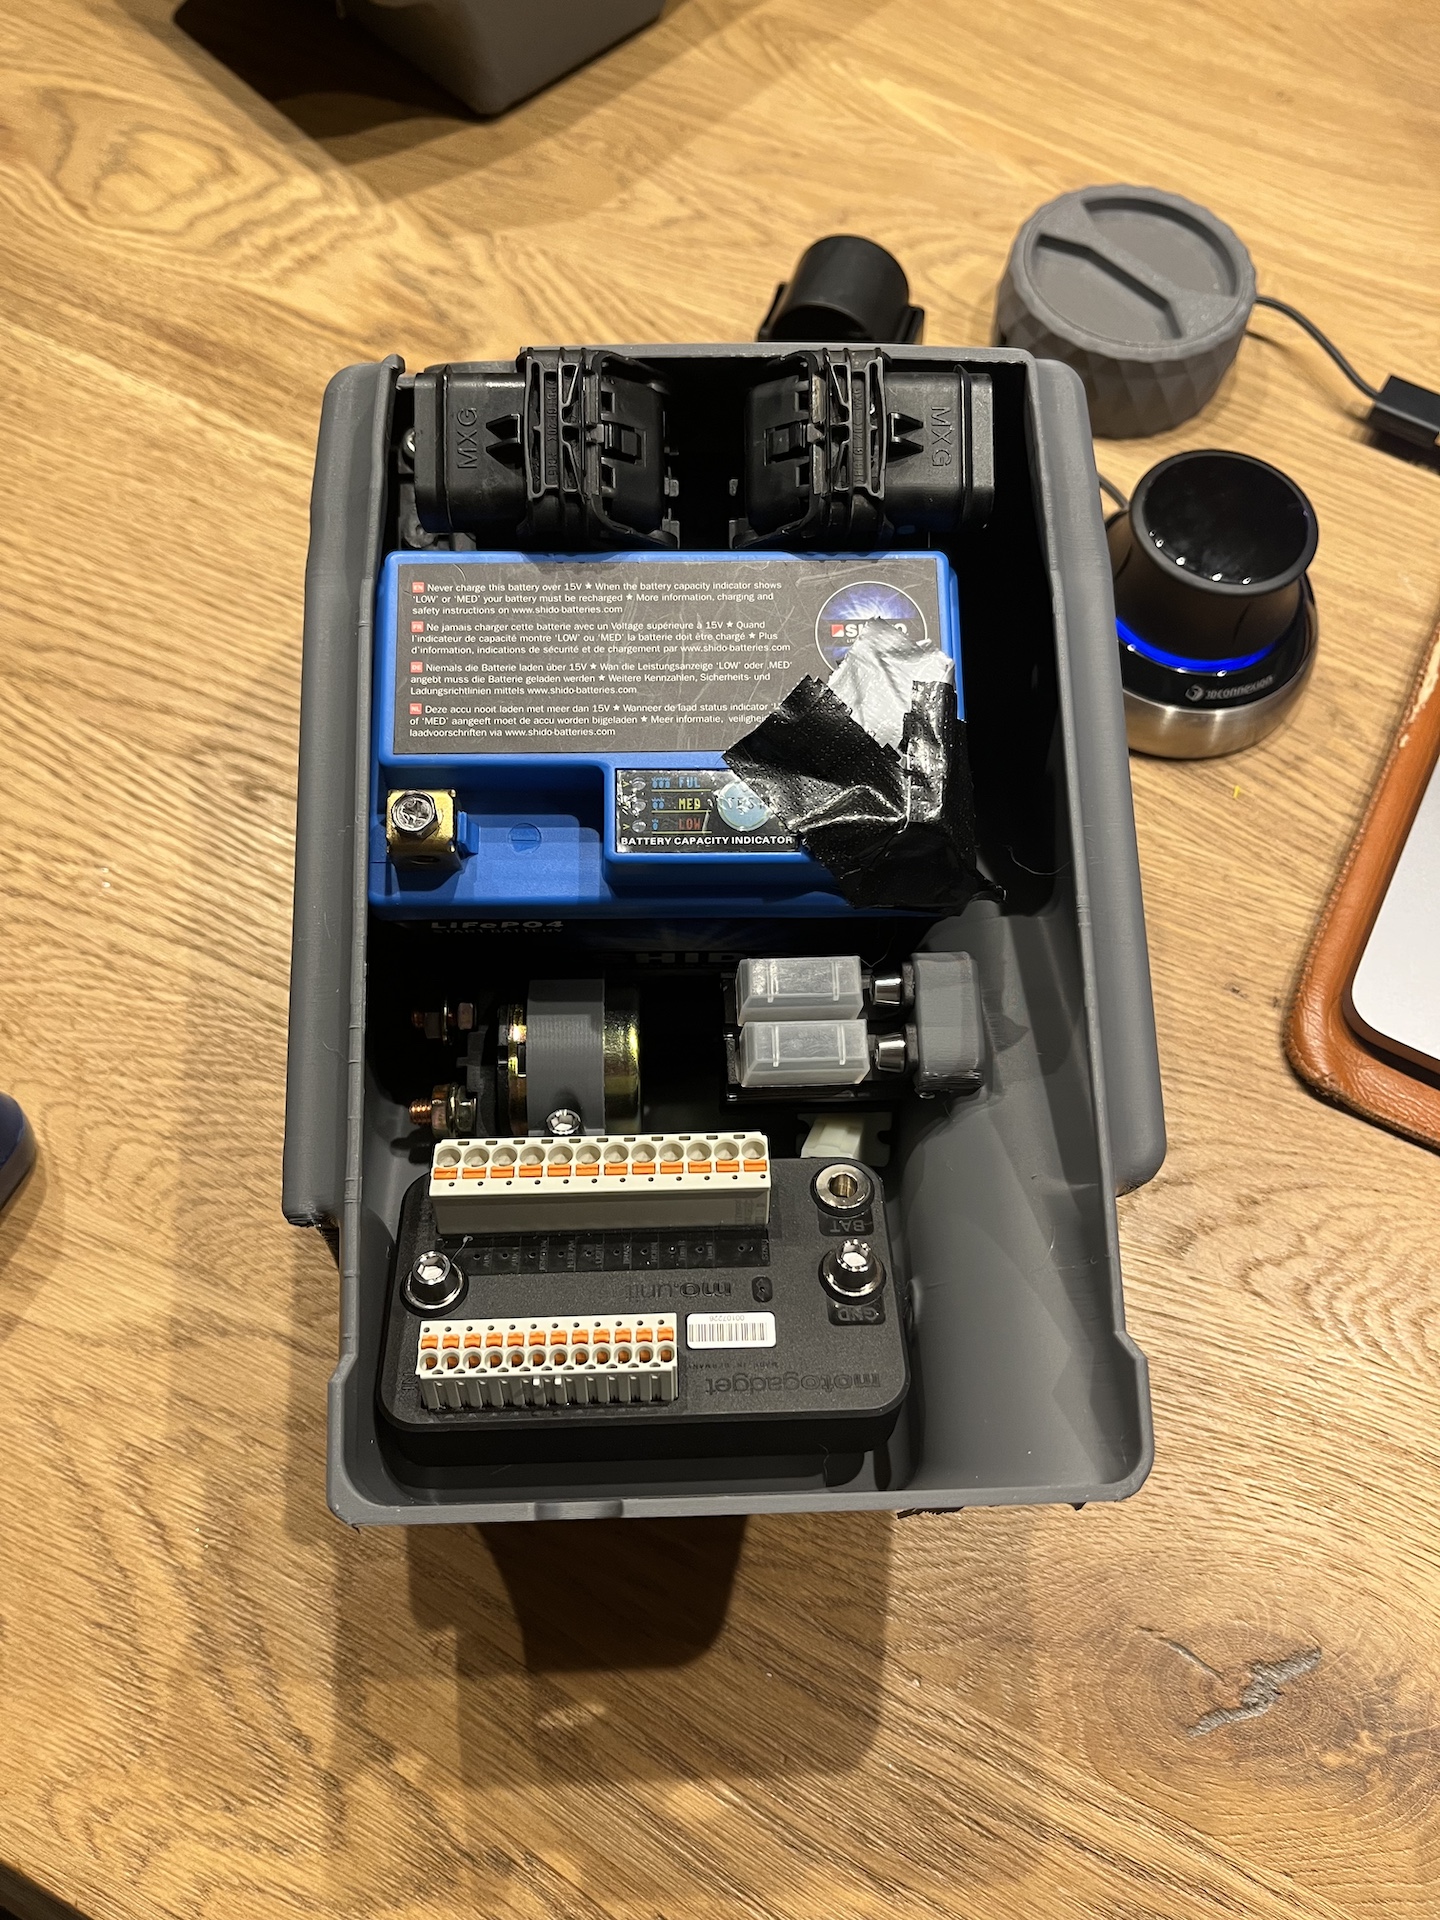
CUSTOM WIRING LOOM MANIA, DONE!
The wiring loom is also finished. I didn’t make it easy on myself designing a battery box so small. Really took allot of time to get everything as slim as possible but also looking good.
Obviously integrated an M-Unit Blue to simplify the wiring. Happy with the end result!

FINAL PRINTS + SPRAY BOOTH
Time to start printing and painting the side and exhaust fairings, plus multiple other small parts. Converted my small workshop to a spray booth haha.

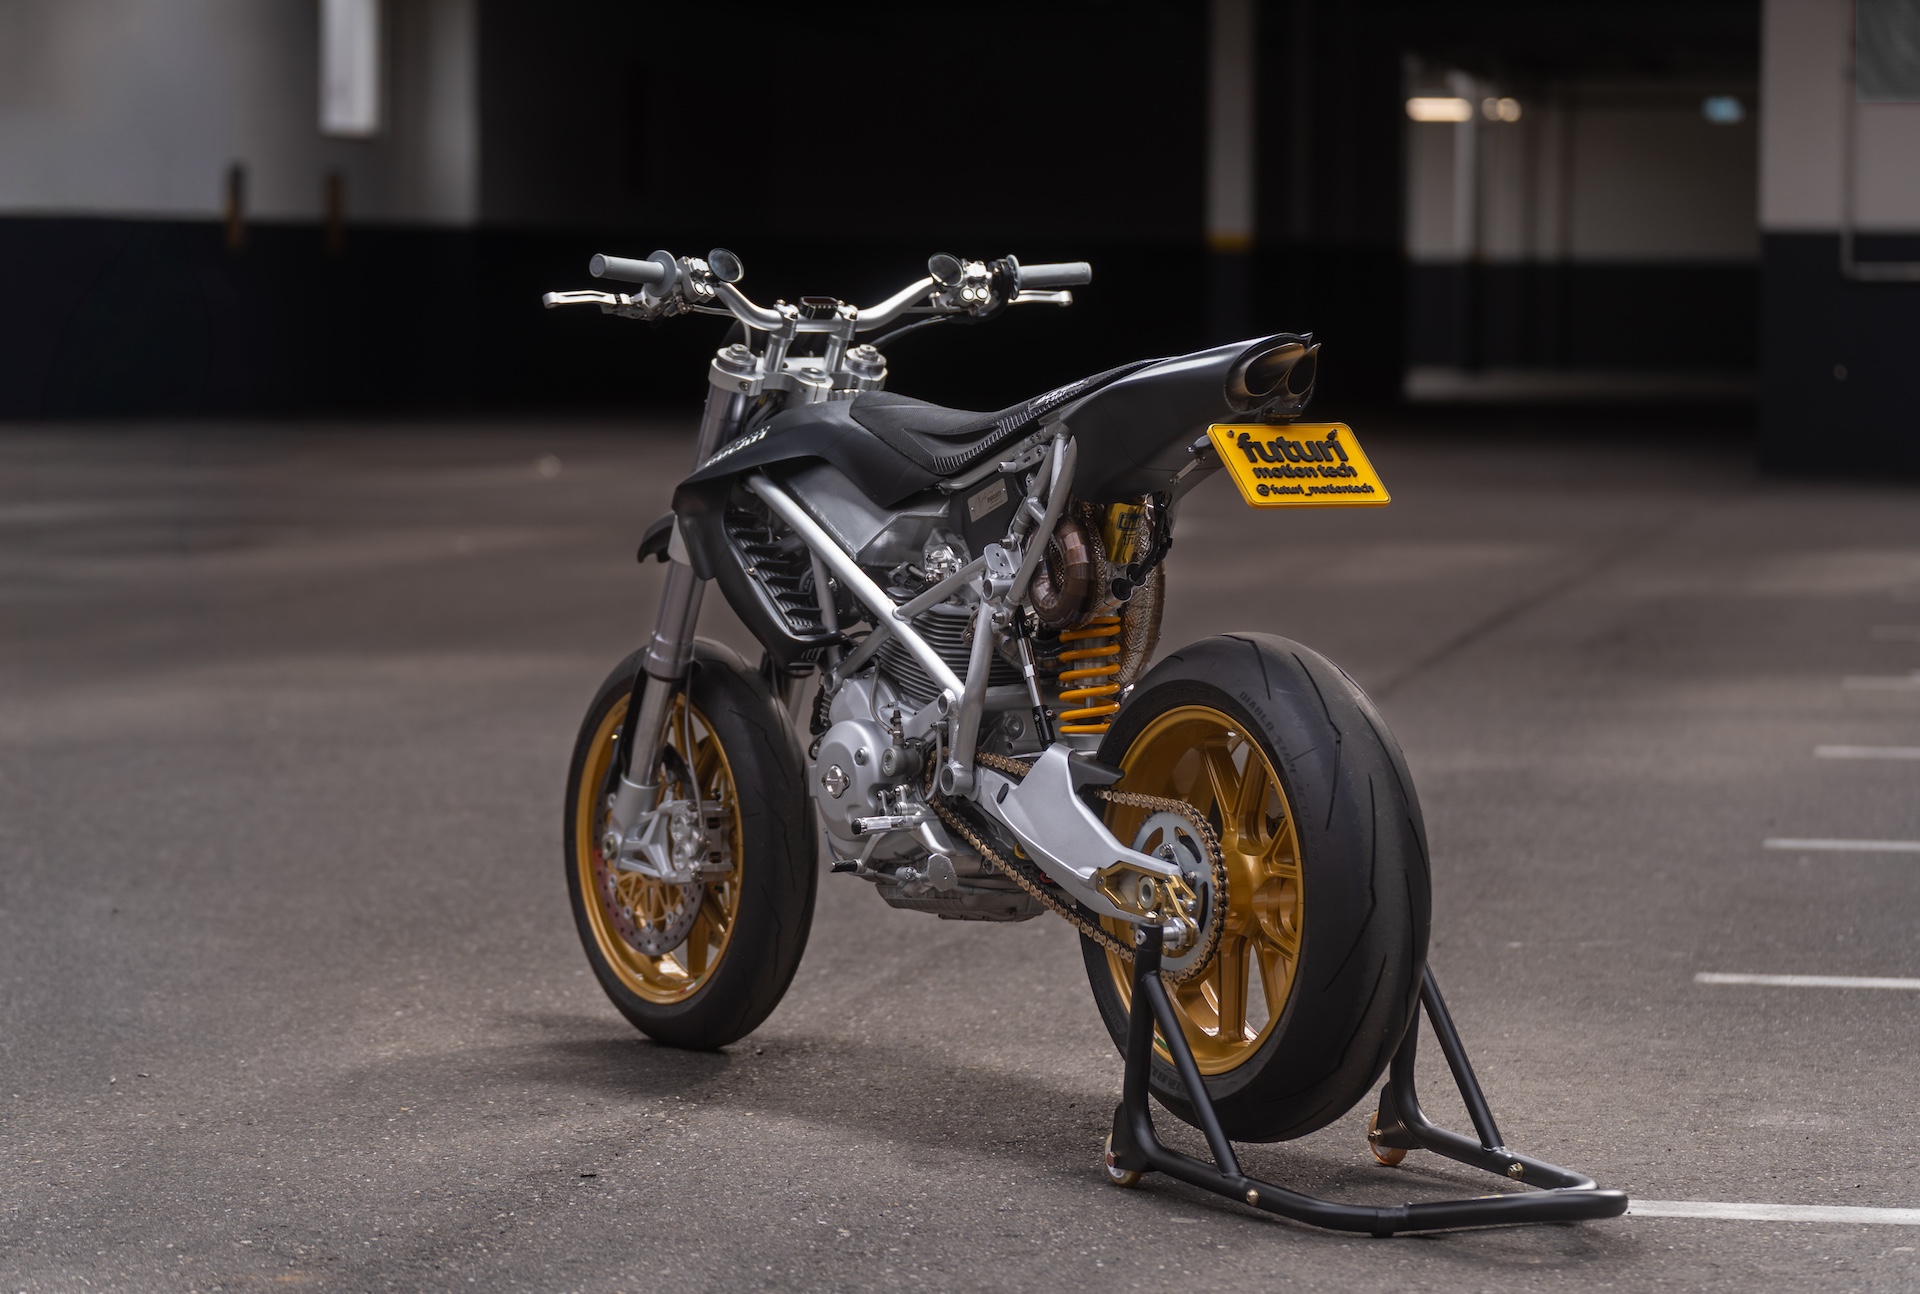
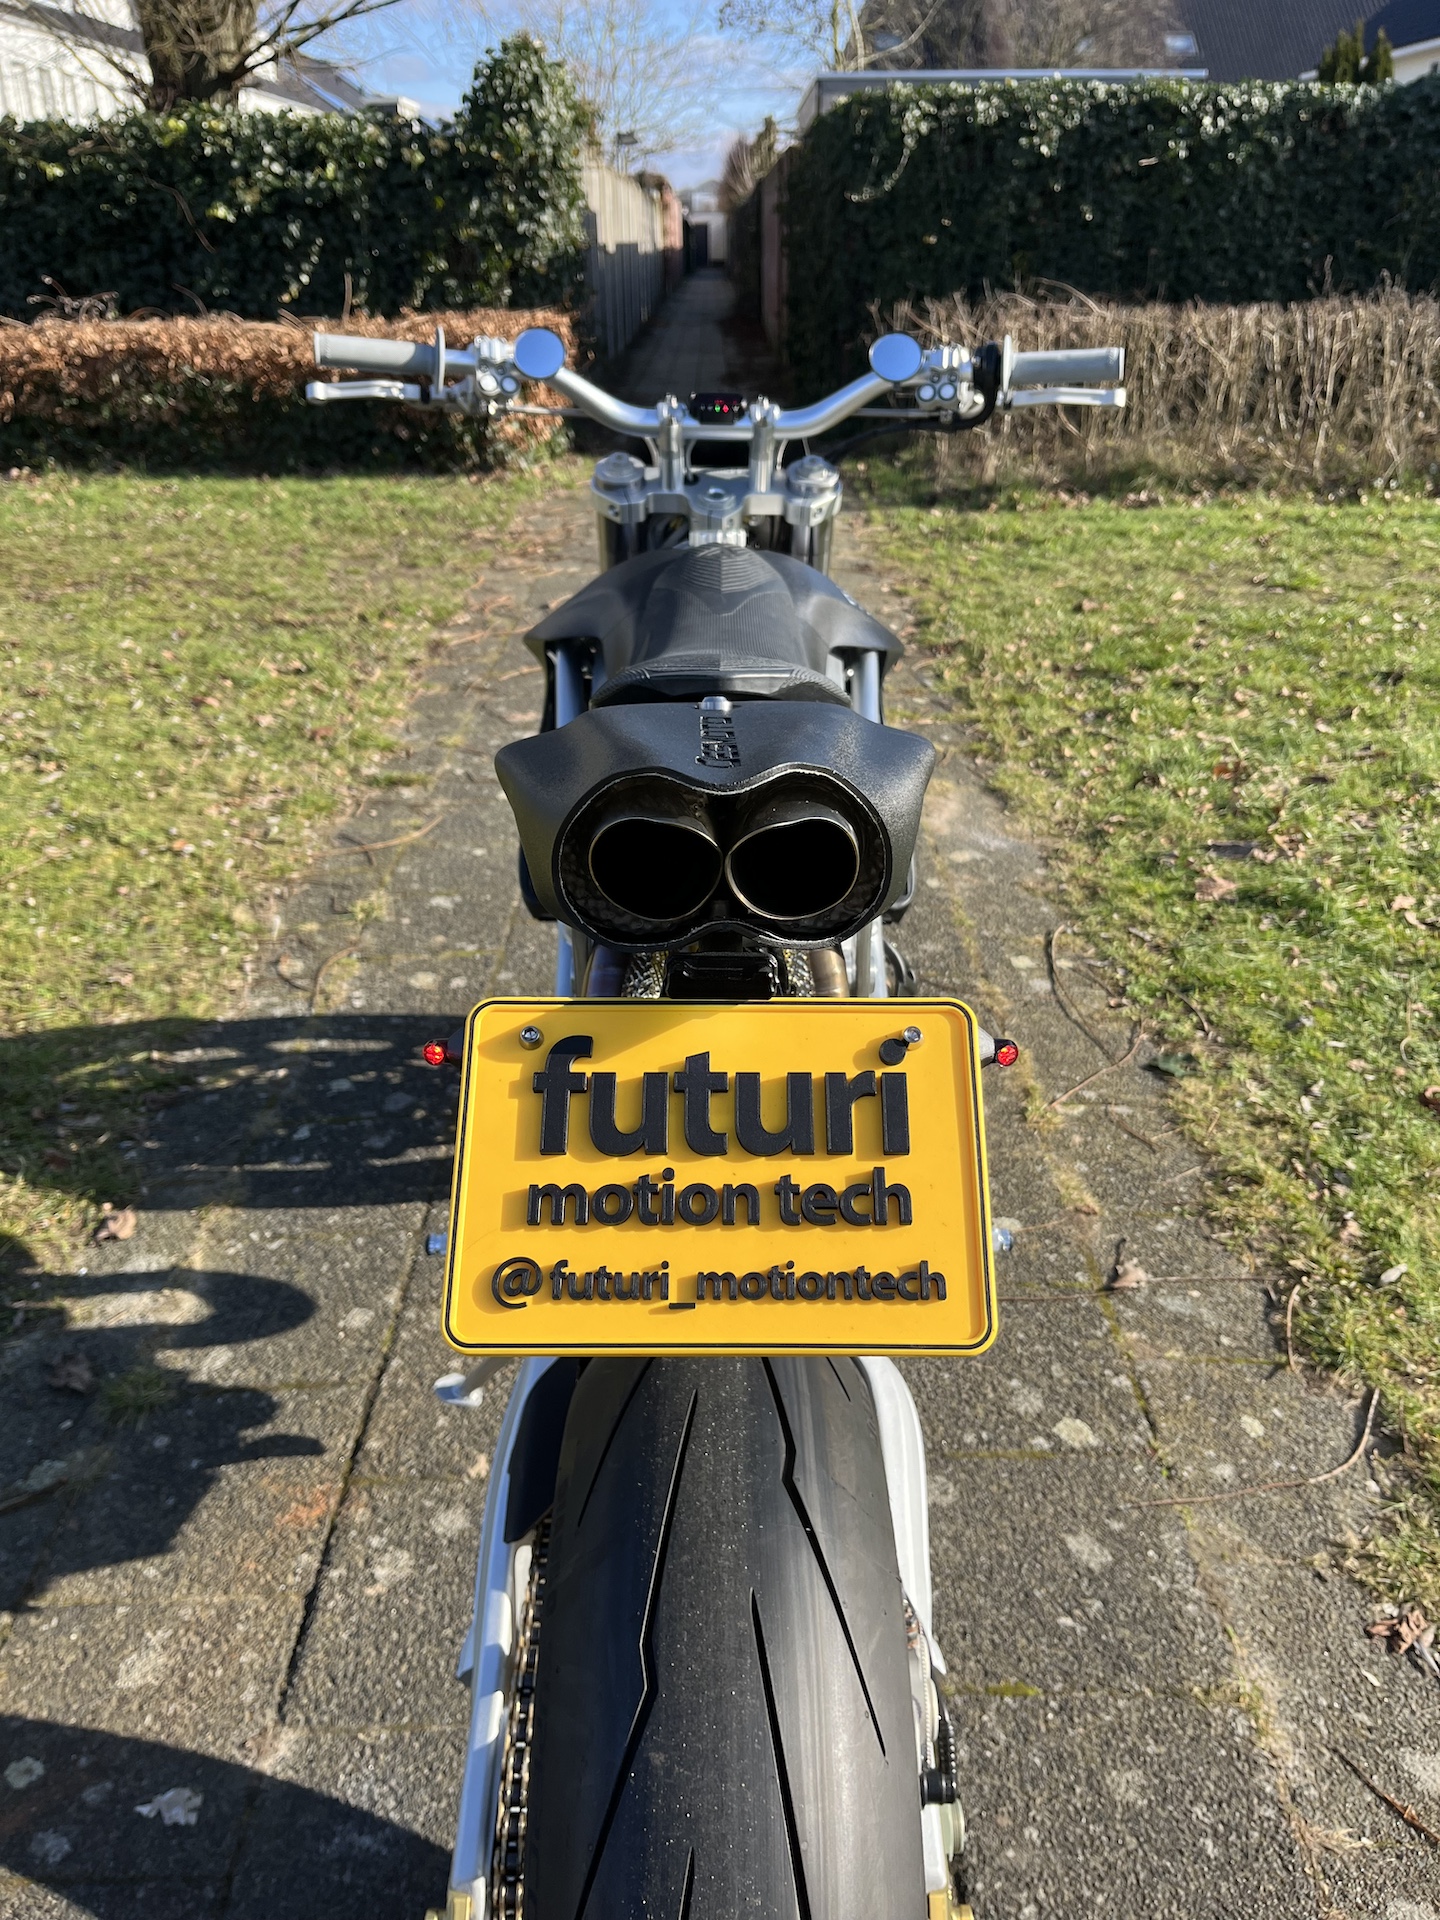
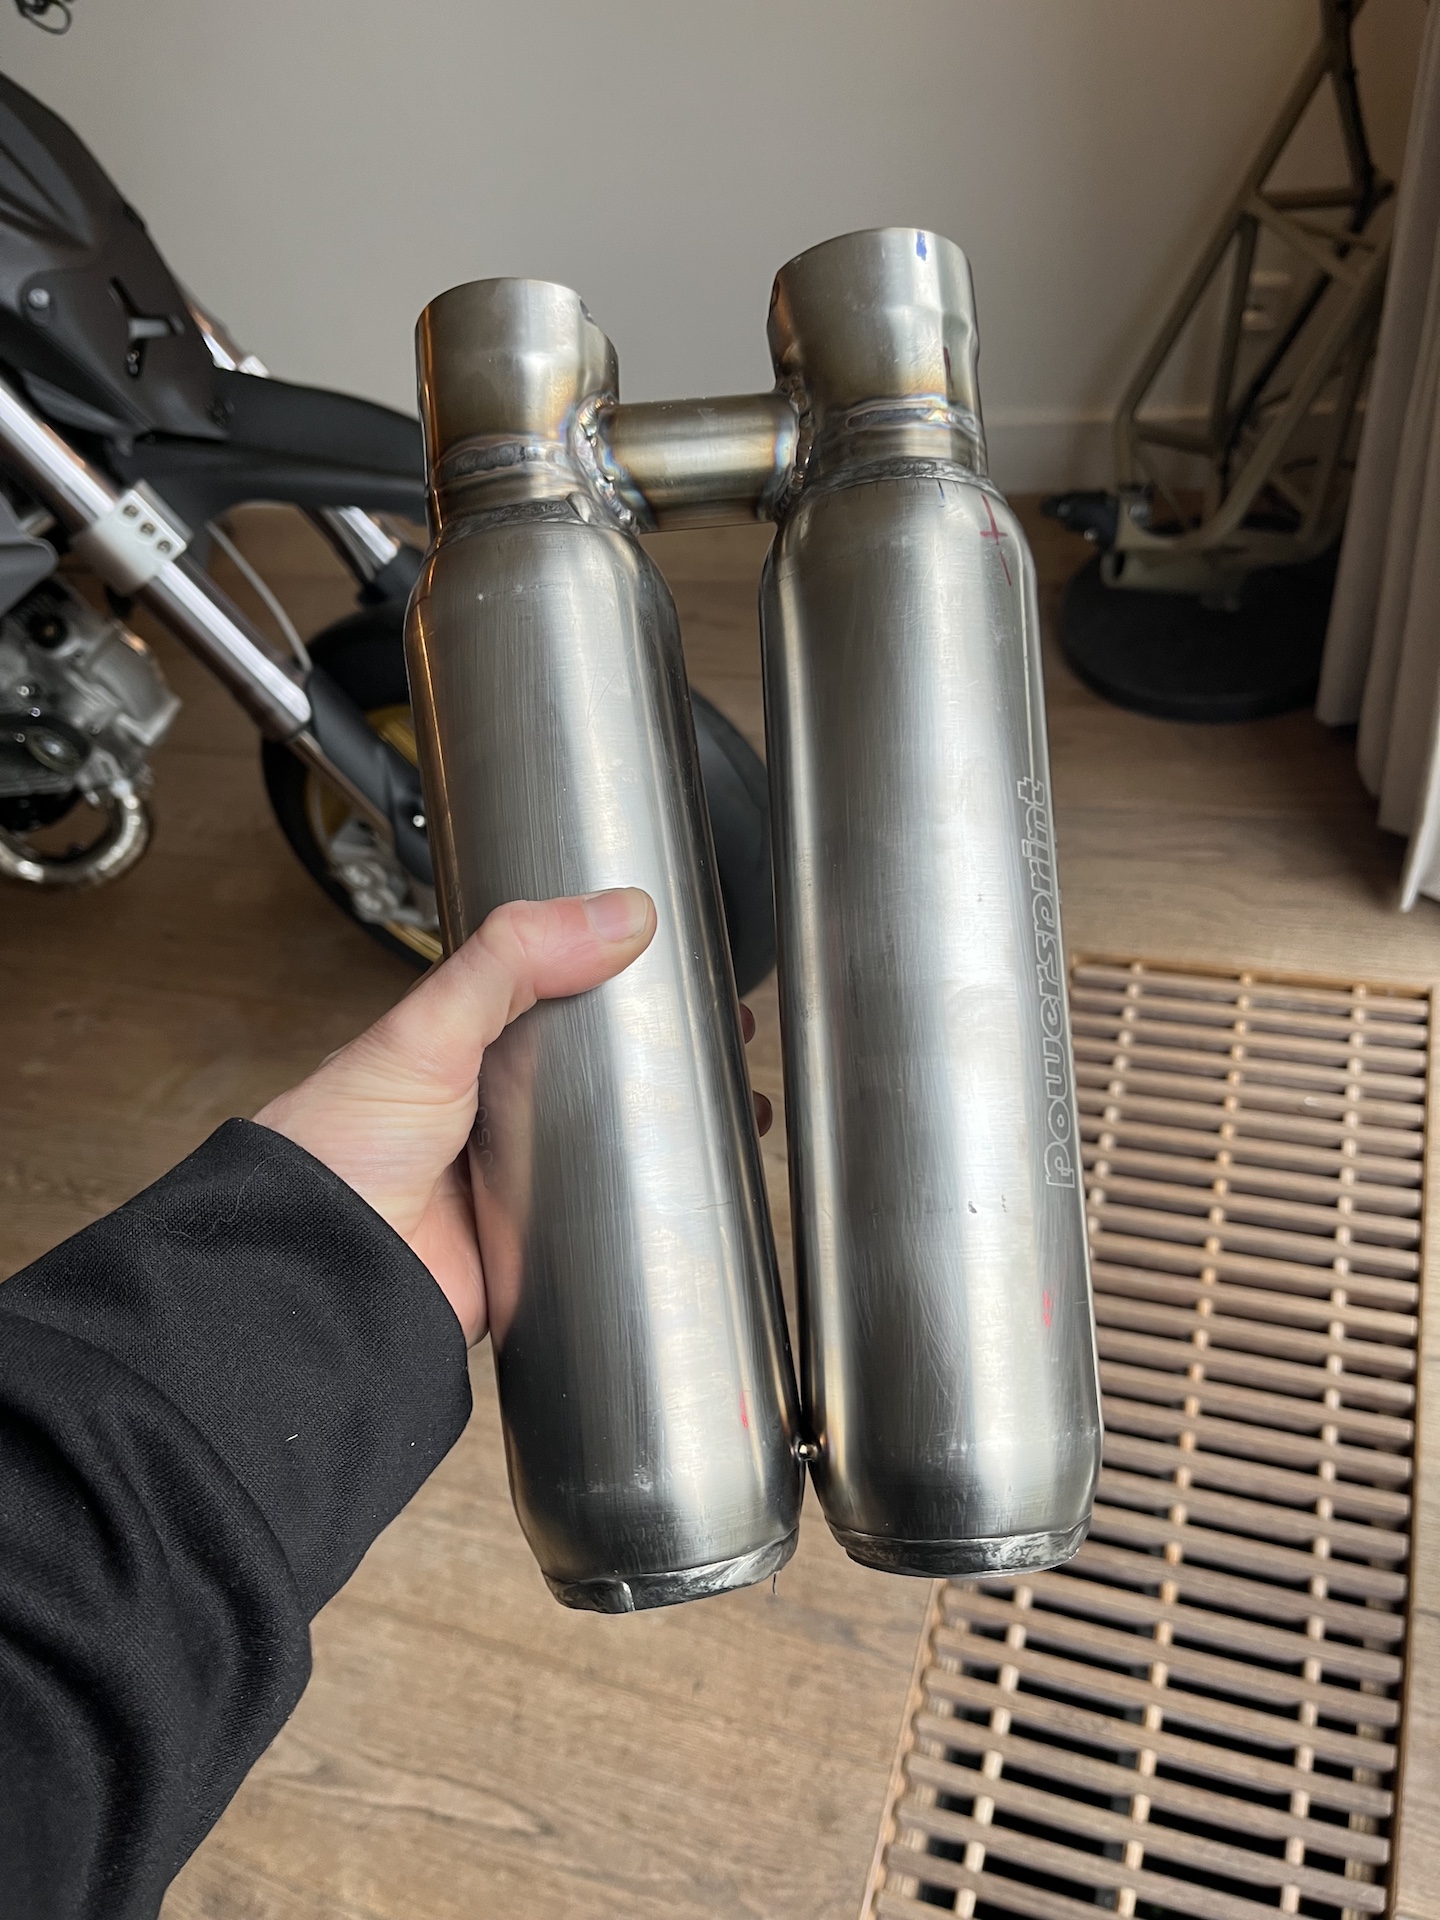
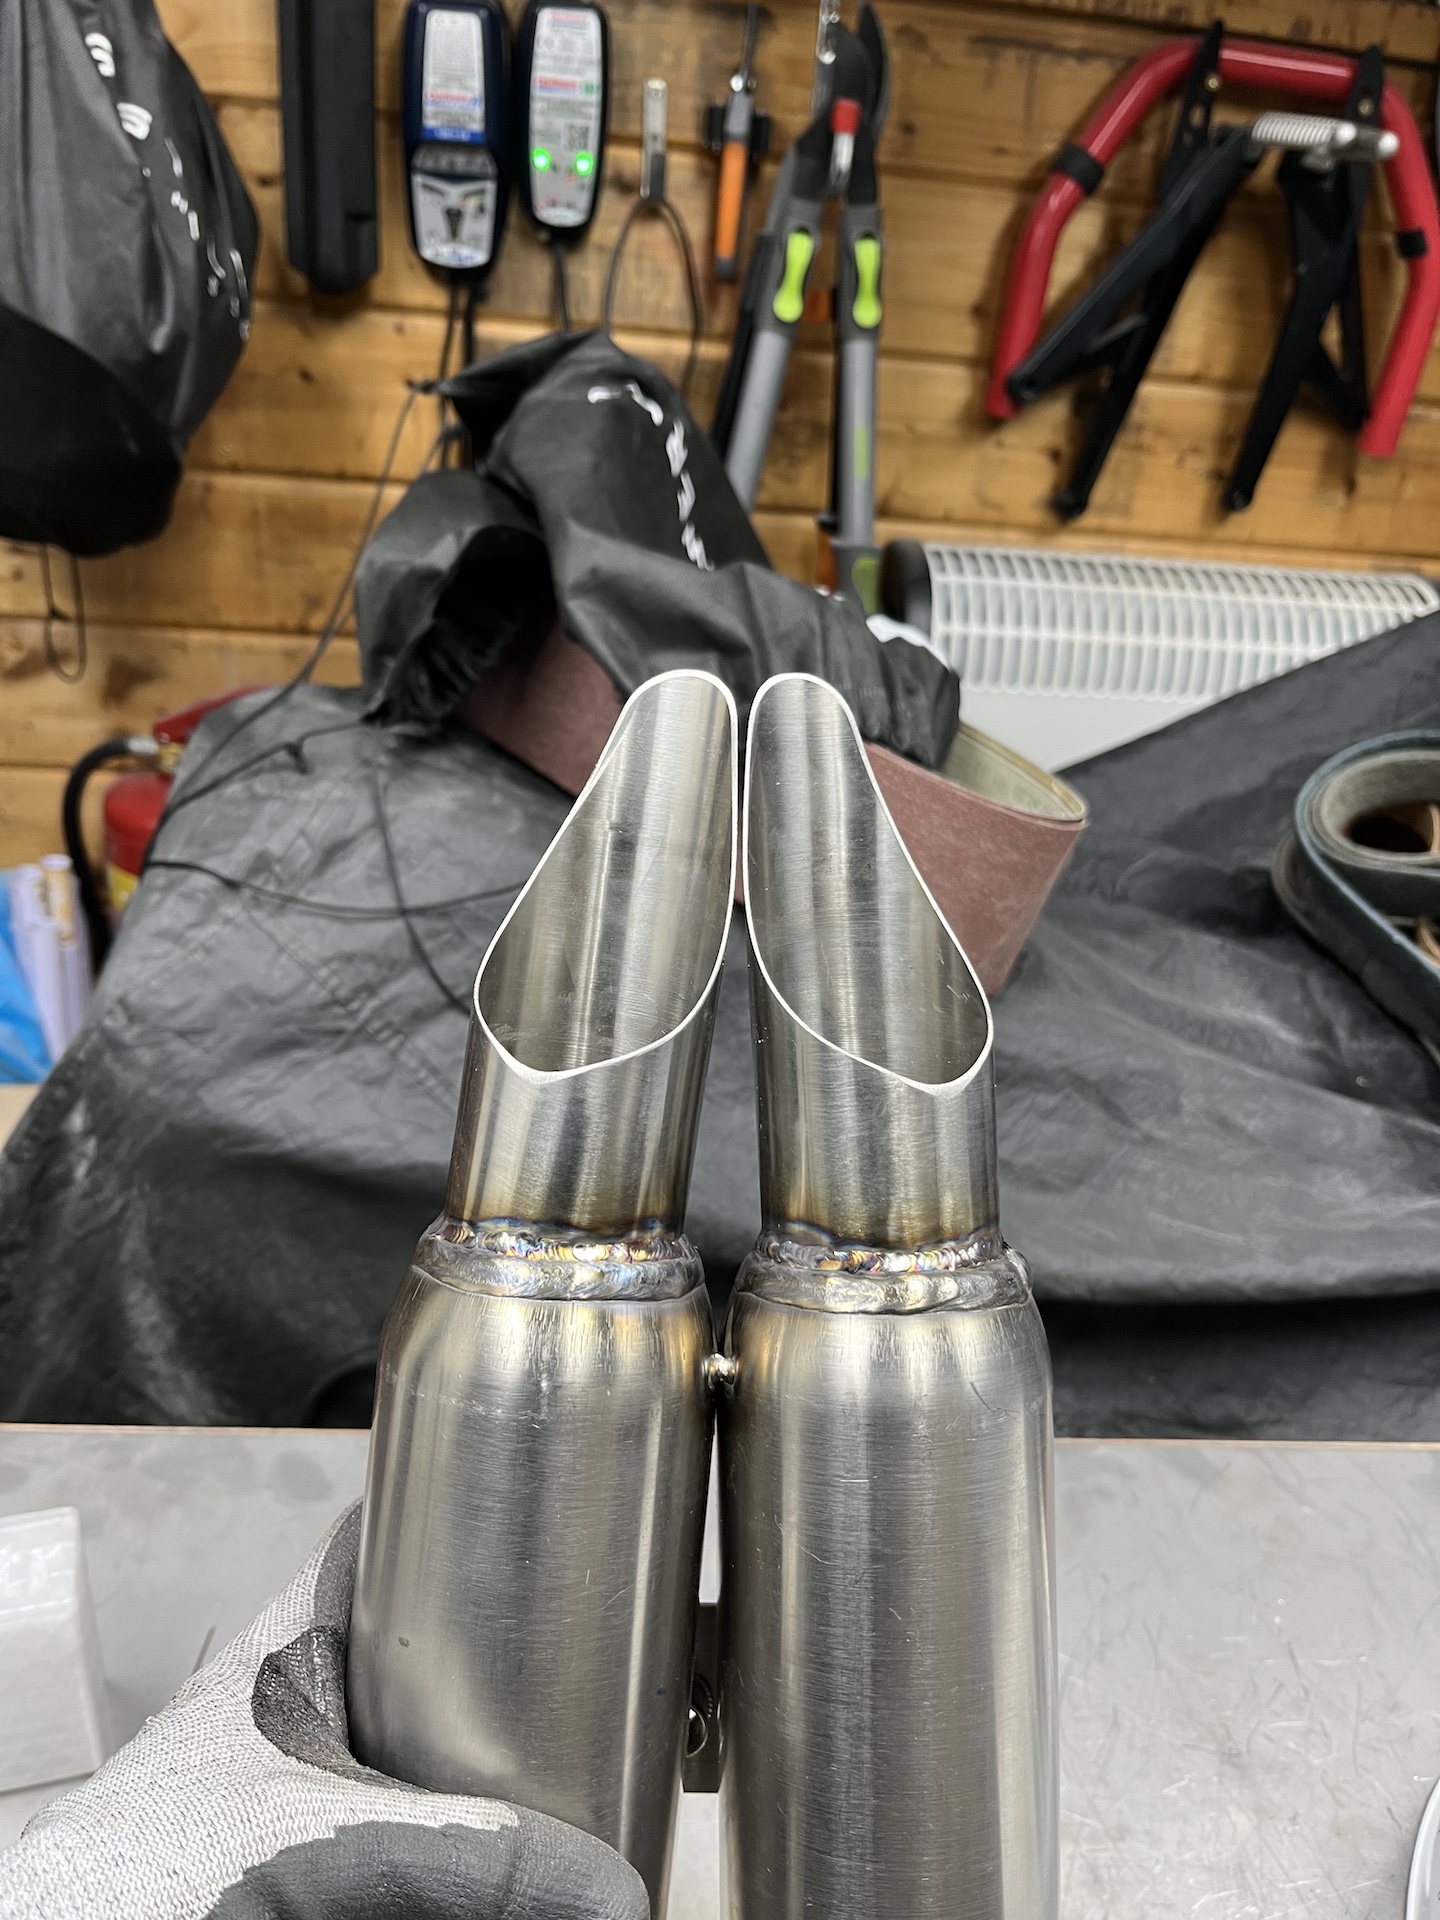
EXHAUST SILENCER DONE
The double exhaust silencer set-up is also finished! Heat shielded to make sure the fairings will not meld off (other measures will also be taken). I used 2 short box Powersprint filters to fabricate this setup with balancing pipe just before entering the silencers.
Lightweight, no. Compact yes!


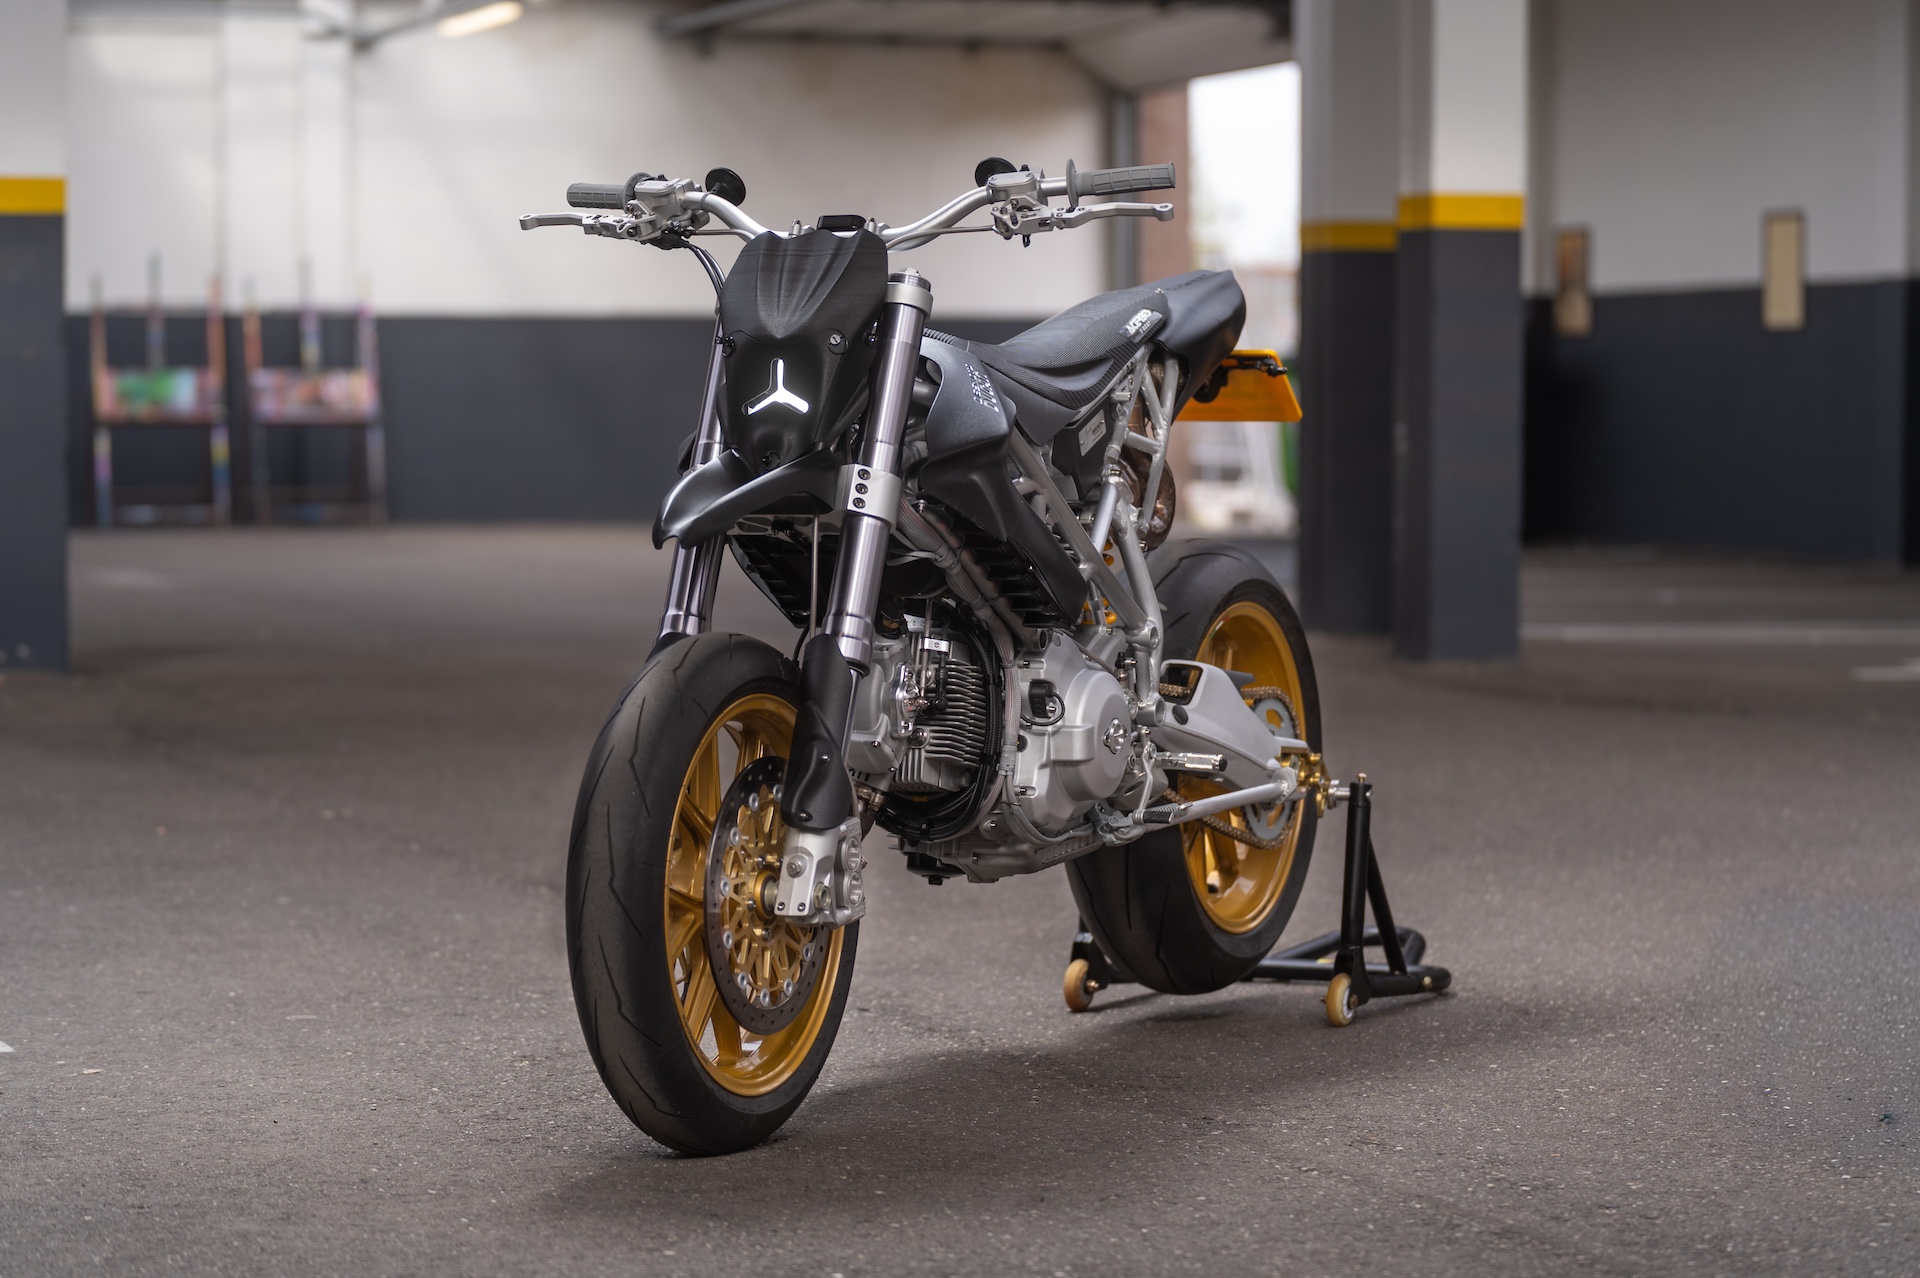
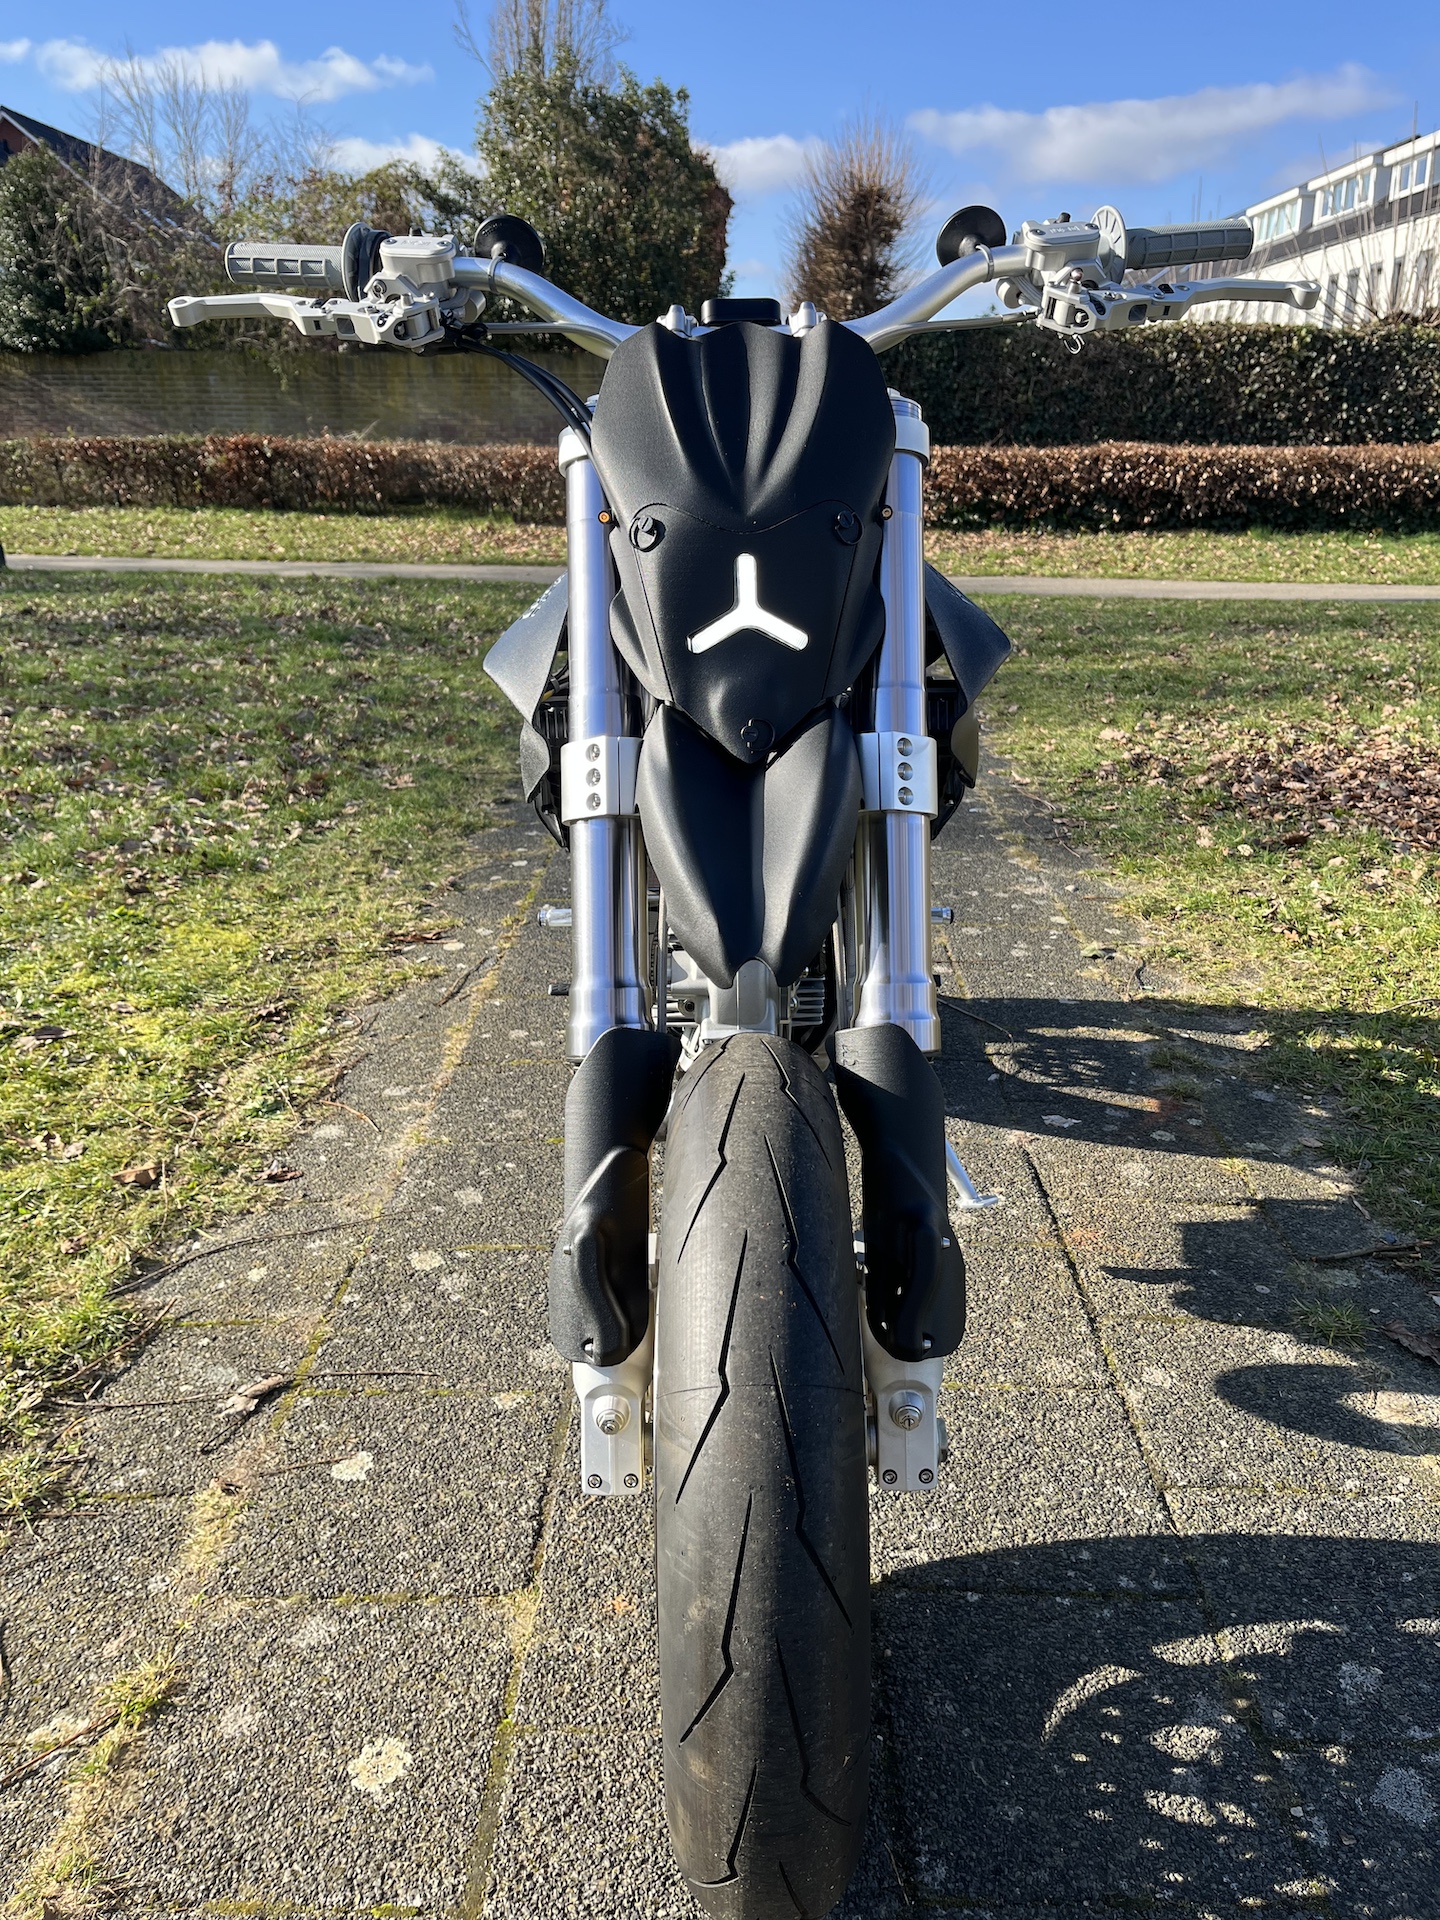
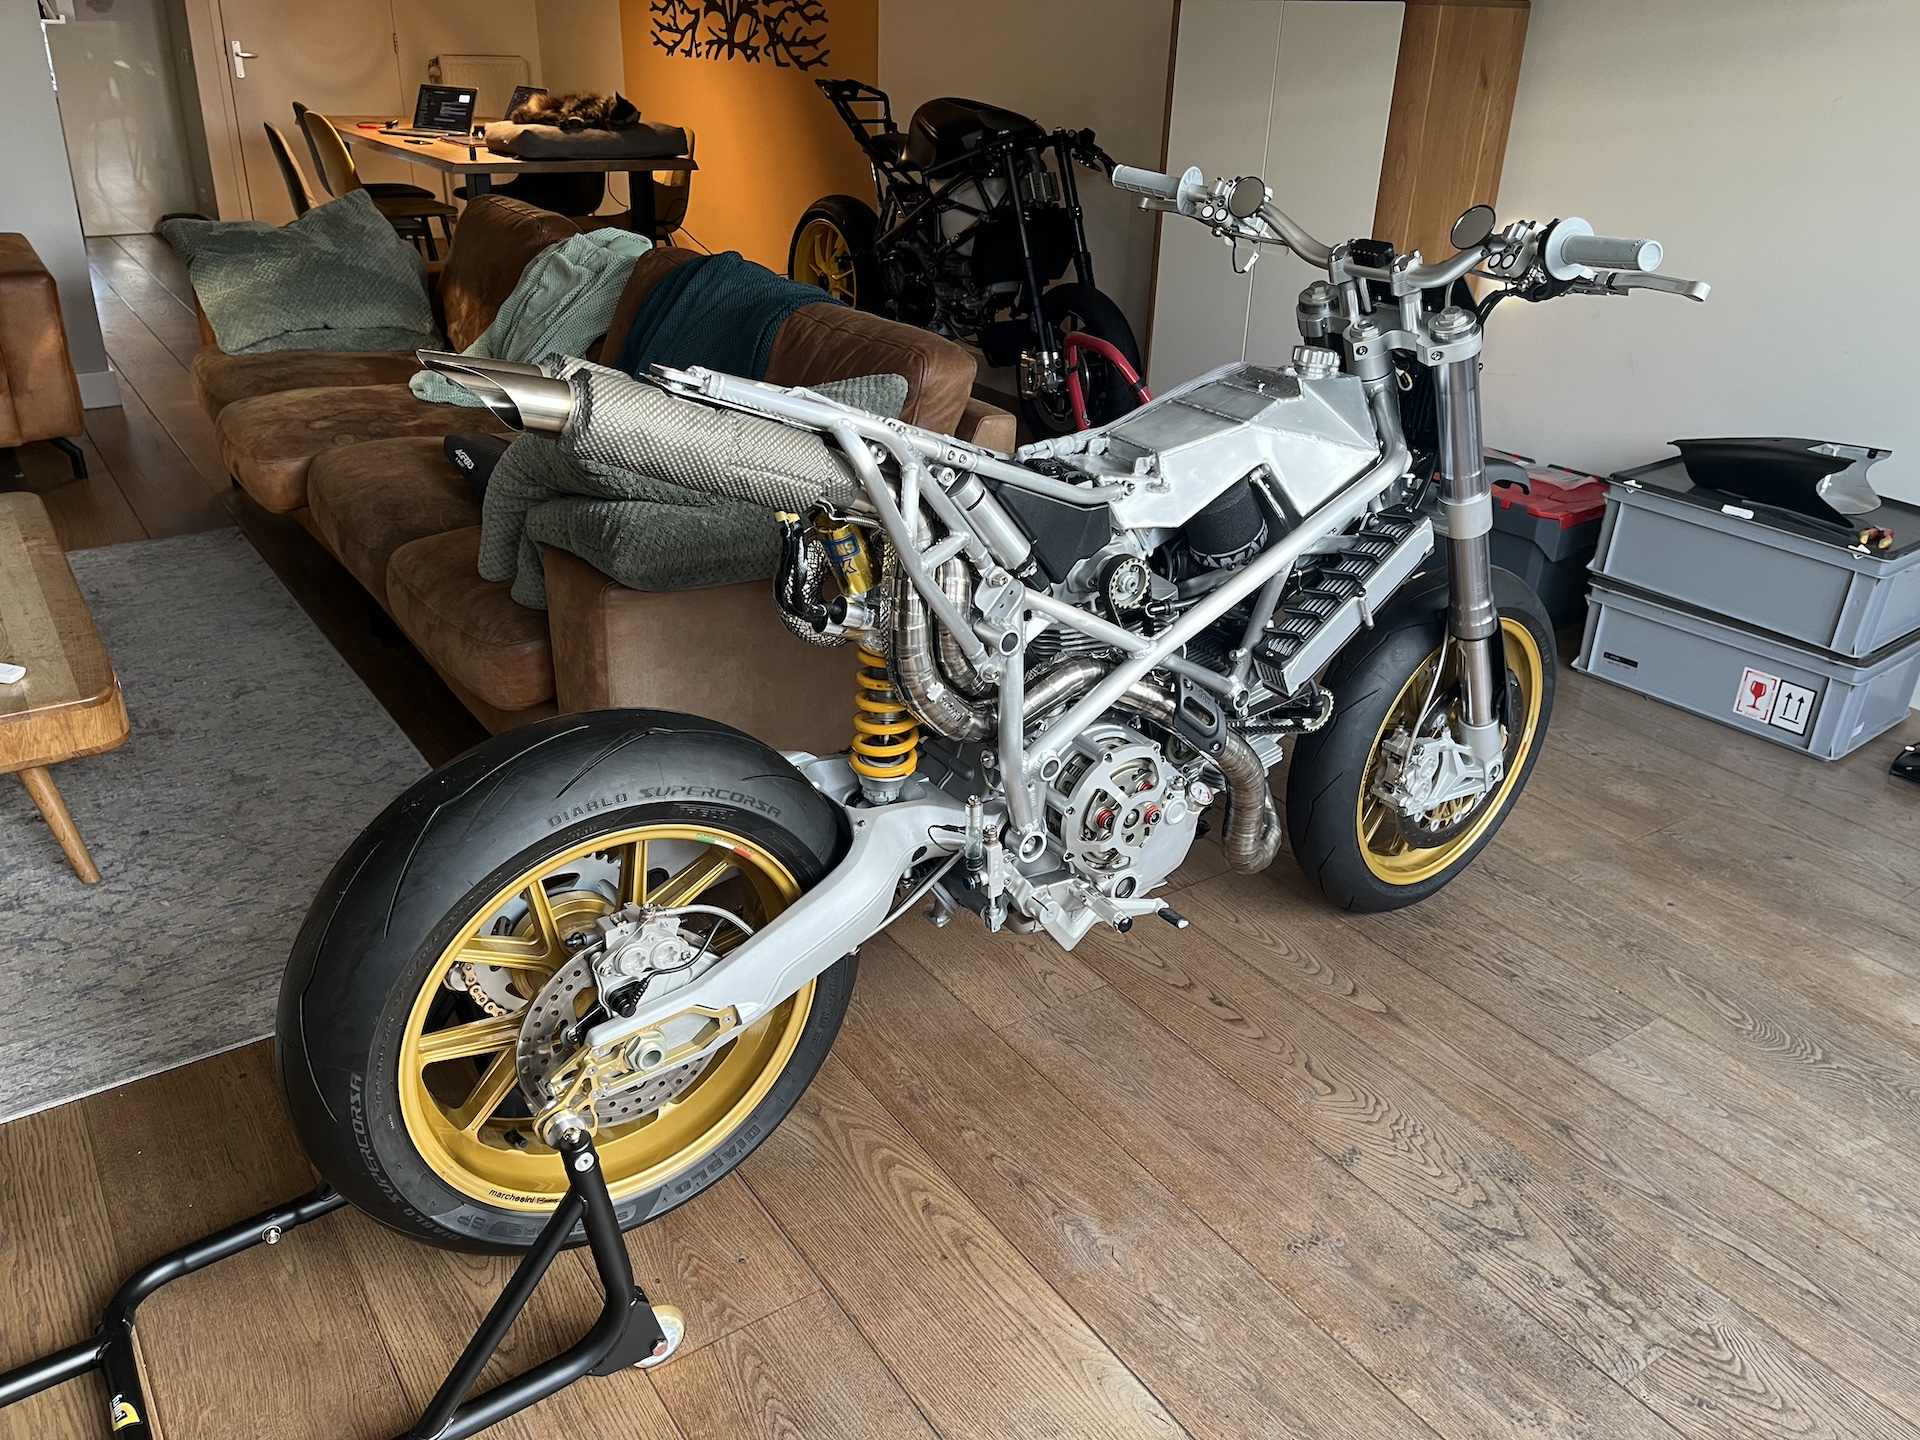
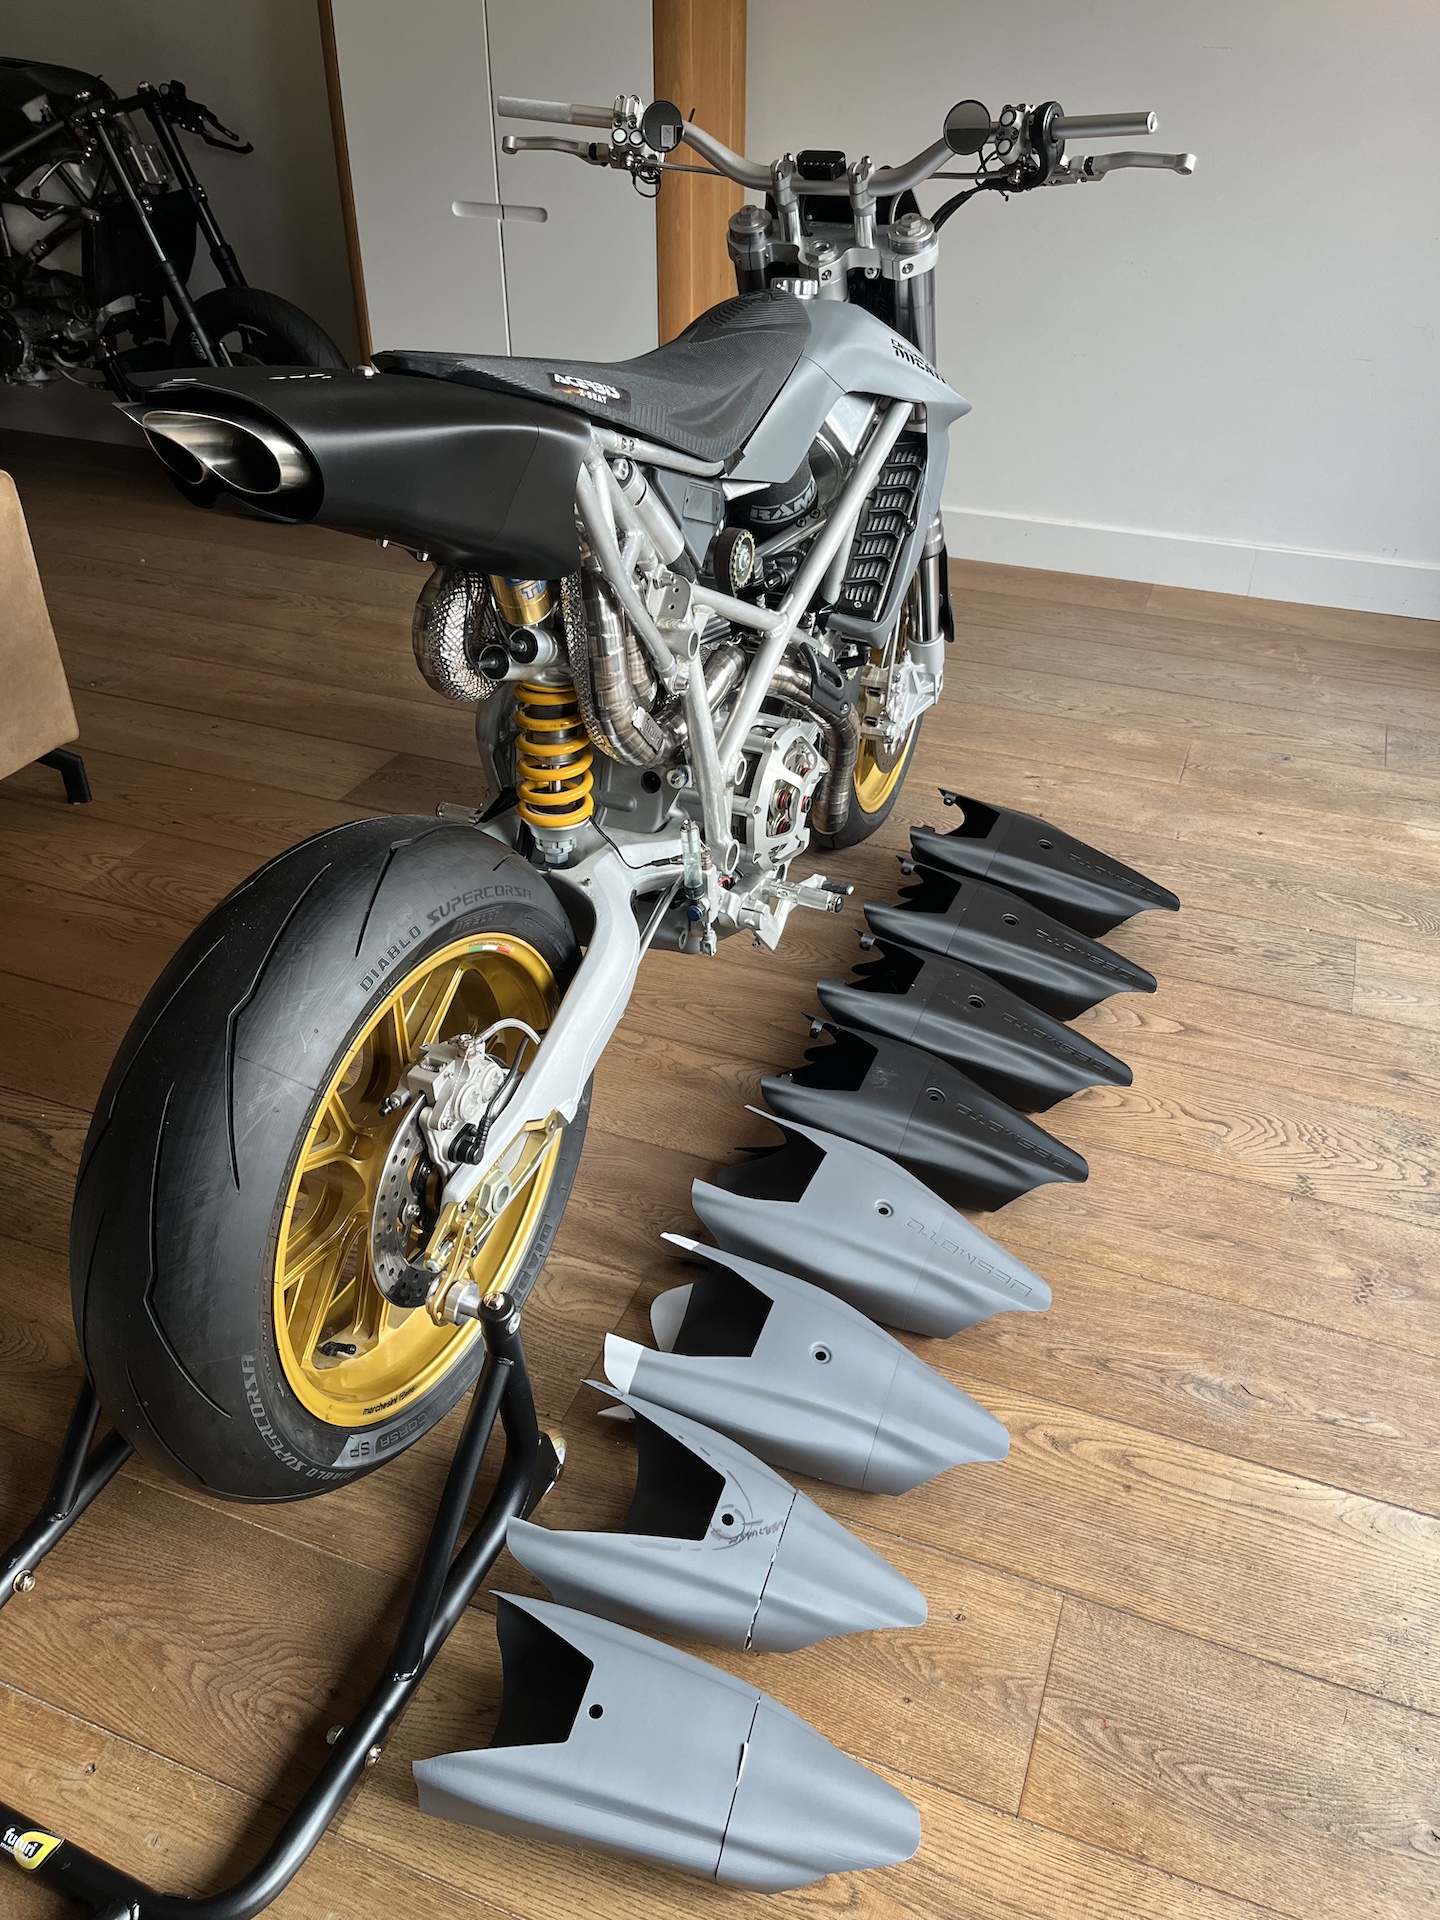
FAIRING DESIGN DONE!
Finally the fairing design is DONE! I will just let the pictures and video speak for themselves…
The finish line is in sight!
TIME FOR A CHANGE!
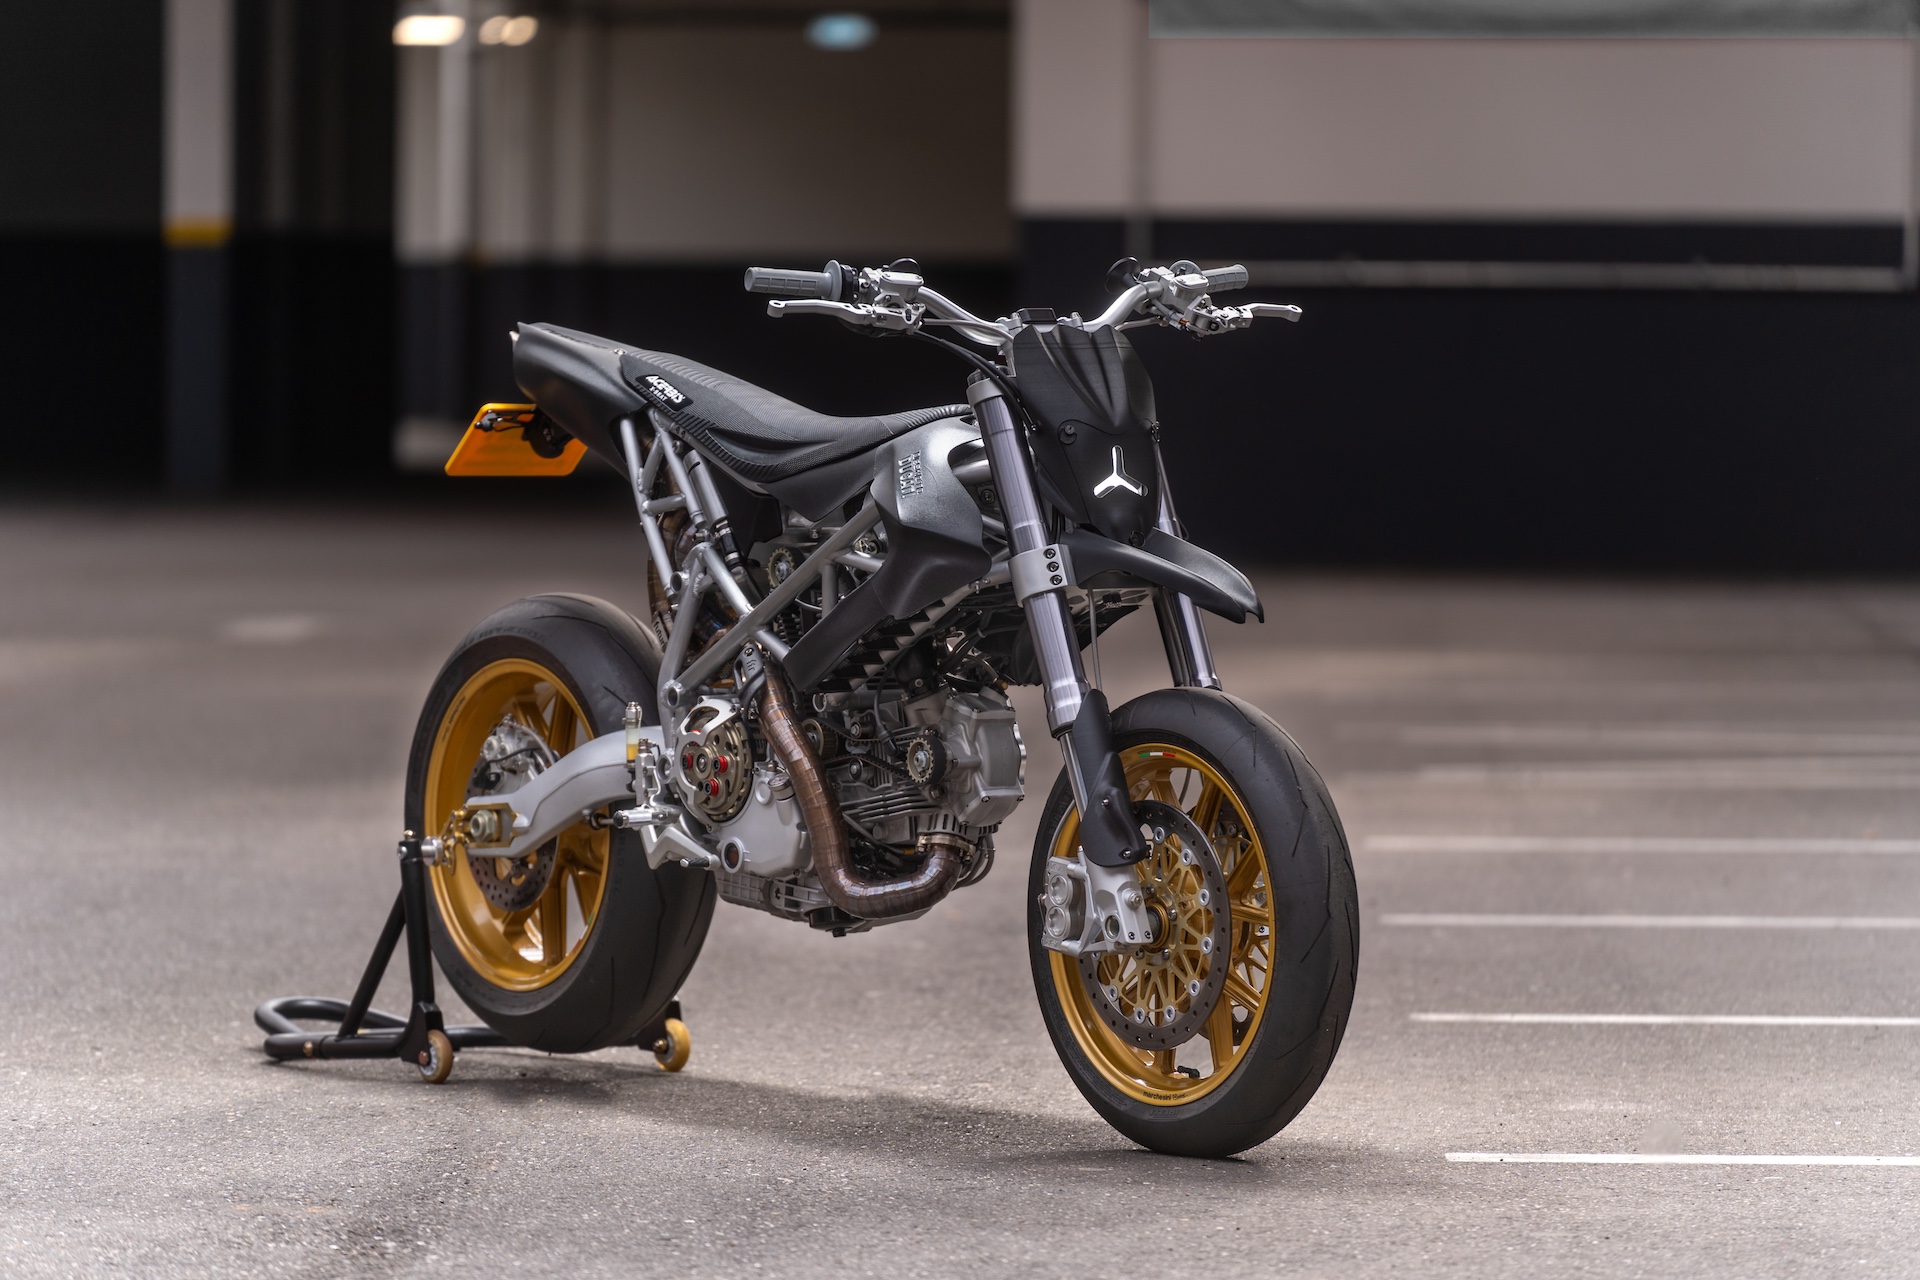
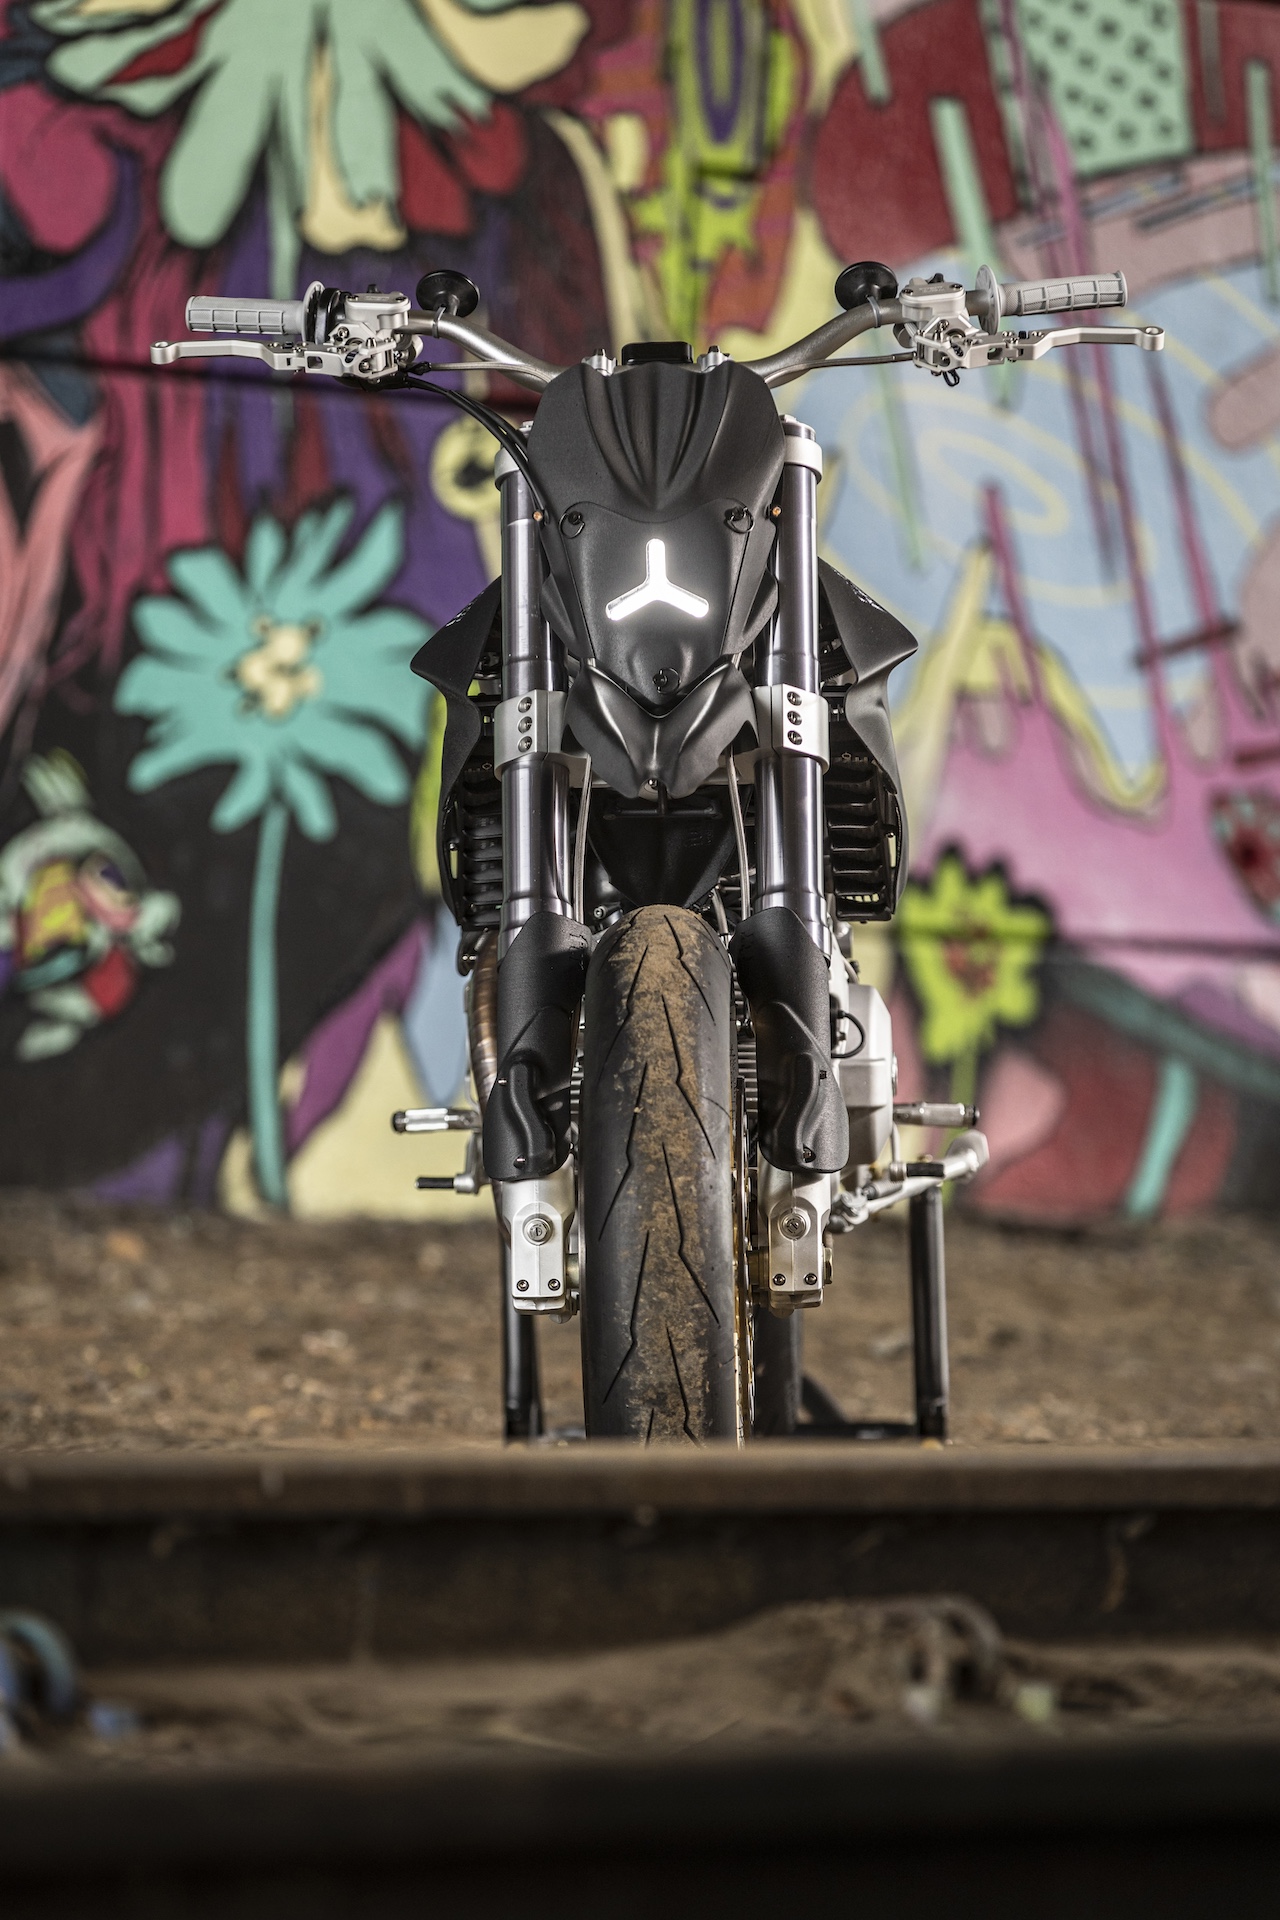
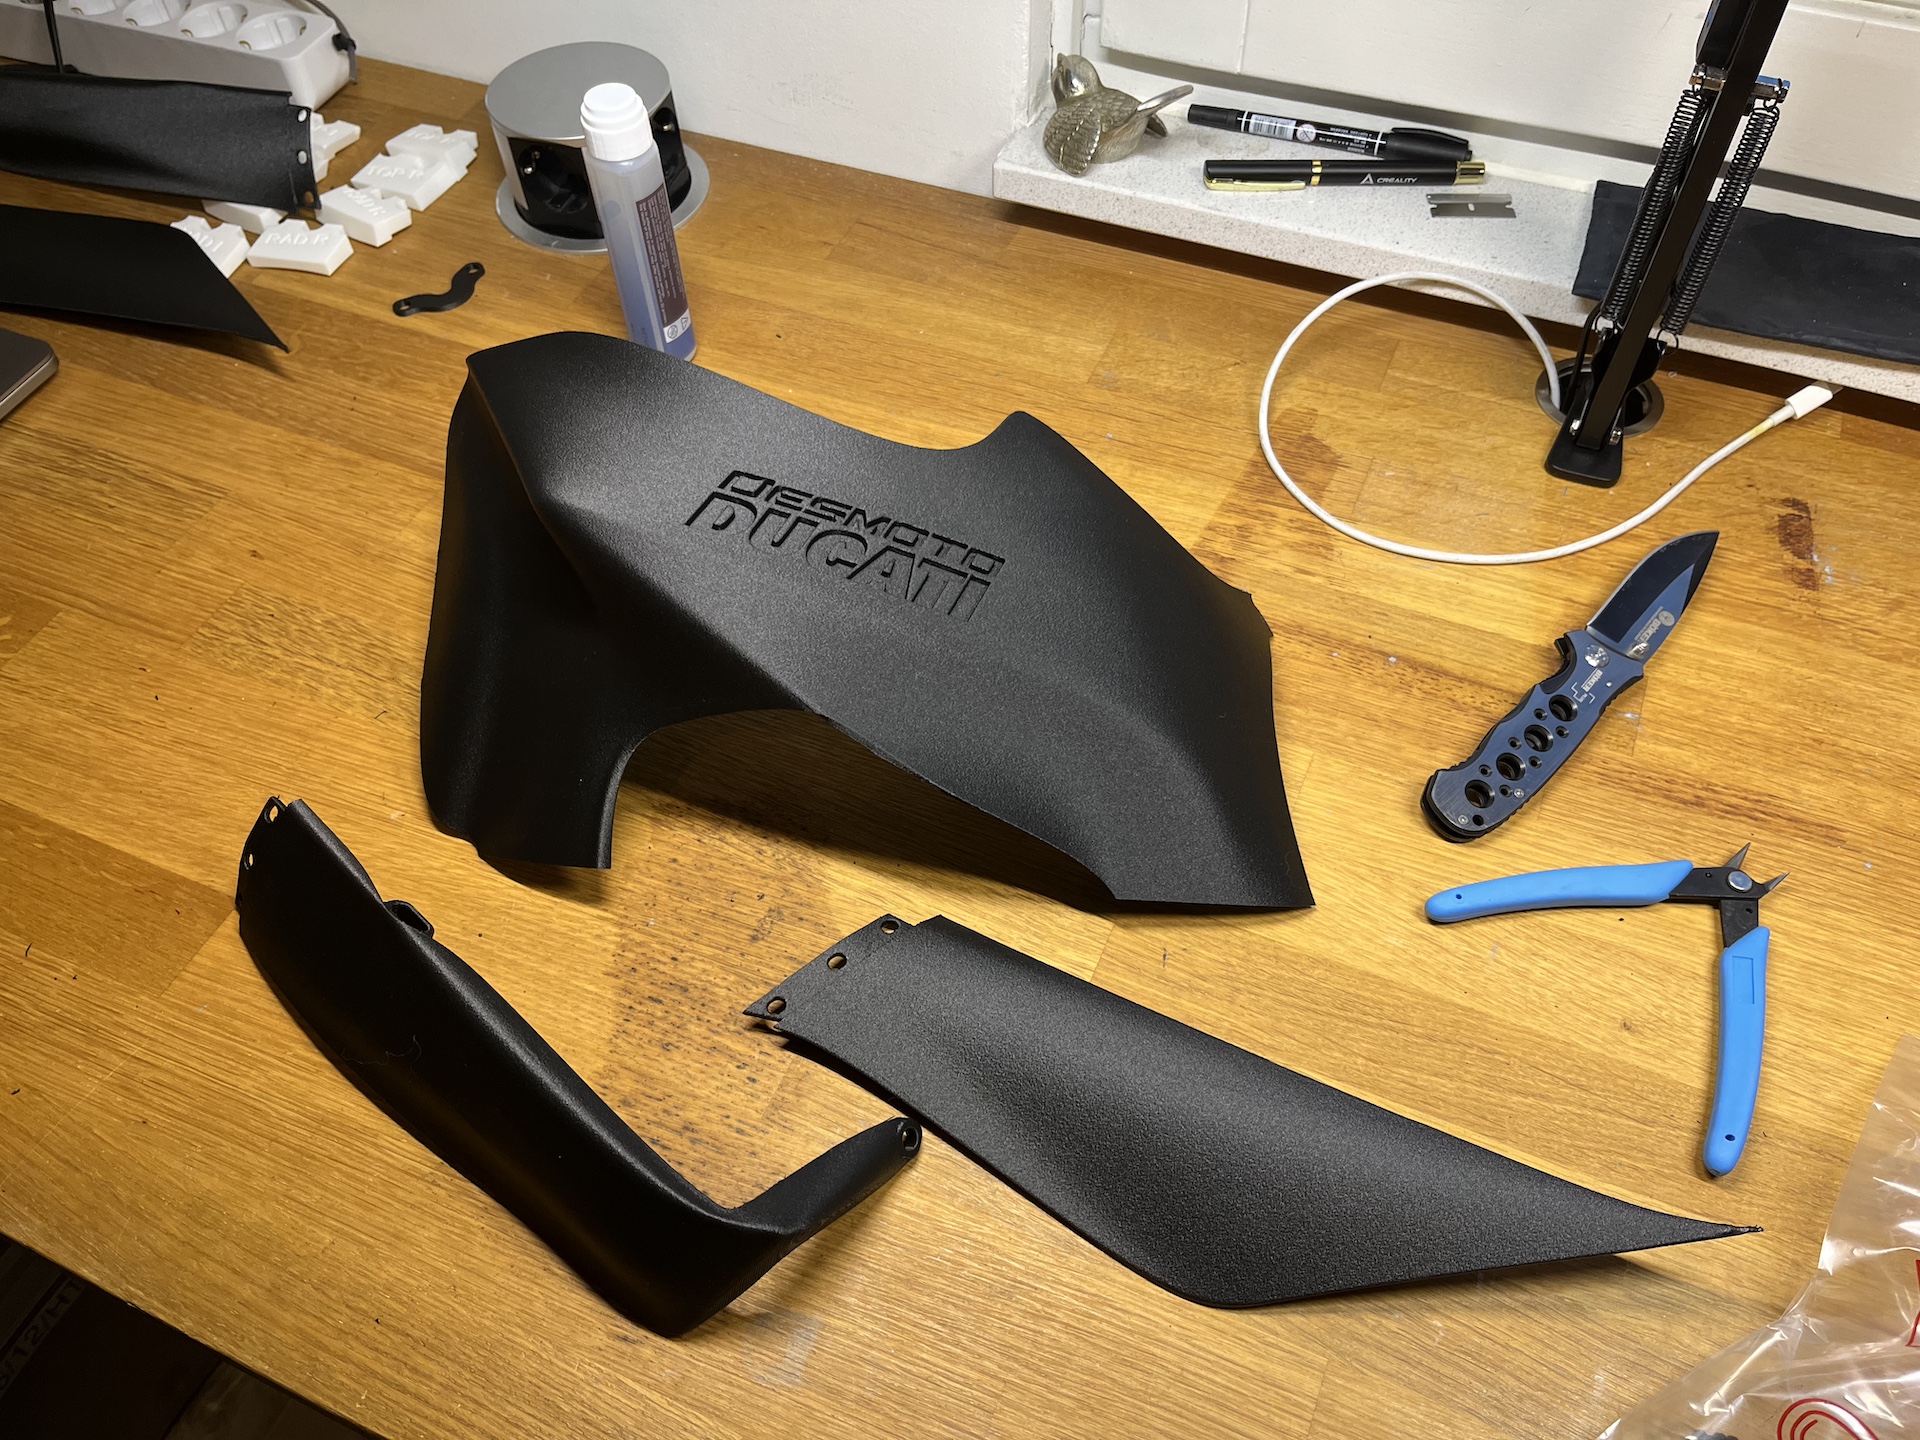
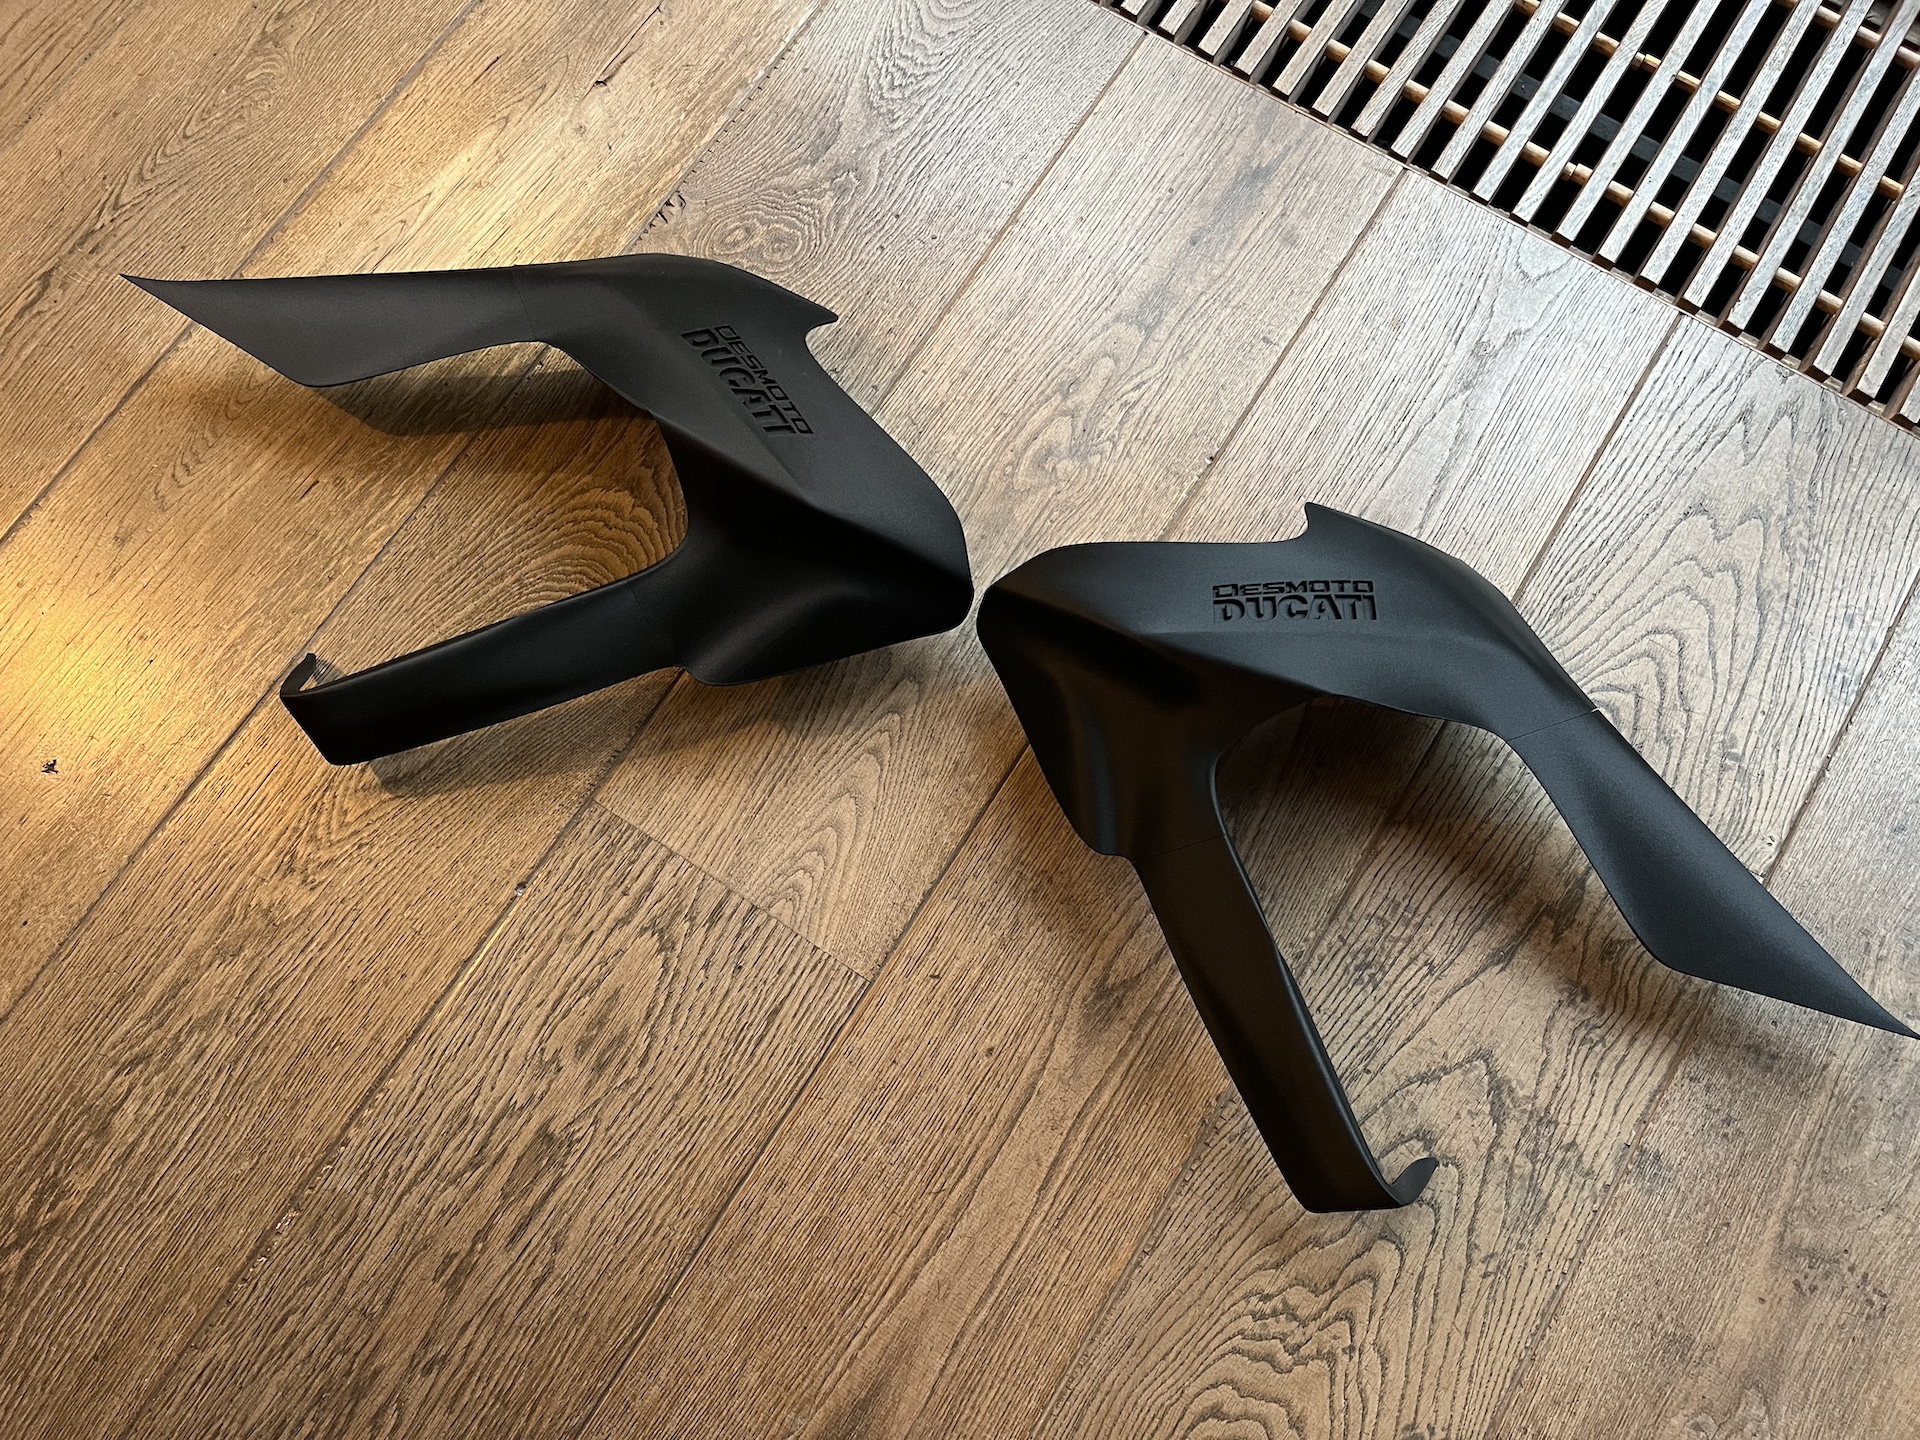
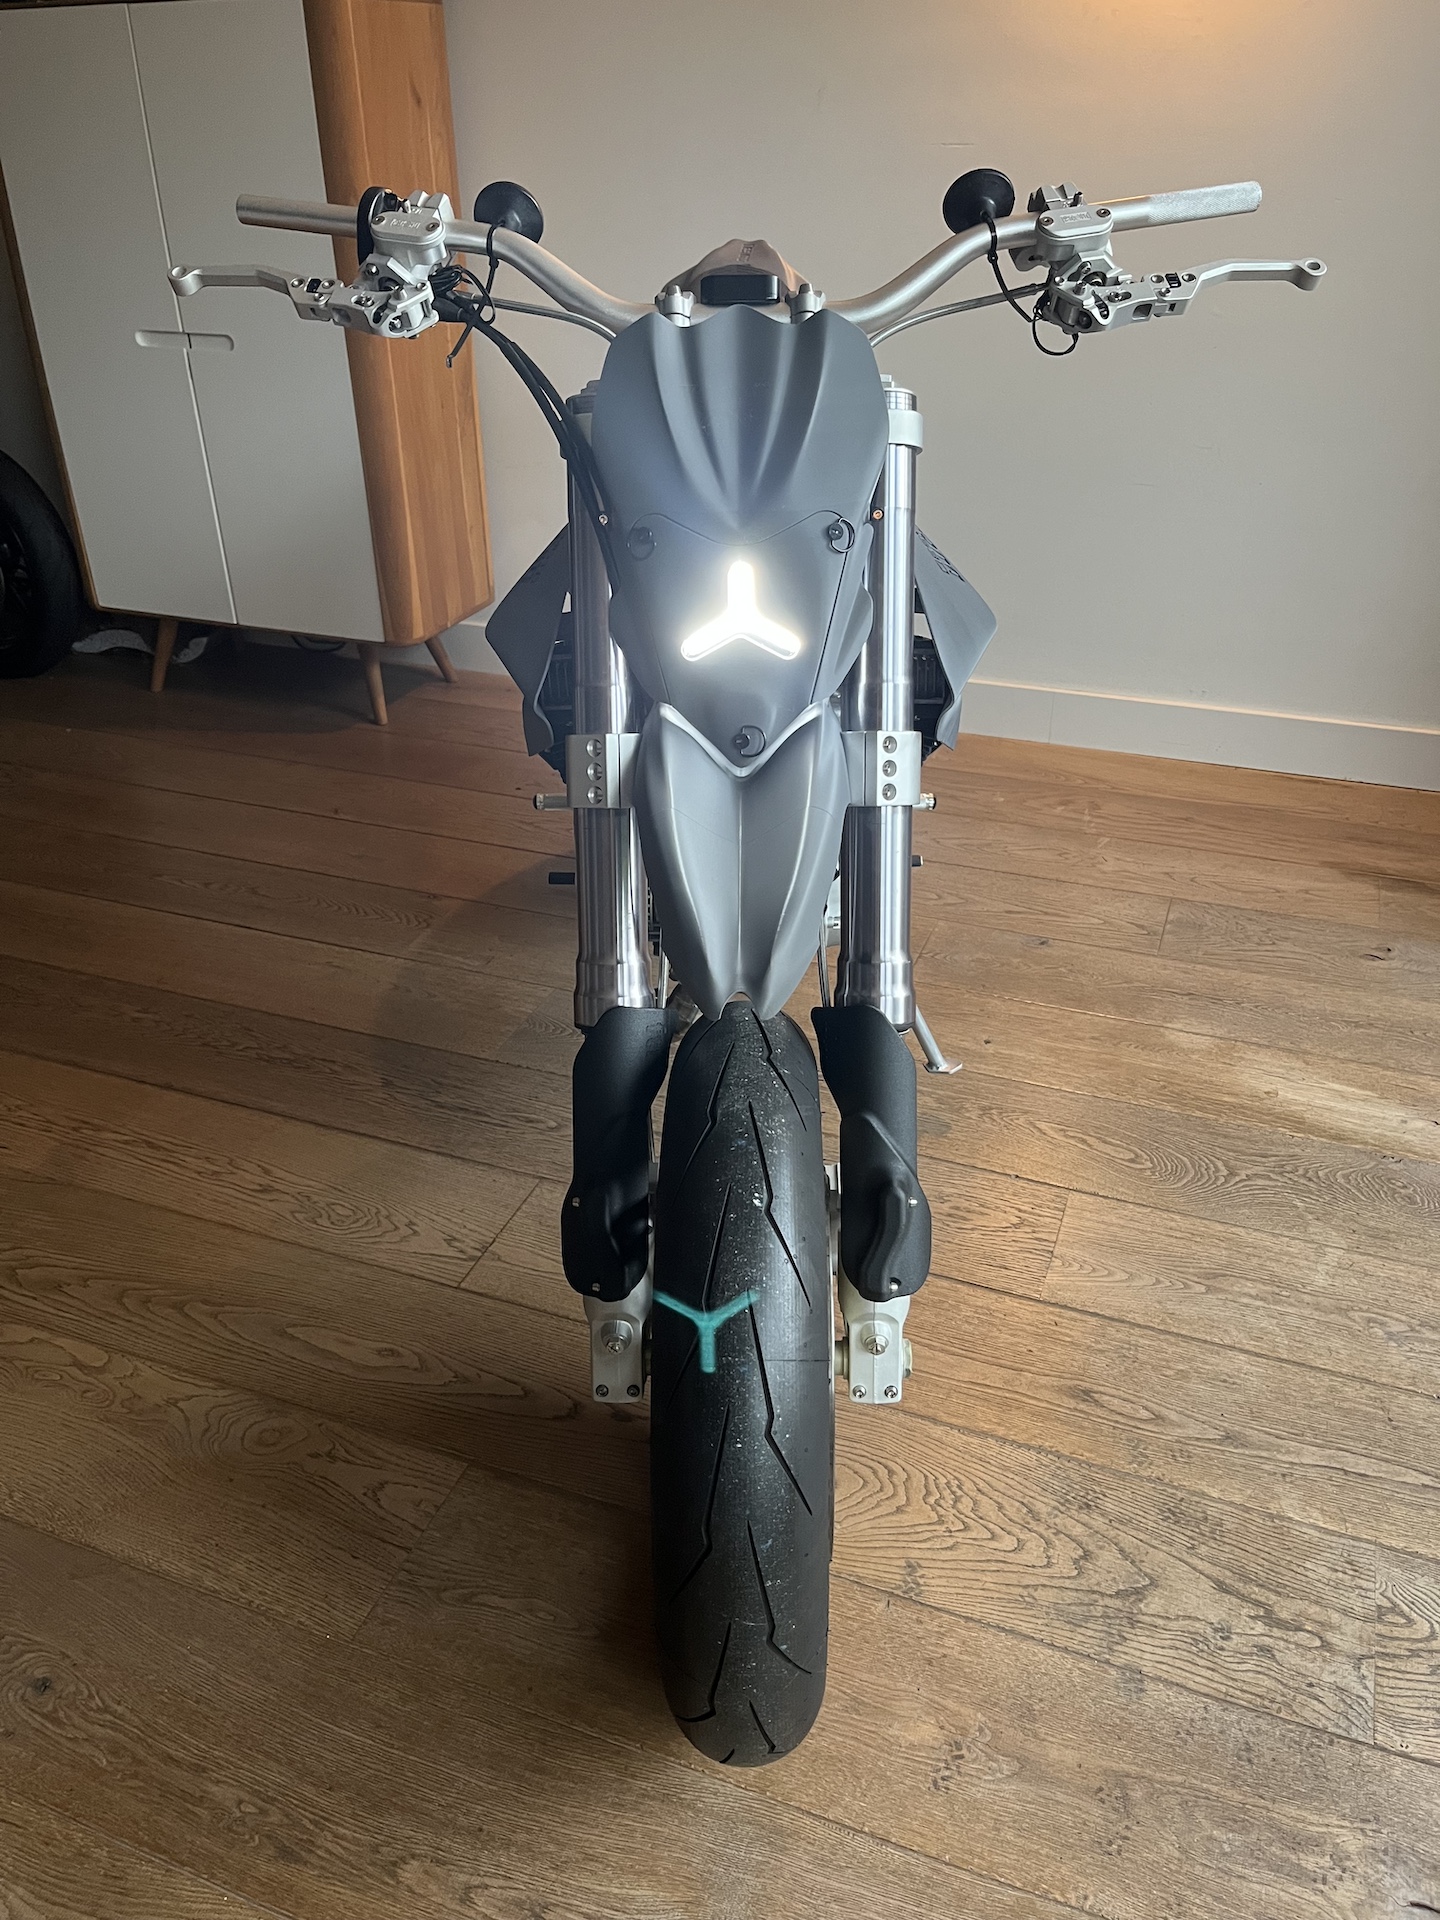
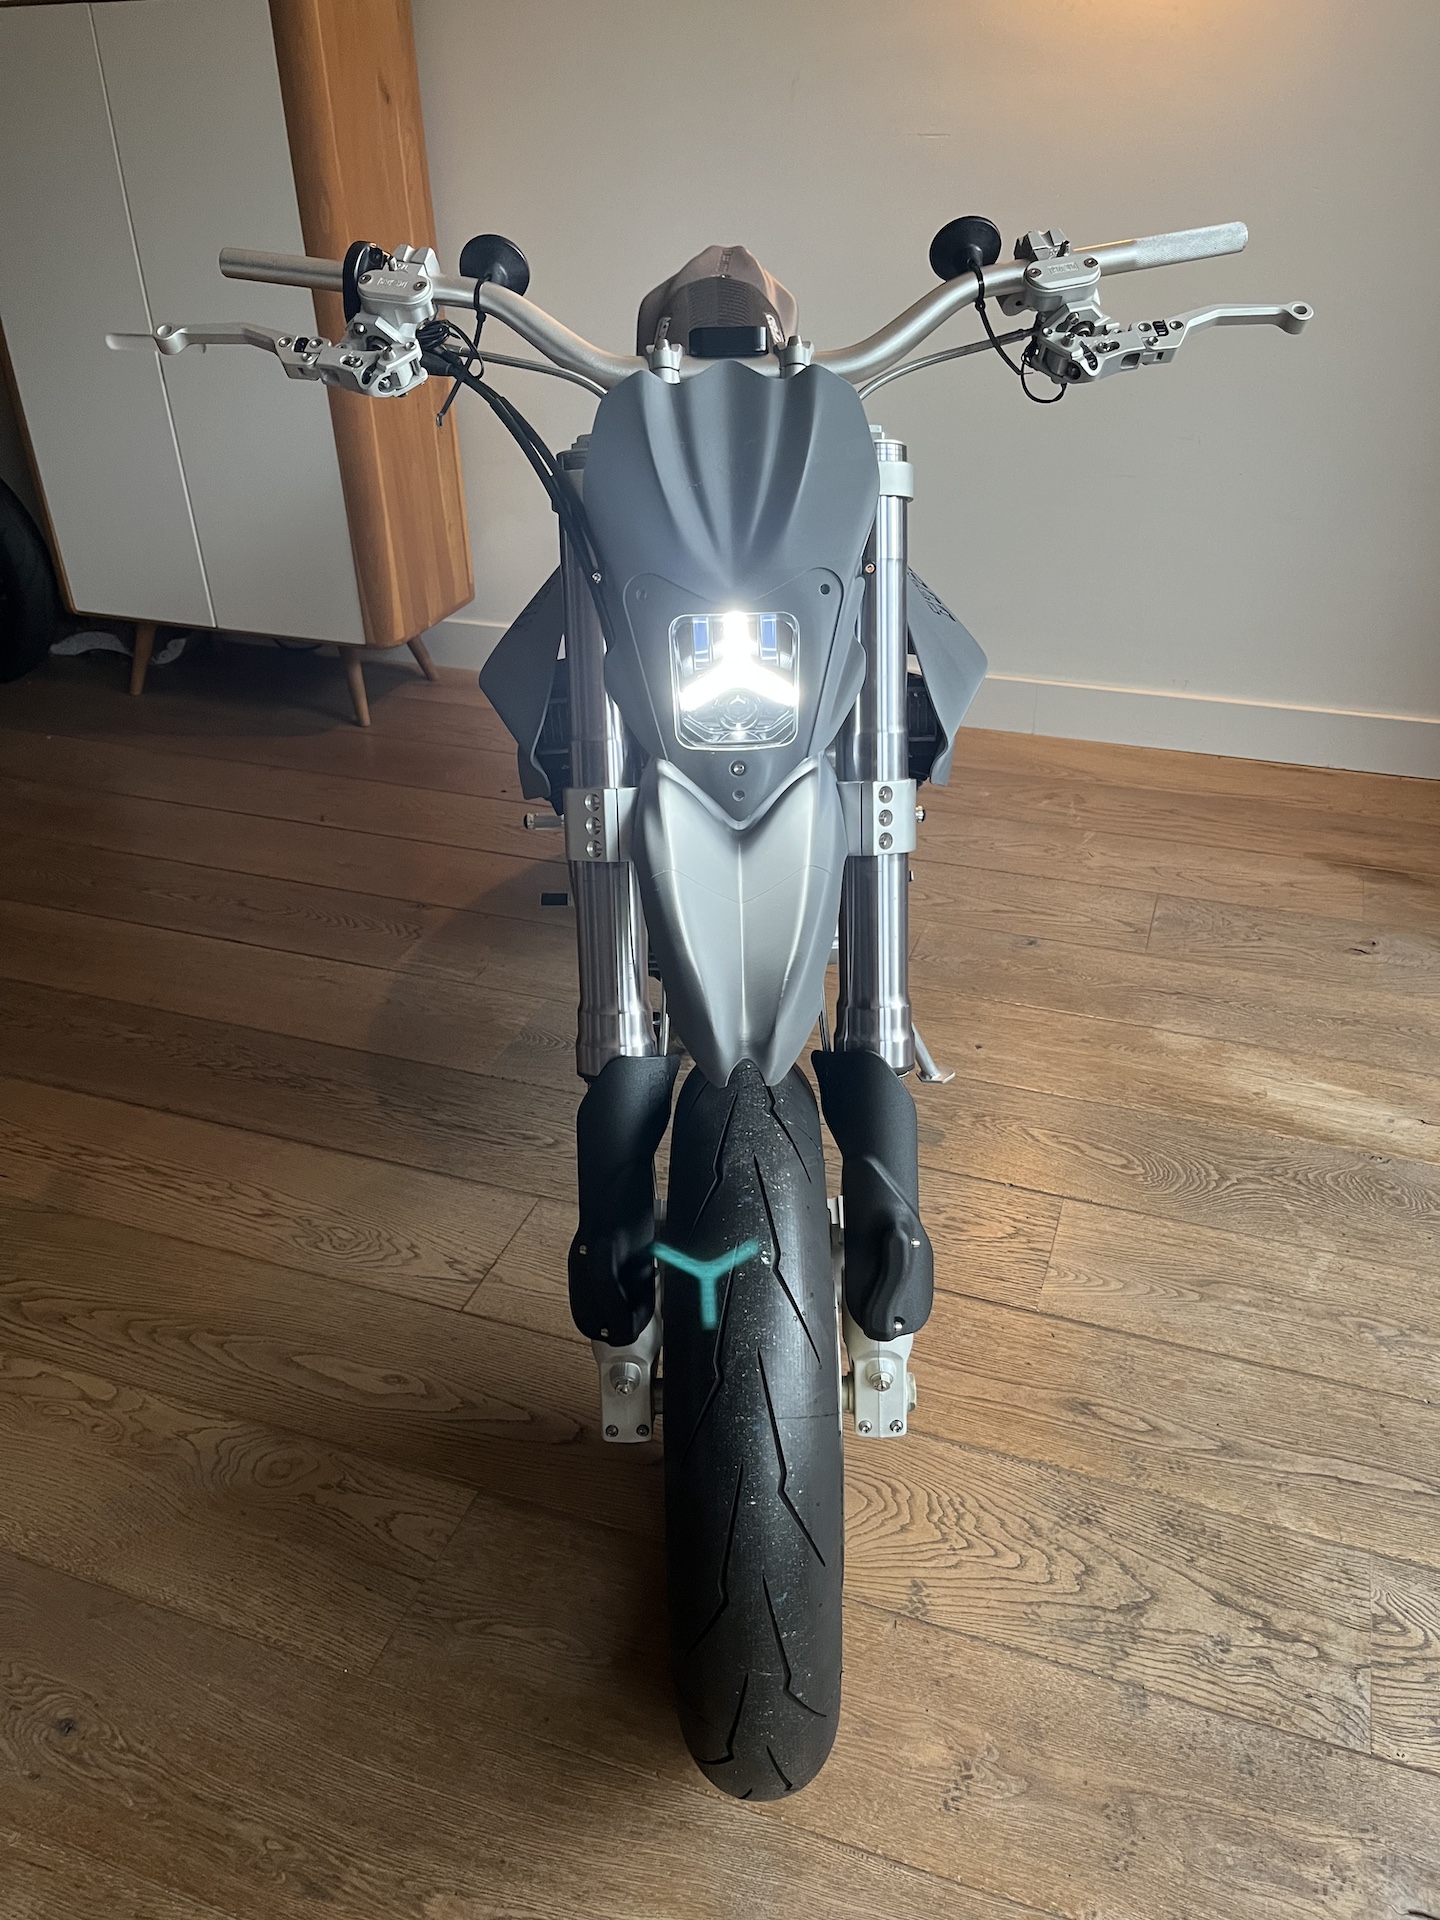
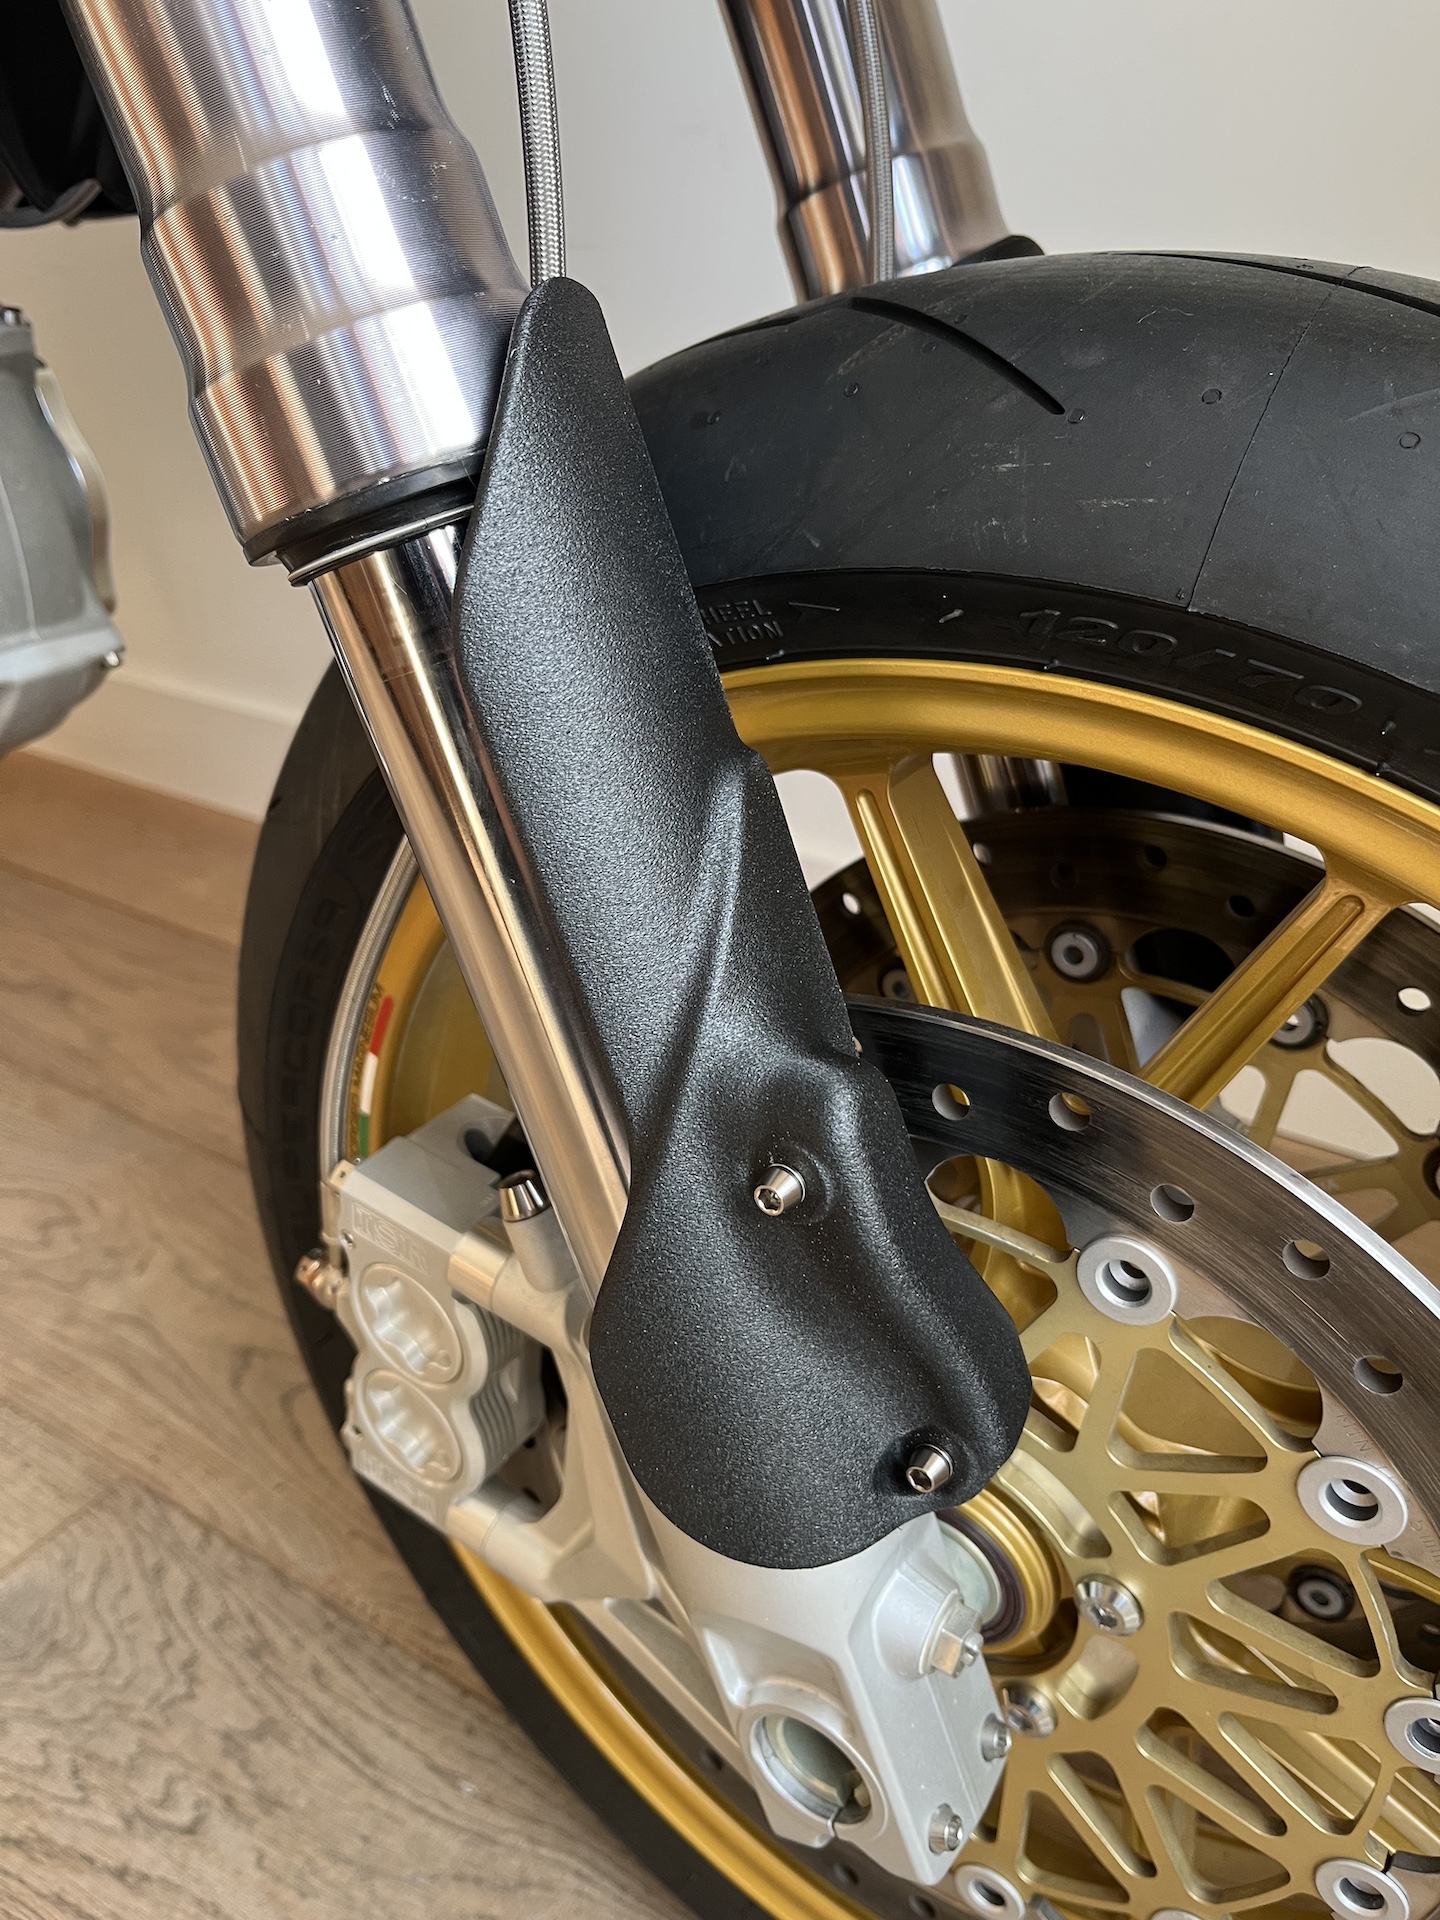
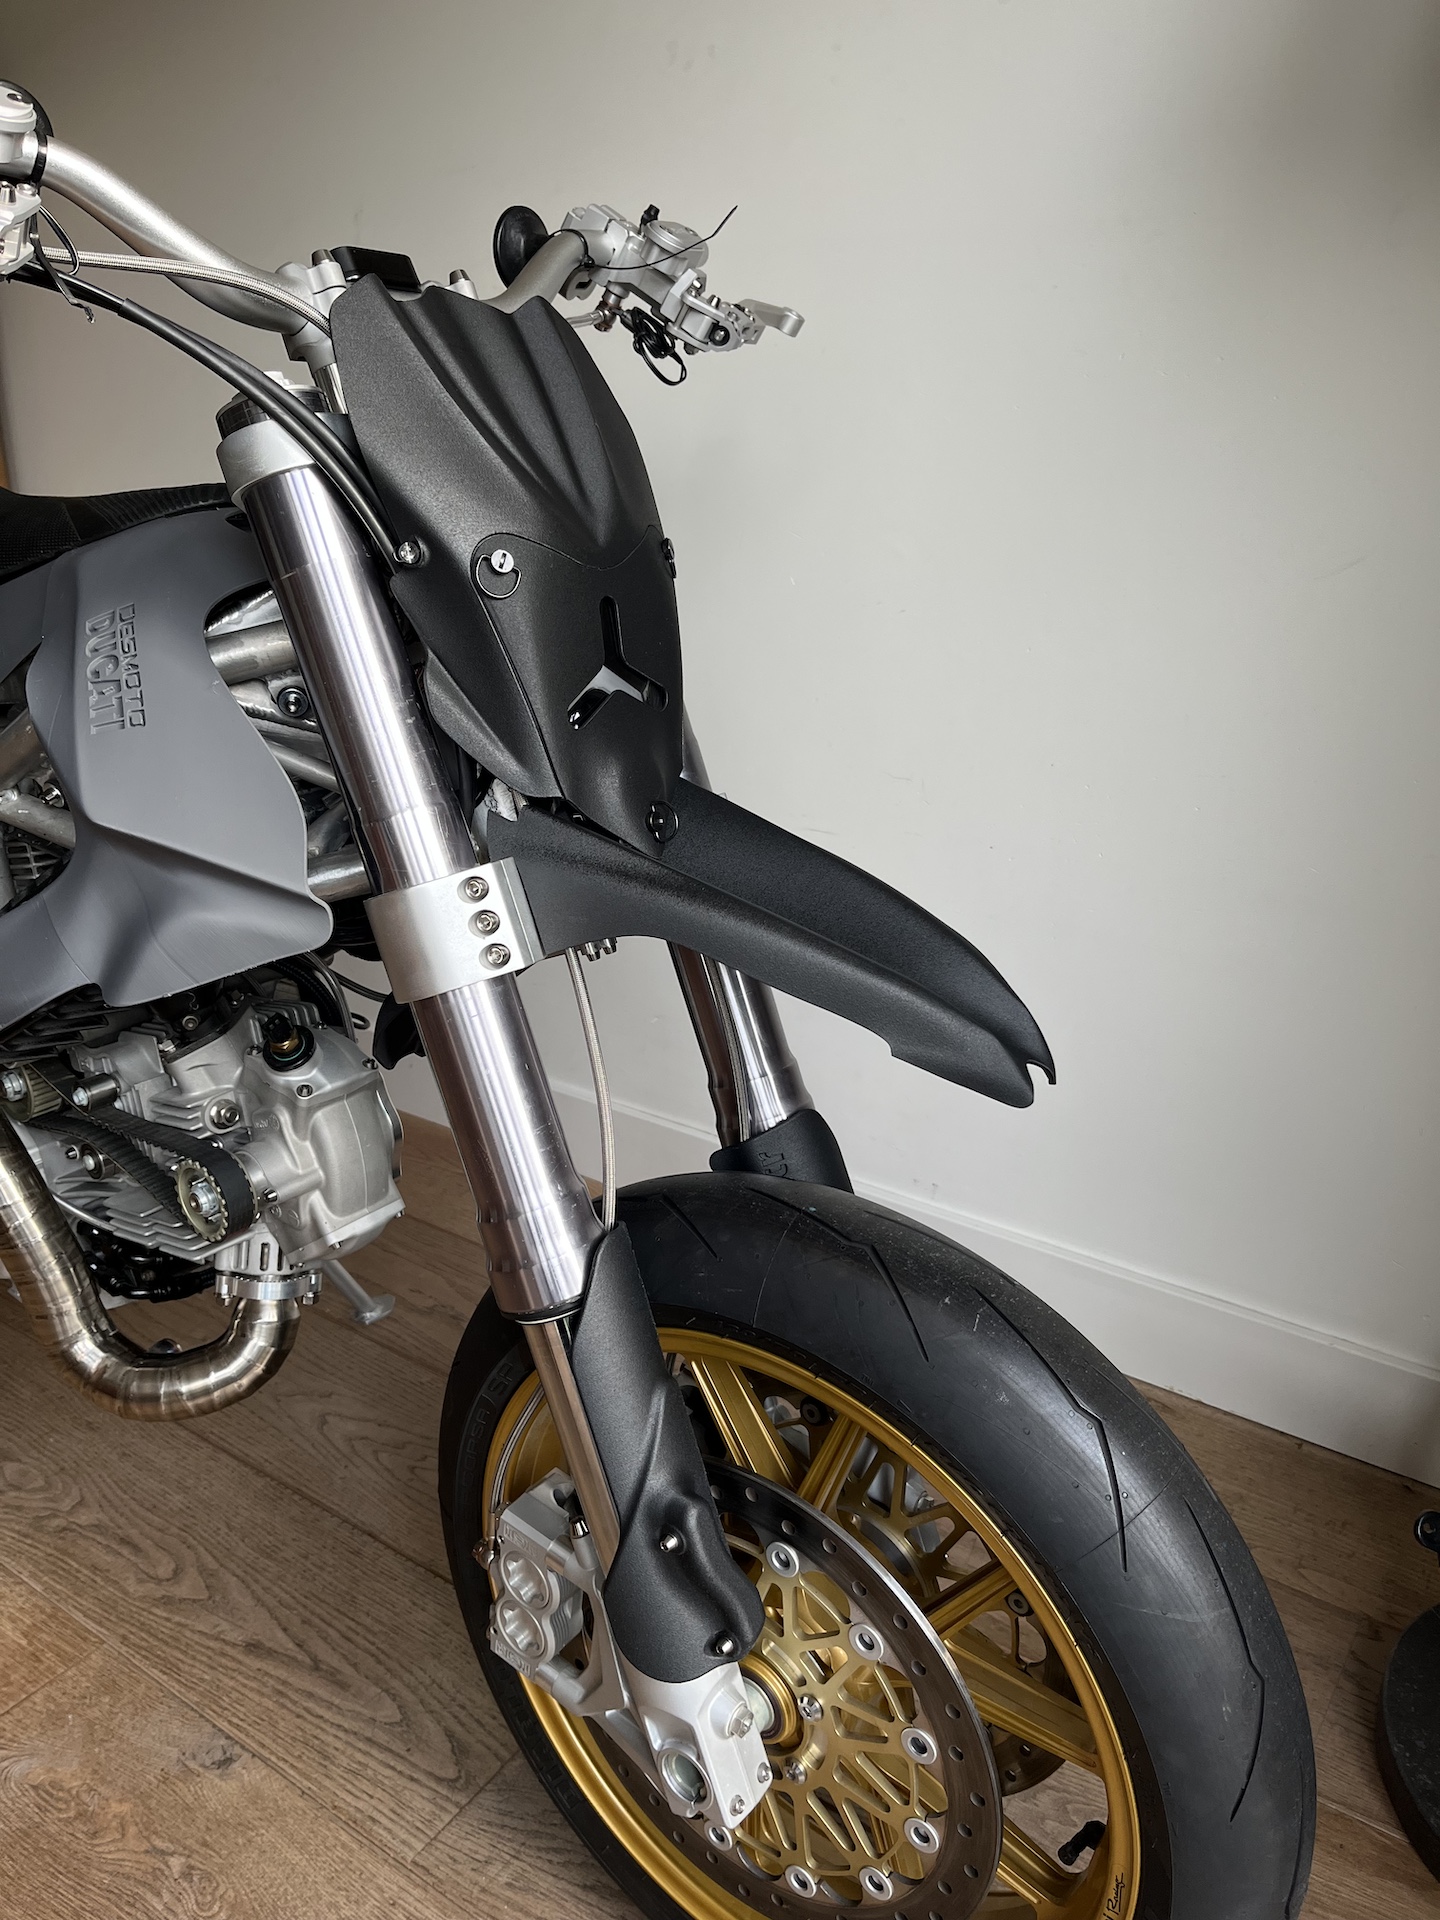
Remember when I told you that all the fairing parts would be fabricated out of Carbon fiber? Not anymore! A futuristic bike needs to use new technologies. So all the fairings will be 3D printed out of heat resistant (up to 195C) Nylon Carbon Fiber (expensive stuff…).
The front fender, headlight plate and fork guards are the first parts to be printed out of this material. The surface finish looks really good, however I will put some matte clear coat on top of all the parts to make them more durable.
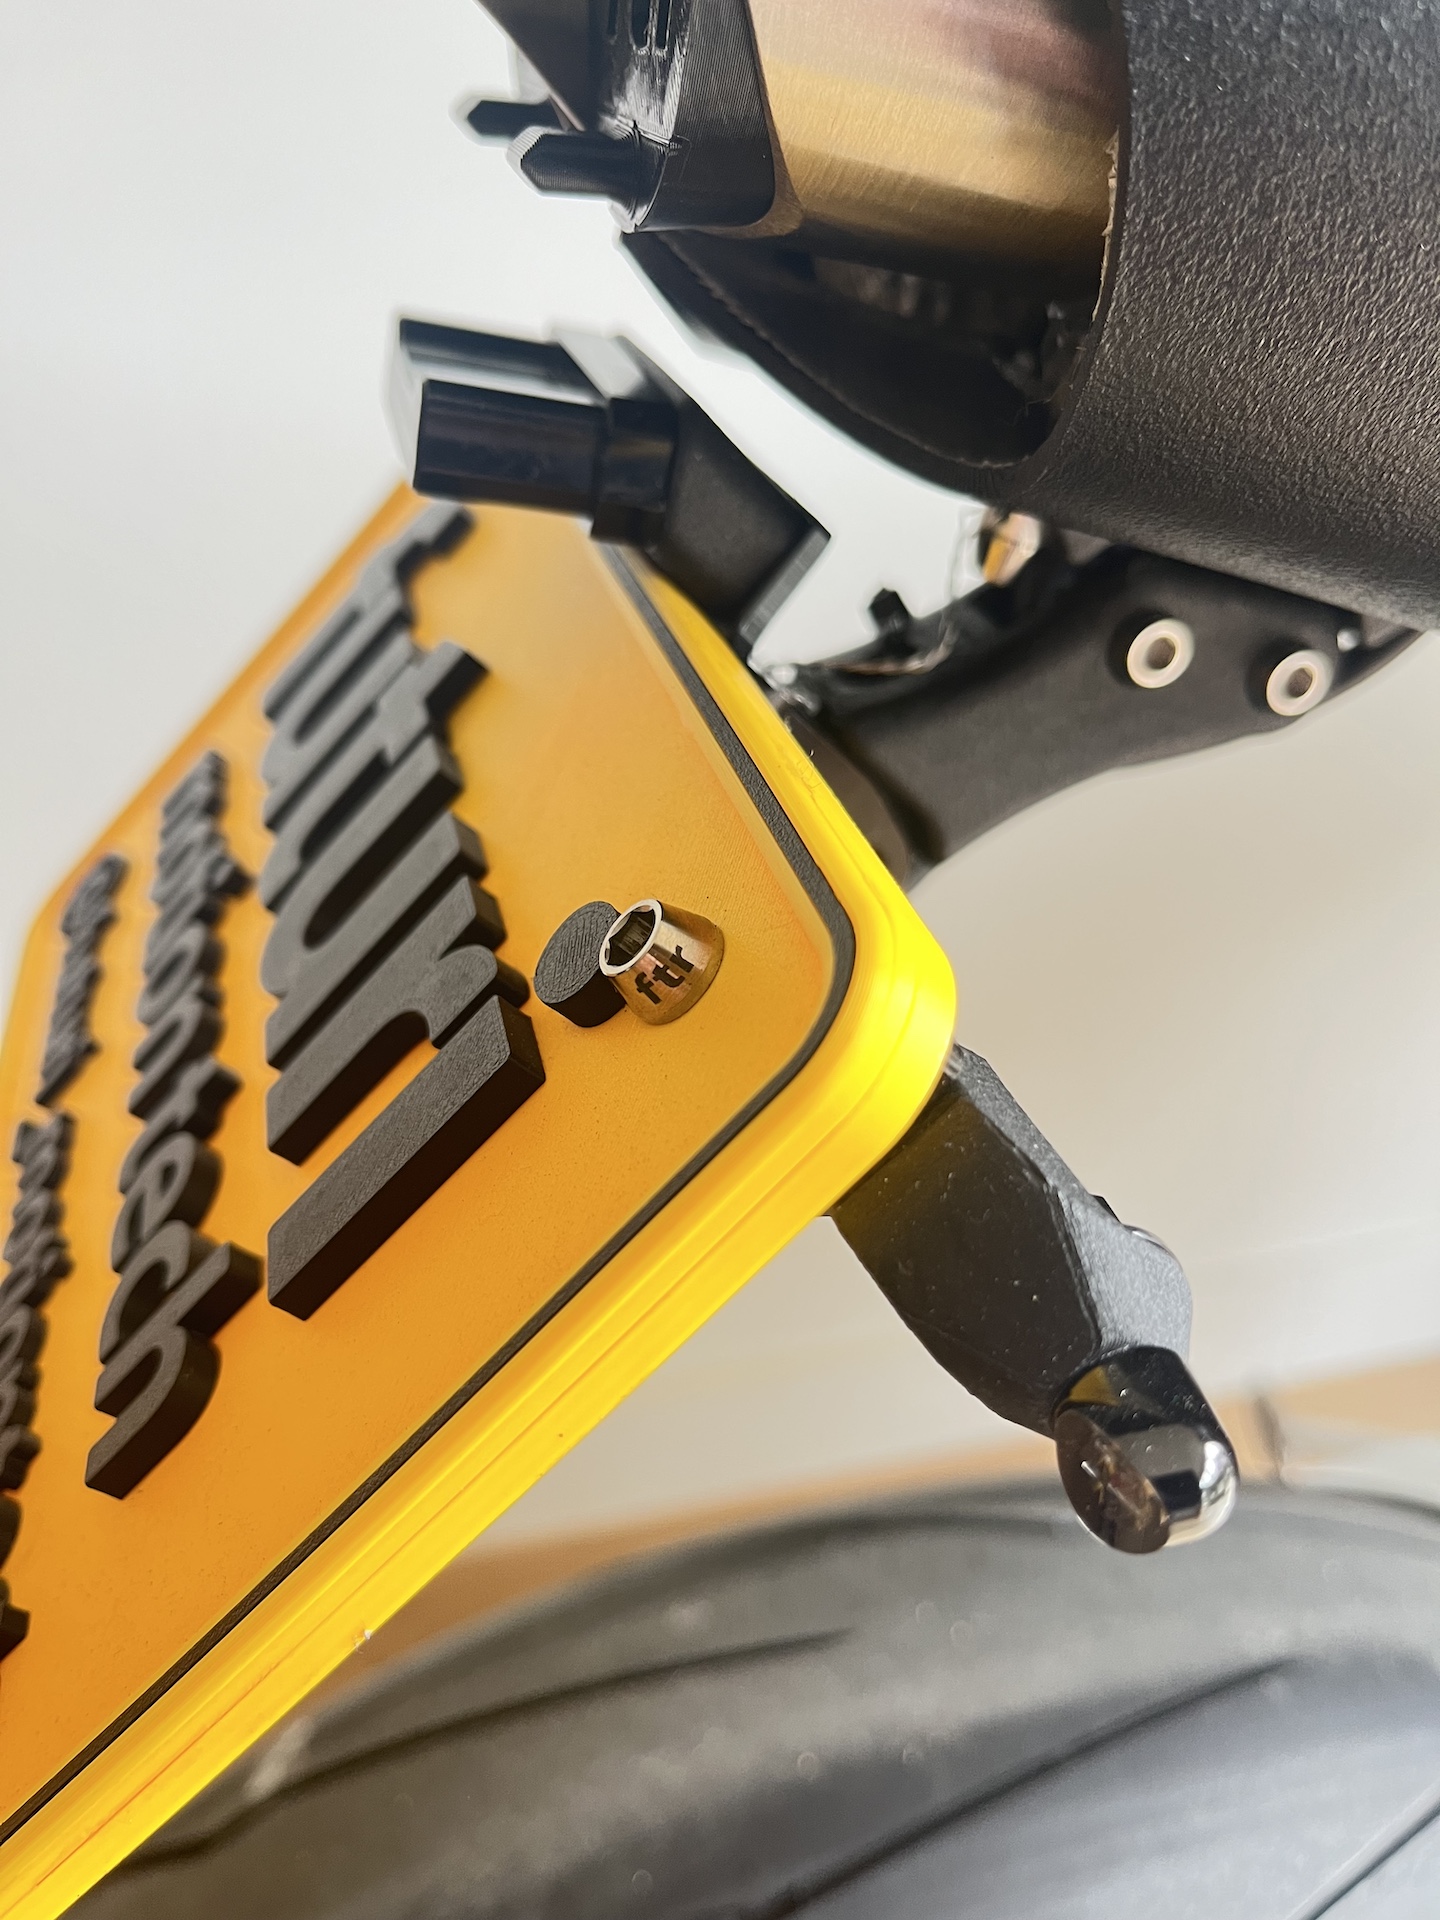
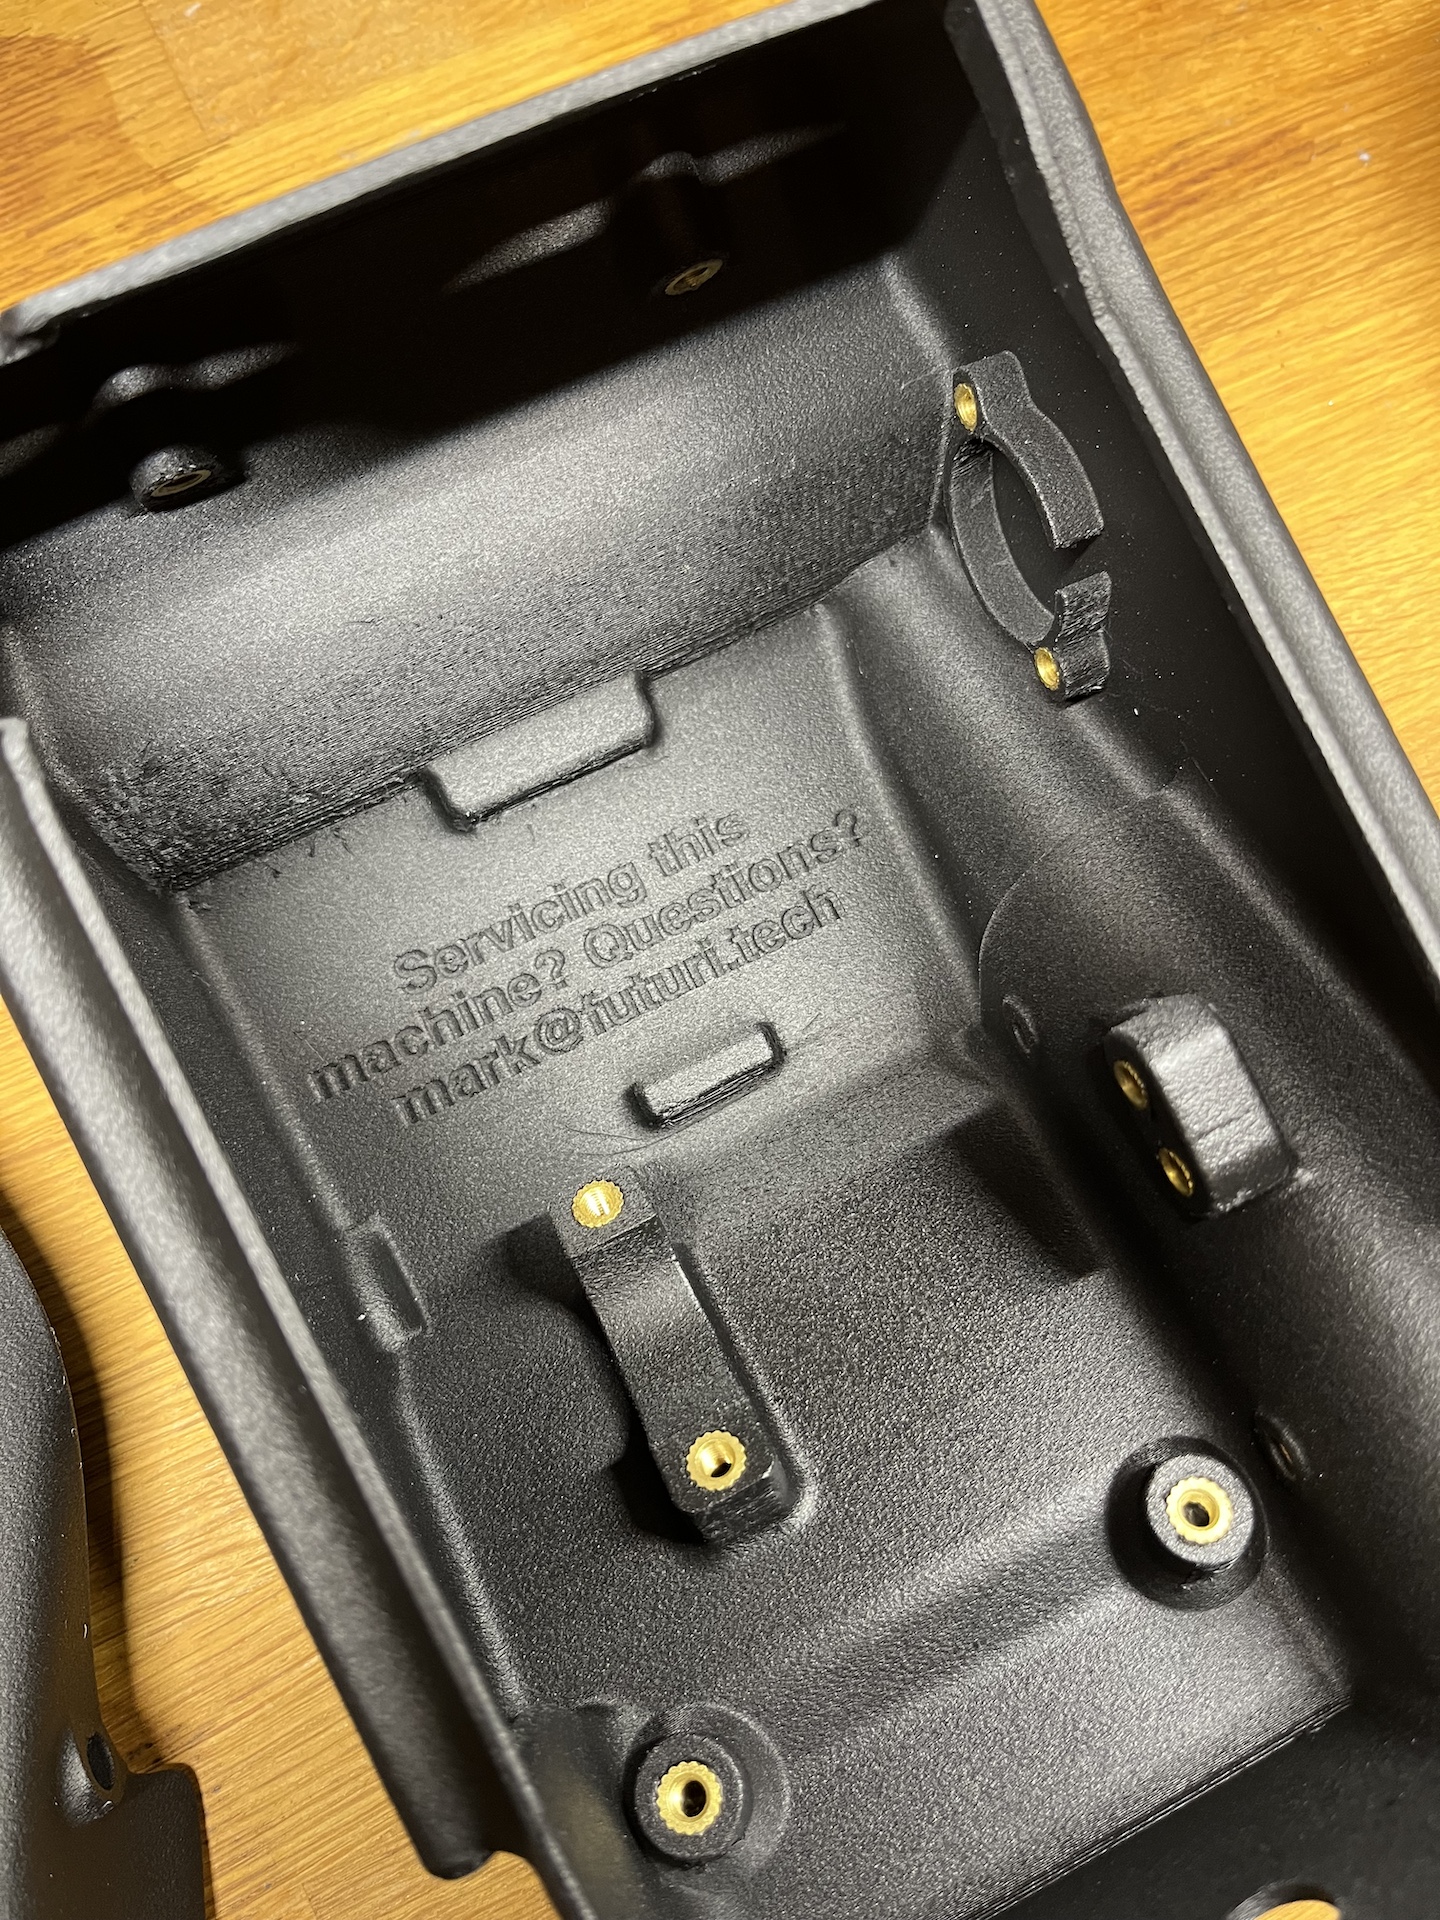
SMALL PARTS UPDATE
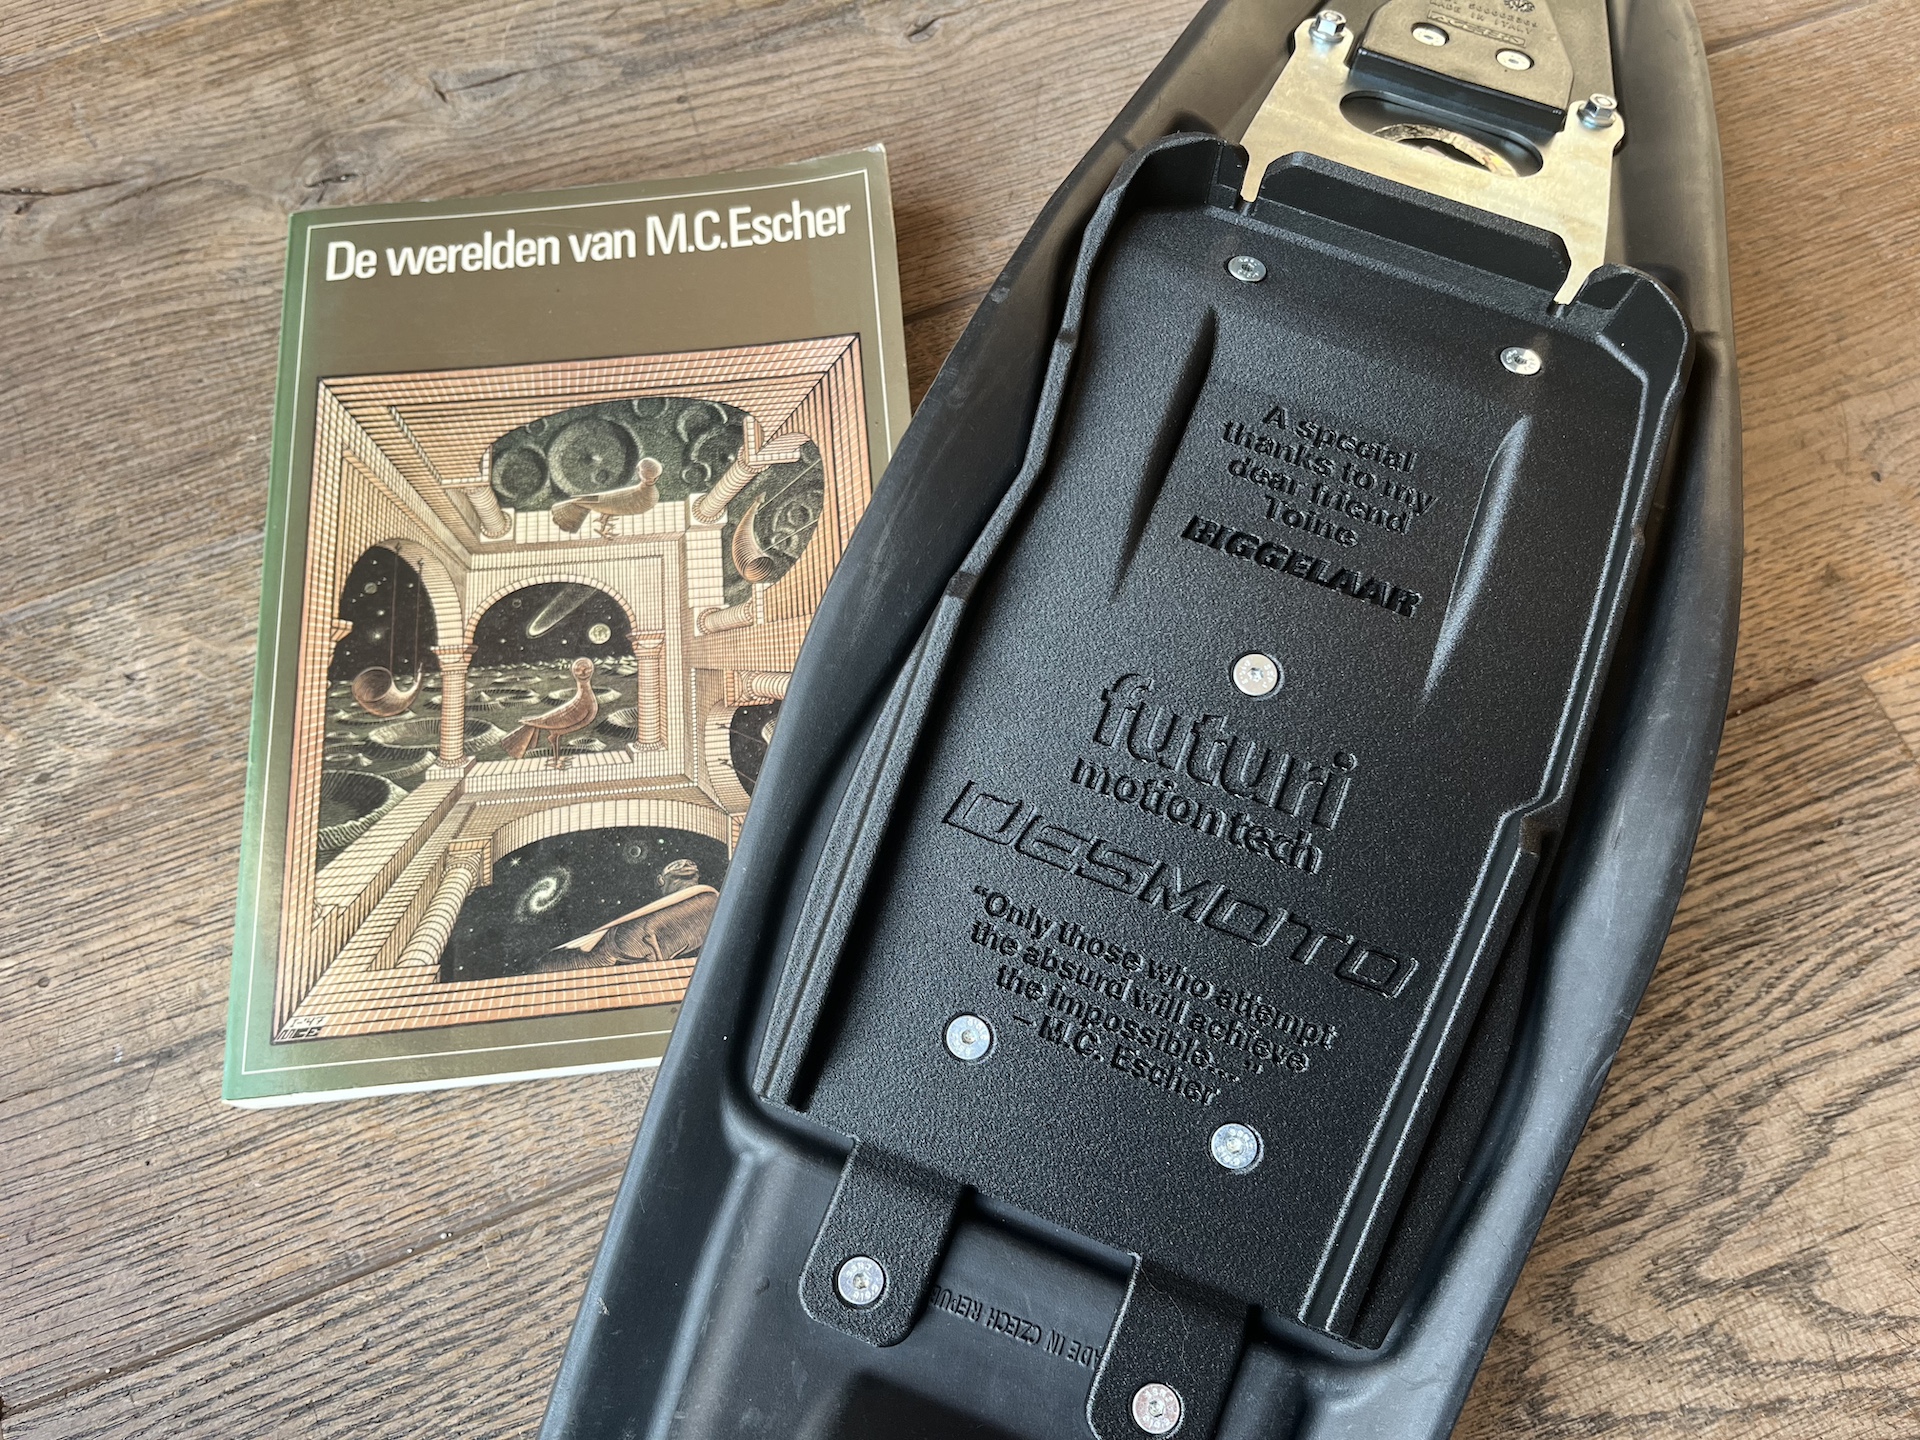
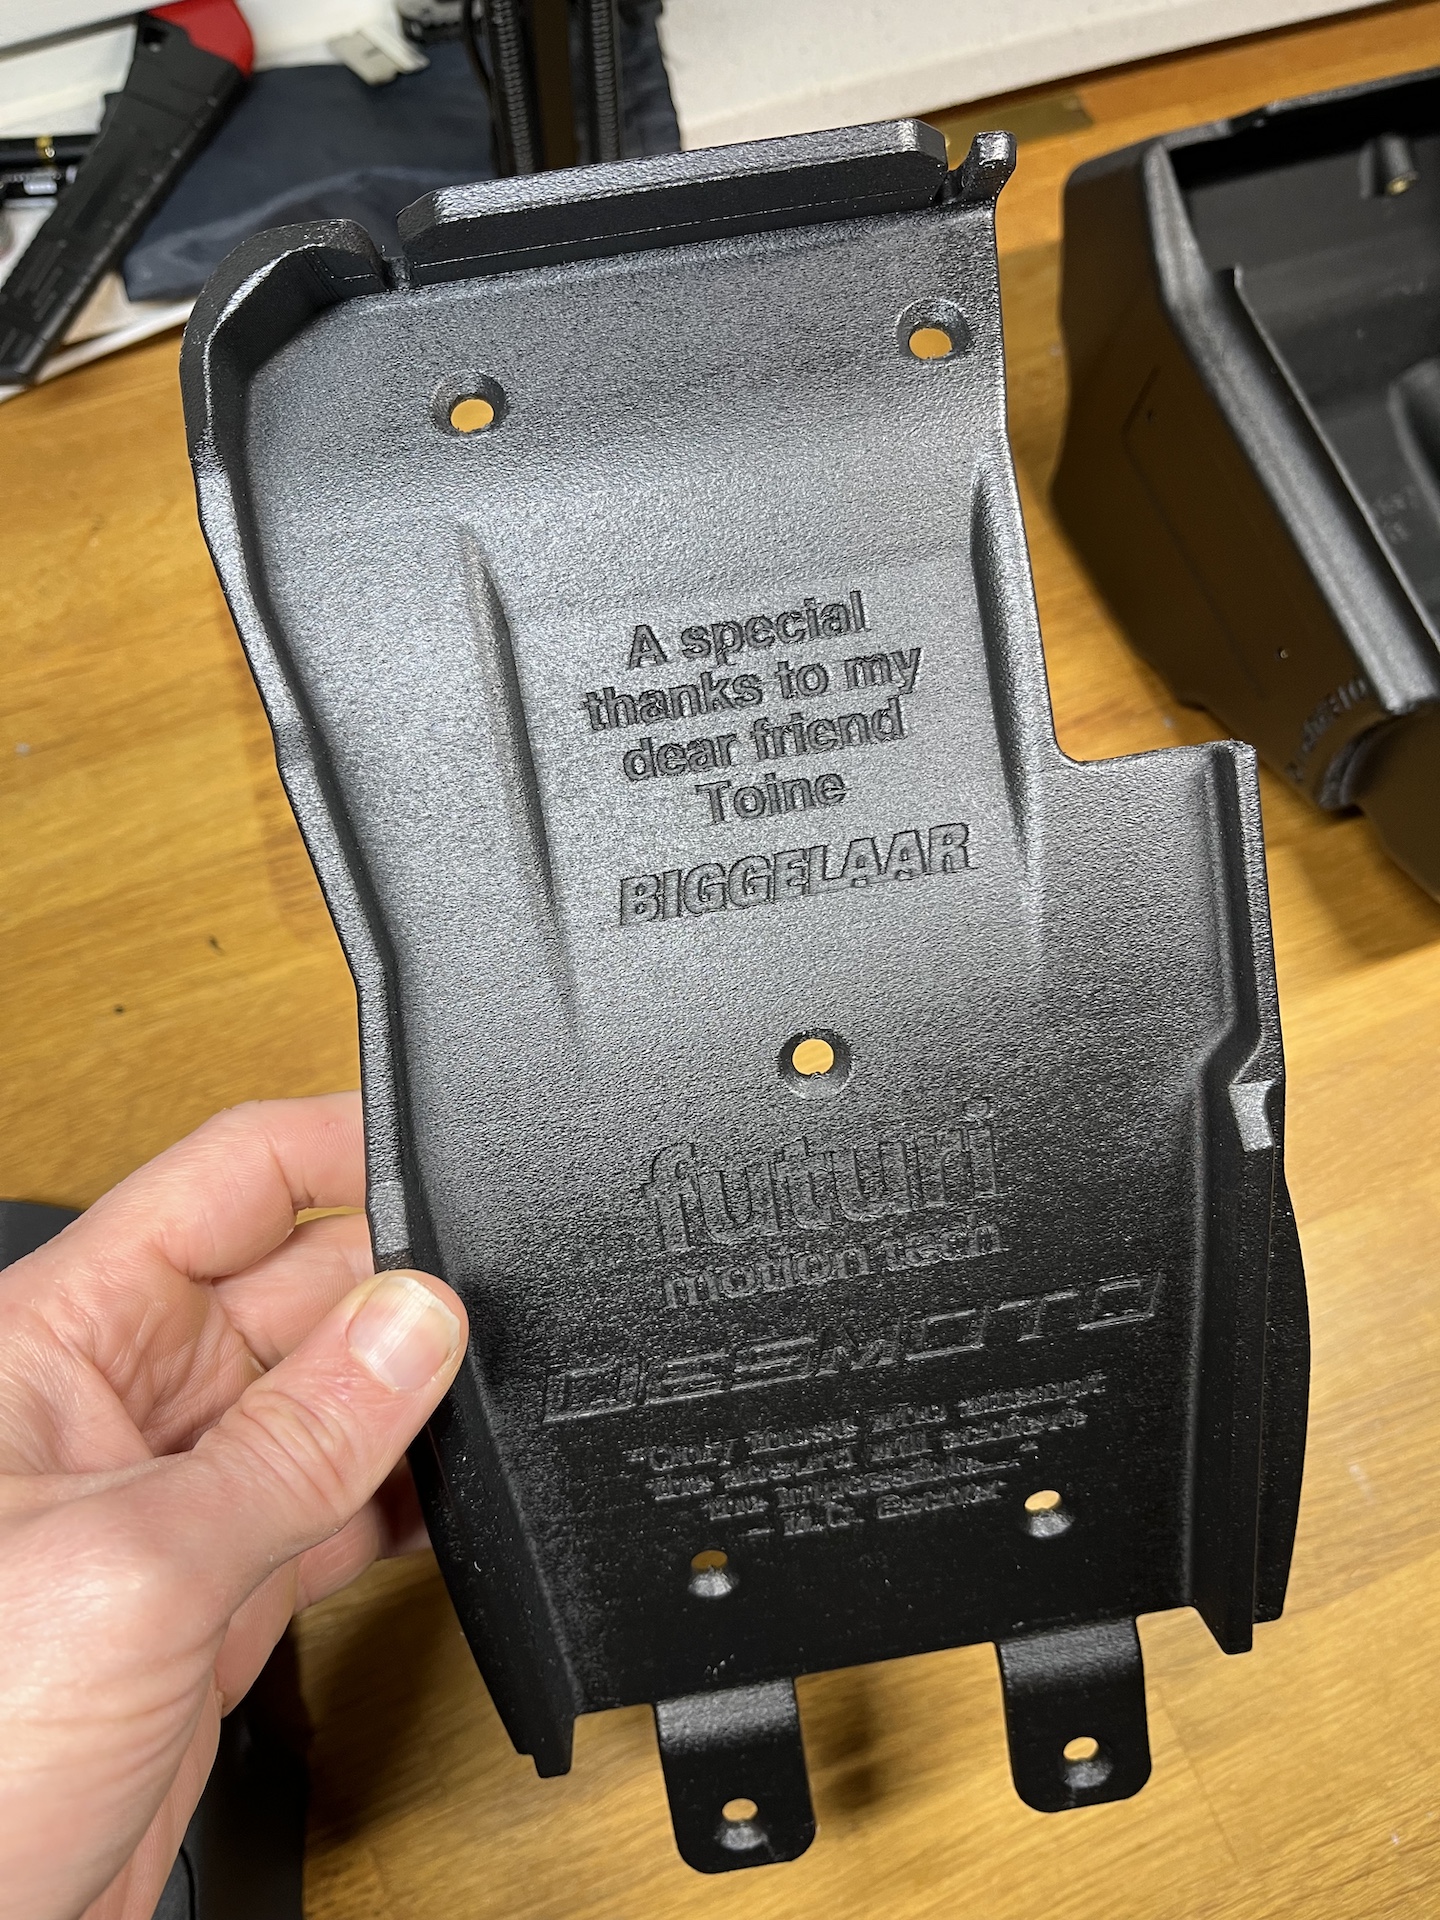
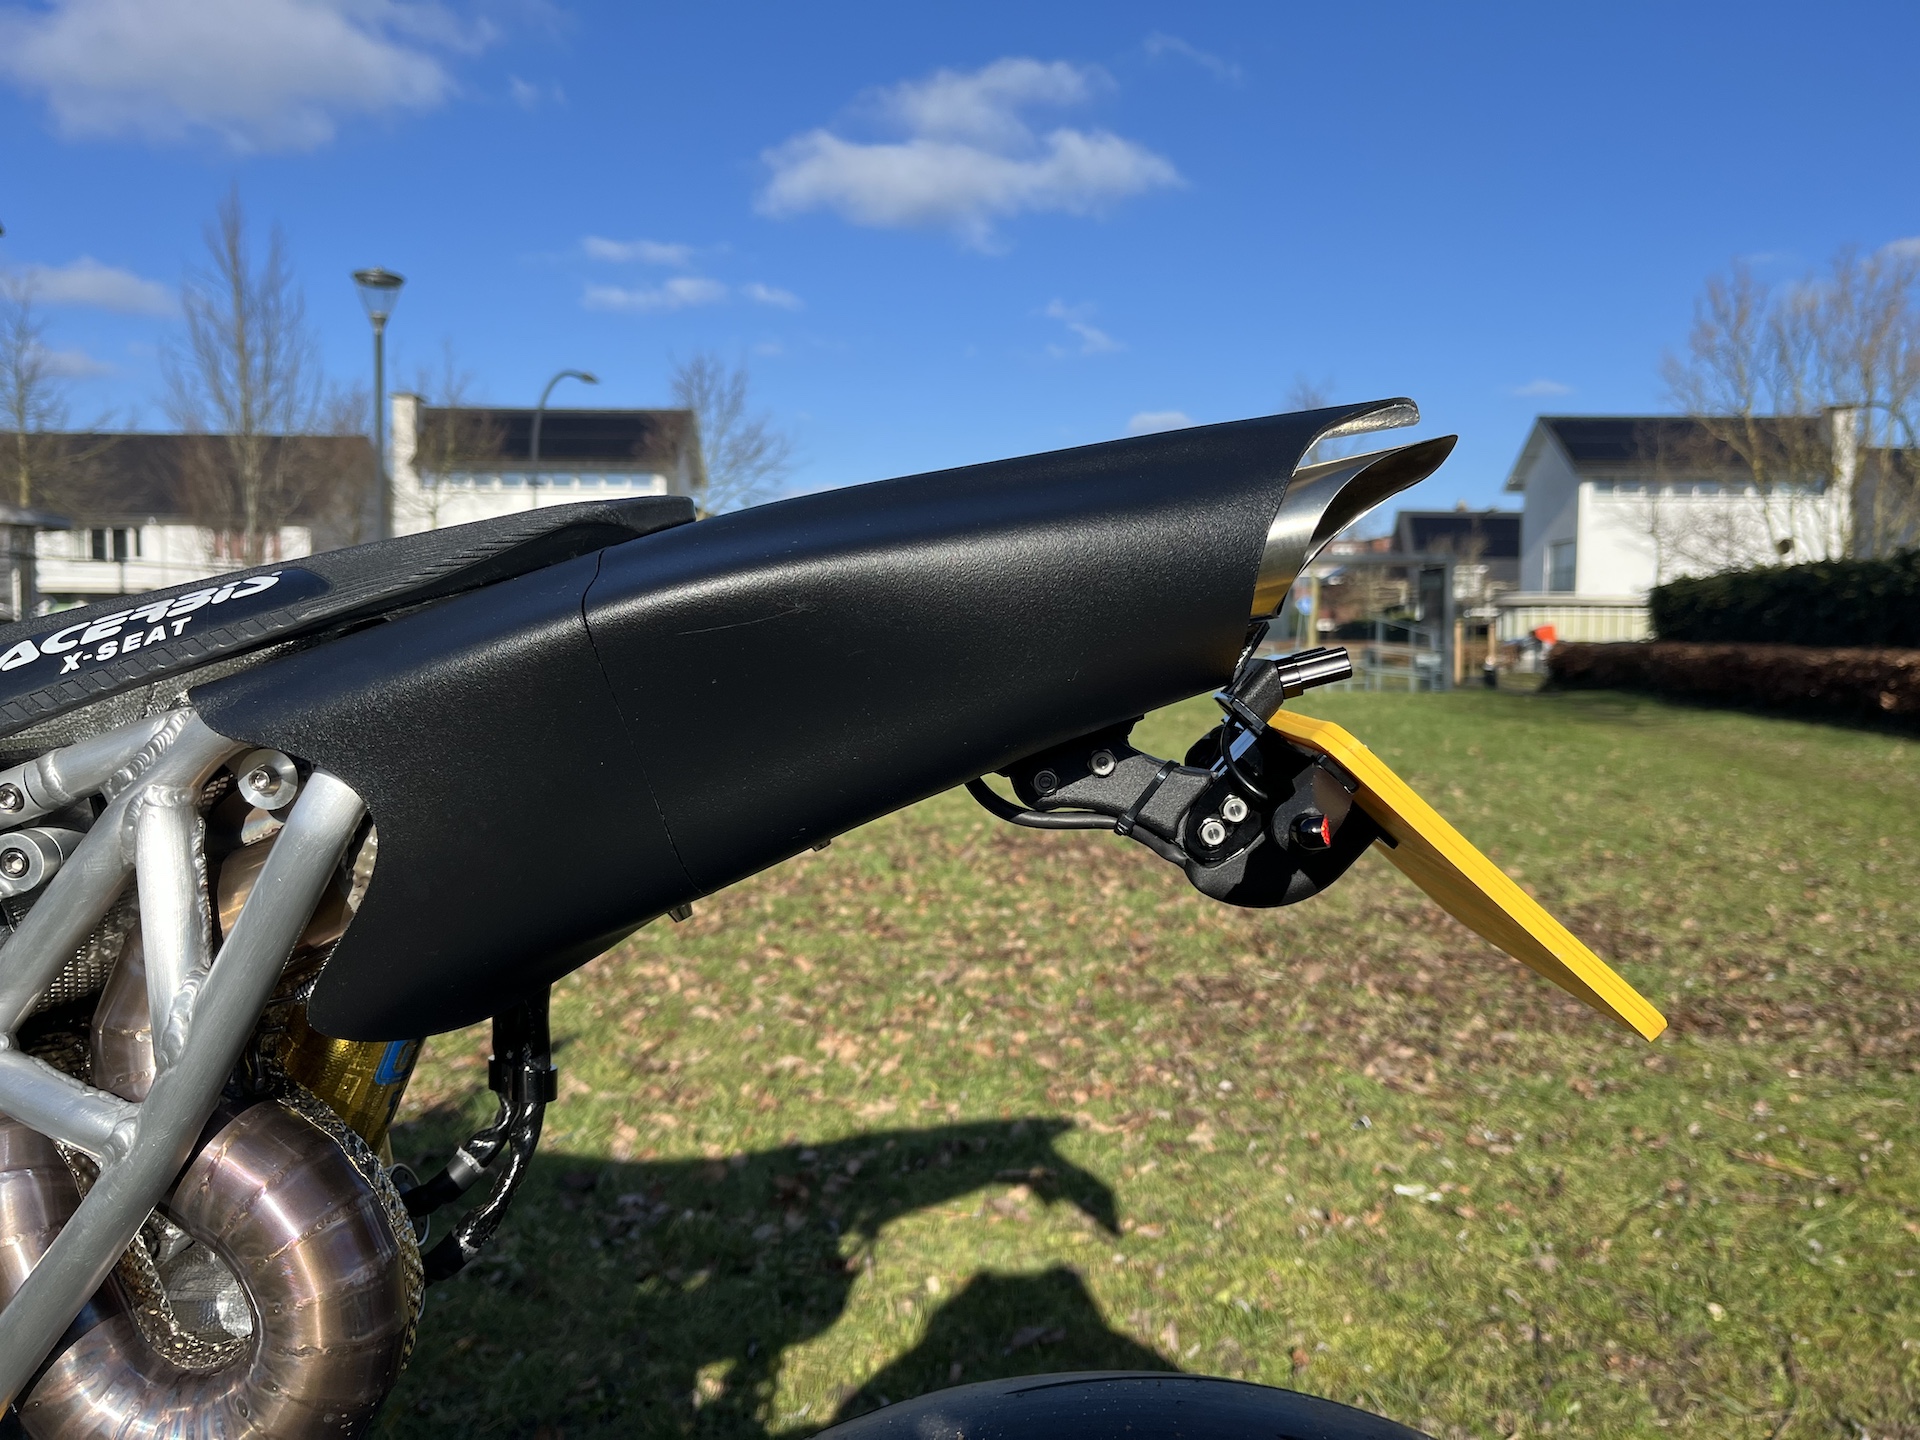
Finished some small parts. The Acerbic bottom seat plate with some custom graphics/texts on the bottom.
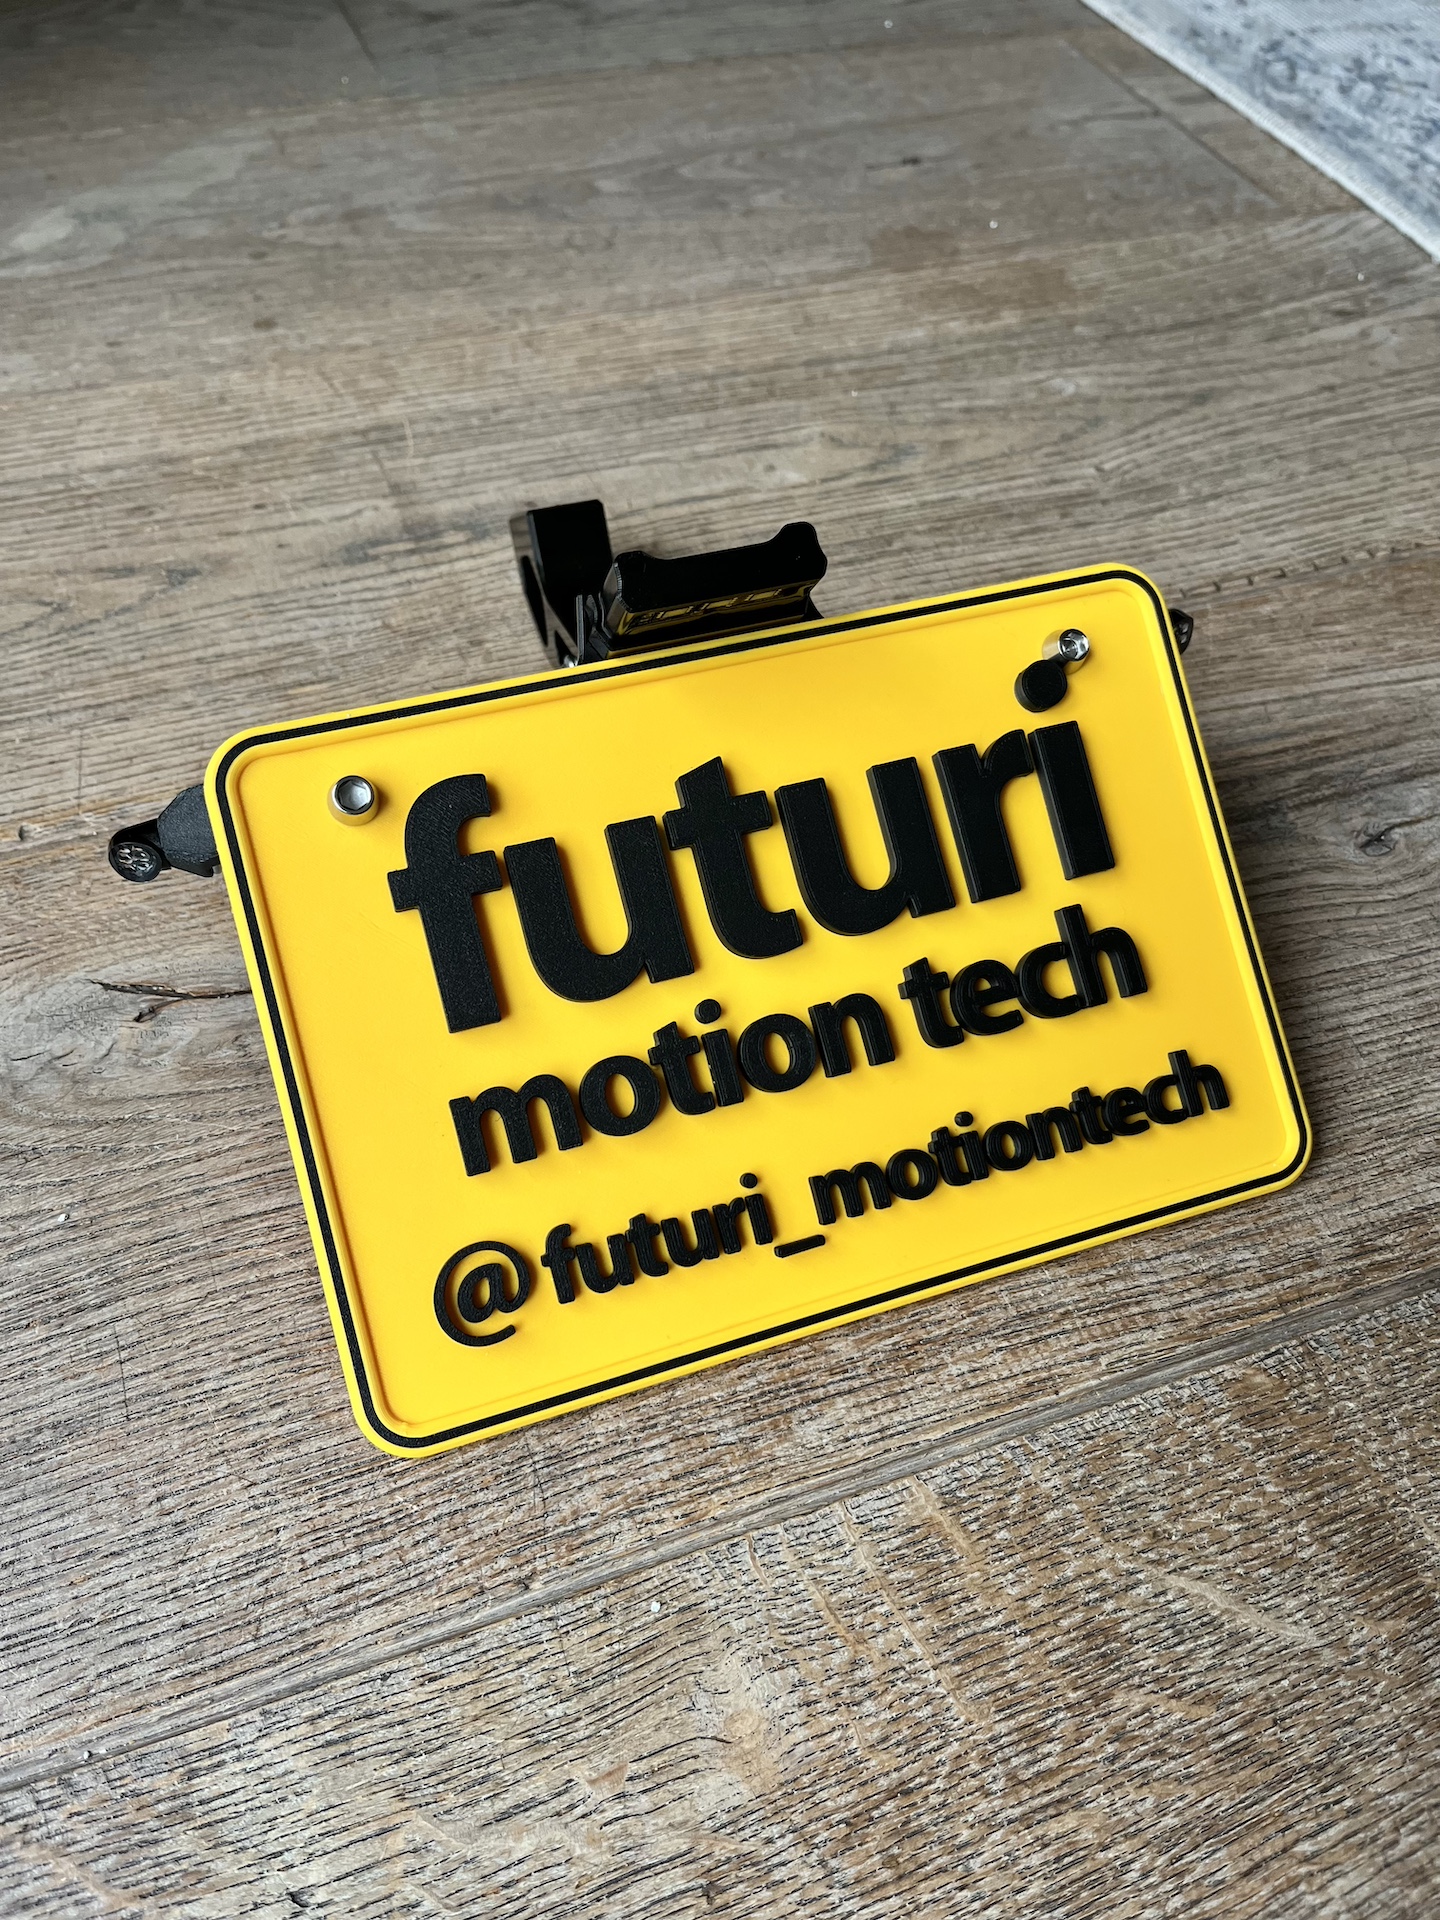
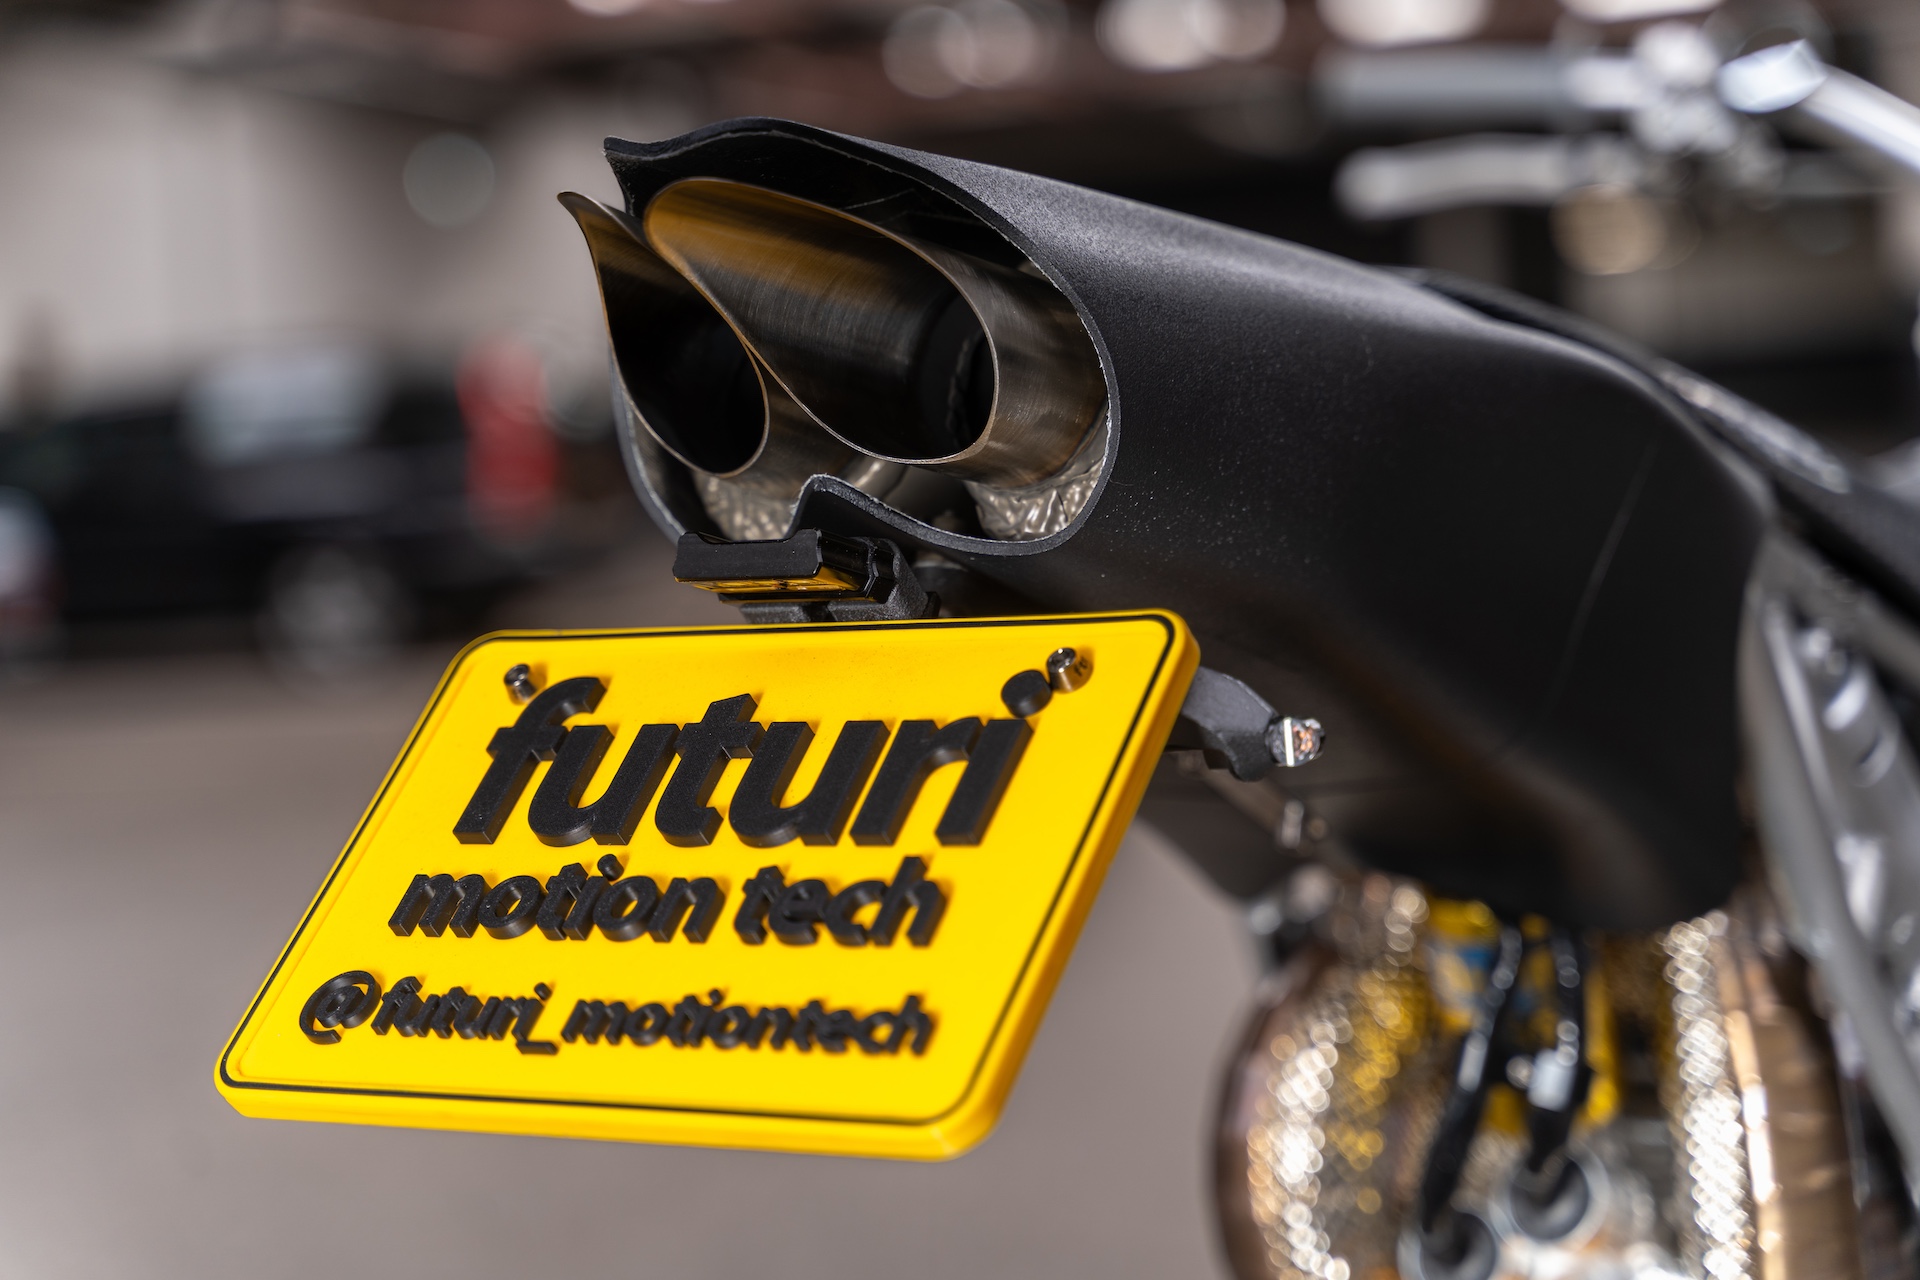
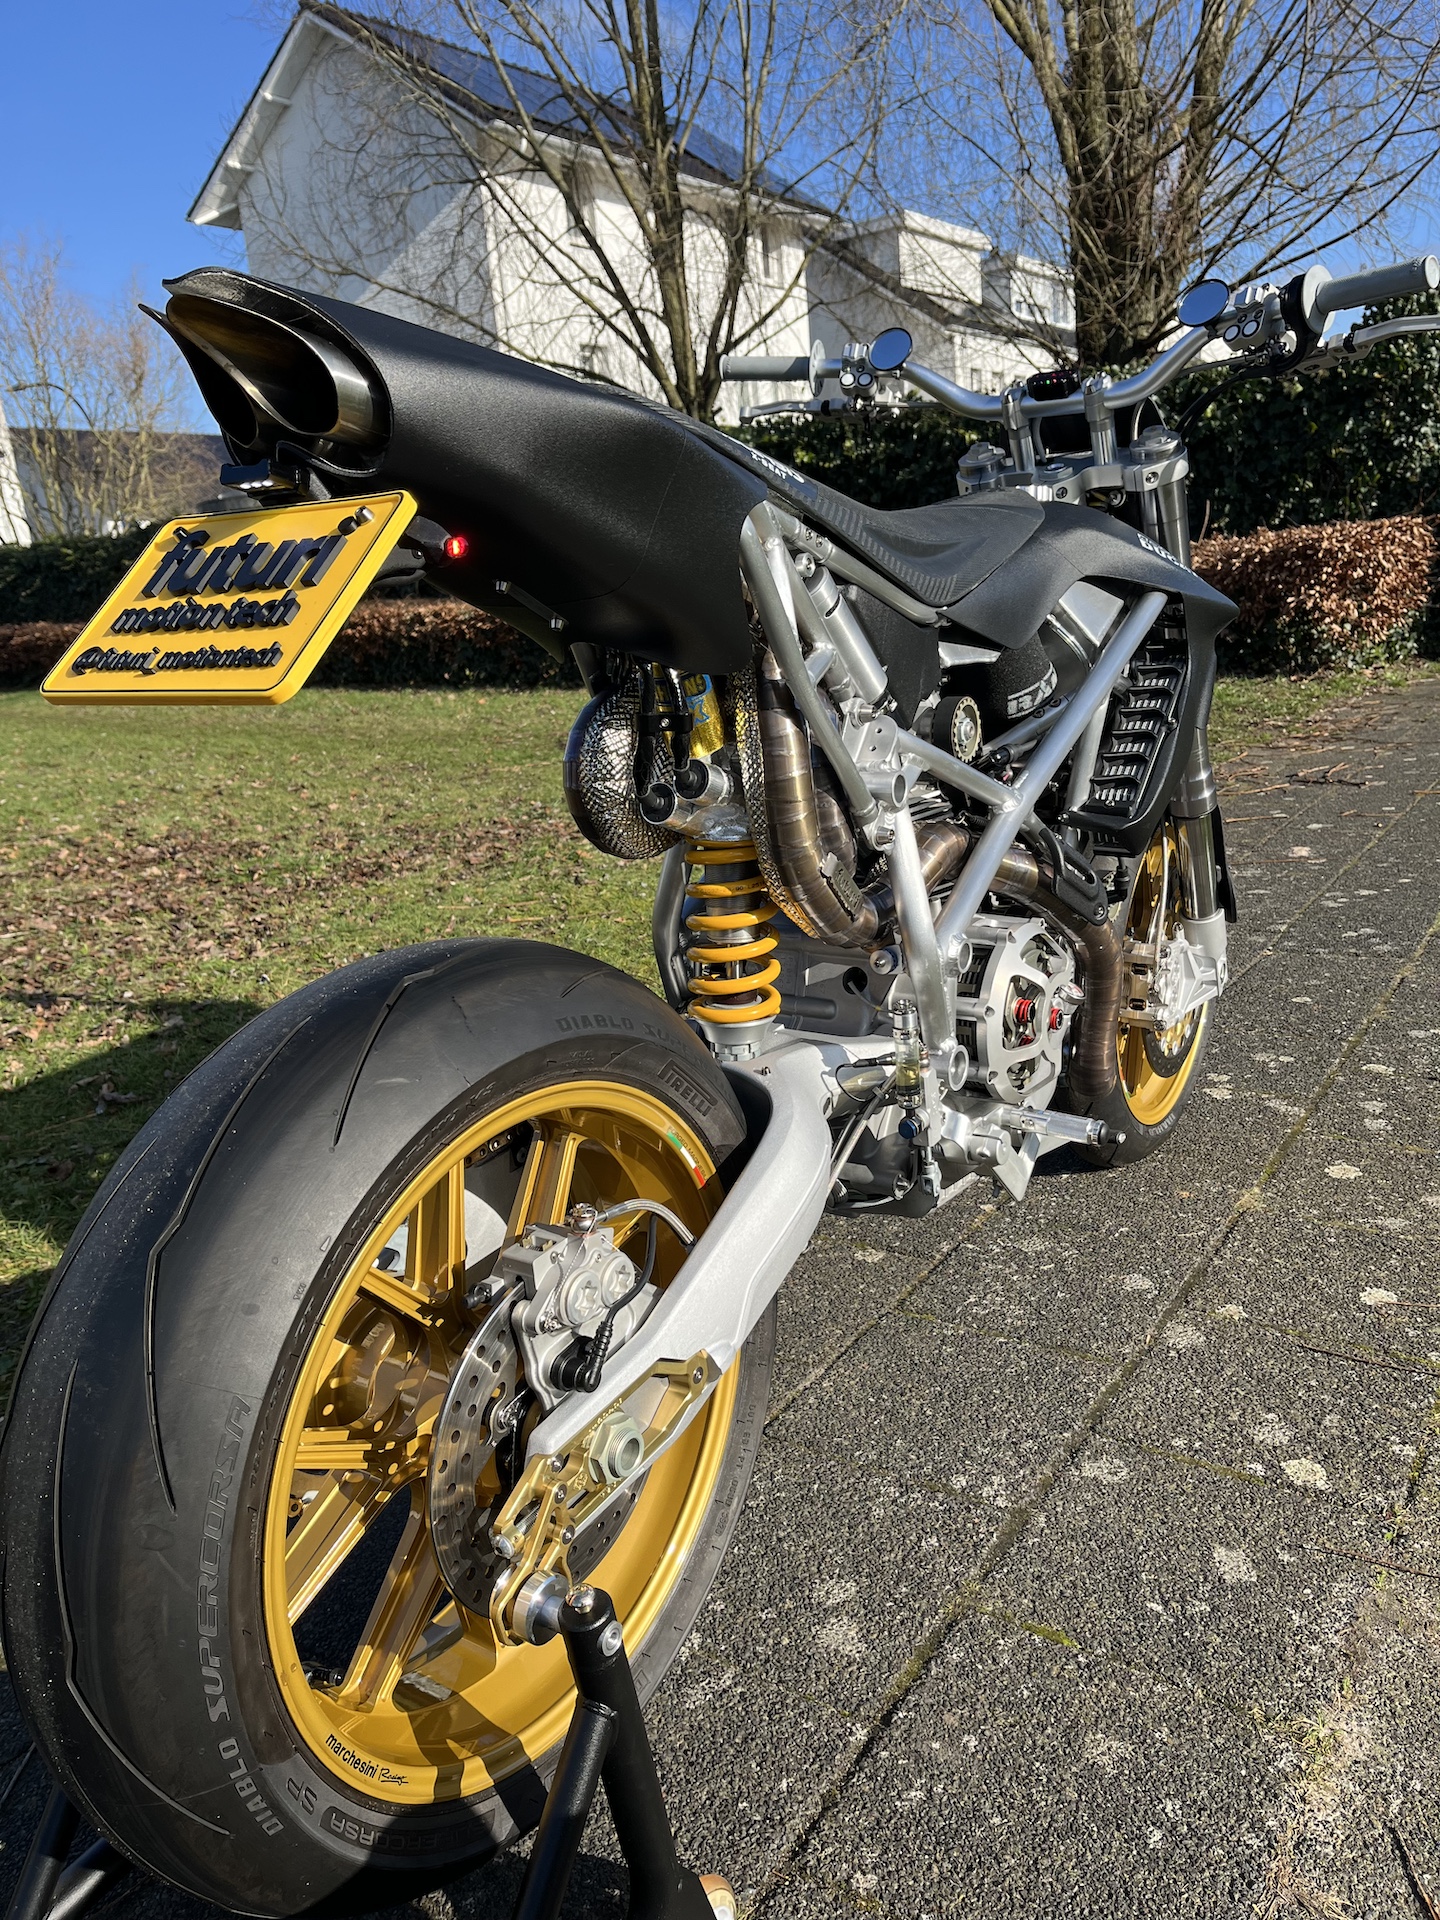
A custom license plate for when the bike will be photographed and displayed at shows.
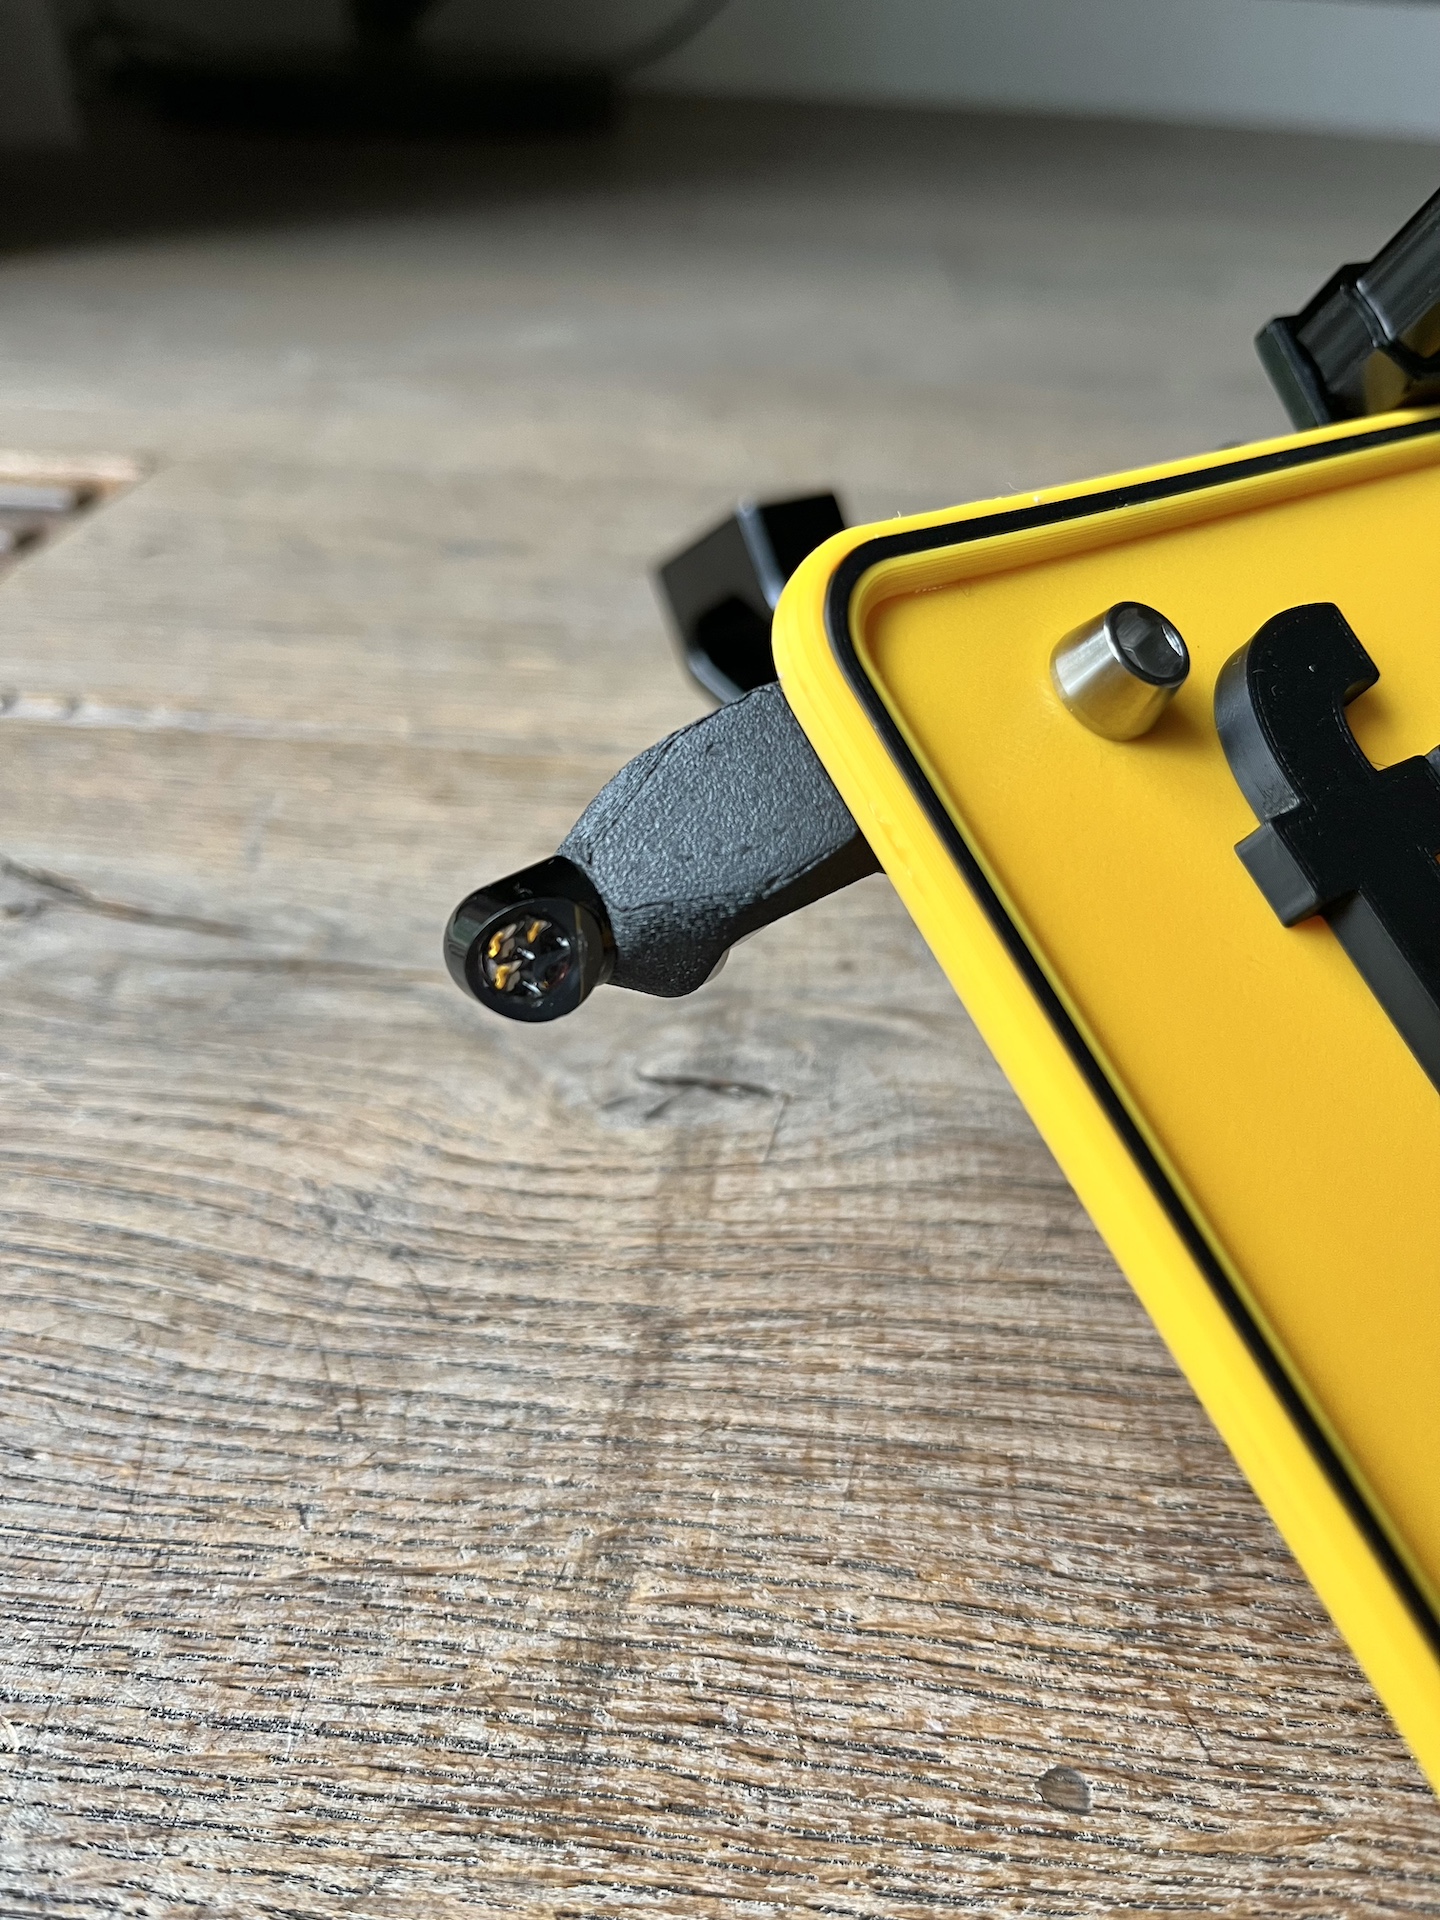
And some turn signal brackets to closely mount them besides the license plate.